
Alexander Grabovetskiy, woodcarver, School of Woodcarving · Published 2017
Can you carve a board that already has a crack in it?
Quick answer: Carving a board with a crack in it is ordinary work, not a ruined project. There is a fine check inside mine, and what it costs me is nothing but care. I marked it, every travel runs away from it instead of into it, and the ornament goes over that area unchanged.
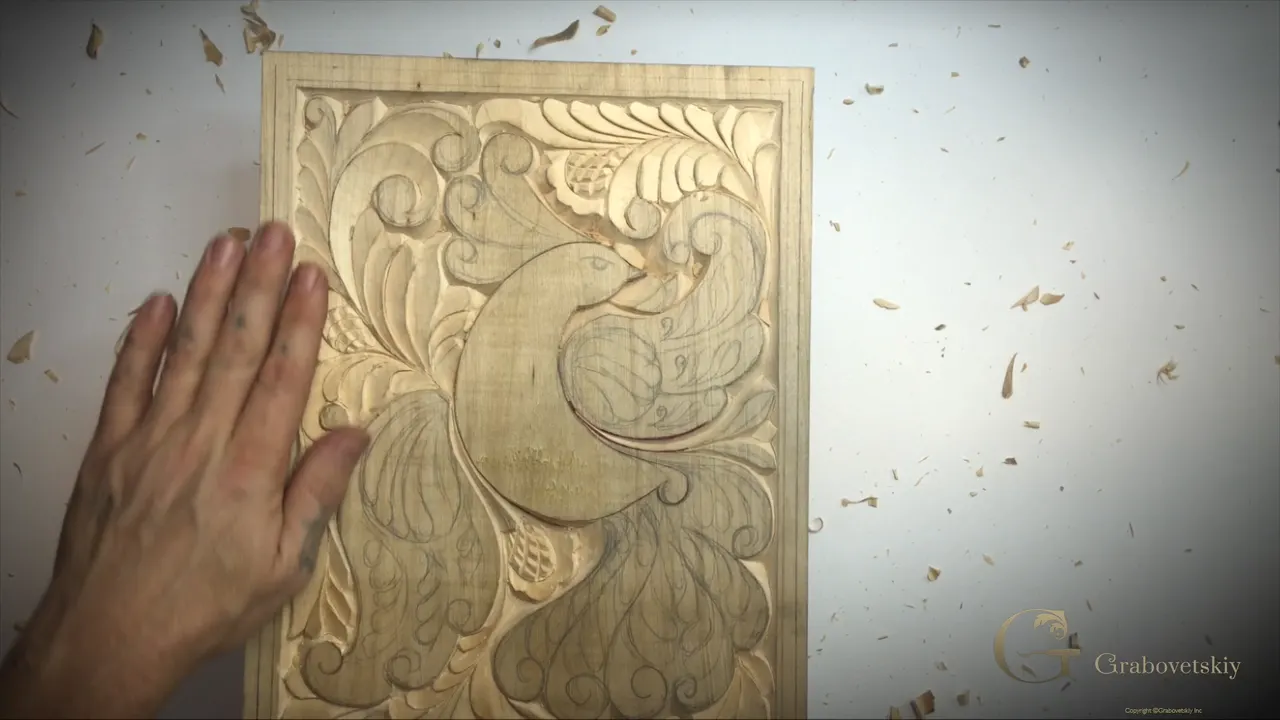
A crack inside the board is no reason to stop carving. Mine has a fine one running through it, and the only thing it costs me is attention. I keep track of where it lies, no pass ever travels toward it, and the pattern crosses that part of the panel exactly as drawn.
Ever put a good board aside because of one flaw? Do you know where the weak spots in the blank on your bench actually are? Then this workshop is worth an hour of your evening.
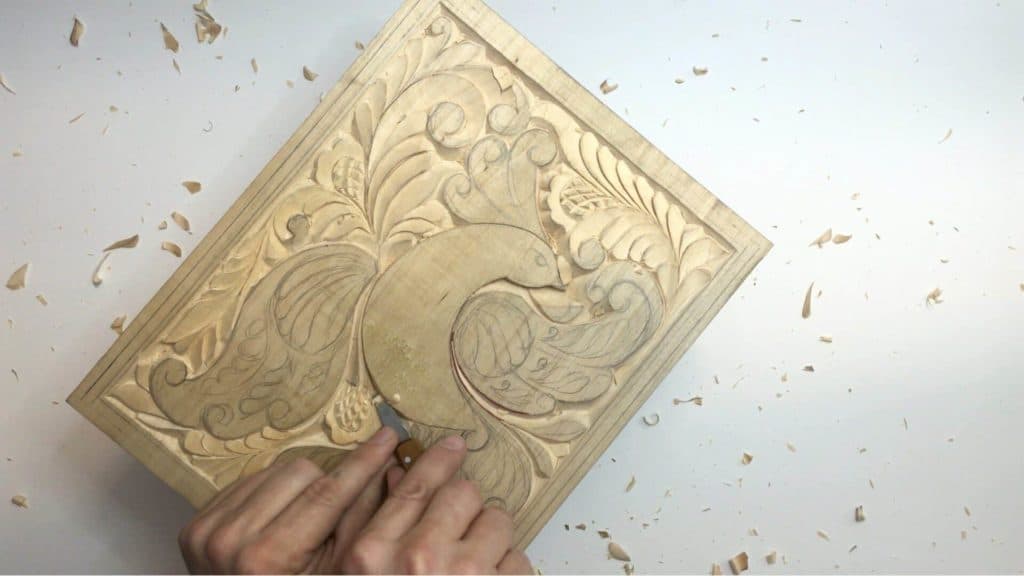
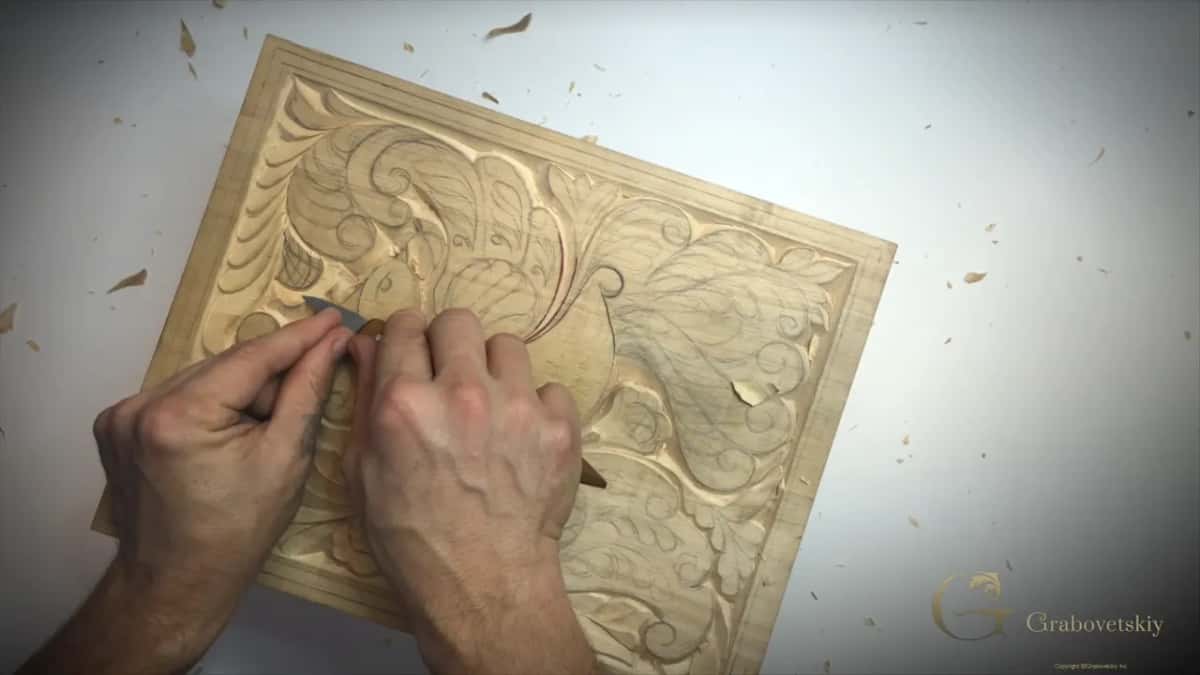
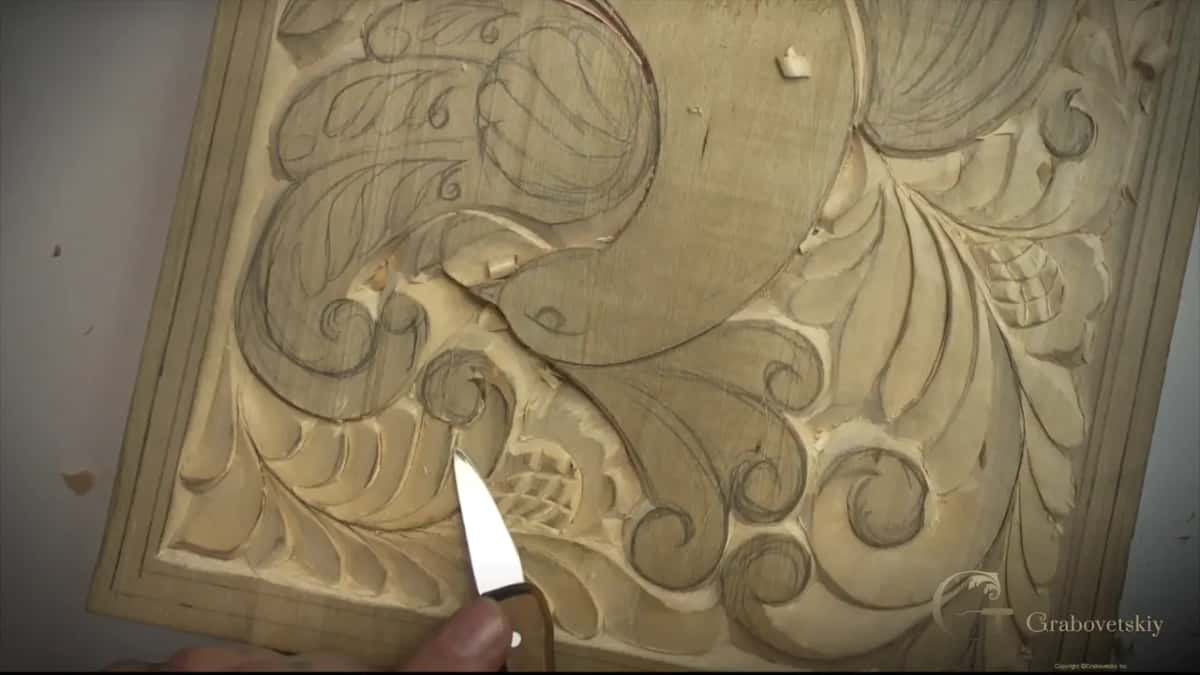
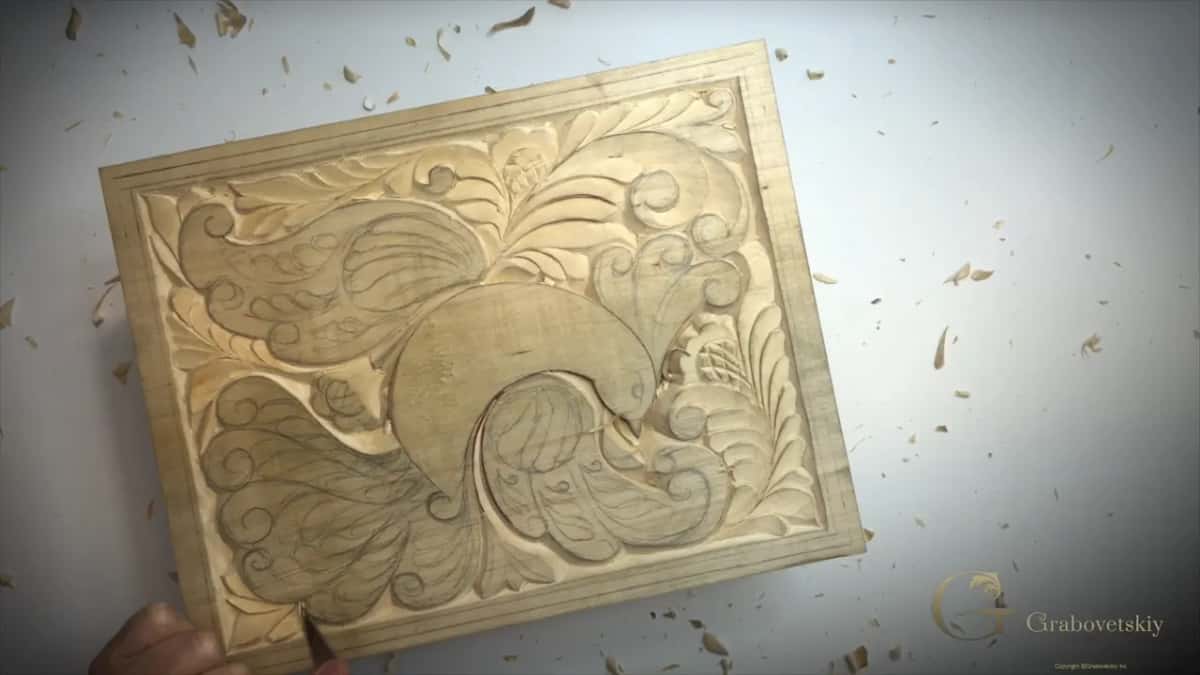
My teacher made me carve panels like this one again and again when I started learning the trade. Not because they are pretty, and not because they are quick, but because a single knife with no curve of its own forces your hands and your head to work out everything else. Workshop 9 finishes the ground around the bird, and it contains the sentence I repeat more often than any other.
What this session is really about
- A flaw in the wood is information rather than a problem. Find it, remember where it is, and carve around it.
- For shallow grid lines the blade goes about a millimetre beside the drawn line, never on top of it.
- Pressure is what loses a grid. Push too hard and the pattern you drew simply vanishes.
- Where grain meets head on inside a shape, carve that shape from each of its ends.
- Shaping wood is not what happens here. Carving it is, and the marks left behind are half the work.
Can you carve a board that already has a crack?
Yes, provided you know where it runs. Wood moves as it dries and small checks open along the way, which is ordinary rather than alarming. What matters is that you spot the crack before a pass travels into it, because a blade arriving at a split face will lift a chunk instead of a chip.
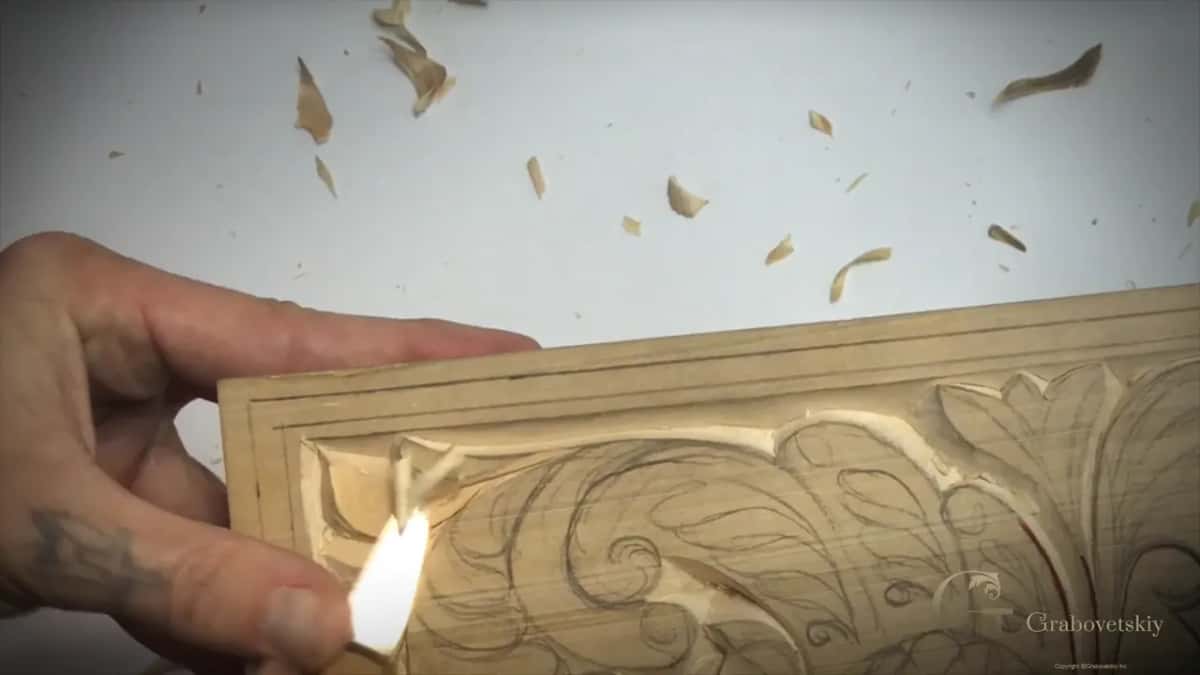
Look along the board in raking light before you start each session. Mark anything suspect with a pencil. Then plan your passes so they run away from the fault rather than toward it, and you can carve straight across that area with nothing to show for it afterwards. Proper seasoning reduces how many of these you meet, and thick lime stays flatter than thin stock, which is one more argument for a heavy blank.
Why put the blade beside the line rather than on it?
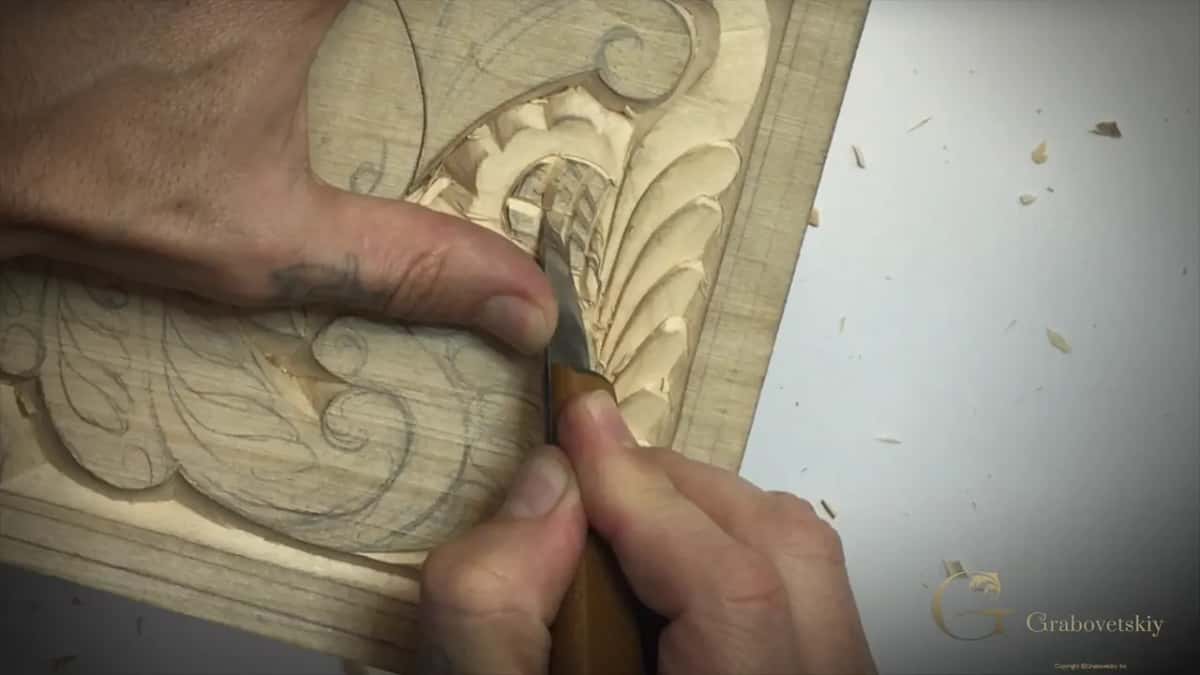
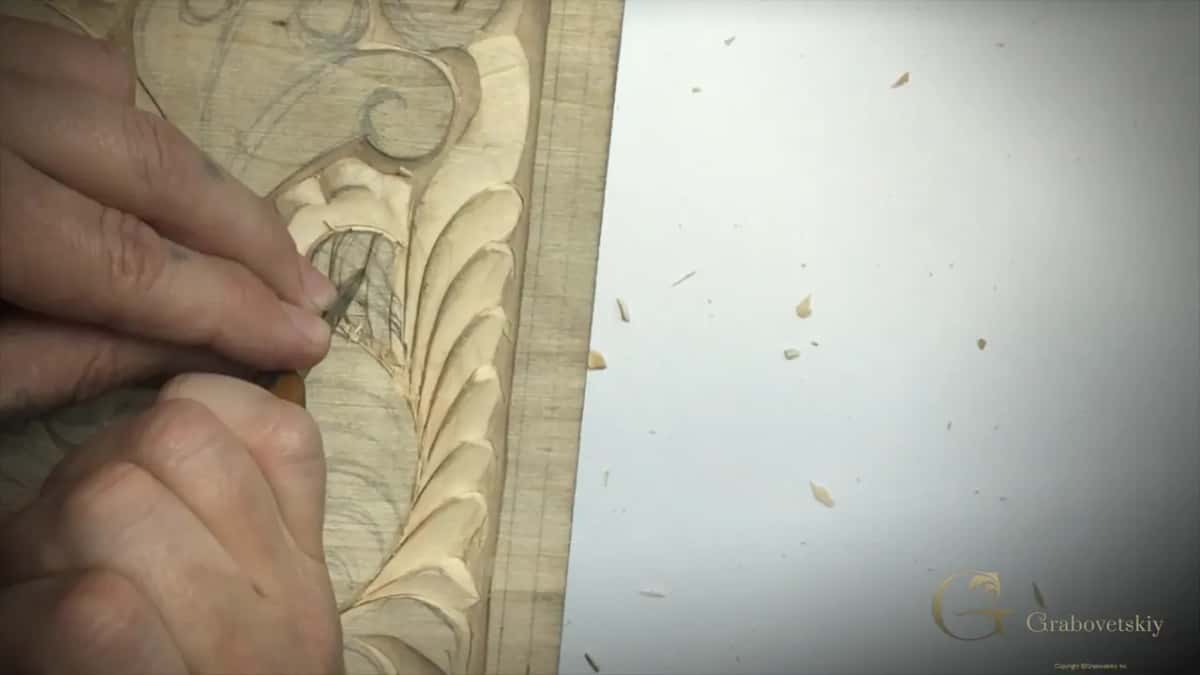
Room for the bevel, which the line itself does not give you. Set the edge roughly a millimetre right of a drawn line and take your bevel, then return the same distance to its left and take the partner face. The two faces meet underneath and the drawn line survives as a ridge between them.
Put the blade directly on the line instead and you carve the line away with your first pass, then spend the rest of the shape guessing where it used to be. On a flower grid with six or seven lines packed into a small area, that guessing shows immediately.

Why does my grid pattern disappear as I carve it?
Too much pressure, almost always. A grid of this kind lives in the top two or three millimetres of the panel, and there is nothing underneath it to fall back on. One firm pass takes away more material than the whole pattern is deep, and the picture you were building goes with it.
Light passes, repeated. That is the entire answer, and it is tedious rather than clever. If the waste will not come free, the two faces have not met yet, so run the same angle again instead of leaning on the handle.
| What you meet | How that part of the board gets handled | The risk | What the panel looks like after |
|---|---|---|---|
| A crack inside the blank | Plan every pass so it travels away from the fault | A lifted chunk | Nothing visible, and the pattern carries on |
| Grain meeting head on | Work that shape from each of its two ends | Torn fibre | One clean wall along the whole shape |
| Shallow grid | Light passes a millimetre either side | Lost pattern | Crisp ridges where the lines were |
| Two elements touching | Stop the edge short of the separation line | Joined shapes | Two shapes that still read apart |
What does it mean when grain meets from two sides?
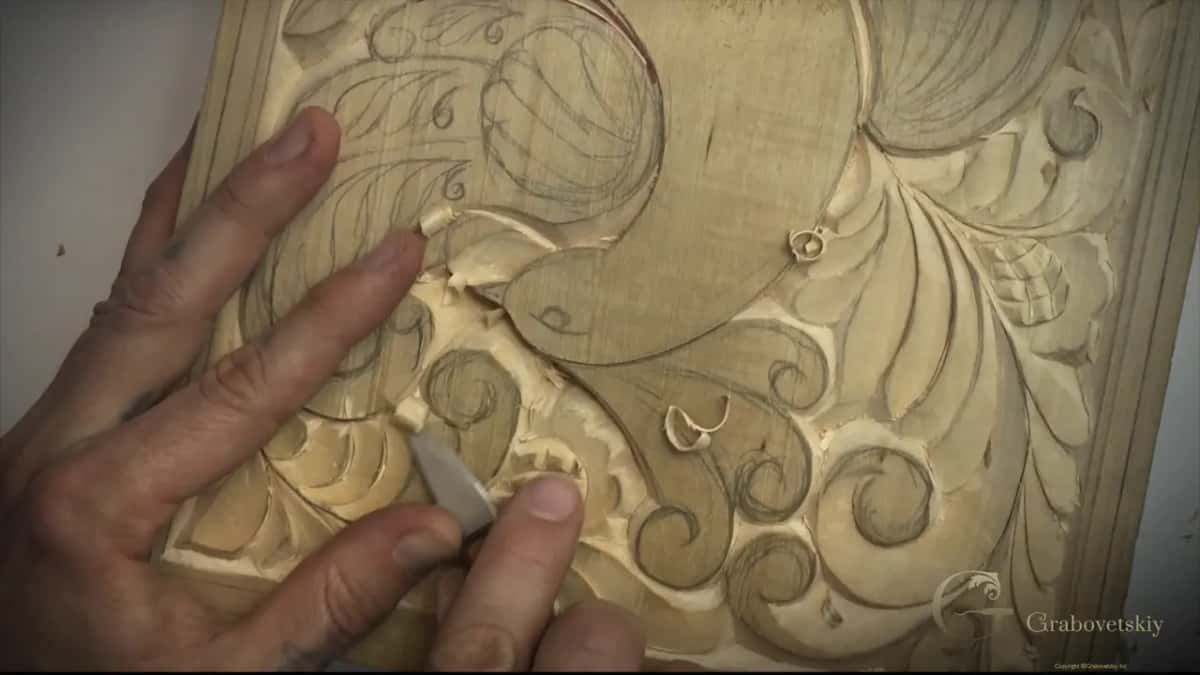
Fibres in a curl often lean into one another rather than running all one way, which sets a natural meeting place somewhere in the middle. Travel straight through that point and the blade stops slicing downhill and starts digging uphill without warning, and the wall tears.
Carve as far as the meeting place, turn the board, and come back at that same spot from the opposite end. Two travels, one shape, and the grain never gets a chance to fight you. Feeling where that point sits is something your hands learn faster than your eyes do.
Shaping wood or carving it, and does the difference matter?
Marks. Anybody can remove material until a shape appears, and there are machines that do it better than a person can. Carving means the surface left behind is deliberate, so every travel is chosen for the face it leaves as much as for the wood it takes.
Put it plainly. Wood shapers we are not. Wood carvers is the word, and nothing on this board will ever be sanded, which means those faces are the finished article. Chase form alone and you end up with something correctly shaped and quite dead. Chase correct tool marks and the same shape comes alive, which is the whole argument of chip carving and of shallow relief generally.
How does a carving teacher actually train a beginner?
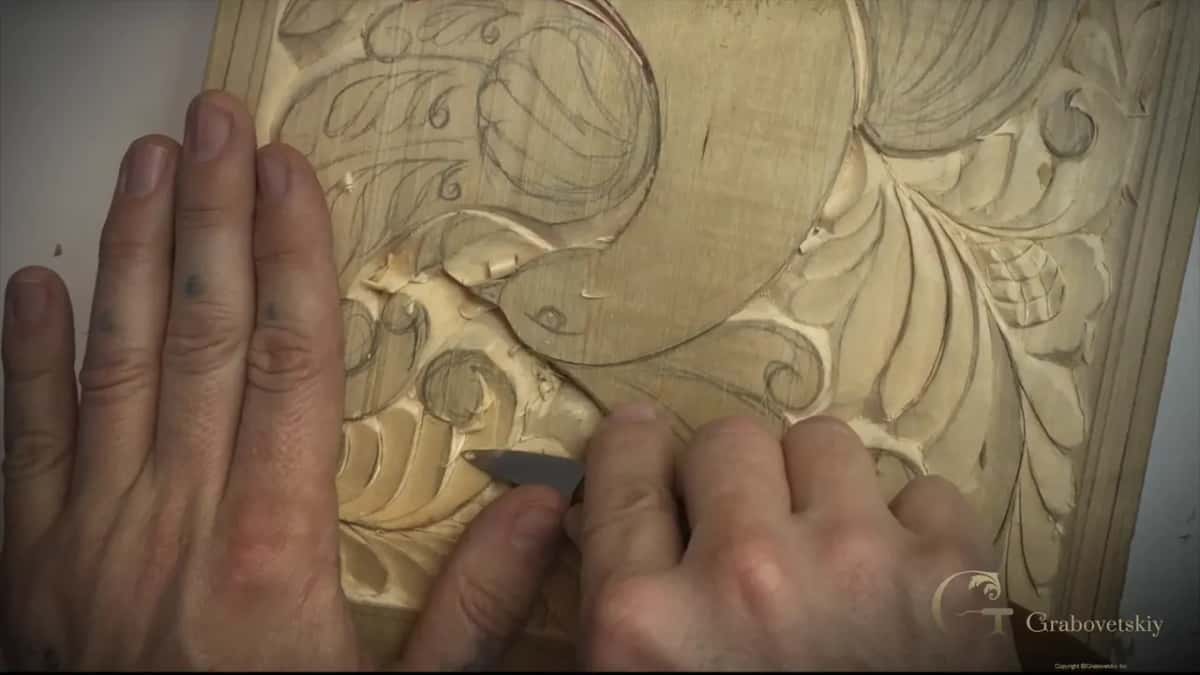
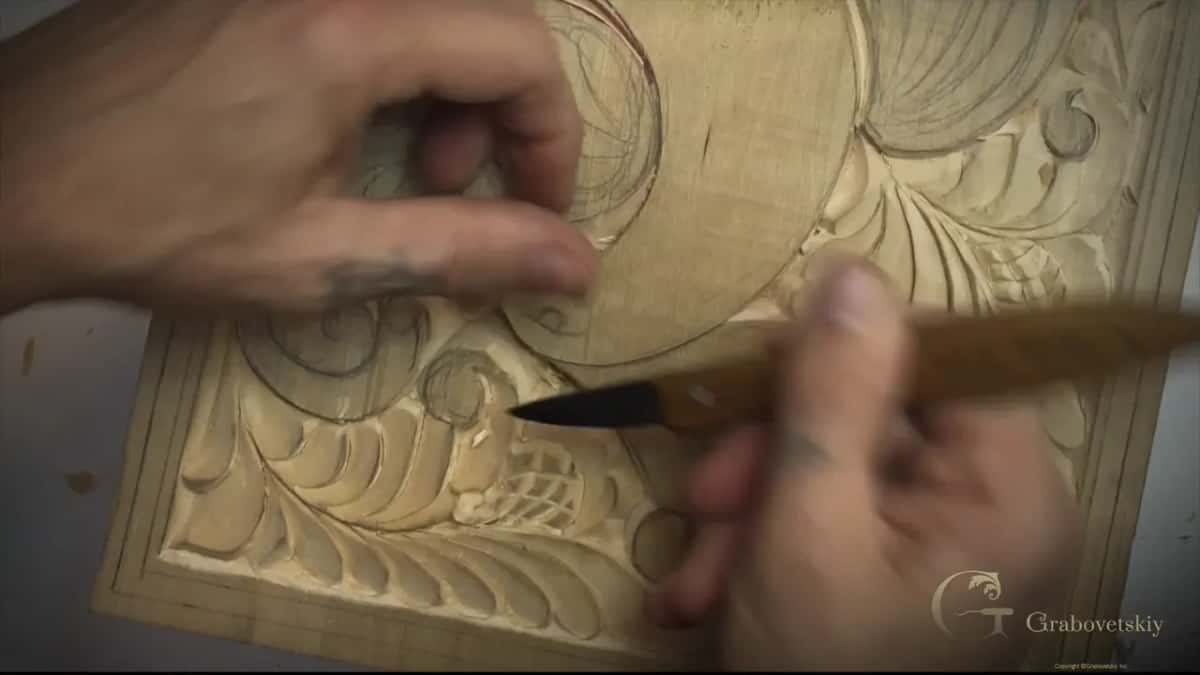
Repetition on one tool, in my case. When I moved from carving as a childhood habit to learning it as a trade, my teacher set me work like this panel many times over. One knife, no gouges, and the same family of shapes until my hands stopped asking questions. Every one of those panels was built out of the same rolled volute at different sizes.
What that drills is depth. With a single straight edge you have to feel how far in to travel, and you have to feel the moment inside one pass where an upright wall should begin turning into a bevel. No measurement helps. Old apprenticeship put years into exactly this, and there is still no faster road.
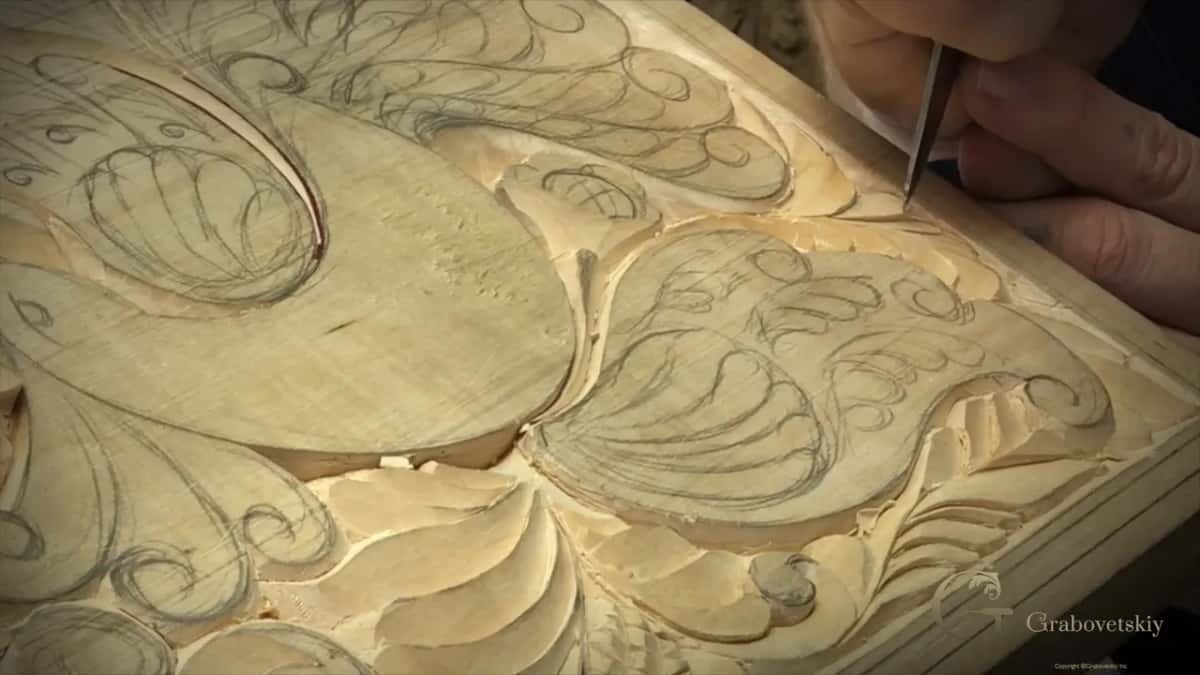
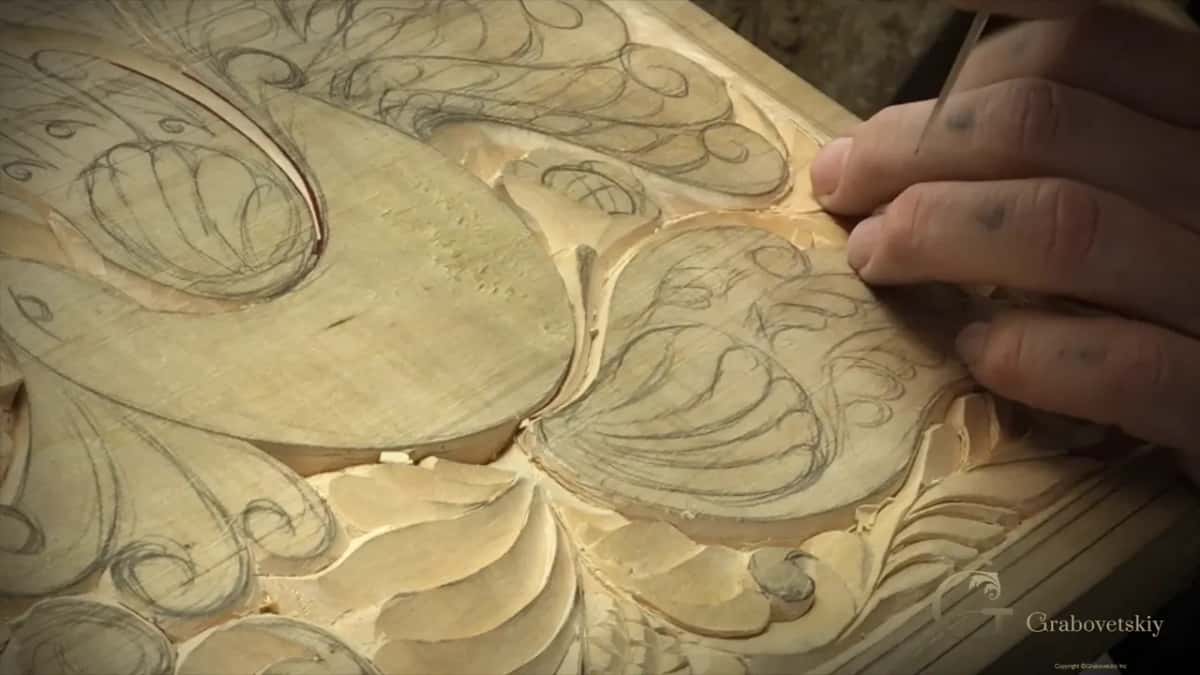
Turning an upright wall into a bevel mid pass
Gradually, and by feel alone. Begin the travel at ninety degrees, where the shape needs a hard shadow. Then let the handle lean over a few degrees at a time as the pass continues, so the wall slopes further and further until it matches whatever it has to meet.
Rushing that transition leaves a visible kink in the wall. Doing it too slowly leaves the wall upright where it should have softened. Somewhere between those two sits the correct rate. Your hands eventually find it, and nobody can hand you a number for it.
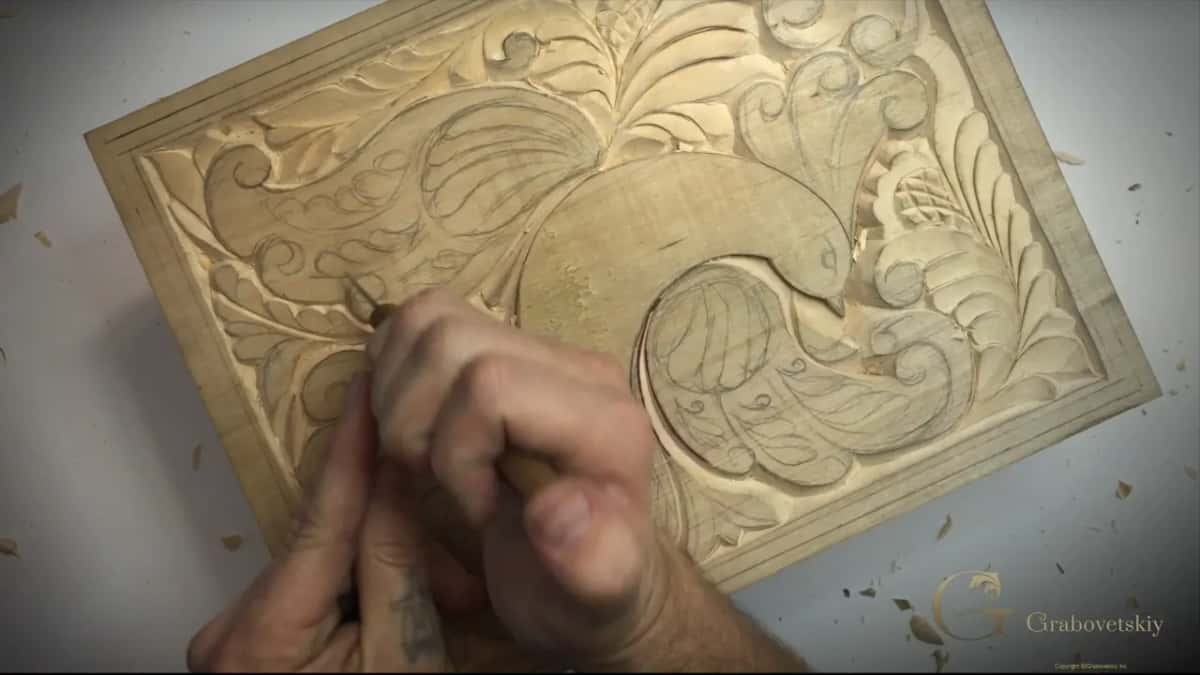
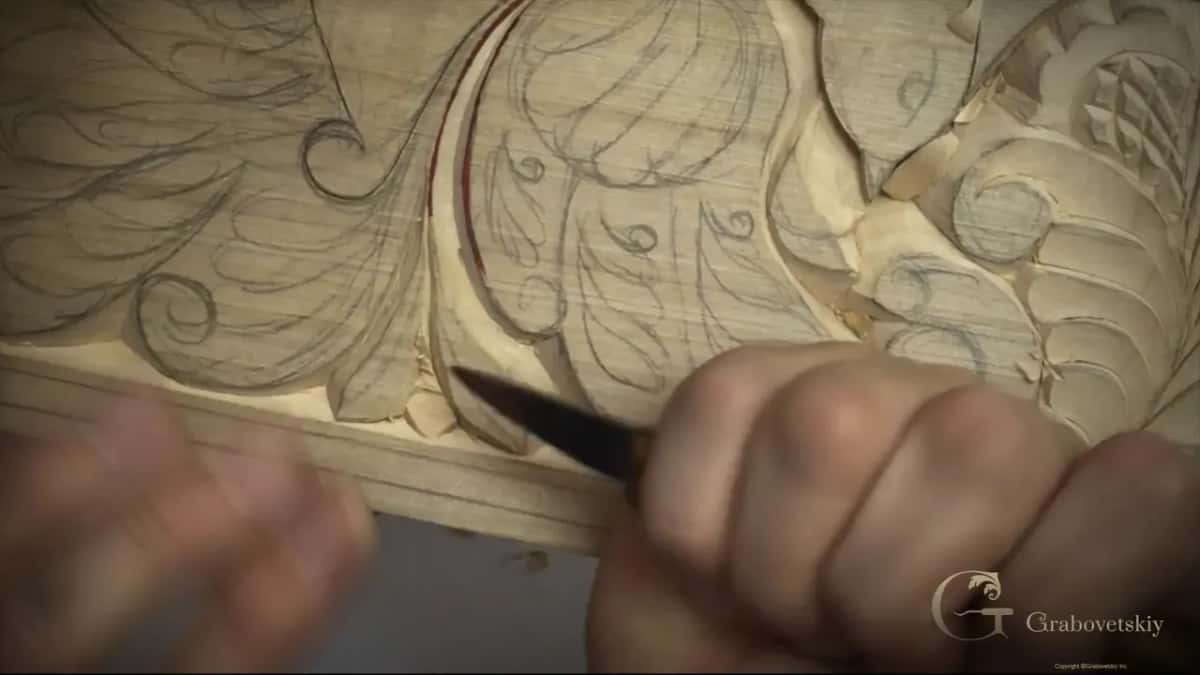
Keeping one element behind another
Watch the edge, not the shape. Every time one detail tucks behind the next, a separation line sits between them, and the whole illusion depends on the blade stopping short of it rather than crossing. Cross it once and the two shapes become one, permanently.
This is where light passes pay for themselves twice. A shallow travel that stops early can always be extended; a deep one that went too far cannot be pulled back. On a panel where dozens of elements tuck under each other, that asymmetry decides how the finished ornament reads.
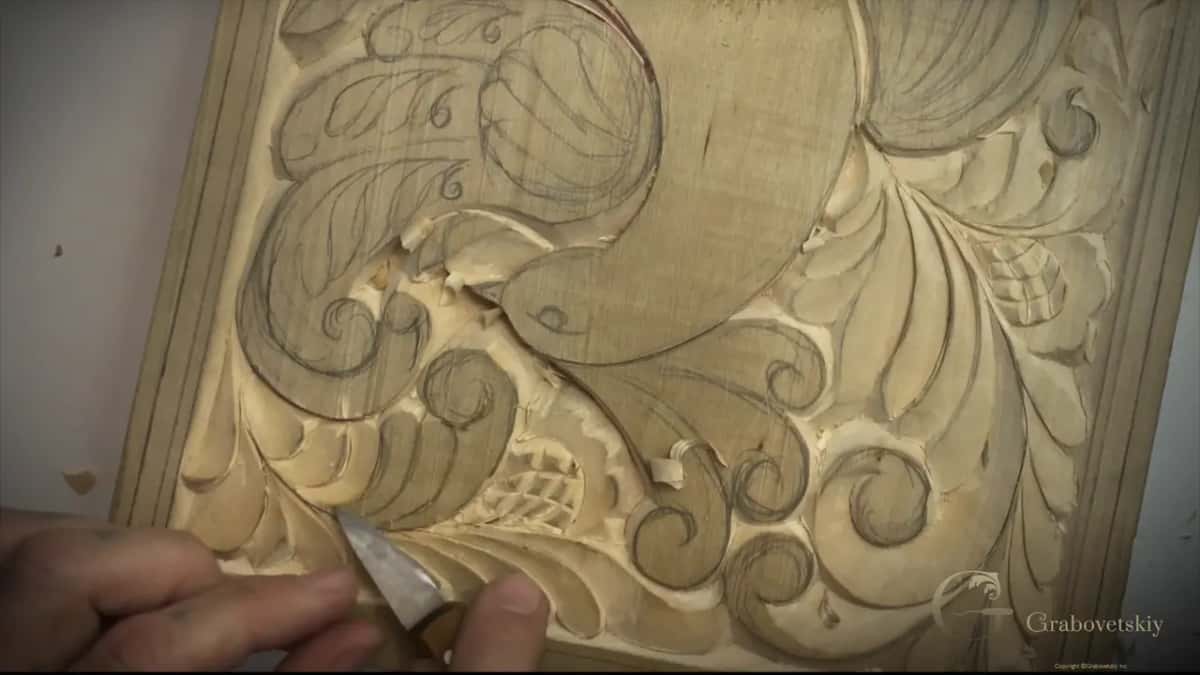
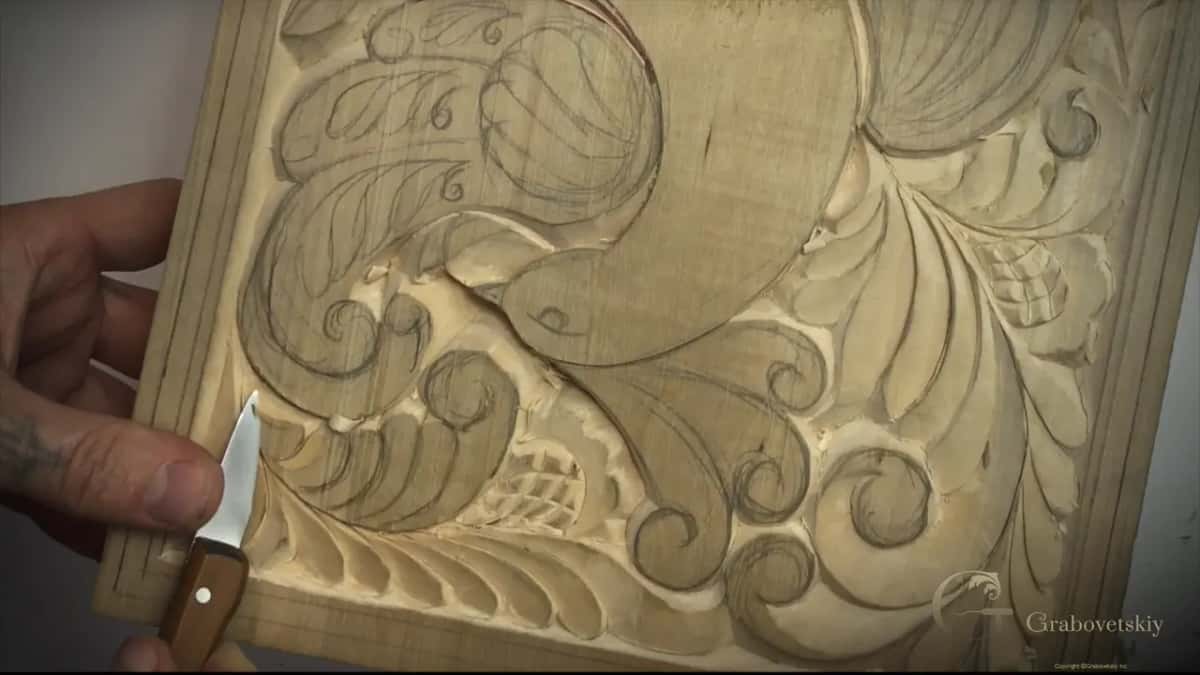
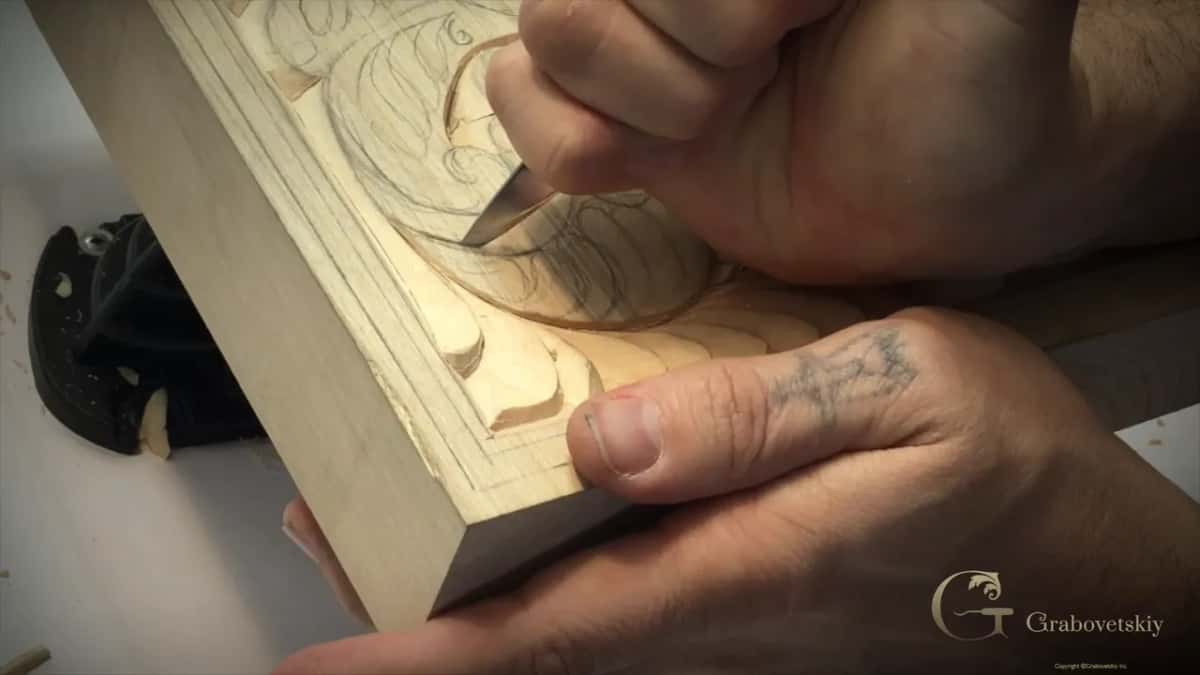
Where exactly does grain meet inside a curl?
Your ears and your shoulder tell you before your eyes do. A travel running downhill through the fibres feels light and sounds dry. The moment the blade starts climbing, the sound turns to a scrape and the resistance rises, and that change is the meeting point announcing itself.
Stop there. Do not try to carry the pass through it out of stubbornness, because the fibres ahead are being lifted rather than sliced. Turn the panel, start from the far end of the same shape, and work back to the spot you left. Two travels join at a line nobody will ever notice in the finished woodcarving.
Why redraw one flower differently from its twin?
Two identical flowers look printed, and this one is not. My panel carries a flower on each side of the bird, and when I come to the second one I deliberately change it a little with the pencil before any blade touches it. Same family, same size, different in the details.
Old work is full of this. Look at interlace on any early chest and the repeats are never quite repeats, because a person carved each one rather than a machine stamping them. Small variation is the signature of handwork, and copying your own shape exactly is one of the few ways to make a hand carved panel look mechanical.
Does a panel like this really need no other tool?
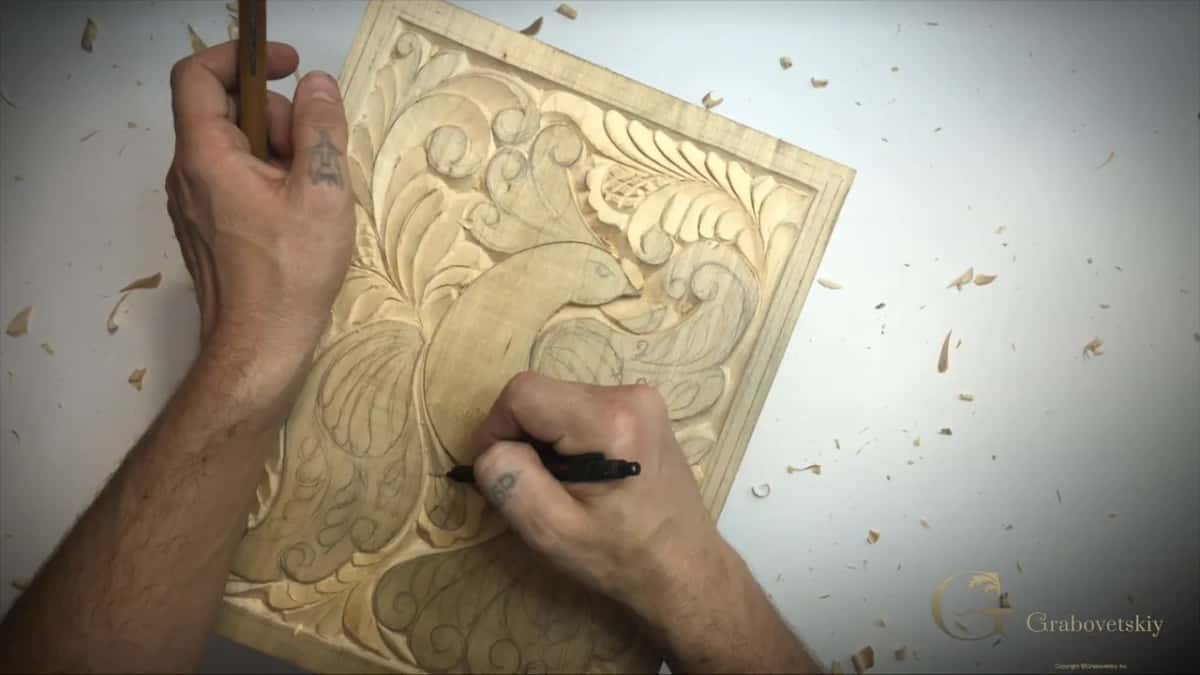
Not one, and I say that having a wall of gouges behind me. Everything on this board so far, the bird, the curls, both flowers, the border and the ground, came off a single chip carving knife. In my own opinion it looks beautiful, and that opinion has not changed in the twenty years since I carved my first piece in this style.
Gouges do arrive later in the course and they make some shapes quicker. Quicker is not the same as better, though, and the old work across Europe was done this way for good reason for centuries before anybody had a rack of tools to reach for.
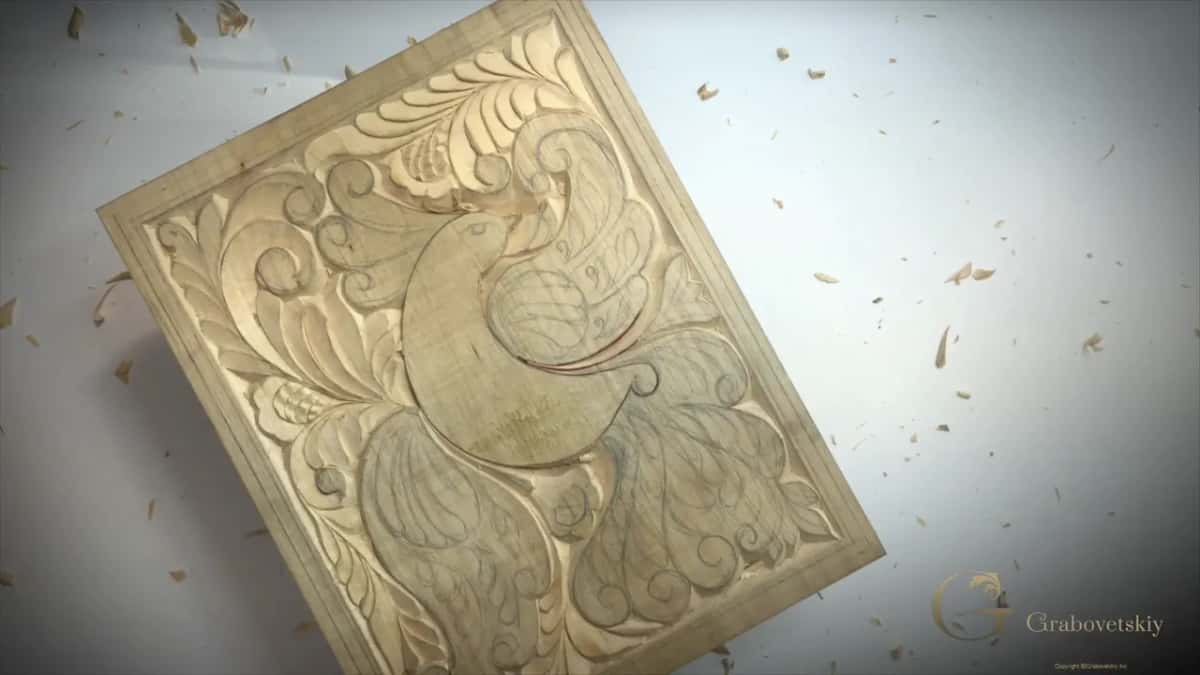
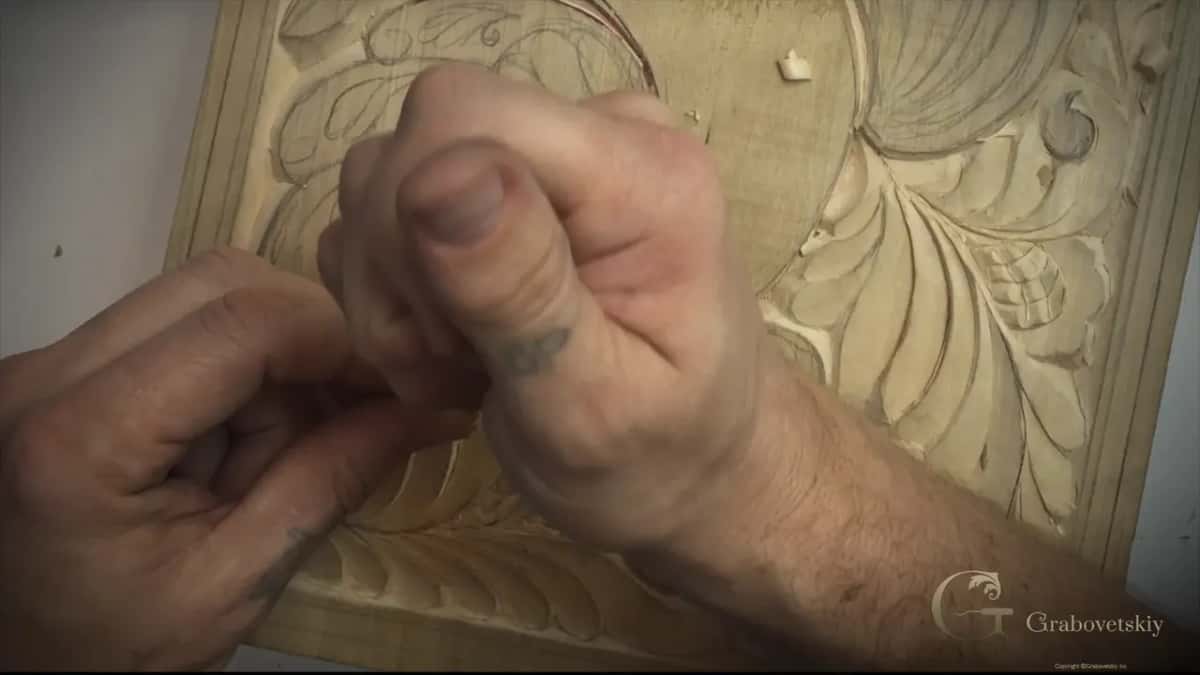
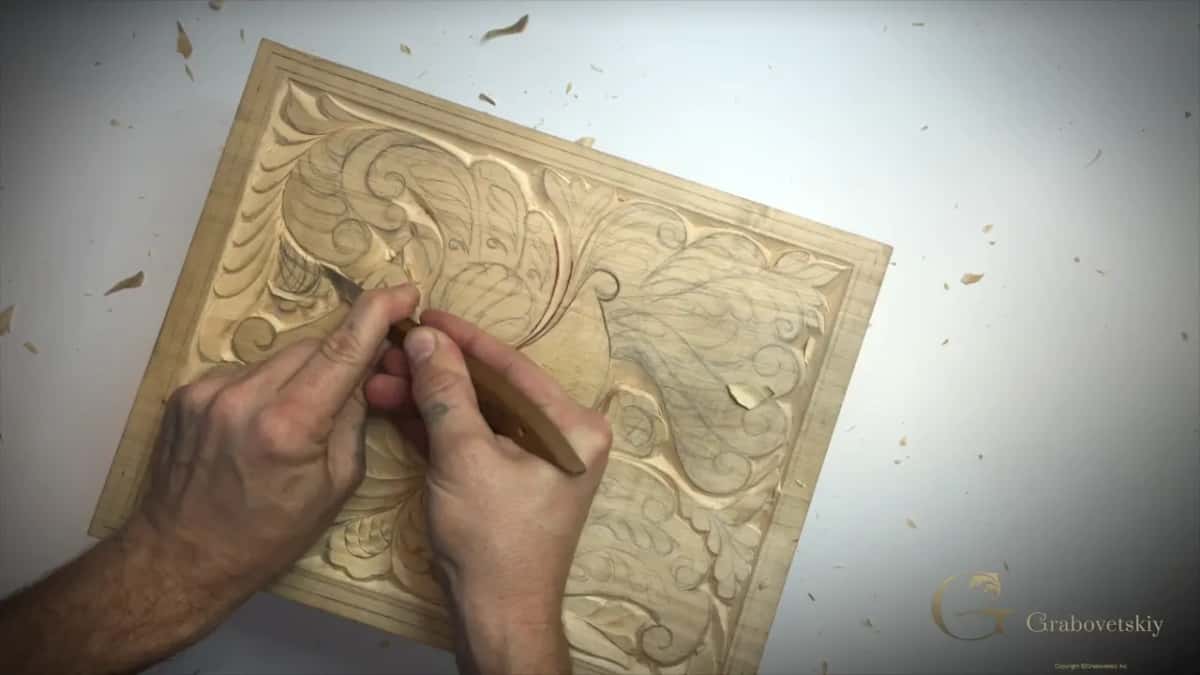
What gets finished in this session?
Both flowers, plus nearly all the ground surrounding the bird. One flower gets redrawn slightly differently from its twin on the far side, because two identical flowers on one panel look printed rather than carved. Small differences are what tell somebody the piece was made by hand.
After this the bird itself is what remains, and that is the part everybody has been waiting for. Workshop 10 starts on it, and also answers the question I get asked constantly about what people used before abrasive paper.
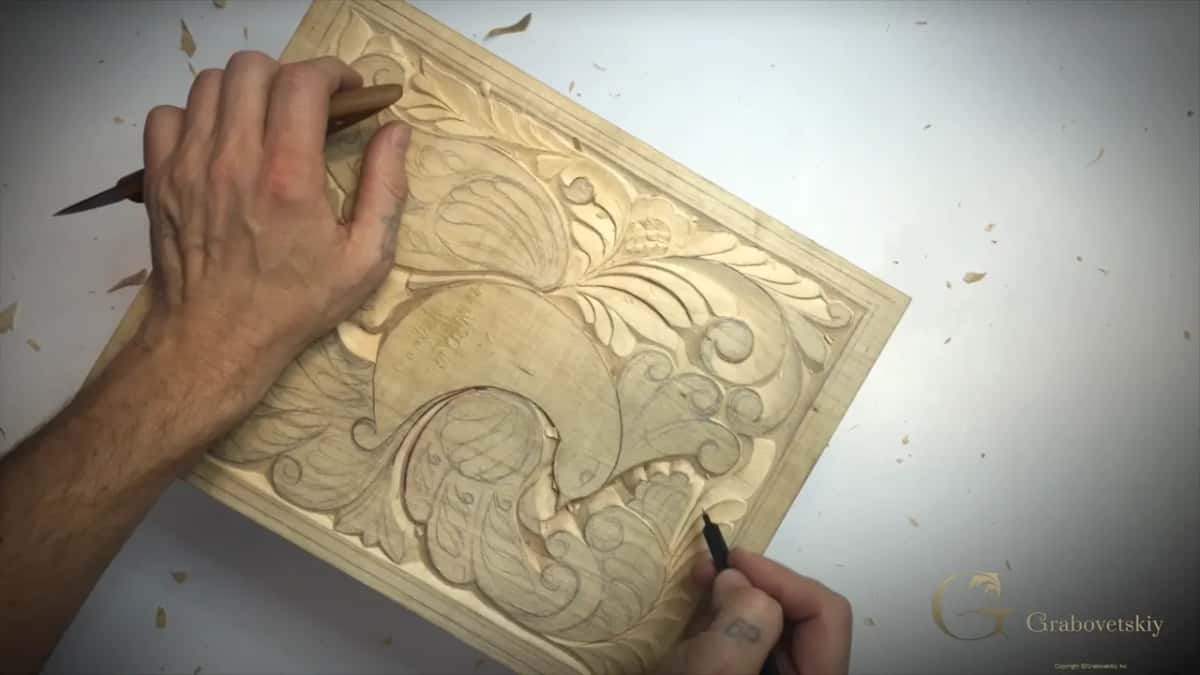
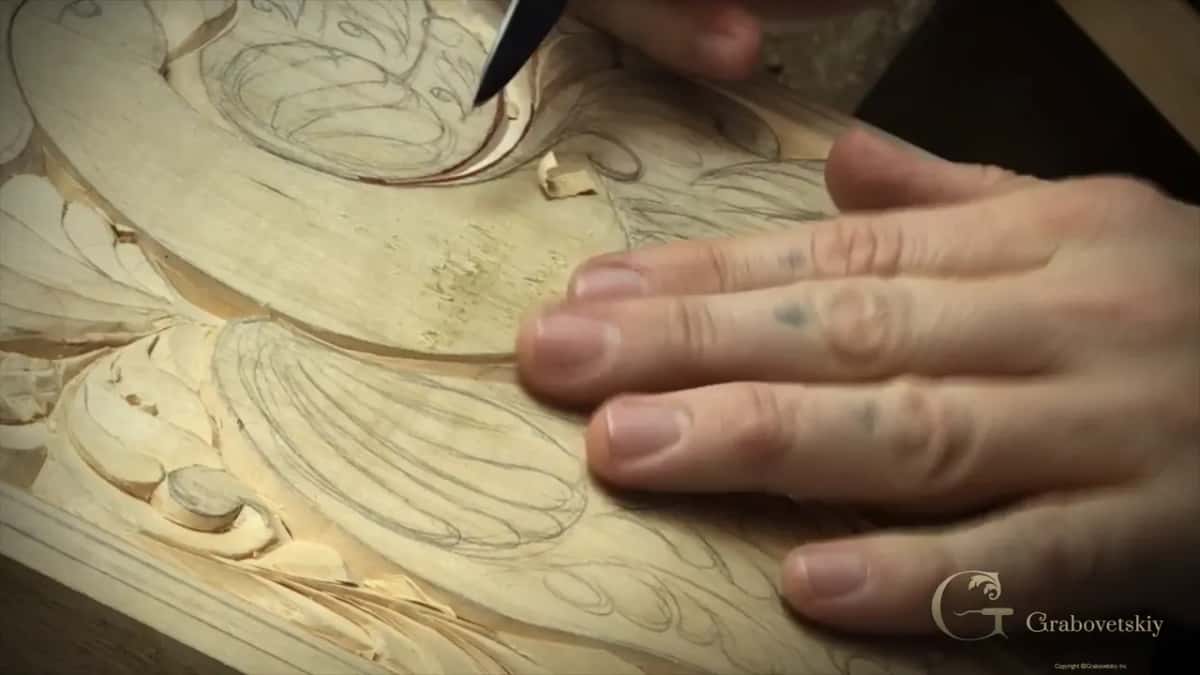
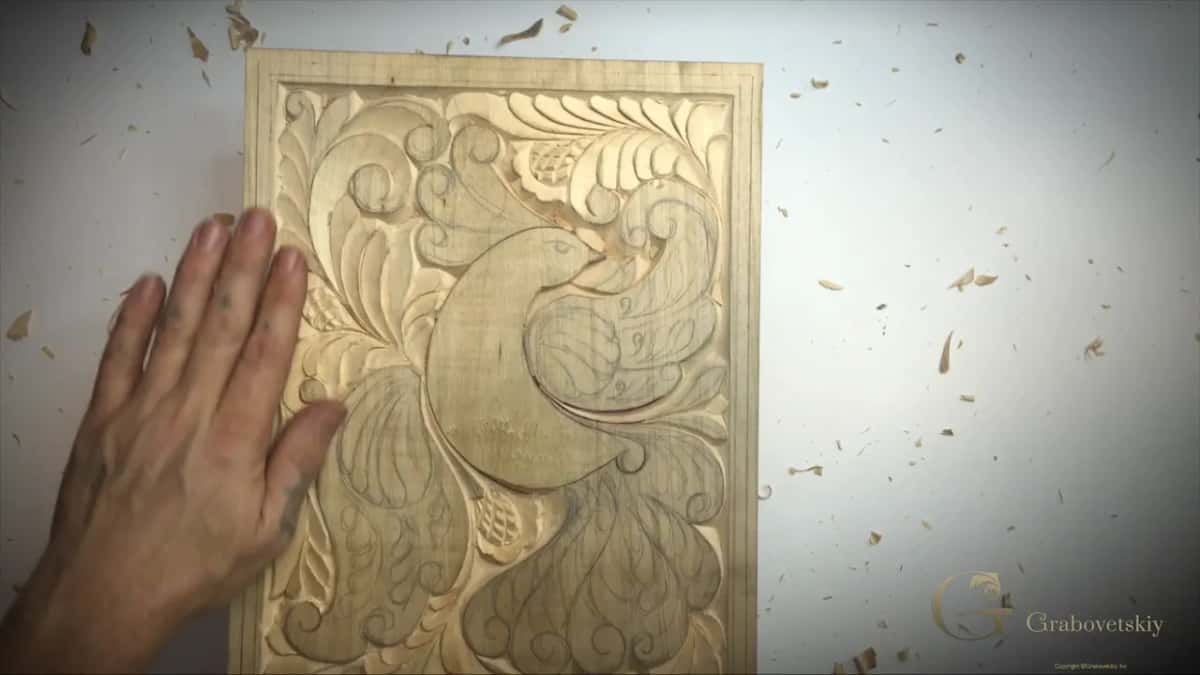
How long has this board taken so far?
Nine sessions, and the bird has not been started. That number surprises people who expect a beginner project to be a weekend. Drawing took one evening, the outline another, and every session since has been ground, curls, leaves and flowers around a bird that is still only pencil and a shadow line.
None of that time is wasted. Each of those shapes asked you to hold one bevel angle for its whole length, judge a depth by eye, and stop the edge exactly where you meant to. Doing that a few hundred times is the training, and the board is simply what the training happens to produce.
What should you do if you spoil a shape?
Lower everything around it until the damage disappears. A torn wall or a chip lifted out by accident can nearly always be taken away, because the fix is to carve the neighbouring ground a little deeper rather than to repair the wound itself. What you cannot do, at any depth and with any tool ever made, is put wood back on the board.
That is why every measurement on this page runs shallow. Carve at half the depth you think you need and you keep a repair in reserve for the whole project. Carve to the limit on the first pass and the next mistake is permanent.
The bench, and where this goes next
The board from Workshop 8, a sharp chip knife and a pencil. An edge that will not free a chip cleanly makes every rule above impossible, so work through the sharpening course before ruining a panel you have already spent eight evenings on. Any decent Pfeil knife does this work.
Buying advice sits in the tools course, and why one element belongs above another is taught properly in principles of design. The whole project runs in order inside the beginner course, which lives behind one door at the school.
Four parts, about twenty two minutes. Part 9.1 works the second flower, 9.2 carries the small details, 9.3 goes round the last of the ground, and 9.4 finishes the grid lines.
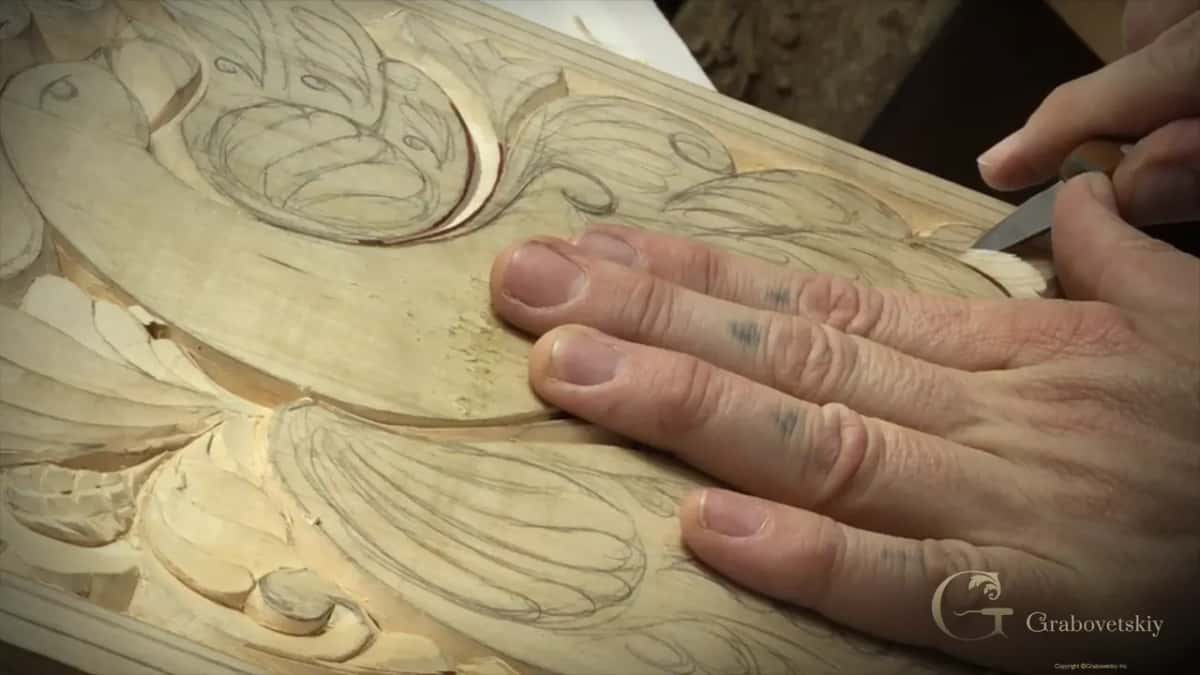
There is a flaw somewhere in every board worth carving. What is yours going to become? Shall we carve?
How it's done
- Find the faults first. Tip the board into raking light before each session and look along the surface. Mark any check, knot or soft patch with a pencil so you carve knowing where it lies.
- Plan passes away from them. Arrange each travel so the blade moves away from a fault rather than into it. A knife arriving at a split face lifts a chunk instead of a chip.
- Offset the blade from the line. On shallow grid work put the edge a shade to one side of the drawn line, take the bevel, then repeat that offset on the far side.
- Let the two faces meet. Run both angles until the waste frees itself. The drawn line survives as a ridge between the two faces, which is exactly what you wanted.
- Come at awkward grain twice. Where fibres head toward each other inside a shape, travel as far as that meeting point, turn the board, and finish the shape from its opposite end.
- Stop short of the separation line. Where one element passes under its neighbour, keep the edge behind the line between them. A shallow travel can be extended later. A deep one cannot be undone.
Frequently asked questions
Is a cracked board worth carving at all?
Usually yes, if the check is small and you know where it runs. Mark it, keep your passes travelling away from it, and a fine crack will vanish under the finished pattern.
Why does my shallow pattern vanish while I carve?
Pressure. A grid of this kind lives in the top two or three millimetres with nothing underneath to fall back on. Several light travels rather than one firm one, and the pattern survives.
Does the knife go on the pencil line or beside it?
Beside it, a shade off to one side, then the same on the other. Carving directly on a line removes the line, and you spend the rest of the shape guessing where it went.
What to carve next