
August 29, 2024 · Updated August 16, 2026
By Alexander Grabovetskiy — Master Woodcarver · Founder, School of Wood Carving · 16 min read
How do you know if wood is good for carving?
Good carving wood is wood that slices clean under a sharp edge instead of crumbling. You know if wood is good for carving from one pass taken in a corner nobody will ever see. Then read the growth rings on its end, and press a thumbnail into the face.

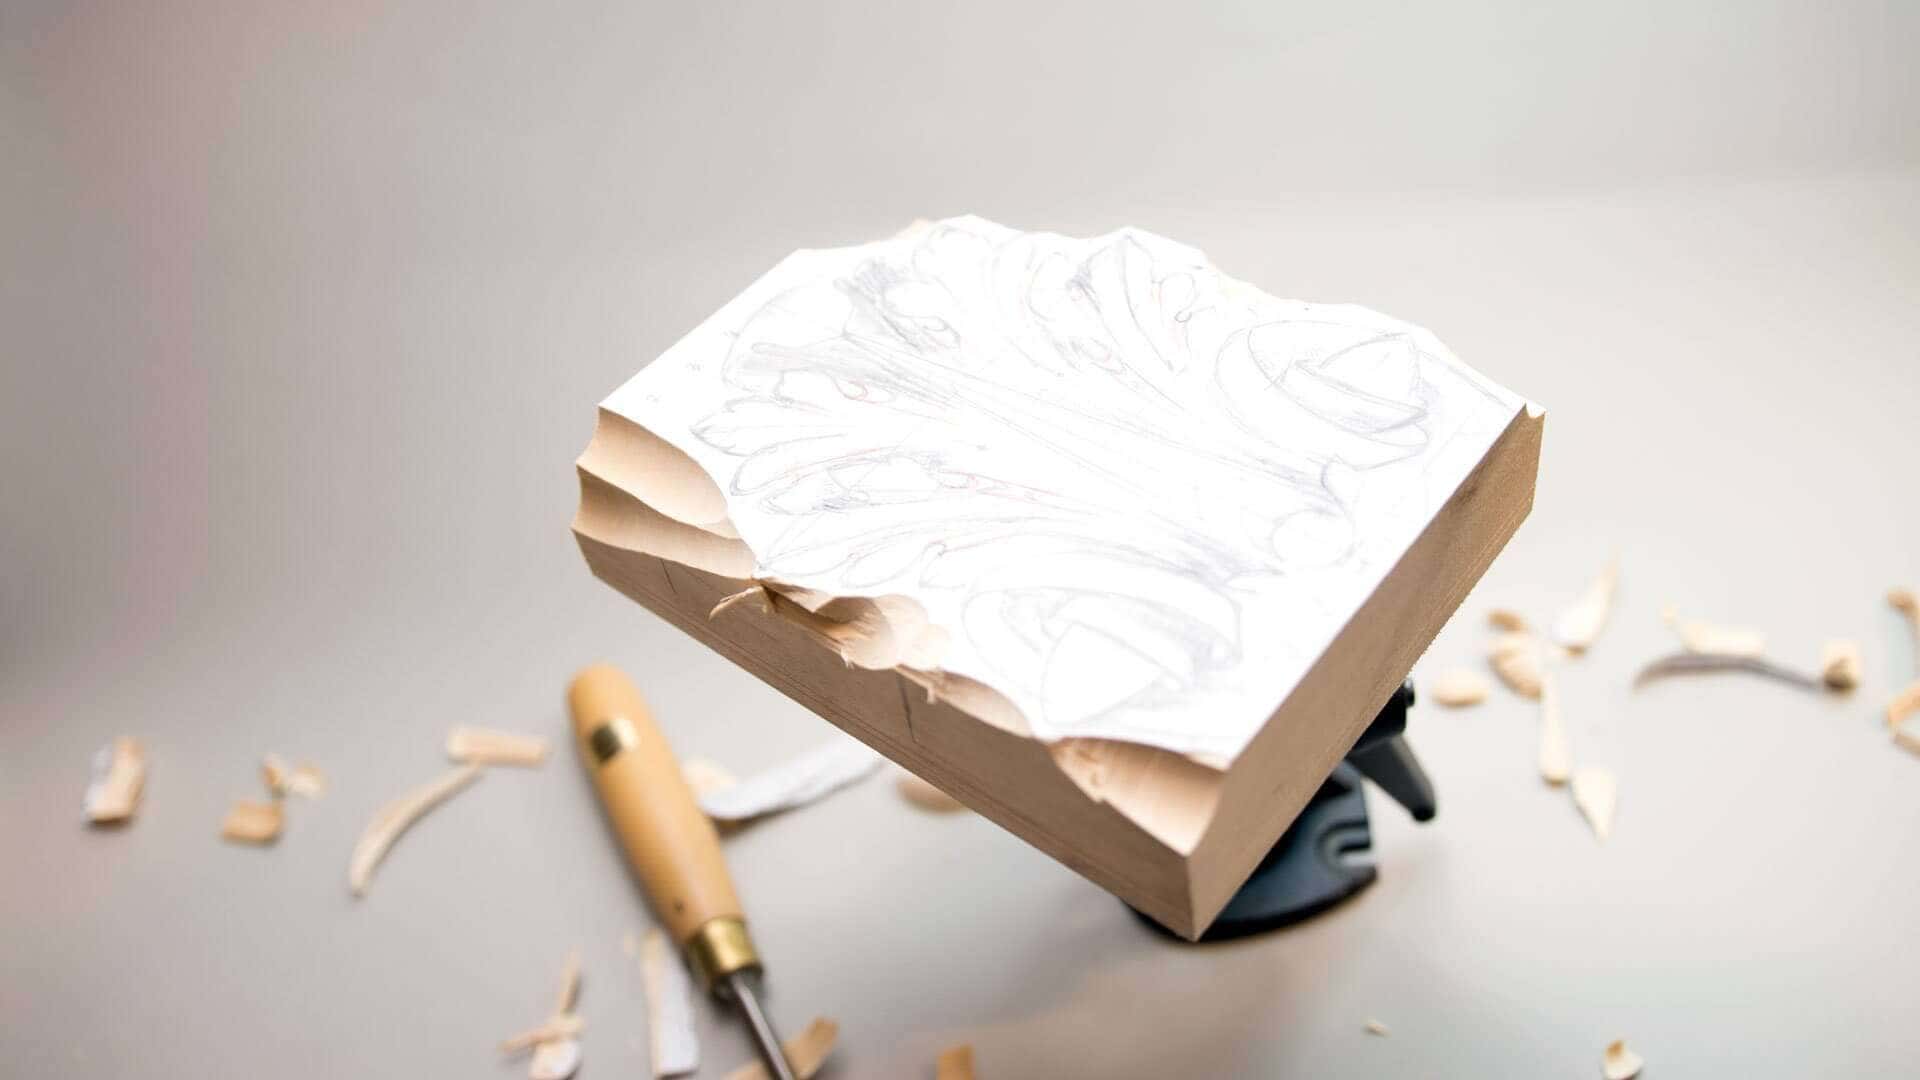
A stack like this is where the judging happens. Some of these will end up under a design and some will not.
The board is already on your bench. You paid for it, you carried it in, and now you are holding a pencil and wondering whether to draw on it or put it back on the pile.
I have been carving for over forty years, and I still test a board before I trust it with a design. Not for the ritual. A crack you did not find is a crack that opens later, when the work is nearly done.
A board is not good or bad the way a gouge is sharp or dull. It moves. The same plank of American basswood can carve sweet in July and feel soft and fuzzy by September, sitting on the same shelf the whole time.
- A single test pass in the back corner tells you more than any hardness chart.
- Ring pattern at the end of a plank predicts how it will move later.
- Press a thumbnail in. Punky wood will not hold a crisp detail, ever.
- Knots turn the grain sideways, so your gouge meets end grain with no warning at all.
- Strop the edge before you blame the plank.
What do I check first when a board lands on my bench?
The end grain is the first thing I look at, well before the face. Those rings tell you which way this plank wants to bend as the seasons turn in your shop.
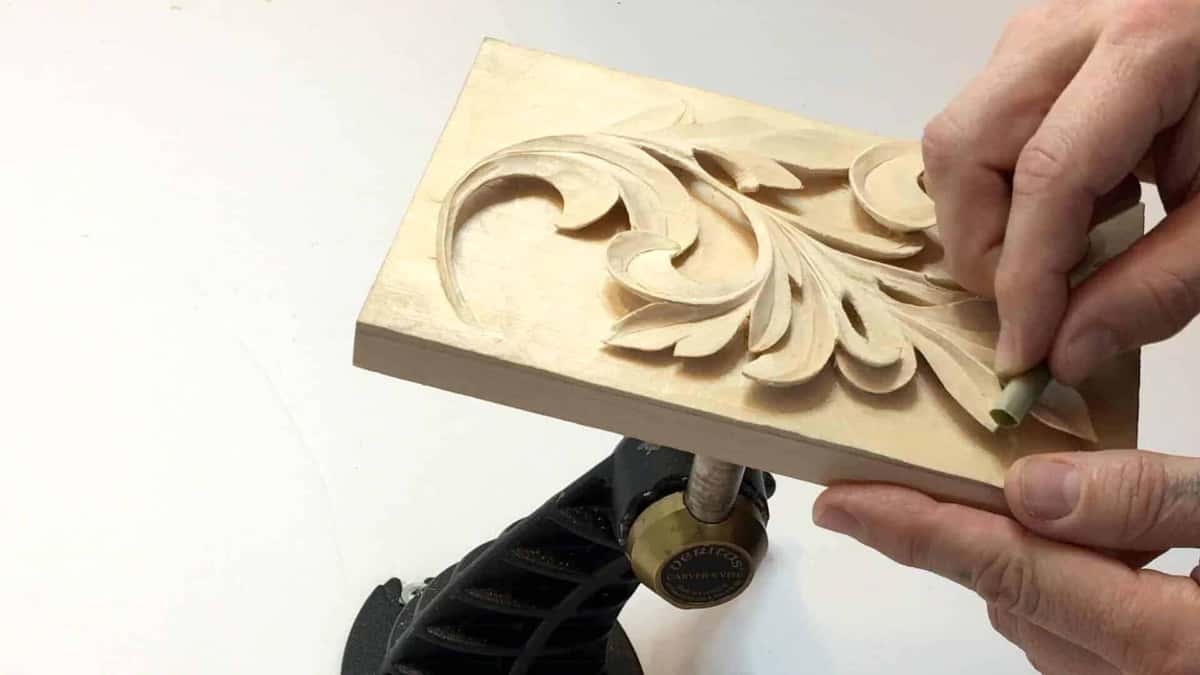
The leaf is nearly finished. Look under it at the sawn edge, and at how little wood is left below.
Next comes the thumbnail, run hard down the face from one end to the other. Even resistance is the answer I am looking for. Where the nail sinks and leaves a dent I can feel with a fingertip, that patch is punky, and punky wood crushes under a gouge instead of shearing.
Then I pick the plank up. Weight tells you something no chart can, and whether dense wood floats is a decent way into why. Of two boards the same size, the heavier one usually holds detail better and costs you more in the shoulder. Numbers behind that feeling live in what the elastic modulus of wood means.

Beech, sanded flat. Boring to look at, and boring is exactly what you want under a leaf.
What does one slicing pass in a hidden corner tell you?
One pass with a sharp gouge answers in three seconds what an afternoon of reading cannot. Take it on the back of the plank, or in a corner your design will never reach.
Watch the chip. A good board gives a long curl that stays whole and lifts away on its own, and the surface left behind has a shine to it, like wet glass. Poor wood gives you crumbs. It tears ahead of the edge and you feel the drag in your shoulder.
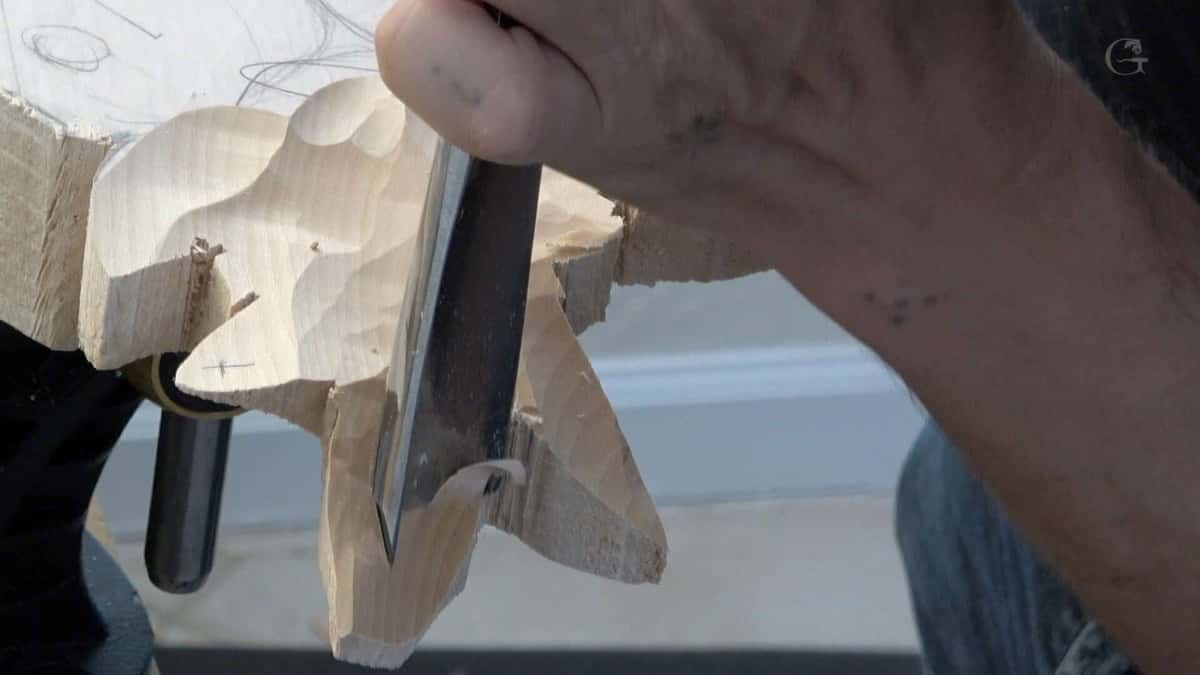
Driving down the face of a thick block. On a bad board this is where the fibers give up and crush.
Then look inside the flute you just opened. Clean walls, or ragged ones? Ragged usually means the edge is dull, or the fibers are still wet inside. I say this out loud in my Tray of Blessing course while starting the very first border of the tray. If there is a micro crack, it is going to pop all the way.
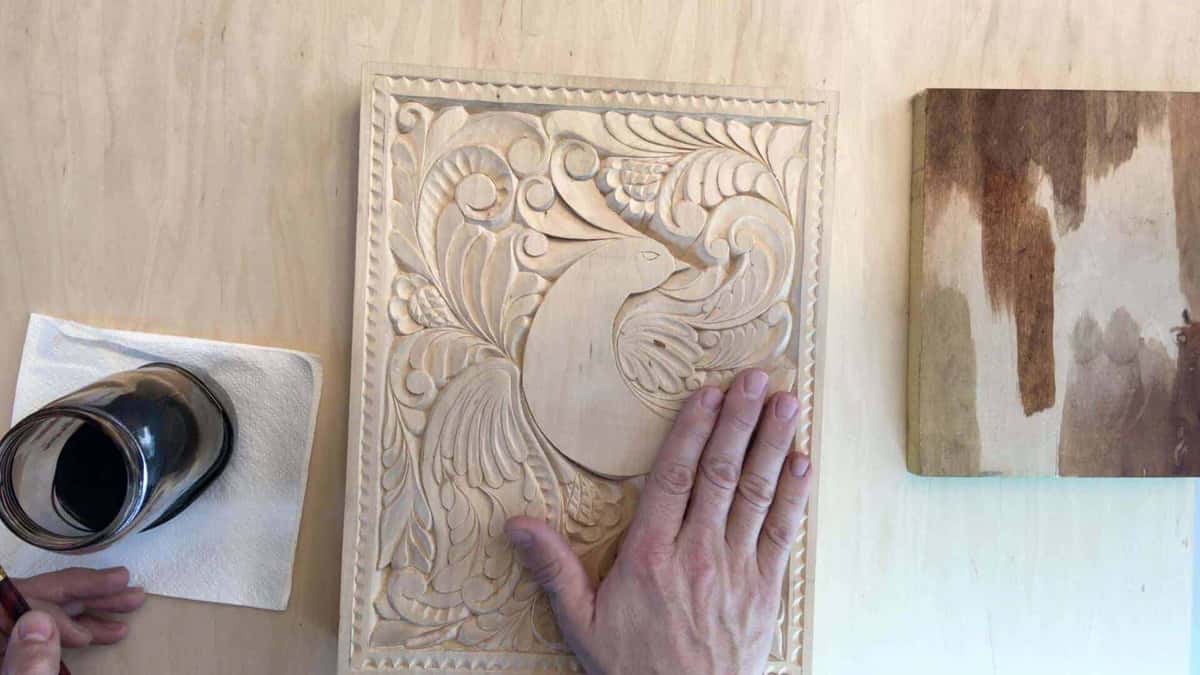
Same idea with finish. Whatever you are about to do to the panel, do it first on an offcut of the same plank.
Why does the same board carve well one day and badly the next?
Wood keeps taking water out of the air and giving it back, so the plank on your bench today is not quite the plank you tested last month.
A student wrote to me about exactly this during my Roman acanthus leaf course. He had bought basswood online, the piece arrived, and it was just not good. Sometimes the same piece of wood, one day, it carves normally, and the second day, it just becomes mushy, and the third day it can feel completely different, like it is not even basswood anymore. Not because the wood is bad. Wood is alive, and a living thing swells and shrinks with the room it sits in.
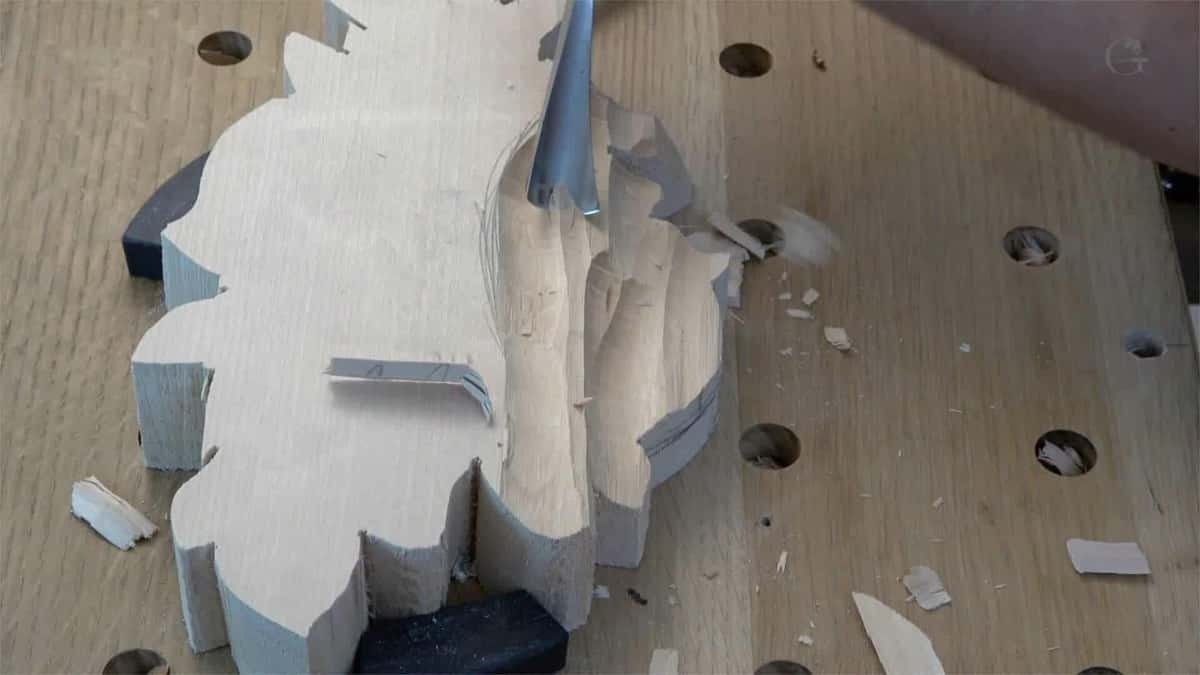
Sawn to shape, and now the waiting. A blank this thin shows its faults faster than a full plank does.
Below roughly 30 percent moisture the fibers themselves start giving up their bound water, and the plank changes size while they do. You cannot stop that. Read whether you have to dry wood before carving and whether wood should be wet at the moment you carve for the water side in full. Here I care only about what your hands can tell you today.
What do the rings on the end of the board tell you?
Rings that run straight through the thickness give you a quiet board, and rings that arch across the face like a rainbow give you one that will cup.

Chalk shows the shape. That pale stripe along the bottom is the part I read before drawing anything.
In my April 2020 livestream on wood movement I drew all four ways of sawing a log on a board for everybody watching. Closer to the center you get in the log, the less movement is going to happen. Closer to the outer part of a log, a lot more movement is going to happen. So when I am buying wood, I am actually looking for a rift cut, and better yet, quarter sawn.
Quarter sawn boards carry their growth rings at close to right angles to the face, and they cup, shrink and split less than flat sawn stock. Basswood shrinks 9.3 percent along the rings and only 6.6 percent from the pith outward, which you can check in the basswood shrinkage figures. Lay those rings flat on the face and the plank pulls itself into a curve. That gap between the two numbers has a name, the T/R ratio, and basswood itself sits at 1.4 on it.
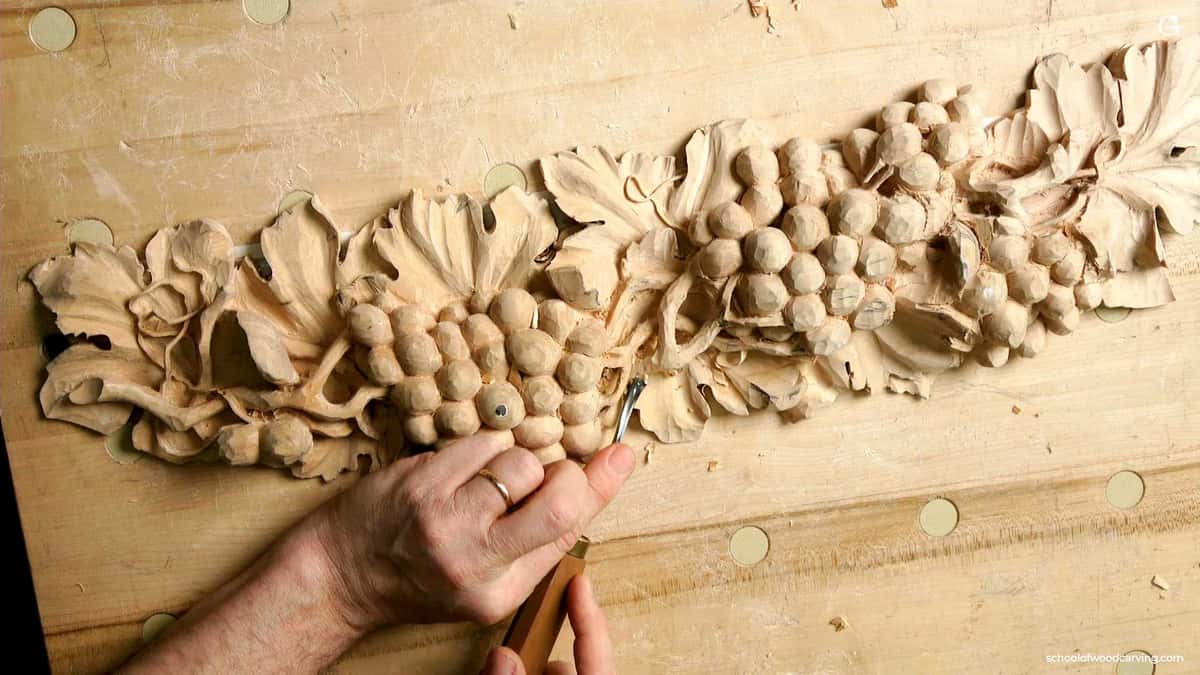
A grape band this long has to sit on a board that is not going to move. Rift and quarter sawn stock is what I buy.
Cup, bow and twist are what a bad ring pattern buys you, and the last one is the killer, because twist means the two ends no longer sit on the same plane. A twisted panel will not lie down on a wall. The USDA Wood Handbook is where this whole subject lives if you want it in full.
| The check itself | What a good plank will show you here | Bad sign | What to do with the board |
|---|---|---|---|
| The first slicing pass | A long curl lifts away and the surface shines | Crumbs, not curls | Sharpen it, then run the pass again |
| Ring pattern | Tight and straight, running right through the plank | Wide crown, pith showing | Keep the plank back for shallow work |
| Thumbnail pressed into the face | A shallow mark you can barely find an hour later | Deep soft dent | Save it for practice, not for the panel |
| A single knuckle tap | A bright note that carries right across the plank | Dull thud | Hunt for a hidden check first |
| Smell the end | Almost nothing at all, a faint clean smell of dry limewood | Sour, or damp, or musty | Sticker it and come back in a few weeks |
Which faults put a board back on the pile?
A knot ends the conversation for me at this size, and so does a check running in from the end.
Take the knot first. Inside a knot the grain runs up to 90 degrees away from the grain around it, which is how a knot is built. To your gouge that is a wall of end grain in the middle of a leaf. Nothing at the surface warns you. A dead knot is often not attached to the board at all, and it can drop clean out after the plank is sawn.

Watch how the grain parts and rejoins around that oval. Grain bends around a knot the same way, only there it turns hard under your gouge.
A check is a split that opens where the plank dried fastest. Long ones you can see. Short ones hide. Carving the olives on my Acacia lily box I stopped the tool and said out loud that I could see the micro crack inside the wood itself, and by then those walls were down to about 1 millimeter.

Those grey streaks are mineral stain. They carve harder than the wood around them and they blunt an edge fast.
Worse than a check is a board that was dried too fast in the kiln. Stress stays locked inside it, and the plank only shows you once your gouge cuts through the skin and releases it. A panel that starts bowing while you work is telling you that story.
Then there is spiral grain, the sneaky one. Straight grain runs parallel to the length of a plank, and spiral grain wanders off that line, so every second pass tears. Wild figure warns you the same way. Beautiful in a table top, punishing in relief. Handling different grain directions is a skill you build anyway, but not on your first panel.

Lovely on a box lid. Every dark fleck is grain turning a corner under your edge.
And the pith. If the dark soft center of the log runs through your plank, put it back. Pith is the least stable wood in the whole tree and it splits as it moves. Should a board keep beating you while the edge really is sharp, you have hit a skill wall rather than a wood problem, and why wood carving is difficult takes that apart honestly.
Can a dull gouge make good wood look bad?
A dull gouge makes every board look like a bad board, and I learned that from my own teacher at sixteen.

Every tool here is a soldier and you are the general. Blunt soldiers lose to good wood.
Let me tell you a story. When I started to carve, I came to him one day and I said, why did you give me that bad piece of wood? And he said, there is no such a thing as a bad wood. It is dull tools. That is the only problem, dull tools. Sharp tools can do beautiful stuff, even on the worst of the worst pieces of wood.
I do get what he meant, and I also know it is only most of the truth. A soaking wet plank will still fuzz under a razor edge. But nine times out of ten the fix is the strop, not the rack. Strop the gouge, take the pass again, and see whether the board changes its mind. My sharpening course opens with that exact story for a reason.
How do you test a board before you commit a design to it?
Six checks, and none takes longer than sharpening one gouge. Run them in this order, because each one can save you the next.
Step 1, read the end grain before you touch the face
Tip it up to the light. Straight rings crossing the full depth are what you want. A wide arch across the face means flat sawn stock, and it will cup toward the bark side once your shop dries out in winter.
Step 2, run a thumbnail hard down the whole face
You are hunting soft patches, not measuring hardness. Basswood sits at 410 pounds of force on the Janka hardness test and dents easily everywhere, so what matters is whether one spot dents far more than the rest. Our note on what Janka hardness of wood means explains the number.
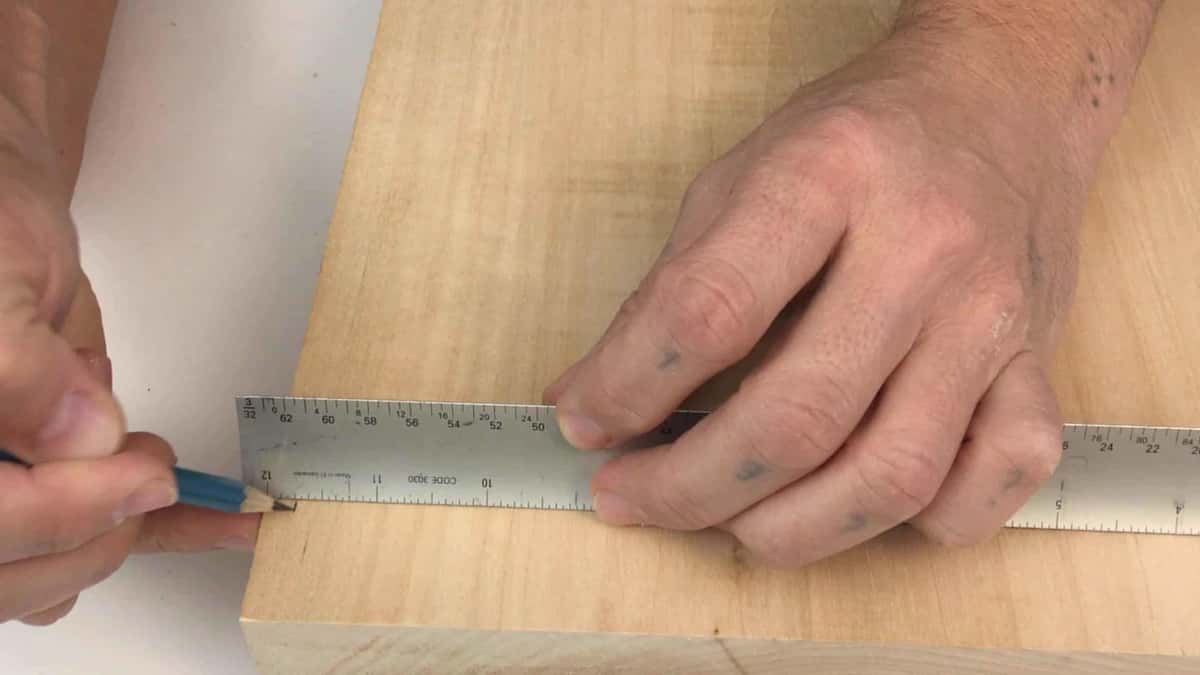
Squaring the first line. It also tells you whether that edge is straight, which the mill does not promise.
Step 3, knuckle the board and listen to it
Hold it at one corner so it can ring, then rap it once. A sound plank answers with a bright note. A dead thud usually means a check you have not found, or water still sitting in the fibers.
Step 4, take one slicing pass where nobody will ever look
The back corner will do, or the waste outside your border. Sharp gouge, light hand, let the tool work. Long clean curl, or crumbs. That answer beats the label stapled to the plank every time.
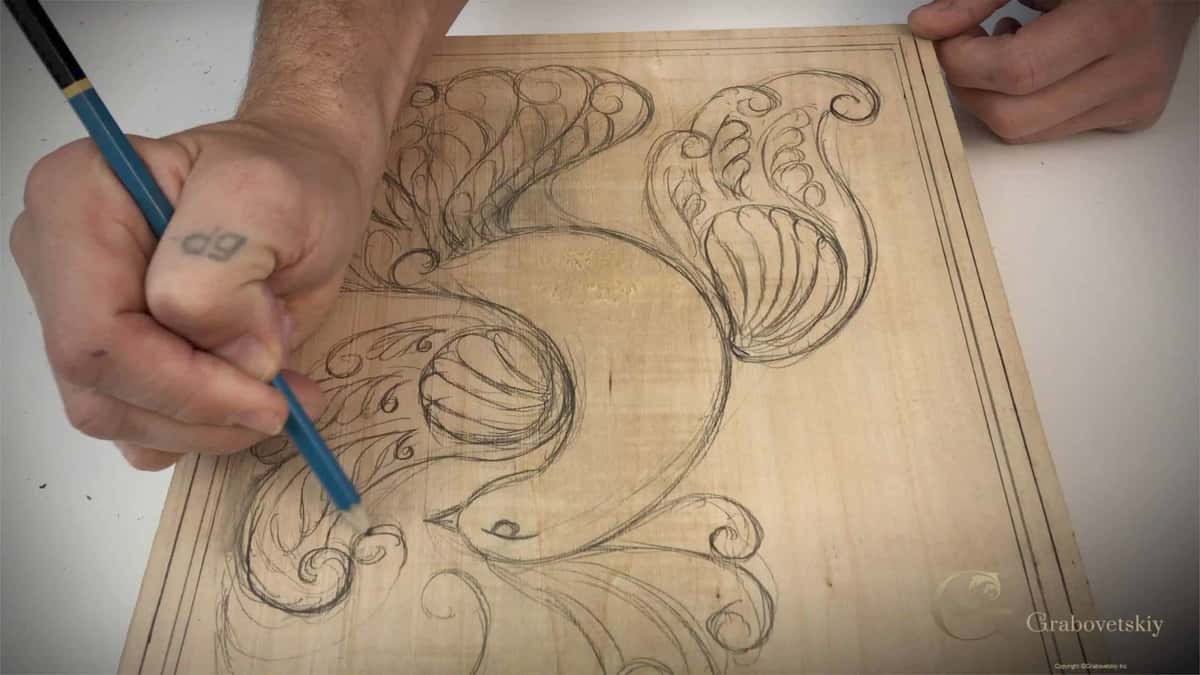
Only now does the design go on. Everything above happens before a pencil ever touches the wood.
Step 5, tip the board so the light rakes across the pass
Shine means the fibers sheared. A grey woolly look means they tore. Raking light from a window shows this in a second and hides nothing, which is one reason my bench sits where it sits.
Step 6, come back tomorrow and take the same pass again
Everybody skips this step. Wood keeps trading water with the air, so a single reading is only a snapshot. When the second pass behaves like the first, the plank is honest.

Pattern going onto a roughed oval. Paper is cheap and easy to shift, and a carved mistake is neither.
What if the board is nearly right but not quite?
Most boards are nearly right, so I plan around the fault instead of throwing a good plank away.
Move the design first. A knot in the corner of a 12 by 16 panel is nothing at all if your border misses it. Saw the bad end off and glue the good part to another piece. A glued blank moves less than a solid one, because I alter the direction of the grain when I glue up.
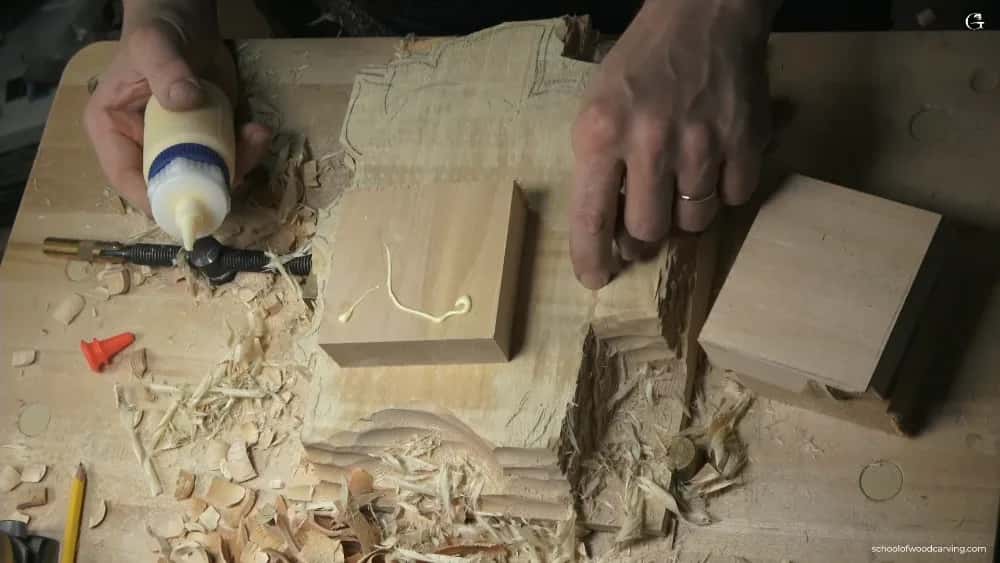
Yellow glue, no screws. Screws in a carving blank are a promise to hit steel later.
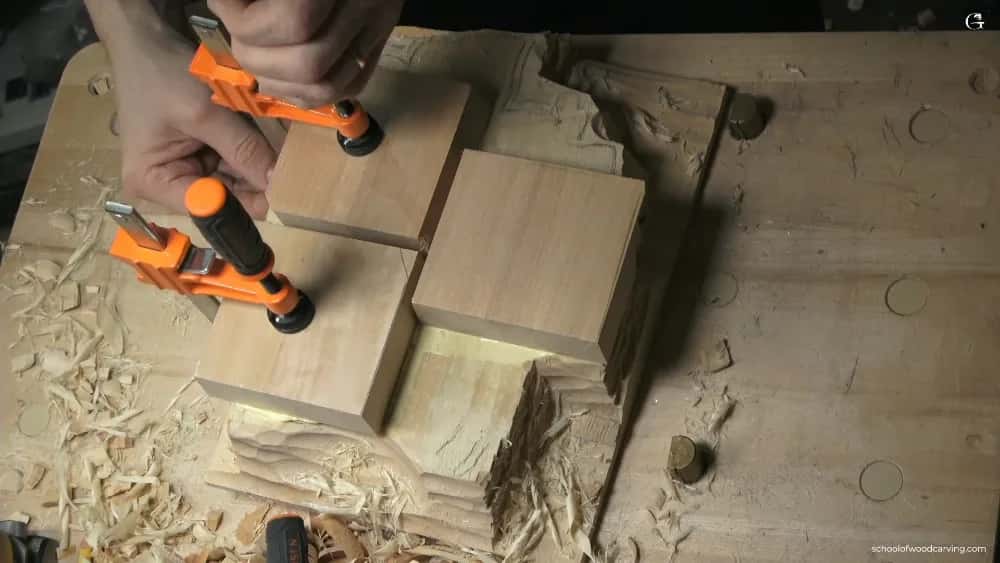
Clamps and glue bought the height that flower needed.
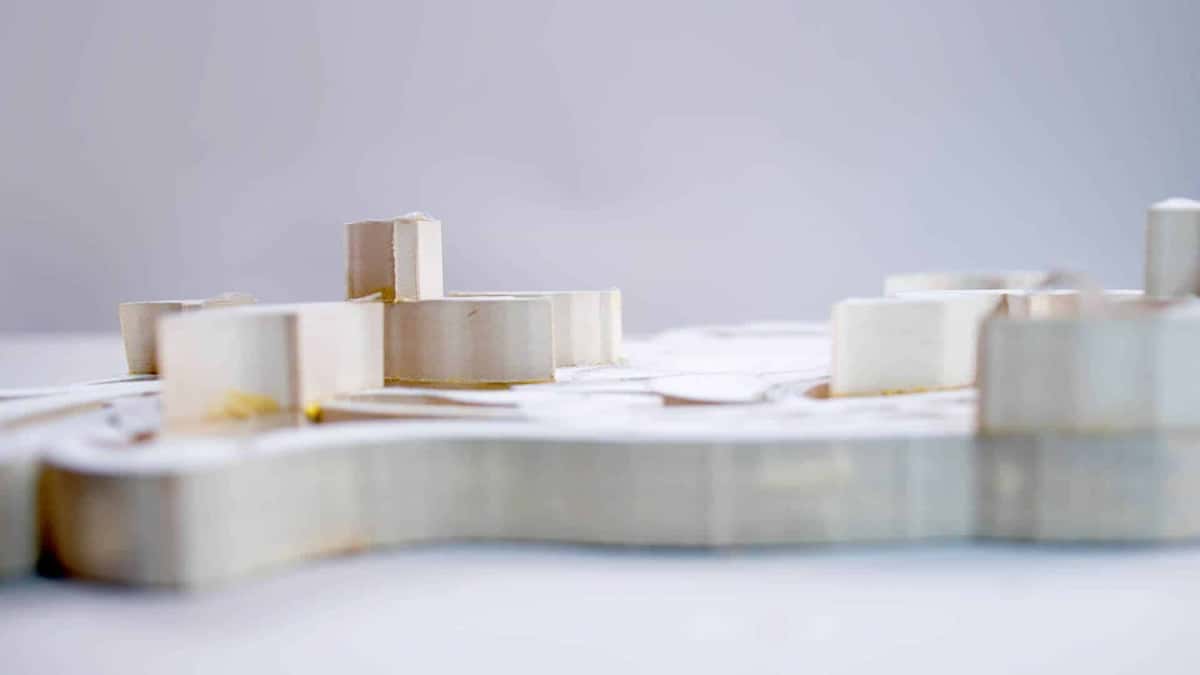
From the side you can count the additions, and not one of them survives into the finished piece.
Or wait it out. Some of my boards I keep in my shop for over 10 years, and a few I have had for 20 or 25 years. There is French limewood in my rack, rift cut, and you can still see all the flames in it. Tiger limewood, I call it. It was sawn the right way, so it never argues with me.
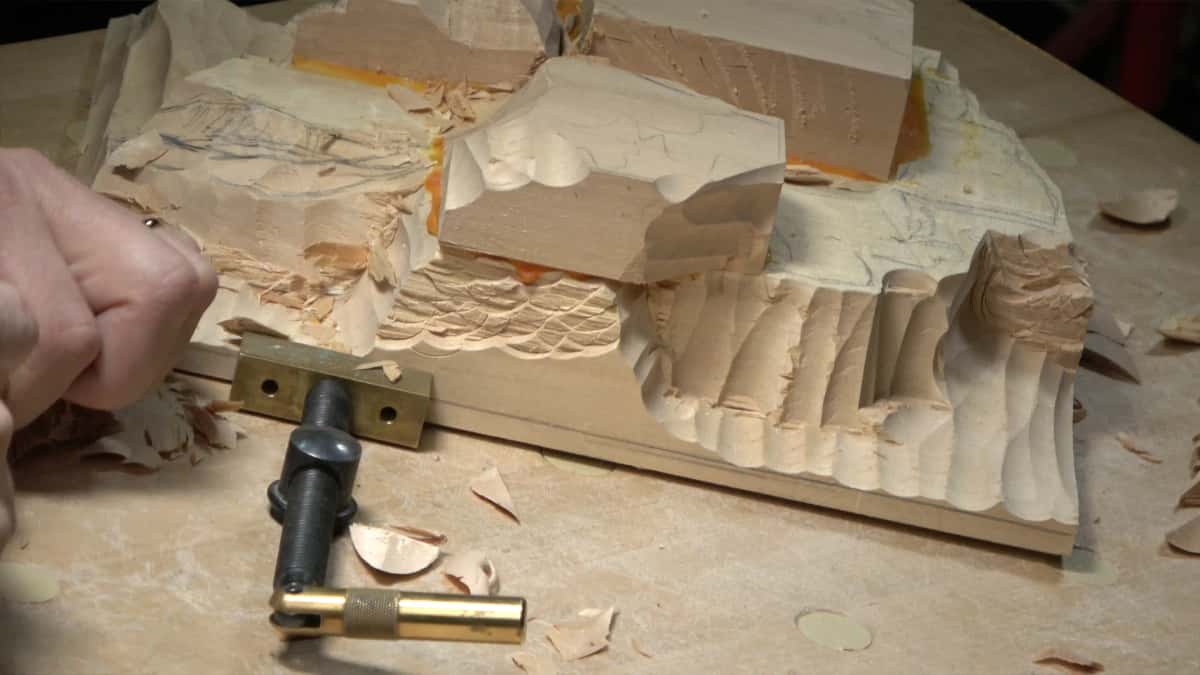
Glue lines running through a stepped blank. Each runs a different way on purpose, and none of them shows in the carving.
A board you set aside is not wasted. It becomes next winter's project, or the piece you practise the hard passage on before you touch the real panel. Turning a rough board into a carving blank covers the sawing and flattening side of the same job.
Is a hardwood board worth the trouble for a carver?
A hardwood board pays you back in crisp detail and charges you in broken edges.
European beech runs 1,450 pounds of force on the same hardness scale where basswood reads 410, and you feel every one of those pounds. Three and a half times the resistance, all day. Black walnut lands at 1,010 and works kindly when its grain behaves, while butternut is straight grained and easy under a hand tool, only coarser than lime. If the resistance itself is the problem, there is a page on softening a hard block before carving.

The paper pattern stays glued on until the flowers are stabbed in. On a dark hardwood the drawn line is easier to follow than the shadow.
Years back a demolition company on the East Coast asked me to carve a table for the owner's office. Heart pine, about 12 feet. They salvage those posts out of 19th century factories they tear down, and that wood is so hard it is almost impossible to drive a nail into. I broke a lot of gouges carving it by hand. It took me a long time, and I have a picture of it somewhere on my Facebook page.
Test the hardwood plank the same six ways before you draw anything on it, and then be honest about which tools you own. If you are still building the kit, what is needed to carve wood lists it. For the species question go to the best wood for carving, and for the honest version of year one, what to know before starting wood carving.
One last thing. The American basswood tree grows tall and straight, which is why its boards come out mostly clear, and men have been carving this way for thousands of years with far worse wood than you have. Your board is probably fine, so sharpen the gouge before you judge it.
Frequently asked questions
Can I carve a board that has a knot in it?
A sound knot far outside your design does no harm. Inside the design it will turn your grain sideways and blunt the edge, so move the drawing or saw that end off. Dead knots drop out later, which ruins finished work.
What does it mean when the surface goes fuzzy instead of shiny?
Fuzz means the fibers were torn rather than sheared. Nine times in ten the edge is dull, so strop and take the pass again. If it still fuzzes under a razor edge, there is water in the plank and it needs longer in your shop.
Is construction lumber from the hardware store good enough to carve?
Framing stock is kiln dried hard, full of knots, and sawn for strength rather than for a gouge. You can practise on it. Carve a 2x4 for a real piece and you are going to get so frustrated, and kill your tools.
Can I still use a board with a crack in one end?
Crosscut a hand's width past the crack and look at the fresh face. A split travels along the grain, so it is usually longer inside than it looks outside. Once the fresh end reads clean, carve the rest. Losing 100mm of length beats losing the finished panel.
Why does one end of the board carve clean and the other tear?
The grain is not running parallel to the face along the whole length. You are looking at spiral or diagonal grain, and the fibers rise toward the surface at one end. Turn the work and carve downhill, or move your border.
How long should a new board sit in my shop before I carve it?
Give it two weeks near the bench so it settles to the air it will live in. Test the plank on the day you start, never on the day it arrived. A few planks in my rack have been waiting ten years.
Filed under
- advantages of basswood for carving
- beginner wood carving techniques
- best carving wood for details
- caring for carving wood
- carving tools and wood types
- Choosing wood for carving blocks
- comparing wood types for carving
- easy wood for beginner carvers
- examples of soft wood for carving
- hard vs soft wood for carving
- how to choose wood for carving
- how to soften wood for carving
- how to tell if wood is hard
- identifying good carving wood
- pros and cons of hardwood for carving
- tips for wood carving beginners
- types of hardwood for carving
- types of wood for carving projects
- Understanding Wood for Carving
- what wood is best for carving
- woodworking tips for beginners