
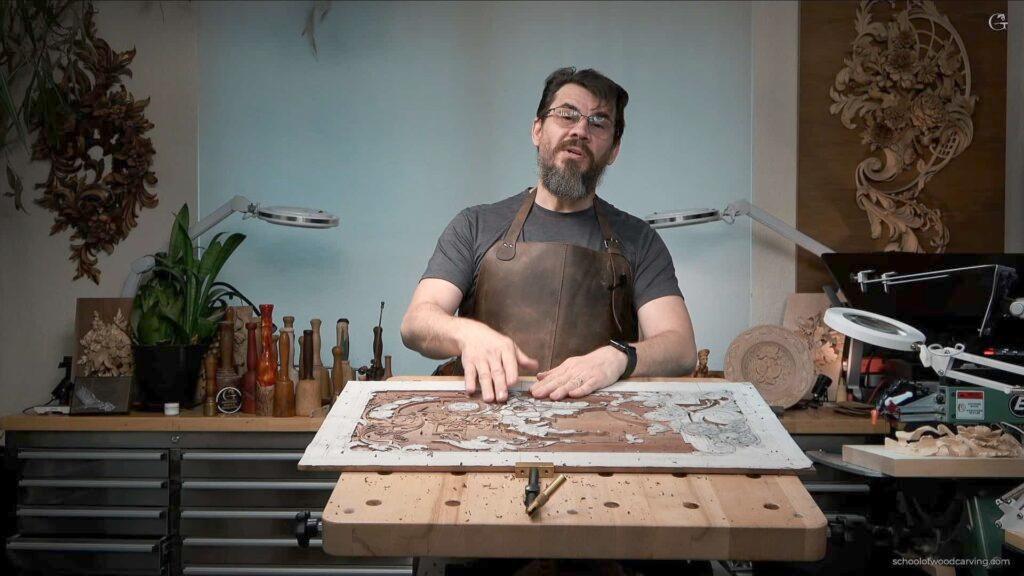
Alexander Grabovetskiy, woodcarver, School of Woodcarving · Published 2020
What are the most common wood carving questions?
Quick answer: The most common wood carving questions are about wood and edges. Carvers ask which board to buy, why a glued panel split, how to tell a gouge is sharp, which mallet to swing, and how to light a bench properly. Every answer here came from a live session.
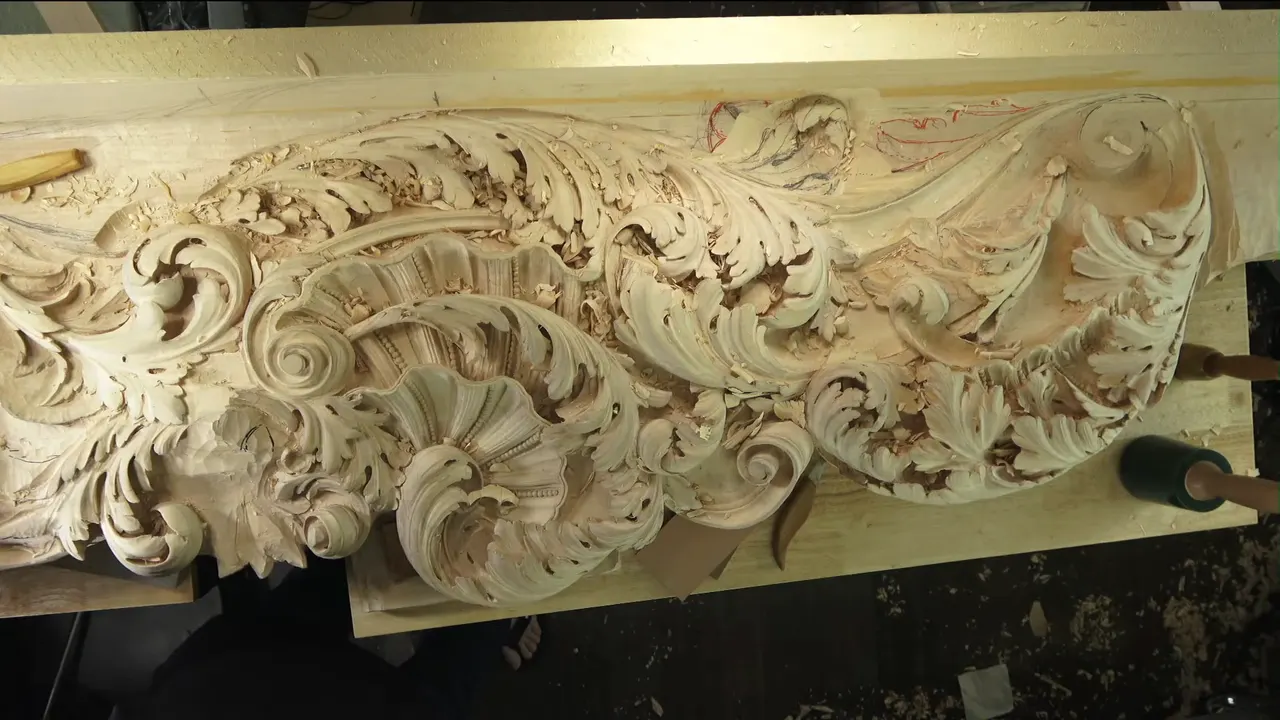
Leave a camera running for an hour and the same handful of questions comes back, week after week, from carvers on five continents. People want to know which wood to buy, why their glued panel split, whether a gouge is really sharp or only shiny, and whether a grown man can feed a family doing this.
I answered all of it live, wood in my hands, no script, nothing edited out. What follows is the meat of twenty sessions, with the numbers I gave at the time.

What kept coming up, session after session
- Basswood wins because its grain hides, not because it is soft.
- A panel splits from how the boards were sawn and stacked, long before a gouge touches it.
- Two lamps low and to the side, never one overhead.
- Shaving hair is not necessarily the test. Check the surface the tool leaves.
- The heel of your gouge is quietly wrecking work that looked fine yesterday.
- By the hour does not work for me, because one hour carves a leaf and the next an inch.
What wood should a beginner carve?
Basswood is the answer, and the reason is not the one people expect. Softness has little to do with it, and plenty of woods are soft. What makes American basswood right is that the grain is in there and you cannot see it. Carve a leaf across the board and it reads as a leaf, not a leaf with stripes painted through it.
Same tree, four names. Limewood in England, linden in Germany, lipa in Russia, Tilia in Latin. Limewood is my preference number one and walnut comes second. I buy Canadian basswood when I can, and on the American side South Carolina, North Carolina and Wisconsin. Washington State limewood I leave alone, because the rain pulls color up through the roots and you get gray streaks through your leaf.

Butternut is beautiful, but on big movements its grain shows too many stripes. Oak carves, especially English brown oak. Poplar and maple I would not recommend to anyone starting out. Both are carvable, but it's going to be difficult.
One warning about color. Green in limewood is a watermark, and the wood under it has already begun to rot. It goes mushy under the edge. You can still carve it, but only with perfect tools. Picking a first board is done on camera in the first cuts course and the beginner cutting board project.
Why did my carved panel crack?
A board moves because wood behaves like a sponge. It drinks water through a wet summer and puffs out, gives it back in winter and shrinks. You cannot prevent that. What you decide is how it was sawn and how you stacked it, and those two settle whether the movement shows up as a crack.
Start with the rings. Near the heart of the log they are tight and the movement is small, and out toward the bark much more happens. Plain sawn boards, the ones with the crown in the rings, will warp and bow and twist on you. Quarter sawn is best. Rift cut is fine. Those are the only two I buy.

How you glue matters just as much. Glue every board with its rings the same way and the whole panel moves together, a lot. Flip every second board so the rings alternate. On paper it draws a wave. I drew it for the camera with a red marker. Then stagger the joints so no glue line sits above another, like laying brick.

The Venetian panel in those streams is three layers of two inch stock, six inches thick at its highest point, about 25 inches across. It does not move. Some of that is the alternating rings. The rest is the carving itself, because every deep excavation breaks the long fibers, and broken fibers have nothing left to pull with.
Drying counts as much as sawing. A kiln is a big stove and they fry the boards in it. Air drying takes years, and some boards have sat in my shop over ten years, a few of them twenty five. The engineering is free to read in the Wood Handbook and its chapter on moisture. The glue up itself is in the furniture panel course.
When is a carving gouge sharp enough?
A sharp gouge shows itself in the surface it leaves behind, more than in the hair on your arm. Look at the wood, not the steel. Clean surface, no resistance. A properly sharpened carving tool is sharper than a surgeon's knife.

One more test, and it takes a second. Run a finger along the tool from below and feel for a micro burr, a tiny wire edge on the bottom. If you feel nothing, that's good. I strop it anyway, as often as I can.
Now look at the leather. Black is what you want, because that black is metal coming off the edge. The whole method, start to finish, is in the sharpening course.
What is the best strop and compound for carving tools?
Leather is my default by hand, though for years my machines have done most of it, because time is money for me. The compound matters far less than people want it to. Dark green is most aggressive, light green less so, and blue is a very fine polishing compound, hard as a rock and hard to charge onto leather at all.

The rough side charges better with paste and rounds the edge more, because it is the softer face. Glue three strips to a board and you have a good chisel strop, but on a gouge you reach only one side. For the inside I fold the leather to the sweep. No cowhide where you live? Carve the profiles into a basswood block.

| Kind of strop | What the material actually is in practice | Best at | What it costs you in return |
|---|---|---|---|
| Loose leather scrap | A hide offcut or an old belt | By hand | Rounds your edge under hand pressure |
| Carved basswood block | Scrap you cut your own profiles into | Inside curves | Softer than board, so it gives |
| Ten millimeter MDF | Three eighths of an inch, very hard | Outside bevels | Will not reach an inside bevel |
| Soft felt wheel | Slips over the glass wheel and spins | Both bevels | Buffing, not honing, and it rounds |
| Honing sandpaper wheel | Three thousand six hundred, then six thousand | Steady hands | Never charge this one with paste |

How do you sharpen a number 11 veiner?
A number 11 is really three tools at once, and seeing that makes the rest easy. The two sides behave like number three gouges, and the bottom of the U like a number nine. Follow the tool around that shape and you will not go far wrong. My bevel sits around 22 degrees, often lower.

Never put water on a diamond wheel. I know carvers who do and it is a real mistake. I run 80 grit to reshape, jump straight to 800, and the job takes two minutes once you stop talking. Outside of the wheel bites harder, the center is gentler, and the moment you press you are changing your bevel rather than sharpening it.
Stop about a 64th of an inch short of the edge. Steel is not always consistent at the tip, and going all the way in gives you a wavy edge. Some of my tools have it and I live with them. The tools course covers the numbering system and the stropping at the end.
Why does a heel on your gouge ruin the carving?
A pronounced heel presses the fibers down as the tool escapes the wood, and nobody sees that damage on the day. Going in is fine. Coming out is where it happens, and the surface looks good when you set the tool down.

Then a day goes by, maybe two, and the crushed fibers puff back up. What you have is no longer a clean cut. Sometimes it has torn. No bueno, as I say too often on camera.
So I always round the heel, freehand, out of the jig. A long bevel leaves the edge thin, which is the real reason for an inside bevel. Strength, not looks. I showed all of it on a cheap short bent gouge.
Which mallet should you use for wood carving?
A rubber mallet does the daily work here, brass does the delicate work, and the beautiful turned maple ones stay on my shelf. The one I swing is a 32 ounce rubberized head by Wood is Good. Still heavy, and it absorbs the stroke on its own.

That is the whole reason I called that video what I called it. A traditional wood mallet sends every blow into your palm, and swing one all day on a sculpture and it hurts. It hurts your ears too, if you bang with it all day long.

The brass one is about half a pound, and I have a one pound too. You do not swing it. You hold it in the palm and tackle the tool little by little. Swing a brass mallet like a rubber one and you destroy it. Weights run 12, 16, 20 and 32 ounces. The 12 and the 32 are the ones I use, plus the little brass one.

Watch your grip more than your mallet. Many people swing from the whole arm, and the shoulder pays for it. Use the palm. Nothing else. I am not gripping hard, I let the mallet do the work, and my arm does almost nothing. Never put a finish on one either, because a slick face slides off the tool instead of grabbing it.
How should you light a carving bench?
Two lamps set low and to the side beat one lamp overhead. Overhead is the worst light there is for this work and it dulls everything. You lose the facets. Wood carving is pretty much all about the shadow and the light.

I use two LED magnifier lamps and paid about $90 each. Somebody asked the brand on air and I had to admit I had no idea. What matters is they hold any position without cranking, come low over the work, and let me switch one off for the shadow I want.

They also change color. A daylight setting, toward blue, is what your brain concentrates under. At night I dial it to yellow and work for hours without my eyes going. Your body reads the orange and makes melatonin, so you tire, but your eyes survive. The theory sits under color temperature and color rendering. Take a break every twenty minutes. When my tools go down messy, that is my own signal.
How deep should a shadow be in relief carving?
About an inch, or 25 mm, is what I work to on a big panel, eyeballed against everything else on the piece. The number is not the point. Consistency is. A shadow frames the detail on a relief carving, and a lot of people don't realize how much that matters.
I make a shadow with a plug cut. Take a number nine, half an inch, 14 mm, rotate it in like a drill, change the angle slightly, and the plug flies out. Bring everything else to that same hole. A number 11 veiner, 3/8 of an inch, takes it deeper.
For a client I ask which room the piece goes into and which side the light comes from, then move my own lamp until it matches. Design is the first of the three parts of this craft, sharpening the second, carving the most important. The design course explains it.
How do you transfer a design onto a curve?
Clear plastic does what paper cannot, because you can bend it into a hollow and flip it over. Paper on a concave surface throws off your measurements. Plastic follows the curve, and unfolded it gives the real size.

Buy a clear plastic drop cloth from the paint department of any hardware store, or garden plastic. It's cheap, and it lasts. Clear is the one thing that matters. Push pins hold it down, placed where they will not mark the carving, and you draw with a ball pen or a colored Sharpie.

Now the part people light up about. Flip the plastic over and you have the mirror image, free. On paper you would redraw everything, because the back of paper is blank. That one trick halves a symmetrical design. I call a roll of plastic a carving tool. Lay it over a screen or an old book and trace, too.
Why model in clay before you carve wood?
Wood is the art of deduction. Bang a little too hard on the gouge and you took too much, with no way to put it back. Clay lets you add and take away all day. For years I skipped it, because I was young and thought I could just take a gouge and go. I made mistakes.
Three reasons, and honestly there are more. First, you build the ability to see in three dimensions before you pick up a tool. If you have never worked in the round, your brain works so hard you get exhausted. In my in person classes people are wrung out by Tuesday evening.
Second is the warm up, the way you warm up before a heavy barbell at the gym. It also lets you check your tools. Put a gouge into the cavity you just modeled and you learn at once whether your tools can reach in there. My teacher would look at my drawings and say, think, what tool are you going to use. That habit is the whole of a small project like the hazelnuts.

Third is time. I have to confess something I once denied on camera. I said I use no machines, and that was not quite true. I use a pointing machine, the device sculptors used in Michelangelo's day, and it carries points off the clay model onto the block. It saved me days, maybe weeks. I wrestled with that number out loud on the stream.
While we are on Michelangelo, the idea that a sculptor sees the figure inside the stone and digs it out is a myth. He modeled first, and so did most of them. Grinling Gibbons undercut deep, and undercutting takes a lot longer than just setting the form. That tradition I teach in the Maine class and the other in person workshops.
Can you make a living carving wood?
I don't charge by the hour. You could, but for me it doesn't work at all, because one hour might get a whole leaf done. The next gets you one square inch. So I never know how many hours a job will take.
I charge by the square inch, and by the depth as well. Surface is one price, depth is another, and on a piece carved on two faces I count both. Then a minimum of two weeks, even when the job takes a day. I bill the drawing time too, which I did not do at the start, because some clients dance back and forth for a long time.
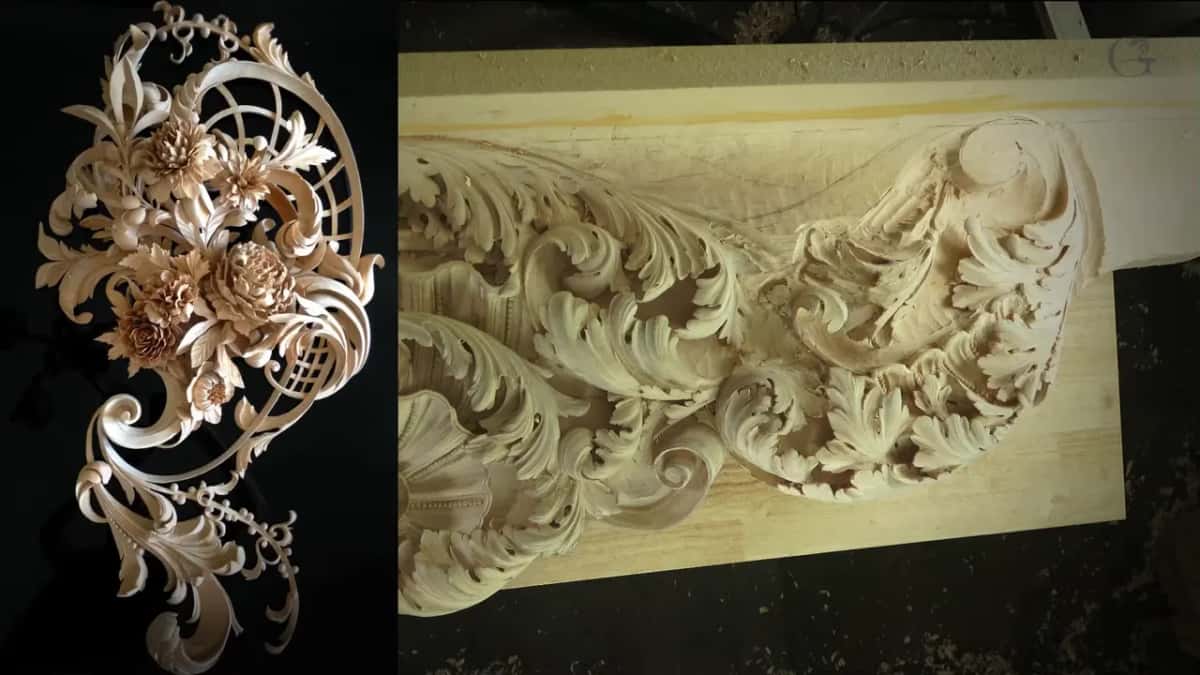
An architect once asked me to quote a 17th century chimney piece, budget already set at $2,000. That chimney was half a year of work. I asked whether he could feed his children on that for half a year, gave my real number, and never heard back.
The worst sentence an artist hears is, can you make it less detailed. Less detailed is a block of wood, and that's firewood. You cannot negotiate a real price the way you would on something manufactured, because no margin was built in. Carving is the one woodworking trade you cannot speed up. People call it a dying craft. Wrong. There are plenty of carvers who never learned how to charge for it.
Do you need power tools to carve wood?
A rotary tool saves you nothing. Same speed, then longer sanding out what it left, and you finish the day breathing dust. Dust is the main reason I use no power tools for carving. Everything you see comes off the chisel.
A harder limit than my preference exists. No machine goes underneath. I really doubt a CNC can undercut like that, reach behind a leaf and hollow it, and undercutting is where the shadow comes from. That is how you tell hand work from machine work.
Tool marks are not a defect either. They catch light the way brush marks do on canvas, and nobody can copy yours. To start, pick a course or walk the lessons map, and a shelf of free books costs nothing. Full access sits on the tuition page, and more of these answers live in the techniques and Q and A course.
Twenty sessions, every one of them live. After forty years I still make mistakes and still leave them in the video. The long version of how I got here I wrote down separately.
How it's done
- Regrind a brand new tool before anything else. A brand new gouge comes with a bevel that's too short and too high for carving. Take it back to a lower angle first. By hand that can take hours, on the machine a few seconds.
- Seat it in the jig and check it runs true. Tighten the screw, then check if the tool sits straight or not, which is really important for me.
- Reshape on 80 grit. Coarse diamond takes the old bevel off in seconds with no pressure at all. Keep water away from a diamond wheel entirely. I know some guys and some wood carvers wet them, and that's a big mistake.
- Leave a 64th of an inch at the tip. Steel is not always consistent at the very edge, so grinding right up to it gives you a wavy line. Halt just short and let the finer grit finish the job.
- Jump to 800 and clear the grinding marks. Skipping the middle grits saves time and loses nothing at all in the finish. Ride nearer the middle of the wheel for less bite. Lean harder and you change your angle instead of going faster.
- Raise a burr inside with a slip stone. Soft Arkansas first, translucent after, worked by hand along the sweep until you feel a wire edge appear. Ceramic stones work the same way, and they last a long time.
- Strop freehand, with the jig off. Leather sits taller than sandpaper, so a jig would quietly change the angle you just built. Hold it in your hands for this part and follow the curve of the sweep.
- Buff the wire edge away. Blue compound on soft felt, almost no pressure, and the folded steel lets go. Not everyone likes to buff. I do, and I don't worry about the rounding.
Frequently asked questions
How long does it take to learn wood carving?
Digging into wood you can pick up in a week. Thinking in three dimensions is much harder, and it is the real trade. One student of mine studied acanthus for a decade and only got it after carving beside me in person.
Do you need expensive tools to start carving?
A cheap set will do. I once carved grapes with one and nothing but leather to strop it. I own around five hundred and I once worked with a single knife and one number seven gouge. With ten or twenty tools, you just have to check what they can reach.
Is basswood the same thing as limewood?
Same tree, four languages arguing over it. Basswood in America, limewood in England, linden in Germany, lipa in Russia, Tilia in botany. One genus, though even eastern and western basswood differ a little.
What to carve next