
Alexander Grabovetskiy, woodcarver, School of Woodcarving · Published 2017
How do you keep a carving knife sharp during a project?
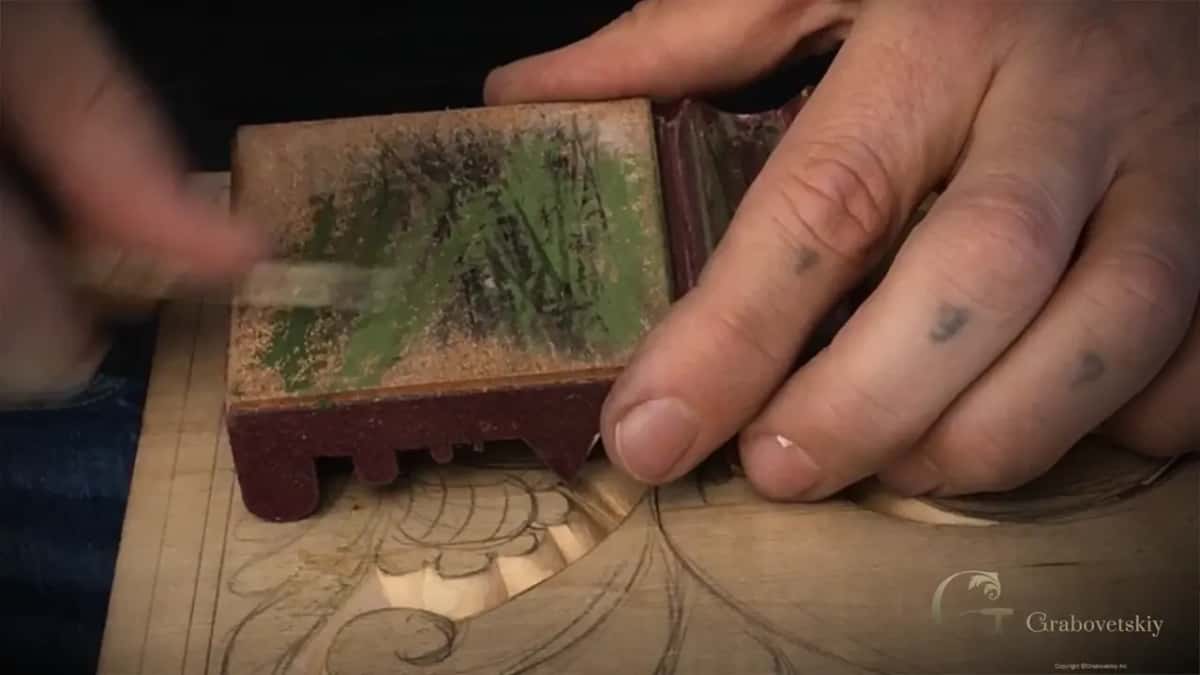
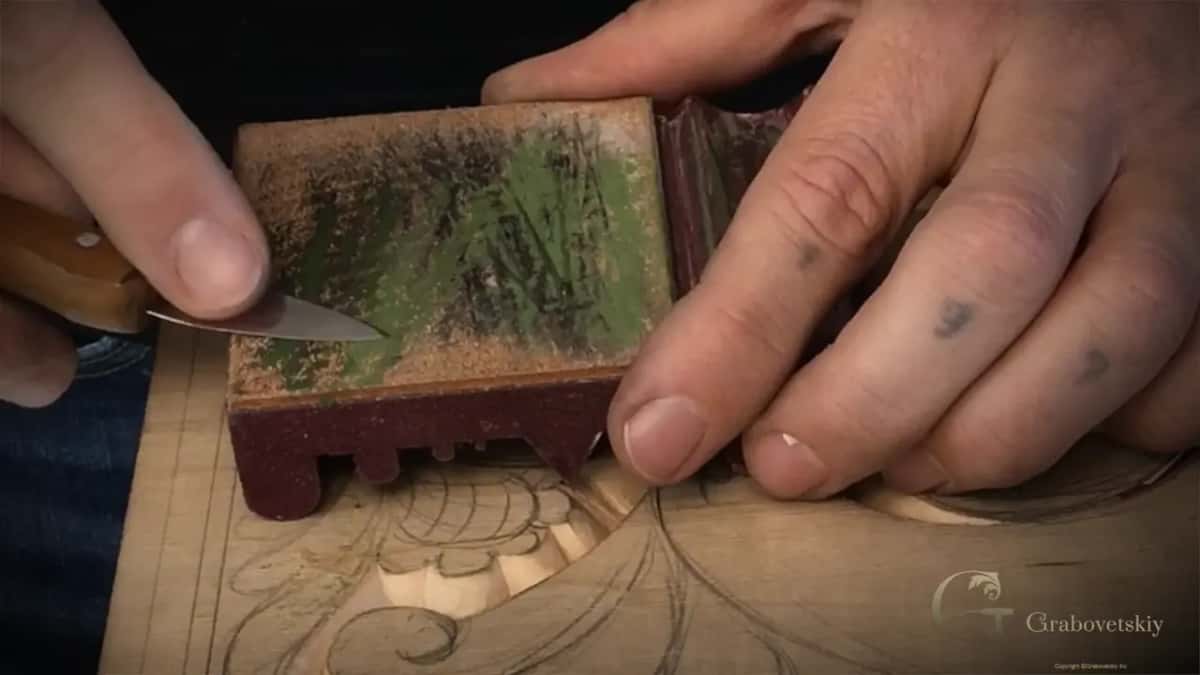
Quick answer: Keeping a carving knife sharp during a project is a job for a strop kept on the bench. In this lesson I stopped partway through the panel, put some green paste on a piece of leather, and made about twenty strops one way and twenty back. The leather went black. Metal was coming off.
Stropping in the middle of a carving is a short stop at a strip of leather with a little green paste on it. On this basswood board I made about twenty strops one way and twenty back, the leather went black, and the knife went straight back to the pencil lines.
Do you want the chips to fly out of each groove on their own? Would you like clean walls with no sandpaper anywhere near them? Then keep a strop on your workbench, the way I said in the Roman acanthus course, because sometimes a couple of strops is all it takes and your tool is back in play.
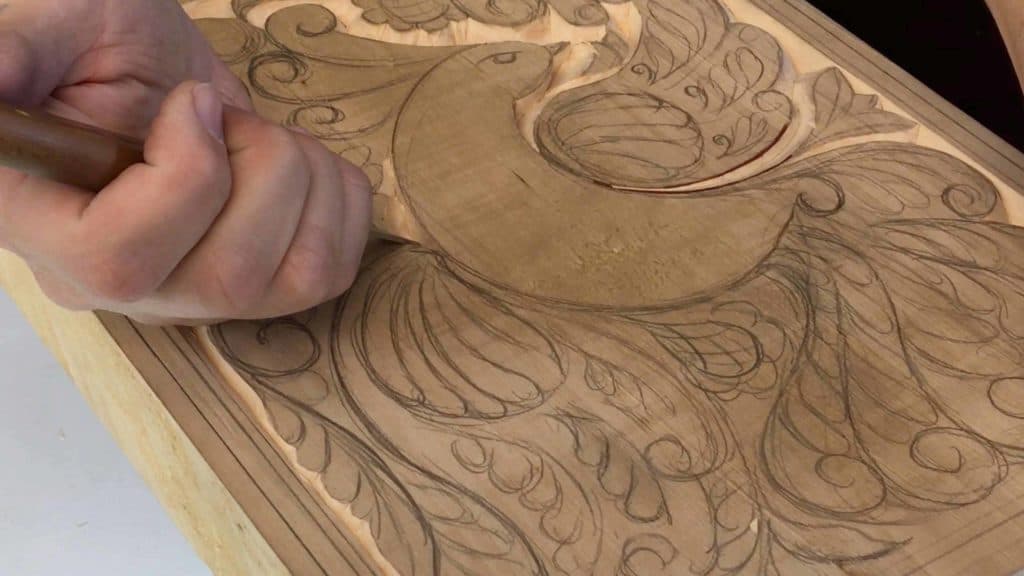
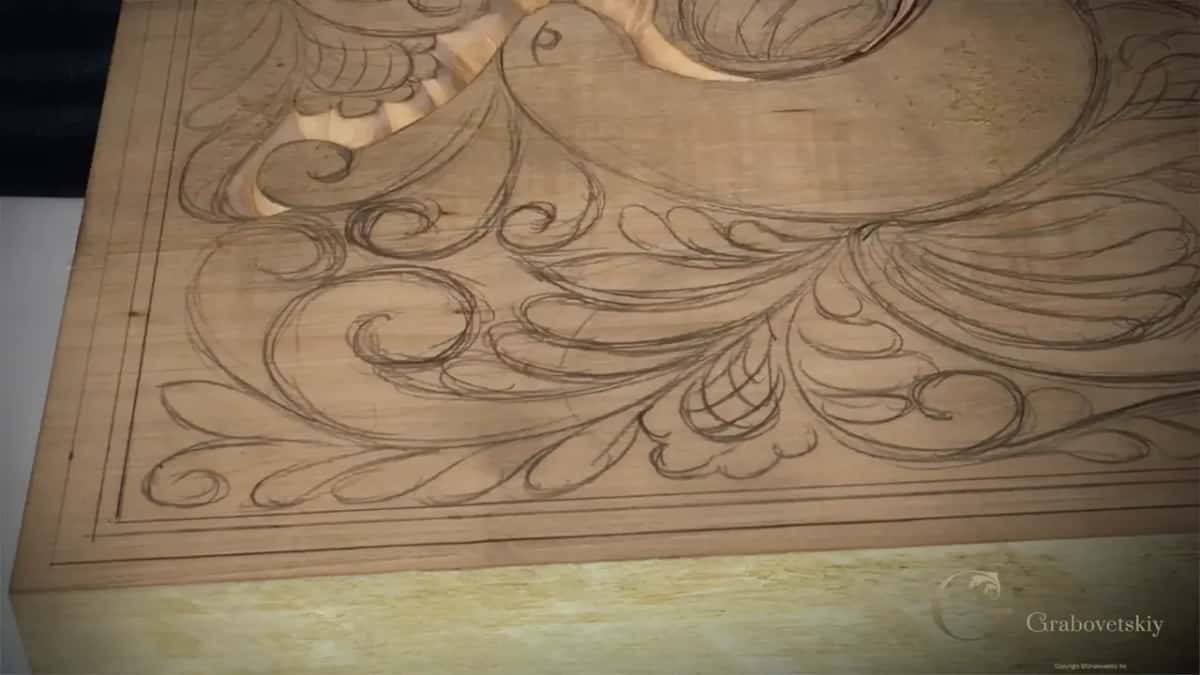
I'm going to be honest with you. Workshop 5 comes right after Workshop 4, and we are still just doing an outline. One side was almost done. A couple of spots were left at the top and at the bottom, and in the middle video, part 5.2, the knife goes on the leather for about a minute.
What I did at the leather in this workshop
- Green paste went on the leather.
- Twenty in one direction, then twenty counted back.
- And the leather turned black, so metal was coming off the edge of the knife.
- In ancient times they had no green paste, and leather alone works.
- Then the knife went back on the line, held at the angle of my first pass on that side.
- My cleaning cut ran all the way down to the marriage line.
How do you strop a carving knife in the middle of a project?
Rub green paste into the leather, then strop the blade about twenty times in each direction. That was the whole stop.
I was happy with the board so far. So I said it was time to buff or strop my knife. There are a couple of ways to do that, and I own a few different strops for hand work, but a piece of leather with some green paste works really well.
So the paste went on the leather and I counted. Roughly twenty strops this way, twenty my way.
Wikipedia describes a strop as a flexible strip of leather, canvas or some other soft material, used to straighten and polish the blade of a razor, a knife, or a woodworking tool such as a chisel.
Do you need green paste, or will plain leather do?
Plain leather will do. I said so on camera right in the middle of the strop. We were talking about ancient times, and they didn't have the green paste, but just the leather itself will work.
In a knife livestream from April 2020 I went further. You really don't have to buy an expensive stropper. Go to a leather shop, get normal leather, and strop with the paste on it. Green paste you can find at a craft store.
The chunk of leather I showed in the sharpening course came from a leather supply, I believe, and you can get that pretty much anywhere in the world. An old leather belt works too.
Wikipedia says chromium oxide, sold as a powder or a wax for this job, is known as green compound.
My pastes are not all the same. In that stropping lesson the dark green was the most aggressive, the light green less so, and the blue a really, really fine paste. On the Venice Room panel I used Mirror Paste, made by Trend in England, because it gives me a quick strop. Which paste you pick doesn't really matter.
And sometimes you have no paste. I didn't have any paste when I was locked down. Sandpaper, pretty much, and a small blade I had to make, and sharpen. In that same livestream I showed the cheap way for anyone who can't afford a stone, because sandpaper is easy to find in almost every country.
Why does the leather turn black?
Black on the leather is metal. Look at it on camera and you can see it becomes black, which means I am really taking some metal out.
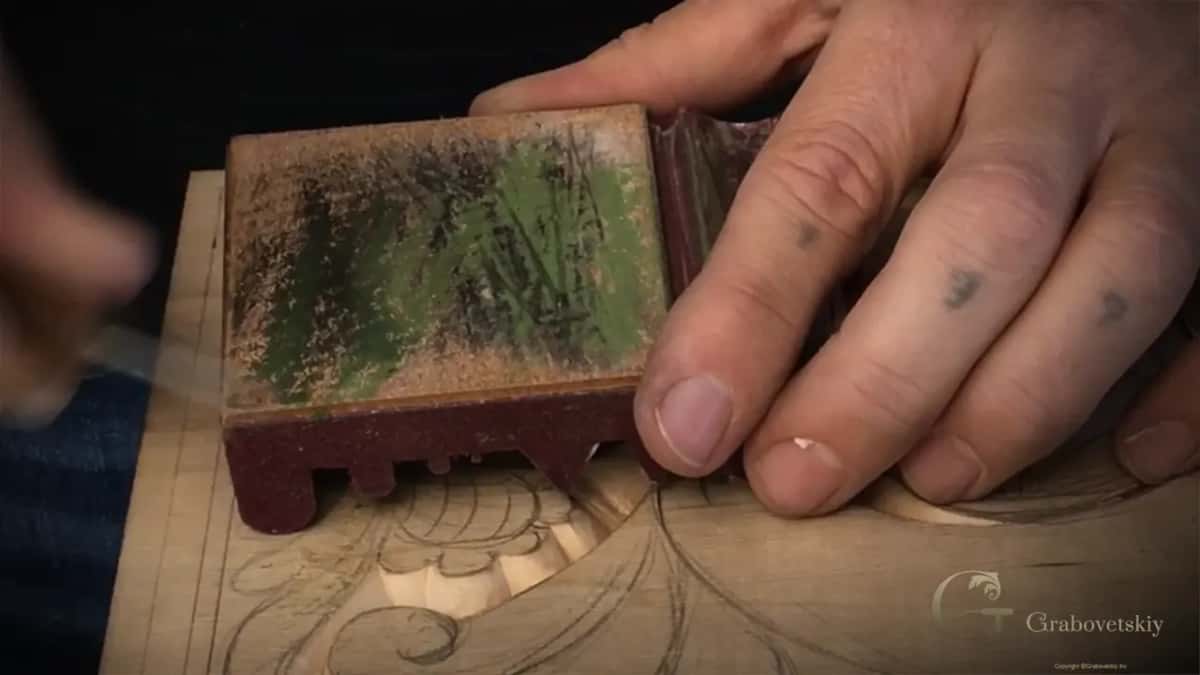
You see the same thing all through the sharpening course, where I folded the leather into a form to strop the inside of a gouge, and it went black because the metal is coming out. On a felt wheel charged with blue paste, I ran my favorite knife, a number 12 by Pfeil, and it went black there too. Find your bevel on a knife and just go on the edge.
Is stropping the same as sharpening?
Stropping is one stage of sharpening, the last one. I split sharpening into three stages in that lesson. Stage one is for a brand-new tool, when you have to reshape it and set the right bevel. Stage two is the sharpening itself, to make your edge sharp. Stage three is honing, stropping or buffing, and I would say honing and stropping are about the same, with a little difference.
The knife livestream shows the order. I gave the blade ten strokes on each side of the stone and said it is sharp now. And then I said it's not enough. Usually after that, you need to strop. On that video I strop on a Work Sharp 3000, and by hand too.
Let me tell you a story. My grandfather shaved with an old-style razor, and pretty much every day he stropped it on a leather, like a hide. I didn't know what he was doing. That razor was one of the scariest things in his toolbox, because it was so sharp. I was afraid to take it. And he was afraid I would take it and start shaving. It was used before him, probably, and he was taught by his grandfather, and his grandfather by his.
How often should you strop while you carve?
In this lesson I stopped once. I don't set a clock for it in these lessons.
What I do say is that the knife has to be really sharp. Later, with the chips flying out around a flower, I said your knife should be really sharp also, and that this is really important.
On bigger projects it happens in the middle of the work too. I picked up a number 11 in the Venice Room, seven millimeters (about 9/32 in), and said it looks like I need to strop a little bit. On the Roman acanthus I said I need to buff my gouge, and in the sharpening course I said I strop daily.
Which side of the leather should you use?
Either side works for a knife. In the knife livestream I said you can strop on this side or on that side, and it gives you exactly the same result.
I added one more detail in the stropping lesson. The rough side holds the paste a lot better, so you can charge it better, but it is the softer side, and it has a tendency to round a lot more.
Some people worry that leather rounds the edge, and I had that stage in my life too. On soft leather or felt the hand rocks a little, even when you try to hold it straight. I stopped stropping for a little bit, then came back to it. My advice on the Venice Room gouge was just don't press too hard. The whole argument is in the stropping lesson.
What happens right after the strop?
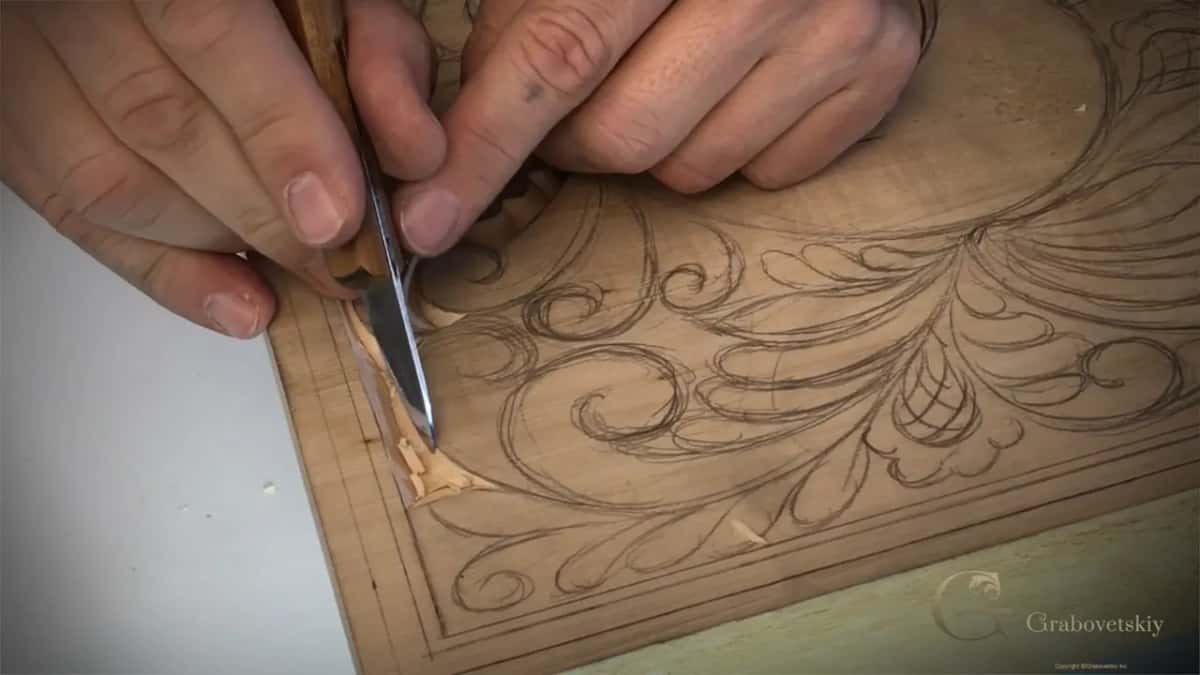
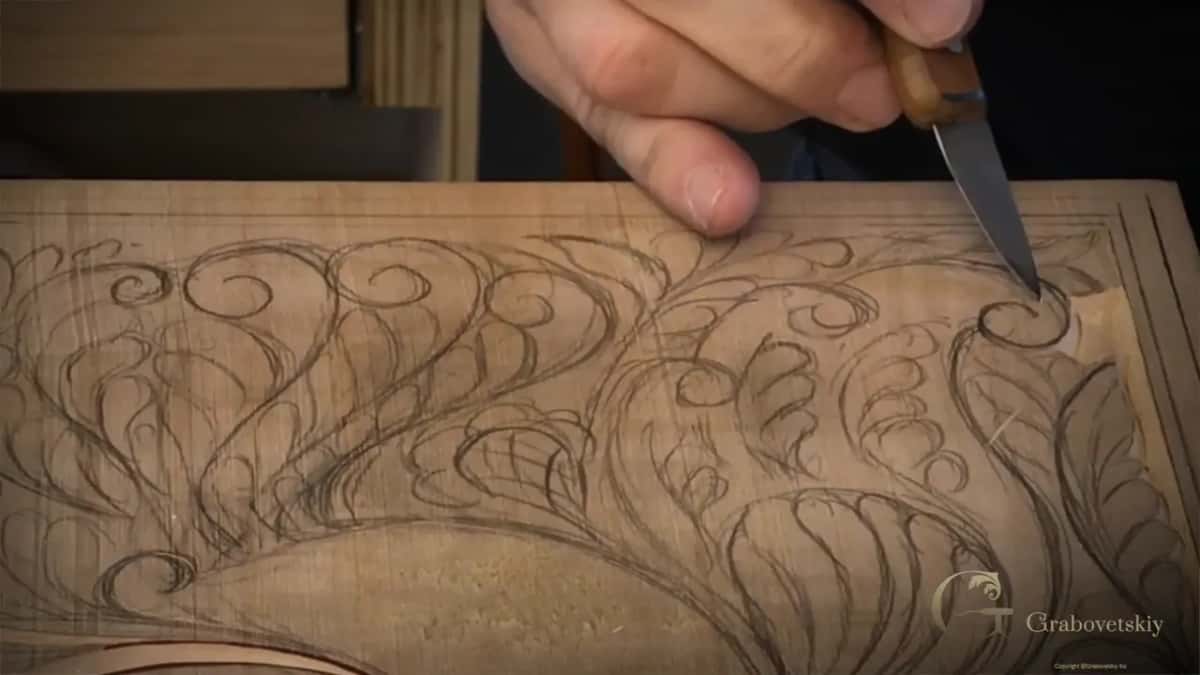
The knife went back to the board, where I decided which side to do next. I placed the knife again on the most inner line and tried to keep exactly the same angle as on the side I had just carved.
That first pass was light, not deep. Carefully, I just followed the line, and then I made a second pass. Please try to make each line as straight as possible, because you can easily see any waviness.
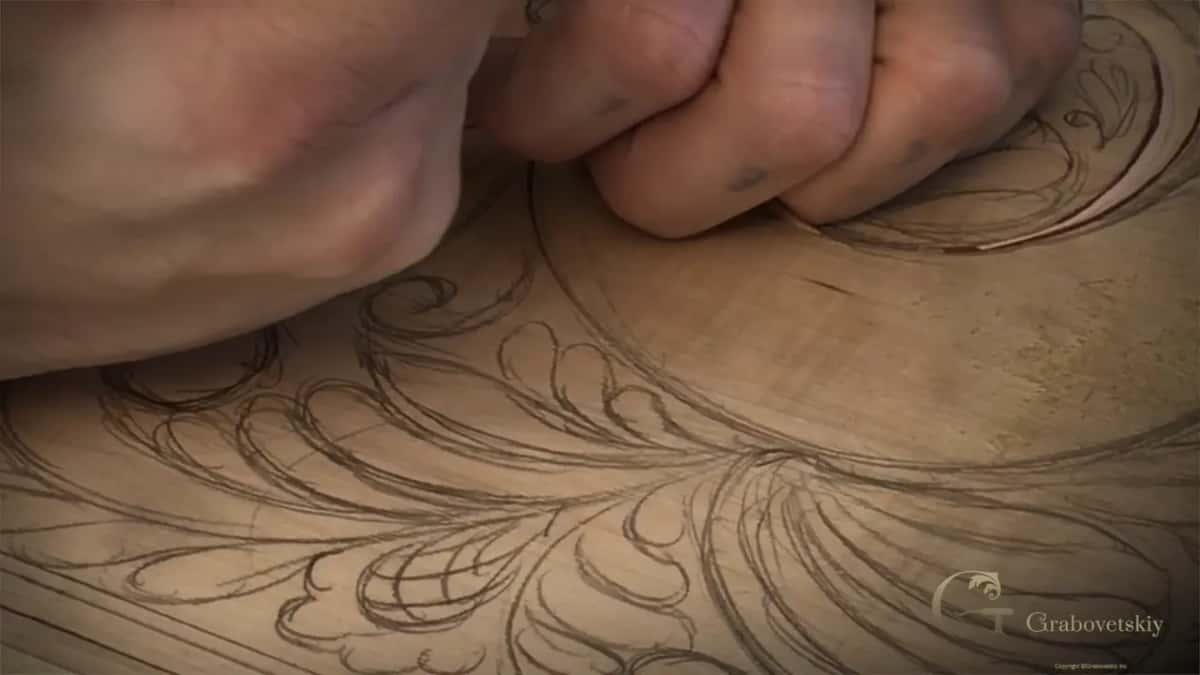
I turned the board around after that, since I really like to carve toward myself.
What is the marriage line in a V groove?
The marriage line is where the two sides of a V meet, if you can call it that, because down there those two sides meet together and marry together.
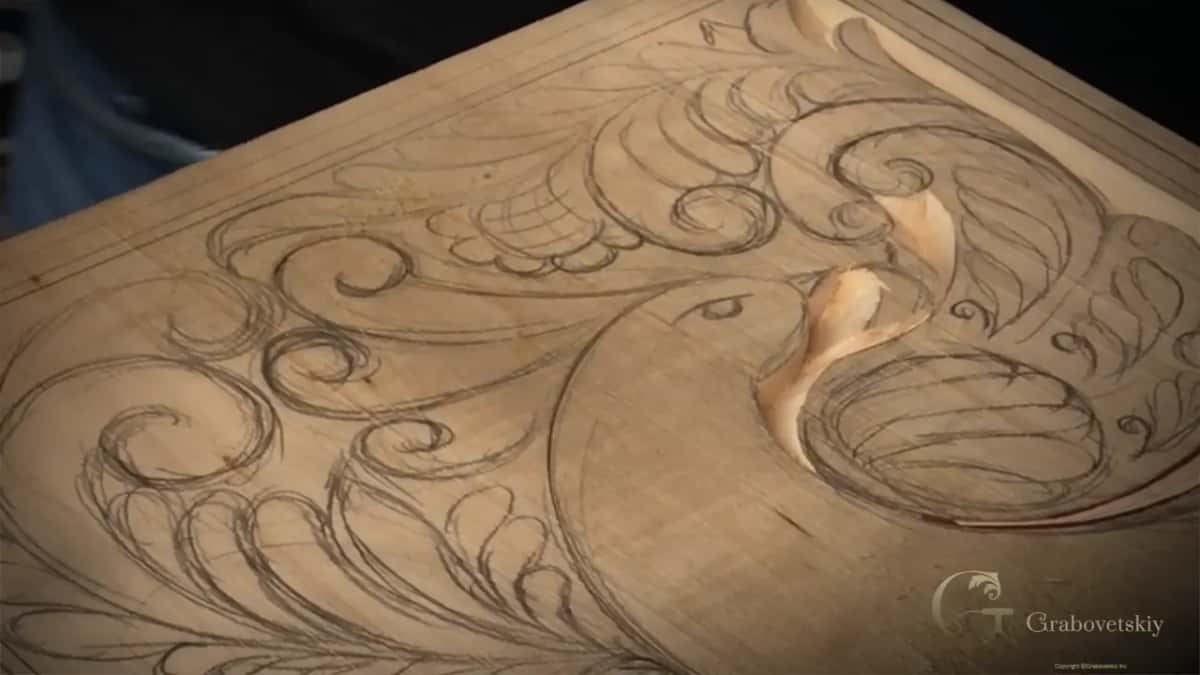
On this board my first pass had not gone deep. So I placed the knife at the angle of that first pass and made my cleaning cut all the way to the marriage line. You can see a nice V cut when it is done.
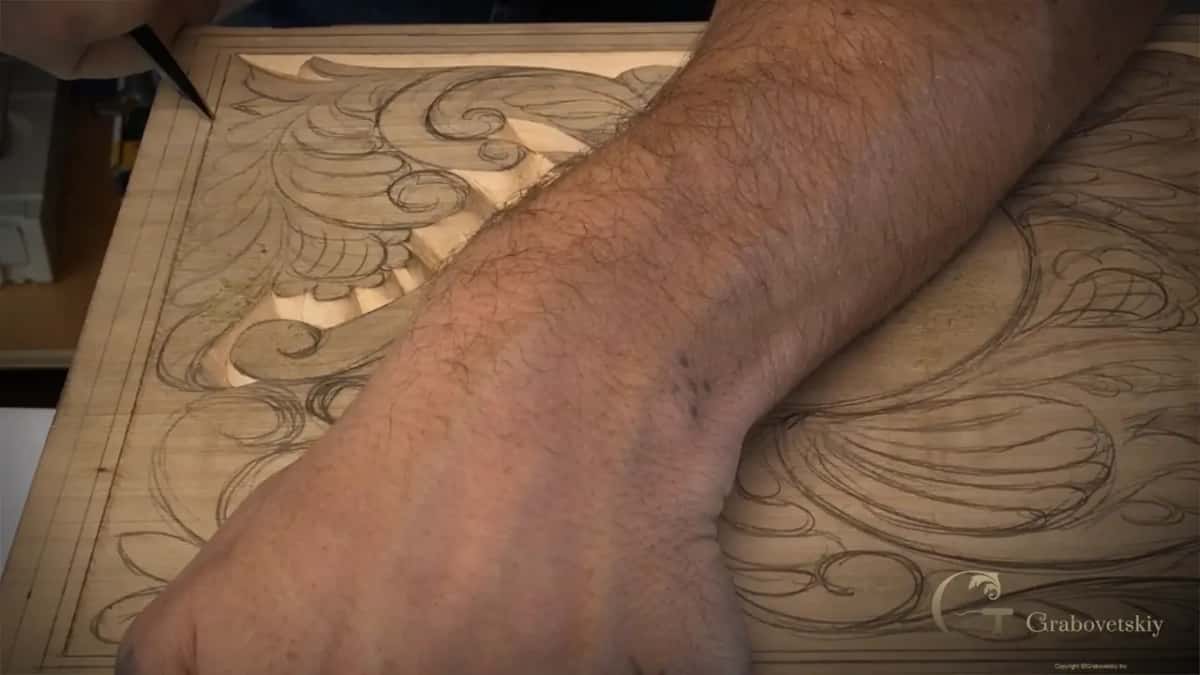
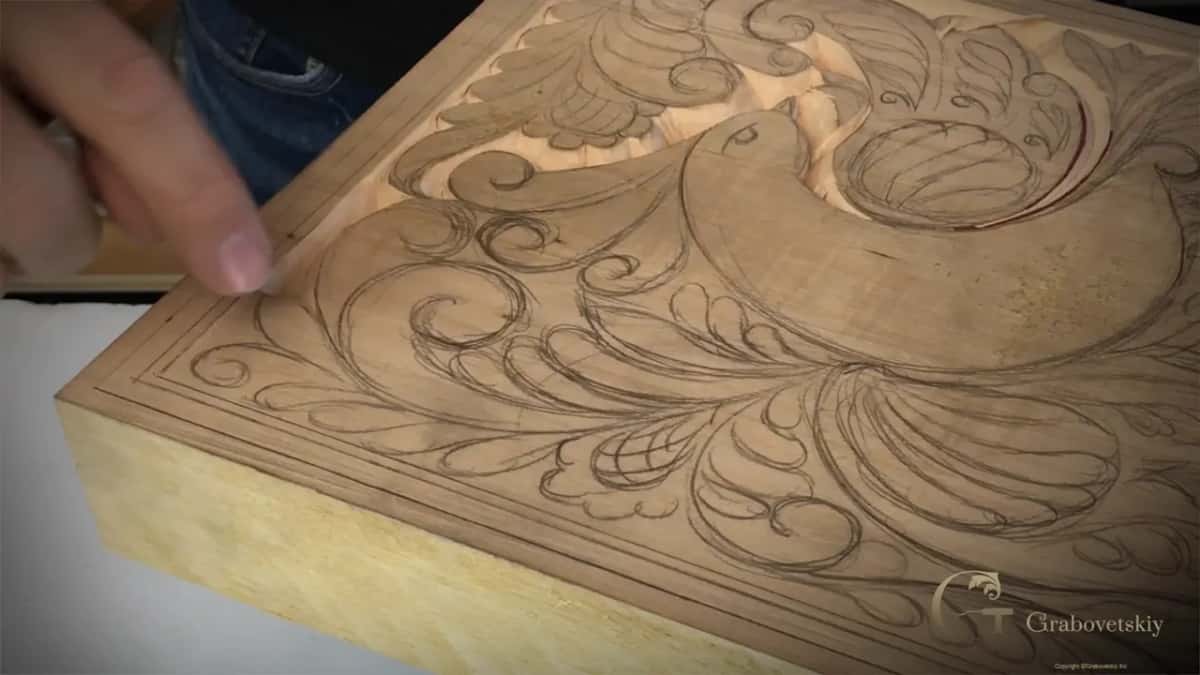
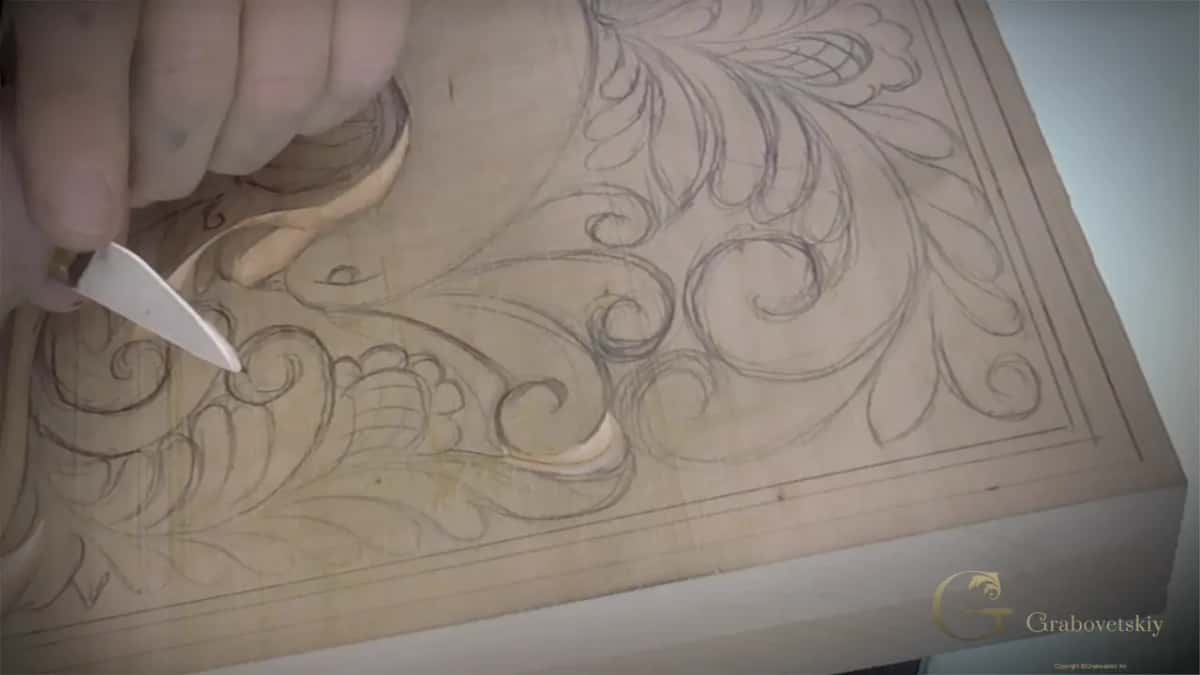
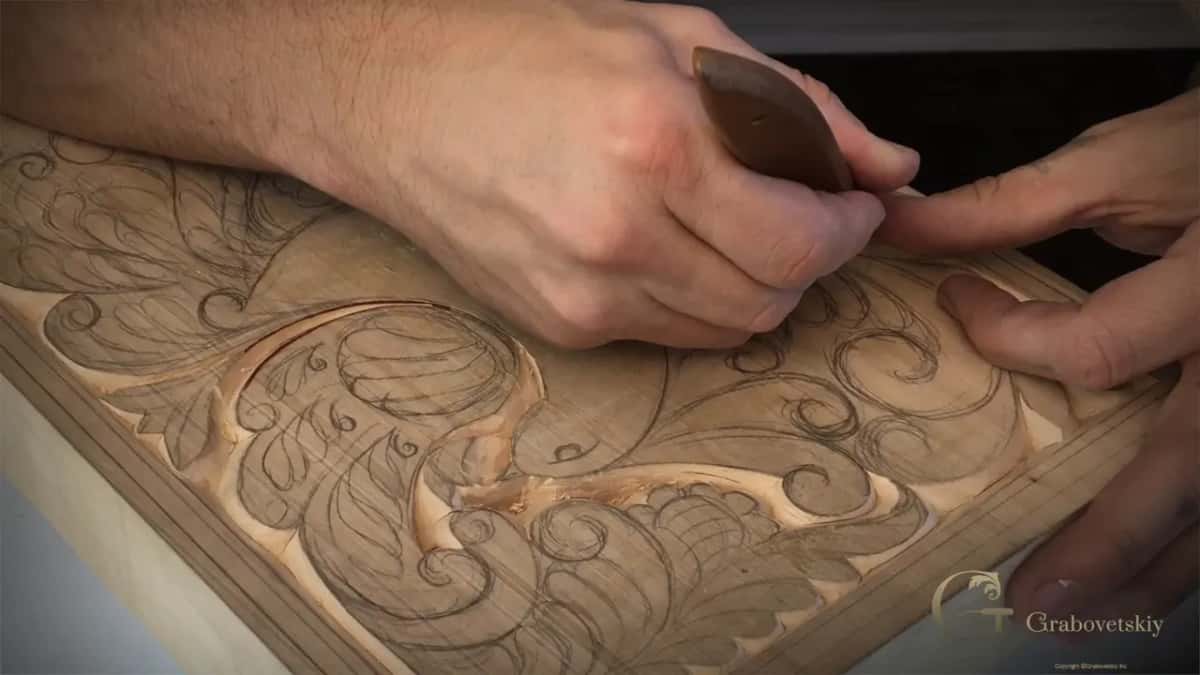
Not every groove here is a V. Some are more like a round groove, and that is what gives the board its look of curls. Its name is the curly carving. You could also call this type of carving bevel cut carving, and I think that should be the accurate name for it.
How deep should the V go?
Deep enough that the two sides meet. There is no way to measure it, pretty much, so you train your hand to feel the right angle instead.
That is why a practice piece like this board is really important. You are building a feeling inside you for how deep each pass should travel and where the two sides will meet. I wouldn't say it's too easy for you. It is not as easy as some people think.
You can watch that feeling at work on a leaf in part 5.3. I put the knife right in the corner, held the board, and carved toward myself really slowly, in real time, because that line shows your ability to keep a straight line straight. Right after I said so, I saw some waviness in my own line. A micro waviness, which is not going to be noticeable.
Why is one wall straight down beside the bird?
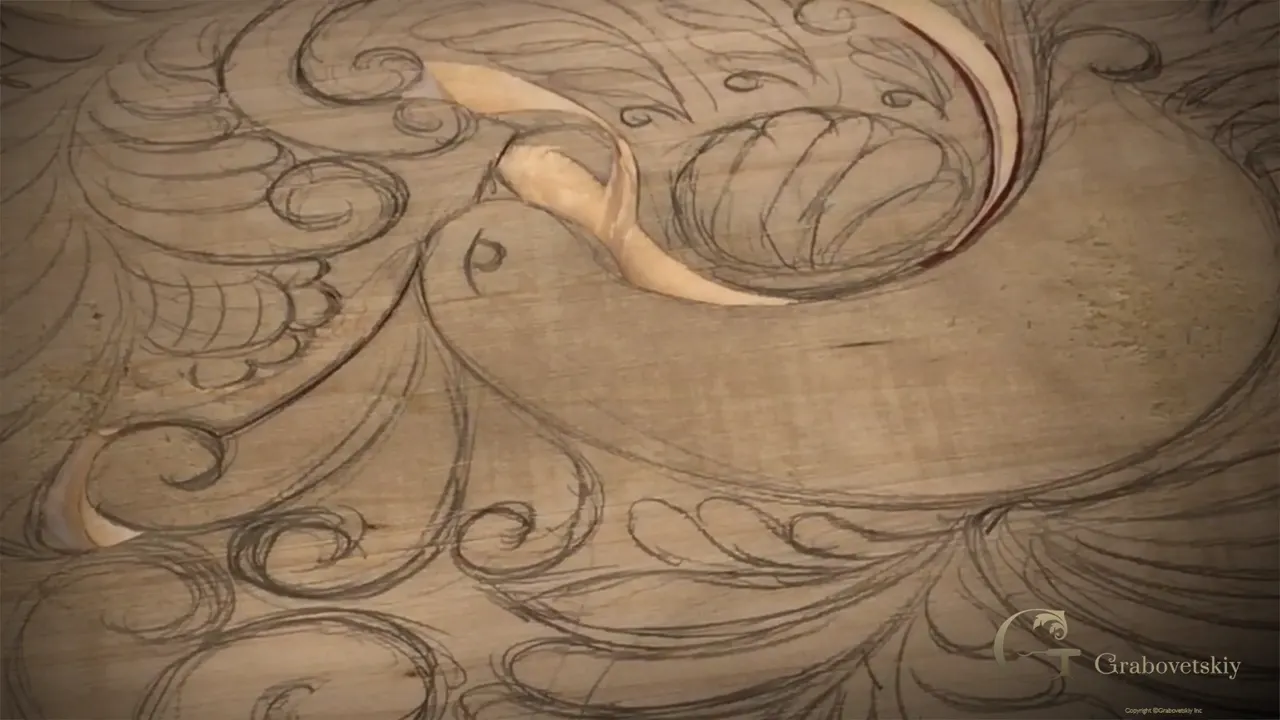
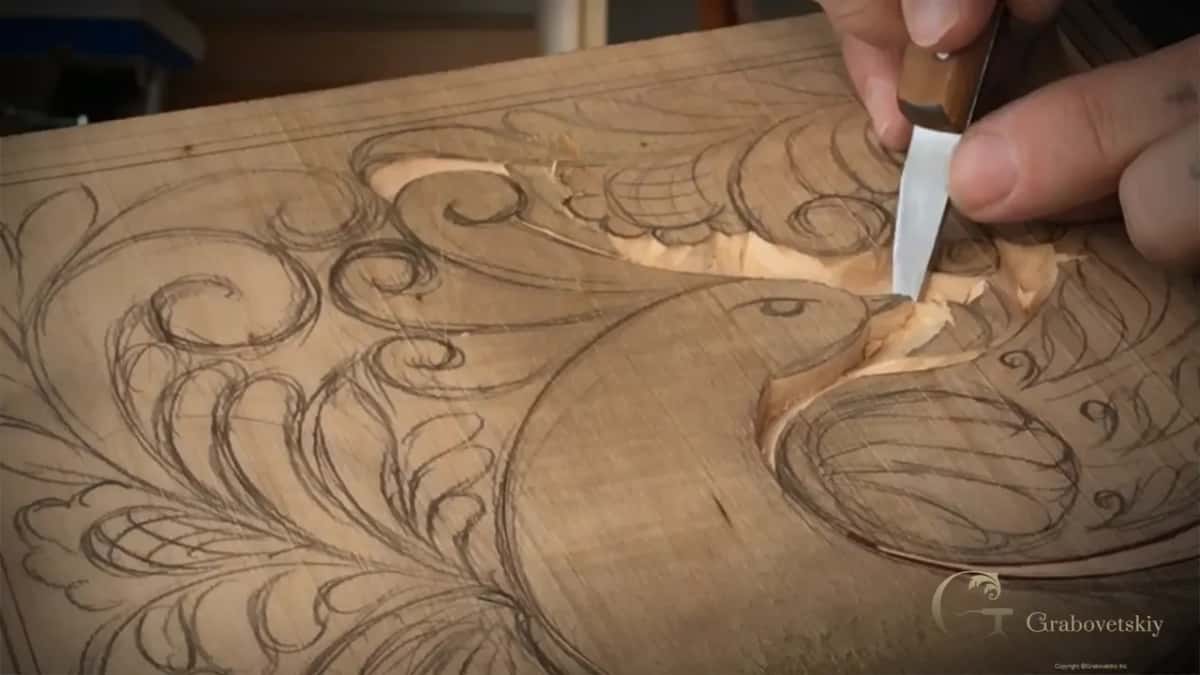
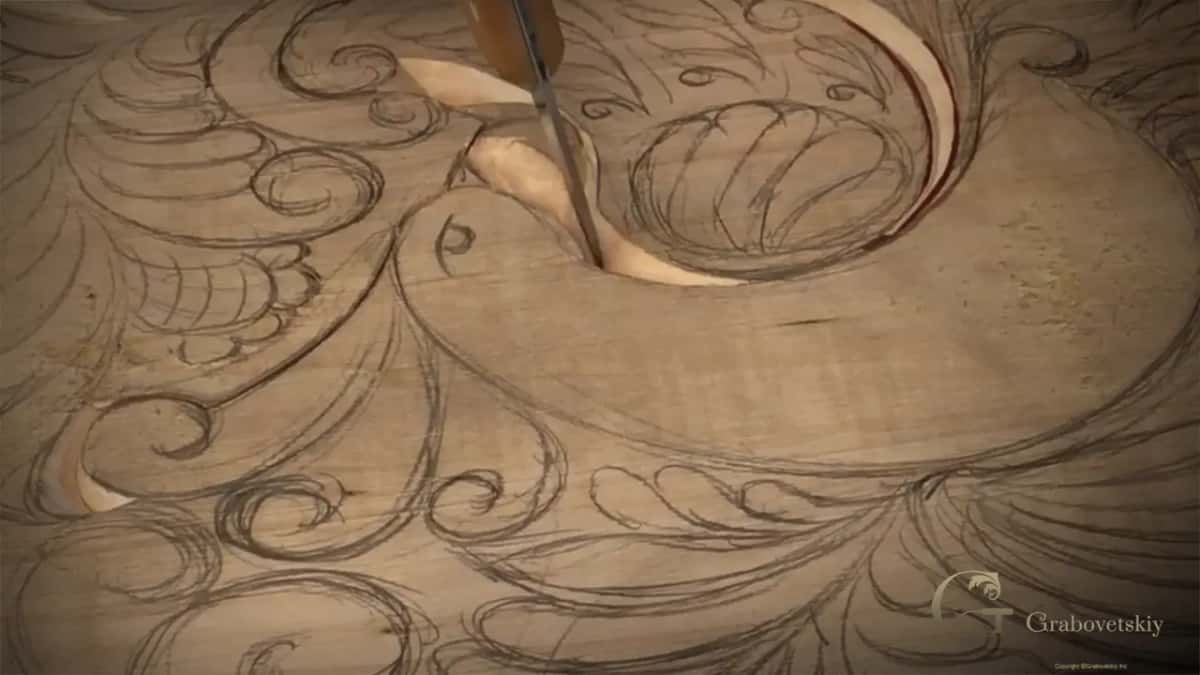
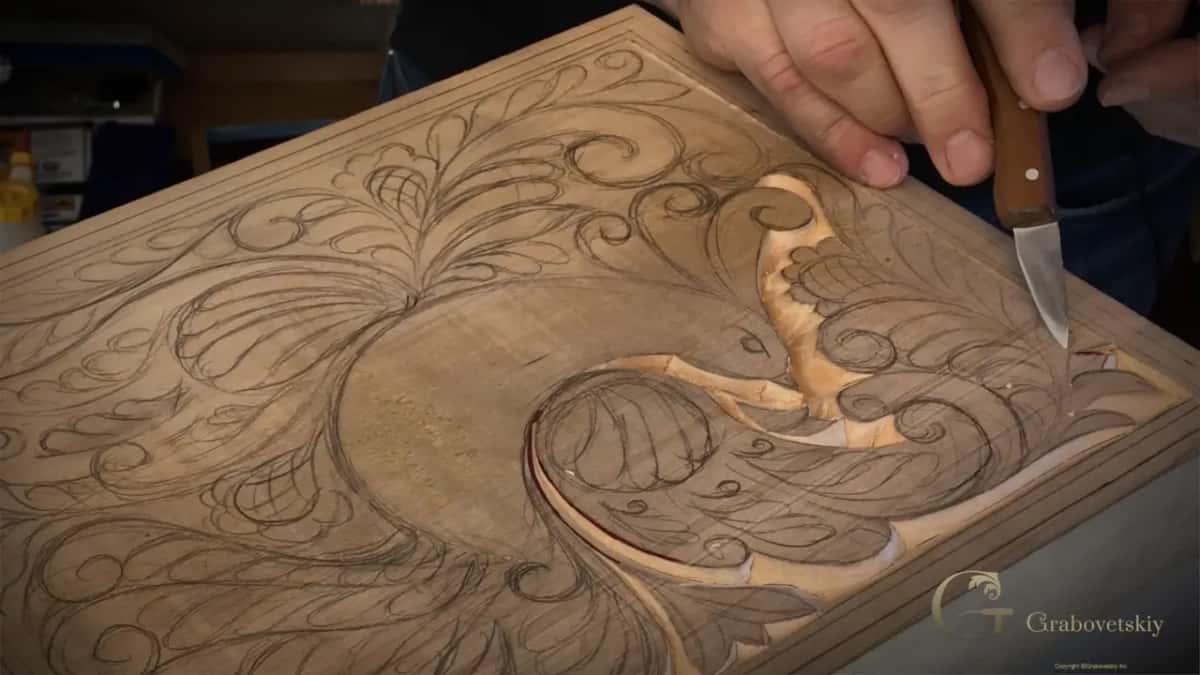
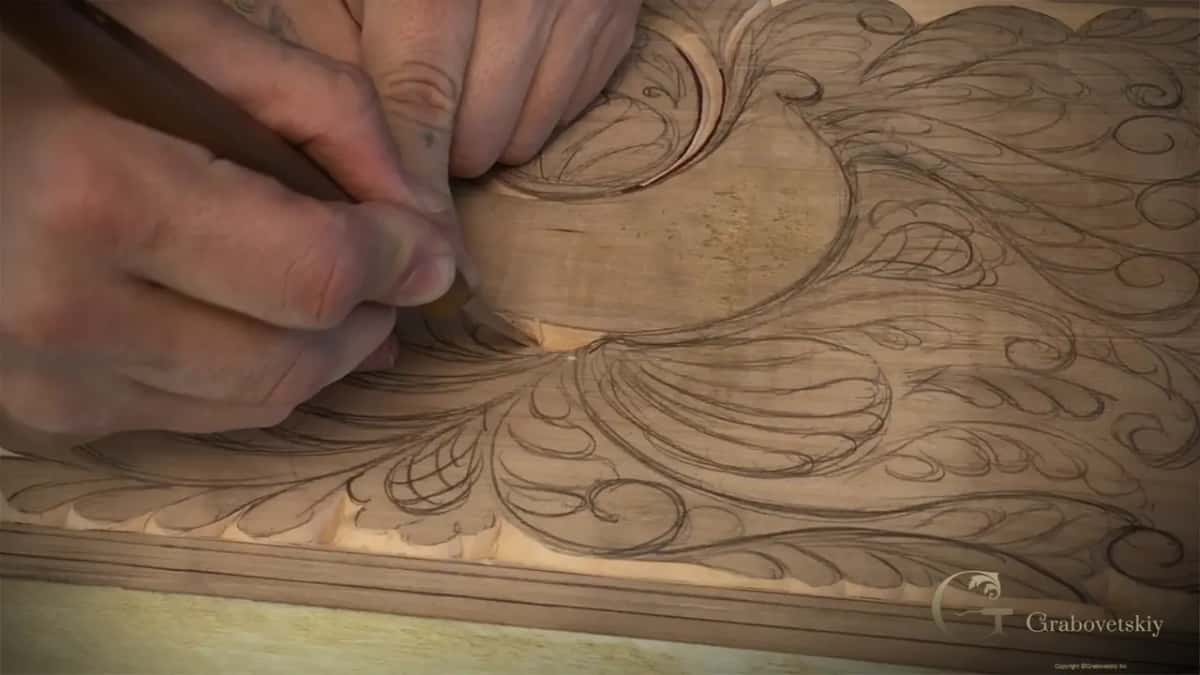
To make the bird stand out. Most of the grooves on this board are angled, angled toward the center. Beside the bird's body I took one wall straight down, because we want to make sure this bird body would just stand out. Visually, you are going to see that better.
I left the space around the bird plain, too, though it could be filled with smaller details if I wanted to. But I think it is really good as it is, because it sits around the main body of the bird, and you can see the bird much better because of the shadow line.
| Where | What | Why |
|---|---|---|
| Beside the bird | One wall goes straight down instead of leaning in at an angle | so the bird stands out |
| Most curls | Both sides angled toward the center until they meet in a V | a nice V at the bottom |
| Some curls | More like a round groove than a V channel, following the outline | the look of curls |
| A leaf's straight line | Knife set in the corner and pulled toward me really slowly | shows a straight line stays straight |
| Big waste areas | Shaved little by little toward the wall, the main chunk first | keeps tool marks off the wall |
Should you take a big chip in one go?
Take it little by little. When a big area has to come out, shave it slowly and go toward the straight wall. Slowly remove the main chunk at first, and then work your way in.
This happens most of the time where a wall goes straight down at 90 degrees, like the one I was carving. Try not to hit that wall too hard. Otherwise you are going to see those tool marks, and that is not going to look as nice.
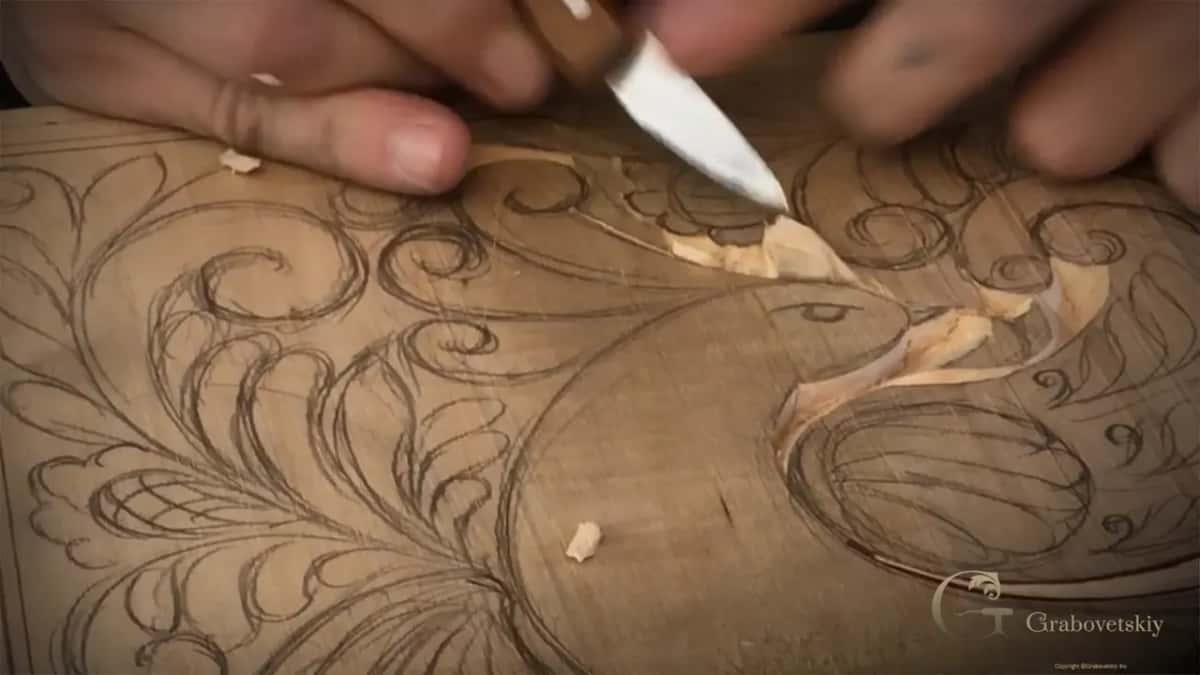
It doesn't have to be done in one single pass, either, and I see no reason to try. It's hard. You think it's easy, but no, it's not. I said it again in the third video. Place the knife again, and again, and again, and don't force it, because it is better to come back and repeat the same pass multiple times and make it clean.
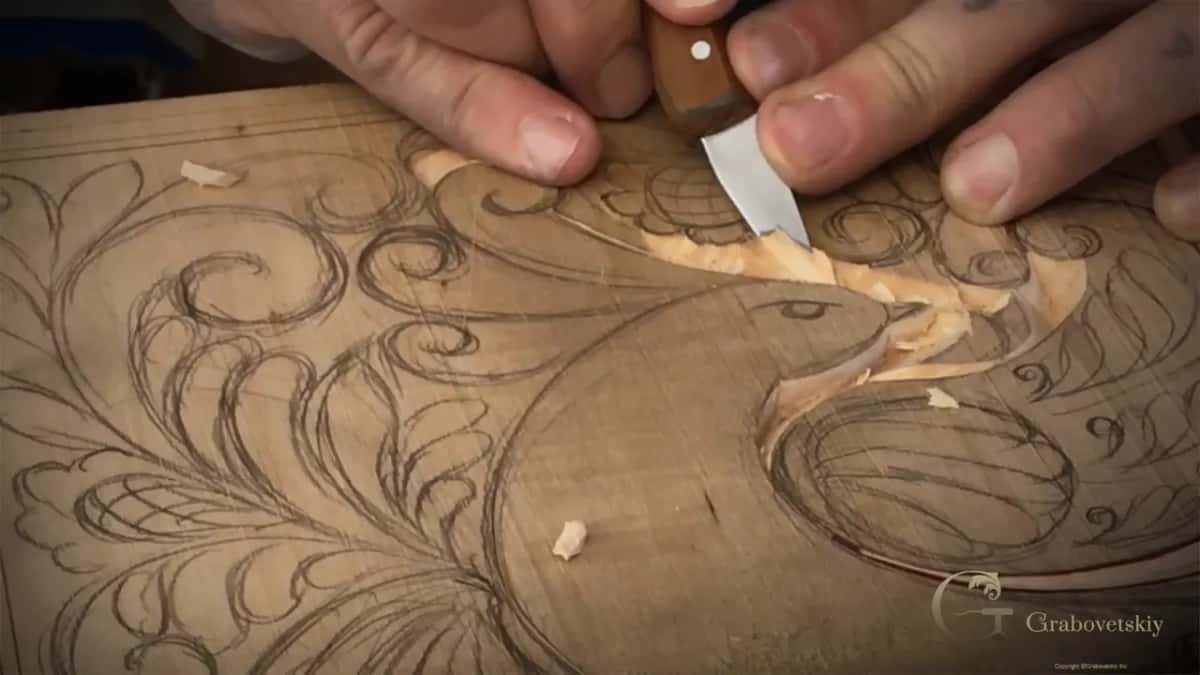
My test is my own breath. When I blow on the carving and everything flies out, the groove is clean, as long as nothing stays there. When a chip is not flying out, I need to refine that pass. I keep going until it is clean and nice without any sanding.
How old is bevel cut carving?
Older than the Vikings. Put yourself on a Viking boat in the ninth century, a long trip, with only one knife you can use. What beautiful things could you get done with that one knife?
The type of carving I chose here is actually from before the Vikings became known as Vikings. It existed all around different European cultures, the Danish among them, before all those raids of the Viking Age. And it is nice and relaxing work.
The rolled spiral all over this board has a name, an architectural element called a volute. I like to call it a swirl. Ancient Greeks called it volute, but European cultures carved the same element long before those Greeks. Wikipedia says the volute forms the basis of the Ionic order, in the capital of the Ionic column.
What else can you carve this way?
Bowls and dishes, made from wood of course, and pretty much anything. Love spoons, too, and that would be more authentic. Wikipedia describes a lovespoon as a carved spoon given as a gift of romantic intent.
Jewelry boxes look really unique and nice with it too, on the sides of the box and on the lid itself.
What comes after the outline on this board?
Finish, later on. I want to show you an ancient-style finish, the way the people who lived before us would finish a piece. It's not as simple as people think, and they did really unique stuff with finishes. If everything goes well, and God permits, I'll show you that old-style finish.
Before then, the outline needs its last spaces. Partway through the third video I saw too much empty space on one side and added another volute there. That should be enough for today, I said, and Workshop 6 picks up the same board.
The vise holding the board is a Veritas. Sorry for the squeaking on the video. The vise was already tight, and I didn't want to loosen it every time. That is one of the beauties of this vise, and you can use it for all types of carving.
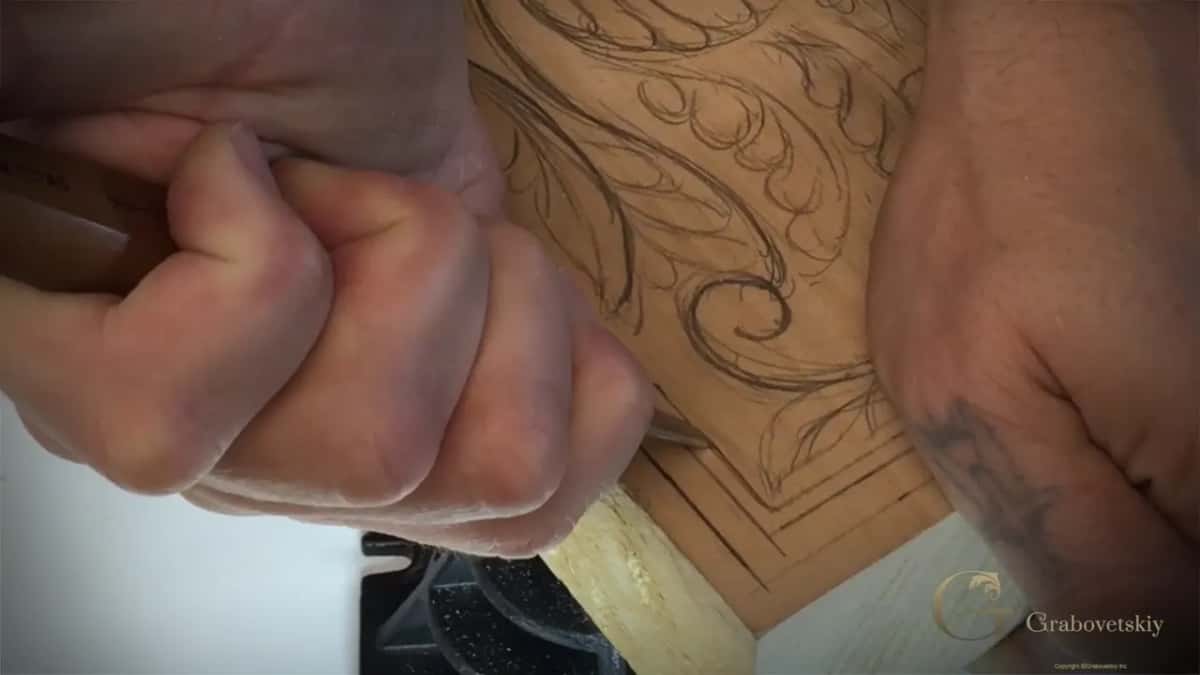
The BeaverCraft set I showed in the tools course came with a stropping leather, a really thick double shoulder leather, I would say, plus green paste and diamond paste. In Workshop 3 I asked you to follow along and not just watch. Every workshop on this board is in the beginner course, and Access opens all of it.
Would you like your next chip to fly out on its own? Then give the leather a little paste first.
How it's done
- Load the leather. A bit of green compound goes onto your leather.
- Count twenty one way. Find the bevel, lay it on the leather, and strop it about twenty times in one direction.
- Count twenty back. About twenty more the other way.
- Check the color. Black streaks on the leather mean metal is leaving the edge, so the strop is doing its job.
- Return at the old angle. Set the knife on the line at exactly the angle of your first pass on that side, and keep this pass light.
- Clean down to the meeting point. Make the cleaning cut to the marriage line, then blow on the work. Anything that stays put needs one more pass.
Frequently asked questions
What kind of leather makes a good strop?
A normal piece is enough, the kind you get at a leather shop. Mine on the Venice Room panel was just a small piece of cow leather, and when one piece was a little too thick for the inside of a gouge, I changed it for a thinner one.
Can sandpaper stand in for a strop?
Sandpaper can. In my April 2020 knife livestream I used 1,500 grit, then 3,000, counting every stroke, going the opposite direction, always on the pull. The result came out about the same as the leather, and paper costs very little.
Which do you use, a hand strop or a machine?
Both, at different times. For this workshop the knife goes on leather by hand, and by hand my preference is always leather. In the sharpening course I said I had not honed by hand for a long time, because time is money for me, so machines like a Work Sharp and a Koch do it.
What to carve next