
Alexander Grabovetskiy, woodcarver, School of Woodcarving · Published 2017
Should you sand a wood carving when it is finished?
Quick answer: Sanding a finished wood carving is a choice, and the finish going on it decides. On my curly cutting board the knife marks stayed as the texture, partly because a water-based stain raises fibers that paper presses down. Only the upper level got a light pass, right at the end.
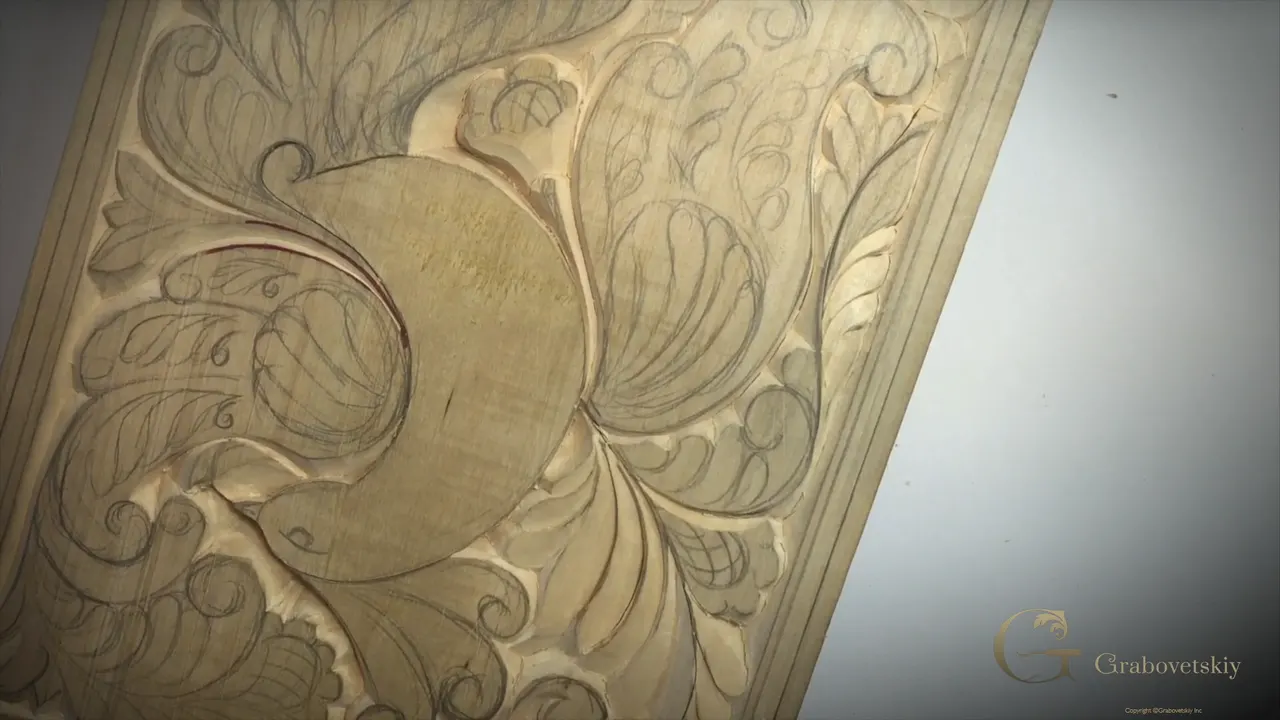
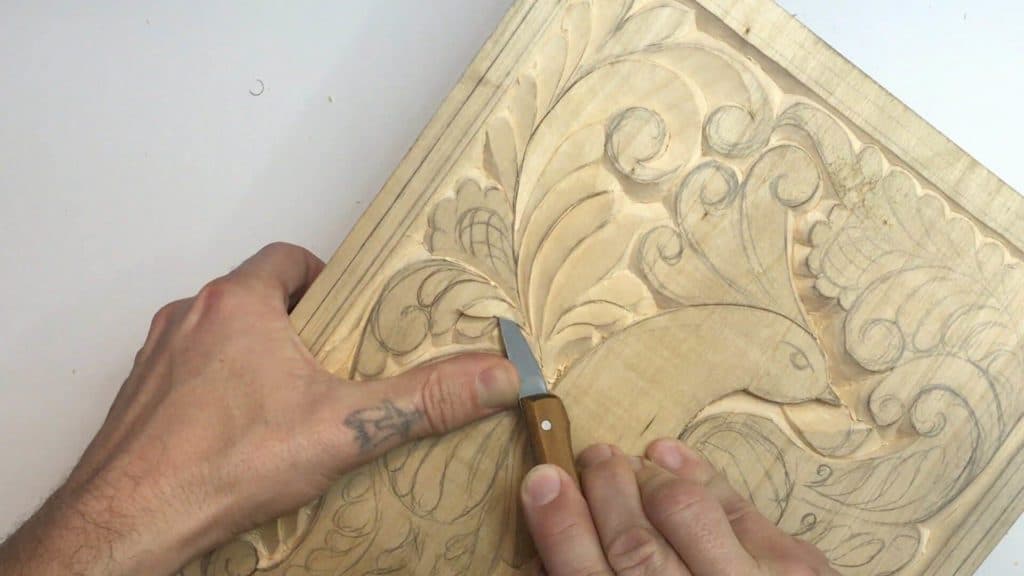
Sanding a carving like this cutting board is a step I usually leave out, because the marks from the knife are the texture. I know some people do sand. But it's much more beautiful to me when you leave those marks on the wood, as long as they're unified and nicely done, not choppy.
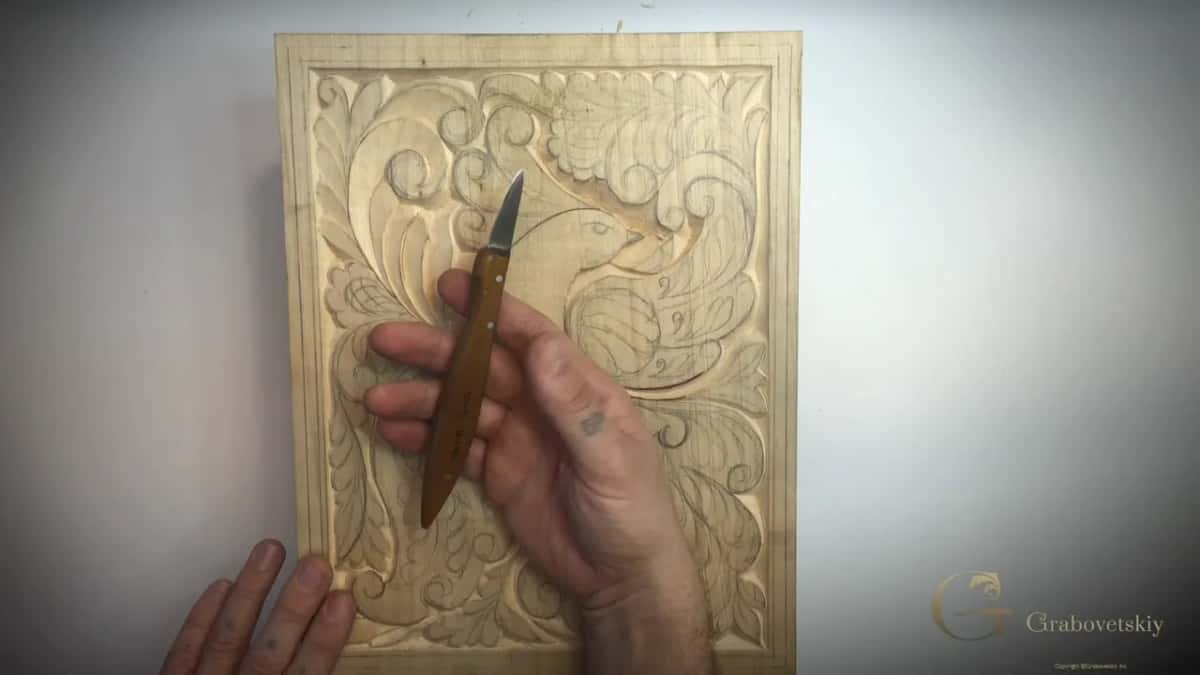
This is Workshop 8 of my beginner course, four parts on one board, the curly kitchen cutting board with a bird of paradise in the middle. I'm still using the same tool, a number 12 Swiss made chip carving knife by Pfeil.
Wondering if your carving needs sandpaper before a finish goes on? Looking at the little flat faces your blade left and thinking they look rough? Then put the paper aside for a few minutes and see what I did on mine.
Sandpaper, old finishes and the grid in this workshop
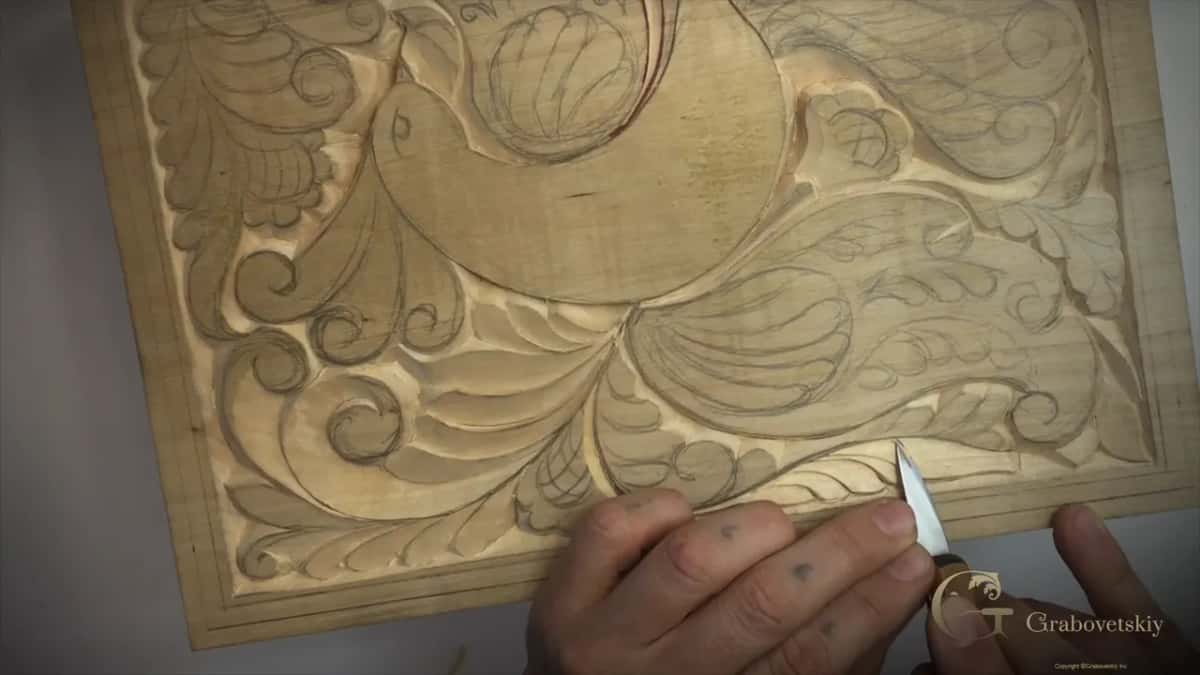
On this board the knife marks stay as the texture, and they have to be unified.
Before sandpaper, carvers in England rubbed with Dutch reed, and most commonly they smoothed the grain with a second bit of wood.
Oil or wax was the main finish after that.
A water-based stain lifts fibers that sandpaper pressed down, and on a clean knife surface it lifts almost nothing.
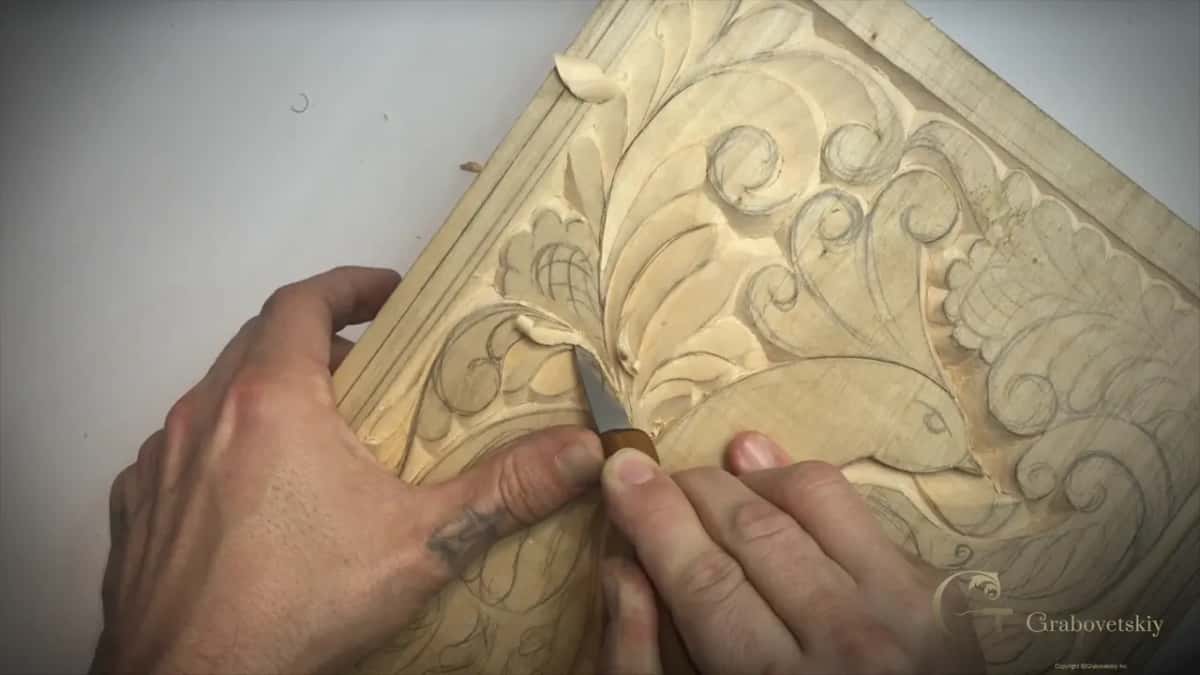
Each line of the pineapple grid becomes a V, made from two passes about three millimeters (1/8 in) apart.
Why leave the knife marks on a carving?
Carving is more than shape. Some people look at it as if you're just making some kind of form, I said in part two, but it's more than that. You're using the marks from the chisel and the knife as a texture on your carving.
So usually you don't sand that.
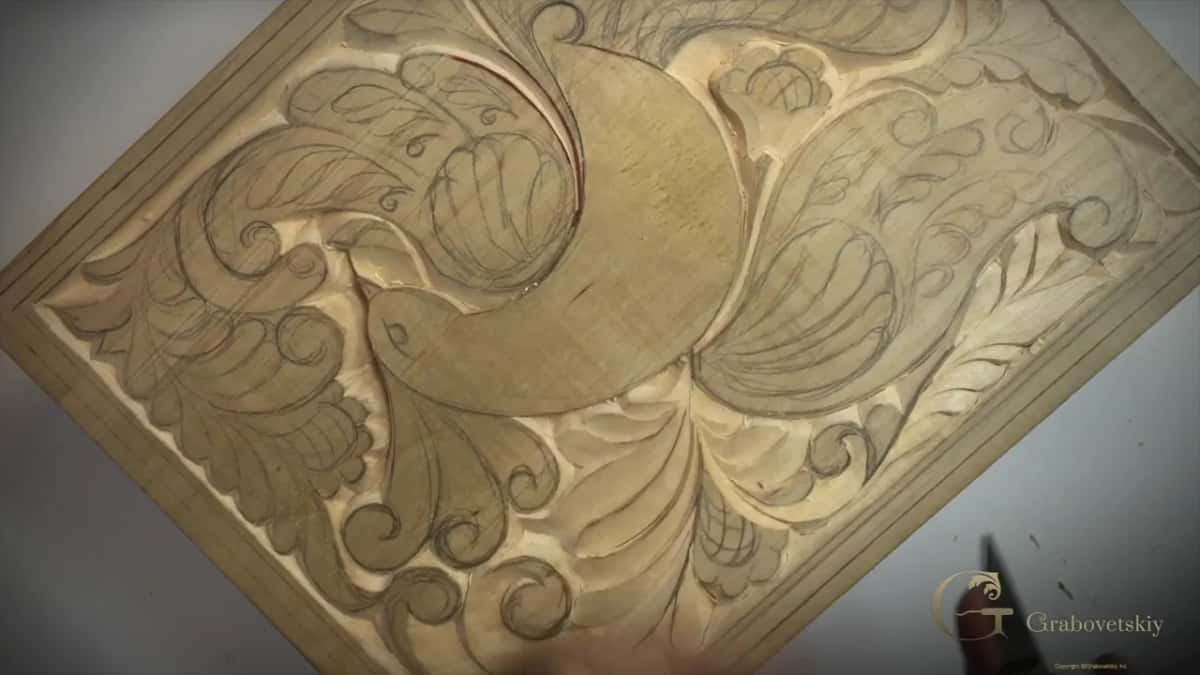
There's a condition, though. Those marks have to be unified and nicely done, so they don't look choppy. Even mine aren't always. Near the end of part two I turned the board and saw a spot where they weren't looking really good. So I cleaned it with the knife and left it like it is, out of the chisel, as they would call it, or straight from the knife, the other way to say it.
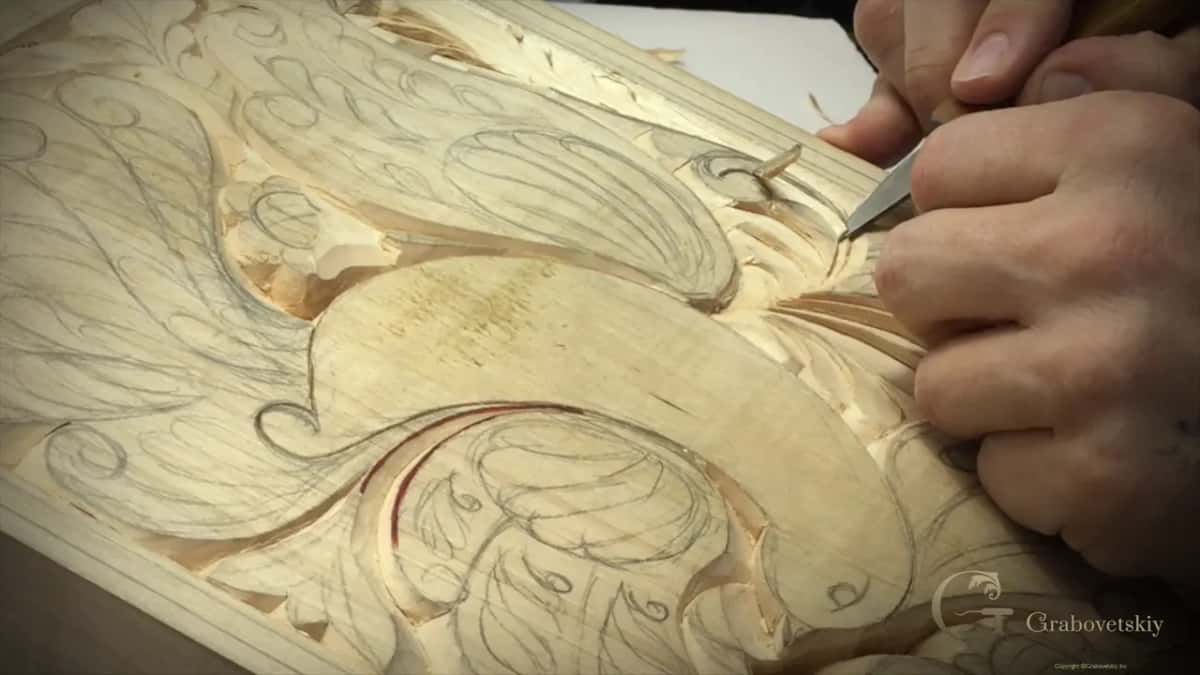
Notice what I didn't grab. The knife did it.
Is it ever okay to sand a wood carving?
My answer depends on the finish. I get a lot of emails asking whether to sand or not, so I answered it in a question and answer video in my techniques course. It all depends on the finish that's going on and on how it's applied. And to answer the question, yes, it's absolutely okay to sand.
In that video I showed a shade for a pipe organ going to New York City, in mid German Baroque style, and every bit of it was going to be water gilded with gold leaf. For water gilding the surface needs to be stabilized, and it has to be shiny before the gold goes on, otherwise it won't look good.
So for gold leaf, as much as I love an out of the chisel finish, I still do some sanding. I use a mesh by Mirka with holes in it, so the dust goes into the mesh and not much abrasive stays inside the wood.

I talked about it in my Hashemi Flowers course. If you're only after form and shape, a 3D printer will work for you. For art and beautiful movement, with all the ridges and tool marks, it won't. A fine artist leaves his brush marks, and that's considered a piece of art, and the same applies to this type of work.
Nothing wrong with sanding, I said there. It's a different culture and different traditions. Some customers ask me to make a carving really smooth and sand it, and some even paint over my carving. But honestly, in my opinion, it looks better with tool marks.
Did the old carvers sand their work?
They didn't have any sandpaper. Some of you asked me about finishes and what they used before, so I told you in part one while I kept carving. For a long time they never sanded it.
In England they used the Dutch reed, just a plant with some kind of abrasive on it, and you can rub with it. But it's not really what you think of as sanding. It won't give you results like sandpaper, and it still leaves the marks.
Most commonly they took another piece of wood. I found a piece on camera, not the best one I have, and showed you how they just smoothed all of the grain with it. It gives a really smooth result. After that, the main finish was oil or wax, so they would just oil it or wax it.
Back in Workshop 4 I put it this way. Think about 2,000 years ago. They had no sandpaper, and not everybody used the reed either. Most likely, most of the carvers never used any sanding.
My sandpaper video, the question and answer one, adds a few more old ways. Some people would say shark skin, but not everybody lived close to the ocean. Some used a piece of glass to scrape the wood, and scraping was used all over Europe. Then you burnish with the same species of wood. On American basswood, which is pretty much the same as European linden, that gives you a really shiny surface.
| Method | What it does, in the words I used on camera | Source |
|---|---|---|
| Nothing but the knife | The marks stay as texture, clean and all alike | Workshop 8, part two |
| Rubbing with more wood | Smooths all of the grain and gives a really smooth result | Part one of this lesson |
| The Dutch reed plant | Has some abrasive on it, but still leaves the marks | Here and in Workshop 18 |
| A knife used to scrape | Scrapes the whole surface, then you burnish with the same wood | My video on sandpaper |
| A 400 grit sanding block | A light pass so the upper level shows more | Workshop 18, part one |
Why skip sandpaper before a water-based stain?
Paper presses some of the fibers down, and the stain brings them back up. That's one of the reasons why I don't use any sandpaper on this board, as I said in Workshop 17. Once you apply the stain, all those fibers are going to be raised. The grain is raised. On a clean knife surface with no sandpaper, the raising of the grain is minimal, almost nothing.
That stain was water-based. We just added water to walnut shells and boiled them, and I brushed it into the cavities first. I wasn't afraid to leave a little more of it inside the grooves either, since that only gives you a few darker areas.
Part three of this lesson is where I first talked about the finish. I said we'd use a really old, ancient technique of finishing wood, used thousands of years ago in Syria and the Middle East and later in Europe too. It's all organic and safe for a kitchen.
And hopefully, I said, it would develop a really nice color.
Did this cutting board get any sanding at all?
A little, at the very end. In Workshop 18 the stain had dried overnight, and I could have put the oil on right away. Instead I first took the Dutch reed, since I kind of like what it does, and went around just the edges to make them a little lighter.
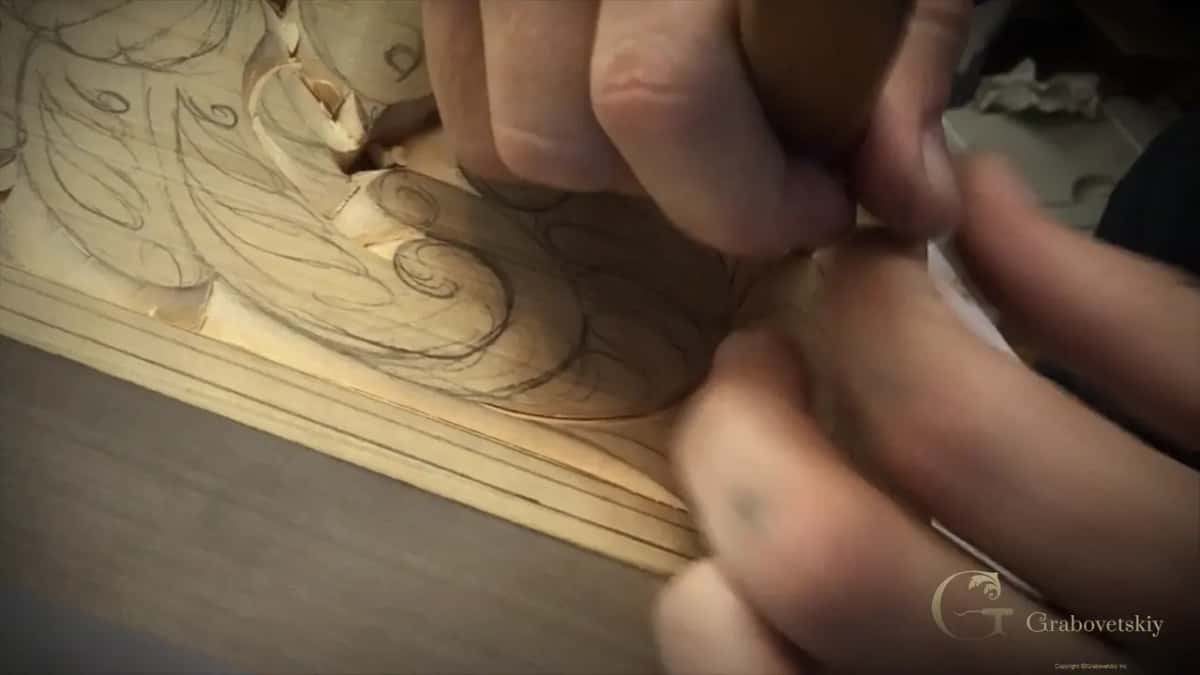
The quickest way, I said, would have been a scraper. And if you don't have a scraper or a Dutch reed, you could still use sandpaper, like a 400 grit sanding block, which is what I had in my hands, just for a light sand. Not much, just slightly.
The goal was to make the upper level more noticeable. A slight sanding without over sanding, then a little more on a few areas, and I thought it was enough. Only after that, in the next part of Workshop 18, did the mineral oil go on.
How do you carve the pineapple grid on the flower?
Line by line, at one bevel. I call it a pineapple detail, though it's not a pineapple, since in Europe they didn't know the pineapple back then. They still used that idea, like a grid.
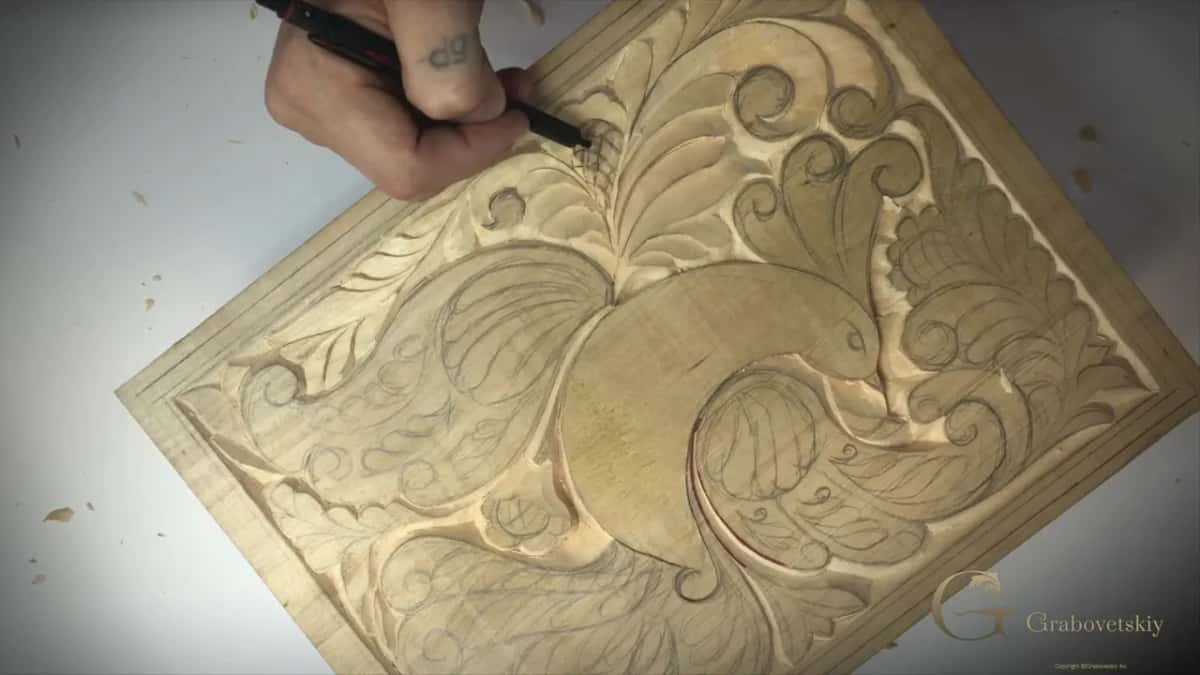
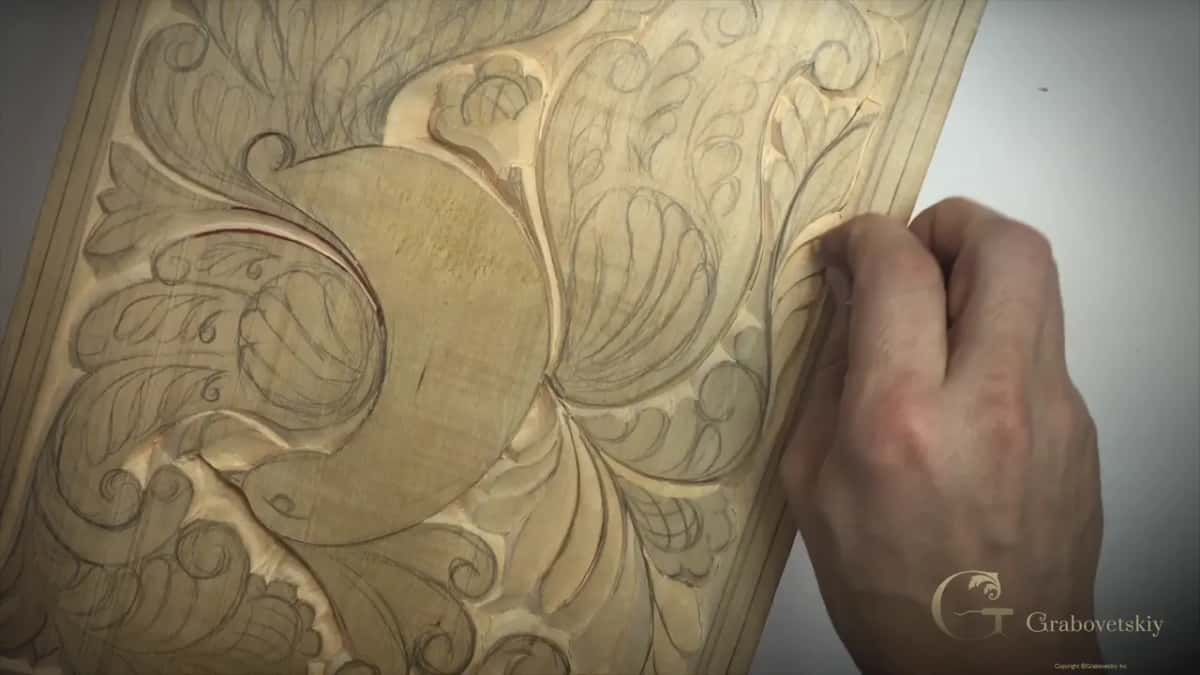
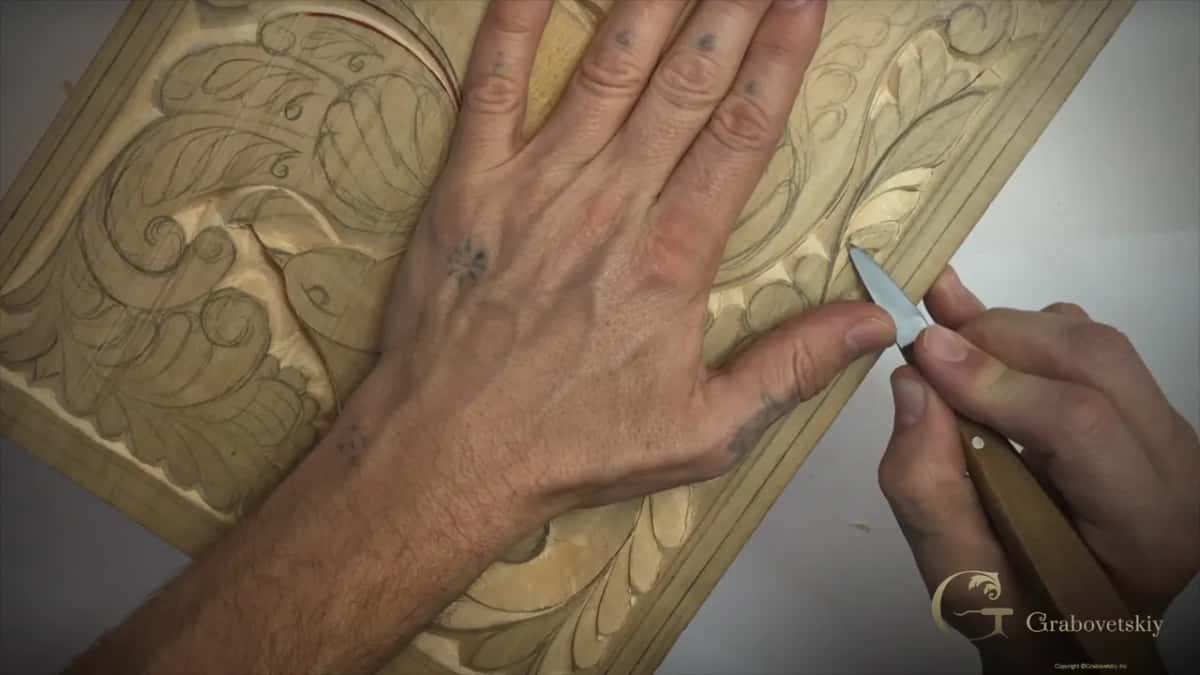
First I redrew the lost details with the pencil and lowered that area with a really low angle. Then the lines. Place the knife right on the line, with approximately the same bevel you used on the outside. Don't dig too deep, because you don't have much material there. Same angle on every line.
From the opposite side you do exactly the same. My bevel leaned toward the right the first time, so now it leans toward the left, and you stay away from the line you already carved by a couple of millimeters, about three millimeters (1/8 in). That makes the V cut.
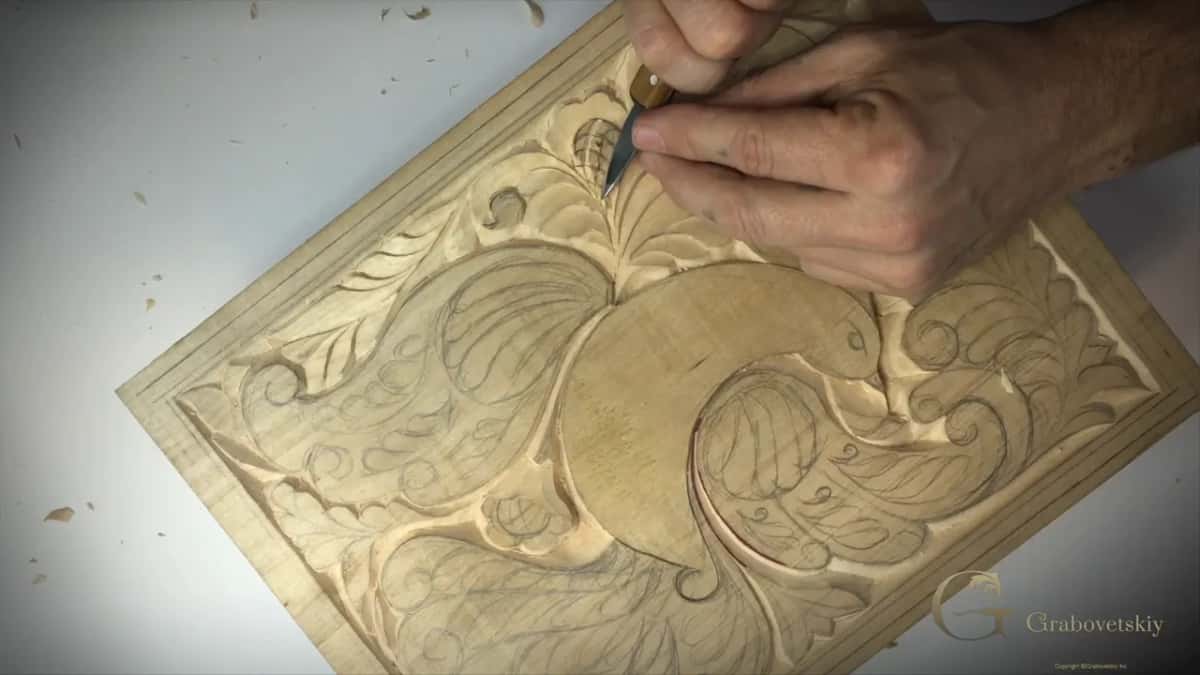
Just be careful, and don't rush it, or you can make a mistake. Every line gets the same idea.
Which way does the knife go when the grain runs both ways?
Both ways, from the upper point. On one shape in the first video I worked away from myself, just helping with my finger. Start at the upper point of the grain, and if the grain runs this way, the stroke moves downhill. I wasn't sure I was making any sense on camera, but once you try it, you will understand exactly what I mean.
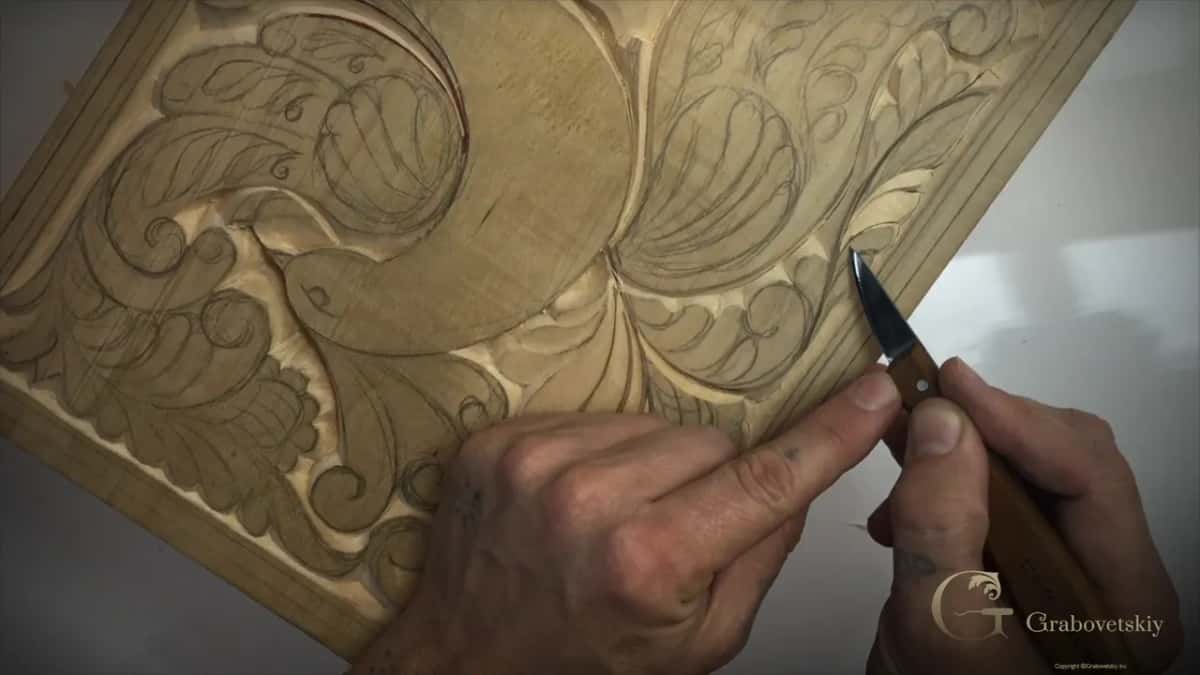
A little later the grain went both directions on one spot. From the upper point it has to be carved toward me one way and the other way too. So first a pull cut toward myself, then a push cut away. It comes out much cleaner.
On the last leaves in part four I pushed the blade away, and I said I could also pull it toward myself. Both would be really good.
Why can't you clean up a careless pass later?
On the volute in part two I said it plainly. Be careful in areas like that, because you're not going to have a chance to clean it after. If you want to be authentic, we're not going to put any sandpaper to it.

Part one shows the habit behind it. I don't want any ridges left after a pass, so I keep it really long and clean, and when I'm not happy with what I see, I clean it again. Keep an eye on the edge of the knife, too, so you're not digging past the separation line between two elements.
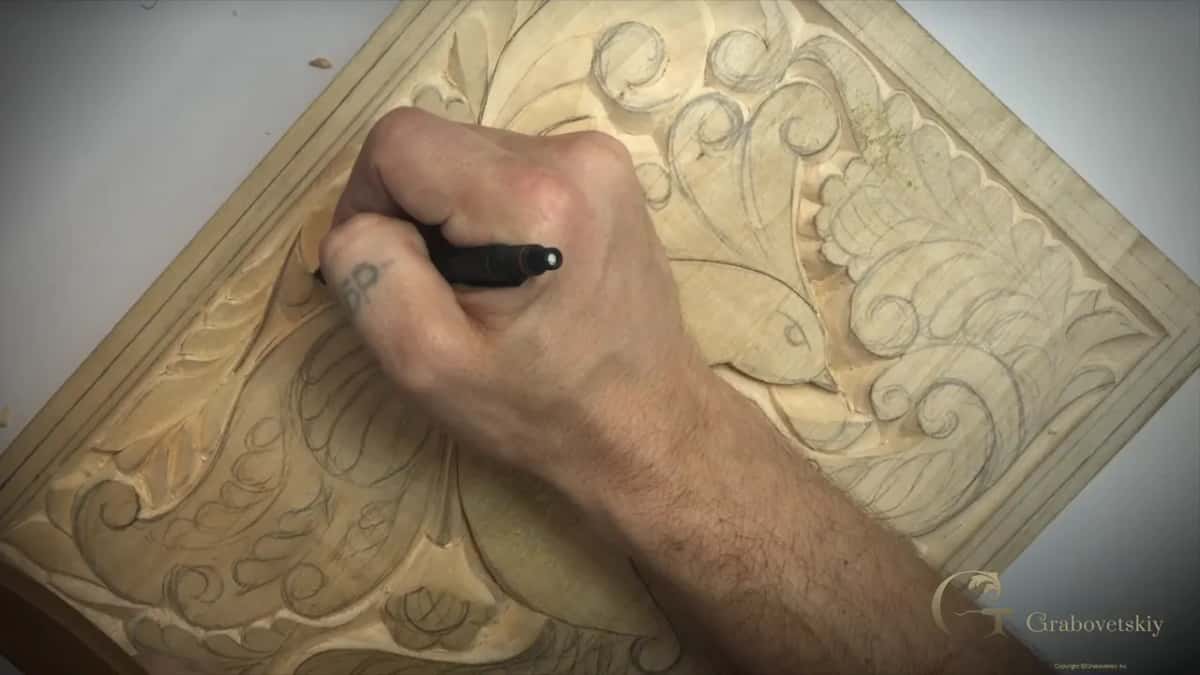
Control the knife, and if you need help, use a finger, the way I do with my thumb. In part three I got the pencil to find my true line again.
Can one knife carve this whole board?
For this stage, yes. You can do a lot with just one single knife, and that's actually the idea. Of course I could use different gouges and different tools. But I really like the knife idea, first of all because it's ancient, and that's what they had back then.
You don't need to collect the whole tool set you see behind me for this kind of carving, and you can still do beautiful things. Back in Workshop 3 I said 99% of this project would be just a knife.
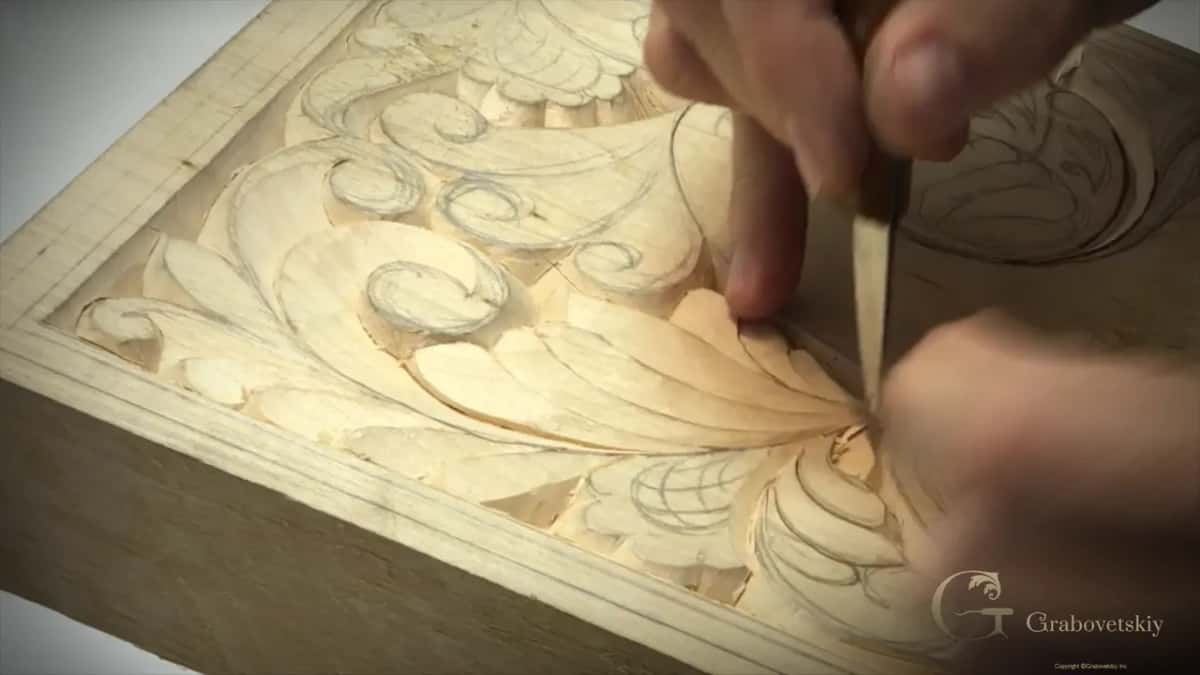
Then there's the other 1%. Later on we're going to introduce a gouge to this carving, and the flower will look even nicer. But I like it just like that too. We could leave it that way, and I think it looks really nice.
Believe me, it looks simple, but it's not. You're training your hands a lot more, I would say, than even with the gouges sometimes. You control the same straight tool, yet you make curved passes, and you control how deep you go in. That builds really good technique, a 3D feel.
Is flat carving real carving?
Of course it's somewhat flat. That's the idea of this design, more like a flat carving. But that doesn't mean it isn't carving, and it still looks beautiful, just a little different from a classical piece. With the knife you're absolutely not limited to any type of design.
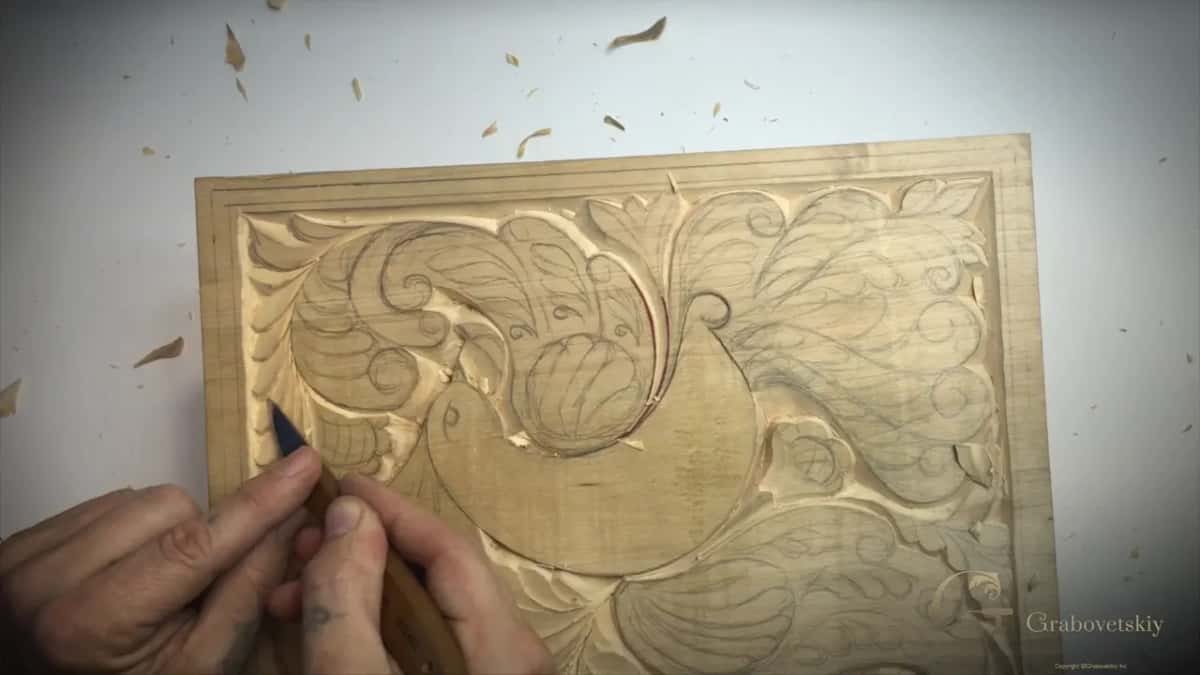
This type of carving is ancient, and you can find it all over Europe in different cultures, with different traditions and different designs. The idea is still the same.
It's called curly because it looks like there's a lot of movement in it, like curls. Part two even works on a volute. Not that deep, but it still creates so much three-dimensional look, and it's very stylized. I really like that stylization.
How does one leaf end up under another?
You decide, one shape at a time. In part one I made the first pass on a detail straight down, at 90 degrees, pulling the knife toward myself. Then I said, let me think what's the best approach. This one goes underneath that one, that one underneath this one, and that one underneath the big leaf.
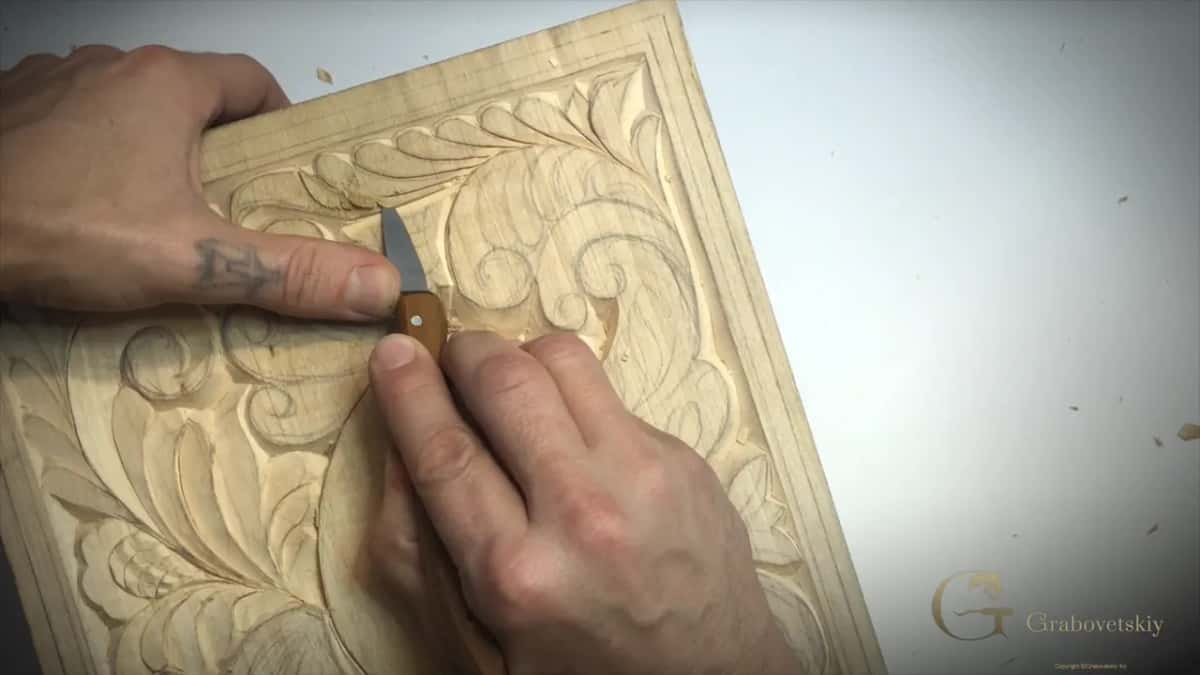
Straight down passes come first, just to follow the design. Part four does the same on another group of leaves. The middle line goes in first as a straight down cut, then a preliminary bevel, then straight down passes to divide the leaves, and then this leaf goes underneath that one. Be really careful that the edge isn't digging too deep inside.
And a part you want to stand out more can always take an even lower bevel.
What comes before and after Workshop 8?
Workshop 7 comes right before this one, and Workshop 9 comes next. I would like to see the results you have with it, so please work on it.
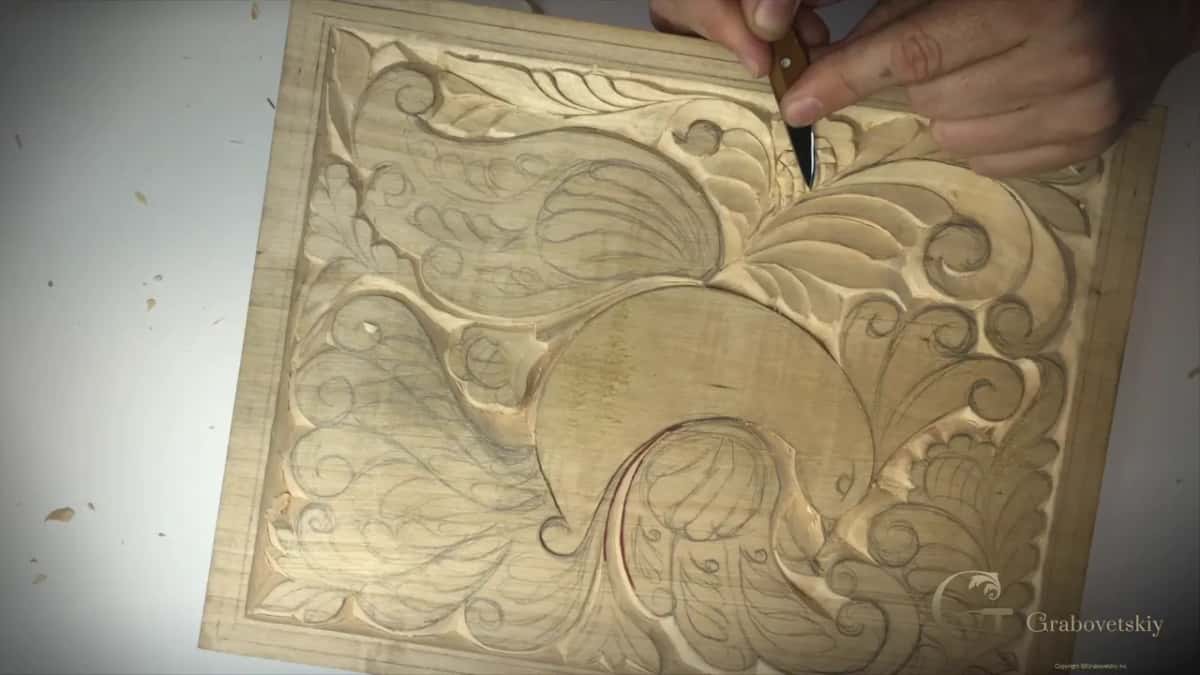
All four parts of this workshop come with tuition at the school, along with the rest of the cutting board course. Got a knife and a board with your drawing on it? Then keep the marks clean.
How it's done
- Keep each pass long and clean. No ridges should be left behind after it.
- Turn the board and check. Rotate it and look again. Choppy marks show from another angle, the way one did on mine near the end of part two.
- Fix a choppy spot. Go over it once more with the blade, then leave it as it is.
- Stay off the separation line. Watch the edge of the knife so it doesn't dig past the line between two elements.
- Brush on the stain. Start in the cavities. With no sandpaper on the board before it, a water-based stain hardly raises the grain.
- Give the upper level a light pass. After the stain dries, a Dutch reed, a scraper or a 400 grit block brings the upper level out a little. Just slightly, and then oil.
Frequently asked questions
Which side of a carved cutting board is for food?
Use the other side. Someone online once asked me how you are supposed to cut on that if it's all carved. Well, yeah. The carved face is the decorative side, and the opposite side is for all the food preparation. Mine stays a decorative piece anyway, since I carved it for the lesson.
Is wax a good finish for a carved cutting board?
Wax is safe, but it isn't water resistant, so a waxed board can't go under the tap. For mine I chose butcher block finish, which is just pure food grade mineral oil, three or four coats so it soaks in deep. All of that comes from Workshop 18.
Why carve with your palm instead of your arm?
Control. When I carve, I use mostly the muscles inside my palm, not the whole arm, and I control the blade much better that way. Part two is where I said it again, right while I was working on a volute.
What to carve next