
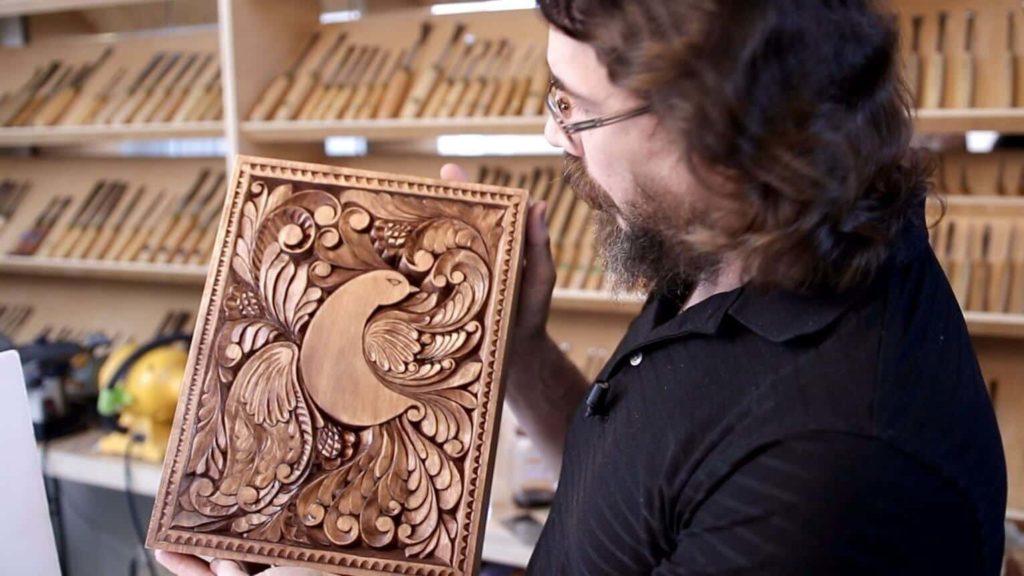
Alexander Grabovetskiy, woodcarver, School of Woodcarving · Published 2018
How do you know your cutting board carving is done right?
Quick answer: A finished carved board is one you have checked area by area. The bird has an upright wall and a dark shadow line, chips came away whole, curls flow with no bubble, one shape sits above its neighbor, few ridges show in side light, and stain and oil cover every spot.
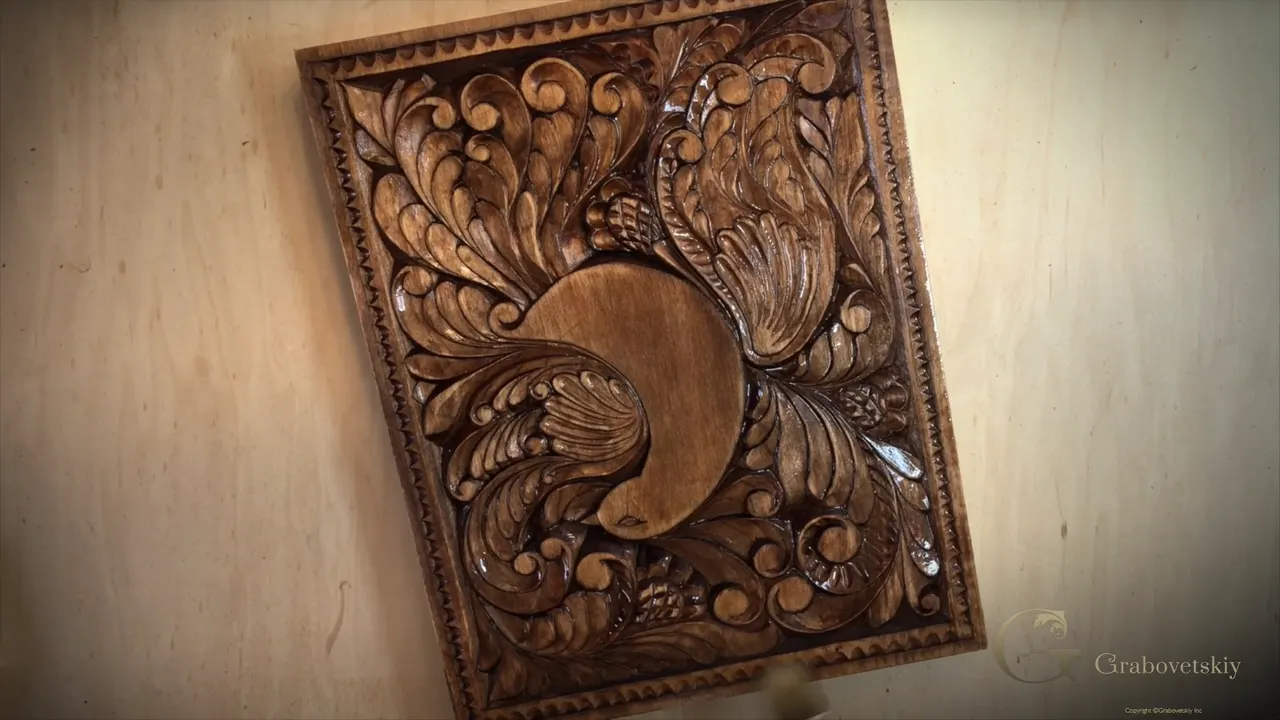
A hand carved cutting board is done right when each area of it passes a check, and on my curly bird board I named every one of those checks on camera. The outline stands upright with a shadow line beside it. Chips came away whole. Lines run into each other, one shape rides above the next, and the stain and oil reach every spot.
You carved the last curl, and from your chair the board looks finished. I know that feeling well. Over and over in this course I stopped and said, I don't like what I see right here, and went back in with the knife. Those stops are your checklist. My board is a block of basswood carved almost all with one knife, and I'll walk you over it area by area, outline first and oil last, naming the workshop where each fault showed up.
Did you carve your bird from a drawing you made right on the board? And did a gouge go round the border last? Then check yours the way I checked mine, one area at a time.
What a finished hand carved cutting board shows
An upright wall round the bird, with a dark shadow line beside it.
Chips that came out on their own.
Lines that flow into each other, and no bubble pushing out of a curl.
Where two shapes touch, one of them sits higher.
A surface that looks like one pass when you turn it under a lamp.
Color and oil on every spot, which took me more than one look.
Here is the whole board on one card, with the fix I used for each fault.
Area to check | What a good one shows on mine | My fix |
|---|---|---|
The bird outline | One upright wall and a shadow line | Rotate, recut |
Every chip pocket | Clean walls on both sides, one bevel | Go deeper |
Curls and lines | Each line flows on with no bubble | Redraw, recut |
Where shapes meet | One sits above the other, never level | Lower one |
The carved surface | Reads as one pass in side light | Blend passes |
The gouge border | One angle all round the whole board | Knife cleanup |
The wet stain | Even color with no white spots left | More stain |

What should the bird's outline look like up close?
One upright wall round the whole body. Back in Workshop 4 I said it could be slightly angled. It's okay, but it would look better if you can just go straight down. The reason came in Workshop 5. That upright pass is there to make the bird's body just stand out, and once it was done I told you that you can see the bird much better because of the shadow line.
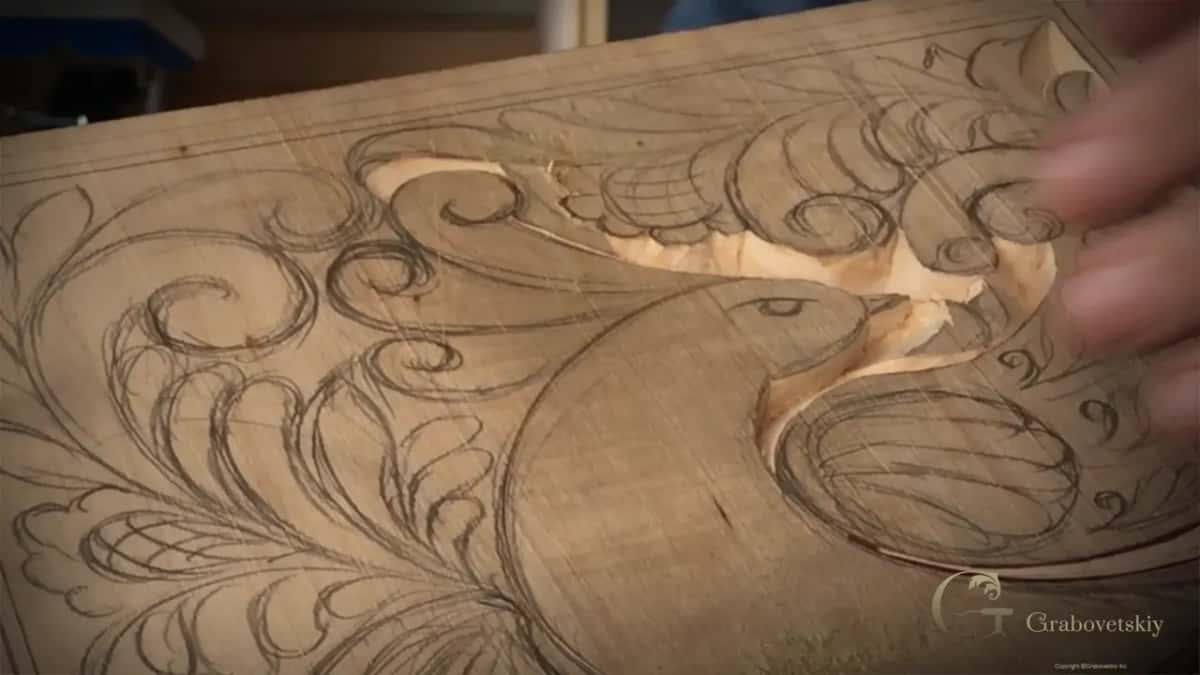
Waviness is the other thing an outline gives away. I found some on my own board in Workshop 4. I could fix it, I said, though rotating the board would have been the better choice. On a first light pass a workshop later, I asked you to keep the line as straight as possible, because you really can easily detect any waviness. A little later I spotted some more on my own lines and called it a micro waviness, the kind that is not going to be noticeable.
How can you hear that a chip is free?
Listen while you carve. I made a deeper pass in Workshop 4 until I could hear it separate easily, and then said I need to make sure it separates everywhere. At one spot I heard it was still connected, so that side got recut. The same rule came back in Workshop 12, from the other end. If a chip is not snapping out, there is still a connection point inside, and I carved from both sides until it came.
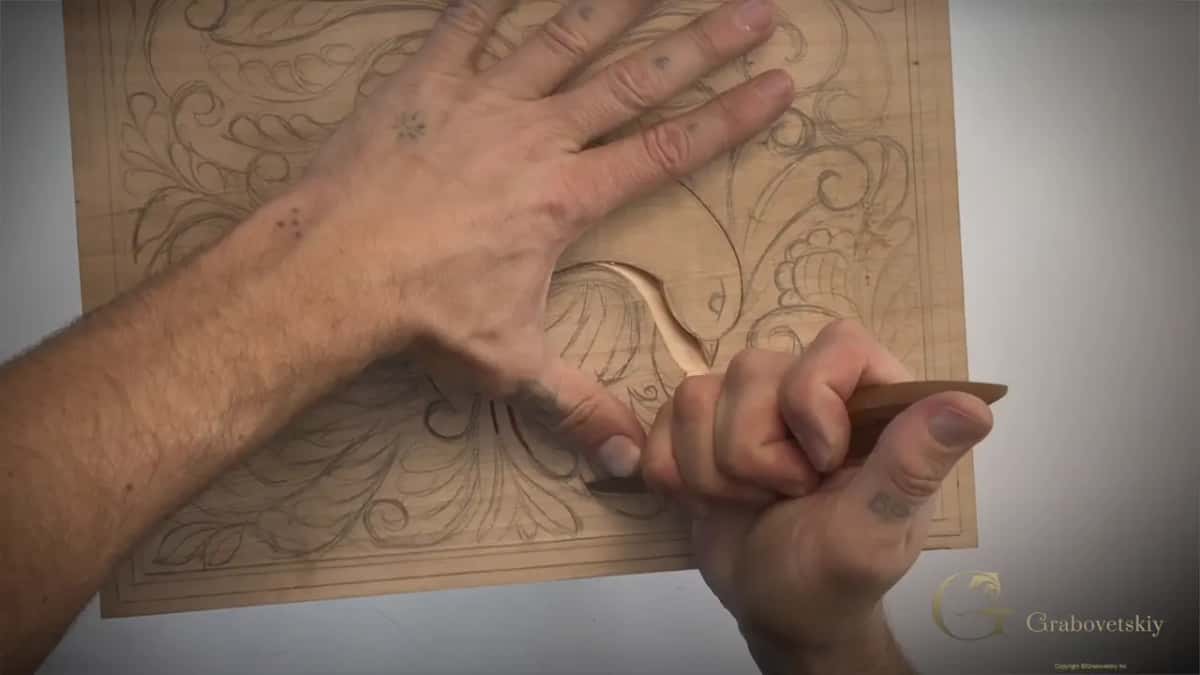
On a finished board there is nothing left to hear, so you look. Each wall should be clean from both sides, which is what I checked in Workshop 7 before moving on. The bevel has to hold too. Keep the same bevel as your first pass, I told you in Workshop 6, otherwise it's not going to look as nice. Over in Workshop 8 a bevel started more straight and turned slightly slanted along one curl, and I made sure it matched there. On another detail I made sure my bevel was exactly the same at the end.
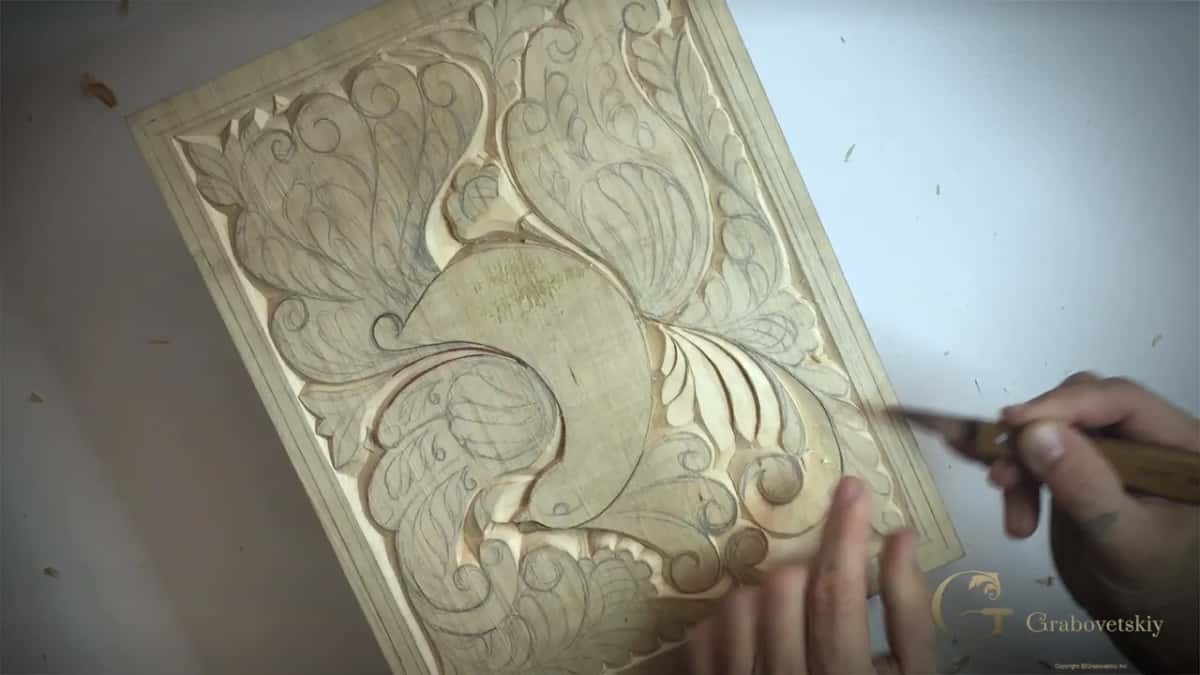
Where do bubbles hide once the board is carved?
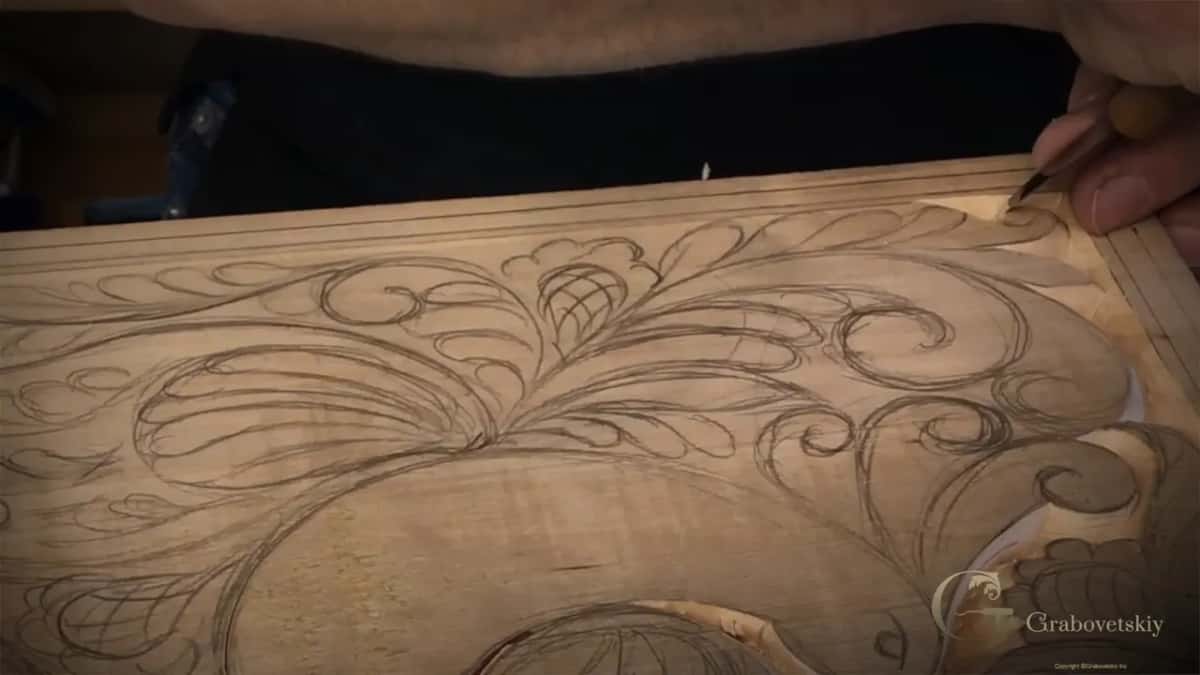
At a curl, where one line bubbles out past the flow line. There was an original bubble in Workshop 14, still in the drawing, sticking out of the flow line, and I redrew it in harmony with the line outside it. Some get carved before anybody sees them, though. I found one already in the wood in Workshop 15 and said it looks like it doesn't belong to the main flow line. I recut it, and you could see yourself it looked much better. But it takes fresh eyes.
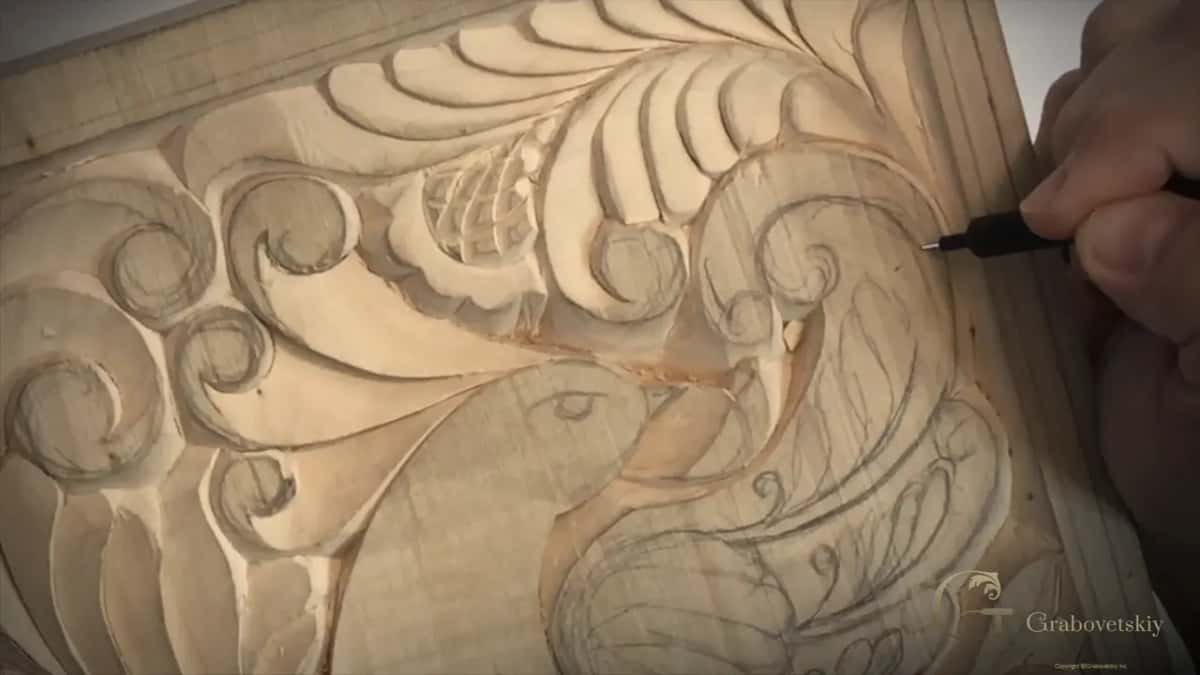
Spacing is the quieter fault. In that same workshop I didn't like how three gaps looked, distance-wise. One was much wider than the next, and that one was almost as wide as the third. So I said I needed to bring a line closer to make them semi-unified, and that it would look better if the central part were wider than the ones beside it.
Sometimes the fix is to throw a line away. One curl in Workshop 8 had two lines where it needed one. I said it's not good, and while it was still pencil, that whole section was gone.
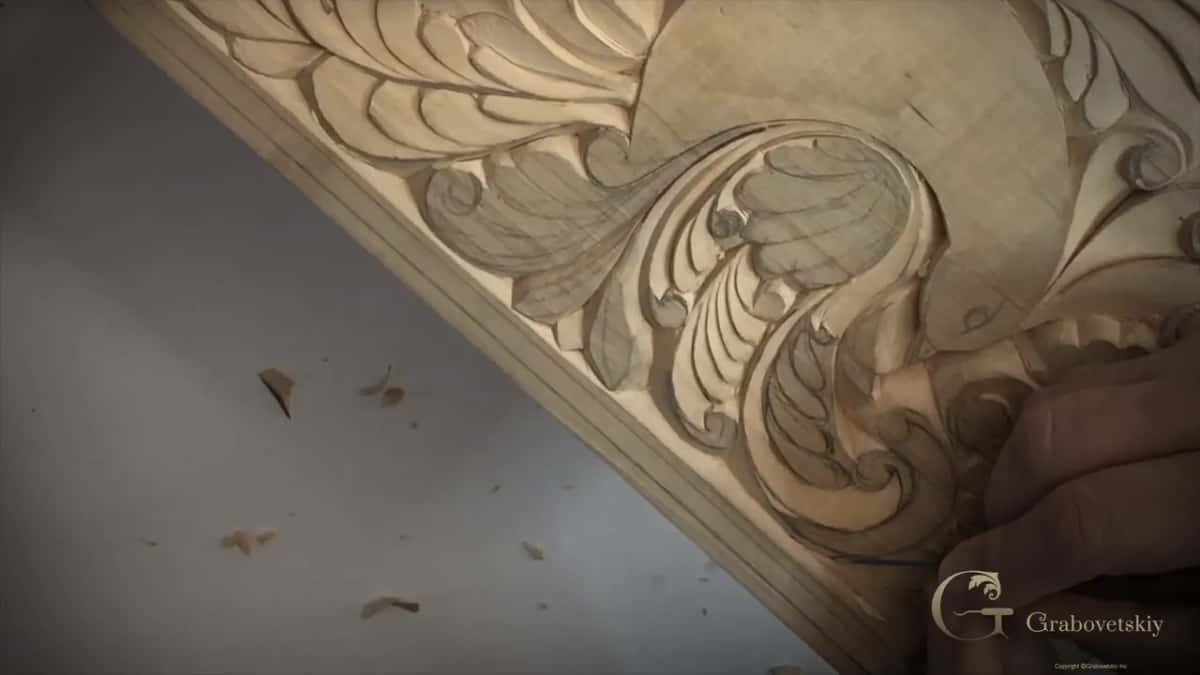
Which part sits on top where two shapes meet?
One of them, and you should be able to say which. Two shapes met in Workshop 12, and I said I don't like how it looks, because they are on the same plane. I carved one a little deeper and blended it in, so the other one stays kind of above. All through the bird I kept saying this one goes underneath that one. A detail in Workshop 7 had to go underneath the flower, or else, I said, it won't look as nice.

Repeated details get the same test, side by side. That same workshop, I carved a detail next to ones that were already done and kept at it until it looked the same as those ones.
What does the surface show under light from the side?
Ridges, mostly, and the ones you missed. A ridge is the little step left between one pass and the next. Museum people call light from the side raking light, and it makes those steps throw a shadow. Look at the carving from different angles, I said in Workshop 10, and when the light hits from different directions you can see much better if there's any ridges left. My goal was as few ridges as possible, so it looks like it's already sanded and smooth.

That habit came up again in Workshop 11. I said I would turn the board, look at it from different perspectives and use different lights, and even right then I could see areas I needed to clean. Then came the line I'd say to you now. If you notice spots like that in your work, and you have the knife in your hand, why not clean it right away?
Let me tell you a story. While I was refining a division line in Workshop 10, I was probably talking too much and wasn't careful, and my edge hit that point. That's not good, and I said so plainly. That is a good example of what you should not do, I told you. I carved deeper at that triangle until I had about a quarter inch (6 mm) down, lowered the knife for the refining pass, and kept going until the ridge blended in and the whole surface looked like one single pass. It was much harder now, I said. And I added something every beginner should hear. If you can't achieve it the first time, that is all right.

Near the end I bring a lamp in. When I almost finish, I explained in Workshop 15, I take my lamp, get really close to the details, and start refining everything. It was in the way of the camera that day.
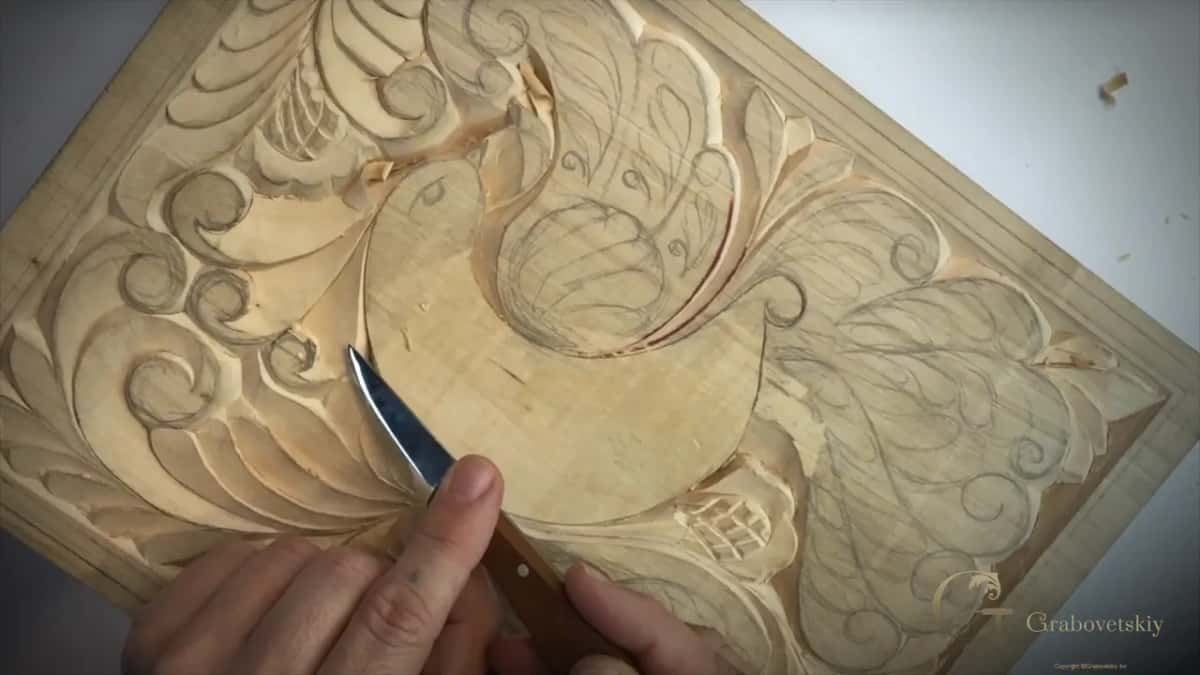
What if a point breaks or a pass goes too deep?
Lower the area and carve it again. That's the fix I gave in Workshop 15 for the upper point of a detail. Hit too hard and you can break that point, and it is part of the design, so if you break it, just lower that down and recut it. My bevel was too sharp at one spot in Workshop 14, I got a little deeper than I wanted, and I said I should use a little less. Later that workshop I said I went too deep, and I fixed it by lowering that part with a really low bevel.
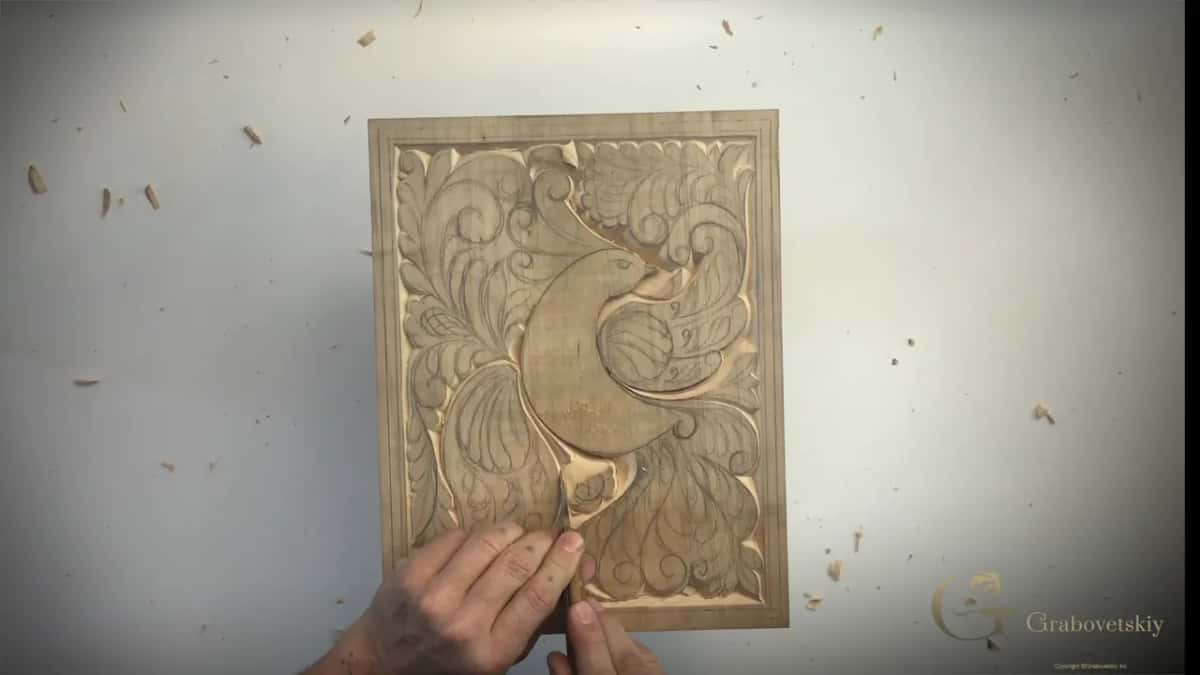
The grain breaks too. A piece just snapped out in Workshop 11, and I said I shouldn't do that again. Just be really careful. I was breaking fibers on another part in Workshop 10 and decided I needed a sharper V there. Talking costs me, by the way. It's not that easy when you talk and carve, I said in Workshop 13, and on film I make mistakes I wouldn't make when I'm just carving.
Some small flaws stay, and they should. Seeing some imperfection is actually okay, as I put it in Workshop 6, because you are not a machine, you are not CNC, and you should not be. Make it look like a human being did it.
Is the gouge border even all round the board?
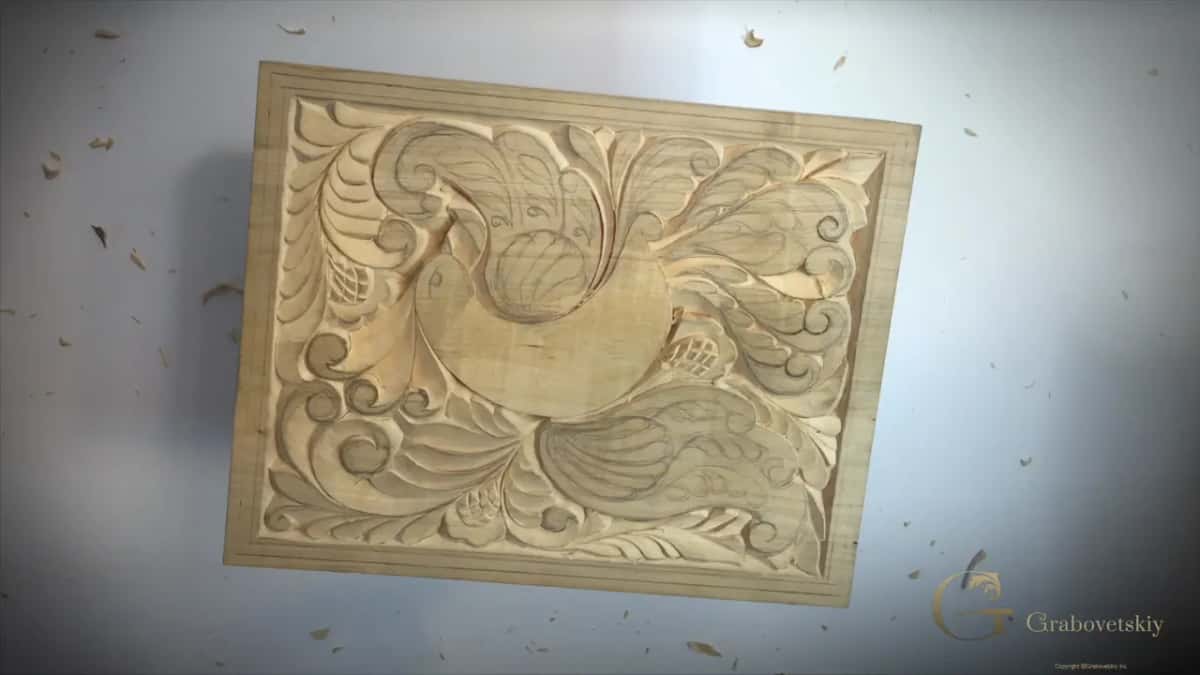
It should be. In Workshop 16 the knife went first, one continuous pass on the first of the two border lines, starting at the farthest point with about the same bevel as the walls. The end grain sides got only one light first pass, because you can snap the grain there and damage your carving. Then the gouge went in toward that line, one bite beside the next. Don't force it, I said, just patience, and make sure your angle stays the same all around.
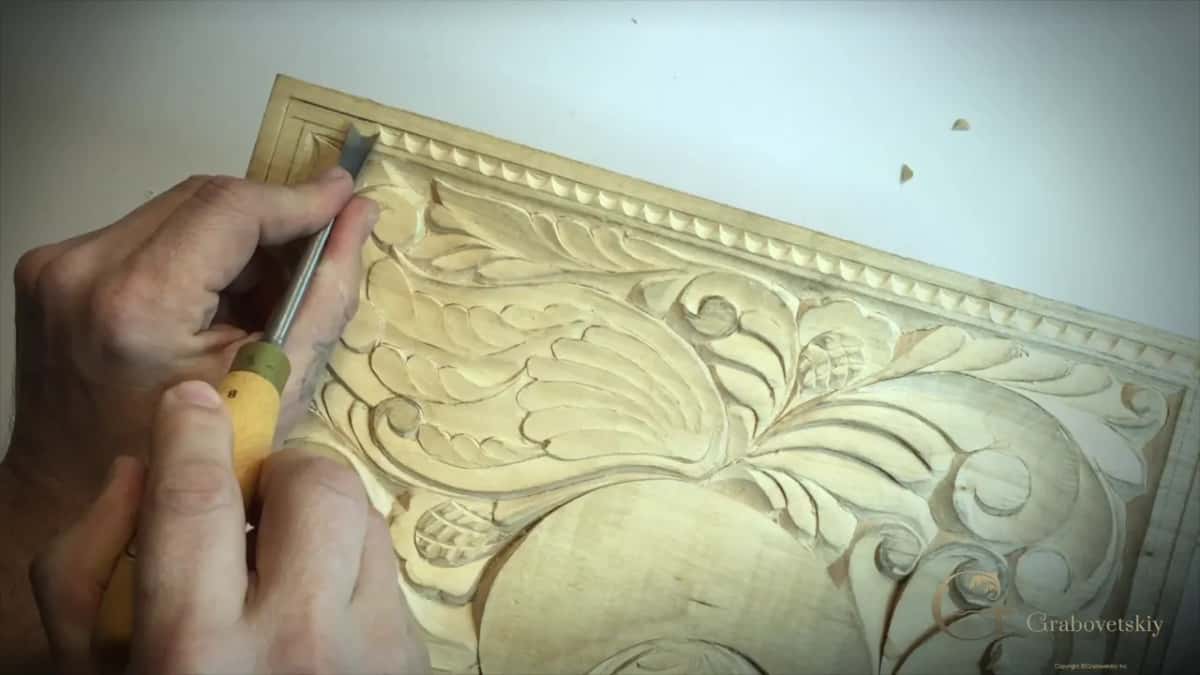
Afterward the knife came back to clean whatever was left, and you could see how much the border gives to the feel of the whole carving. End grain needs extra care. A chip there that won't fly out means the first pass wasn't that deep. Press too hard and you can break that part, which would be a really bad idea after all the work you've done.
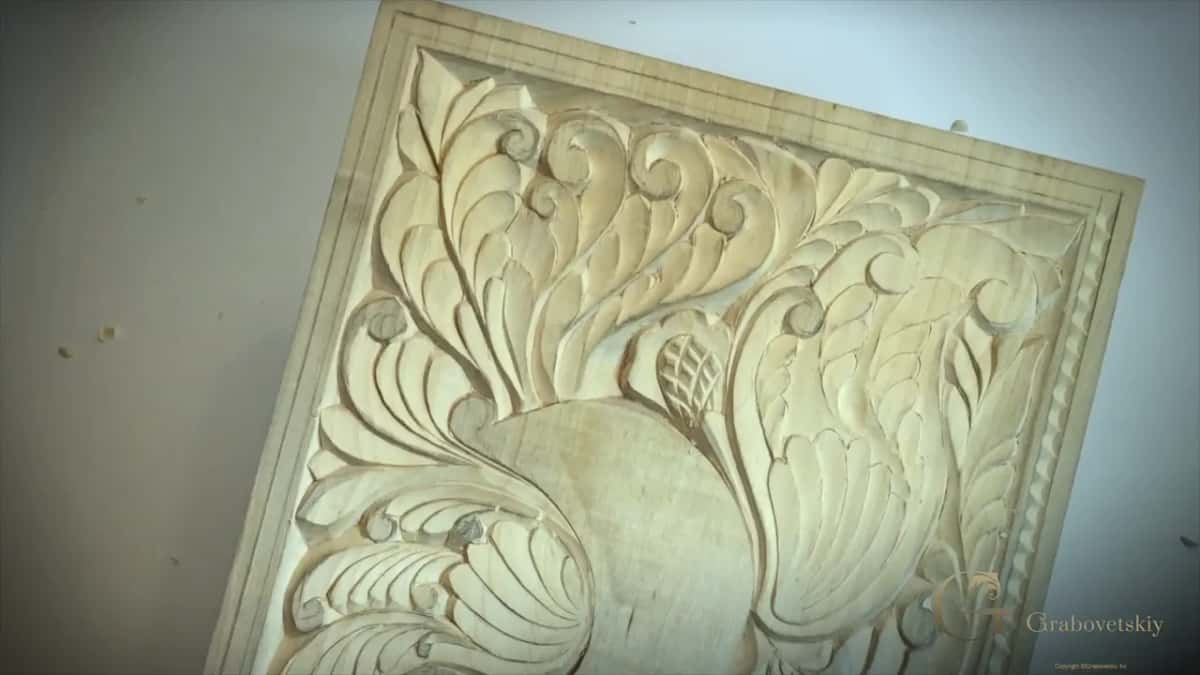
Should the board be clean before the stain goes on?
With the carving done in Workshop 16, I looked at it and said it's all dirty, and that's not good. My preferred way to clean it is a scraper, until everything is just clean. If scraping feels strange at the beginning, a little sandpaper is absolutely okay on this type of carving. Just go around, and don't over-sand it, because you're going to lose the detail.
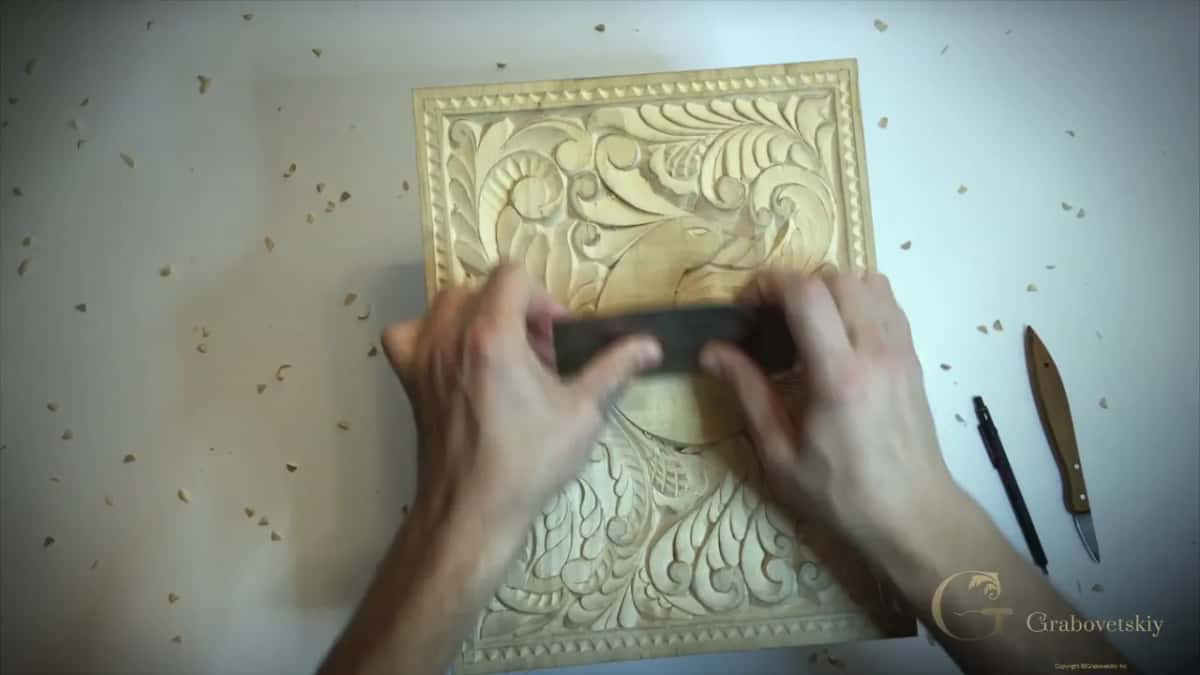
How do you check a wet stain for missed spots?
Turn the board while it's still wet. I rotated mine a little in Workshop 17 and could see from that angle some spots I had missed, so I reapplied there. After that I went round checking for any white spots where the stain did not soak in. Near the end of that part I was double-checking all the spots I missed, and it looked like I did miss some. Rotating the way I do is a good idea, just in case something needs to be blended.
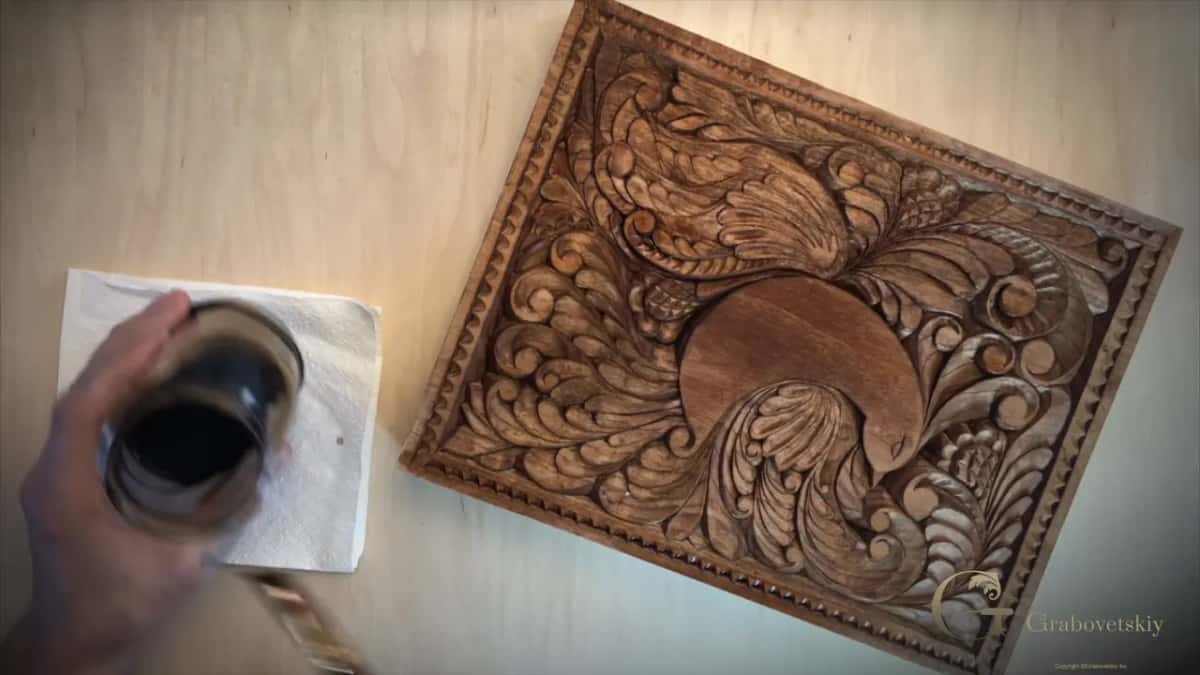
A line is the second fault. This stain works like a dye. I saw the line I left almost at once and called it a mistake I shouldn't make, then put a little more stain right on top of it to blend it. In the next part I found brush marks where I had brushed one way, and blended those in with more stain too.
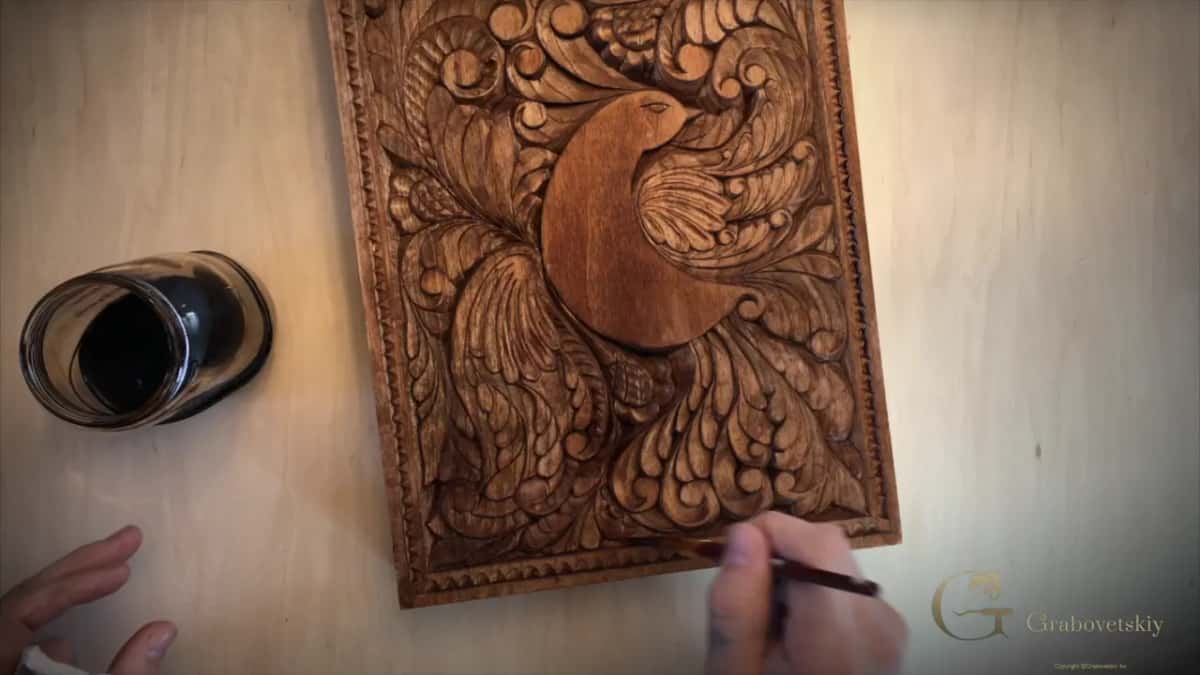
Wet color is not the final one. Mine looked reddish, and I said once dry it would become the same color as a black walnut. Before it dried I wiped it a little with a napkin. A rag does the same. After a night to dry, I held a piece of walnut from my shop beside it in Workshop 18. Really, really close to the color.
Why lighten the high edges at the very end?
To make the upper level more noticeable, which is how I put it in Workshop 18. I took a piece of Dutch reed and went round just the edges of the outline to make them a little lighter. A scraper would be quicker, and a 400 grit sanding block works if you have neither. Each time I said it small. Not much, just slightly, a slight sanding without over-sanding. And then, after a little more on a few areas, I said I think it's enough.
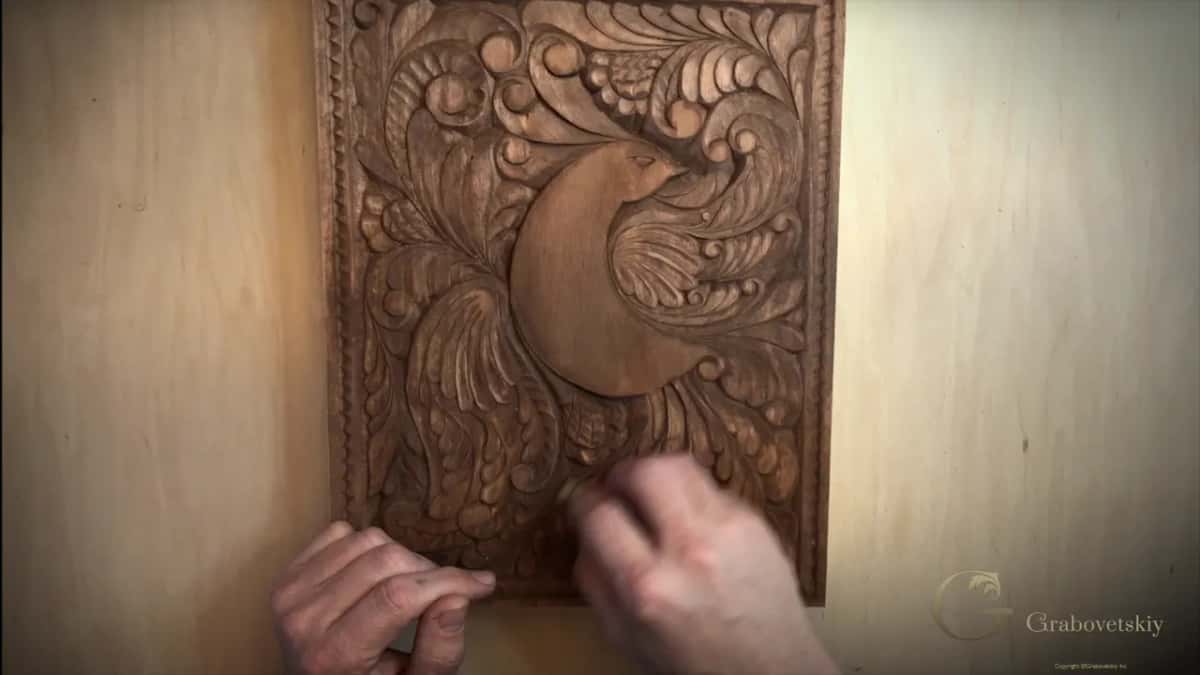
What does the oil coat tell you?
Where you missed. Before any oil, I cleaned off all the sanding, turned the board to a different view and maybe different lighting, and said I do like what I see. Then the mineral oil went on, poured and not spared. Make sure I didn't miss anything, I said, and for sure I did. The even sheen comes after several coats, and that part has its own lesson. Once the extra was wiped off, I said that as far as the carving goes, it's done 100 percent.
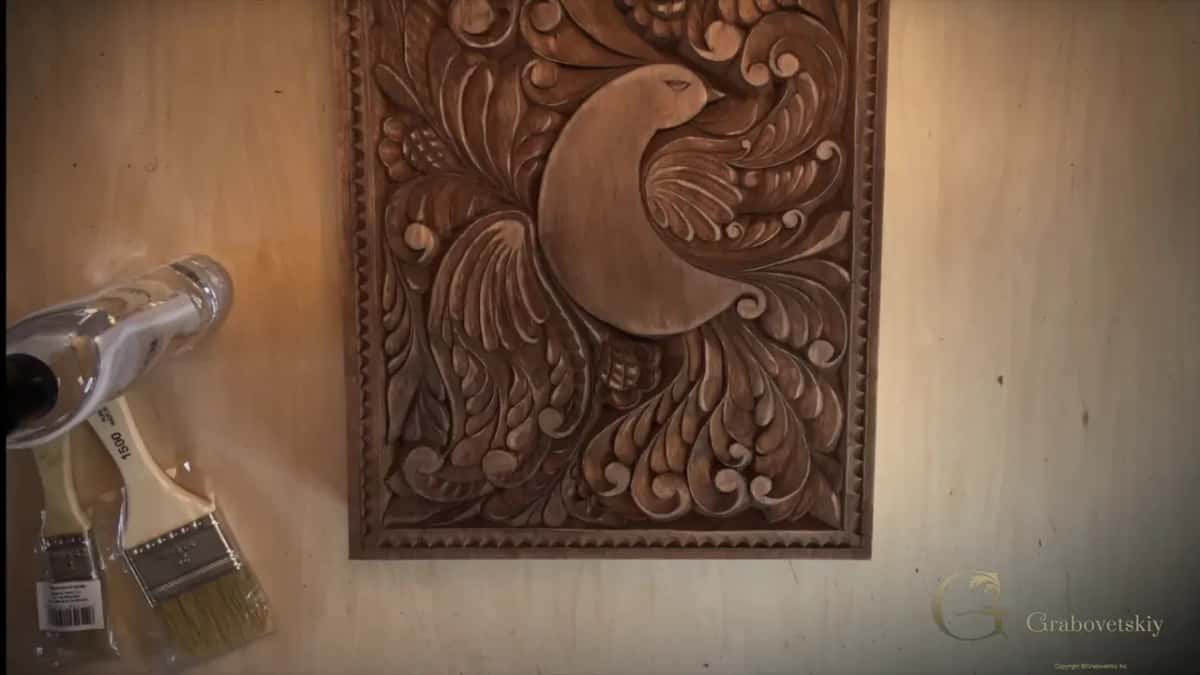
Who looks at your board after you do?
I do, if you send it. This lesson asks for one picture, and I review it and certify your progress. In Workshop 11 I asked you to upload your work when the workshop was done and said I would love to see it. Turn your board under a lamp and see what it shows. Every workshop I linked here is open with tuition, along with the first cuts that come before the whole bird.
How it's done
- Turn it under the light. Look from different angles and use different lights so the ridges you missed show up. If the knife is already in your hand, clean them right away.
- Mend a broken point. Lower that area down and recut it.
- Hold one angle on the border. Run the gouge round the border at one angle. On the end grain sides make only one light first pass with the knife, so you do not snap the grain.
- Check the wet stain. Rotate the board and check everywhere for white spots. Blend a line or a brush mark by brushing more stain over it.
- Oil every spot. Pour it on, spread it all around without saving any, and wipe the excess after about 20 minutes.
Frequently asked questions
Do I have to fix every ridge on my board?
If a surface won't come out as one clean pass the first time, that is all right, and I said so on camera in Workshop 10. Still, I go back when the knife is already in my hand. A few small flaws can stay, since a person carved it and not a machine.
What do I do if a high point breaks off?
Lower the area around the break and carve the shape again, a little lower than before. I gave that fix in Workshop 15 for the upper point of a detail, right after warning that a hard push is what breaks it.
Why does my walnut shell stain look red?
Wet, mine looked reddish too. Once dry, it turned the color of black walnut, and the next day I held a walnut offcut from my shop beside the board to compare. I left it overnight before I judged the color.
What to carve next