
Alexander Grabovetskiy, woodcarver, School of Woodcarving · Published 2017
How do you design a carving pattern for a cutting board?
Quick answer: Designing a carving pattern for a cutting board is drawing it on the board itself, on the fly. I rule three pencil lines for the border, establish the main movement, build a stylized paradise bird from that line, then cover the rest of the board with the same curls, some leaves and three flowers.
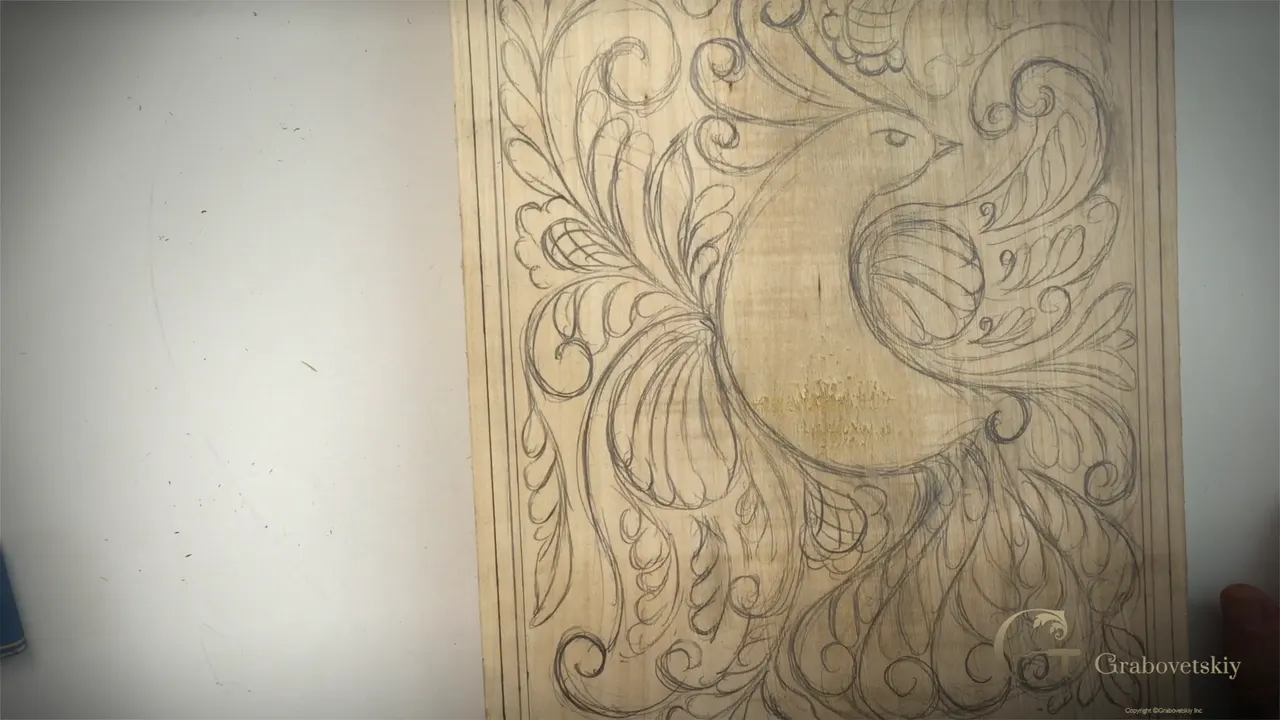
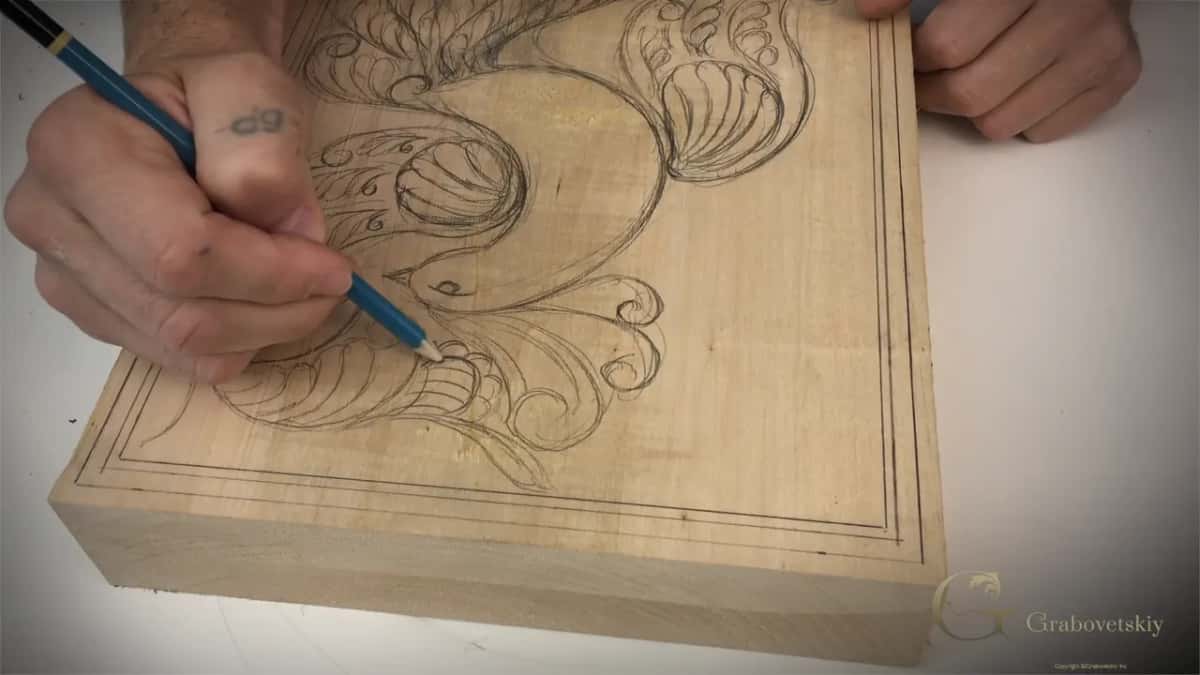
A cutting board design is a drawing you put straight onto the wood, with a pencil, a ruler and an eraser. On my basswood board three border lines went in first. Then came one main movement, a stylized paradise bird built on it, and curls, leaves and flowers in the space around it.
Can you hold a pencil? And draw one curve, even a shaky one? Then you can do this workshop, because the whole thing is drawing.
I'm going to be honest with you. This third workshop of my beginner course has no carving in it at all. I found a thick block of basswood in my shop and filled it with a bird and curls while the camera ran, drawing it on the fly. What follows is every step in the order I drew it, with my own words on each one, and what I say about the same ideas in my other courses.
The order I drew it in
- Three border lines first, a quarter inch twice, then about 1/8 inch.
- A ruler works, and so does a finger riding along a straight edge.
- One main movement comes before any detail.
- The bird is stylized the ancient way, with a tail, wings, an eye and something on top of the head.
- Curls go everywhere, tiny ones too.
- Leaves and a few flowers take what is left, and nothing ends in a T-stop.
Do you have to draw on paper first?
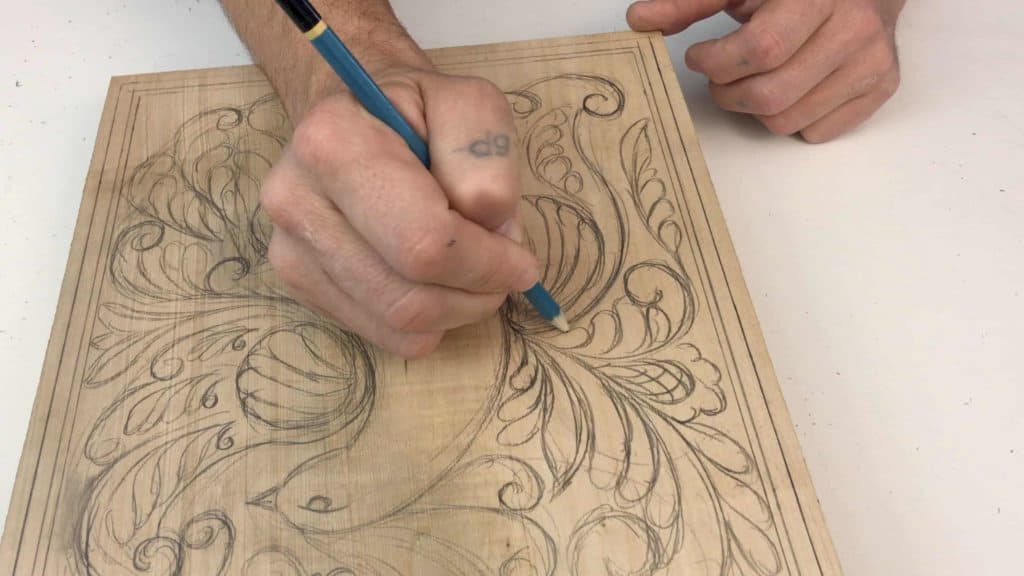
Not for this board. This whole workshop is me drawing on the wood itself. Before the first line went down I said the design goes right on a piece of wood. A few minutes later I added that we design it on the fly.
Drawing on the fly did not mean drawing loose, though. Even drawn that way, I said, the design stays really accurate to what they used to design in ancient times.
In my Venice Room course I said the drawing process for carving is not the same as working in the 2D world, like on a canvas. It's absolutely different.
What size board did I draw on?
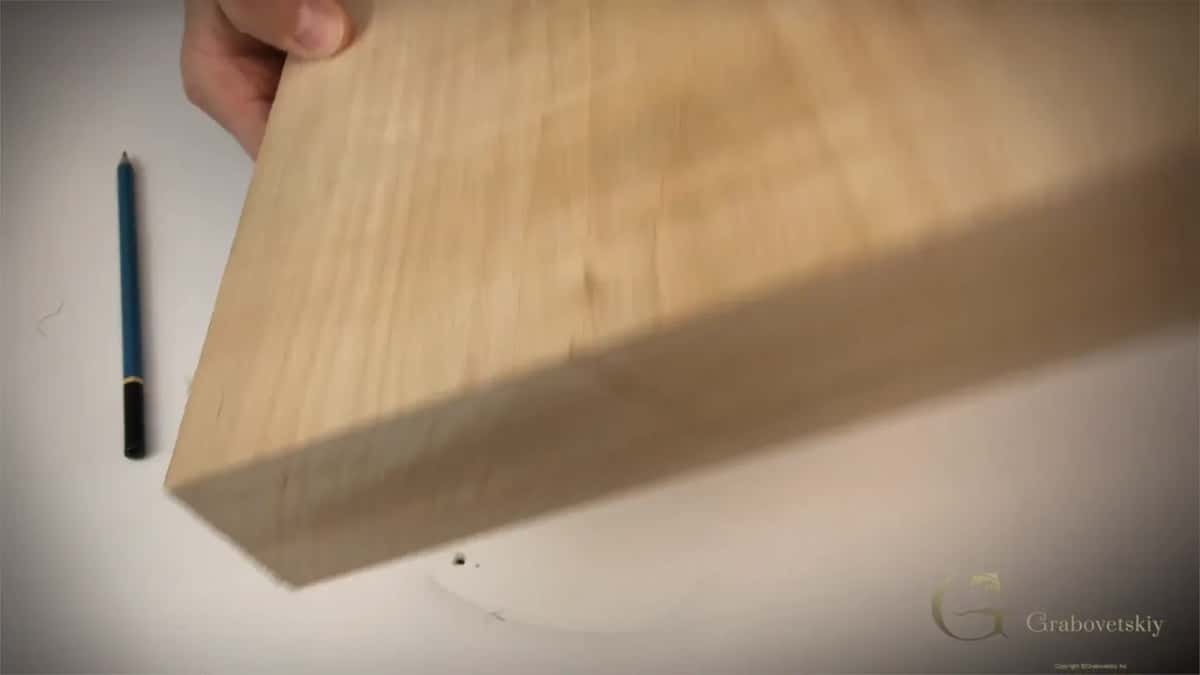
A basswood block I found in my shop. It's two inches thick, about 51 mm, and roughly 10 inches by almost 13, so near 254 by 330 mm. I said it would make a really good cutting board, or a butcher's block if you wish to call it that.
You don't need a board that thick. Twenty millimeters, about 3/4 inch, would be sufficient. But the thicker piece you have, the more stable it is, so it's not going to warp as much.
In the video I called it lime wood and basswood in one breath. The Wikipedia entry on Tilia gives both as names for trees of the same genus.
How far in do the border lines go?
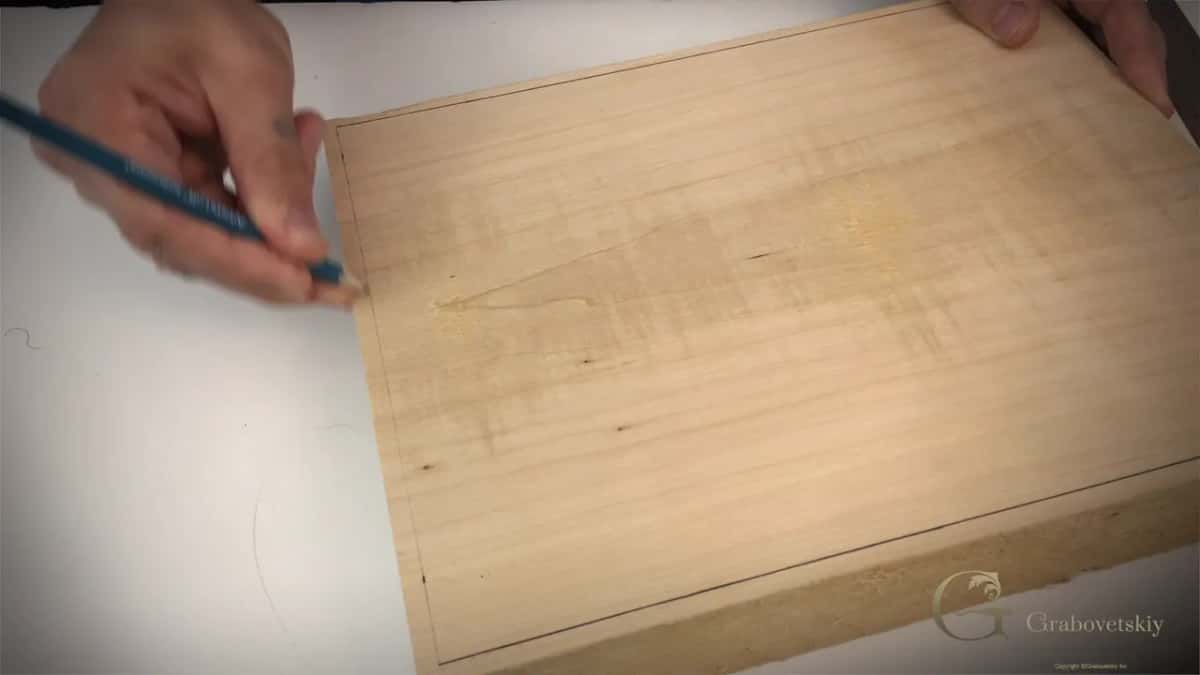
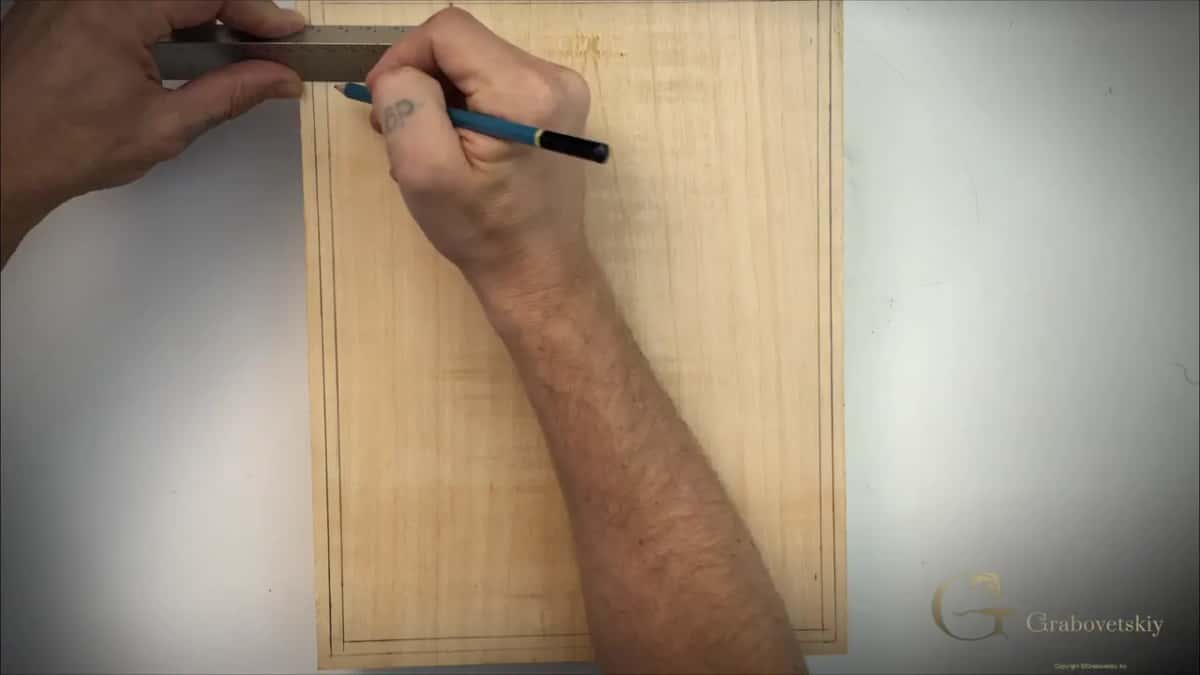
About a quarter inch, roughly 6 mm, on each side for the first line. We still need the border, I said, and a quarter inch or approximately a quarter inch will do.
Then I asked you to get another quarter inch on all four sides and draw a second line. The third one sits about one eighth of an inch, near 3 mm, from the last line, again all the way around. I didn't explain the narrow band. You will understand why later on, I said, and left it at that.
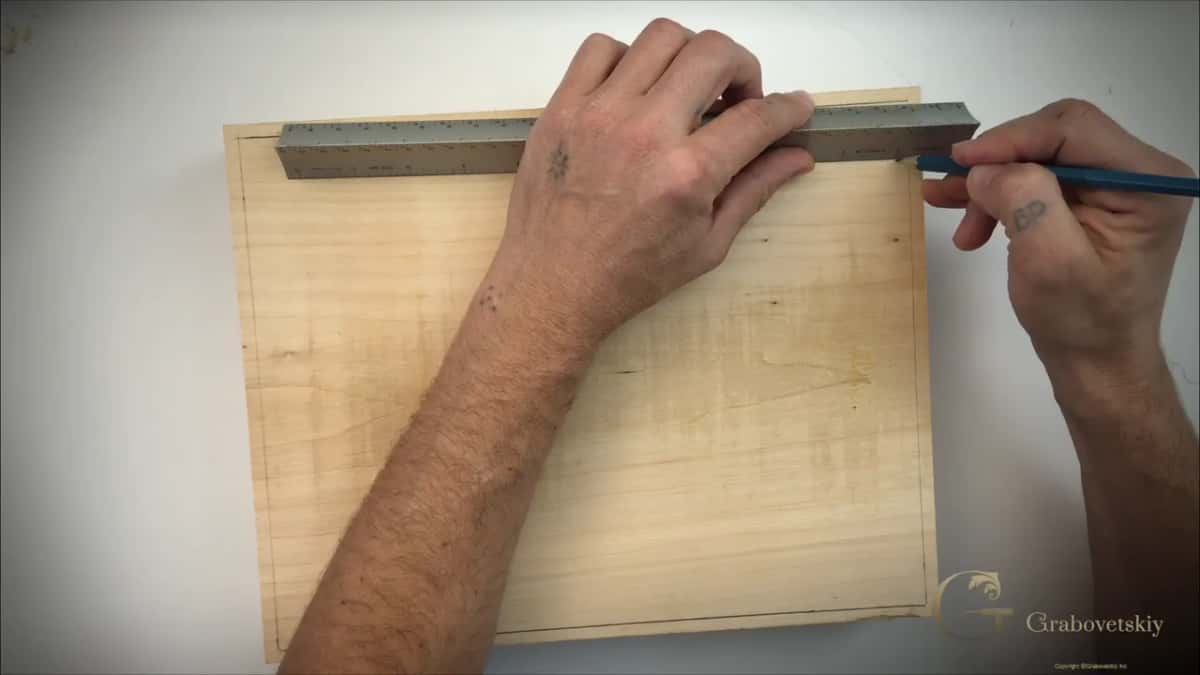
I used a ruler for the first line, a metal scale in my case. You don't have to. If you were living 2,000 years ago, I doubt you would have a ruler like we have right now, although they would probably have some type of really complicated tools.
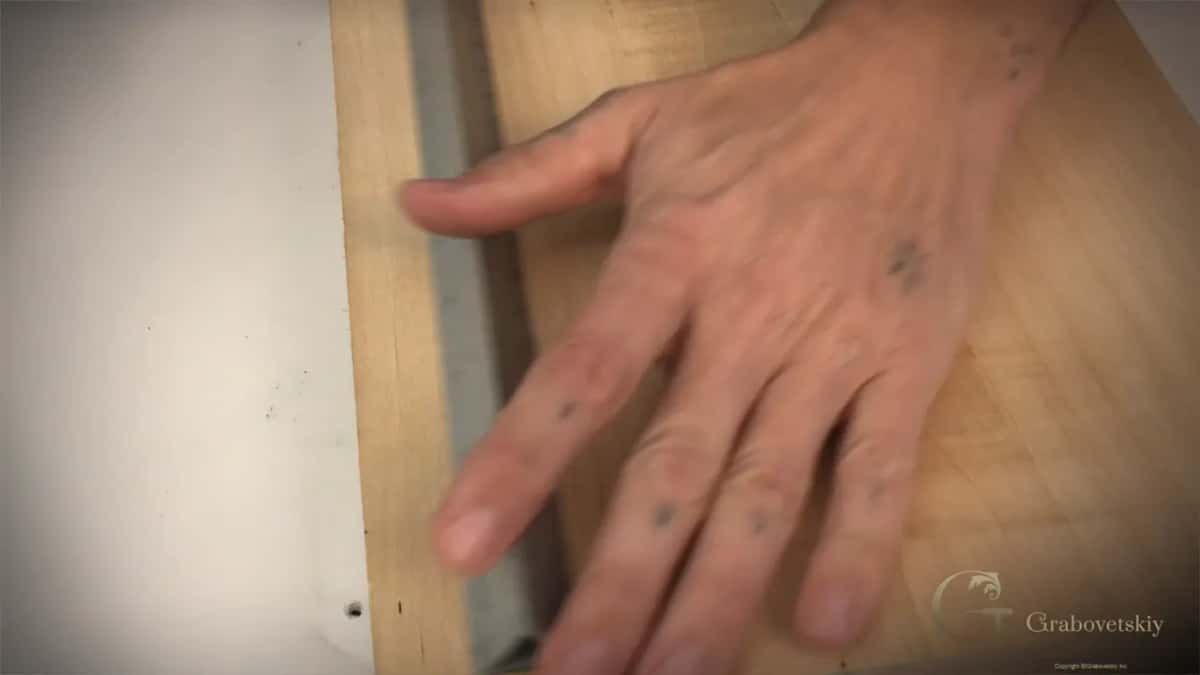
The second method is your middle finger. Place it against the piece of wood, put your pencil right on the line, and follow that edge. It gives you a really good line. With a really straight edge, you just place your finger and follow it, I said again near the end of that first part.
Where does the design start?
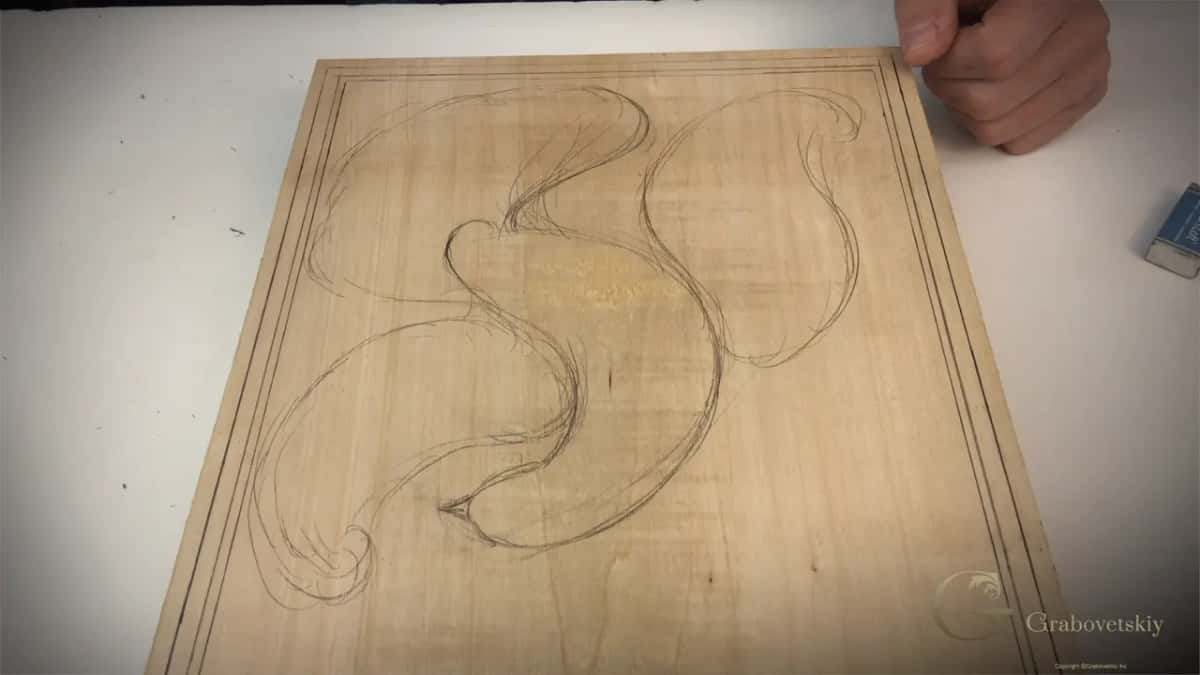
With the main movement. Let me think the movement, I said, and the first line I drew was the main body movement.
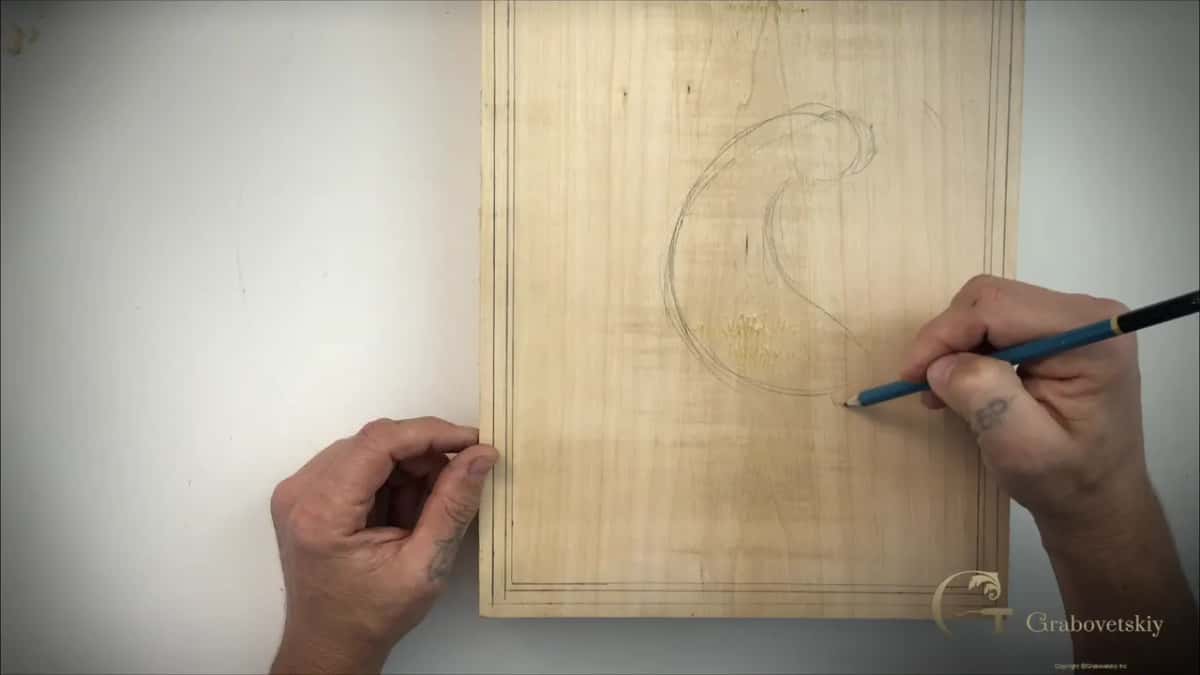
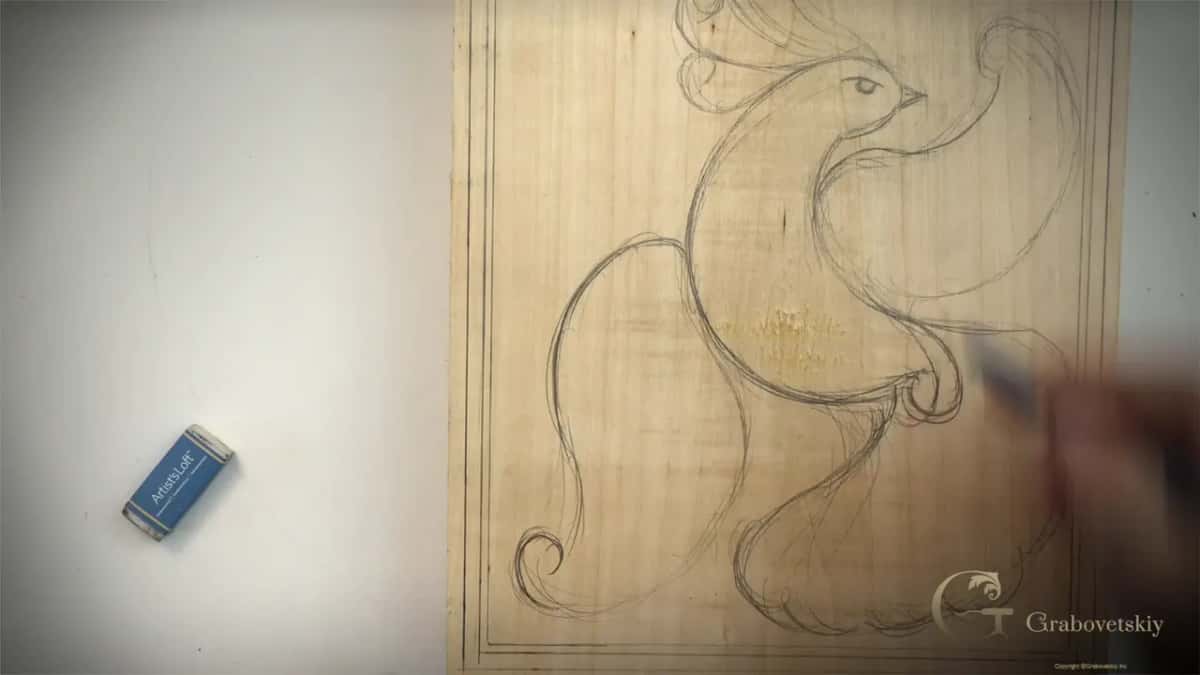
I already had a bird in mind, some type of a bird, a paradise bird, or something stylized. Still, the board got the movement first and the bird second. Then a tail, then wings. That became my main movement on this side, and I took one wing all the way up. I hope you can see a bird outline, I said.
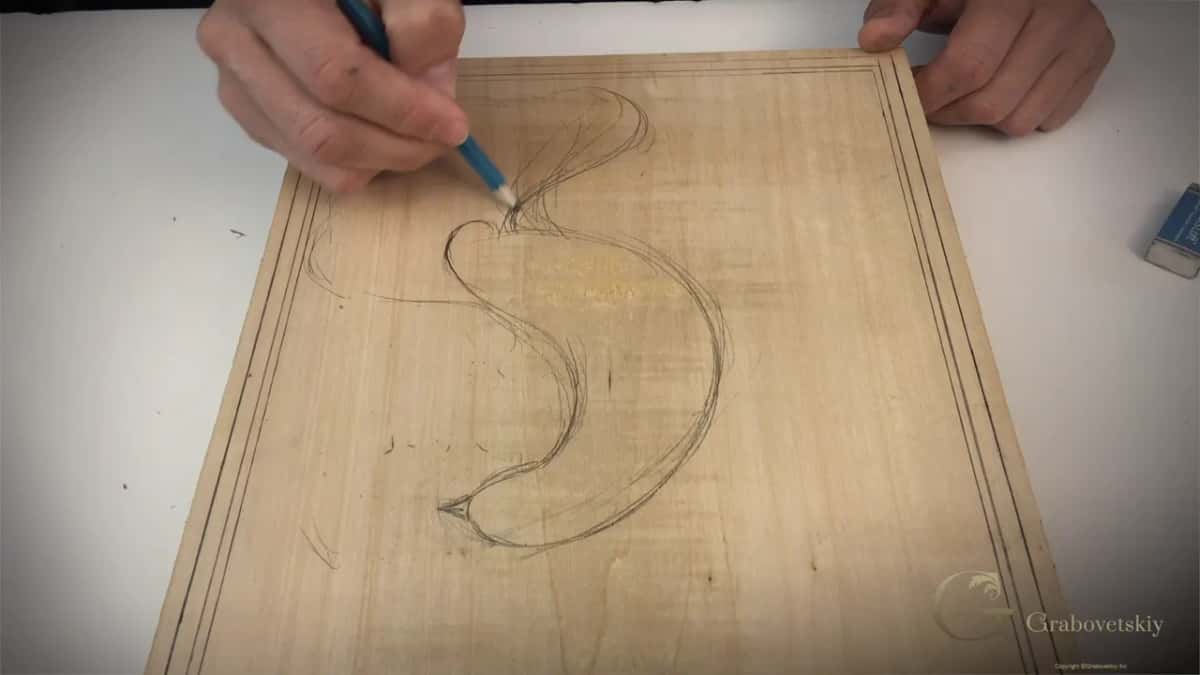
Next it was time to refine the main movement. The eye went in, and because it is a paradise bird, I needed something above the head. I added an opposite movement in one spot too. The wings needed some design after that.
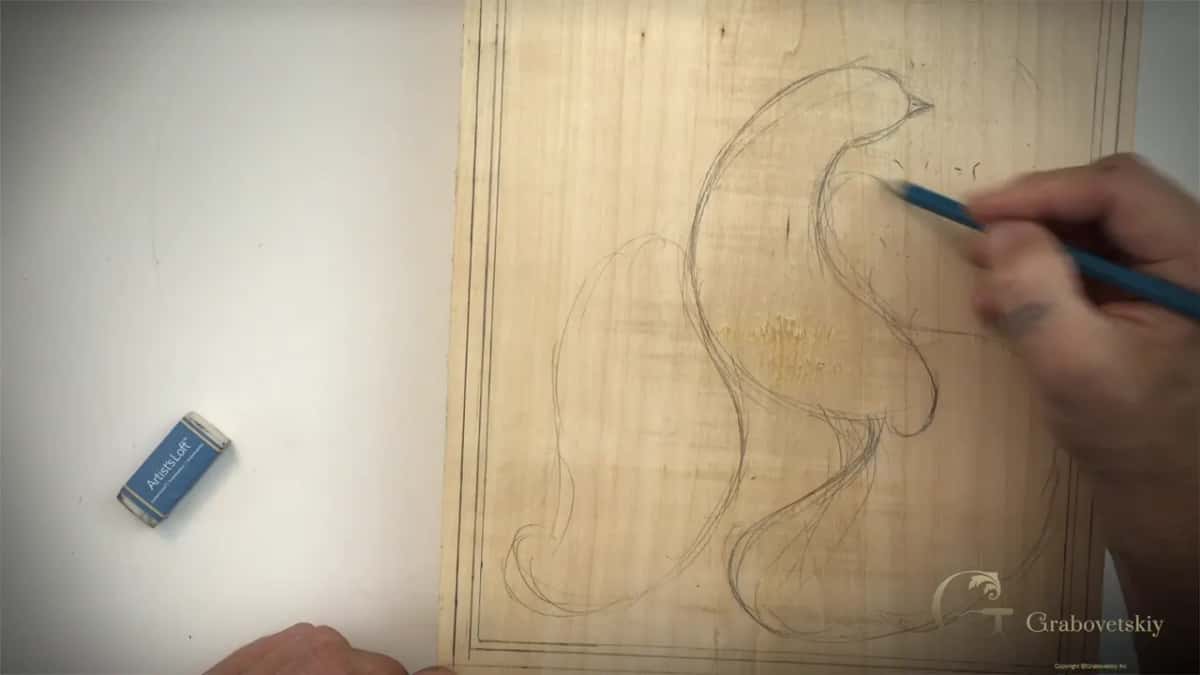
I started the same way on a very different piece. On my plate with butterflies, the main movement of the butterfly arches one way, and I had to continue that movement. The main movement goes in one direction and splits somewhere into other directions, but that is the main one. I pointed out that one space there takes about 62% and the other 38%, the golden ratio, though I said I did not calculate it. Then I told you that you really don't have to stick to that rule in that type of carving.
| Stage | What it looks like on the board | Name |
|---|---|---|
| Three pencil lines | Quarter inch, quarter inch, then an eighth | The border |
| First pencil curve | Sets the direction the bird will move | Main movement |
| Tail, wings, eye | Then a shape rises above its head | Paradise bird |
| Small rolled shapes | Added inside the bird, tiny ones too | Curls everywhere |
| Leaves and flowers | Take whatever room is left around it | Free flowing |
| Every joining line | Runs on into the next, never hitting | No T-stops |
Why stylize the bird instead of drawing a real one?
They would stylize a lot of birds in ancient times, and I followed them. We have to follow the rule of the ancient way to stylize it, I said, and they love to stylize everything. The main idea is that you get the same exact stylization. Exactly the same style, and it should be really curly.
I say it in other courses too. On the grape onlay I said wood carving is a little more about stylizing than the reality of life.
On a furniture panel I drew a flower detail. I never saw any flowers in life like that, I admitted, but it is more stylized, and we wanted to be authentic to the period, and that's what they had done. Not necessarily that I'm a really big fan of it, I said. But I think it's good to follow what they did.
In the Venice Room I said one leaf was not true like a leaf you see in life. It's more or less stylized. I researched, and that's what they did.
Look at the ancient Roman acanthus leaves, I said in my Roman acanthus course, and they are all exaggerated. They are all stylized, and some of them really extremely exaggerated.
And on the butterfly plate I told you where the style I drew comes from. It's about the eighth or ninth century, from northern European countries. Go to the Scandinavian countries, Norway, Denmark, or the northern part of Russia, and look at those really ancient buildings built from wood. You can find that type of movement all over.
What makes it curly carving?
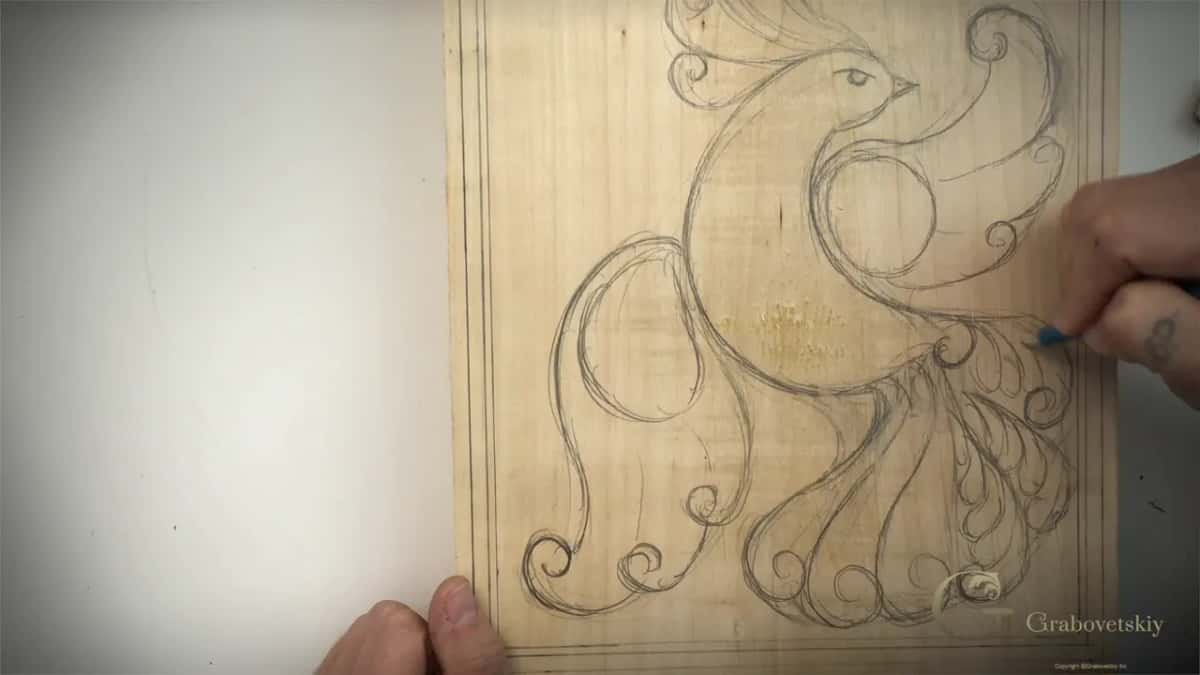
Curls, and plenty of them. It's just curls everywhere, really like it sounds, I said in the last part.
In different nations this style has different names, but translated, they come out as a curly type of wood carving. It's one of the most ancient types, and we still use only one knife, what was available a thousand years ago, 2,000 years ago.
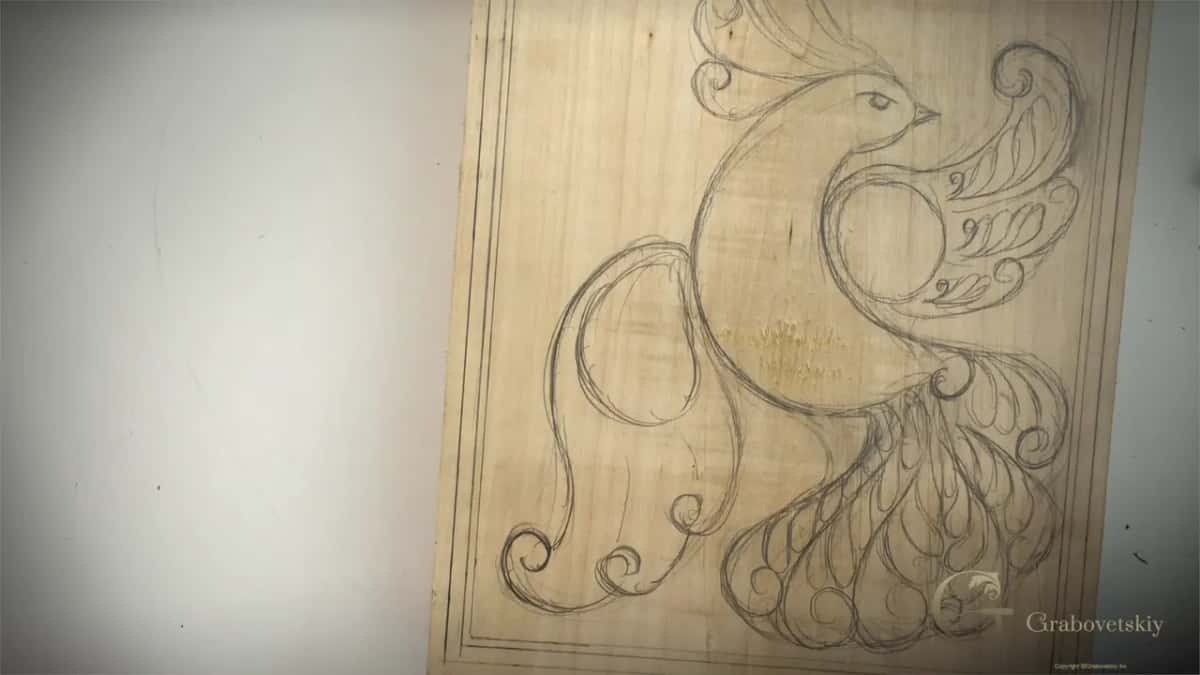
You'll see once we start carving, I promised, why it's called curly carving in the history of wood carving. Five workshops later I said it again in Workshop 8. It's called curly because it looks like there is a lot of movement in it. It's not that deep carving, but still it creates so much three-dimensional look.
In Workshop 11 I call them volutes or curls.
What do I mean by no T-stops?
A T-stop is one line hitting another, so the two make the letter T. When the bird was done I said you can see it flows everything together. We want everything free-flowing, I said, but still no T-stops.
On the furniture panel design I showed it with the pencil. If you've got a line like this, there should not be any line hitting like this. That's breaking the rule of the flow, I said, and it's not going to look nice or organic. The fix there was a tie, a curved line between them.
In my principles of design course I talk about a law we call Arabesque. Nothing is straight, and everything is supposed to be connected to everything. I know it sounds really weird, I said there. Every movement has a swirl. Then came another rule, no T stops. Even when you don't see two lines meet, if you continue the movement and they are going to cross somewhere, even in space, the brain is going to read it differently. If something doesn't make sense, you have to fix it.
How do you fill the space around the bird?
With the same curls, then leaves, then flowers, but the bird itself got more detail first. It has to be curly, I said, so let's add those curls everywhere, maybe really tiny, small curls, too. Then the bird part was done, and now we have to fill the space around.
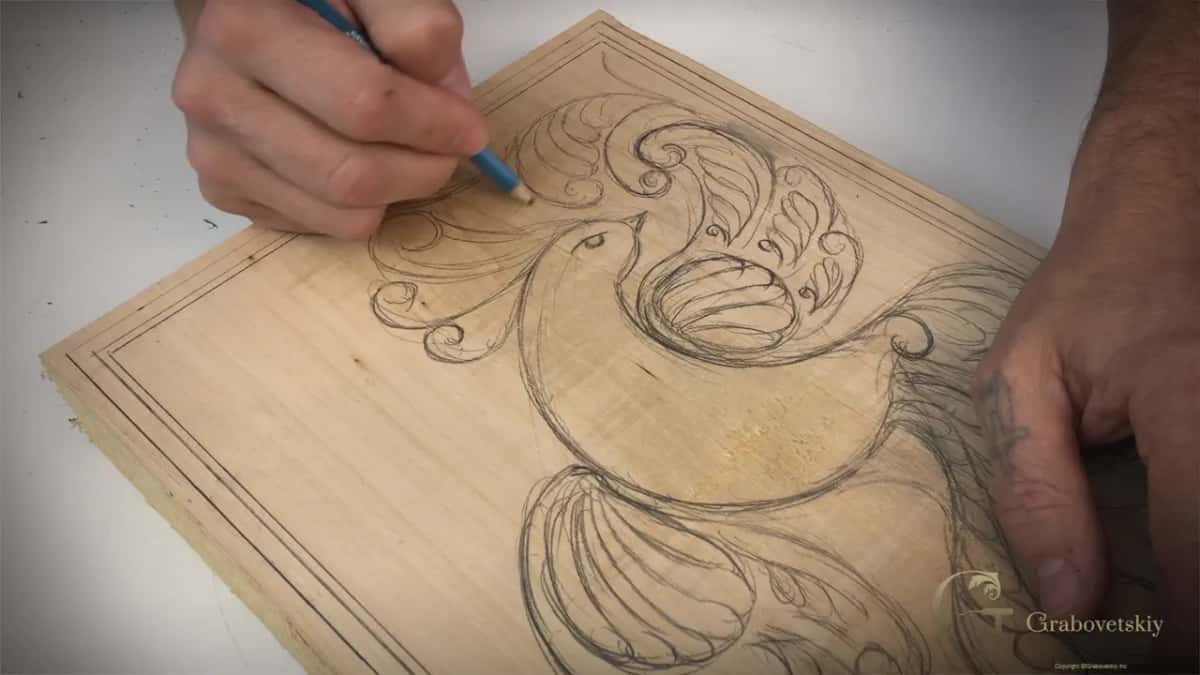
I could see the movement, I said. I can start right here, that's going to be my main flow line. The idea still has to be the same, same curls. Maybe some leaf, some kind of flower.
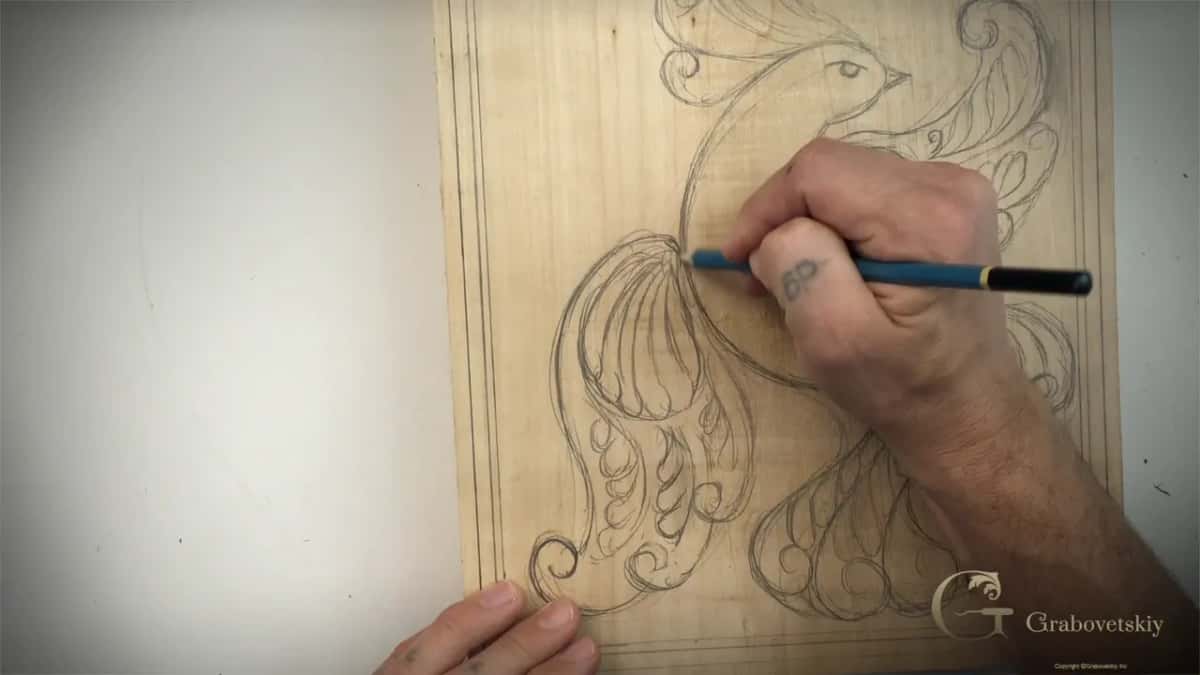
The next space got exactly the same idea as the other side, although I used a couple of leaves there. For the space after that I needed a little different movement. Since the main movement goes like this, I said, I need to make sure my main movement also goes the same direction.
Then the flowers. We got flower, we got flower, I said, so we need one more spot for the flower. I found a spot I called excellent for it. Near the end it was just more curls, one more spot to fill, and some kind of leaves in it. Last, I outlined my bird.
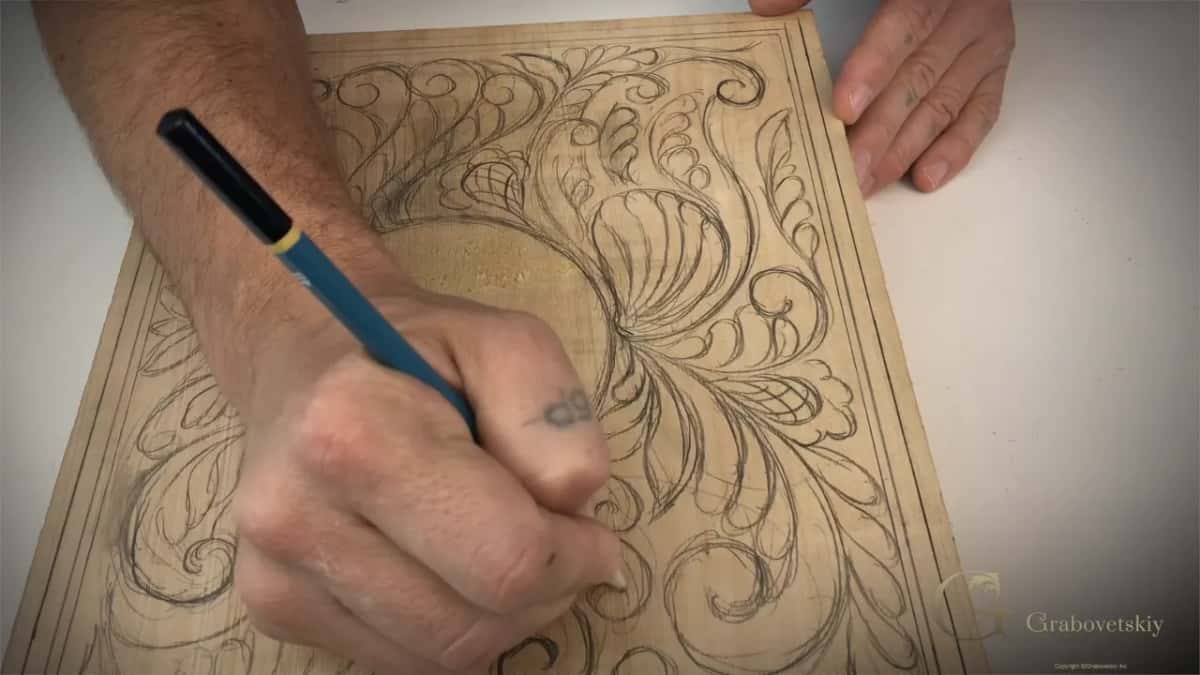
What if part of the drawing looks wrong?
Change it. The eraser came out before the bird did. Late in the second part I said it plainly, I kind of don't like what I see in this area.
Once I was about to add more and stopped myself. Oh, actually, no, I said. Just like that, that's perfect.
The drawing can still change after the pencil stops, too. Maybe on the way, while we're going to carve it, we're going to change something, I said. We can always refine some of the details if we need to.
Back on the furniture panel design, I said erase it, clean it, refine this line, all inside one minute. A couple of minutes later I said, okay, I like it. I am semi-happy, but not completely yet.
My grape onlay shows one more habit for a moment like that. If I don't see any other grapes yet, I said, I'll just outline my main one and see how that looks.
How should a beginner use this workshop?
Draw along with it. Please follow along, I said in the first part. Just do that. Don't just watch. If you really want to learn how to carve, you probably should just follow and do it also.
I asked the camera, can you see that bird. I hope you can see the overall picture and imagine it, I said. Just get an idea of filling the space, and once you get that idea, you'll see how it's going to look.
What comes after the drawing?
Carving. I really like what I see, I said at the very end, and then it was time to start carving. I said I was making this project a little more complicated, and you would see what you are actually able to do with just the one cheap carving knife. 99% of this project would be just a knife, I said, and this project also brings in a gouge. Workshop 4 is the next lesson.
If design is the part that pulls you, my principles of design course covers laws like the law of Arabesque and the golden ratio. The four video parts of this workshop come with Access to the school, along with the rest of the course. My whole kit was one pencil, one metal ruler, an eraser and that thick basswood block.
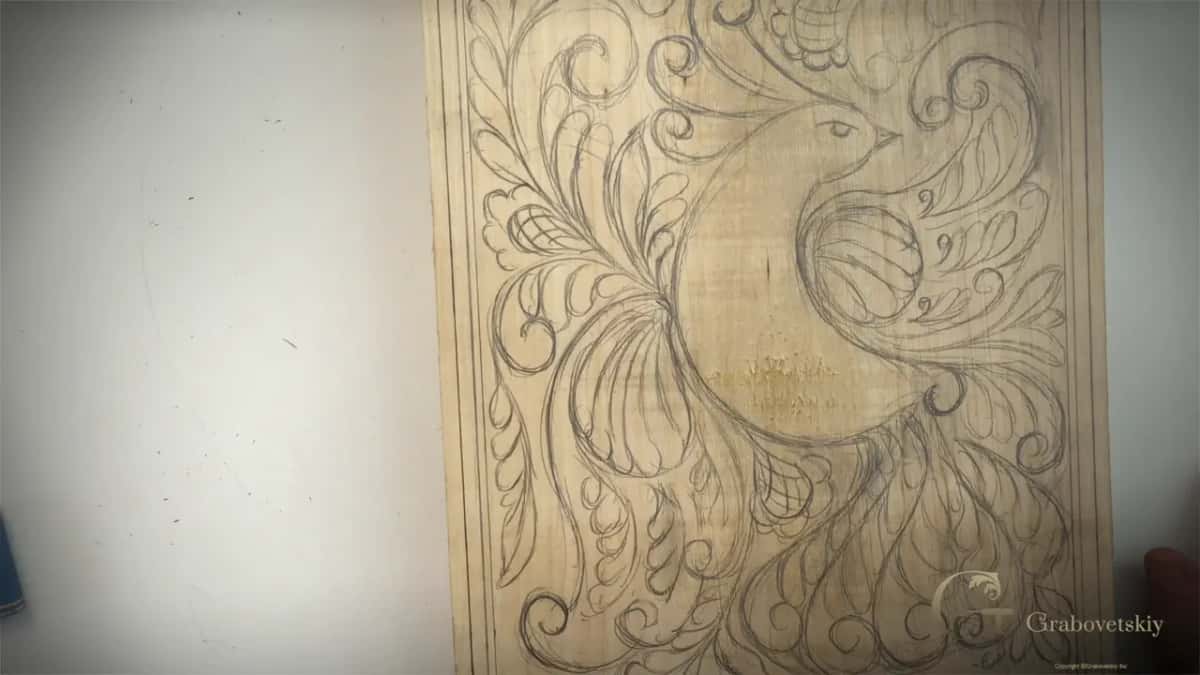
How it's done
- Rule the first border line. Go about a quarter inch in from every edge, with a ruler, or with your middle finger against a straight edge and the pencil on the line.
- Add two more lines. Another quarter inch on all four sides, then roughly 1/8 inch inside that.
- Set the main movement. Draw the main body movement before any detail.
- Build the stylized bird. Tail and wings first, then the eye and something above the head that makes it a paradise bird.
- Put curls everywhere. Use the same curls all over the bird, small and tiny ones included.
- Finish the open ground. Find a flow line, then the same curls with a leaf or a flower, every line flowing on into the next. Outline the bird last.
Frequently asked questions
Can I use your drawing on my own board?
Go ahead. At the end of the workshop I took a picture of my drawing to upload for you. In real life you can downscale it, make it bigger or make it smaller. It depends on the board you have.
How thick should a carved cutting board be?
Mine is basswood, two inches or about 51 mm thick, from a block I found in my shop. Twenty millimeters, near 3/4 inch, is enough for the job. A thicker piece is more stable, so it won't warp as much.
Which side of a carved board takes the food?
The plain one. A guy online asked me how you are supposed to cut on that if it's all carved, and I said the carved face is the decorative side. You use just the opposite side for all the food, as I explained in Workshop 18.
What to carve next