
Alexander Grabovetskiy, woodcarver, School of Woodcarving · Published 2018
How do you make carved lines look organic instead of stiff?
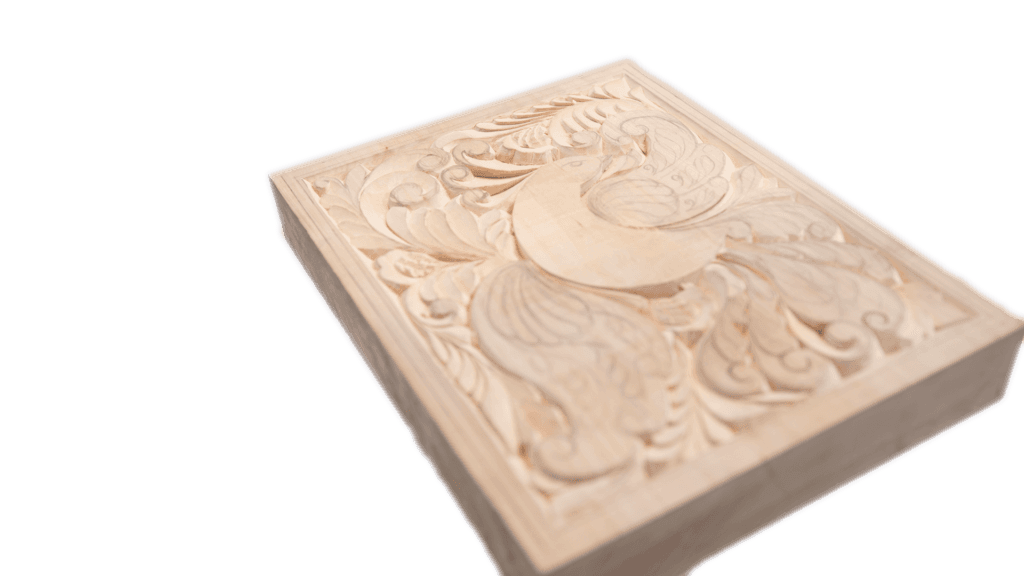
Quick answer: An organic line in wood carving is one that carries on into another line, or repeats itself, and still belongs to the curl it came from. That is how I carved the curls on my bird of paradise board. Old Scandinavian carvers worked with no math formulas, and their carvings flow all the same.
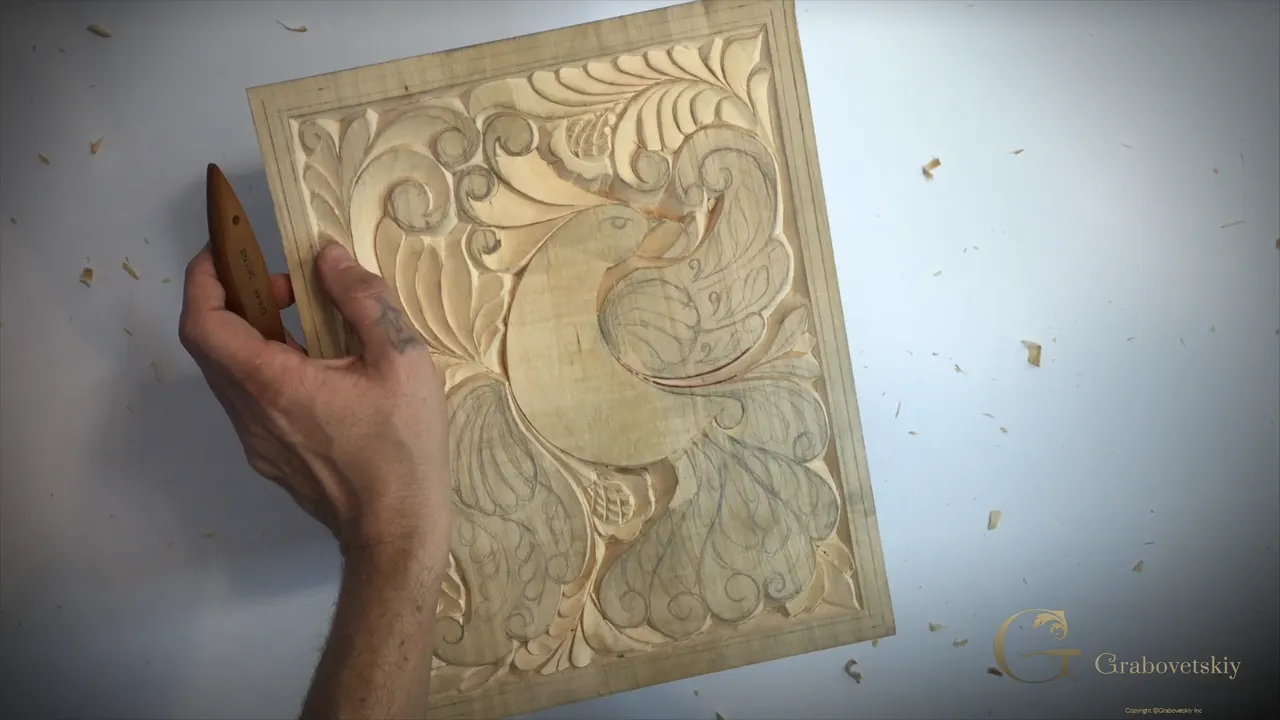
An organic line in carving is one that goes on, either to a second line or into a repeat of the same line, so it still looks organic to the original curl. That is how I put it in Workshop 11 of my beginner course, while I worked the volutes, or curls, on this cutting board.
And don't take it too philosophically. Scandinavian carvers of old had no formulas for it, and their work flows anyway.
Do you have curls drawn on your own board? Would you like them to read as one movement once the chips are out? Then watch what I do with the tail of this bird and its curls, with my knife.
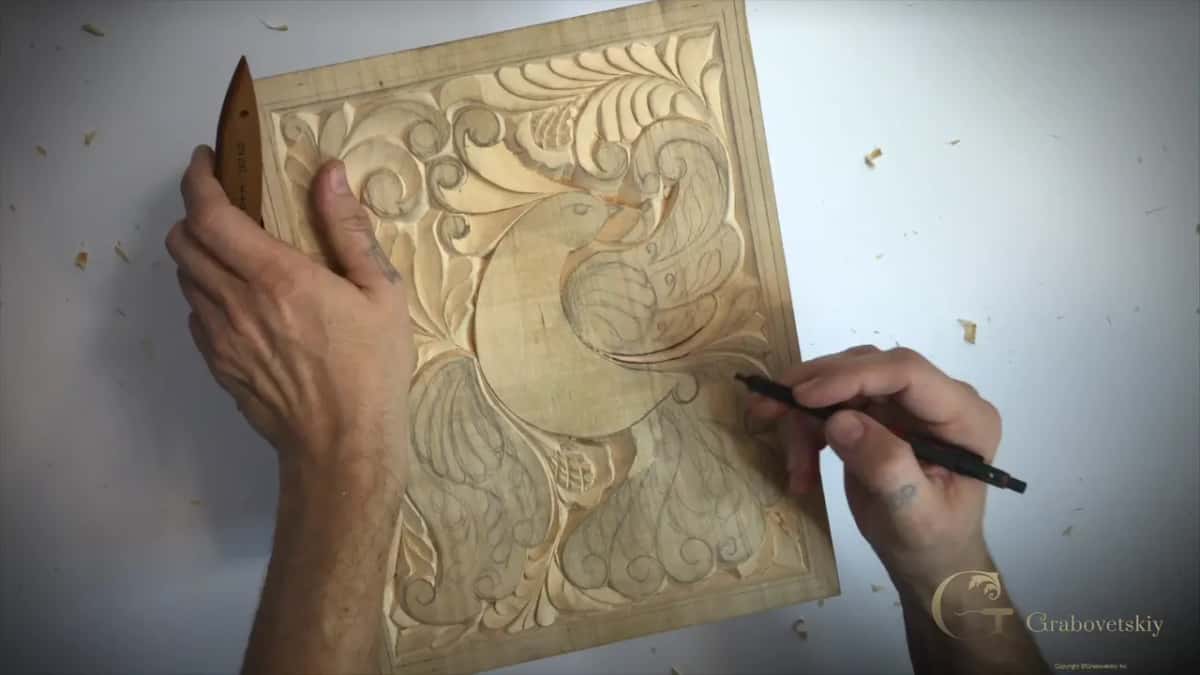
The board is a block of basswood I found in my shop, two inches (51 mm) thick, as I said back in Workshop 3. Part 11.1 opens with three elements done and a question I asked out loud. Should we do the wings, or work on the tail? I picked the tail. Refine those lines, I said, and think what's the best way to do it.
What I carved on the tail in this lesson
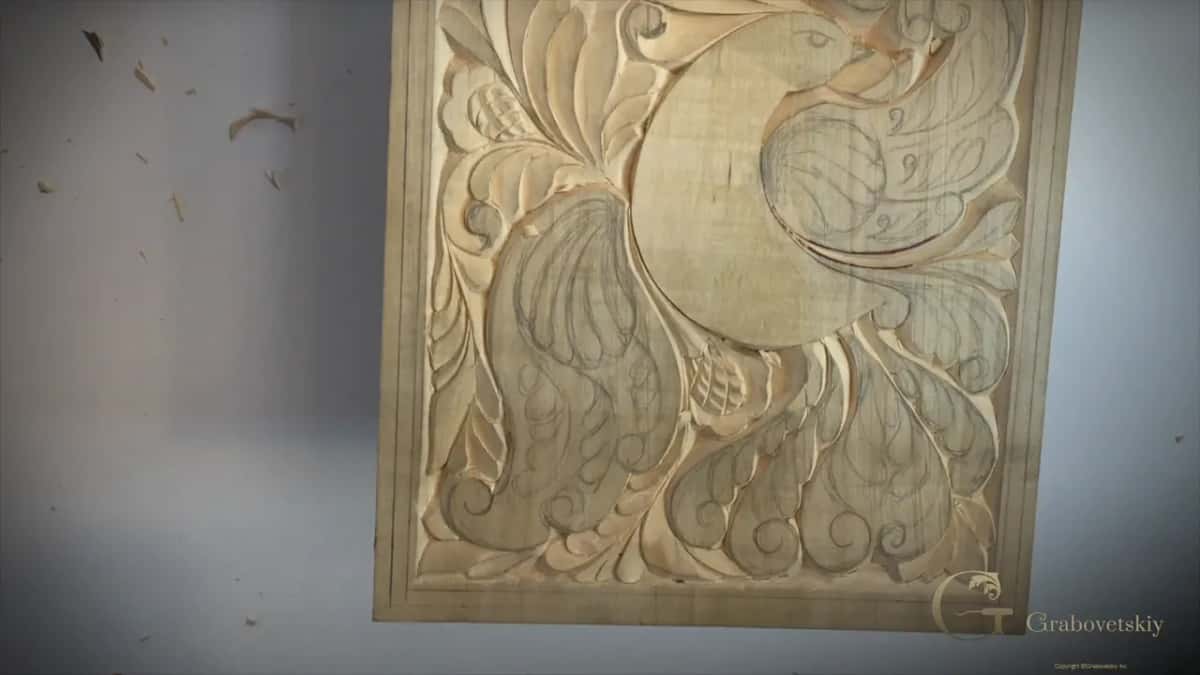
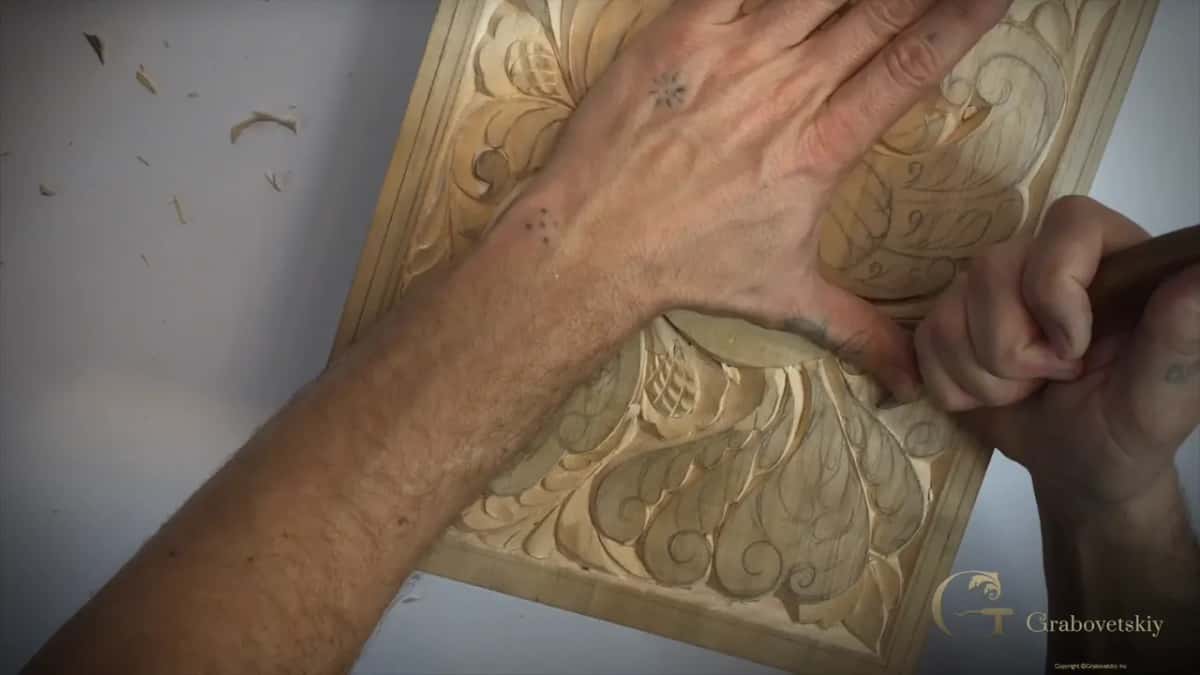
Went around the tail first so I could see it, then picked up my pencil to think.
Four equal parts, marked in pencil.
Kept each dividing line a little off vertical.
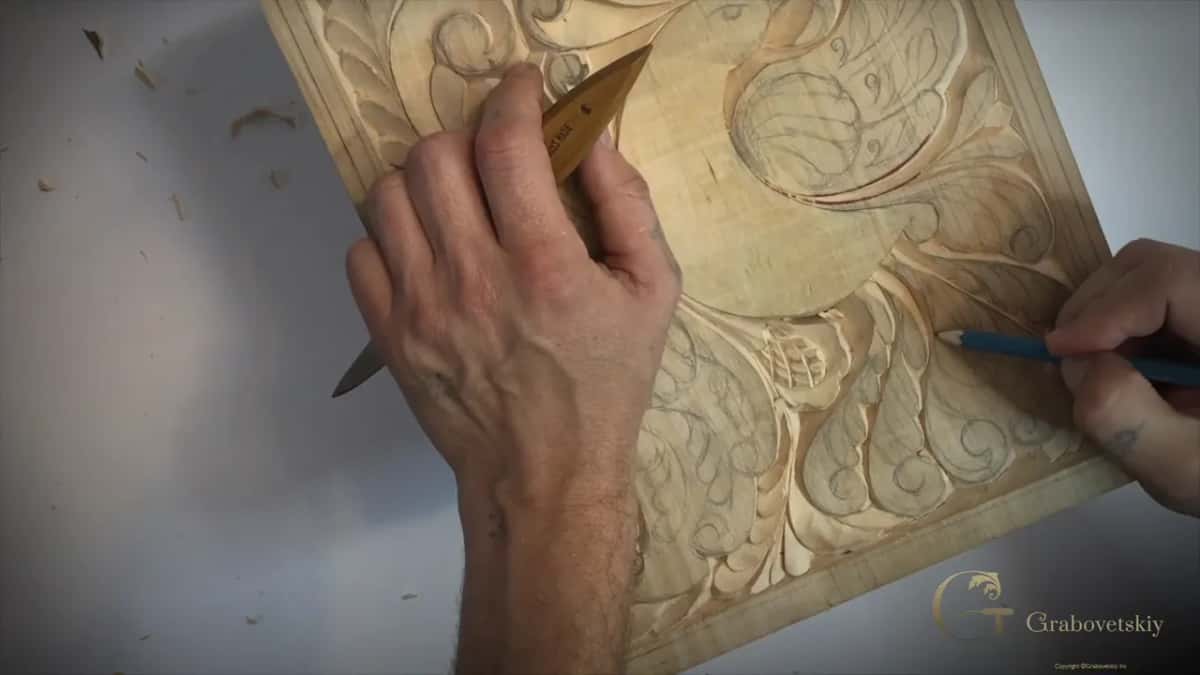
Matched a new bevel to the wall beside it, rotating the board for it.
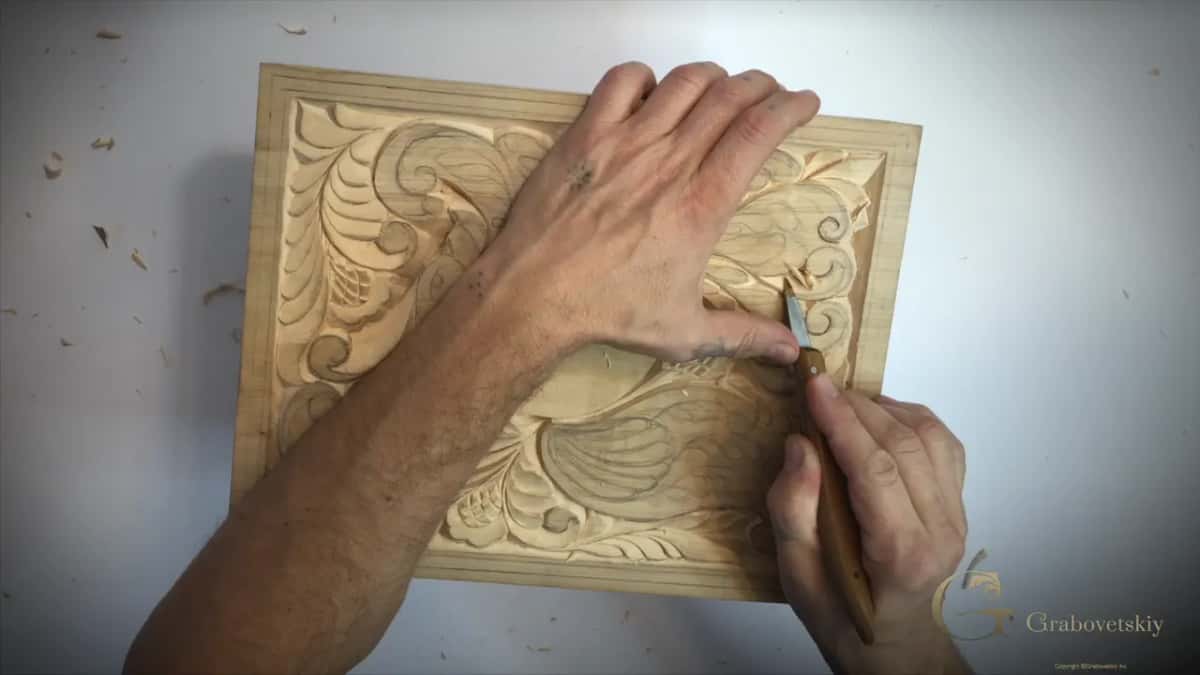
Ran the knife along each line in about one stroke.
Dug the curls about a quarter inch (6 mm) between high and low points.
What makes a carved line look organic?
It keeps moving into another line. I said in the second video that I have to find my organic line, which means that line runs organically on to the next one, or I repeat it, and both ways it stays true to the curl it started from.
On my furniture panel design I wanted the movement of one round petal to show up again somewhere else, and I called it the law of repetition. That way, I said, I believe it's going to look more organic.
What surrounds a shape makes a big difference too. In my lesson on the law of space I showed a big flower and said if I put two small flowers right there, it would look off completely. It wouldn't be organic.
Some of it is simply how the brain reads a shape. During the second lesson of Principles of Design I showed a swirl, a volute, where the movement starts and goes upward. It's how the brain reads that, I said, and you wouldn't even think about it, but it looks organic to the eye.
Is there a rule for how lines should flow?
I call it the law of flow. In Workshop 10 one of you asked me about organic lines and how they're supposed to flow to each other, and my first answer was that you probably just have to feel it. Then I reminded you that everything's supposed to go to the same line, and that's a rule, or a law, of flow.
I'm not sure if it makes sense or not, I told you, but at least for me it feels much better.
While carving a furniture panel, I wanted an edge with almost an S curvature, going one direction and then flipping to go the other way. I know you could say, who needs it? Overall I think it's just a really nice rule to follow, a law of movement.
In another lesson on that panel I saw a spot I didn't like and said I need to fix my movement. Really important, I said. Everything's supposed to have a nice flow.
What if a drawn line feels too straight?
I keep developing the drawing. On the design of a furniture panel I didn't like that one line was too straight, and I said it doesn't feel too organic to me. Please forgive me, I told the camera, I'm just trying to develop the idea of what I want to see and make it look like it's organically moving the right directions.
The next design lesson opens with a habit. It's a good practice once in a while to step away and look at your composition from a little distance, I said. As of now I like this arch, and for me it does look organic. If you have round objects, tape left over or something like that, you could use it to make the curvatures more accurate.
Did old carvers use math to make lines flow?
Yes and no. In the second video I started to say those ancient people didn't think about philosophy or math, how a curl is supposed to start and finish, and then I took it back with that same yes and no.
In ancient Greece, they did. That's true.
But in the old Scandinavian countries they didn't know anything about mathematics and the formulas, so they didn't even care about it. Still, look at those ancient carvings in Scandinavia and all over Europe, in Germany and ancient Poland and ancient Russia. They still look really organic, because you do have that feel inside of you, the feel of flow in all of those lines.
On my butterfly plate I stuck to that northern style, and I wanted to be really authentic to it. Not grass or flowers necessarily, just ornament with that kind of movement. I said it's about the eighth or ninth century in North European countries like Norway and Denmark, and in the northern part of Russia you can find the same type of movements on really ancient buildings made of wood. On that plate the main movement of the butterfly arches one way, and I had to continue that movement the other way.
Numbers do come into my design course, though. In Principles of Design I say there are multiple golden ratio points in every design.
Why carve around a shape before you mark it out?
To see it. I already had a straight down cut there, so I carved around the tail at first, just to set it apart. That way I could see much better what was going on, and take my pencil and think.
I'm going to be honest with you. Before that I wasn't too sure if I liked it or not. Then I had that line, this one and that one. Now I was happy. I'd split the tail into four equal spaces, one, two, three and four.
A pencil was my first tool, before the knife. In a livestream from April 2020 I told how my teacher, when I was his apprentice, handed me a piece of paper and a pencil. You have to design for a knife, he said.
Even with the lines down, the second part opens with me saying I don't see a clear picture. As long as I stay really close to the original design, I said, I should be fine.
Should a straight down cut be exactly 90 degrees?
Not on these lines. I started my straight down cuts first, then said maybe I don't have to do a really straight down one, so I gave it a small bevel and still angled it slightly.
Almost straight down, but a slight bevel.
Then, to follow the main idea, I cleaned that triangle, and I did exactly the same on the second line.
| Where | What | Bevel | Words |
|---|---|---|---|
| The dividing lines | Nearly upright, angled a little off ninety | Slight bevel | I'm still going to angle it |
| Beside a wall | Matching the bevel already on that wall | Matching angle | I have to rotate, I said |
| Those curls again | Kept about the same bevel as before | Same bevel | The same bevel, I said there |
| Digging the curls | Corners first, then removing to my line | Really low | A quarter inch, upper to low |
How do you match one bevel to the wall beside it?
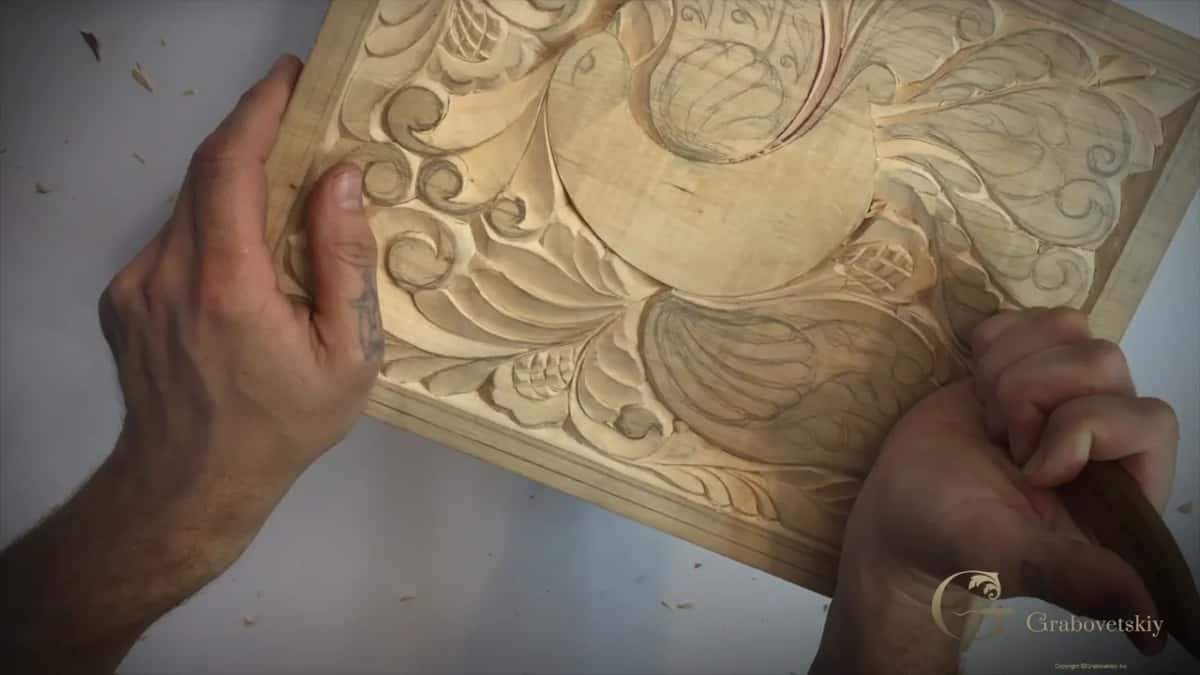
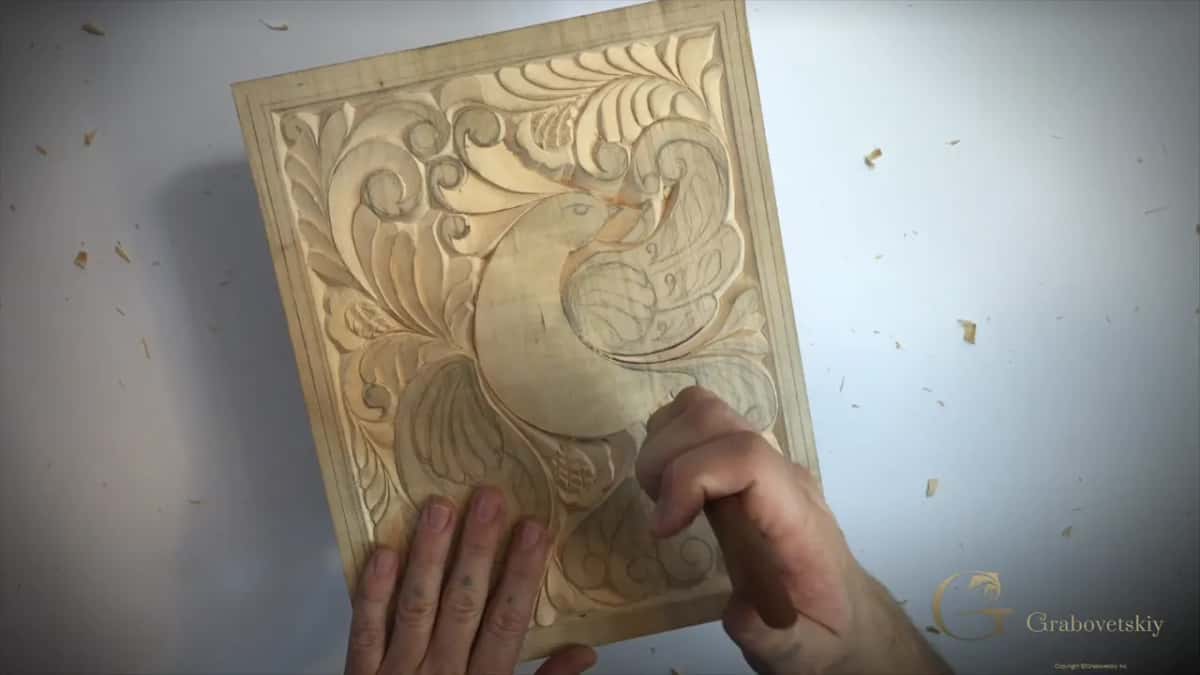
You rotate the work. The idea is that you can see this line, and that bevel has to match the bevel we already have on this wall, so in this case I had to rotate and give my bevel toward this direction.
Soon after, I didn't have to rotate any more, and we could work on the details.
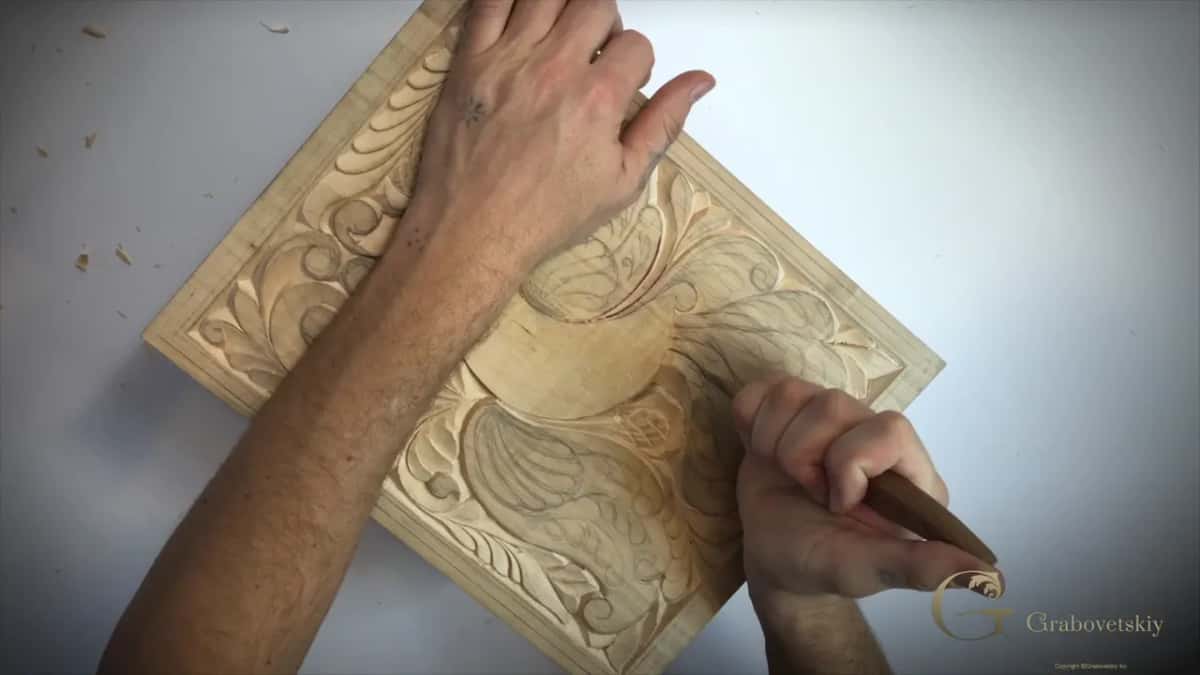
On the curls in the last video it was the same bevel again, then about the same bevel for the next one. With a really low bevel we start digging in.
In Workshop 10 I started one curl with a really low bevel and then raised my knife to finish it with a sharper bevel. I still had to organically connect the low bevel with the higher one, and the only way I can control that is by taking multiple passes.
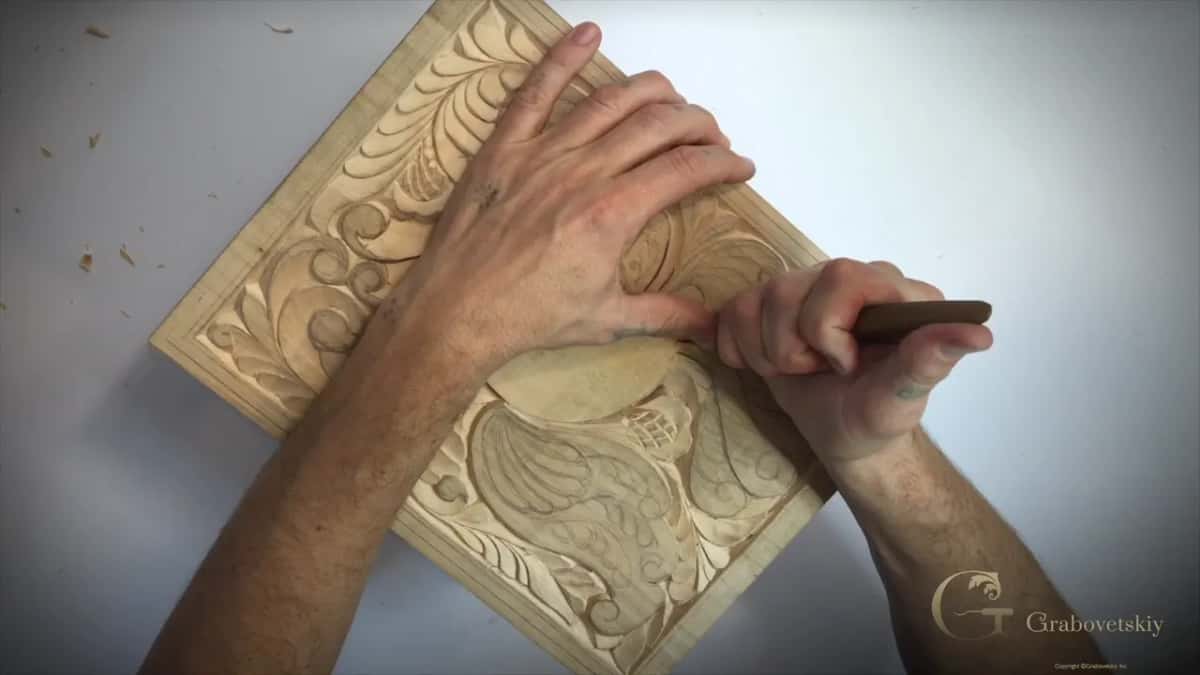
Should you carve a curl in one stroke or take the triangles out first?
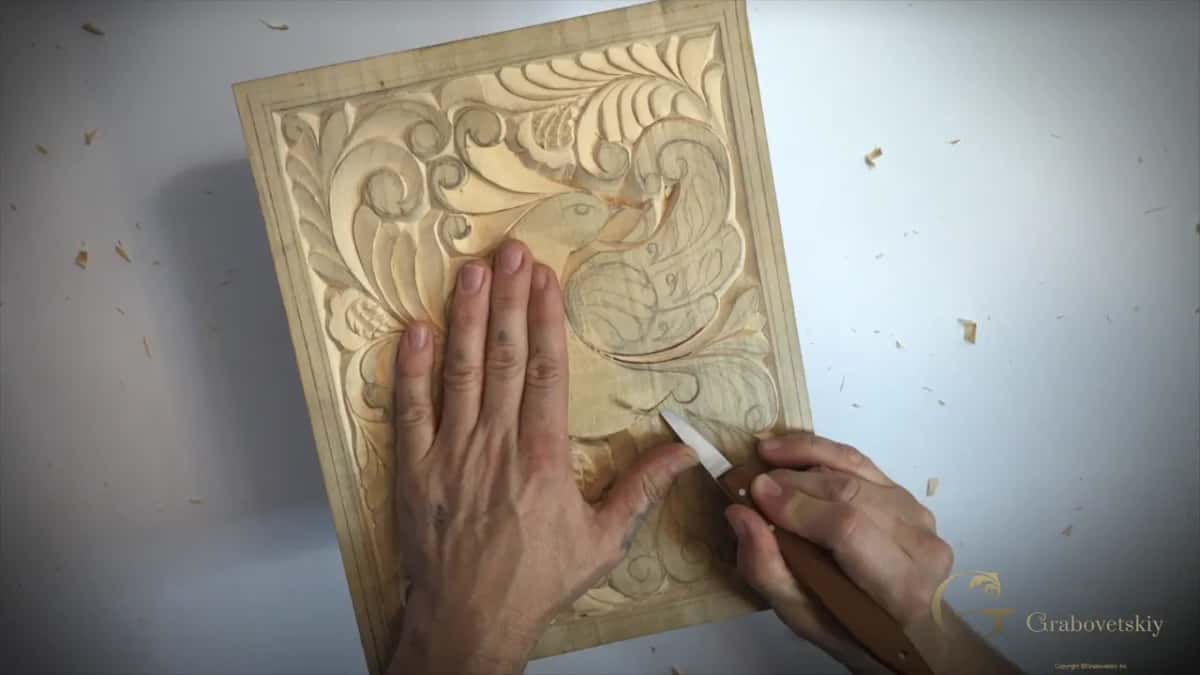
Try both, and keep whatever's best for you. This time I followed every line with the knife, pretty much in one stroke. This curl, for example, I just followed along.
The other approach is to take the small triangles out first, in every one of those sections, and then refine with a round cut. Sometimes that would probably be a better approach, although it takes a little longer.
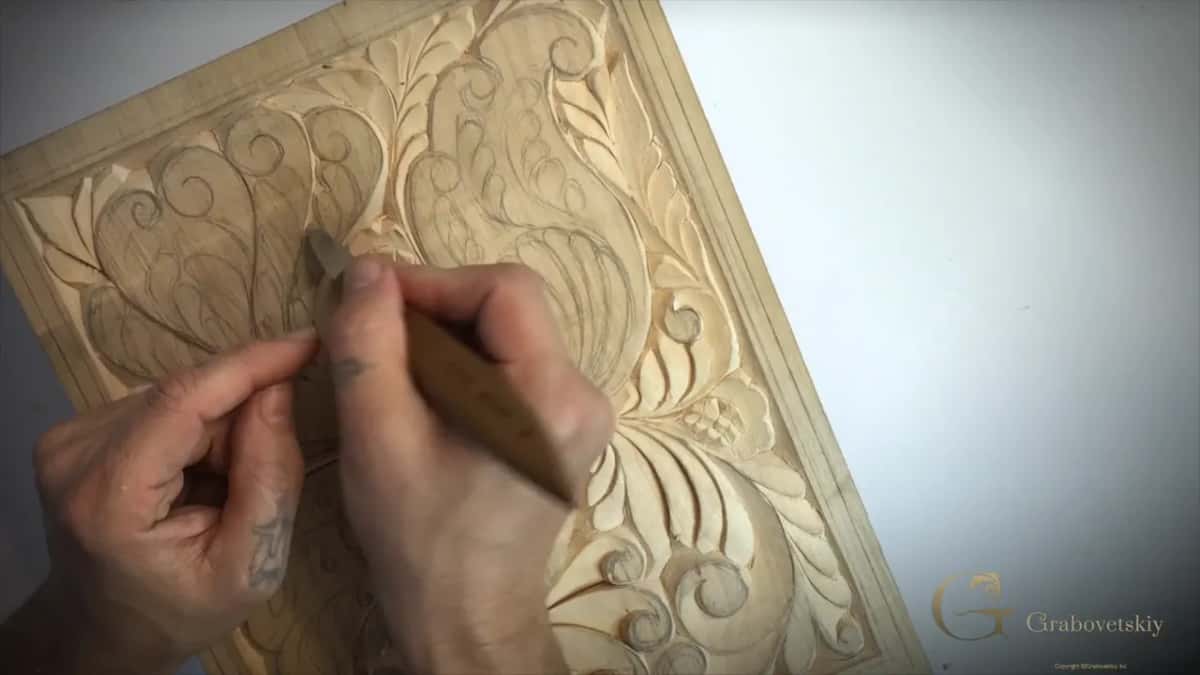
Earlier, in part 11.1, I looked at one spot and said that's not too good, so let me just make it one long one. What I meant was that I'd carved an extra detail right there. It happens sometimes. It's okay.
Why do I still do all of this with a knife?
My teacher taught me that way. You probably noticed, if you watched my other workshops, that I love using my knife, and it doesn't matter how complicated the carving is. That's probably the result of the teacher who taught me how to carve, first with the knife, just the knife techniques.
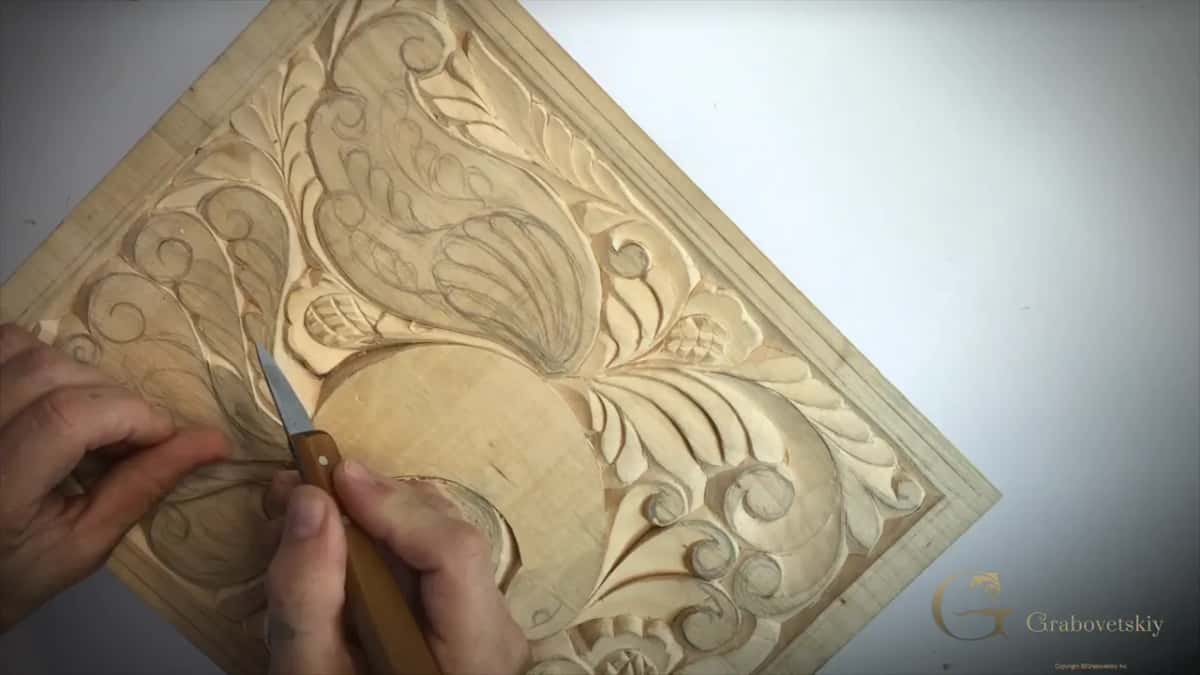
In my first lesson for beginners I told the rest of it. All he gave me was a first knife, and for a long time he taught me to use it in all of my carvings. Then came a gouge.
In that lesson I also said that in the eighth, ninth and tenth century, archaeologists found Viking culture and other European and Asian cultures all using exactly the same technique. They all had just the one knife available. The ornaments are different, the styles are different, but the technique is still the same.
A knife is quick, too. Carving the Hashemi flowers, I made a smaller leaf under a leaf using only the knife and said you can do a lot with just a knife, and much quicker.
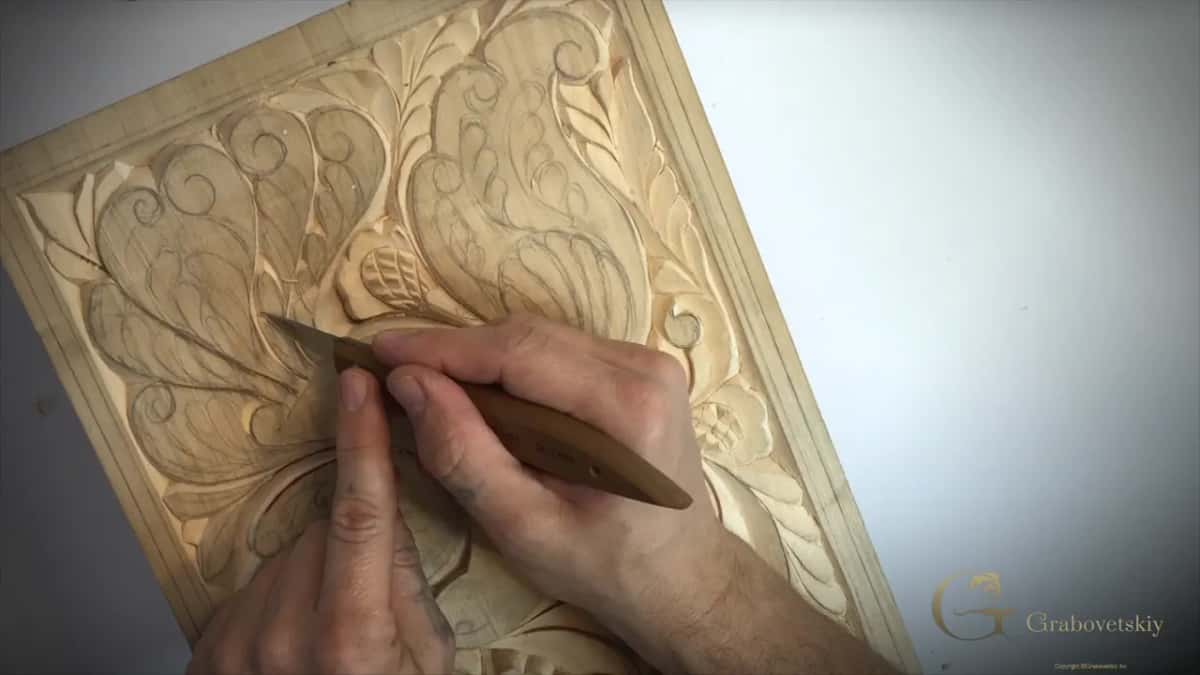
How deep do you take the curls on the tail?
About a quarter inch (6 mm). That's measured between the upper point and the low point, and I went to that depth to match what we did on another spot of the board.
What you could do first is take the corners down to the depth you want. I was happy with that depth. I removed the rest down to my line.
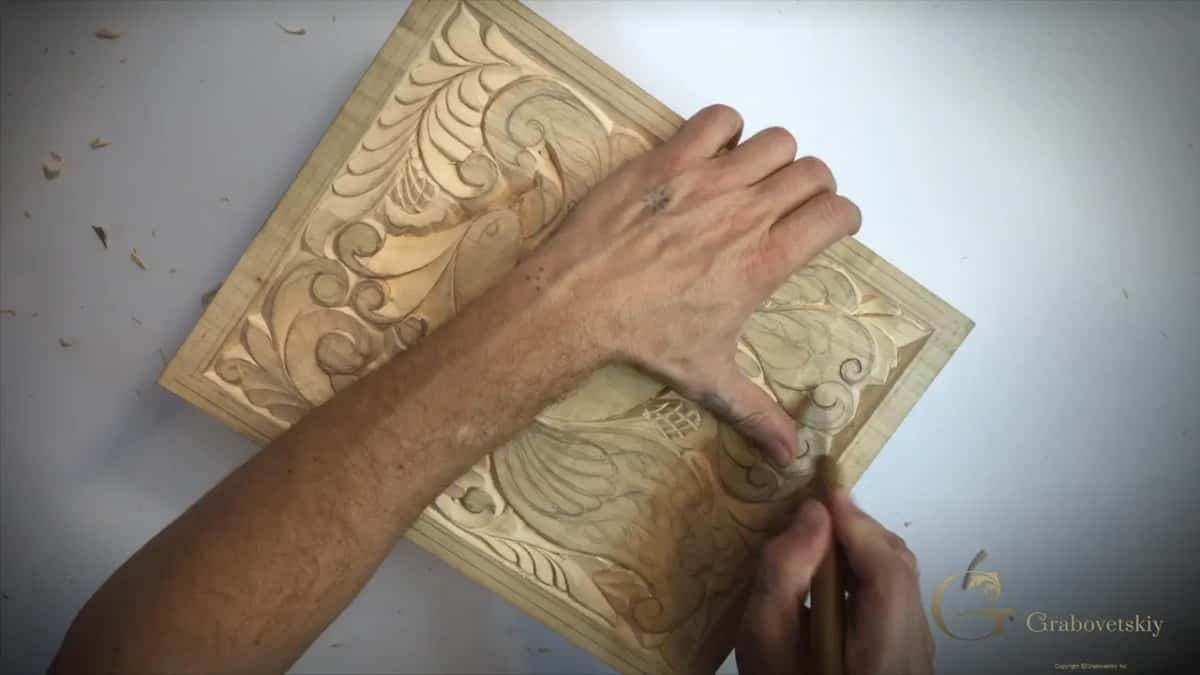
What do you do when straight grain makes a piece snap out?
Be really careful, and come at it from the opposite direction. In part 11.3 the grain in that area is straight, so I had to keep an eye on my grain and carve from the other side.
Right there one piece just snapped out, and I said I shouldn't do that again.
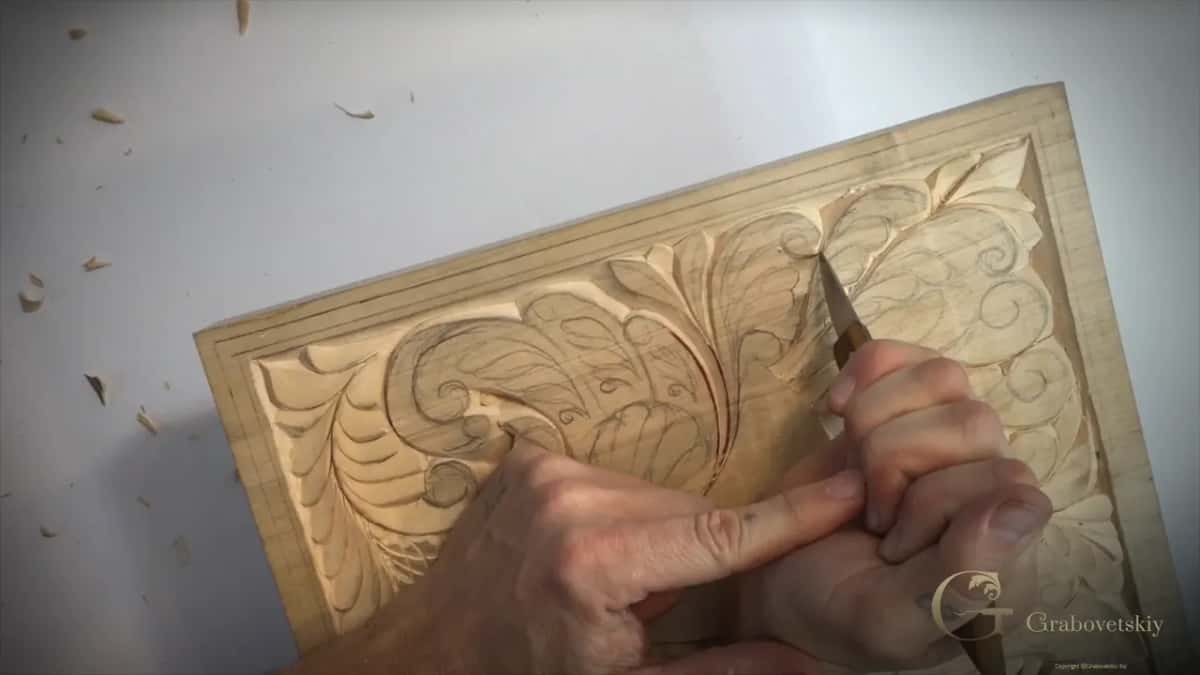
I worked my way in until those grains met. After that I attacked the same spot from this side until it looked like a single pass with no ridges left, which is sometimes hard to do. I was almost there.
The first video had a shape like that too. I didn't know what was going on inside of it, but the grain goes straight, and that's why it wasn't as clean as I wanted. But it's okay. I just have to be more careful next time on that spot.
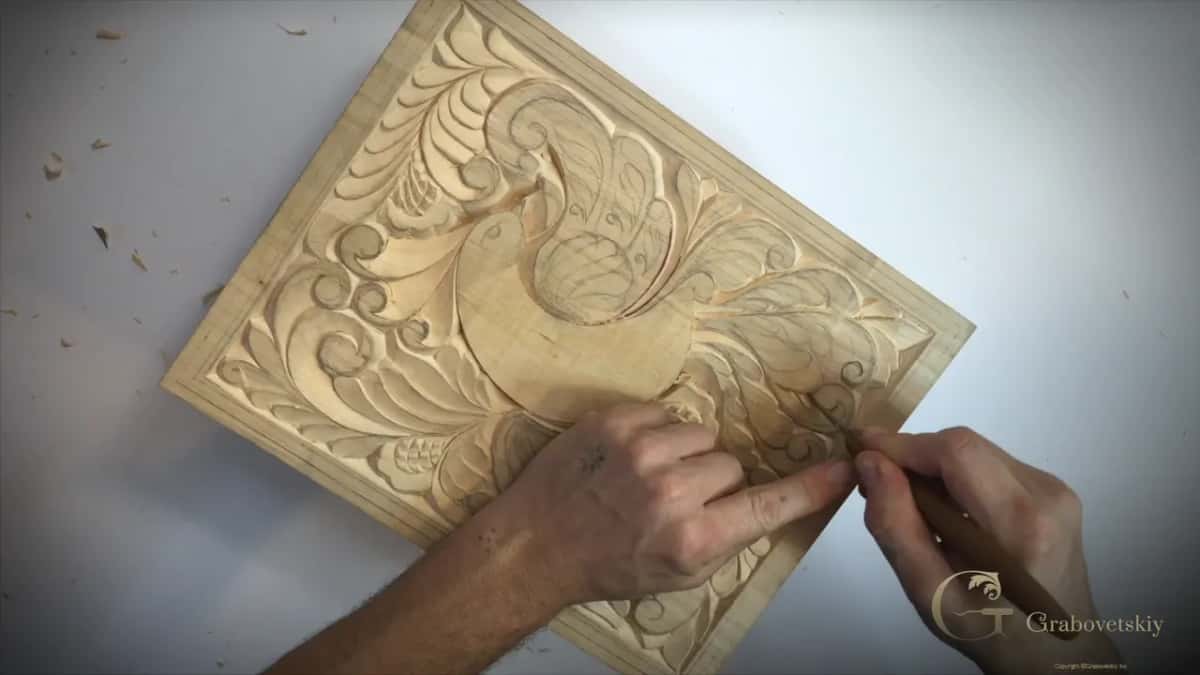
What shows the ridges you missed?
Turning the board and changing the light. Later on I turn this one and look from different perspectives, with different lights, just to see if there are any ridges that aren't visible from this side.
Right then I could see I needed to clean some areas. If you notice areas like that in your own work, and you have a knife in your hand, why not clean them right away?
Where this lesson sits in the course
This is the eleventh workshop of my beginner course, and Workshop 12 comes next. I asked you in the third video to upload your work later on, at the end of this workshop. I would love to see it.
The full videos are for students of the school, and Access is how you get them.
Your knife is ready, and one curl on your board still has to go somewhere.
How it's done
- Free the shape first. Take a pass all the way round the shape before anything else, so its shape stands clear of everything next to it.
- Mark the divisions. Pencil in the lines that split the tail evenly, four parts on this board.
- Lean each upright pass. Keep the dividing walls a little off 90 degrees, and give a new bevel the same slope as the wall it meets, turning the board as you go.
- Sink the corners. Bring the corners down to the depth you want, a quarter inch here, then clear the rest to your line.
- Pick a method per curl. Run the blade along the drawn line in one go, or lift small triangles from each section before rounding the curl off.
- Look again in new light. Change the light and the angle, and clean any ridge you find while the blade is still in hand.
Frequently asked questions
Did old Scandinavian carvers use math for their ornament?
Greek work did involve math, I said in Workshop 11. Carvers in old Scandinavia knew nothing about formulas and didn't even care, and their ornament, like old pieces from Germany, Poland and Russia, flows anyway, because the feel of flow sits inside the person carving.
Should every upright cut be exactly vertical?
Not on the dividing lines of my bird's tail. Each one got a small bevel, close to vertical but angled slightly, so I didn't go a full 90 degrees. Where a new bevel met a wall, I matched the slope of that wall and turned the board around to get there.
Do you take the triangles out of a curl first?
Mostly I ran the blade along each line in roughly one stroke. The other approach removes a small triangle from every section first and refines the curl with a round cut afterwards. Sometimes that's probably better, although it takes a little longer, so try both and keep what suits your hands.
What to carve next