
Alexander Grabovetskiy, woodcarver, School of Woodcarving · Published 2017
How do you carve a whole panel with one knife?
Quick answer: Panel carving with a single chip knife is three cuts repeated. The blade goes straight down on the bird's outline, then leans to the right or the left at a low angle beside it. Each pass gets repeated, never forced, until the chip comes out clean, since the cuts are not sanded afterward.
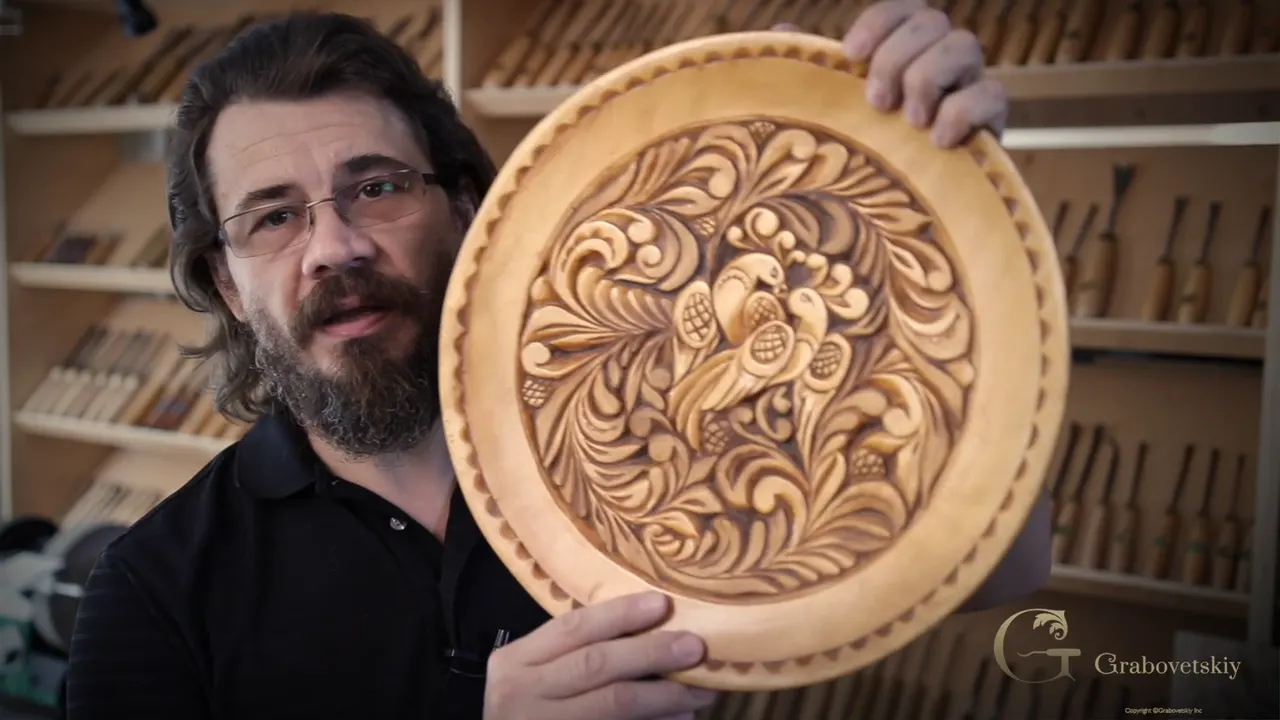
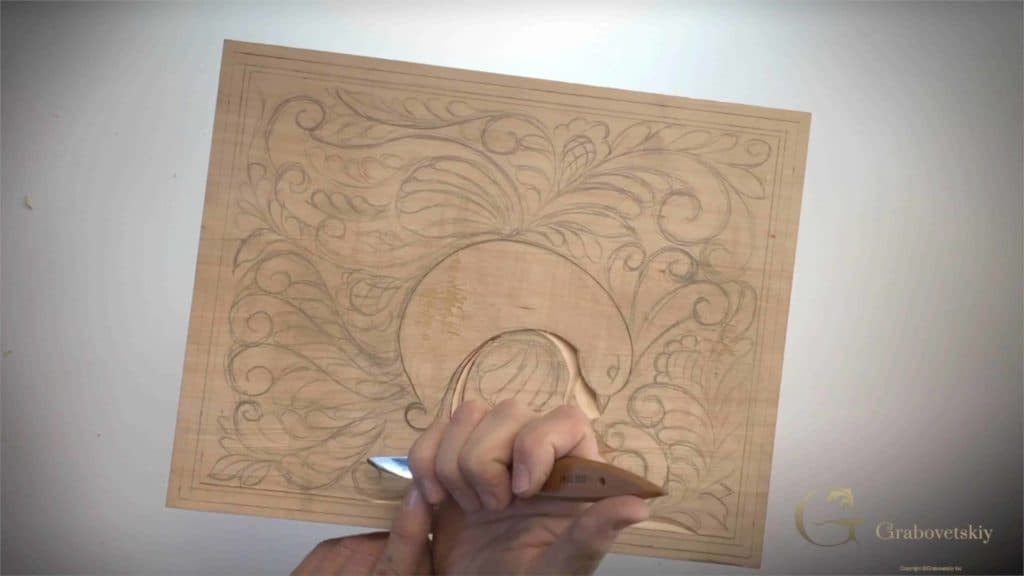
Carving a whole panel with one knife is a job of three cuts used over and over, straight down, right angle and left angle. In Workshop 4 of my cutting board course I outline the bird straight down with a chip knife, then lay the blade low beside the line and repeat each pass until the chip comes out clean.
Can you hold a knife straight up? Can you draw it slowly along a pencil line? Then pick up your knife, because that is the first cut of this workshop.
This style of carving is one of the most ancient styles. Carvings like it go back to the 10th century, the ninth and the eighth, all through European cultures. Maybe about 20 years ago I carved a piece in exactly the same style, just like a dish.
For this board we use pretty much two tools. Tool number one is the number 12 chip carving knife by Pfeil, though any one you have is still going to work. The gouge comes after it.
Workshop 4 in six short lines
- The bird comes first, and then you move from the inside out.
- Your support hand stays off the knife's path.
- A stuck chip gets another cut.
- One long pass, without pulling the knife out, leaves a much cleaner line, so don't rush it and come back for depth.
- You won't sand these cuts.
- Grain decides the direction, and you go downhill from a high point.
What are the three cuts of a chip knife?
One goes straight down, and two lean, one to the right and one to the left. On camera I say the three names twice in a row.
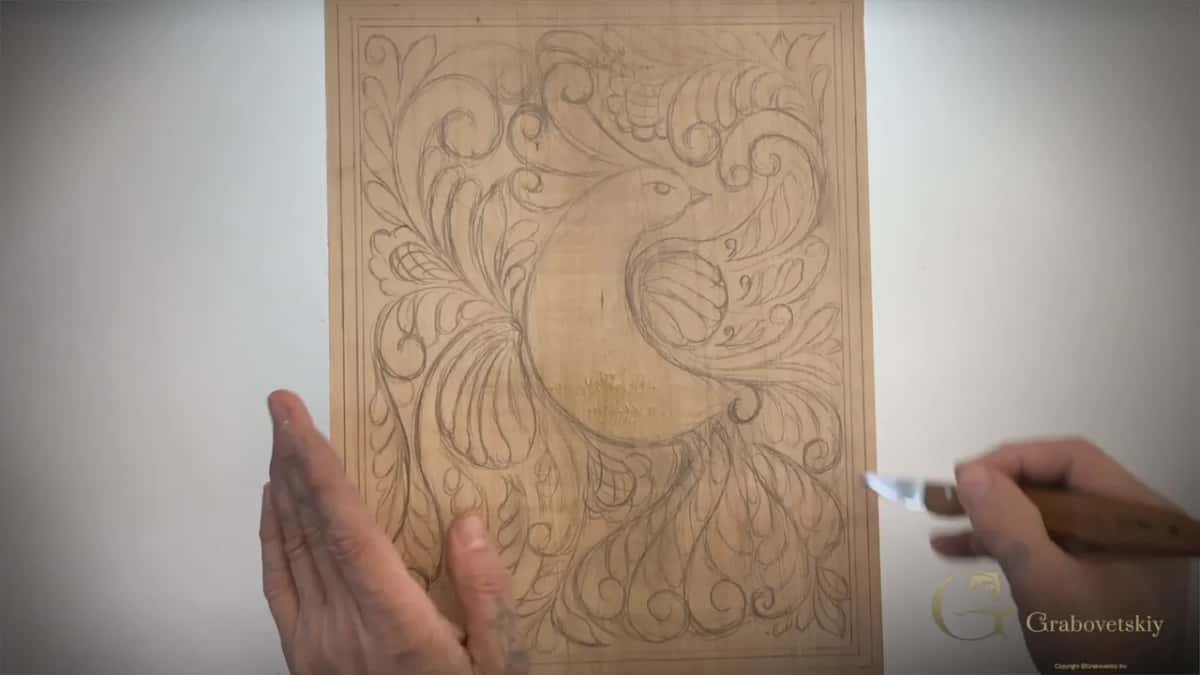
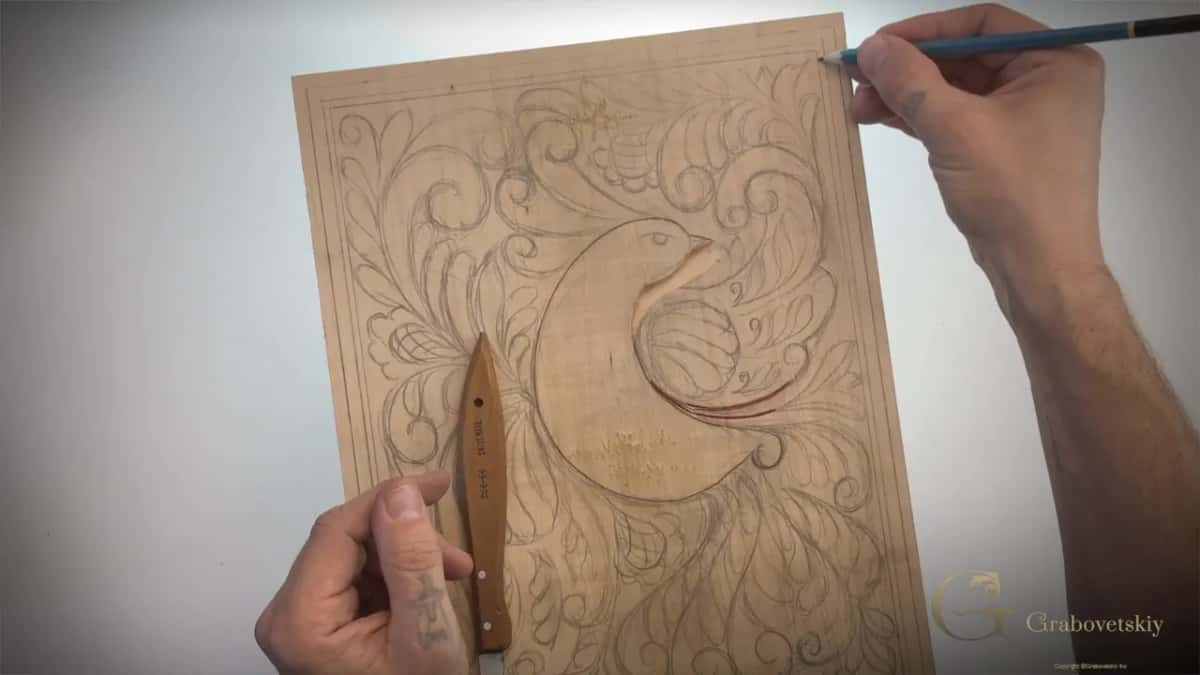
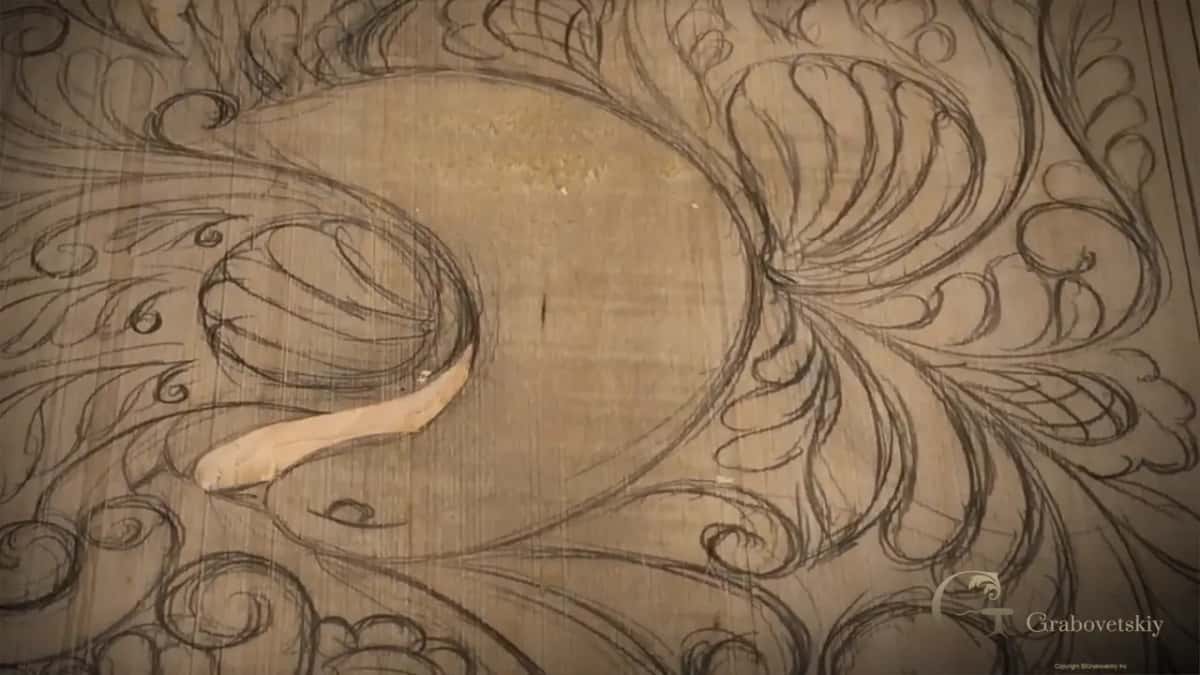
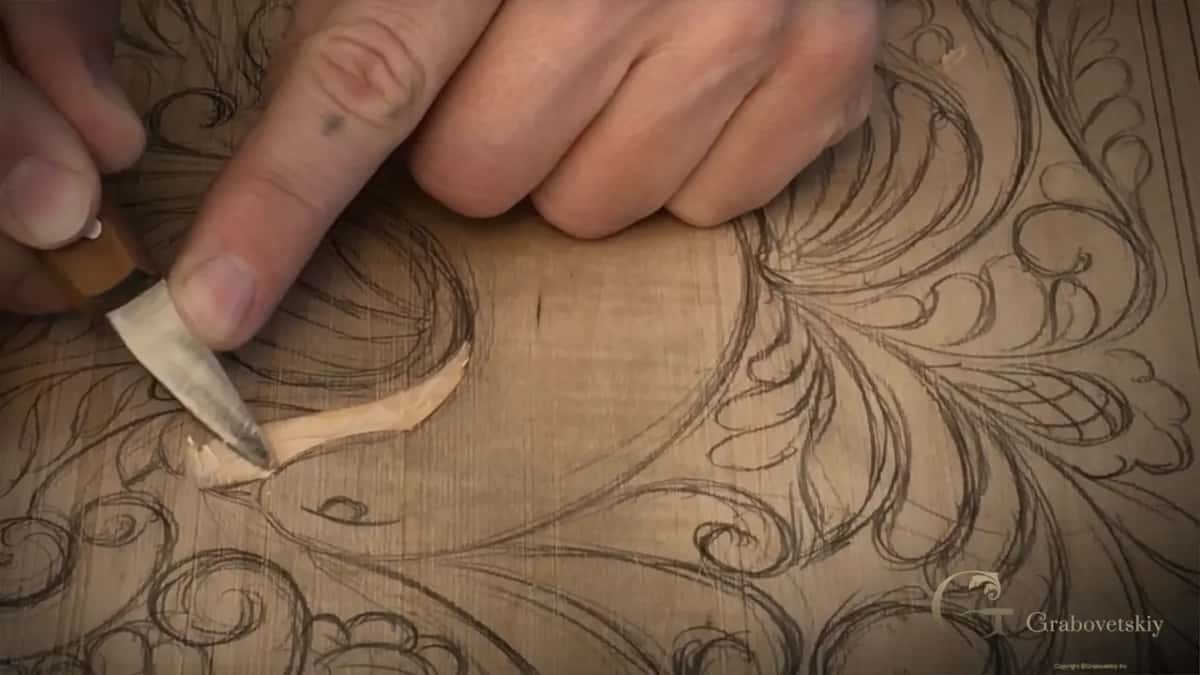
For the bird's outline I want the cut straight down. It could be slightly angled. It's okay, but it would look better if you can go straight down at 90 degrees, really straight up and down.
The depth all depends how deep you want to go. That first outline is just a preliminary cut.
Place the knife at a certain point, start really slowly and don't force it. Just follow the outline.
The other two cuts lean. When I say angle, I mean the knife leans to either the right or the left hand, and one whole section in part four is mostly those angle cuts.
Where do you start carving on the board?
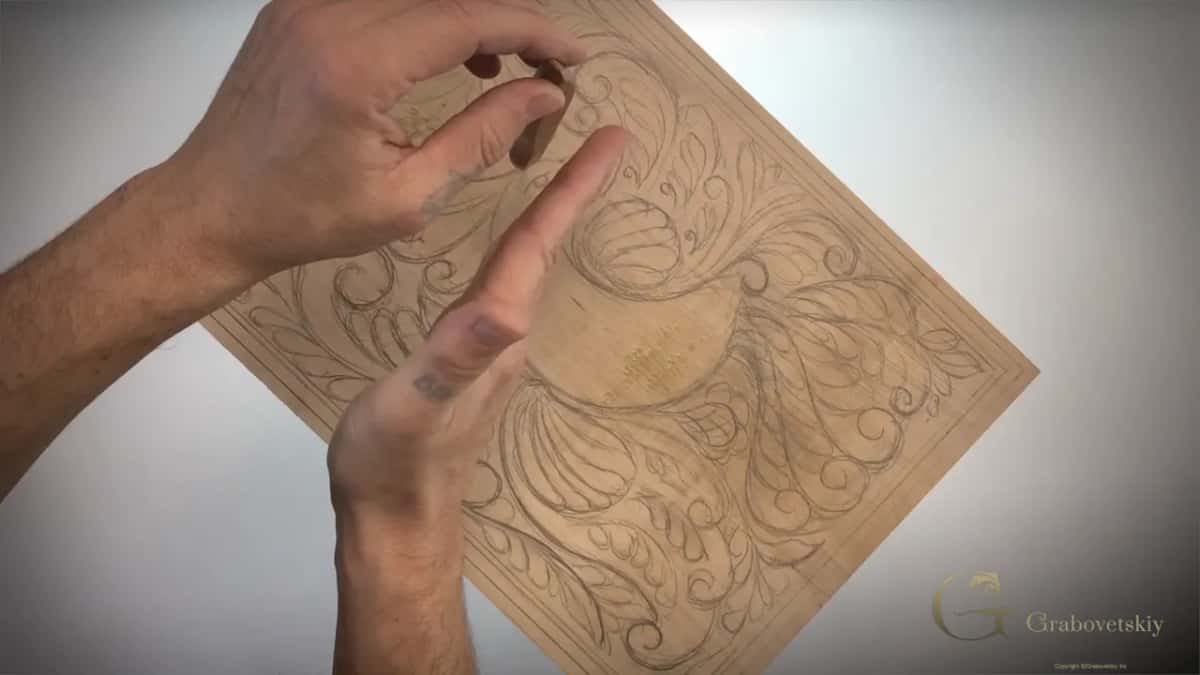
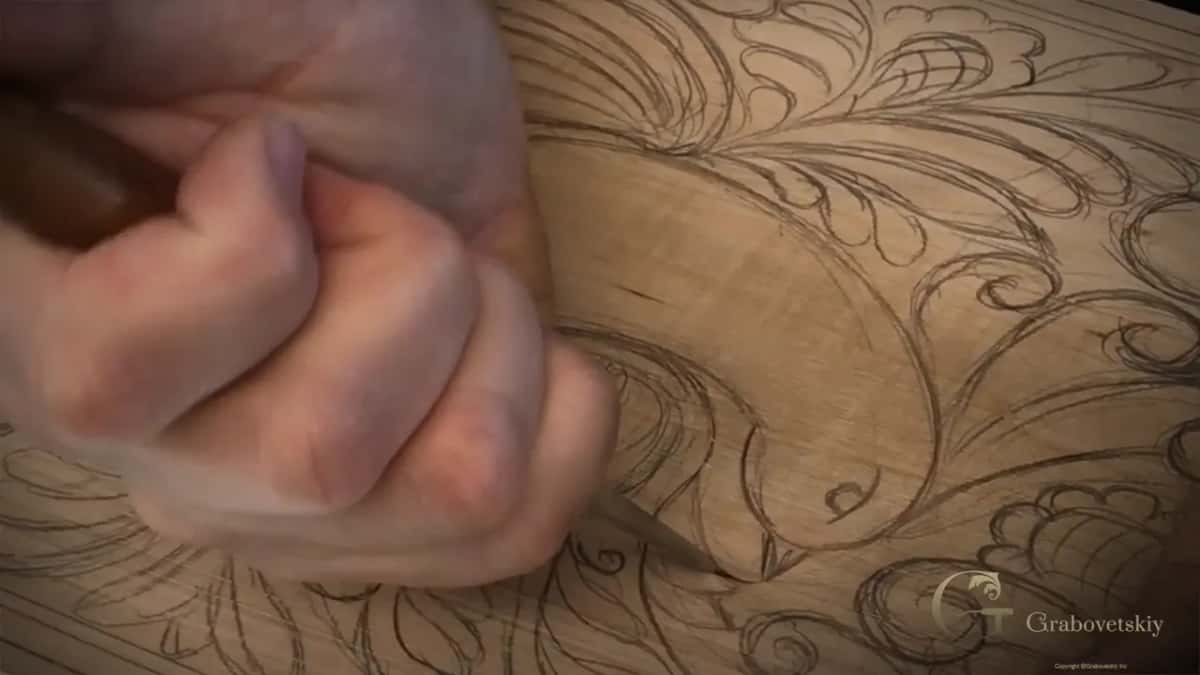
On the bird itself. Its body, tail and wings are right there, and from there we move from the inside out.
Later in this workshop I start a leaf I drew, and it begins almost underneath the body of the bird.
The border waits. There are three lines on it, one, two and three, from the drawing in Workshop 3, and in part three I carve the most inner line.
What keeps the knife away from your other hand?
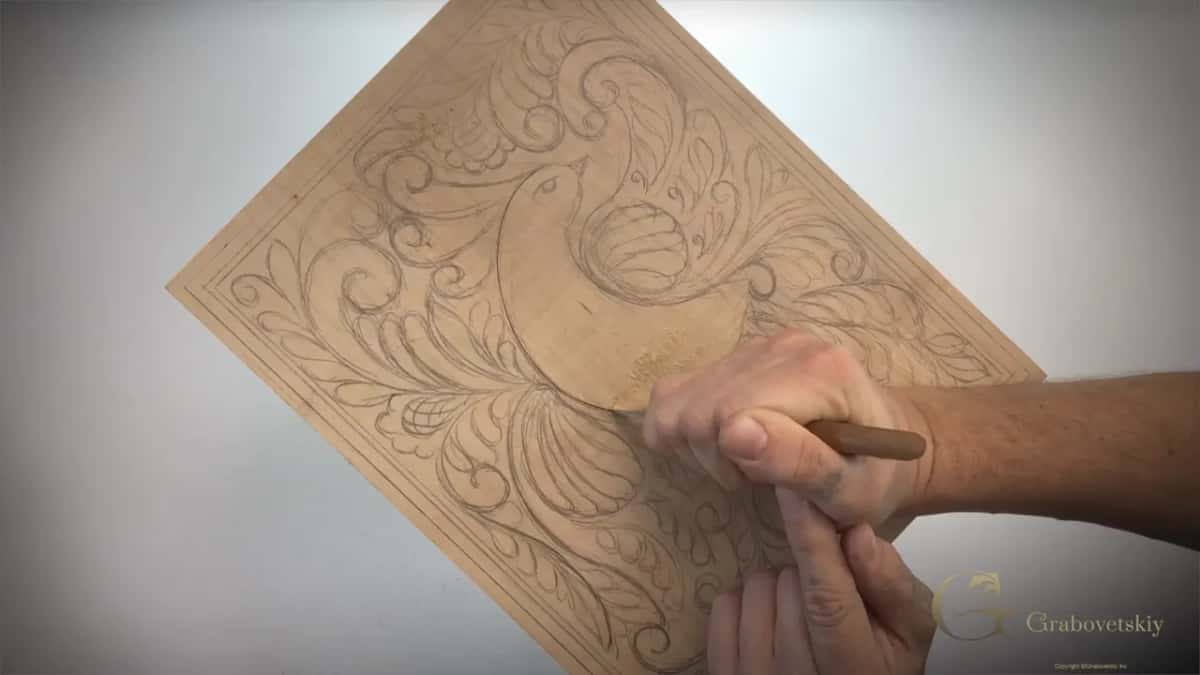
Hold the piece really, really tight, and never place your hand on the way of the knife. Otherwise you'll cut yourself really easily. I've done it. I cut myself.
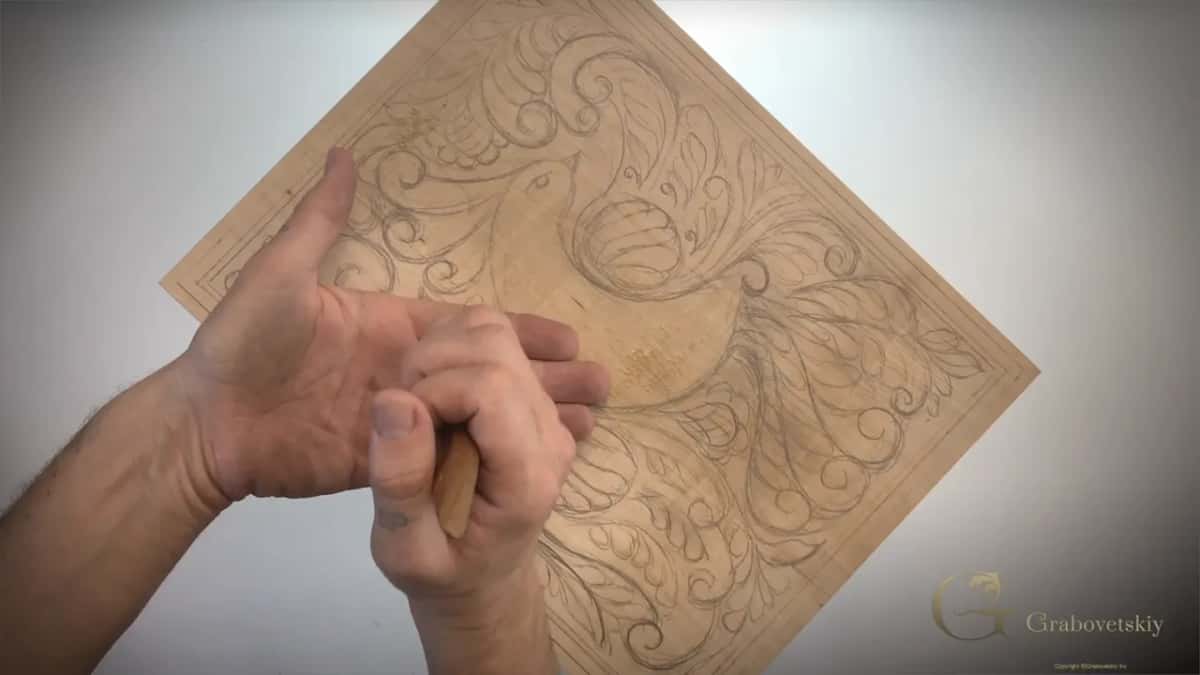
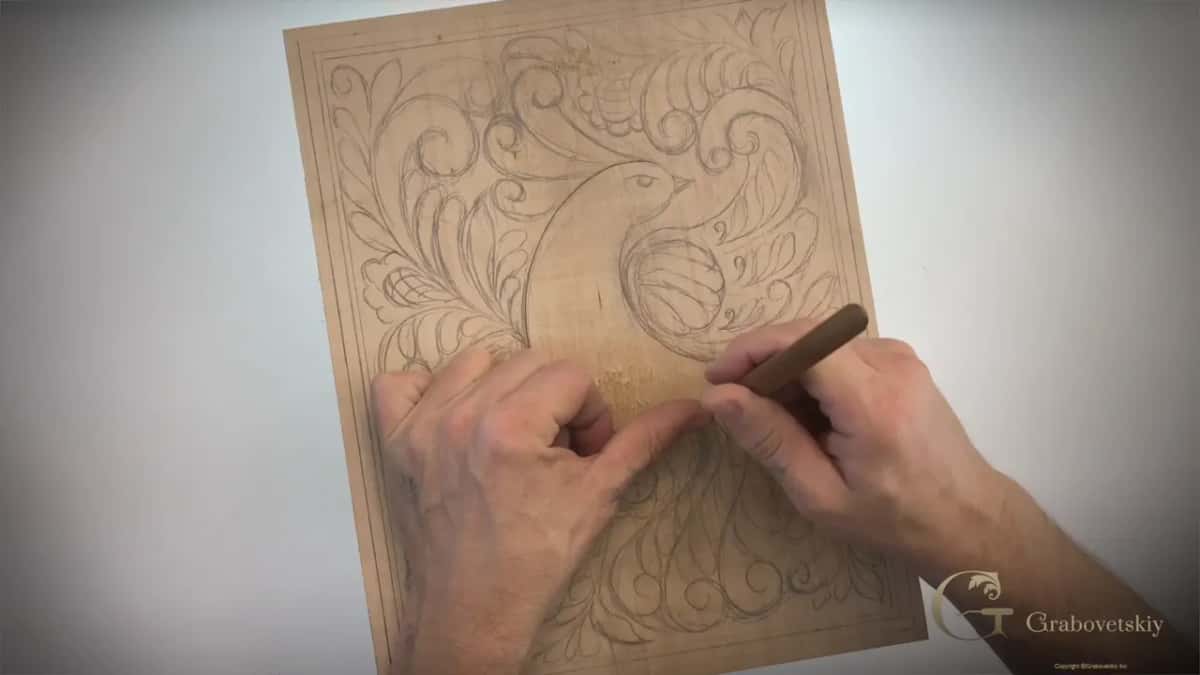
The hand that supports the piece has to be away from the cutting blade. Here I could have rotated the board and kept going. If you don't want to rotate, a finger can steady it, out of the way of the line, but that is not as accurate. Rotation would probably be the better choice, because I could see some waviness in my line. I can fix it, but I could have eliminated it.
My finger helps on the wing, where I pull the knife toward myself at a really low angle. Going away from myself later, the same finger makes the line more accurate.
In my Roman acanthus lesson I told about a class I taught at Marc Adams School of Woodworking. I explained to my students that cutting toward yourself is always dangerous, because you can slip with your tool and poke yourself. I've done it. I had multiple cuts. Some days, on complicated flowers with paper thin leaves, I cut myself over 100 times. One student had worked all his life as a dentist. He showed me how he locks his hands, and I thought it was excellent technique, applicable for all types of carving. If the hand is locked and not hanging in the air, it is safe. You still have to be really careful.
On my furniture panel I held a finger close to the edge for much better control. Be careful, though. Sometimes I cut myself, maybe once in a while, because when you carve all day long you're not afraid of the tools anymore.
Why is the curl called a volute?
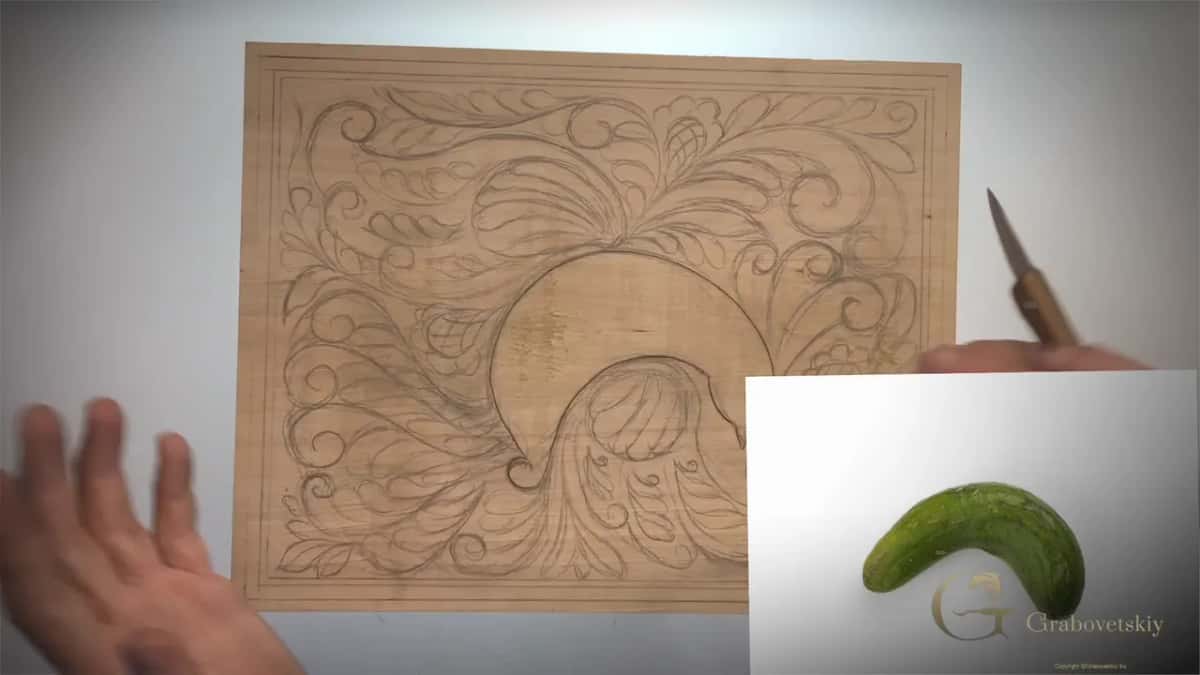
Volute is probably the most recent of its names. I call it a curl, but there are a couple of names known in history.
This element was used a long, long time ago, even in ancient Israel. When King Solomon, King of Israel, built the temple for God Most High, he used what some cultures call Solomon's cucumber. Yep, just like it sounds.
Look at the whole element really close and it looks like a cucumber. So it is a really ancient element, and when Solomon built his temple they already used some volutes and some shapes like that.
Swirl or volute, either name works, and you'll see a lot of it in this carving.
How low should the knife go on an angled cut?
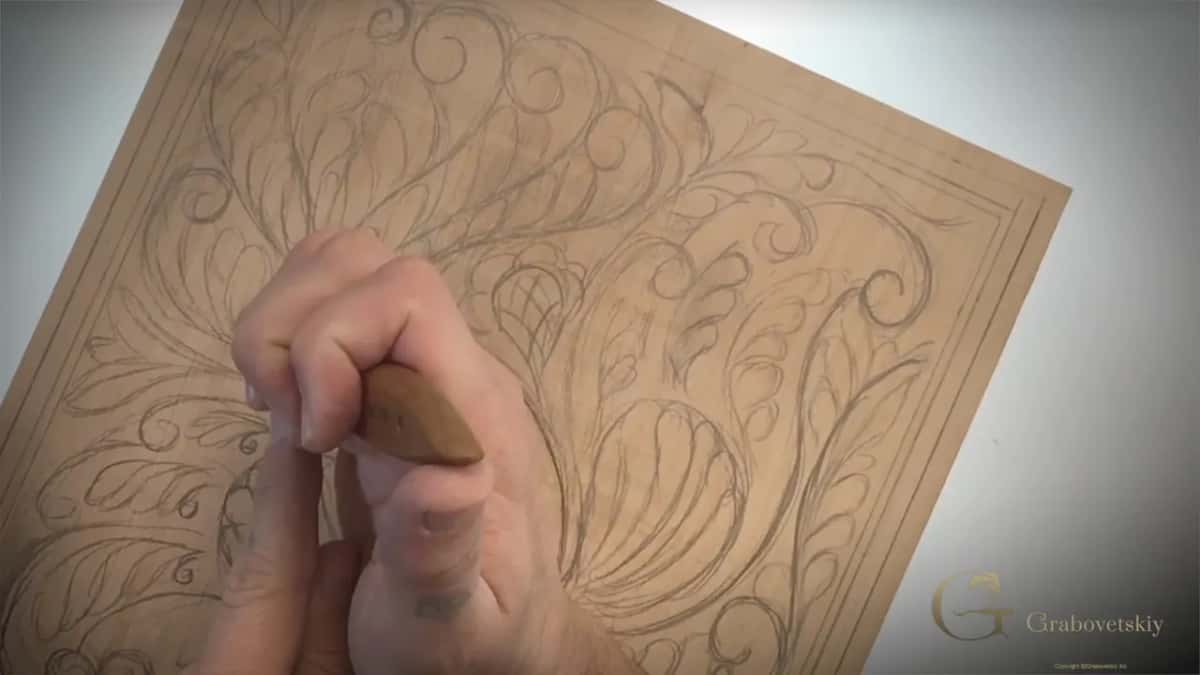
Really low, on this wing. The cut on that wing would be really deep, so with a pencil I added some small elements to eliminate that deepness. I keep the pencil close because I make some changes on the fly.
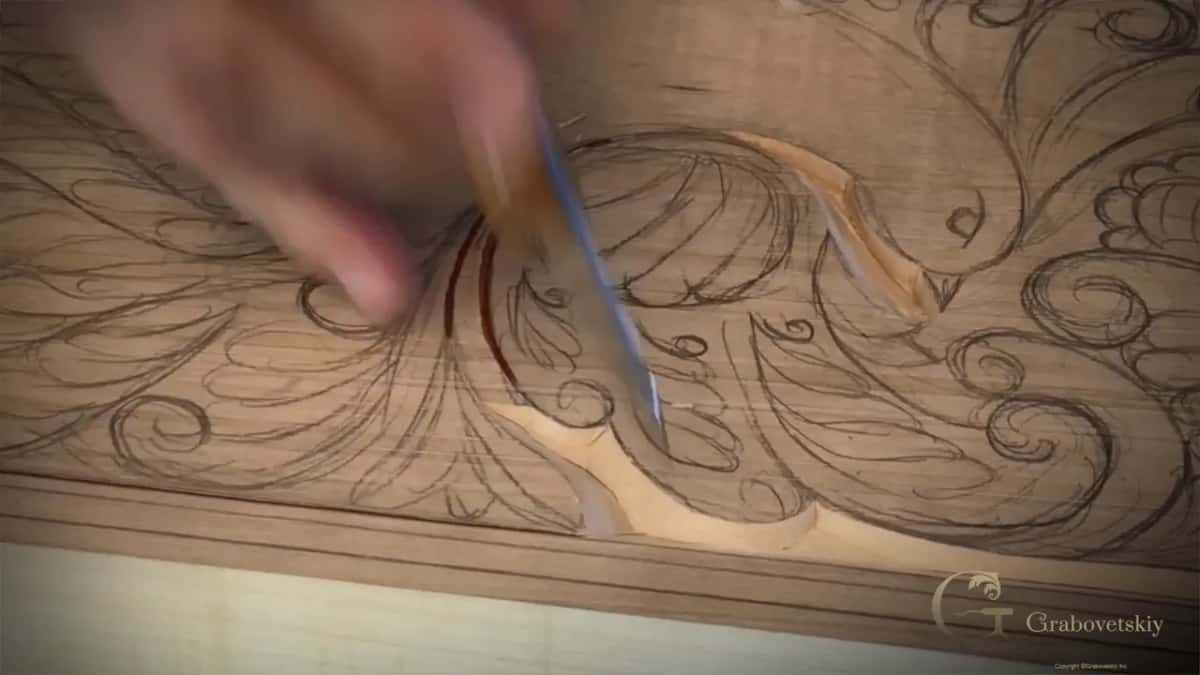
One line there I can't do straight down. It won't look nice. I place my knife, angle it and cut again toward myself, a right angle cut at a really, really low angle.
I could even do a sharper angle, but then this section would be really deep, and I don't want to see that deepness. So I lower my angle as low as possible and repeat the cut a couple of times, until I can see the chip can be removed easily.
Don't force it, or you'll break the fibers. Coming back is easier, with the knife straight down again to recut that section. You can hear it, and then it comes out pretty much right away.
Is this chip carving or ornamental carving?
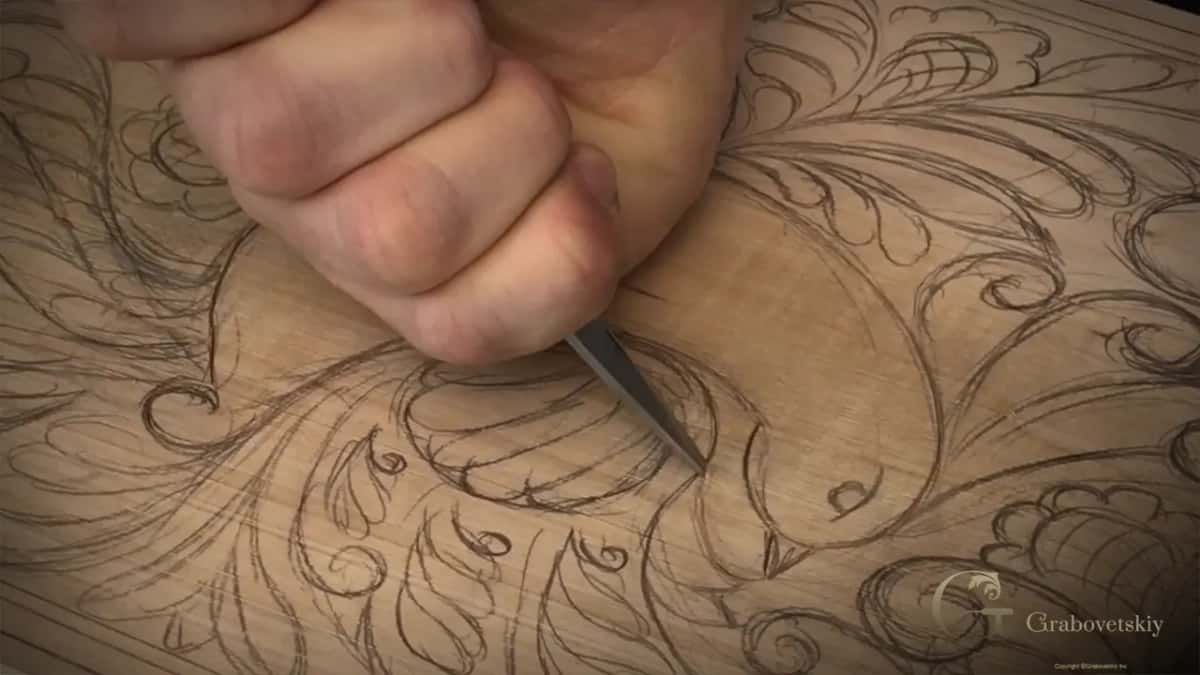
Both, in a way. It is chip carving when you use about the same technique. You probably associate chip carving with more geometric work, but before geometric carving, ornamental carving was already in existence, and people didn't call it chip carving.
There is a lot of stuff you can do with just one knife. My Greek acroterion page tells how in 1998 I designed a coffered ceiling for a client as a one knife project and carved all of its sides in about one month.
Why does every chip have to come out clean?
You're not going to sand these cuts, so make each one clean. Think about 2,000 years ago, when they did not have sandpaper.
They used different methods for sanding wood. One European method used Dutch reed, just a plant with some abrasive in it, to sand a little. But not everybody used that, and most carvers never used any sanding at all.
Workshop 10 shows the plant itself, Dutch reed or Dutch rush, which grows by rivers and swamps. People in England used it, I say in Workshop 8, and it doesn't sand like you think.
Just be patient. You don't have to force anything, but on the other hand you want to see what I call a really clean cut. Make sure those chips are coming out really easily, and if you need to repeat and clean it more, please do that. Now it's clean, and I can see it's clean.
Back on this board, look inside the border after its chip came out. It's really clean, and you don't need any sandpaper on that.
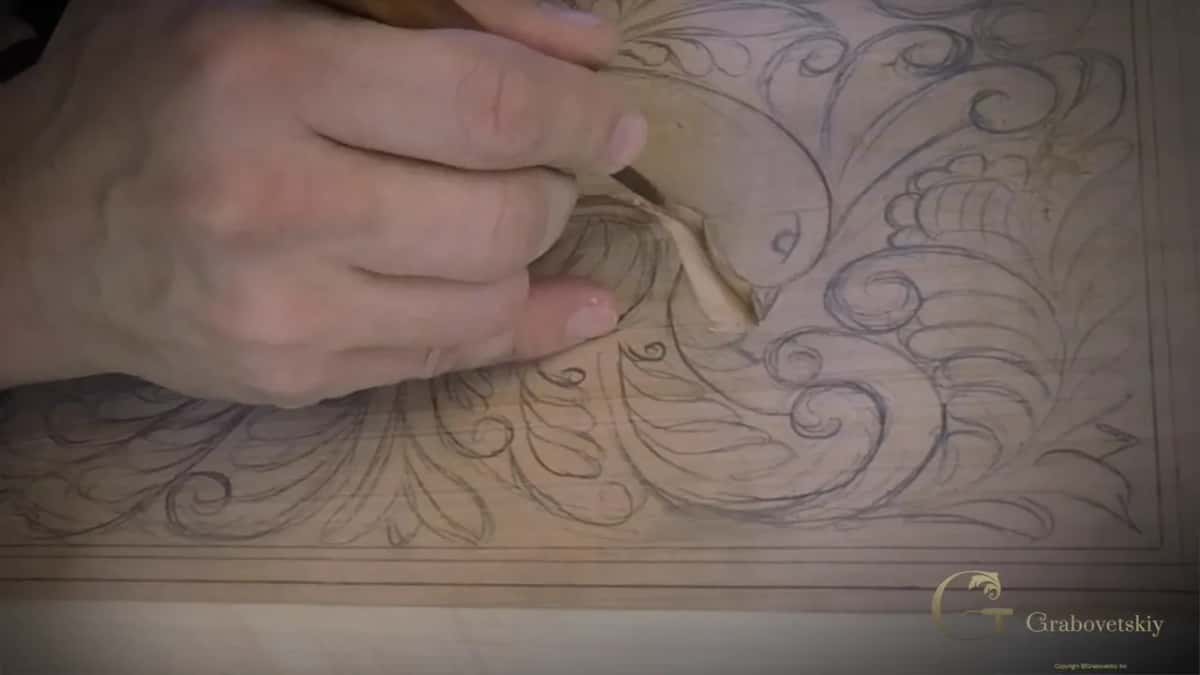
How long should one knife pass be?
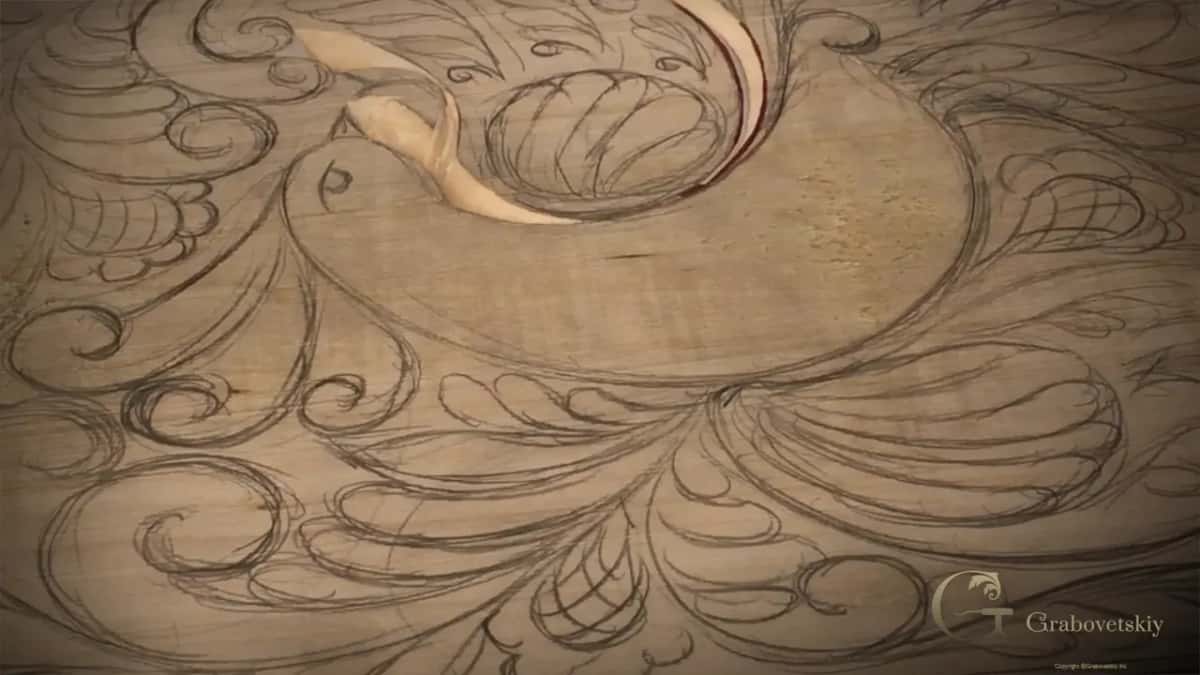
As long as possible. If you can manage a single pass as long as possible without pulling your knife out, your line comes out much cleaner.
Don't rush. You can always come back and make a deeper cut.
Beside the wing I came toward myself again on the volute, at an angle toward the right side, and followed the outline with the same angle all the way. That was going to be one long chip.
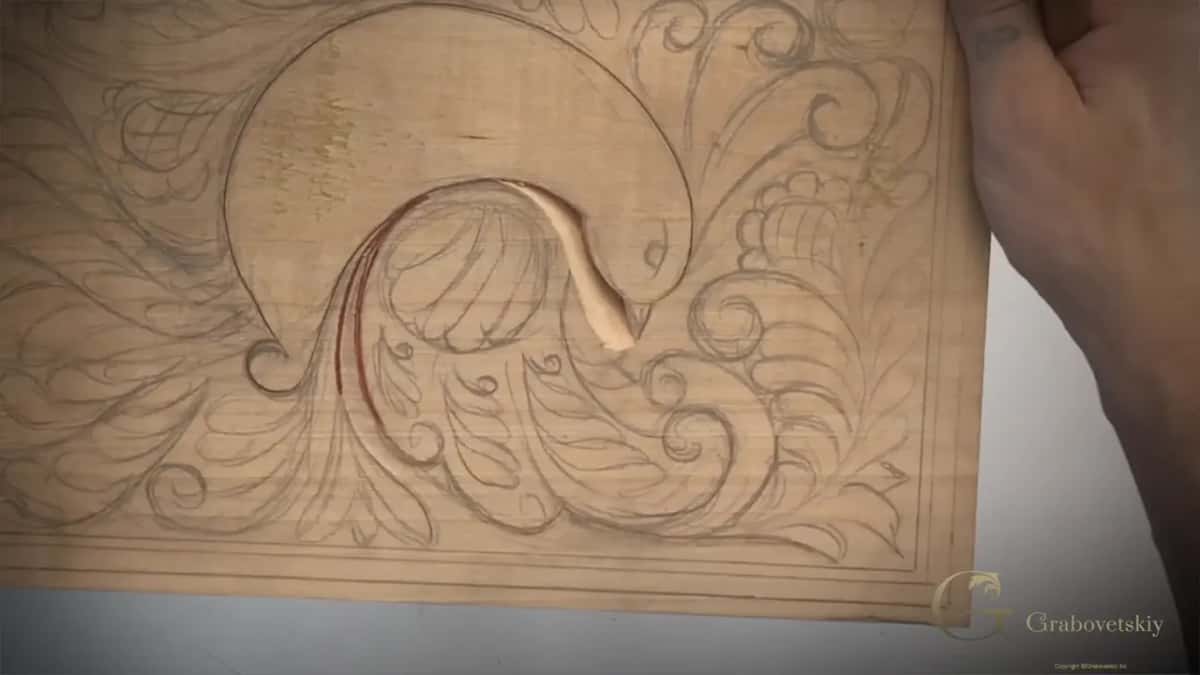
How do you carve the border around the panel?
Angle the knife and remember the position of your hand, because you're going to keep that same angle all around the perimeter.
I start with the highest point and go all the way to the low point. Some chip is already coming out there, but I don't take it out, because I can damage it, and that cut has to be clean.
Then a deeper cut, until I can hear it separate easily, and it has to separate everywhere. I heard it was still connected in one spot, so that side needed to be recut.
I know it's tempting to hurry and just pull it. You can't do that.
When I rotate and clean, I place my knife exactly where I cut before, at the same angle, and if I have to make a couple of cuts, I do it, until it just jumps out. Angle, angle, angle, and it comes to a V groove, almost a true V groove.
Look how sharp and crisp that line is. That's what you have to try to get.
| Cut | Where | Result |
|---|---|---|
| Straight down cut | Around the bird's body, held upright and slowly | A preliminary outline first |
| Right angle cut | Along the wing, the knife held really low | Not too much deepness |
| Left angle cut | Leaning the other way, mostly in that section | Chips flying out there |
| The zipper cut | Beside a straight cut, the knife moved right | A chip flying out |
| Same angle again | Back where I cut before, until it jumps | An almost true V |
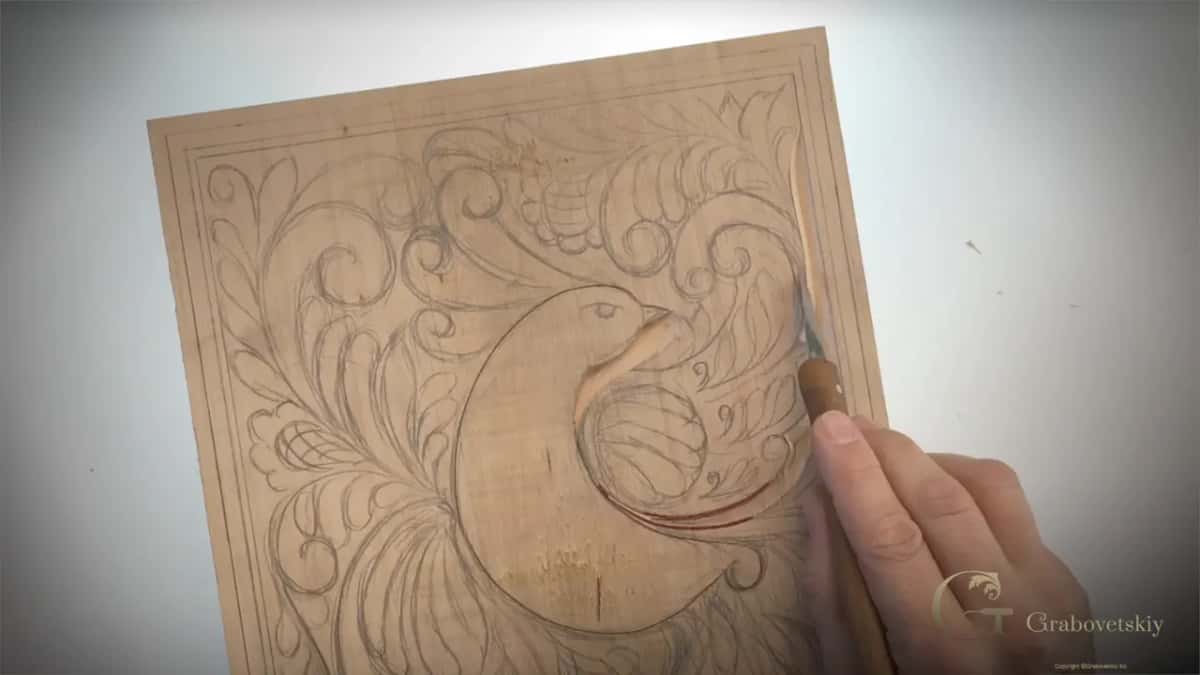
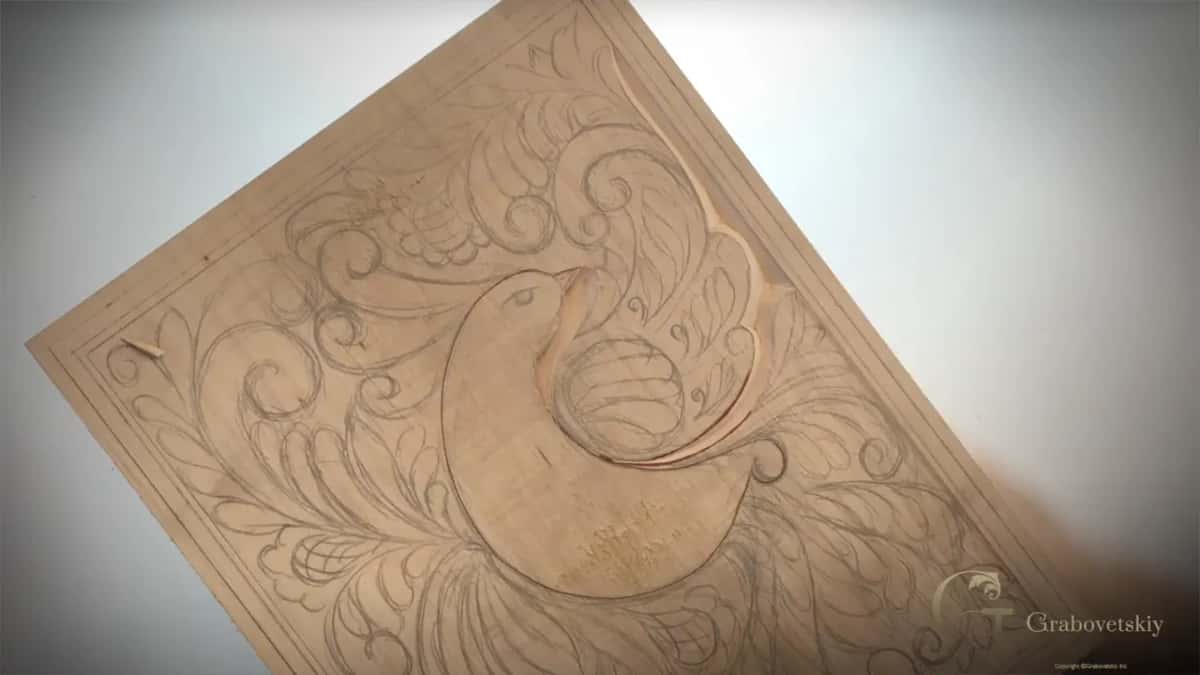
What is the zipper cut on this board?
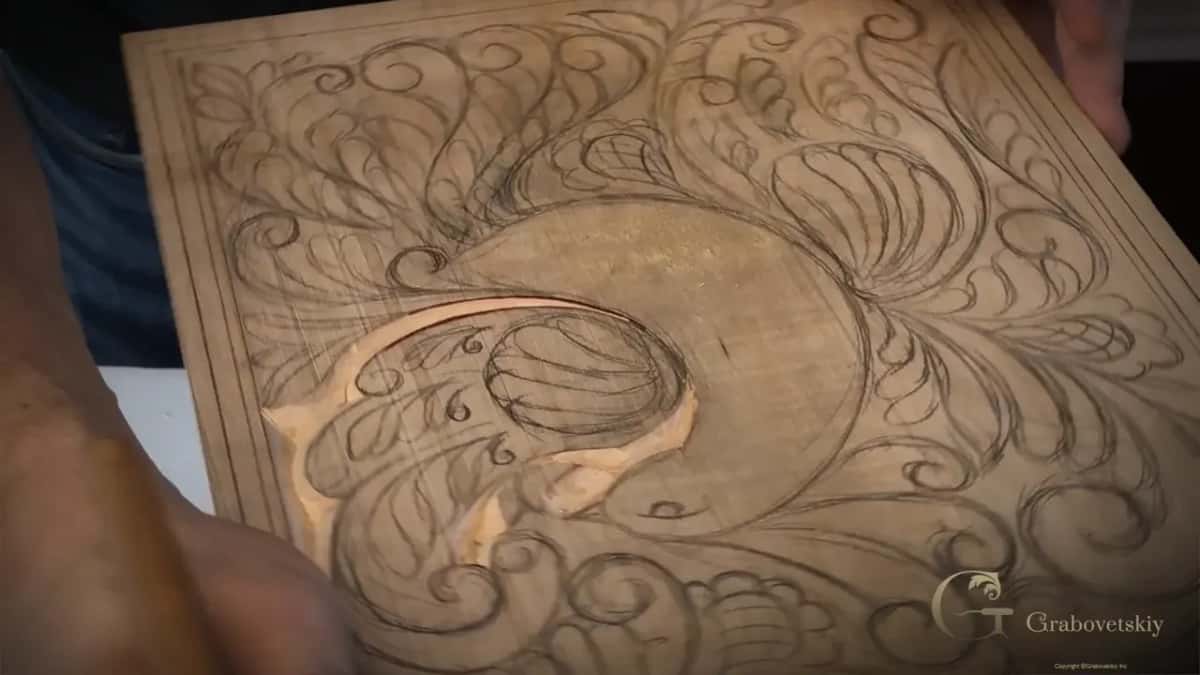
On this board the zipper came beside a line I had cut straight. I moved my knife to the right for a more angled cut, helped with my finger and made the zipper, and a chip went flying.
Then you can always clean it and refine it. Repeat the same cut a few more times until it flies out, and make sure the sides are clean.
The next section was mostly angle cuts, and one came out like a triangle chip.
How can you tell a cut is clean?
Blow on it. If all the chips, even the smallest ones, fly out, the progress is really good and the line is clean.
You see me do it on camera after the zipper. Where a spot still wasn't right, I repeated the cut and then made a couple of cleaning cuts, until I saw the same result as next to it.
What is a flow line in ornamental carving?
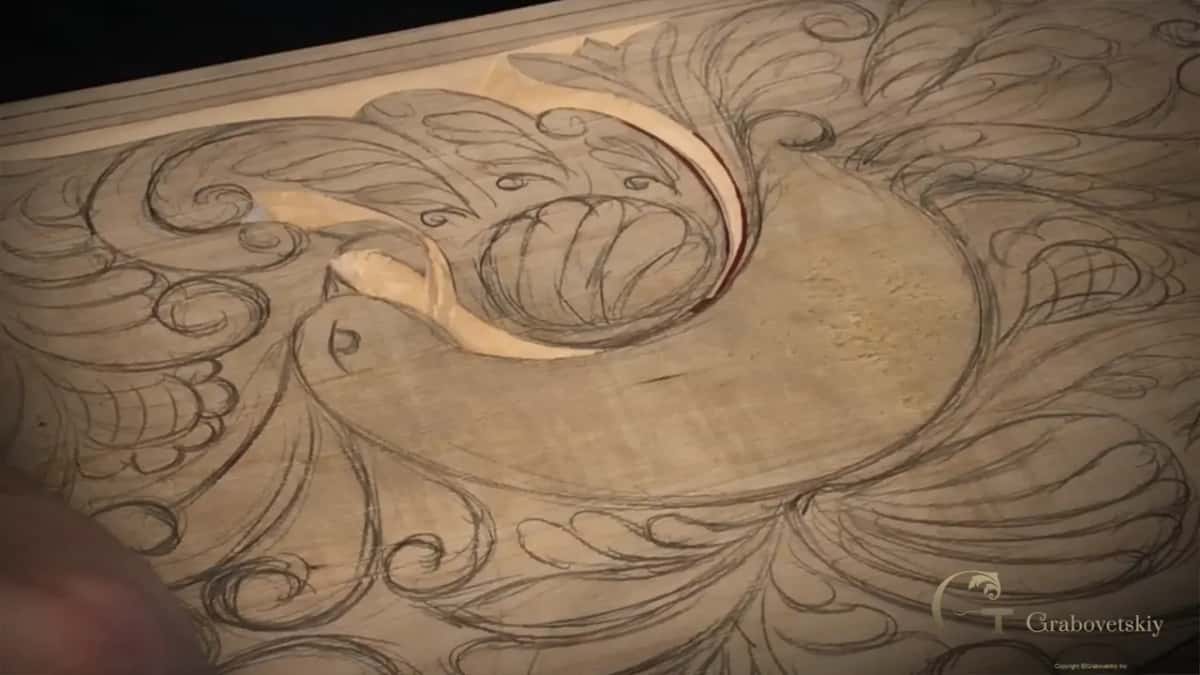
Almost every line should go to the same line, and that is called a flow line. That is one of the really important rules in wood carving, especially ornamental.
I showed you the line of the wing and my plant line. Everything should go to the same flow, so on the way, as we carve, we fix some stuff.
The main wing line looked nicer to me as a straight down cut, like 90 degrees, so in one place it is angled and in another it is straight down. You have to come from the straight part and slowly, slowly create your bevel until it meets the same angle on the other side.
Which way should the knife go with the grain?
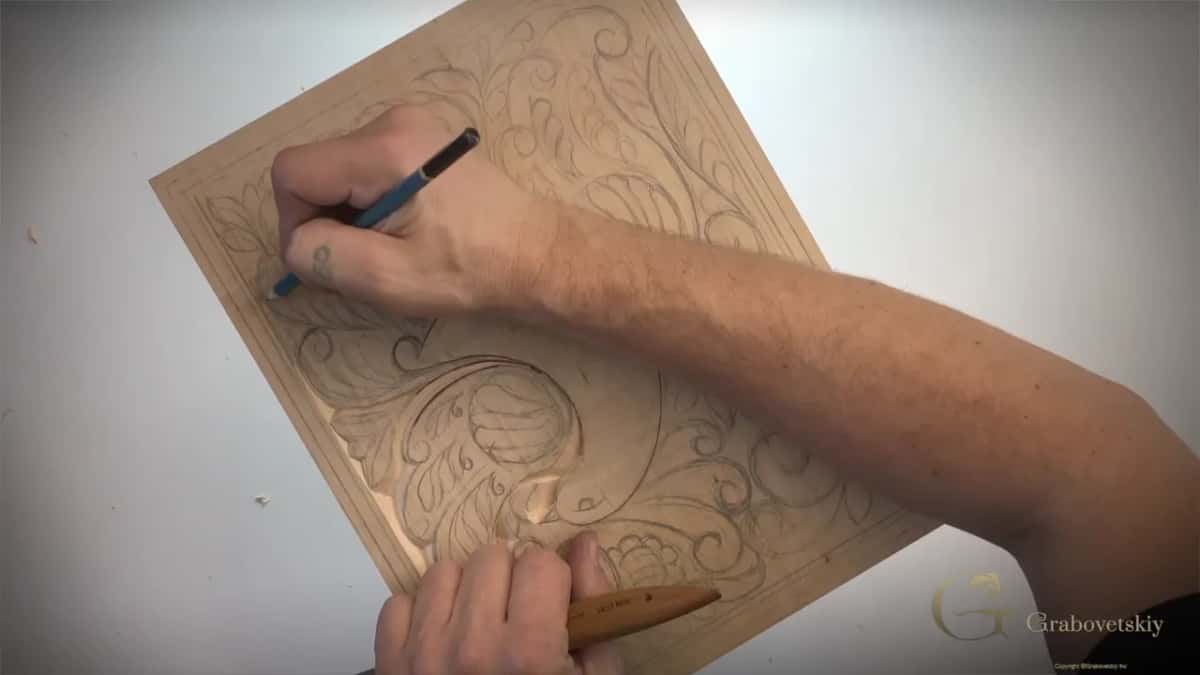
Downhill. Look at how the grain goes on your board. I always start from the high point and cut toward myself, kind of downhill with the knife, and the wall comes out much, much, much cleaner.
I also began the border at the highest point and went down to the low point.
Is one knife too simple for a beginner?
I know some of you maybe think it's too simple, and the course is called for beginners. But believe me, after this course you'll appreciate just having one knife, and how many beautiful things you can do with a limited amount of tools.
We go one step at a time. Practice, not just watch, and you will see it's not that easy to use only one knife.
Once you master it, we move on to gouges, and nothing is going to be impossible for you. You'll be unstoppable. Say it to yourself, if you like.
Believe me, this type of project is going to train your hands to make cuts really, really clean. Workshop 14 comes back to why the knife comes first, and Workshop 5 and Workshop 6 pick up this same board.
Every workshop of this board, from the drawing on, is open with school access.
Got the bird drawn on your own board? Then carve along with me, and practice instead of just watching.
How it's done
- Outline the bird straight down. Stand the knife straight up on the line and start really slowly, following the body's outline and never forcing it.
- Keep the support hand clear. Hold the piece tight, and rotate the board when you can.
- Lower the knife where straight looks wrong. Angle the knife really low and repeat the pass a couple of times, until it can be removed easily.
- Recut a chip that holds. Set the knife back at the same angle and go deeper until you hear it separate everywhere. Never pull it.
- Follow the grain downhill. Begin at the high point and come toward yourself, kind of downhill.
- Test the line by blowing. Blow on the line. When even the smallest chips fly out, it is clean. Where it is not clean yet, repeat the pass and make a couple of cleaning cuts.
Frequently asked questions
Which knife do you need for this workshop?
A chip knife. Mine is the number 12 by Pfeil, and any chip carving knife you already have is still going to work. The gouge comes later as the second tool, so the whole board needs pretty much two tools.
How deep should the first outline go?
Depth all depends on how deep you want to go. The first outline is only a preliminary cut, made really slowly with nothing forced. Coming back later for more depth is always possible, so there is no reason to rush it.
What if the chip won't come out?
Leave it in and cut again. I heard the chip on the border was still connected in one spot, so I recut that side, holding the knife the same way, until it jumped out. Pulling is tempting, and it can damage a cut that has to stay clean.
What to carve next