
Alexander Grabovetskiy, woodcarver, School of Woodcarving · Published 2017
Why does a carved line look rough a day after you carve it?
Quick answer: A carved line that goes rough after a day is a line whose pressed fibers have opened up again. Around a curve, the knife presses fibers inside. Wood acts like a sponge, a little harder than a regular one, and it shrinks and expands, and a little refining takes care of those ridges later.
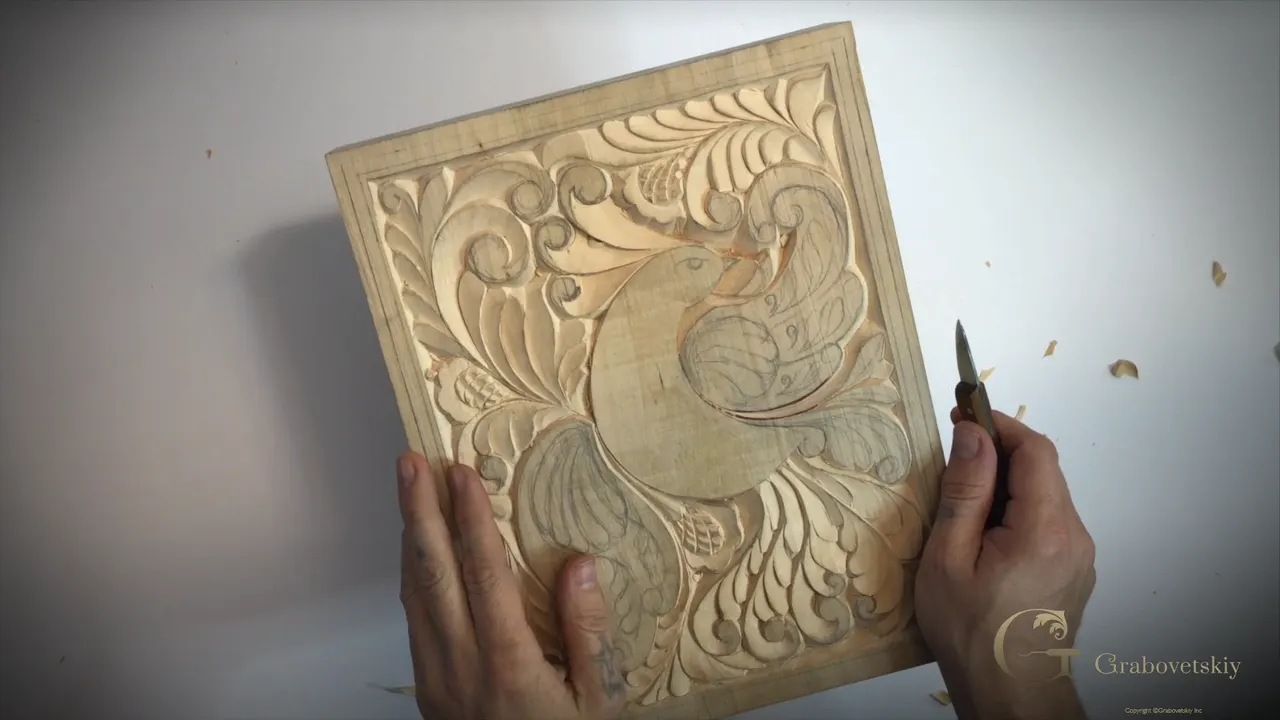
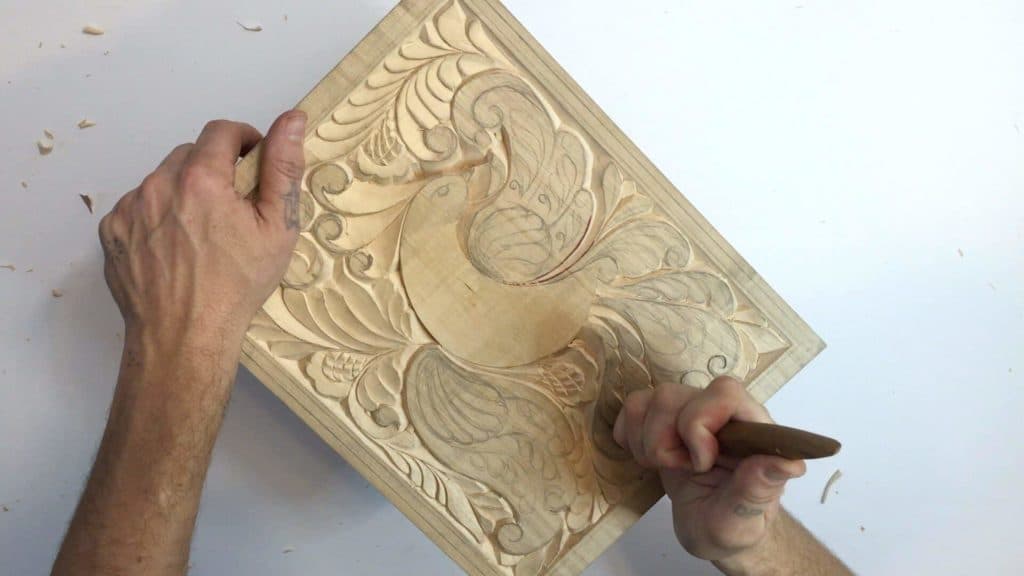
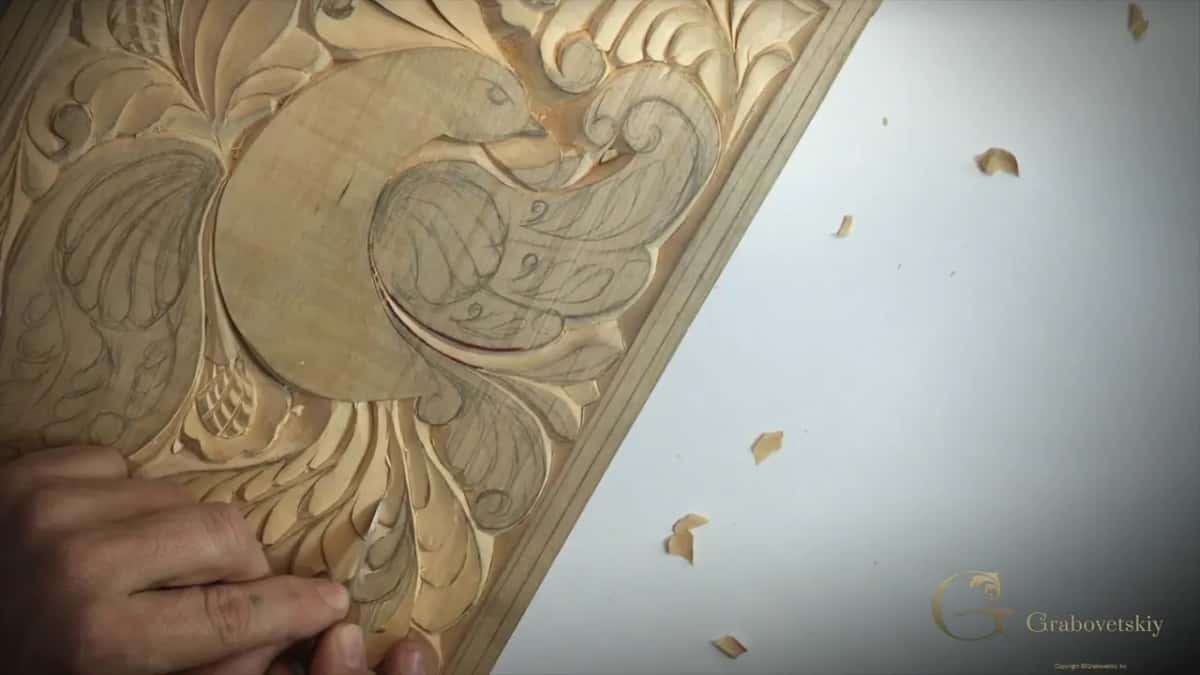
A carved line looks rough a day later because the fibers your knife pressed down open up again, the way a sponge does. I explained it at the end of Workshop 12 of my beginner course, right after the tail of the bird on this cutting board was done.
Around curved lines especially, you're actually pressing fibers inside. Once you carve, it looks really nice and curly, and it follows the line. But a day later you come back and see a lot of different ridges left. You did not make any mistakes.
Did you carve a curl that looked clean when you put the knife down? Did ridges show up on it when you came back? Then pick up the knife and refine it a little, the way I said to in this lesson.
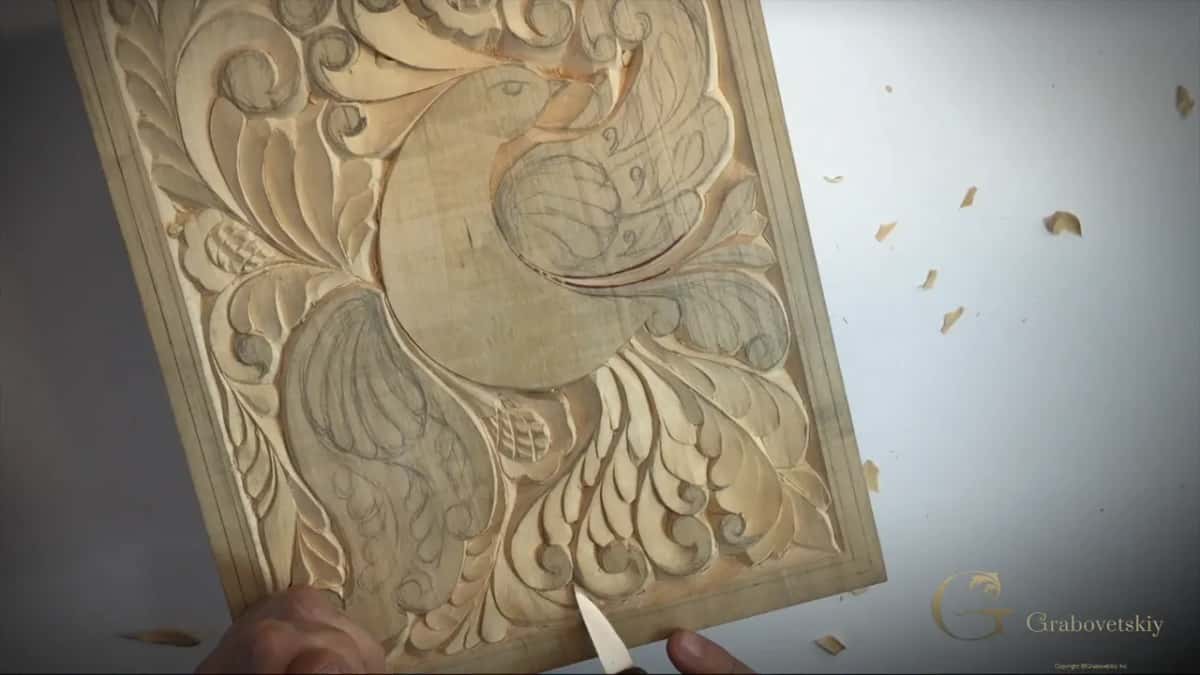
The board is a block of basswood I found in my shop, two inches (51 mm) thick, as I said in Workshop 3. In this lesson I carved the curls on the tail, starting at the first corner, until I said the tail is actually done.
The tail curls in six lines
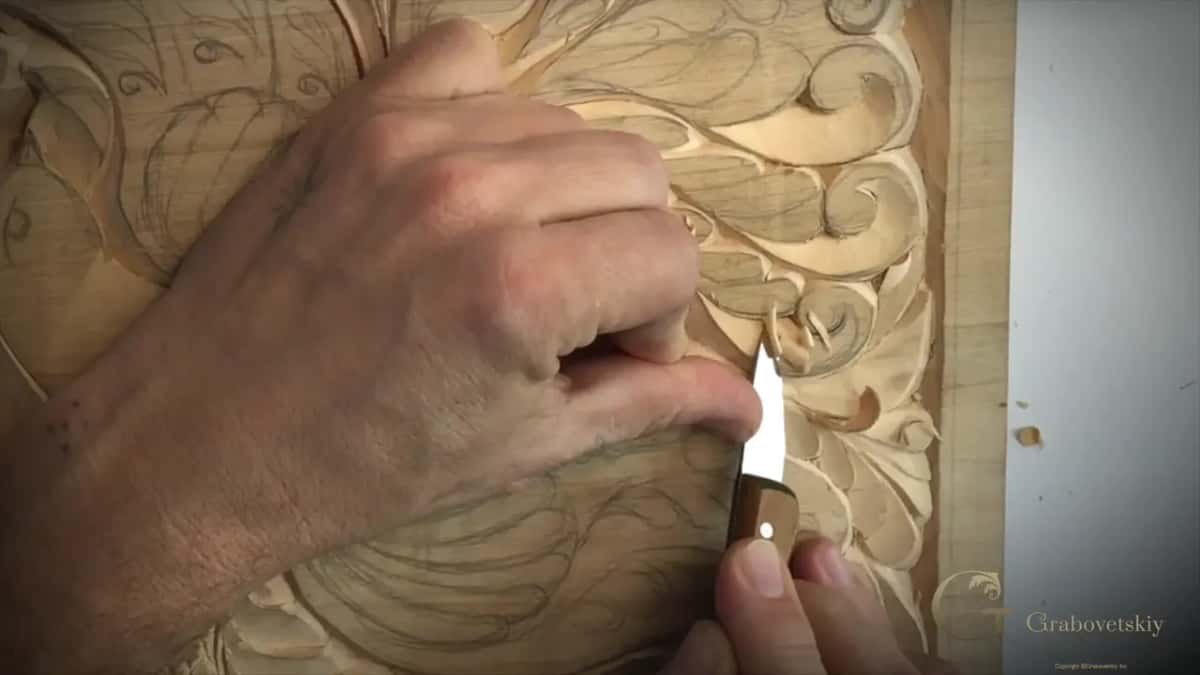
I took each corner out first, to set how deep I wanted to go.
The first spot went about a quarter inch (6 mm), and where the lines came closer, about 3/16 in (5 mm).
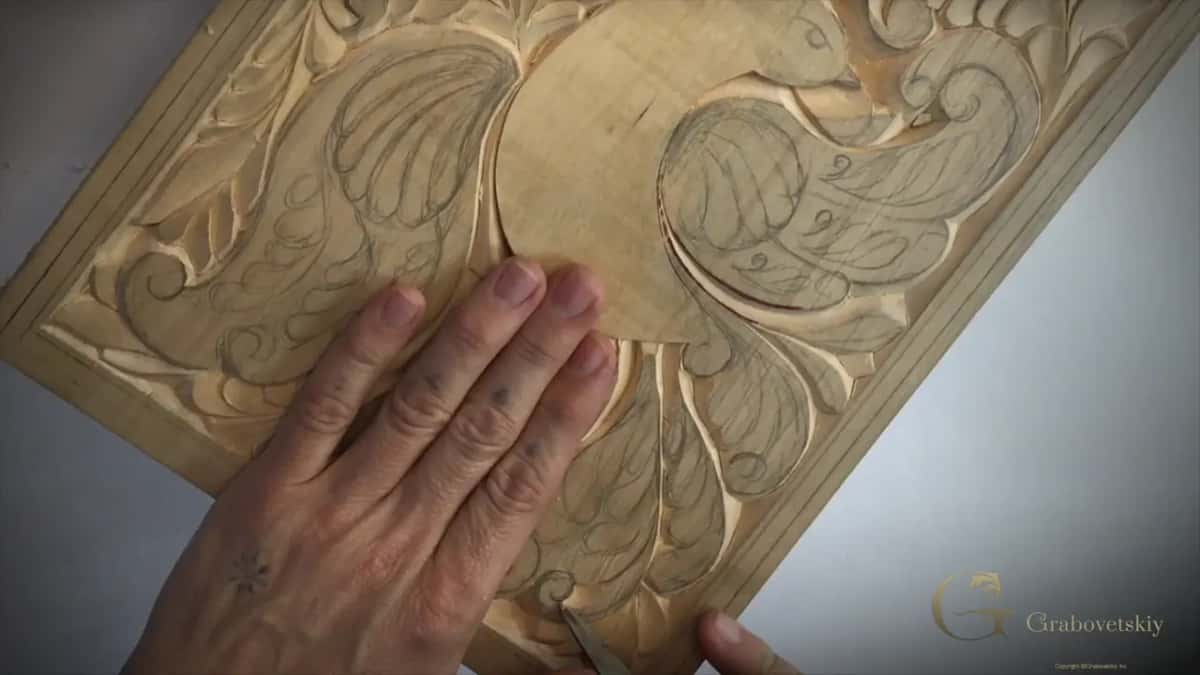
Grain changed direction inside the curls, so they got carved from two sides.
I kept the knife off the outside line.
A small volute went in that the drawing never had.
Pressed fibers open up later on, so a little refining has to come after the carving is done.
Why does a clean carved line grow ridges a day later?
Wood is like a sponge, just a little harder than a regular one. It shrinks and it expands. So it's just the nature of the wood, and nothing you did wrong.
Right after the tail was done, I said it was actually a good idea to show this. When you're pressing with the knife, you're making those fibers smoosh down inside, and later on they just open up, and you have to come back and refine a little bit. If you press down the fibers, after a couple of days they open up again.

Does wood really take water from the air?
Yes. In a livestream from April 2020 about wood movement I said wood takes water. If there's moisture in the air, it gets that water in, and once it takes the water in, it expands. It puffs out.
A really humid summertime with a lot of rain, and it will expand and puff. You can't prevent that. And if you have a dry wintertime, then it shrinks down.
Living in Russia, we would take boards outside in the cold, and I remember it was 53 below zero in my childhood. The water that built up inside during the summer froze, everything got out of the board, and it became really dry, like a freeze dry, I said, if you can say that.
Wikipedia files this under hygroscopy, a material taking water from the air, and its page on wood drying covers how boards shrink as they give it up.
Even my tools show it. The ring on one handle was loose in workshop 74 of the Venice Room, because it's wood. Sometimes it shrinks, sometimes it expands, I said, depending on the moisture in the air.
Which tools press the fibers down?
A heel, a big tool used the quick way, and a dull edge. Each one came up in a different video.
In that same April livestream, question number two was about the heel on a spoon gouge. Digging in is okay, I said, but when you're trying to come back out, the heel is pushing down on the fibers and you get a smooshing effect. It does look okay at the beginning. Later on, a day or two later, those fibers are puffing back, and sometimes you can even see them torn apart. That's why I always round the heel, even if I'm not making a long bevel.
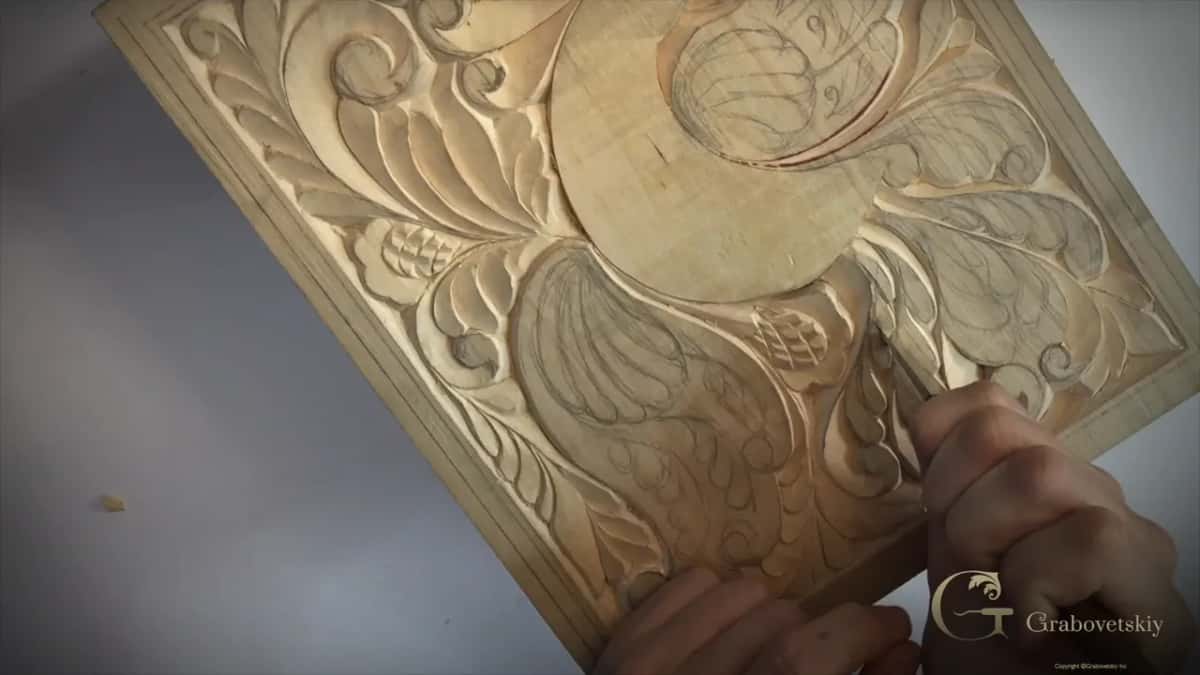
In workshop 34 of the Venice Room I talked about big tools used the quick way. Some carvers on YouTube chop with big tools, and in one hour they get the whole thing almost done. It's not always the best, I said, and there is a reason. You're creating pressure on both sides of the fibers, and after a couple of days the edges become really rough, because those fibers come back.
A dull edge does it too. Carving a Roman acanthus leaf, I said your tools have to be really sharp at that stage, because you almost don't create any pressure. The fibers are so close that a dull tool will just smoosh them together, and they won't look nice.
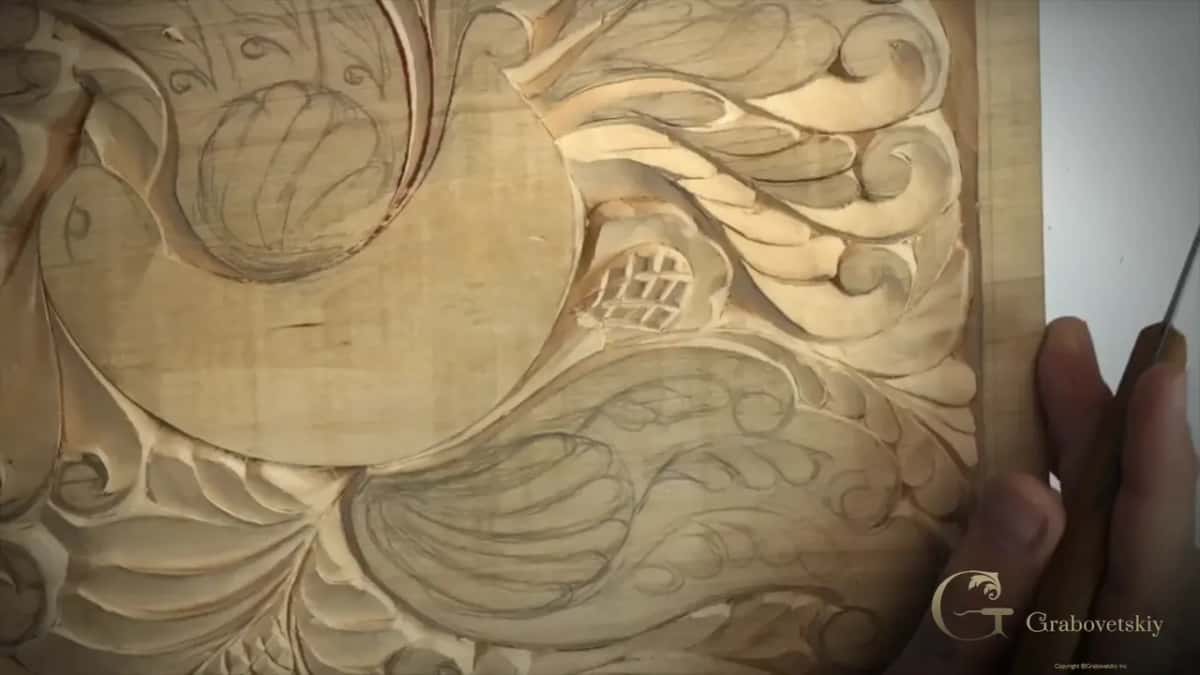
For this board I buff, or strop, my knife in Workshop 5.
How do relief cuts keep fibers from smashing?
They relieve the fibers first. Carving the Hashemi flowers, I made my first pass with a small V tool, three millimeters, an eighth of an inch. You could use just a straight down gouge, I said. The fibers would smash, and they stay for a little bit, but later on, next day for example, you can see those fibers go back, and it gets more rough.
So I made the V cut first, to make relief for those fibers.
I gave the same reason on an antique style rosette. A tool set into solid wood pushes it both directions, and the fibers are just smooshing. With the relief cut in first, those fibers stay almost untouched.
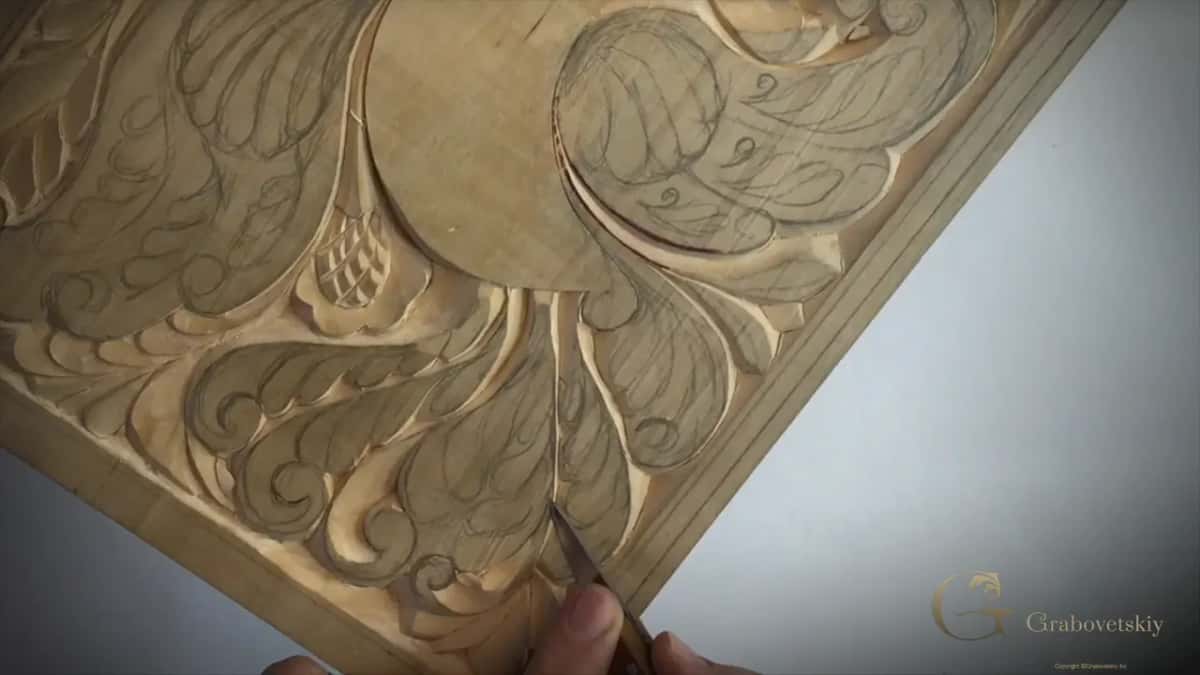
On a Corinthian acanthus leaf I said I try to do as many relief cuts as possible, especially if you have time. Sometimes, when you don't have time, you can just work directly, without making any relief cuts at all.
The same thing came up in workshop 6 of the Venice Room, where I didn't want to overstress my fibers. When you're pushing fibers, next day, they're going to go back. They will go back.
How deep should the curls on a cutting board go?
A quarter inch (6 mm), roughly, on the first spot I carved here. On the side where the distance was smaller, and maybe it doesn't make sense to go all the way a quarter inch deep, I said, so I stuck with about five millimeters, which is 3/16 of an inch.
For the next curls I did approximately the same, 3/16 inside, roughly five millimeters, and said I think it's plenty.
| Spot | Approach | Depth | Said |
|---|---|---|---|
| First spot here | Corner first, then worked my way in | Quarter inch | I went about a quarter inch |
| Where lines close | Distance smaller, so less depth made sense | About 3/16 | I'll stick with about five millimeters |
| The next curls | Corner out again to get the depth | Five millimeters | I think it's plenty, I said |
| A middle part | Wanted the two shapes a little closer | 6 mm | Quarter inch here and there, fine |
| The outside line | Never touched, it stays the high line | Left high | This line is my high point |
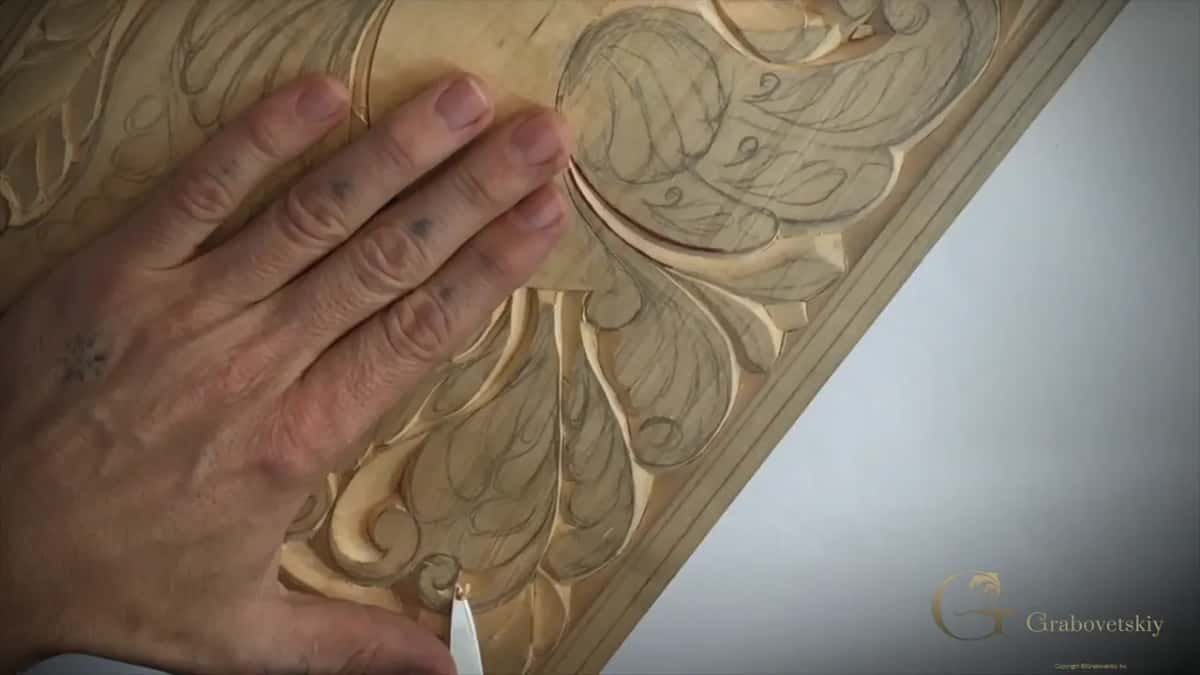
Spacing changes the depth too. Removing the middle part of one section, I wasn't too happy with how it looked. I wanted to see the two shapes a little closer to each other, because otherwise it gets carved too deep right there, and that won't look as nice. It can be really deep if they're a little too far away from each other. In this case I was at about the same quarter inch on each side, which is absolutely fine.
Where does a curl start?
With the line and its corner. On the first curl I made an almost straight down cut, slightly beveled. Then I took the corner out, to get the depth, how deep I wanted to go, and little by little I worked my way in. I took the corner first on the next two curls as well, and again on the one after.
On another one I removed my triangle first and then made straight down cuts. When I say straight down, that means without any bevel, or maybe a slight bevel, but it's a 90 degree down cut. Then, with the really low angle, the really low bevel we used before, we give it the shape.
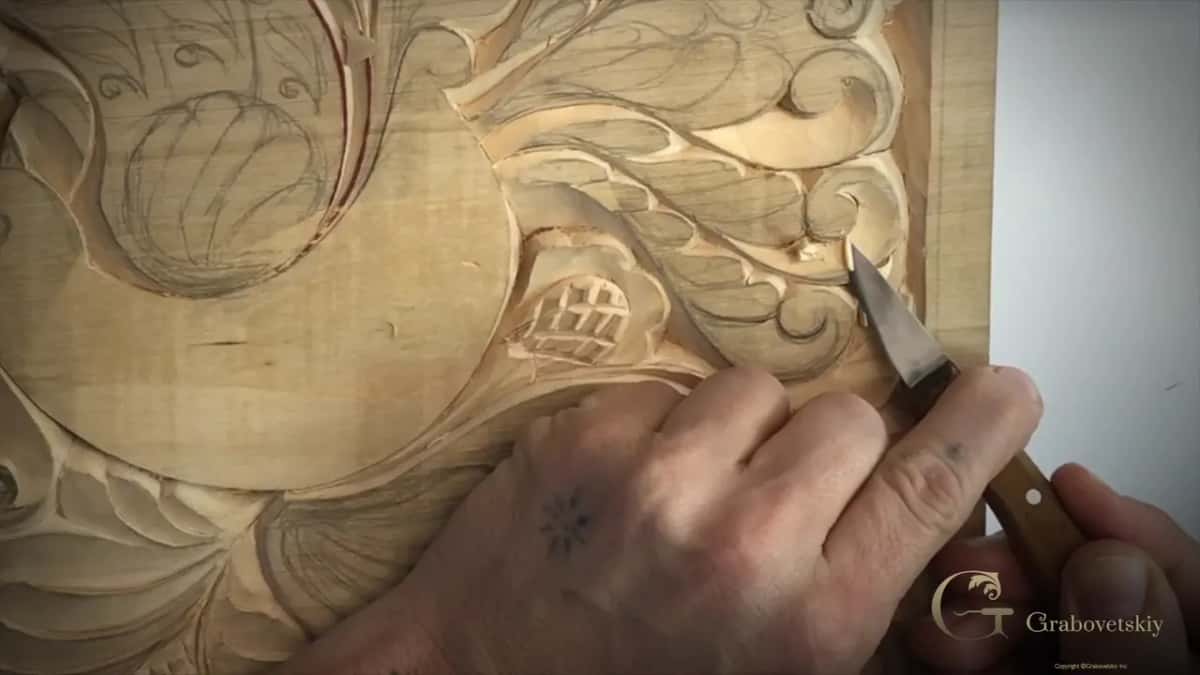
Which way does the knife go when the grain turns?
Both ways. On this tail my grain changes direction, so I worked the opposite side as well and met it. It has to be carved both ways. Otherwise it won't look clean, and it won't look nice.
I call the spot where those two grains meet together the marriage line. In workshop 125 of the Venice Room I said why. I'm going to marry that spot, to marry those two cuts, and attack carefully from both sides until it blends nicely.
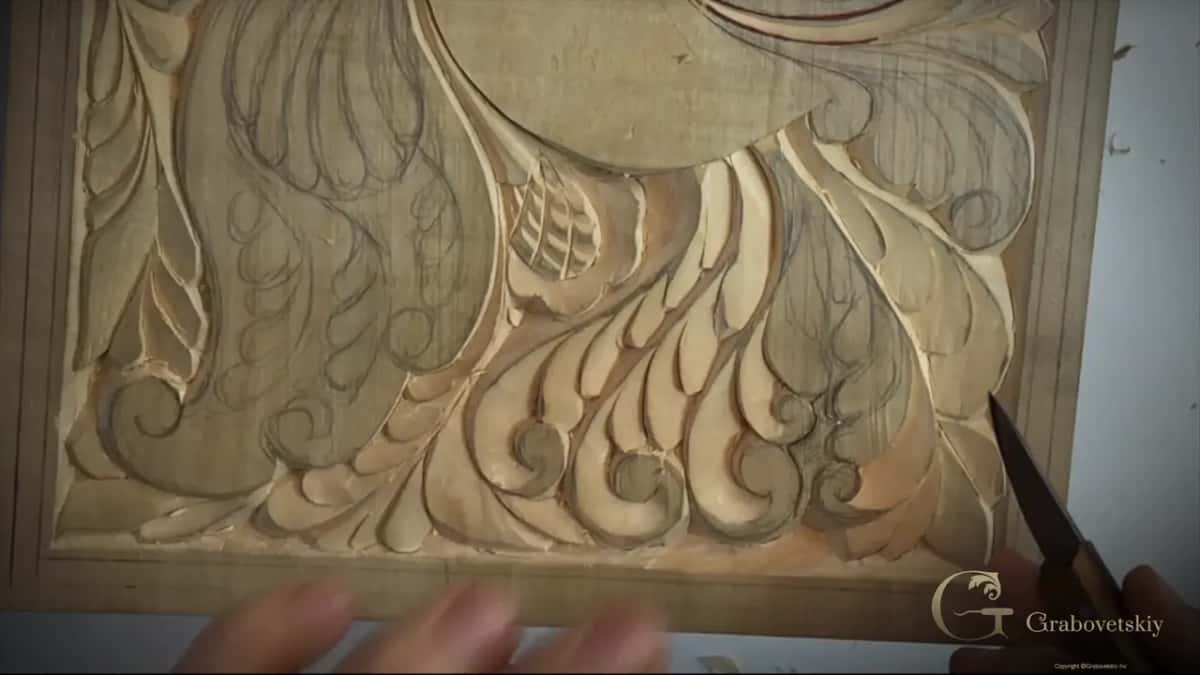
In a class on carving with the grain I used a bowl to show it. When you start carving, the grain changes direction and you really have to attack from the opposite direction. Sometimes it's almost no sweep, but there's still going to be a marriage line, and if you continue carving, you will split.
The idea is to make it look like it's just done in one pass, which it's not, but still it should look like it. I cleaned a spot like that on the Hashemi flowers until that marriage line disappeared.
What holds a chip that won't snap out?
A connection point inside. If it's not snapping out, that means on the inside I still have some connection point. So I carved this side, then that side, and after that I could see what I should do much better.
On another curl I came at it from both directions again and made my shape until it snapped out.

How close to the edge can you press?
Close, but with very little pressure. Be really careful not to press too much, I said, because you are really close to the edge. Don't create too much pressure. You can destroy it. But you don't want to be too far away from the edge either, otherwise it won't look as nice.
Keep an eye on the edge of the knife as well, so it's not digging too deep underneath. Otherwise it creates an undercut. I didn't want one there, although it's not a big deal, I said. That's a different type of carving, with undercutting.

The outside line of each curl is the other thing to protect. When I'm shaping, this line is my high point, and I'm not touching it. If I kept going on one volute from a single side, I would damage my outside line, so I had to attack from both sides. It's absolutely a must, at least in this case.
Could a straight chisel do this work?
Most of it. A lot of the work this pointed knife does, you can do with just a straight carpenter's chisel, which also used to be a big practice in ancient times. The knife gives you more flexibility, though.

Keep an eye on how I hold mine. I use the grip I would use with a pencil when I'm writing, just those three fingers, and my thumb helps guide it.
Which curl goes under which?
I thought about changing the direction, so this one would go under that one, and that one under the next. Or we could do exactly the same as before, so this one goes underneath that one. Let's stick to that, I said.
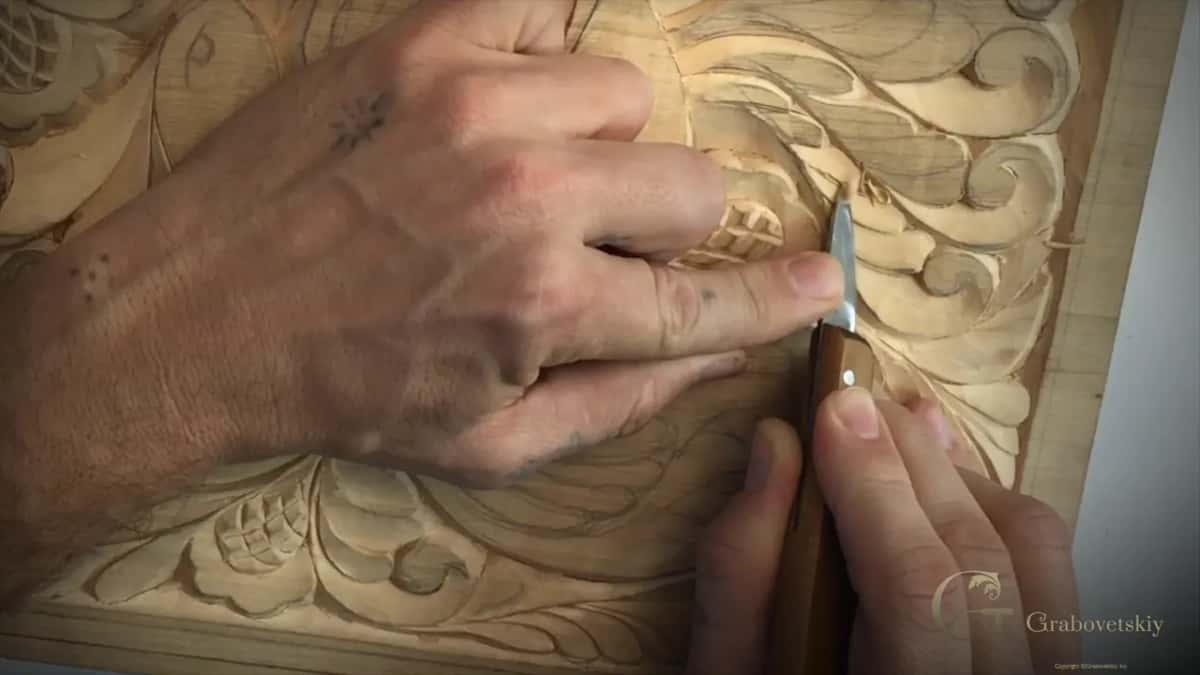
Later in the tail I asked myself what would be best, and went the same direction again, so one goes underneath the other.
Two curls that met on the same plane were the spot I didn't like. I made sure one stayed kind of above the other, carved the lower one a little deeper, and blended it in on the inside.
Why add a volute the drawing didn't have?
For interest. On one section of the tail I made a small volute, a curl on the inside, and kept the rest just like we originally designed. I think this section with the volute will give us extra interest, I said. I called it a mini volute.
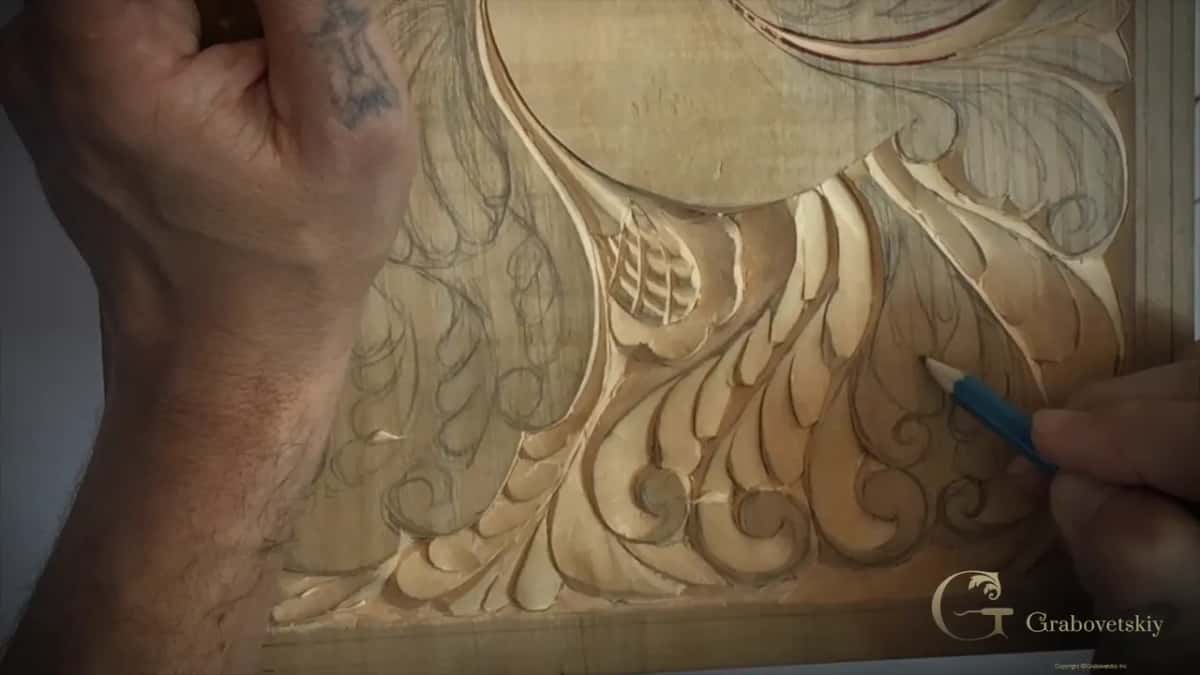
Near the end I made one curl a little more curly. I'm not sure if I can say that, I said. Make a curl a little curlier.
When is the tail of the bird done?
Before you overdo it. Please don't overdo it, I said, because when you're trying to overdo some stuff, it doesn't always work out, and it won't always look the best. And the tail is actually done.
Coming back the next day shows you more than ridges. In Acanthus over Moldings I said I really like to look again after a few days. When I'm working all day long on the same piece, I have a tendency not to see mistakes. But when you come back the next day and look at that piece, you see a movement that is not right, and you grab your gouge or chisel and start fixing it.
That's the logic behind not going right away to the final stage with all the details. If you make it perfect from step number one and then see the mistake, that's just like a depression, I said there.
Should you sand the ridges away instead?
That comes down to the finish, and to the look you like. In my Modern Acanthus course I said what sandpaper does. You're actually pushing those fibers in, and after the first coat of a stain or shellac the grain pops out and you have to sand it.
When you just carve, you don't smoosh anything. You slice it, it's clean, and when you apply the finish it puffs slightly, but you don't feel it by finger.
It is absolutely okay to use sandpaper if you like that look, I said there. This very board got a light sanding with 400 grit in Workshop 18. And in Workshop 8, where sanding comes up, my answer is that it all depends on the finish.
What comes next on this board
The wings, in Workshop 13. They're a little more challenging than the areas around them, because the bevel has to be really low there and we can't dig too deep. Before this lesson, Workshop 11 found the organic line of the tail, and Workshop 9 took on a crack in a board.
The full videos are for students of the school, and Access is how you get them.
Your knife is in your hand, and a curl from yesterday may be waiting for a little refining.
How it's done
- Take the corner out. Remove the corner of each curl first, so you know how deep the rest will go.
- Set the walls. Make straight down cuts on the line, at 90 degrees or with a slight bevel.
- Shape with a low bevel. Lay the knife at a really low angle to give the shape, taking multiple passes.
- Meet the grain. Where the grain turns, carve from the other side until both meet.
- Free a stuck chip. If waste won't snap out, repeat your pass on this side and on that side.
- Spare the high line. Leave the outside line alone, and press lightly near the board's edge.
- Refine after a day. Return later and clean any ridges the opened fibers left.
Frequently asked questions
Why is my carving rough the next day?
Pressed fibers are opening up again. Carving around a curve, a knife pushes fibers down inside the wood, and later they come back the way a sponge would, only a little harder. Wood shrinks and expands. Nothing went wrong in your work, so refine those spots a bit later on.
How deep should the curls on a cutting board be?
On my bird board one spot got close to a quarter inch, or 6 mm. Where two lines ran closer, I stuck with 3/16 of an inch, near 5 mm. Two shapes set too far apart force a deeper middle, so I wanted mine a little closer to each other.
What is a marriage line in wood carving?
My name for the spot where two grain directions meet inside a curl. I approach it from one side, then from the other one, and marry the two sides until the line disappears. Carry on in one direction past it, and the wood is going to split.
What to carve next