
Alexander Grabovetskiy, woodcarver, School of Woodcarving · Published 2017
Can you carve a board that already has a crack in it?
Quick answer: Carving a board with a crack in it is something I did in this workshop. My cutting board here has a micro crack inside, so I just watched it and carried on. On my Lily Box, full of cracks, I kept the pressure low, and when a bit came apart I glued it back.
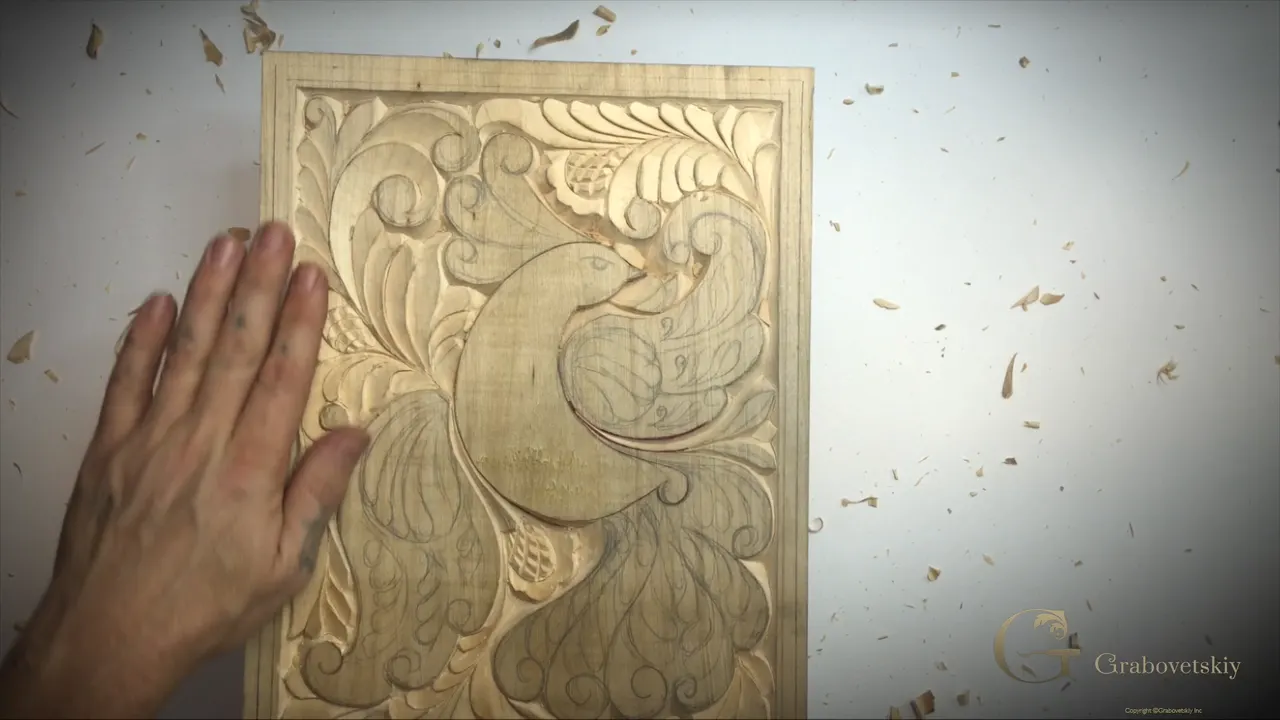
Carving a cracked board is what I did in this workshop. There's a micro crack inside my cutting board. I had to keep an eye on it, to make sure I'm not making a mistake, and I kept on carving.
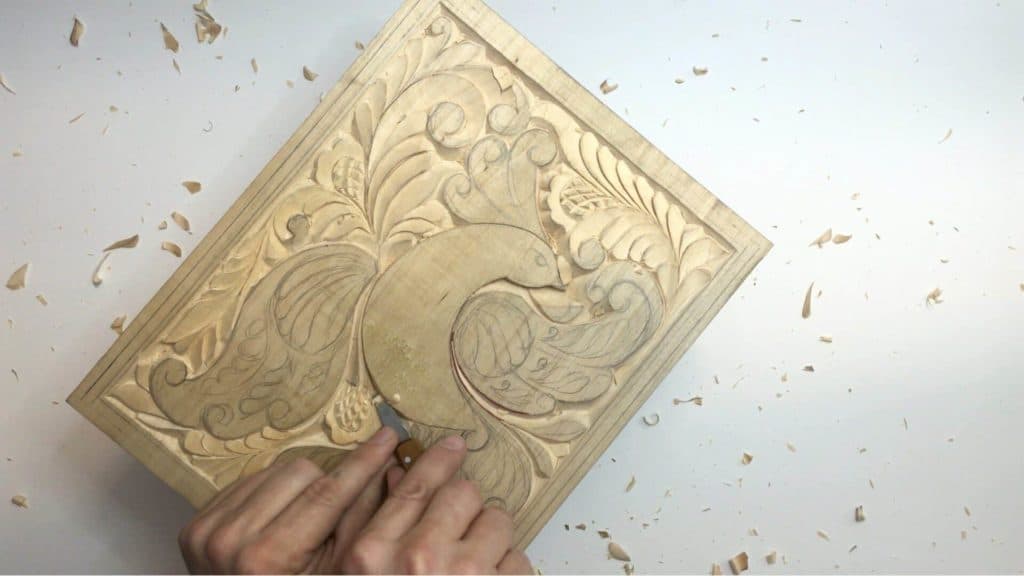
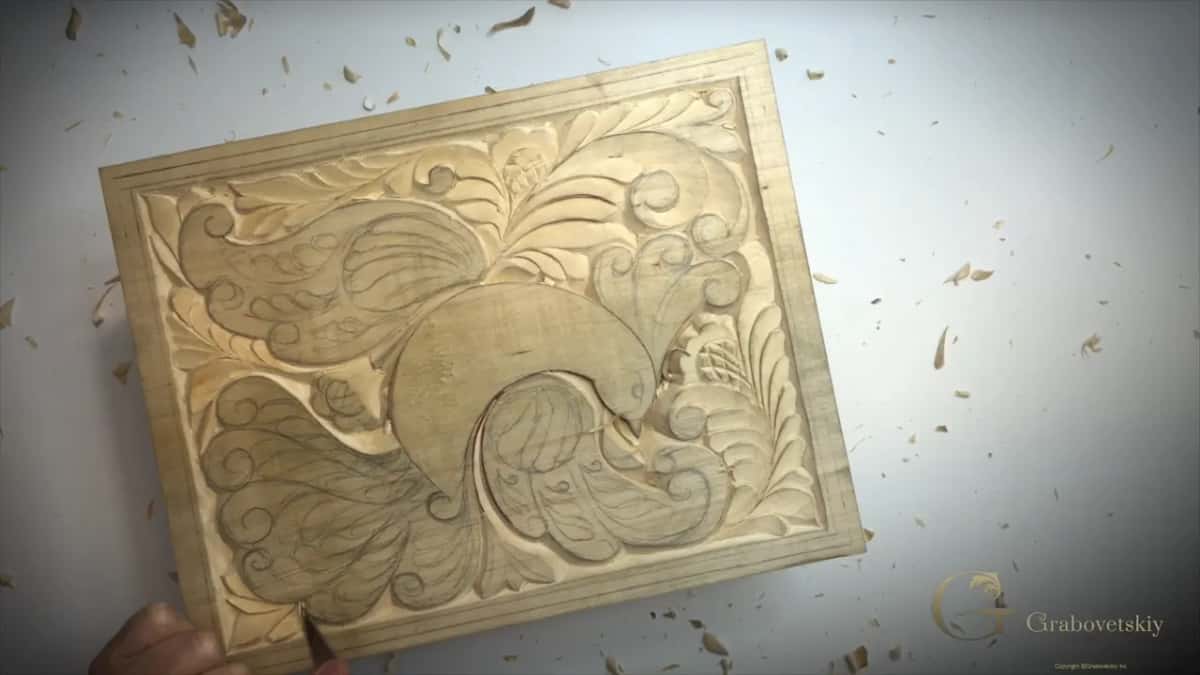
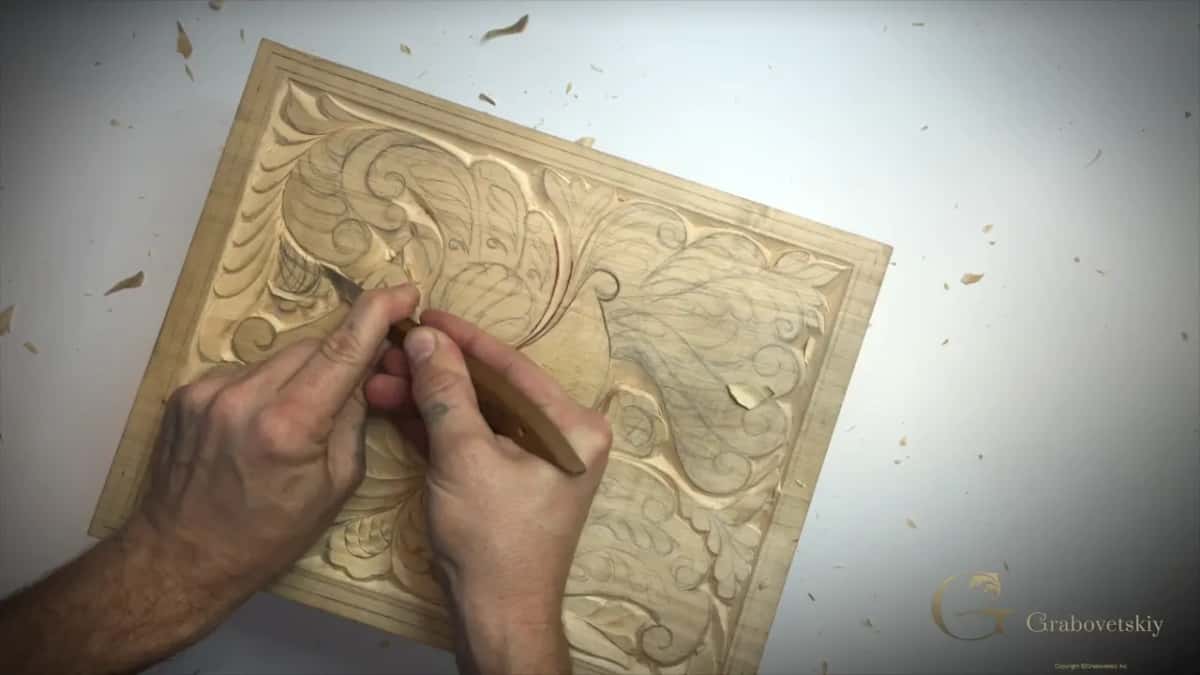
This is Workshop 9 of the cutting board course for beginners, in four parts. I finish the second flower, a few small details and the ground around the bird, and I still use just one knife. In my opinion, it does look beautiful.
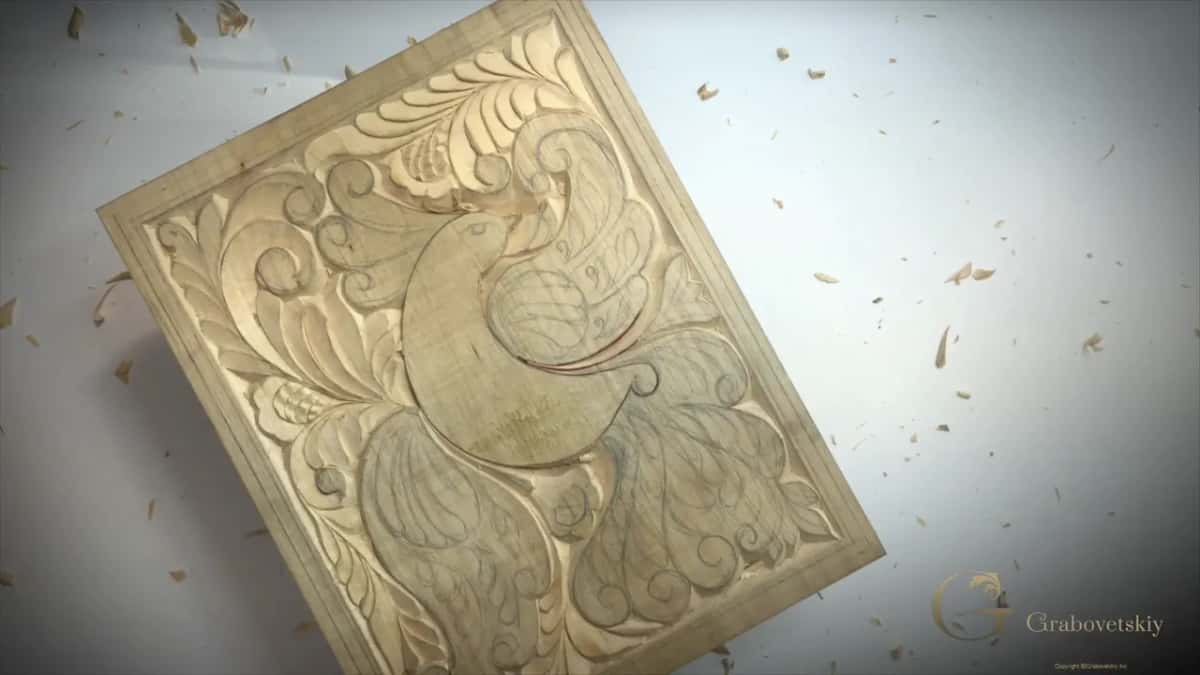
Have you ever found a thin line running into a board you meant to carve? And wondered if the knife would open it right up? Let me tell you a story about three pieces of mine that had cracks, and how each one went.
What this workshop shows about cracks and grain
My board has a tiny crack, and I just watch it as I carve.
A piece that breaks off along a crack can go back on with glue.
Heavy pressure on the grid lines takes the grid away.
Where the grain meets from two directions, I come at that spot from both sides.
No sandpaper goes on this board, because correct tool marks are what I'm after.
Can you carve a board that already has a crack?
Yes, and on this board I did. What I said about it on camera was short. Just watch what your grain does. Keep an eye. For example, I have a micro crack on the inside of my board, and I have to watch it so I'm not making a mistake. After that I went right back to the flower.
A bigger crack means you have to be really careful, and I've carved those too. My walnut furniture panel had a crack on the side of the wood. A big crack. I could see it. I knew about those cracks from the beginning, before I started the design of it. That's okay. I still think this wood is beautiful.
With a number 9 and a quarter inch (6 mm), I went on removing most of that material, carefully, because I didn't want to make a mistake just because of that crack.
To be honest with you, people who built furniture in the 19th century were not as picky as we are. They didn't waste a lot of material, especially with the walnut. Nowadays, if there's a little sap, people cut it out and throw it away. Back then they would use it.
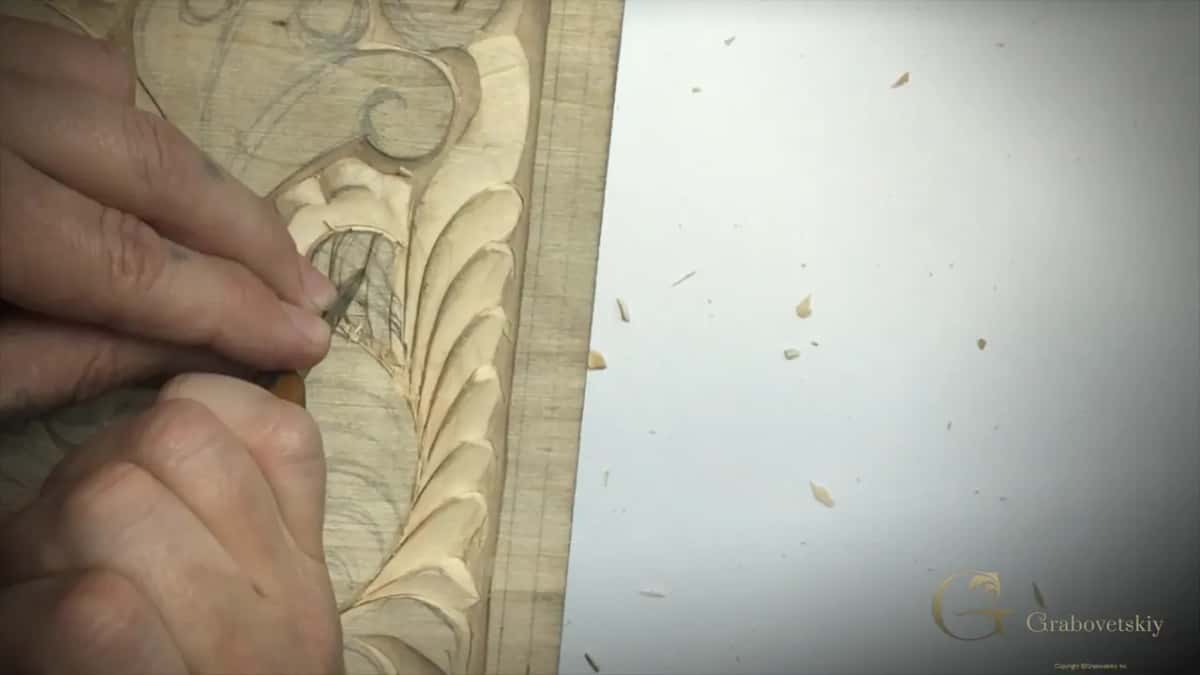
How hard can you push the knife near a crack?
Gently, and with smaller tools. My Lily Box had a lot of cracks inside the wood, and I could see those cracks went all the way downhill. I can't give too much pressure or force when I'm working in an area like that. And the mistake in that case, like I said, would be giving it too much pressure.
You could even hear it. The wood really gave me resistance, with lots of cracks. I said we can deal with those cracks with no problem. Then I added, I hope.
On this cutting board the same warning comes up twice, once for the grid and once for the grain, and you'll see both below.
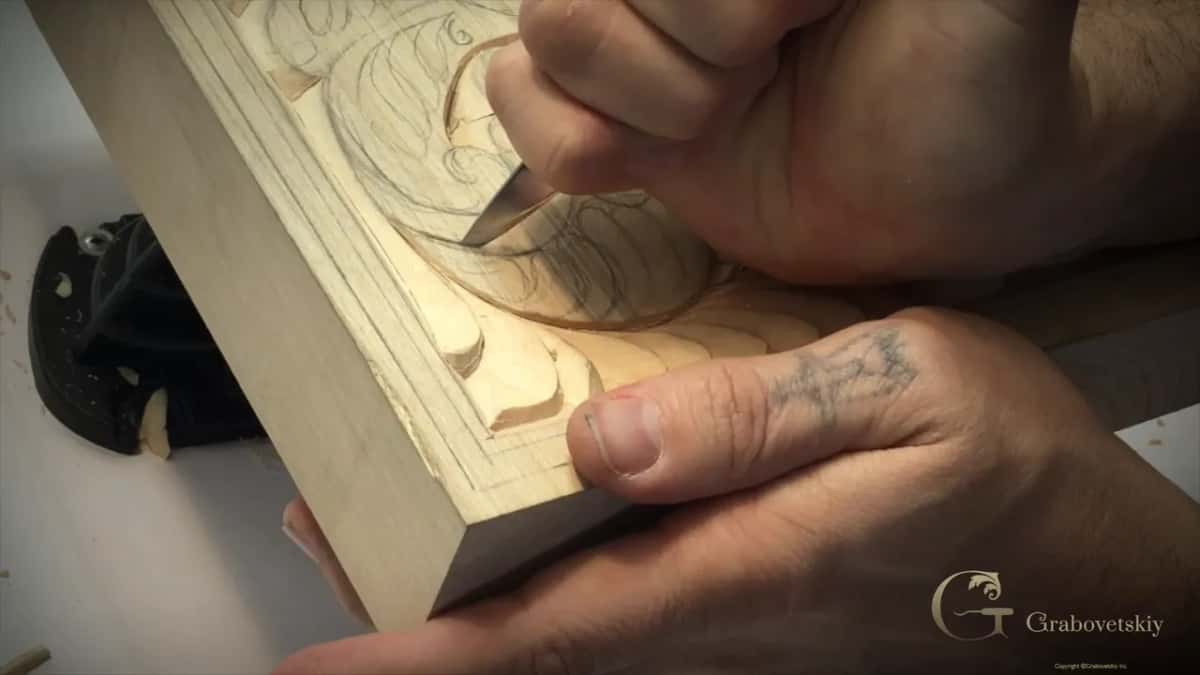
What if a piece breaks off along the crack?
You glue it back and keep going. That happened to me on the same box, in Lily Box 5. I was in a really fragile area, so I used the smaller tools, because all those cracks were inside. Maybe I have to glue that, I said. And right then it came apart.
There was no glue underneath, so I put some under it. I didn't want to see too much squeeze out, but I guessed it was okay this time. I pressed it down and didn't even clamp it, then cleaned around it right away. The squeeze out can be carved out, I said. Then we wait until it's dry.
And while the glue went on, I said this. That happens sometimes, not because of a mistake of the wood carver, but because the wood itself has small micro cracks in it, and sometimes you can't detect them.
In Lily Box 7 it happened again. It felt like I didn't have any glue underneath, and that's exactly what I was afraid of, with a lot of micro cracks inside. I glued it back, right to the background this time. And it happens, what can you do? It just happens.
In that same lesson I said you could fill those micro cracks with just a super glue, and maybe even put some carving chips in. And in Lily Box 9 a crack ran straight through one spot, so I lowered it even more and made an extra detail. I won't tell anybody, I said. That's not part of the design, but it happens sometimes.
Small tools around a crack
Later, on the lily flower of that box, I found another crack in that wood, and it ran right through that part too. That's okay, I said, as long as I can keep this side, because the other side is going to be removed anyway.
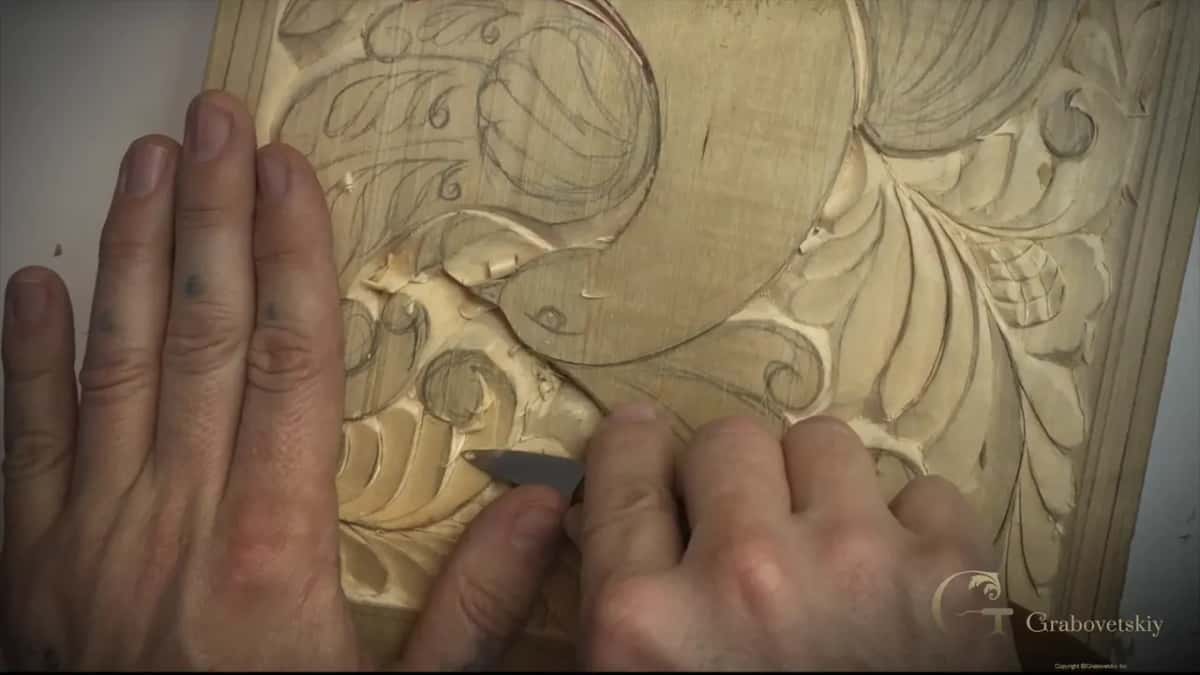
I hope I'm not going to lose this flower, I said. I took the smallest tool I could use, a number 8 at 3/32 of an inch (about 2.4 mm). Next I went right at the crack, because I didn't need that material anyway. The faster the better.
Back in Lily Box 7, with a number 11 of 3 millimeters, one-eighth of an inch, I saw a crack inside the wood and said I had to be even more careful now. Here are the cracks from these three pieces side by side.
| Piece | Handling | Where |
|---|---|---|
| This bird cutting board | A tiny crack there, so I kept watching it closely | In Workshop 9.1 |
| Lily Box second layer | Cracks ran downhill, so I gave that area little pressure | Lily Box, 5.13 |
| A fragile spot nearby | It came apart, so glue went under it, no clamp | Later in 5.13 |
| The walnut panel's side | One big crack I knew about before the design started | Furniture Panel 16.11 |
| Inside a lily flower | Smallest tool, a number 8 at 3/32 inch (2.4 mm) | Lily flower, 10.6 |
How I keep big pieces from cracking
I laminate. In a livestream somebody asked if I was afraid of the wood moving and cracking on a big piece I was carving, a huge, thick one. Wood is just like a sponge, I said. It takes water in.
Give it a really humid summer with a lot of rain and it's going to expand. You can't prevent that. In a dry winter it shrinks down. But when you're gluing boards together, you're preventing that movement, and on that piece I glued six inches (15 cm) together.
I also did a lot of deep excavation on it. That breaks those fibers, so there's no strength left in them to pull, and a small detail between two ridges can move a little without making a crack.
In another livestream that same month I said I always laminate, even for a sculpture. A solid log, I said, would just develop some cracking. If one glued piece cracks inside somewhere, it's not going to pull all the grain together. That's just my opinion, I said. I use logic, and also my teacher taught me that way.
One more thing, from my years in Russia. We would take boards outside when it was 30 or 40 below zero, and I remember 53 below in my childhood. The water inside froze and came out, and the board really became dry. It's like a freeze-dry, I said.
Beside the line or right on it
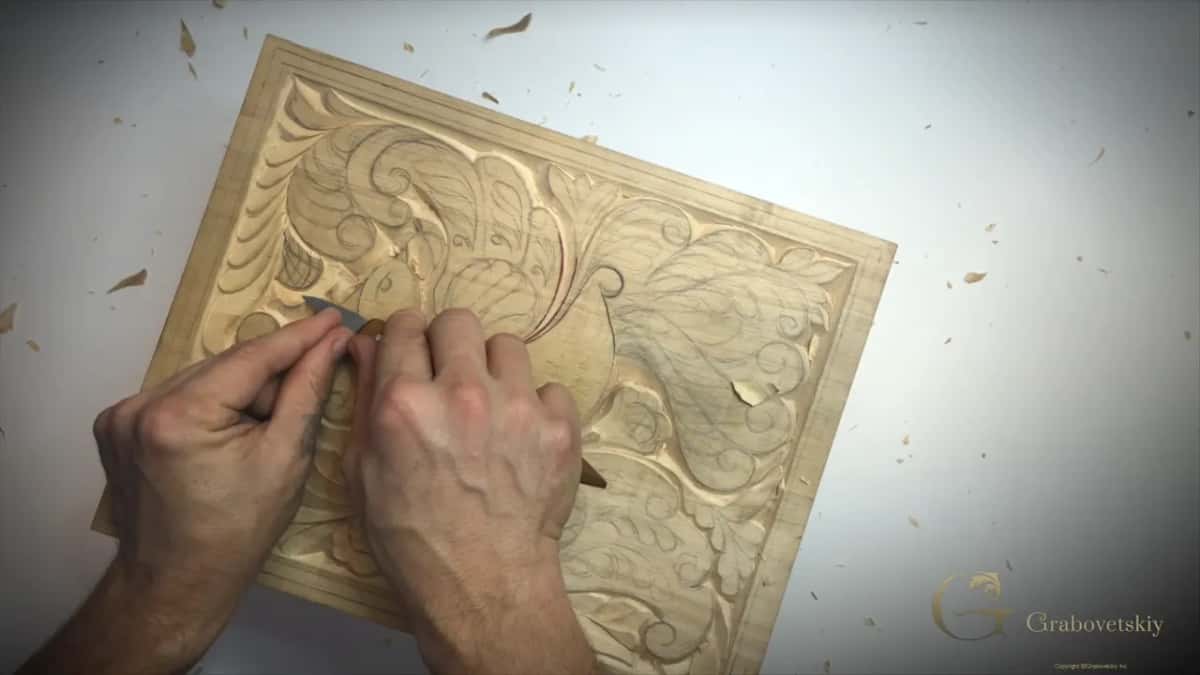
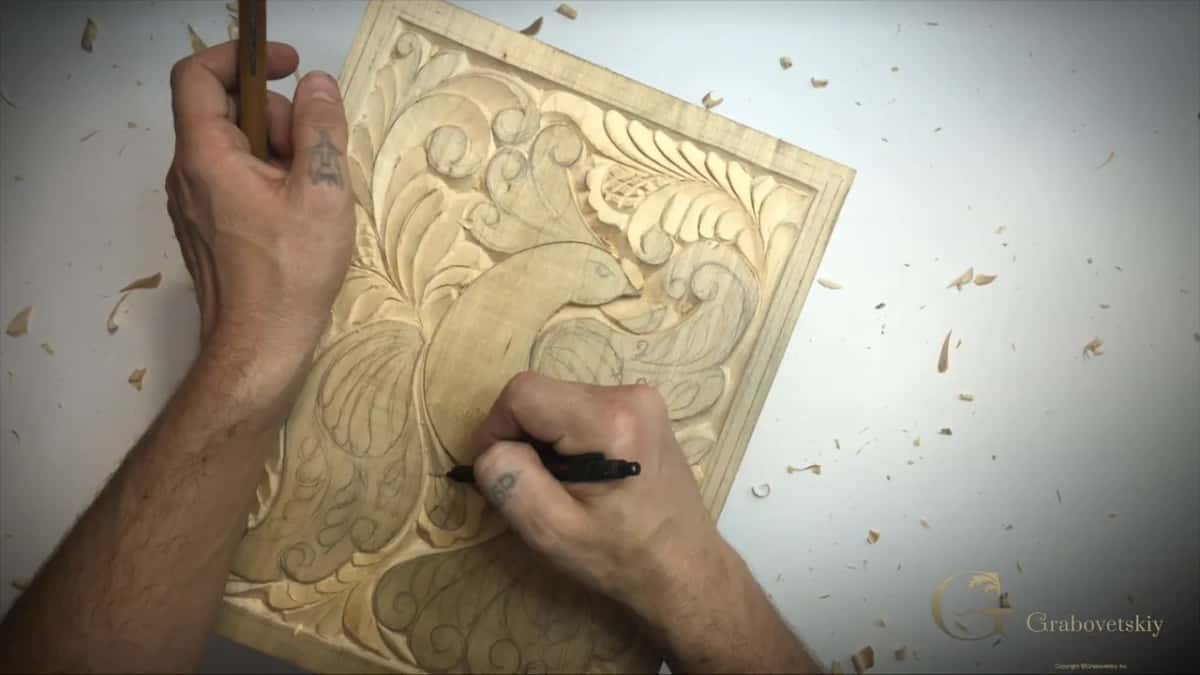
Back on this board, the grid lines on the flower come next. I could place my knife right on those lines. Or I could place it a little on the side of the line. Let's say I draw the line. I place the knife about a millimeter (1/32 inch) to the right, and a millimeter to the left. I did it that way here, and I said it will also look nice.
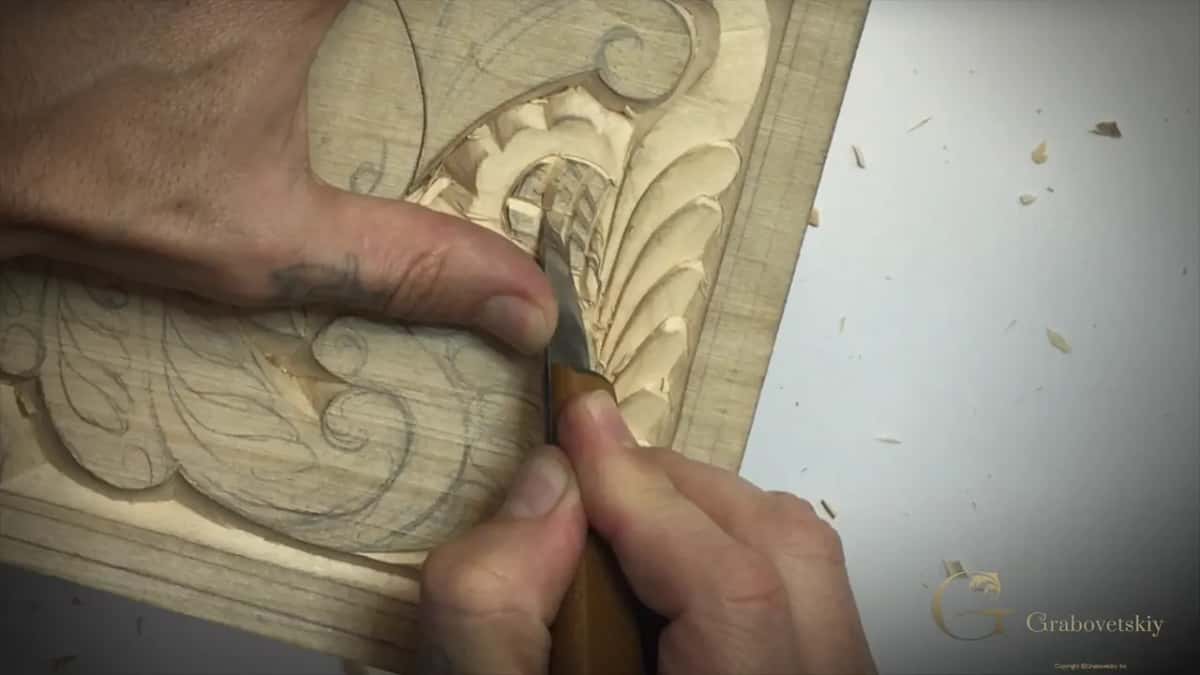
For the other flower, near the end, I refine my grid lines with the pencil first. Then I stay about one millimeter right of the lines, and I do exactly the same from the opposite side. At the end I make it a little deeper in one spot, and I'm happy with this flower.
Why does the grid disappear while you carve?
Pushing too hard is what takes it. Don't push it too hard, because then you take too much material away, and you lose the picture of that grid you're trying to make.
In the small parts of this lesson I tell you to control your knife, so it isn't digging into the next shape. Just control how deep your edge travels. Take several passes when one won't do it, like I'm doing there, just chipping away little chips many times.
Why carve one spot from two sides?
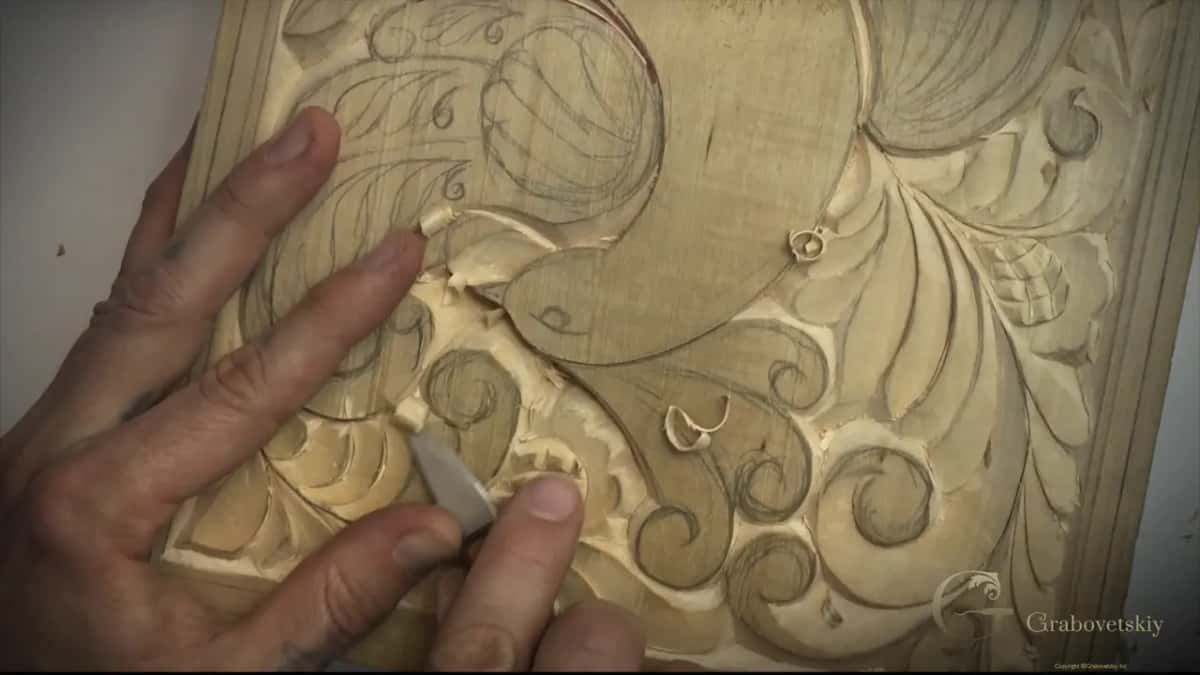
The grain meets together there. Later in part one I lowered one shape underneath the next, and I came at it from both sides just because of my grain, how the grain meets together.
Part two shows it. You can see my grain there, and if I push too hard, I'm going to destroy that edge. So I started from this side, then moved to the other side and made my cleaning cut until I met those grains. It just takes patience. Don't force it. A bit later it took several more passes, just shaving, until the two grains were meeting together.
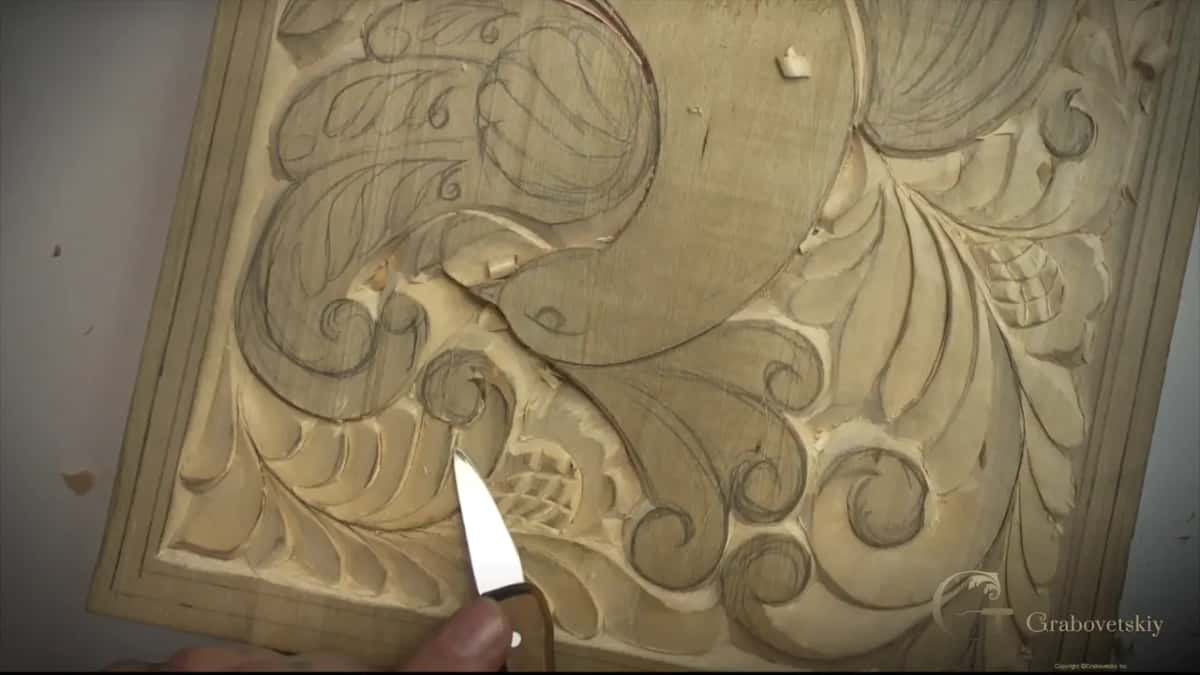
The Lily Box got the same advice, said another way. Where the grain had knots and curls, it was probably better to attack from two sides. Just go halfway, and then attack from the opposite direction.
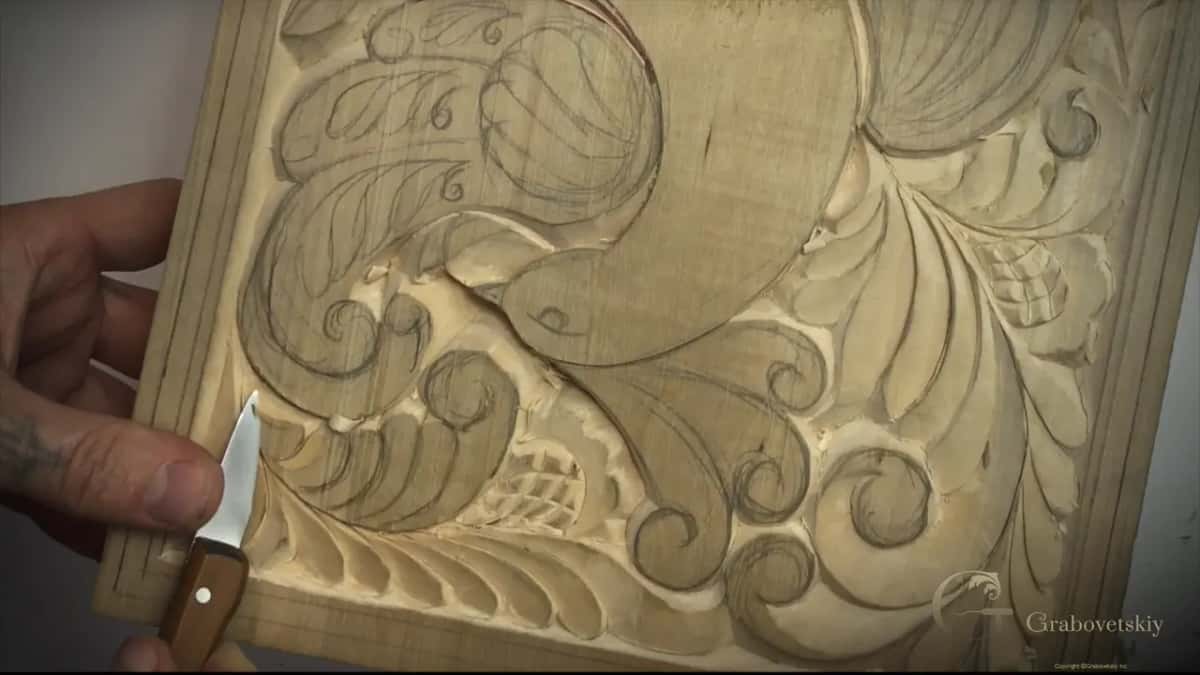
Near the end of part three there was one more spot like that. I have to be really careful here, I said, because my grain is a little funny right here.
One shape tucked under the next
Most of this workshop is small parts, and again and again one shape goes underneath another. I start with a straight down cut between the parts. Next I think about which way gives the best look, and probably this one goes underneath that one.
For one detail, my second pass became my center line. Then straight down cuts, just like that, and again one goes underneath another one. Clean it, and clean again.
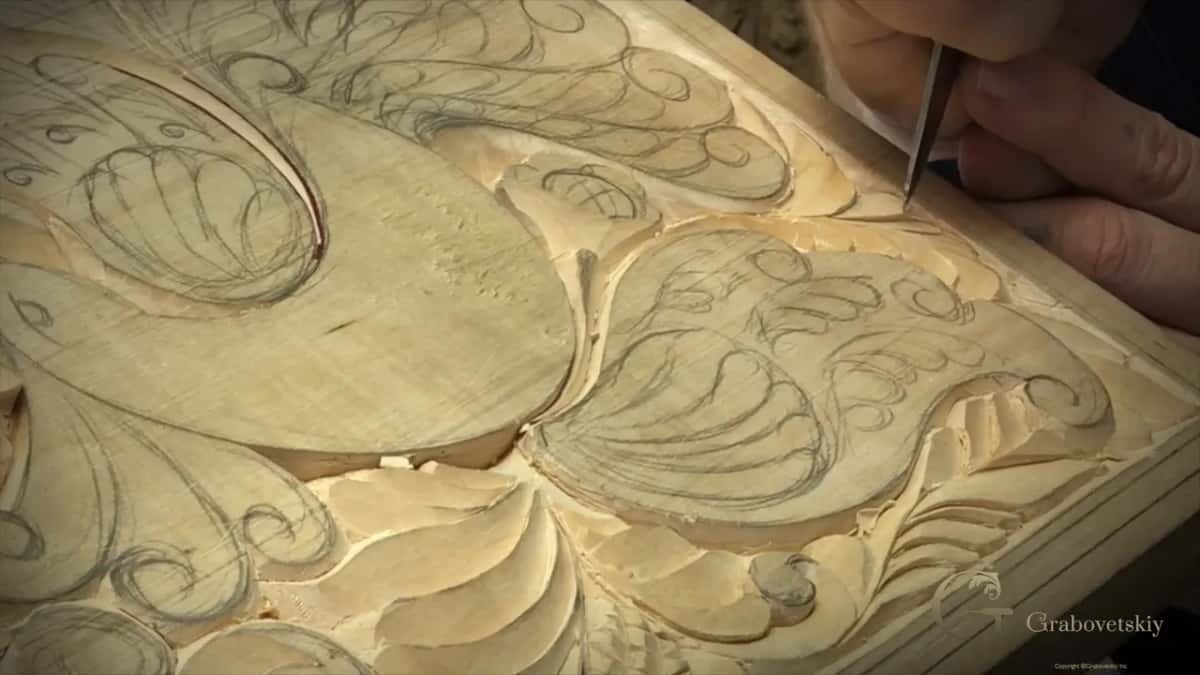
At the wing I went straight down, and that's the end of the wing. Part one also had my volute, which I cleaned and refined a bit more. In part four I made one bevel cut, then another, all the way, and one more right between those two bevels. Later on we'll make more details on that one.
Why no sandpaper touches this board
We won't sand it, to keep it authentic to the original idea. You heard that in Workshop 8, and I said it again here. We are wood carvers. So we make sure we're carving and leaving those marks behind, without touching sandpaper. So we're after correct tool marks, the marks the knife leaves behind.
How did my teacher train my hands?
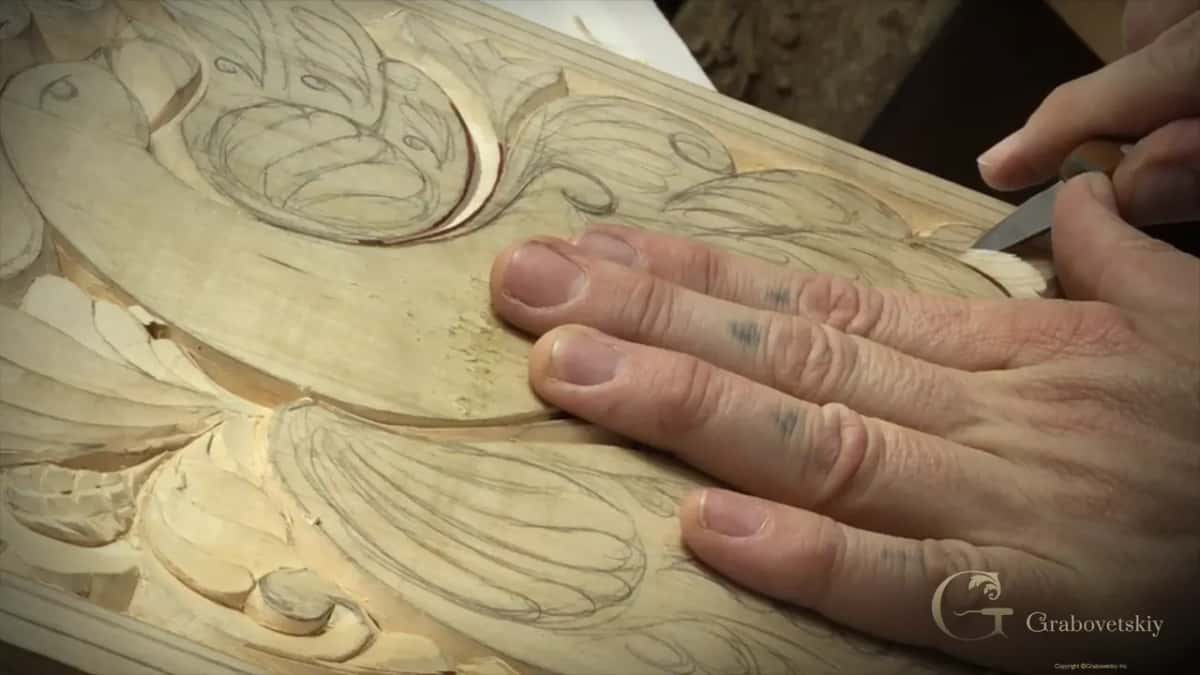
With this kind of carving, many, many times. I'd been carving since childhood, but when I started carving as a skill, as a trade, with my master, my teacher would ask me to do this type of carving again and again. At sixteen I became the only apprentice of a fine art master in Russia.
This type of carving trains your hands and trains your brain with just the one tool. You still have to feel how deep your knife is supposed to go, especially in a straight down cut. And when one pass starts straight down and finishes as a bevel cut, you have to build that feel inside you for when to start moving toward the bevel. So that is actually not as easy as it looks.
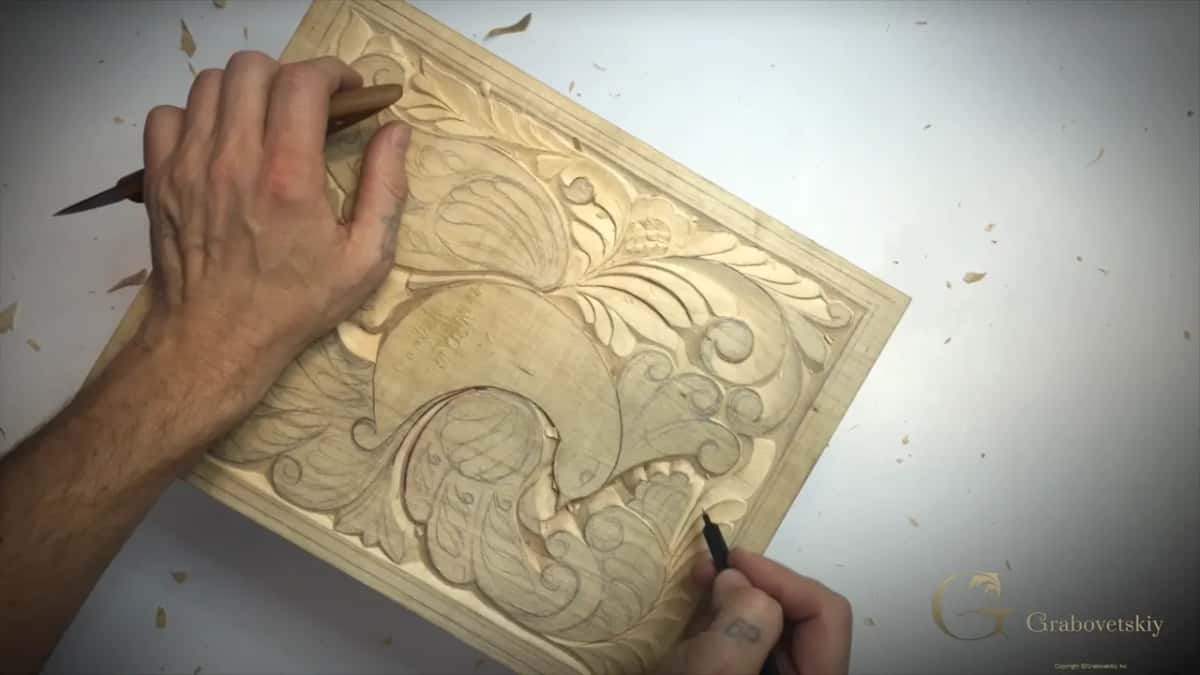
What gets finished in Workshop 9?
Both flowers, plus everything outside the bird. The second flower is the same flower as the one I did on the other side. I took a pencil to refine it, and maybe I made it a little different from what I first drew. Then, same idea as before, I carved around the outside of the middle part, somewhat a half circle, and lowered that section.
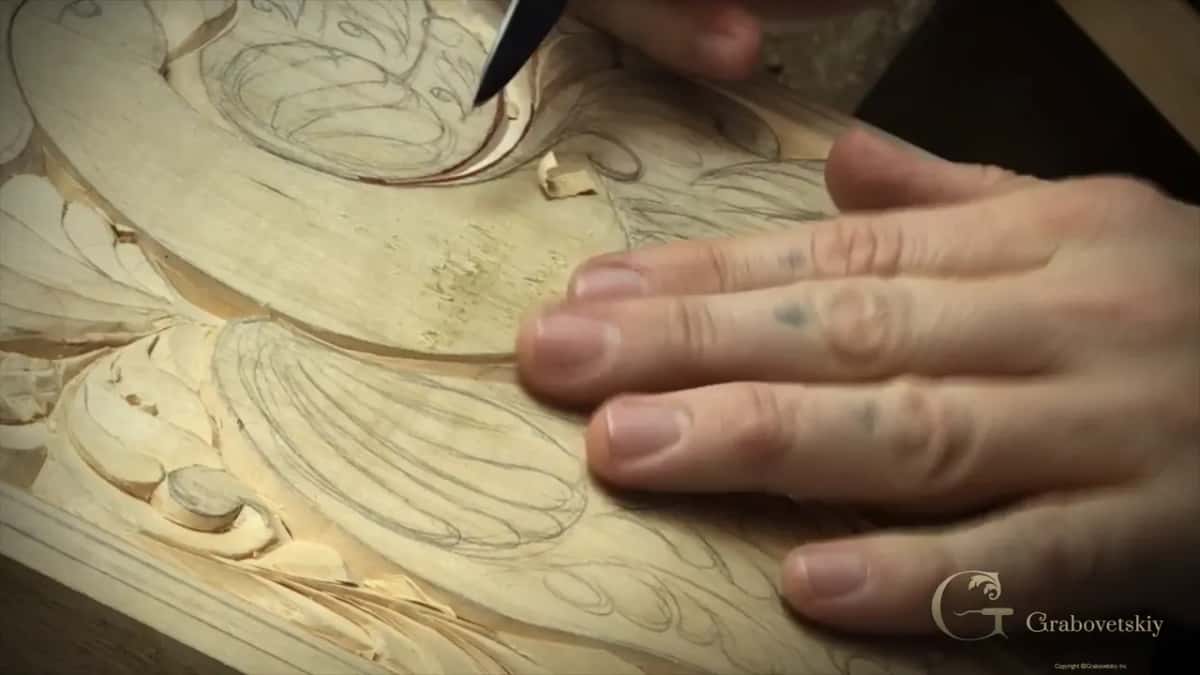
By part three, almost all around the bird was finished. I made one area lower and brought back the design idea, where everything went from one point. Near the start of part four I said it looks like we're almost done outside of the bird, except this flower, so let's do that.
That's enough for today, I said at the end. We got those flowers done and we got the outside, and next time, in Workshop 10, we work on the bird itself.
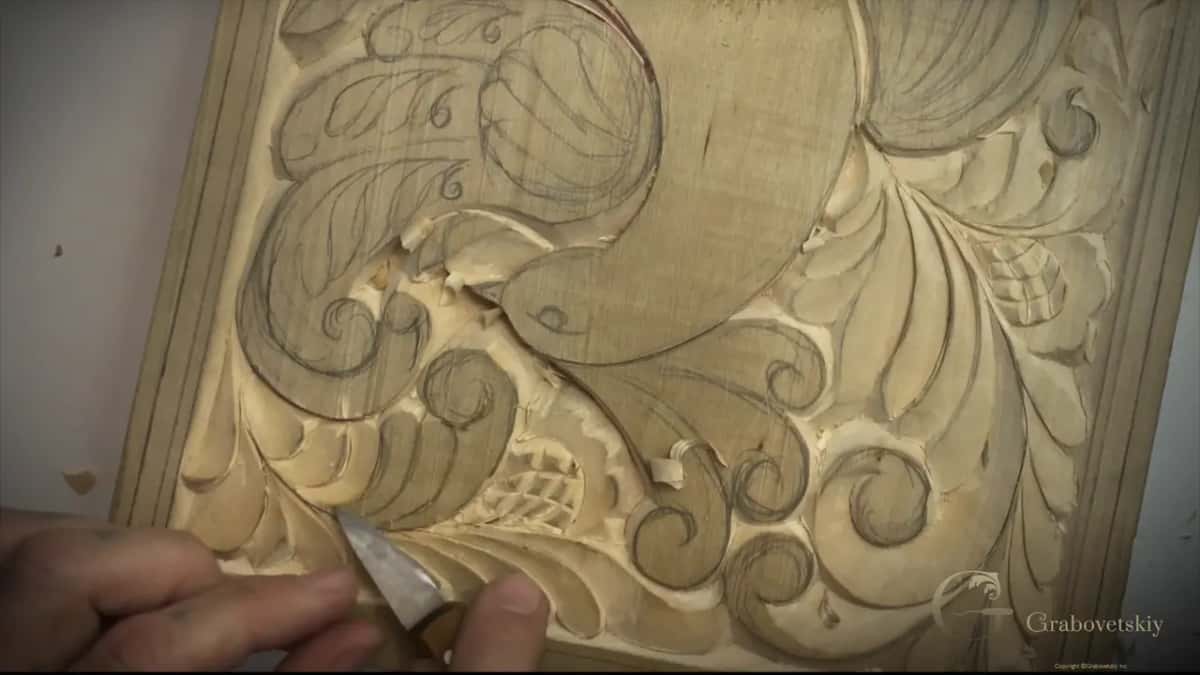
All four parts of this workshop come with tuition at the school. Got a cracked board on your bench? Got one knife? Then watch that crack and start.
How it's done
- Watch your grain. Just watch what your grain does. Any crack in the board is one more thing to watch, so you don't make a mistake.
- Refine the flower with a pencil. Take a pencil and refine the drawing before the knife goes in. Maybe I'd make mine a little different from the first, I said.
- Set the knife beside the line. Place the blade a millimeter right of a grid line, about 1/32 inch, then do the same on its left side.
- Go easy on the pressure. Easy pressure. Too much force takes material away and loses the picture of the grid.
- Work the spot where grains meet. Start from one side, then move to the other and make your cleaning cut until the grains meet. Don't force it.
- Control how deep the edge travels. Keep the blade from digging into the next shape. When one pass won't do, take several.
Frequently asked questions
Is a board with a small crack still worth carving?
Mine was. The board in this workshop has a micro crack hidden in it, and I finished both flowers on it while watching that crack. On a furniture panel of walnut I knew about a big crack before I drew the design, and I still called that wood beautiful.
How much pressure should you use near cracks in wood?
Very little. In the Lily Box course the cracks ran downhill through the wood, and the mistake there would have been forcing it. You could hear the wood resisting. I went on with care and smaller tools, and said we can deal with cracks like those.
What should you do if a piece of your carving breaks off?
Glue it back. A fragile bit of the Lily Box came apart right after I said I might need to glue it. I put glue under it, pressed it down without a clamp, and cleaned the squeeze out at once. Small hidden cracks do that sometimes, and you can't always see them.
What to carve next