
Alexander Grabovetskiy, woodcarver, School of Woodcarving · Published 2018
What do the numbers on wood carving gouges mean?
Quick answer: Gouge numbering is the sweep of the edge, how curved it is. Number one is a straight chisel, and in Britain number two is a skew chisel. Gouges run from three, almost flat, up to nine, a half round, while ten and eleven look like a letter U. Swiss tools add the width in millimeters.
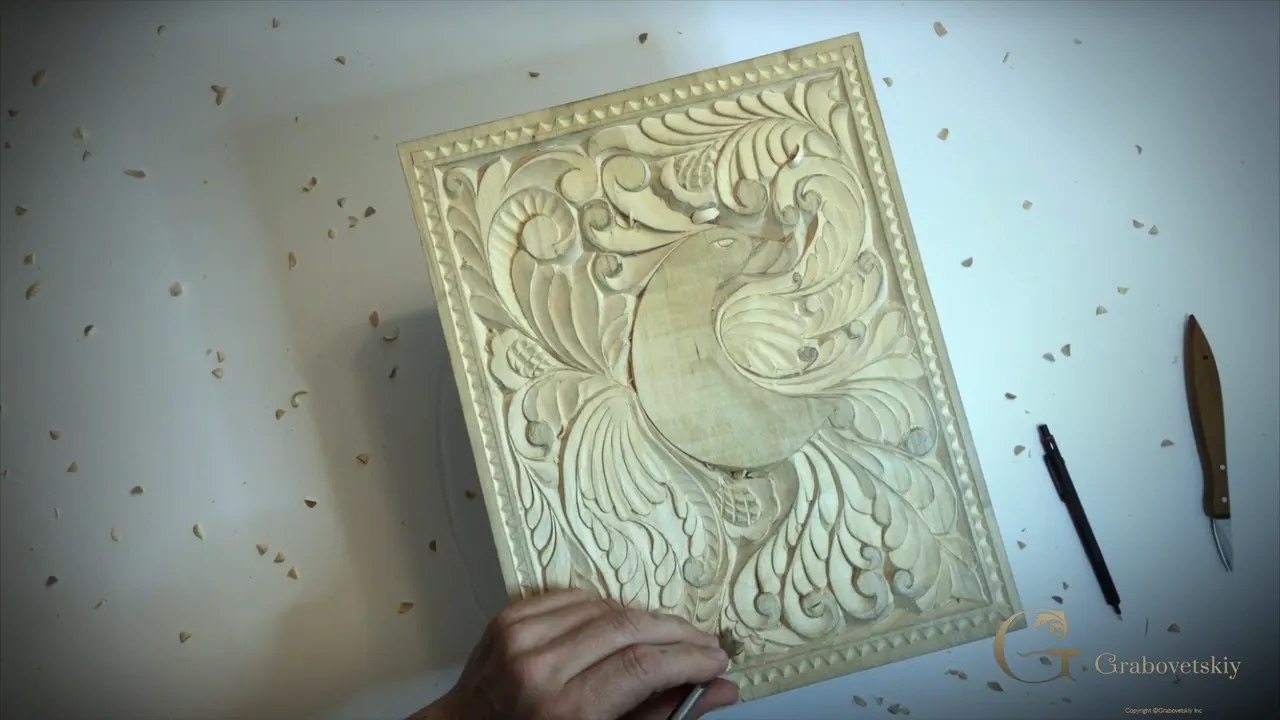
Gouge numbers name the sweep, the curve of the edge, and number one is a chisel with no curve at all. That is how I explain it in Workshop 16 of my beginner course, before a number eight gouge carves a border around my bird of paradise board. In Britain, number two is a skew chisel. The gouges start at three and end at nine, the half round.
Have you held a gouge up and looked at its steel end on? Did you see a little curve at the edge, and a number stamped somewhere on the side of the tool? Then you have seen a sweep. The number tells you how curved that edge is, and this page gives the numbers the way I said them on camera, in this lesson and in a few other videos, with the place where I said each one.
Six facts about gouge numbers
A chisel is number one, absolutely straight.
Britain marks its skew chisel as two, and Germany starts its gouges at two.
Gouges run three, four, five and on up to nine. Three is almost flat, and nine is a half round.
Ten and eleven look more like a letter U, and a veiner is usually marked eleven.
On my Swiss Made tools the width is a second number, in millimeters.
My border gouge was a number eight, about 10 millimeters, about three-eighths of an inch, an Ashley Iles from England.
What do the numbers on wood carving gouges mean?
They tell you the sweep. The gouge has a curvature, or sweep, I say in Workshop 16, and sweep is the right way to say it. In a livestream from April 2020 I put it plainer still. Sweep is how curved the tool is.
A chisel has no sweep. Chisel is number one, and it's absolutely straight, with a single bevel or a bevel on both sides.
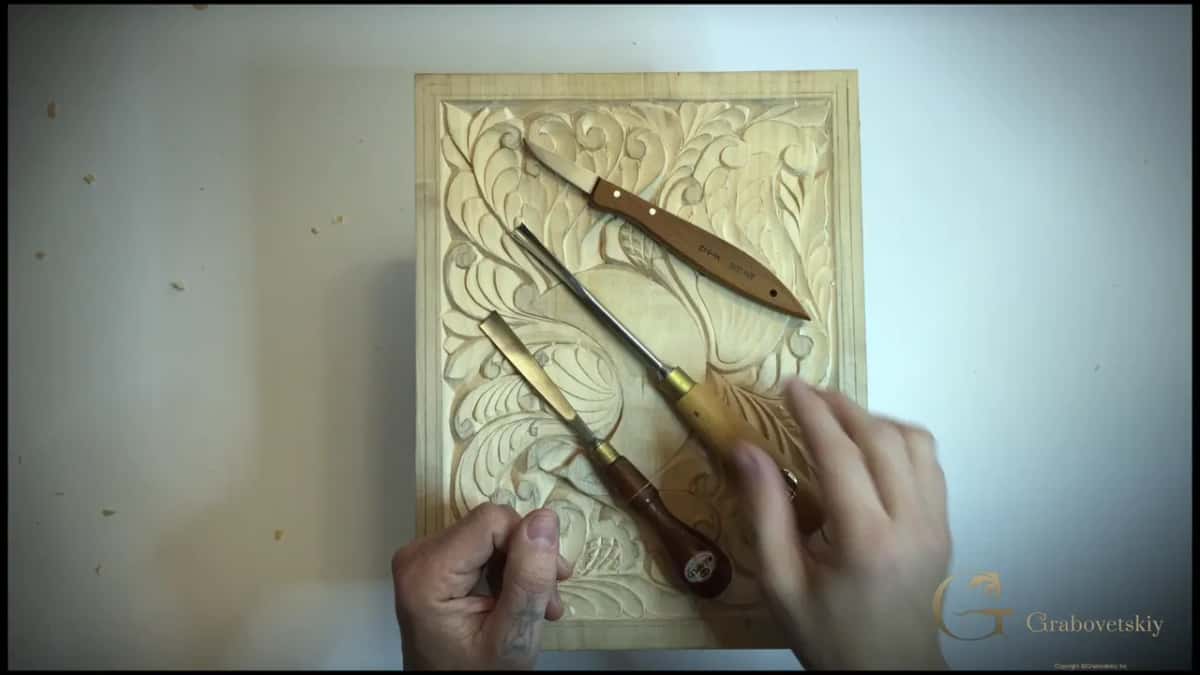
Where you are decides number two. For a British maker it's a skewed chisel, which is just like a knife, a chisel with a double bevel, but with a skew.
Then come the gouges. In most countries they start from number three, which is almost flat but still has some sweep. That's my number three in the video, and the row goes on, four, five, six, seven, eight, and ends at nine, the true half round.
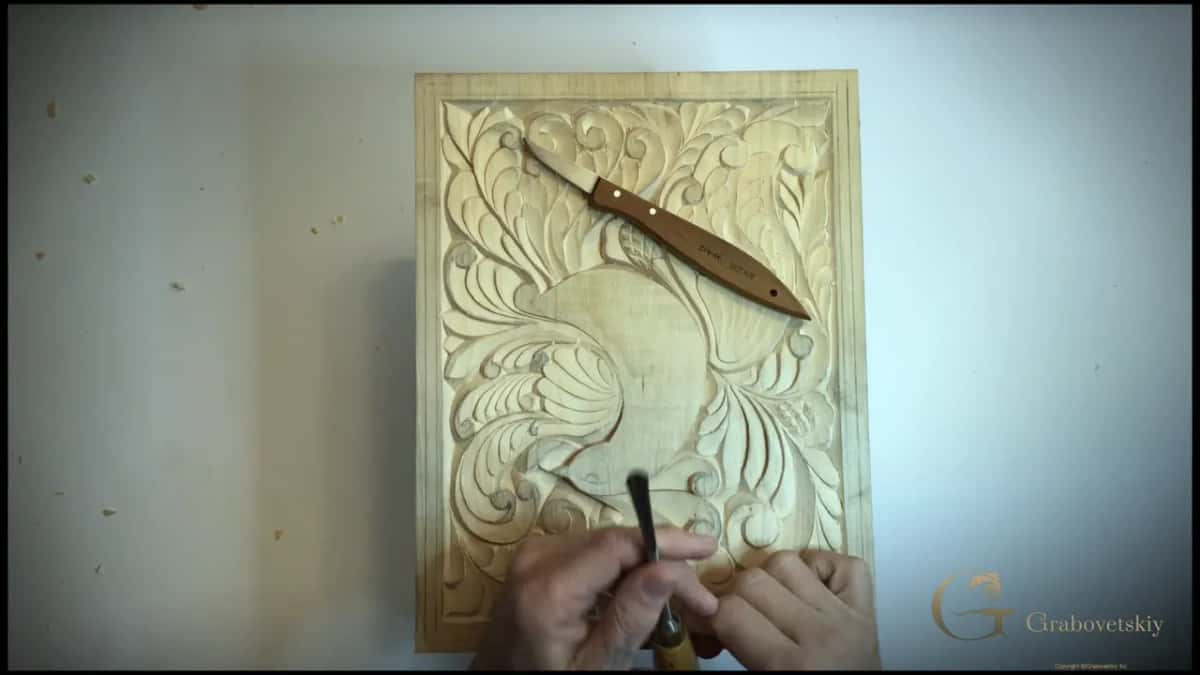
Past nine, at 10 and 11, the tool is more like a U shape, a letter U. That means the sides of the gouge go all the way up. The true gouge goes only to number nine.
After the gouges come veiners, V tools, macaroni, fluteroni and other specialty tools. But the most used are just the chisels and gouges, sometimes veiners, and knives, of course.
| Number | Britain | Europe |
|---|---|---|
| Number one | Absolutely straight, with one bevel or two | Skews are number one |
| Number two | A skew chisel, just like a knife | Already a slight sweep |
| Number three | Almost flat, but it still has sweep | A gouge here too |
| Number nine | The last true gouge, a half round | Also the half round |
| Number eleven | A veiner, shaped like the letter U | Marked eleven there too |
Why do British and European numbers differ?
Each country marks its tools its own way. It all depends where you are, I say in the board lesson, and in the UK or in Germany it's going to be a little different. In that 2020 livestream I went into more detail, and I told people the marking changes country to country, but the main idea stays the same.
Most UK makers have a second straight chisel marked number two. That one is usually a skew. Skews come at 22.5, 45 and 60 degrees. Sixty I usually don't see. The two most common are 22 and a half and 45.
In Germany and other European countries the gouges start at number two, which already has some sweep, a slight curvature, almost flat.
Indonesian tools mark the sweeps differently again, and a lot of Indonesian chisels don't have a handle. Most people in the world buy European looking gouges and chisels, though.
Another livestream that April got to the Sheffield list. British carvers follow it, and it's called the London pattern. To see all the sweeps, I told viewers, go on toolsforworkingwood.com, check the woodcarving tools, and they have that London pattern there. One skew chisel I held up that night would be a number two by the London pattern and a number one in European countries.
Is the width part of a gouge number?
Width is a separate number, and not every maker stamps it. My Swiss Made tools, the brand we call Pfeil here in the United States, carry both. There, the 11 is the sweep, which is a U shape, and the 4 next to it is millimeters, a little less than 3/16 of an inch.
English tools from Ashley Iles, Henry Taylor and Robert Sorby use Sheffield steel, and to me that steel is the best. You don't see markings on them almost anywhere, except a little number on the side. That little number said six on the one I held up.
The width I read by eye. For professional people, you don't really need to know how wide a tool is, I said, and I just look at that number six and know it's about one inch, about 25 millimeters. When you carve, you grab the right size, and that's it.
A bent tool from Pfeil carries one more digit. In Roman Acanthus 8 I read a back bend marked 28 and 6, which means the 2 is a back bend, the 8 is the sweep, and the 6 is six millimeters, or a quarter inch. Another back bend there was marked 25/10, a number five sweep at 10 millimeters.
Blade shape is another thing the number doesn't tell you. In a Q and A video I held up two number sevens, one 14 millimeters and the other, I believe, the same. One was a fishtail and one just tapers, and sweep wise they are exactly the same tool.
How do you tell a true gouge from a poor one?
Put it on a board and turn it. No matter what kind of gouge you have, a half round or not, a good one always ends up at the same spot when you rotate it. It makes a perfect circle. I showed this in one of my April 2020 livestreams.
Let me tell you a story. I was teaching at the Marc Adams School of Woodworking, and one of the guys brought a whole bag of old antique tools he got at a garage sale. He told me I was welcome to any one of them for free. I found one I really love, a beautiful antique gouge.
It should be a number nine. The carver who had it before me marked it number 12, and it's not. It is a half round, but not a really good one. Rotate it and it rocks. You can see it stepping, and that just makes a mess, so it's not a true gouge.
A good number seven is not a half round, and still it comes back to the same spot. Even a huge one, like three inches, like 80 millimeters, does exactly the same. The tool maker knows what he does. My good number nine that night was 20 millimeters, three-quarters of an inch, and its sweep is a half round.
Some tools carry no number at all. In Flower Rosette 3 I pick one up with no marking and call it a number eight.
Where do veiners fit in the numbering?
Right after the gouges. Veiners are always like a U shape, and they usually start with number 11. Number 11 is normally marked 11 everywhere, in the UK and in Europe, and the one I showed was 15 millimeters, which is five-eighths of an inch.
You're still able to get number 10 gouges in the UK, I said in that livestream, also like a half round, pretty close to a number nine in Europe. In Workshop 16 I put 10 and 11 together as the U shape.
Veiners were made for the veins of the acanthus leaf, and they designed those tools around it. A veiner is a multi tool. The bottom is a gouge, and the two sides work like number threes, so you can carve straight down like a gouge, rotate as you go for a pass a gouge cannot make, or use the side just to blend.
For a complicated project you will probably need a little more than 20 tools, and most of it gets done with the number 11 veiners. There is more on that tool in my Roman acanthus course.
Which number did I use for the border?
A number eight. Most useful are the number nine and the number eight, I say here, and the eight is what we use right now. Mine is about 10 millimeters, about three-eighths of an inch. If you are approximately in those numbers, you should be fine.
This one is made by Ashley Iles, made in England, and those are some of my favorite ones. Most of the tools I have are by Ashley Iles, I said in my tools course, and I like how thick they are next to my Pfeil. I held up an Ashley Iles number eight there too. It's massive, a really strong tool, but if you abuse a tool, it can still be broken, no matter how nicely it's built.
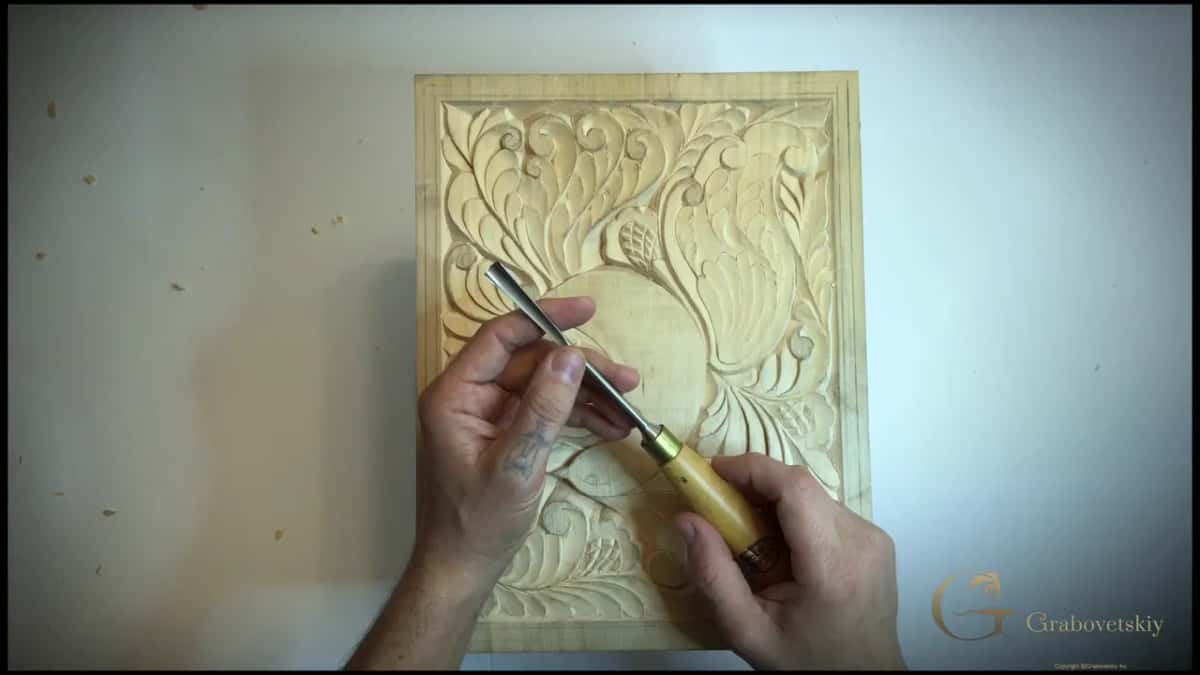
Before the gouge came out, most of the work on this board was done with one knife, a number 12 Swiss made by Pfeil. I've got maybe 15 or 20 knives, all different, and most of them I pretty much never use. That number 12 does 99.9% of my work.
Where do your hands go on a gouge?
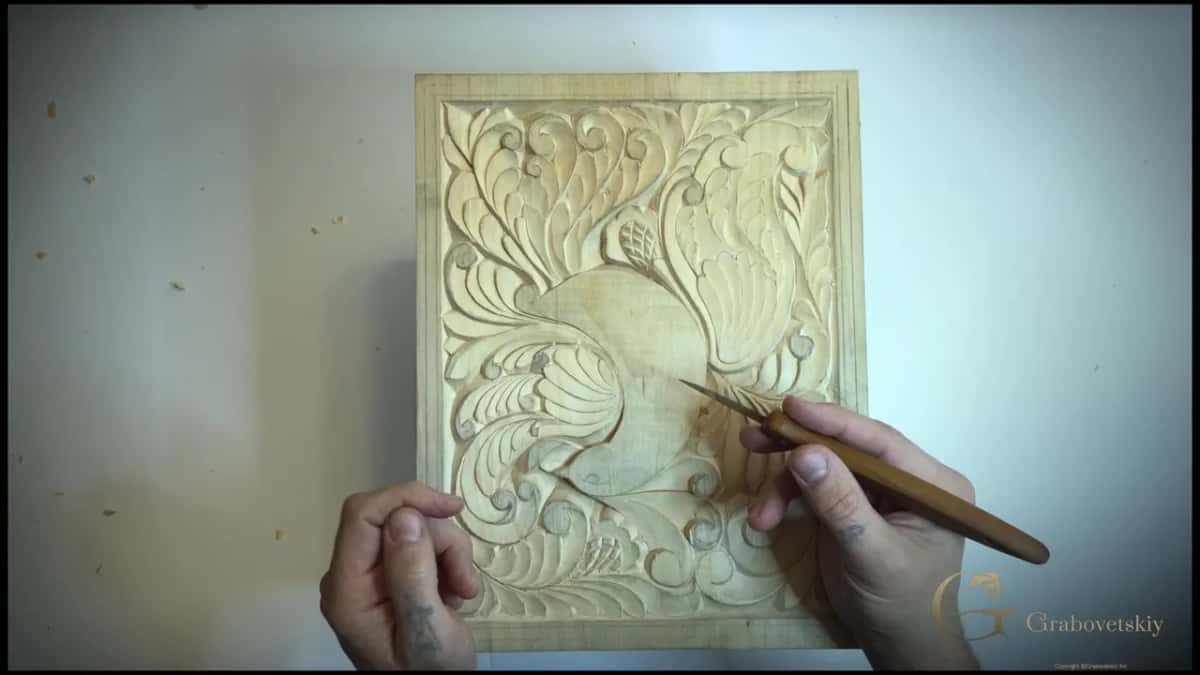
Close to the steel. There are a few different ways to hold a gouge, but the first rule is to get your hand as close as possible to the end of the blade. You still have to see it.
Place that hand right on the top of it. Your thumb can sit on the handle, below it or above it, and it doesn't really matter, as long as your hand is right above. The other hand holds the handle the way you see on the video, so you can easily go around a curve if you need to.
How did the number eight carve the border?
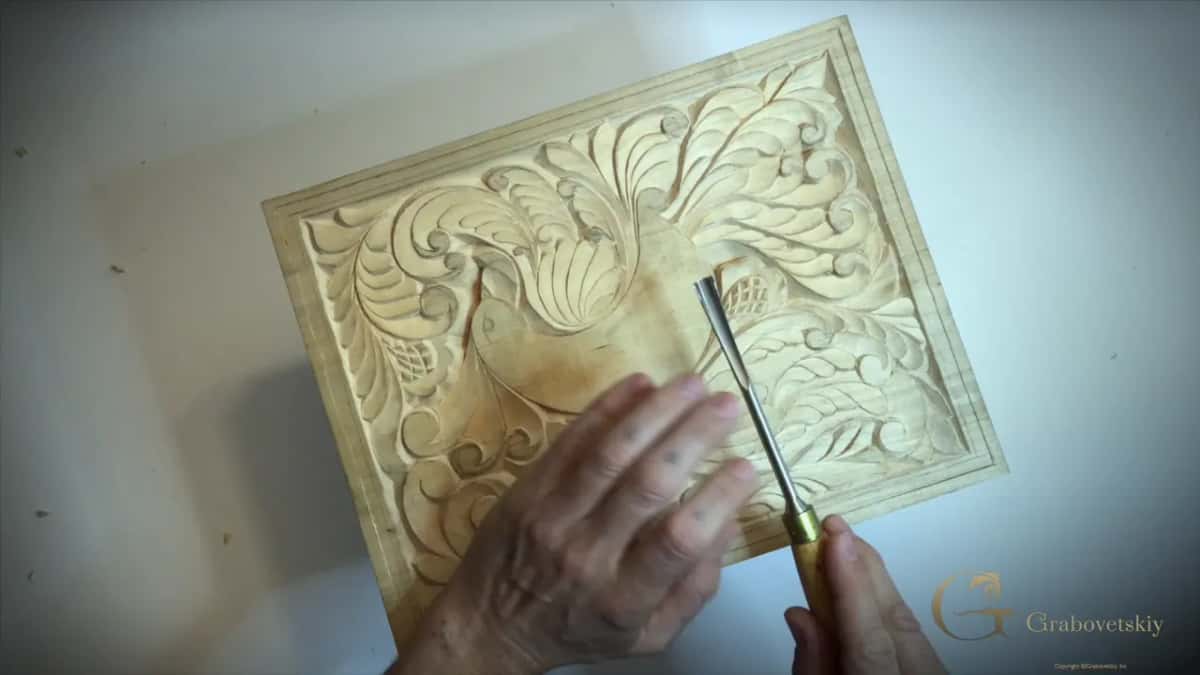
Knife first. Two lines were left on the board, line number one and line number two, and the border gives a frame look that lets you feel the gouge in your hand. I start on line number one from the farthest point, with about the same bevel as the walls already there, and make one long continuous pass with the knife.
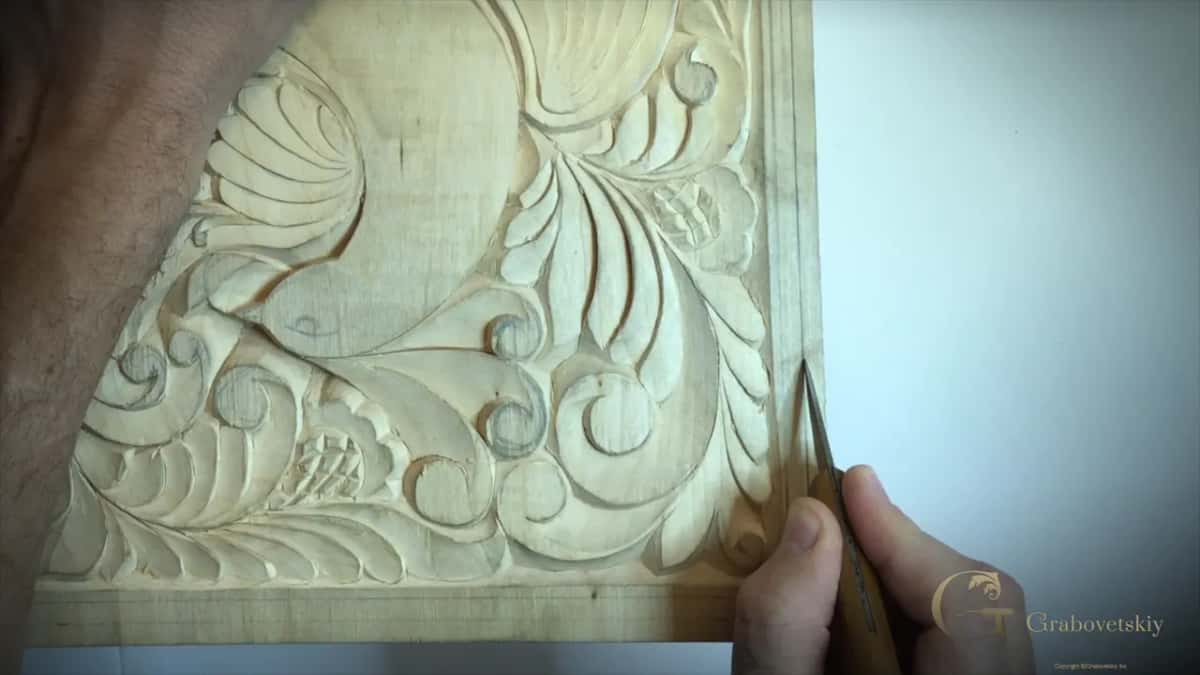
Follow the line as straight as possible. Being off a little bit is not a big deal. Where the two lines meet, I don't force it, but I raise the knife and push it inside, just like that.
Then I rotate the board and repeat on the end grain. Make just one first pass there. I would not suggest a couple of passes right away, because you can snap the grain and break it, and it's not going to look nice. Along the grain I can go a little deeper. Before the last side I redraw the pencil line so it's visible, and on that end grain I stay shallow again. Really important not to force it, not to rush it.
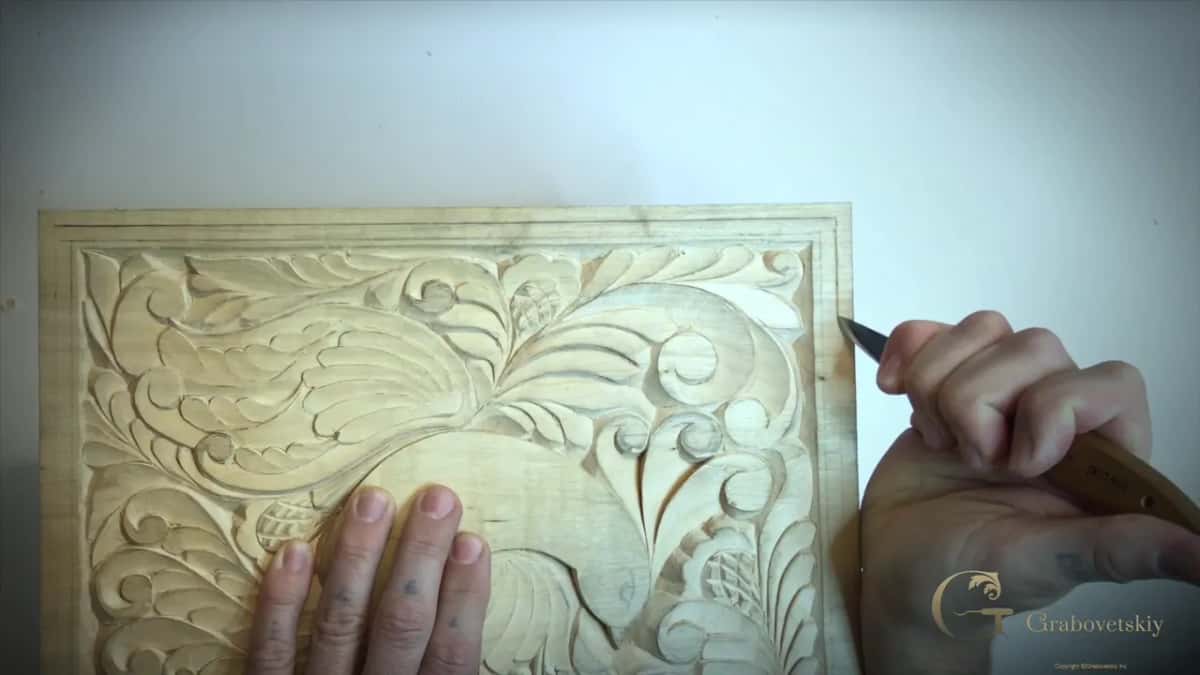
Then the gouge. I turn the board so the camera sees it, set the gouge at the corner and carve toward the line. The next pass goes right next to the first one, and I continue all the way around. Don't force it. Just patience, and keep the angle the same all around.
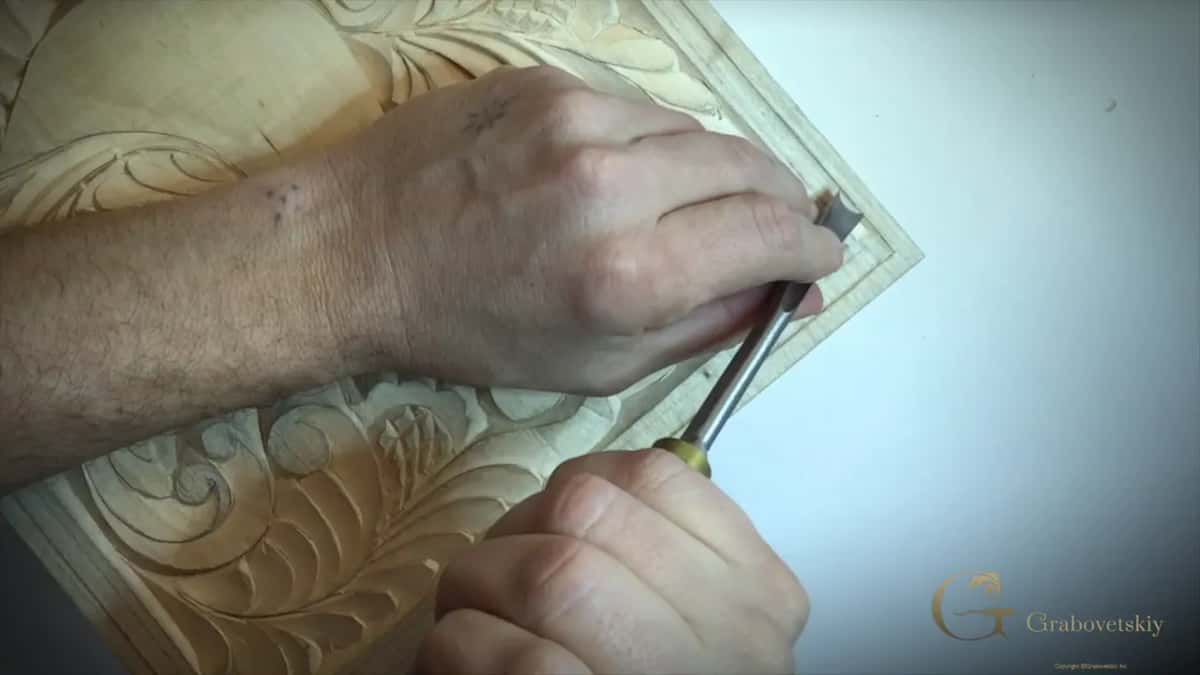
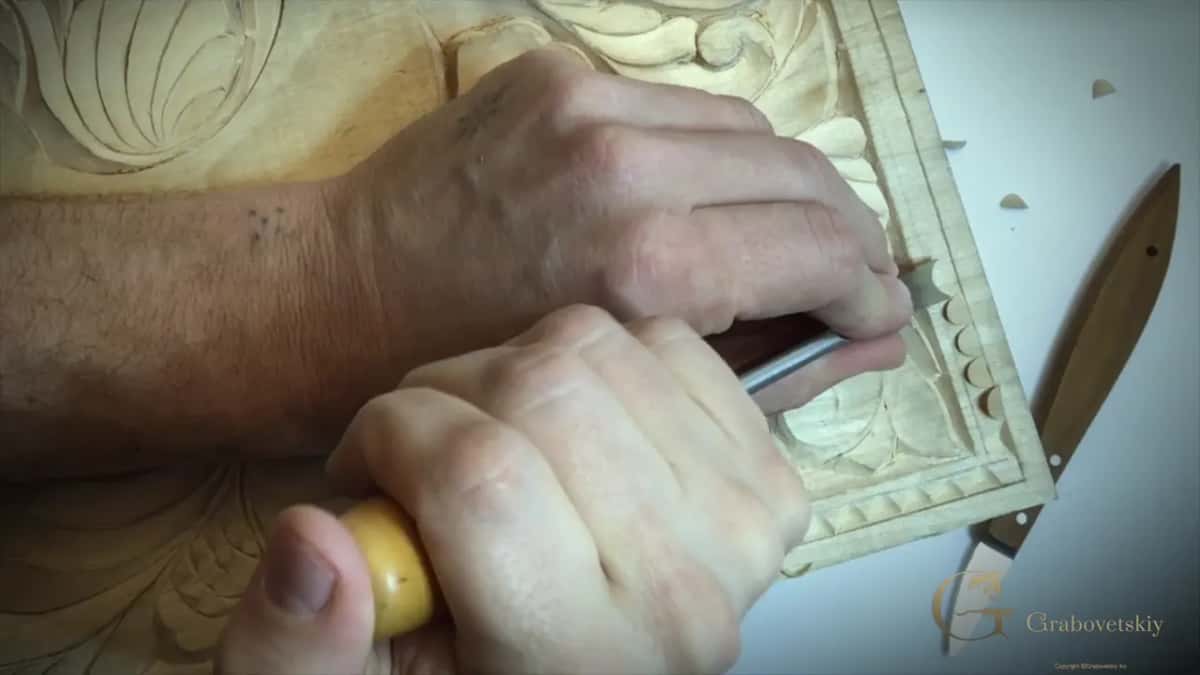
The knife then cleans whatever is left. You can see how nicely that border gives a feel to the whole carving, and that's not the end yet.
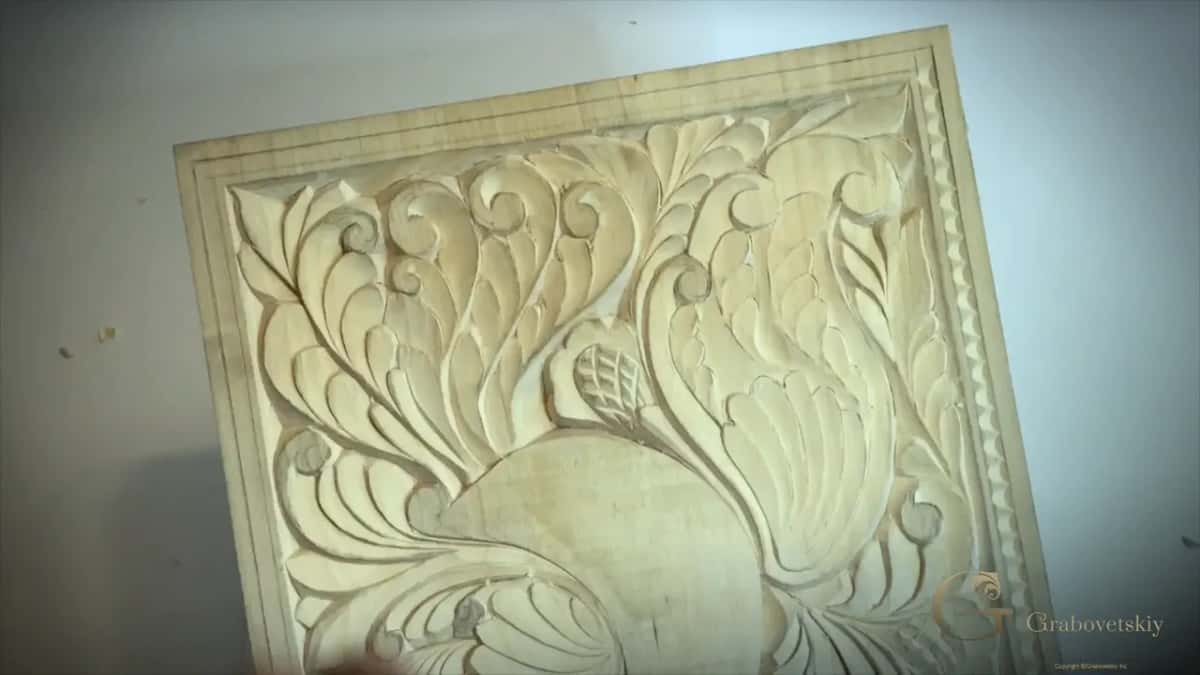
On the end grain, be careful. Press too hard and you can break that part and chip away a section. Rotate the board slightly when you need to. And if a chip is not flying out, that first knife line wasn't that deep, so go back over it. I do a little wiggling to get the feel, and if I go a little deeper, piece by piece, the chips come out easily. Breaking it now would be a really bad idea after all the work you've done.
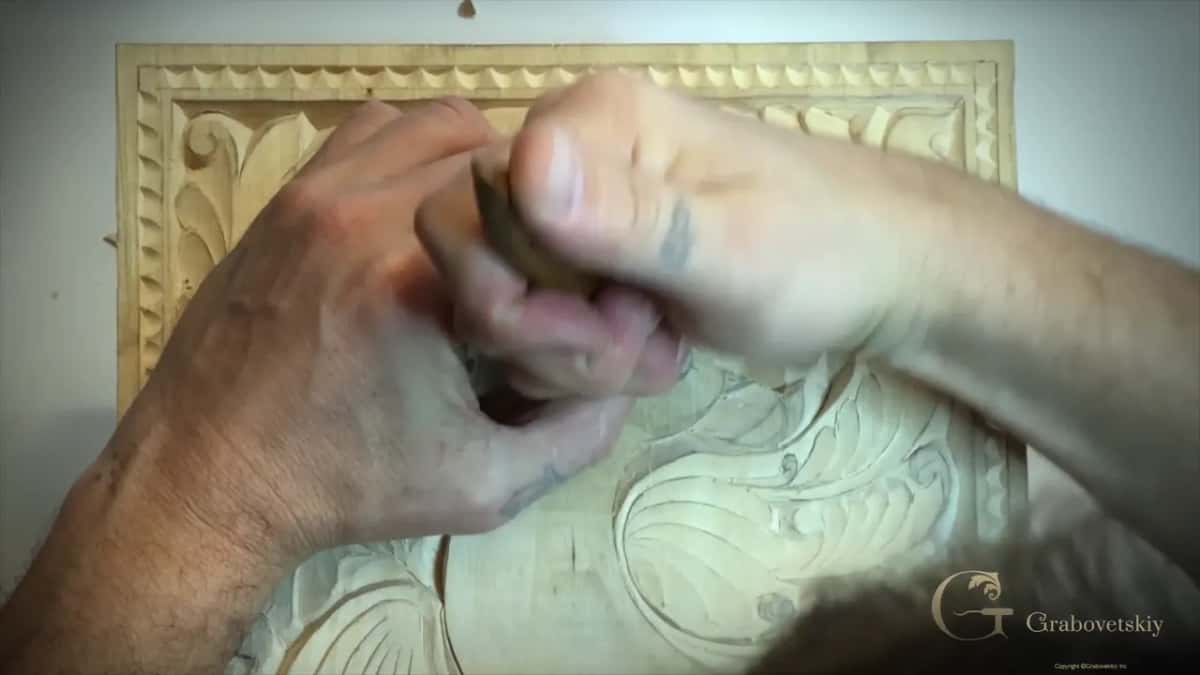
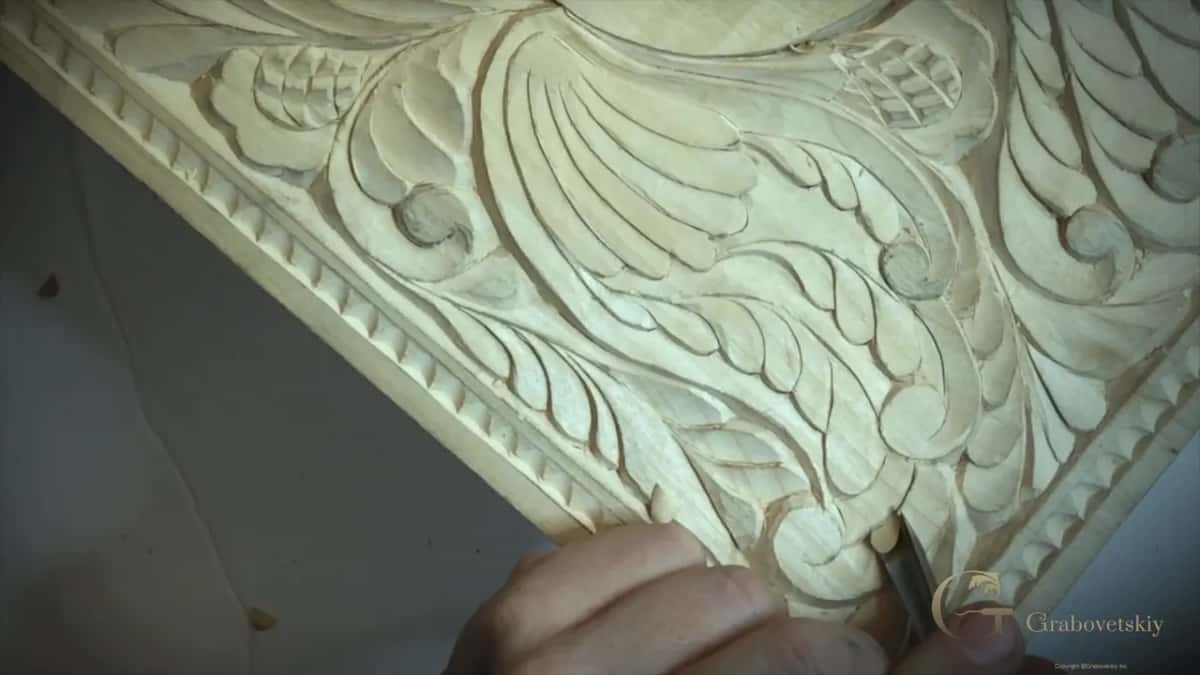
What else can one gouge add to a board?
First, the eye. We did not finish the eye, and for that I only need the knife. You could also do it with a smaller gouge, but the knife is fine.
Next, the open spaces. There are plenty of spaces that look like they could take more detail, so I draw a line, then another, and maybe one more. Each gets a knife pass with a bevel, and then I take the gouge. Not straight down, though you could. I want slightly angled passes.

If a chip doesn't fly out right away, come back with your knife. Since the wing is in that style, I probably have to repeat it, so the next passes are not straight either. They go in with the flow.
Another way works on a big curl without any extra knife pass. I go around it and make passes toward the center, a little deeper, starting straight and then changing my flow to an angle. I'm making my decisions on the fly, and I do like what I see.

There's absolutely no limit to what you can do. On the side of the feathers, if you can call them feathers, I make long passes, multiple ones, and one of them is not too nice. The other side is easier because it's across the grain. But the grain changes direction, so I come from the other side and blend it in.

Straight down passes come next, then passes over the top of them, and one more on the side, and the knife cleans up after. It's up to you what you want to see, but I think I'm going to leave it like that.
What cleans the board after the gouge?
The board is all dirty now, and I don't like it. The old way is a scraper, and that's probably my preferred way, until everything is clean. Any scraper will do.
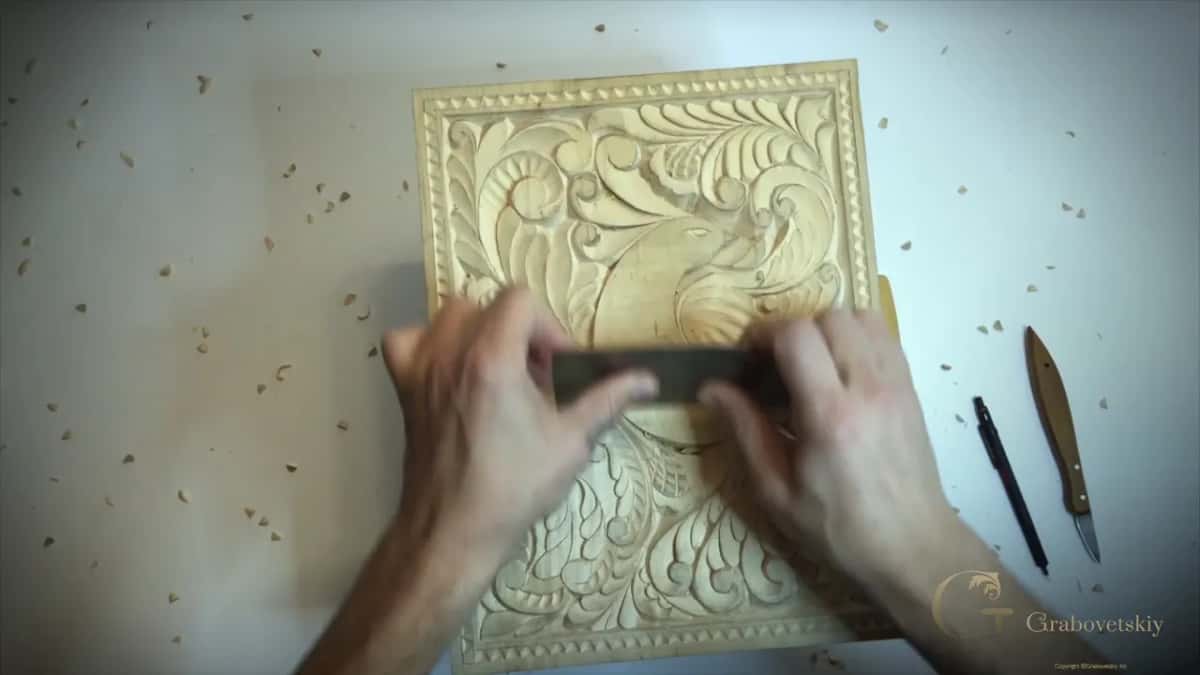
If you don't feel comfortable with scraping, at the beginning especially, it's absolutely okay on that type of carving to take a little sandpaper and give it a light sand. Don't over-sand it, because you're going to lose the detail. I would just probably use a scraper.
This lesson sits between Workshop 15 and Workshop 17, both part of the whole beginner course. Why the knife came first is the subject of Workshop 14, and the sharpening course has the gouges on the stone.
Do you have a number eight, or anything close to it? Then you have the tool for this border. Tuition and access open the full lesson, with the knife work and the gouge work on video.
How it's done
- Mark the outer line. Start at the farthest point of the first line and draw the knife along it in one continuous pass, holding the same bevel as the walls inside.
- Finish at the corner. Where the two lines meet, raise the knife and push it in.
- Go easy on end grain. Make a single first pass there. A couple of passes right away can snap the grain.
- Set the gouge. Hold your front hand near the working edge, right on top, and start at a corner.
- Carve round the frame. Place each gouge pass toward the line, right next to the last one, at the same angle every time.
- Free what stays. When a chip stays put, deepen the knife line a little, turn the work a bit and take it piece by piece.
Frequently asked questions
What does a number 8 gouge mean?
Eight is the sweep, one step short of the number nine, which is the half round. Width gets its own figure. My number eight in Workshop 16 measures about 10 mm, and Ashley Iles made it in England. A gouge near that number and size will do for this border.
Is a chisel the same as a gouge?
Both are carving tools, but a chisel has no sweep at all. The straight chisel, number one, has a bevel on one side or both, and a gouge has a curvature. British makers start the gouges at three, and in Germany they start at two.
Are gouge numbers the same in every country?
Close, but not the same. A UK skew chisel carries the number two, while in Germany and other European countries the number two already has a slight sweep. British carvers follow the Sheffield list, also called the London pattern, and toolsforworkingwood.com shows it.
What to carve next