
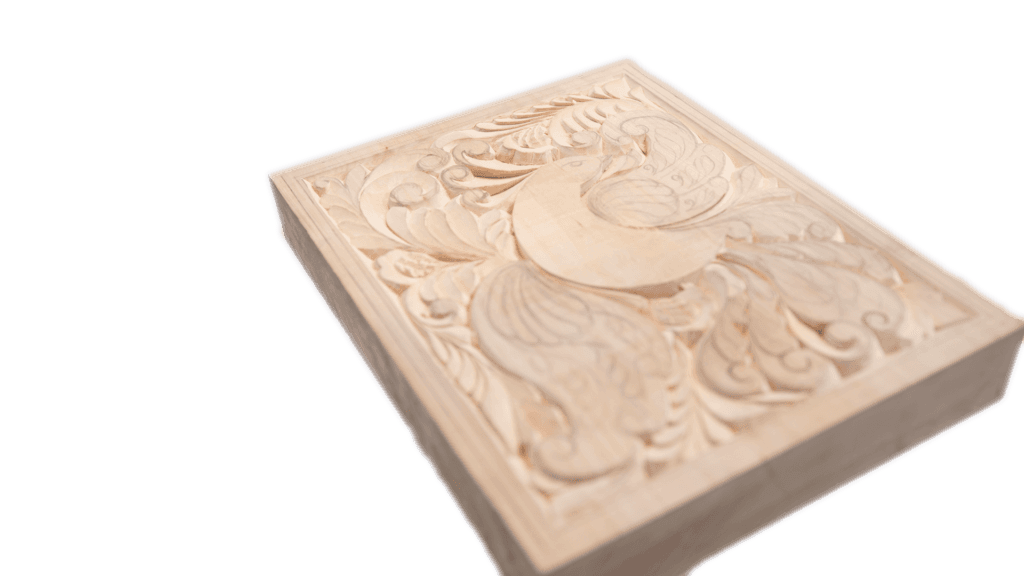
Alexander Grabovetskiy, woodcarver, School of Woodcarving · Published 2018
What did wood carvers use before sandpaper was invented?
Quick answer: Dutch reed is the plant I show when people ask what carvers had before sandpaper. It grows near water and takes a little wood off, finer than any 180 grit. Other shops scraped with glass or a blade, smoothed the grain with more wood, or left the chisel marks alone.
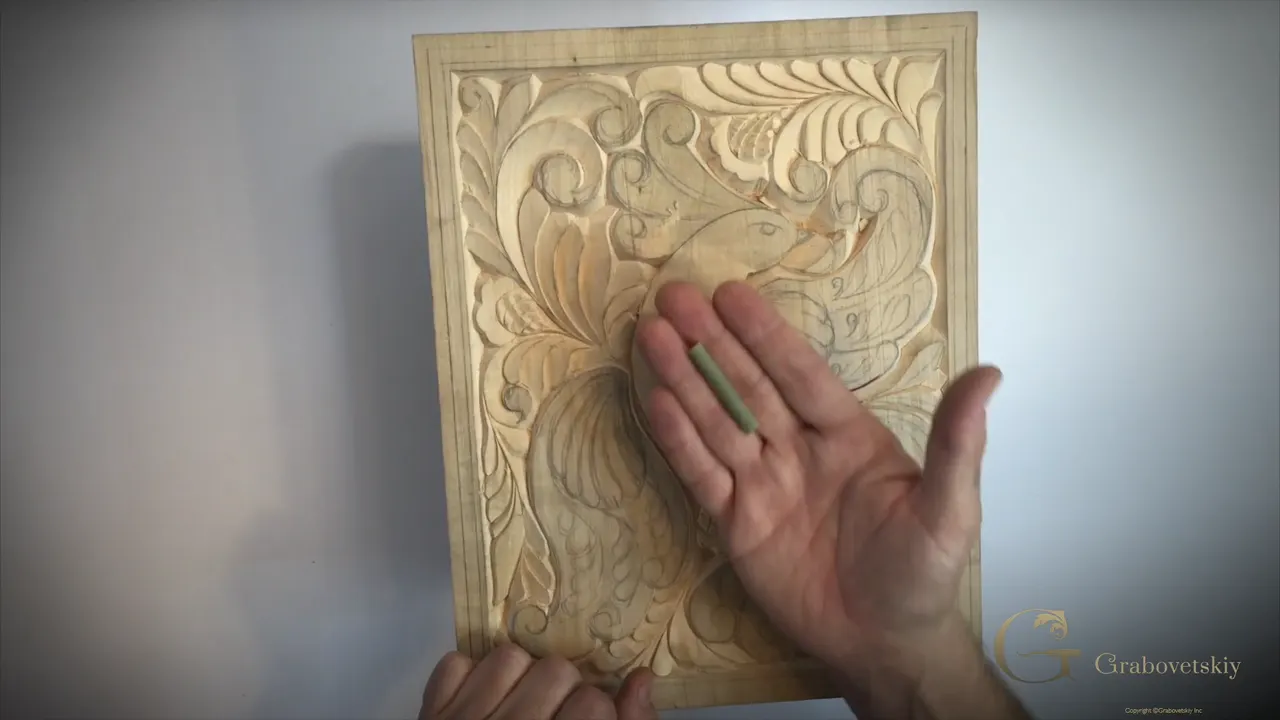
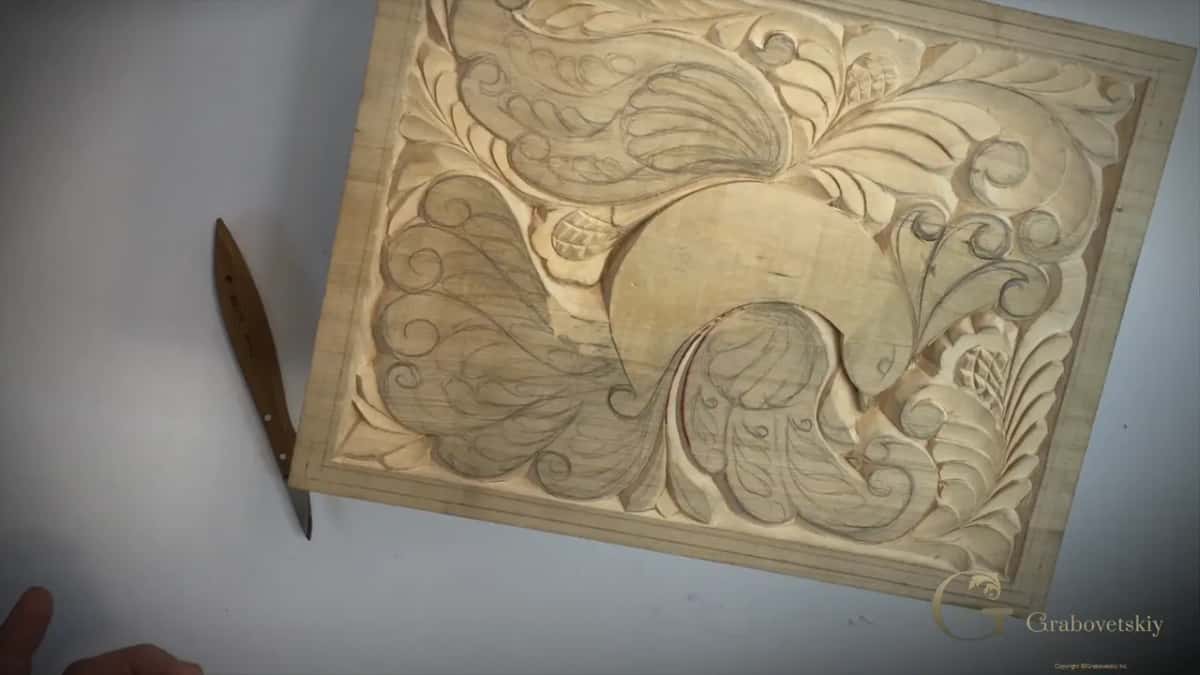
Dutch reed is my answer when people ask what carvers used before sandpaper, a plant that grows by rivers, swamps and lakes and is abrasive enough to take a little wood off. You may also hear it called Dutch rush. At the start of Workshop 10 I hold a section of it over my bird of paradise board, and you can hear it working.
Have you seen old carvings in a church or a museum? Did some of them look smooth when you got close? Then the question is a fair one, because they didn't have sandpaper, as I say in this lesson. Below are the answers I have given on camera, in this lesson and in other courses, each with the place I said it, plus a few written sources.
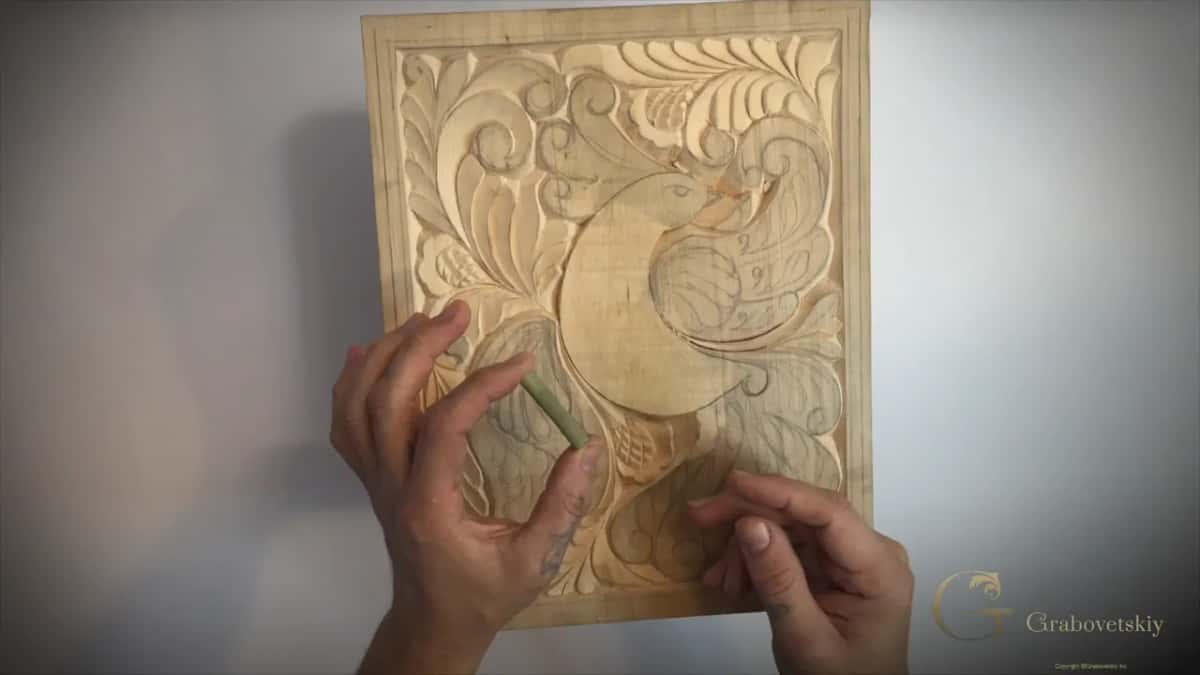
Six things old carvers used instead of sandpaper
A plant called Dutch reed, found near the water and much finer than a 180 grit sandpaper.
Reed rush bought at a music store, about 400 grit.
Shark skin, if you lived near the ocean.
Glass, scraped over the wood by some carvers in the 15th century.
A second piece of wood, rubbed over the grain, then oil or wax.
Often nothing, so the chisel marks stayed.
Where does Dutch reed grow?
By water. It's actually a plant, I say on camera, and you can find it by the rivers, by the swamps and by different lakes. Back in Workshop 4 I told you it has some abrasive in the leaf, and my Modern Acanthus course says any reed will work. Reed rush is also sold in musical instrument stores, I said in a video about sandpaper.
Two written sources explain the roughness. Wikipedia's page on the scouring rush, Equisetum hyemale, says the ridges on its stems are impregnated with silica and rough to the touch, and that in Japan the dried plant is used for polishing, much like a fine sandpaper. A review of David Esterly's book calls Dutch rush a plant with silica on its stems.
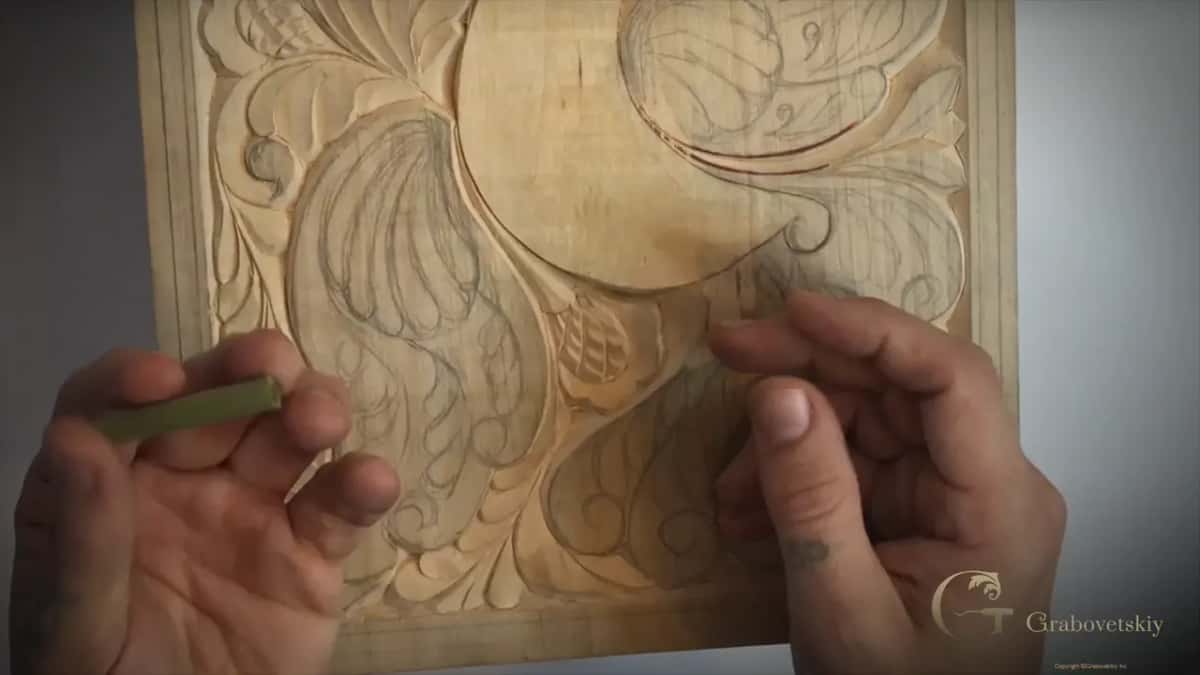
How rough is Dutch reed next to sandpaper?
A lot finer. Don't expect an 80 grit or a 180 grit, I tell you in this lesson, since it's a really fine grit. When I put a number on it in other recordings, on my Furniture Panel and in my 1903 acanthus course, it was about 400 grit.
It is abrasive, though. You can hear it on the video, and it actually takes some wood.
Ridges stay, mostly. On the Hashemi flowers I said light sanding with the reed should be fine, because the reed really doesn't take out those ridges and only makes the wood smoother. Workshop 8 puts it another way. Rubbing with it is not really what you think of as sanding, I said there, and it still leaves the marks.
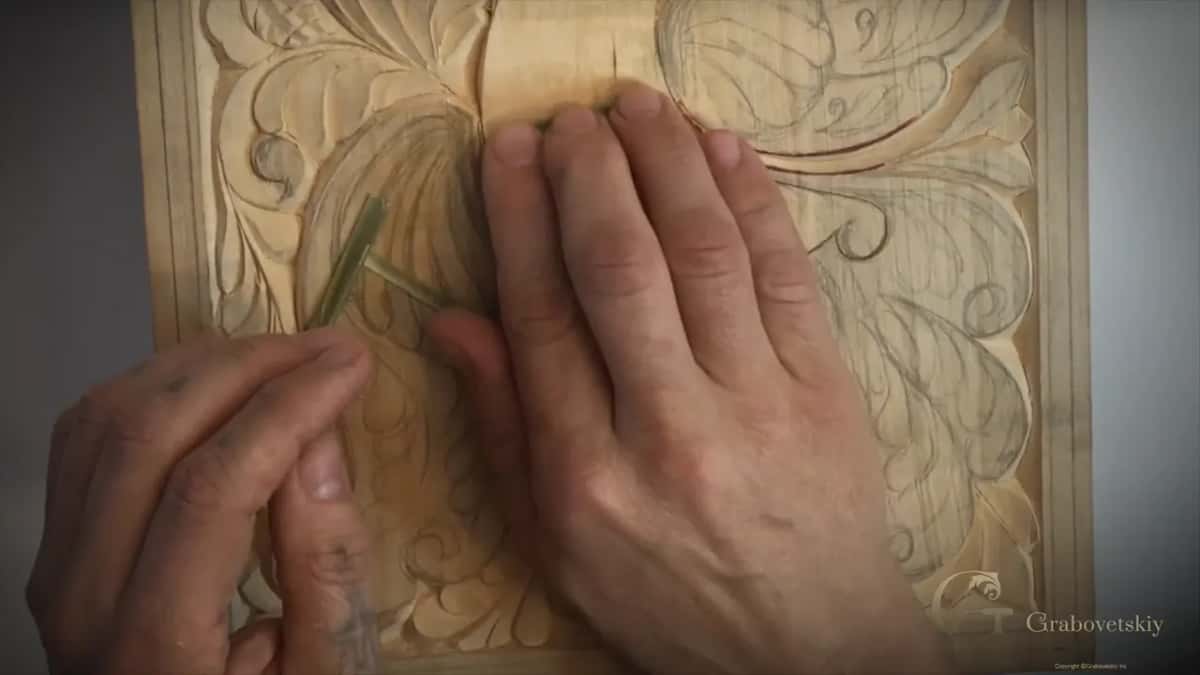
How do you use a piece of Dutch reed?
Two ways, and the first needs no work. Cut small sections about an inch and three-quarters long (about 45 mm), which is what I hold in my hand on the video, and sand your piece with the whole tube.
The second way is to split a section and sand with a small piece of it. Do that while the reed is not as dry as mine. Mine cracked. A fresher one won't crack like that, and it's still easy to use.
There is a link right before this workshop to a YouTube video in which a man glued the reed onto a really thick piece of tape and used it as sandpaper. That's fine. A bare piece without any glue works too, and you still get really nice results.
The tube alone works fine, especially in small areas, because you can get really close with it. Most of this board gets no reed, by the way, and I just decided to show you what it is.
Mounting the reed on a paper tube
A section of reed lasts a lot longer on paper. On my Furniture Panel I put the reed on paper tubing, and on the Hashemi flowers course I laid it on a roll of paper while it was wet and let it dry. In the 17th century, I said there, you would use a Dutch reed to work on the edges.
I like the reed better than sandpaper for one reason. It doesn't leave any abrasive inside the wood, and it gives me a really perfect surface.
Sanding with it is sanding of a kind, I said on the Hashemi flowers, though nothing like a sandpaper, and it's a more natural, more authentic way.
Did Grinling Gibbons sand his carvings?
He did, a little. When people looked at the work of Grinling Gibbons in England, the surface looked really smooth, and they thought he never used any sanding technique. That changed when the restoration started.
Let me tell you a story. David Esterly was one of the men who restored his work. When you look at the piece closer, you can see sanding marks, and in this lesson I tell you Esterly found marks from the same thing I hold in my hand, the Dutch reed. They didn't use sandpaper, because sandpaper did not exist.
I said it plainer still on the Furniture Panel, in Workshop 20. I know for a fact that Gibbons did that. He sanded it a little bit.
Esterly's own work is on record. Wikipedia says that after the 1986 fire at Hampton Court he spent a year re-carving a Gibbons carving about seven feet long (2.1 m) that the flames destroyed, and later wrote a memoir about it, The Lost Carving. The review I named above says the Victoria and Albert Museum and the Natural History Museum pointed to Dutch rush, and a test matched it to the fine parallel marks on Gibbons' work.
Esterly also wrote a couple of books about Gibbons. In my Antique Rosette course I said they're really good books, and I really like what he wrote. Most of Gibbons' work is in lime wood, Wikipedia says, and the basswood I carve is pretty much the same as European linden or lime.
What else stood in for sandpaper?
I get a lot of emails about sanding, and in a video for the techniques course I gave the historical answer. One answer was shark skin, though not everybody used to live close to the ocean. In England some used rush like reeds, and even the famous Gibbons used reed rush, I said, and that is a fact.
Glass was another. Back in the 15th century some of them would take a piece of glass and scrape the wood with it, and scraping was one of the techniques used all over Europe.
Scraping is what I show next in that video. I scrape the whole surface with nothing but my carving knife, then burnish it with a piece of the same species of wood until it's really shiny. For gold leaf the wood has to be shiny first.
If you look back on history, I said on the Furniture Panel, most furniture makers used scrapers to scrape the wood and make it even. Most, not all. Some furniture makers in the 17th and 18th centuries still used reeds.
The most common way came up in Workshop 8. They would take another piece of wood and smooth all of the grain with it. That gives a really smooth result too. After that the main finish was either oil or wax.
Sanding goes back to marble and gold
Some woodcarvers look at sandpaper like an abomination, I said in my Modern Acanthus lesson. Even 2,000 years ago, marble carvers used sanding to make the stone smooth, and that brought me to the idea that there is nothing wrong with sanding.
Then I found out about the Byzantine style. In Byzantine times, more than 1,500 years ago, they built the Orthodox churches and covered the carving with gold leaf. They would carve, put red clay on top, then sand it with limestone until it was really smooth.
Wikipedia adds dates for the paper itself. The first recorded mention of something like sandpaper comes from 13th century China, it says, where crushed shells, seeds and sand were glued to parchment with natural gum, and the modern kind grew up through the Industrial Revolution.
| When | Method | Source |
|---|---|---|
| Twenty centuries ago | Marble carvers already sanded their stone until it was smooth | Modern Acanthus, lesson 7 |
| Byzantine times, over 1,500 years back | Red clay on the carving, then limestone, before the gold leaf went on | The same lesson |
| 13th century China | Shells, seeds and sand glued onto parchment with gum | Wikipedia on sandpaper |
| The 15th century | Some carvers scraped the wood with a piece of glass | My sandpaper video |
| 17th and 18th centuries | Most furniture makers scraped, and some still used reeds | Furniture Panel, Workshop 19 |
| Gibbons in England | The reed, its marks found later by the restorers | This lesson and Modern Acanthus |
Later on this board, in Workshop 18, I give you the choice myself. Use sandpaper or a sanding block, or a scraper, or to be really authentic to the ancient times, just a Dutch reed. I take the reed around the edges to make them a little lighter. With no scraper and no reed, a 400 grit or a sanding block does it, for a light sand.
Did old carvers sand at all?
Many of them did not. In Workshop 4 I said that 2,000 years ago they had no sandpaper, although they did sand with different methods, and that most carvers most likely never used any sanding at all.
In this lesson I said that many times the work would just keep all the chisel marks. And I love it that way. Workshop 8 is blunter. First of all, I said there, they never sanded it for a long time.
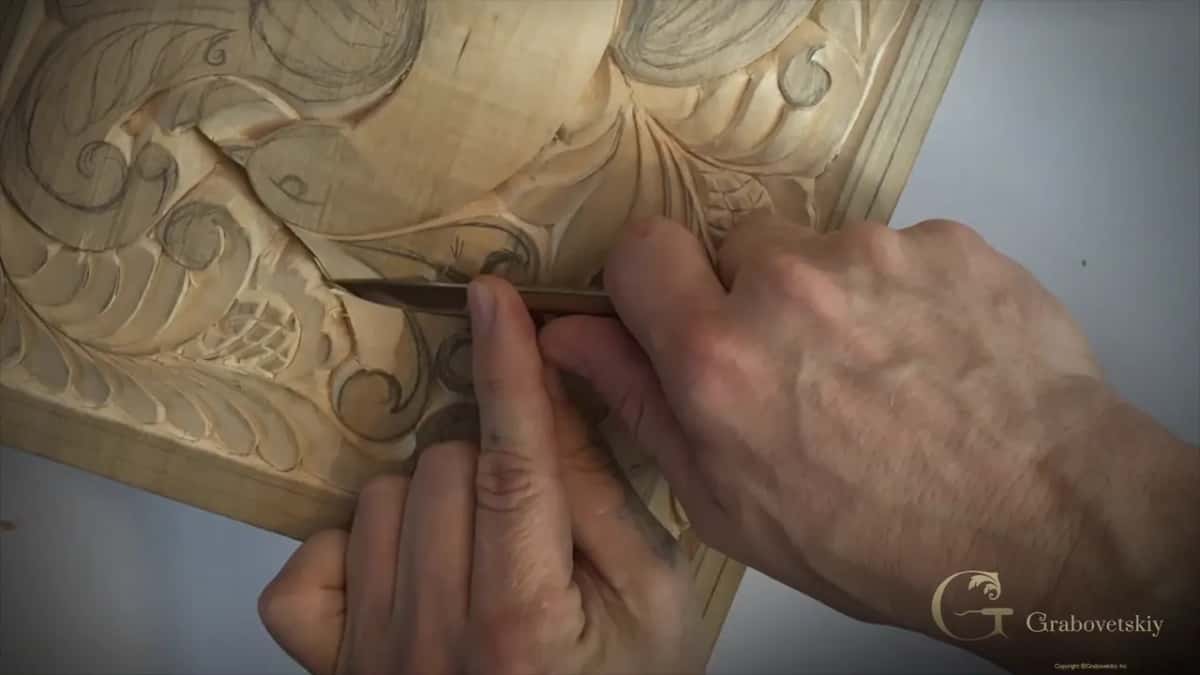
Why don't I sand this cutting board at all?
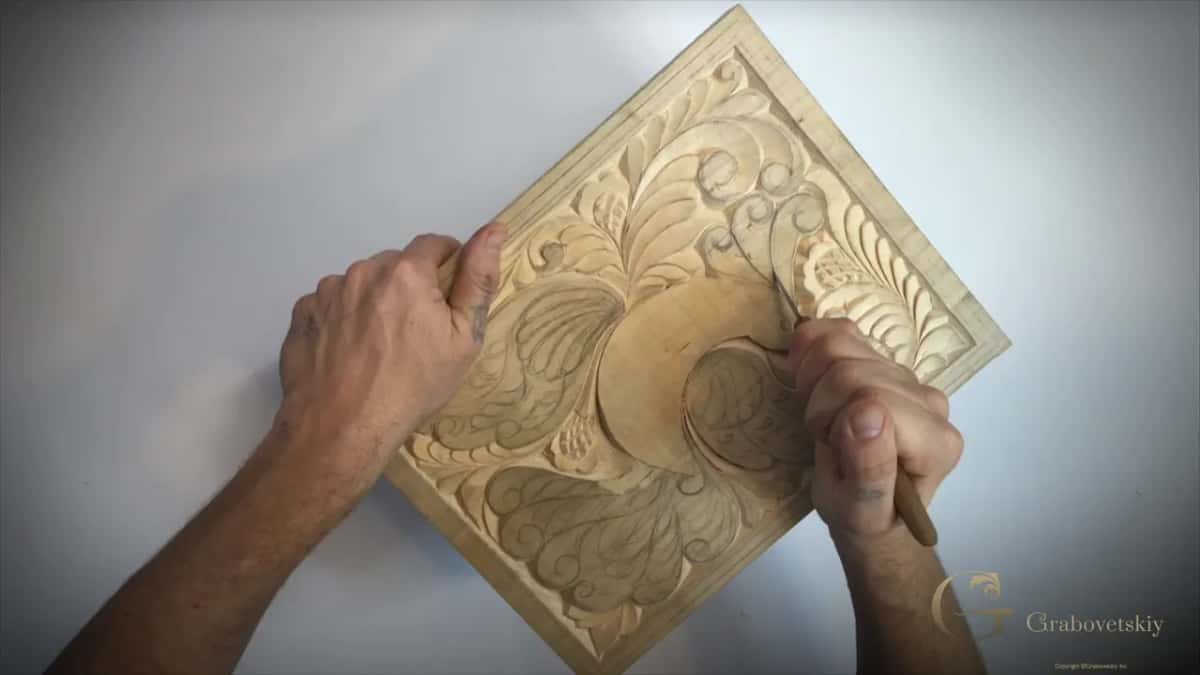
In part 10.4 I put it plainly. I don't want to sand anything, so the goal is to leave as few ridges as possible, until the carving looks like it's already sanded and smooth. Later I'll put it in different light, because when you look at it from different angles and the light hits from different directions, you can see much better if there are any ridges left.
And if a ridge won't blend in the first time, that is all right.
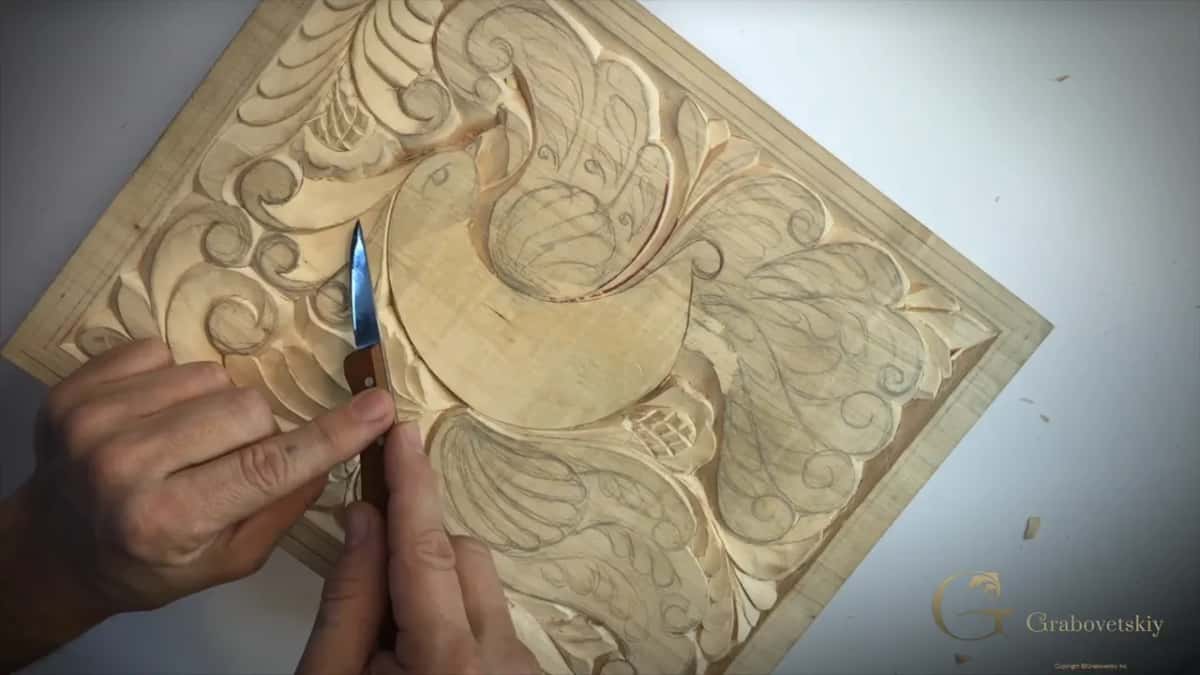
A toothpick for the bottom of a V cut
My fix for a messy V cut uses wood as well. When you make a V cut, the blade stops at some point, and the second cut doesn't always meet the first one at the same spot. You get weird stuff going on right at the point. Here the knife went underneath and made a little undercut where the two cuts meet.
It's not as complicated as it looks. Take a little stick of wood, in my case just a toothpick, and rub it from both sides until it looks like the two planes meet together. That won't work every time. Believe me, it still helps a lot.
Working on the bird
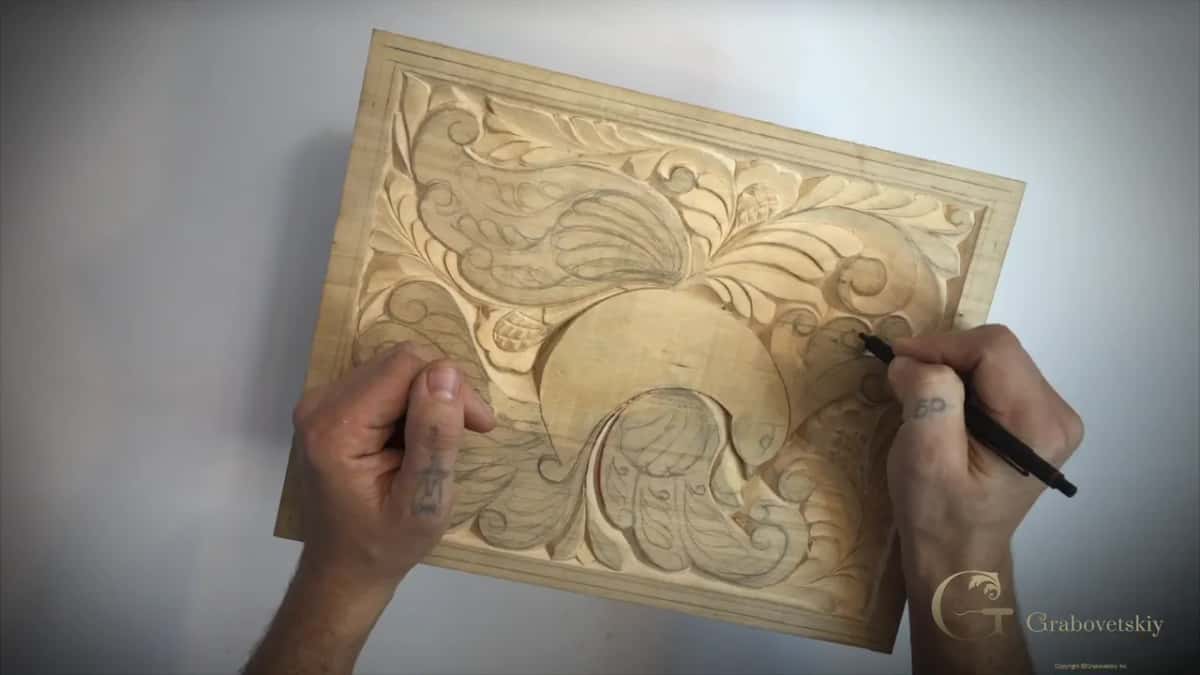
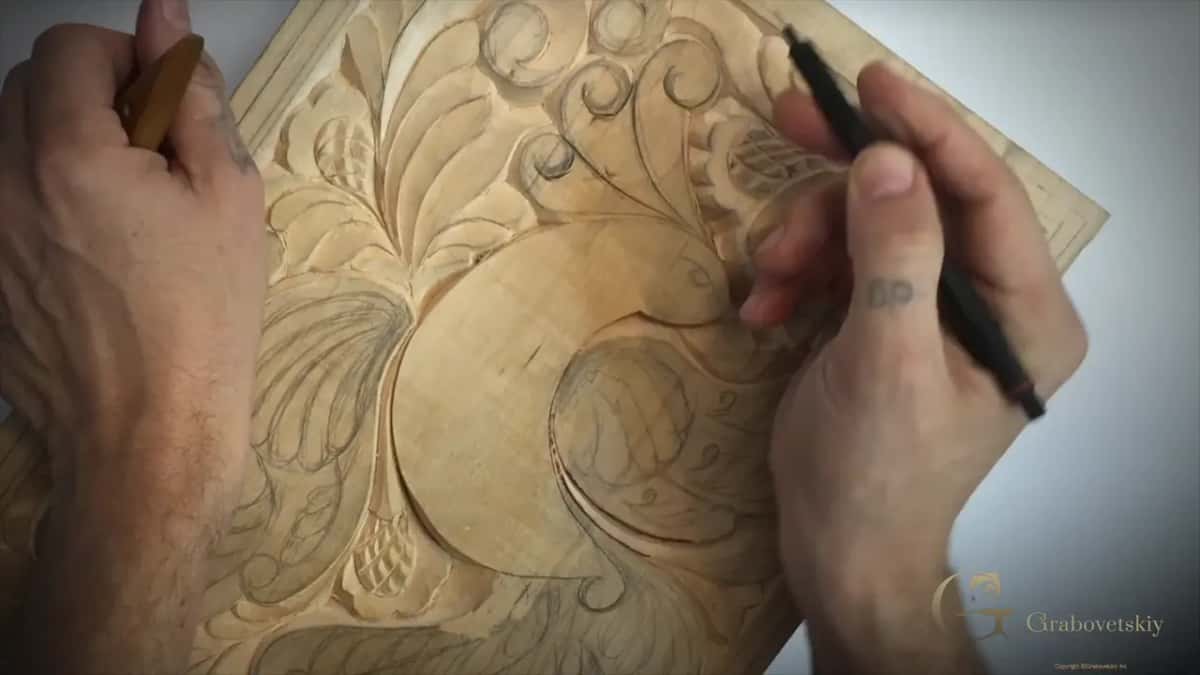
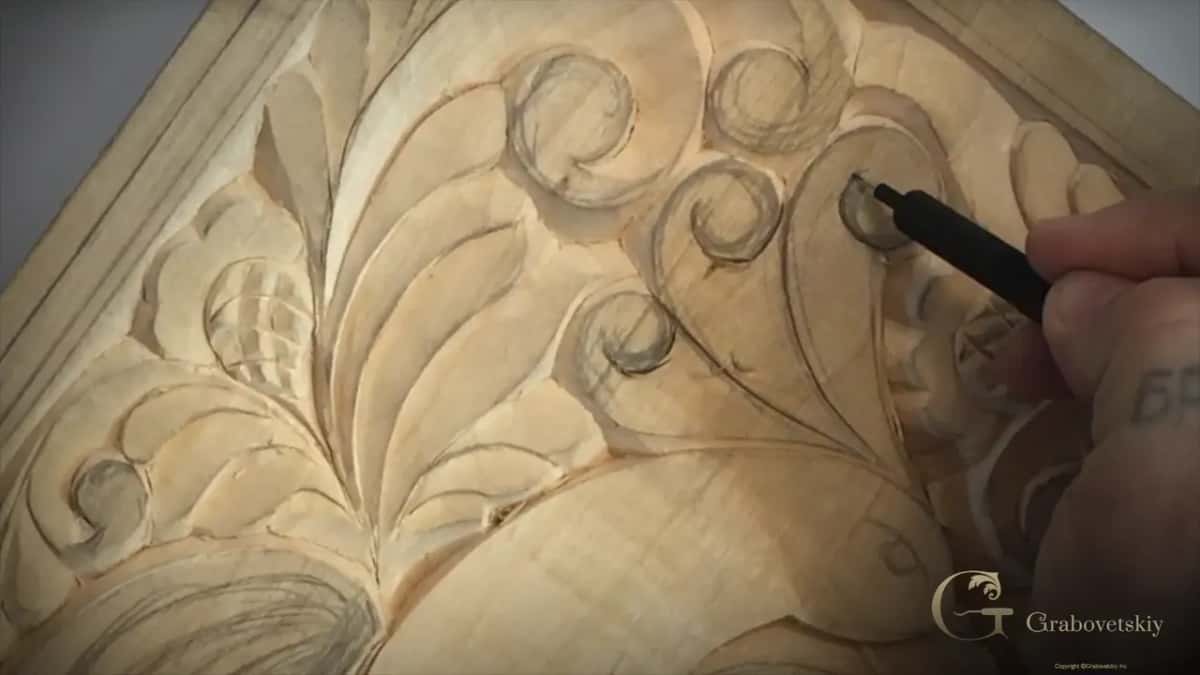
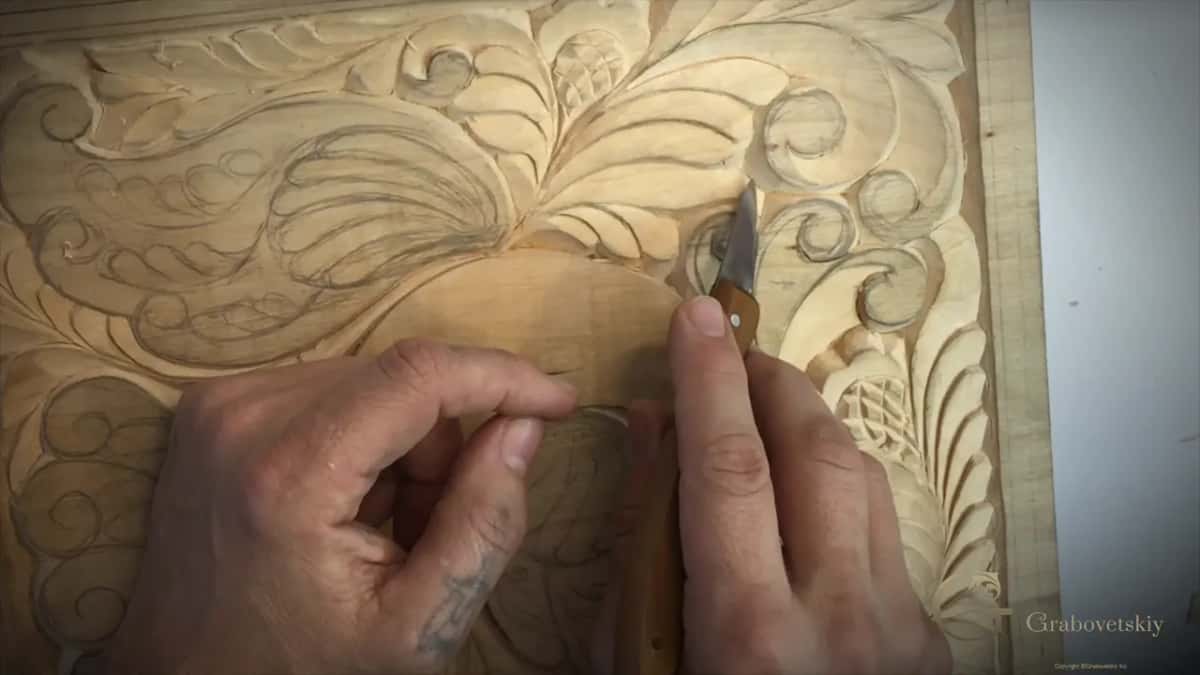
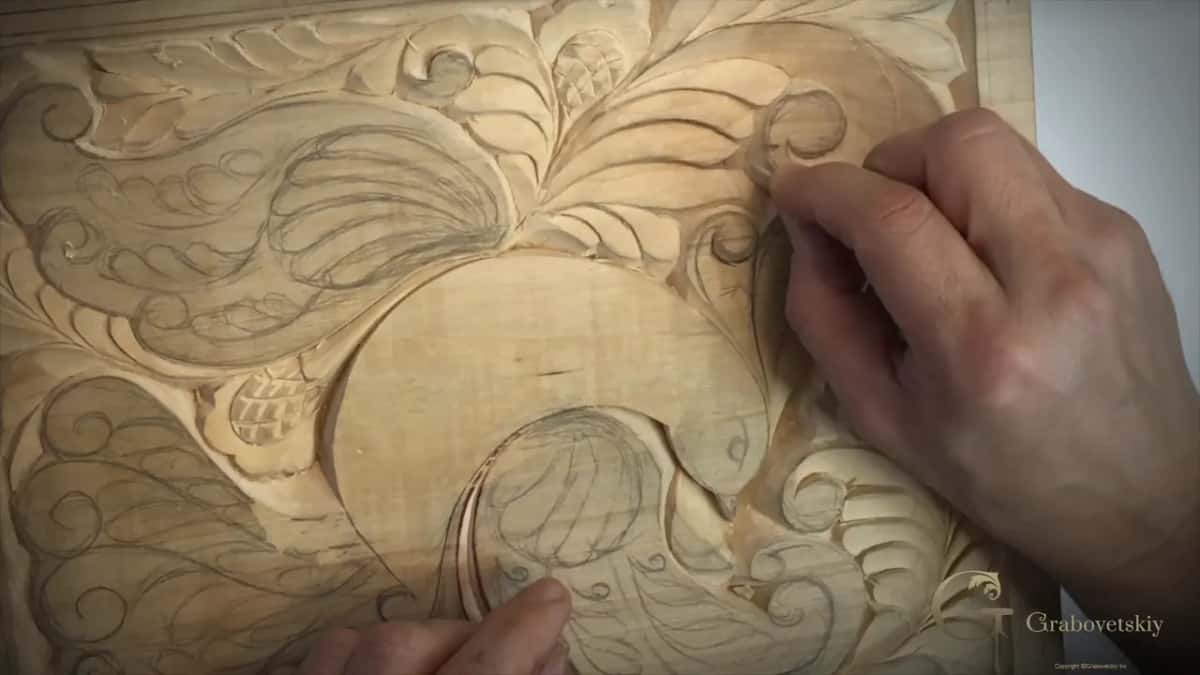
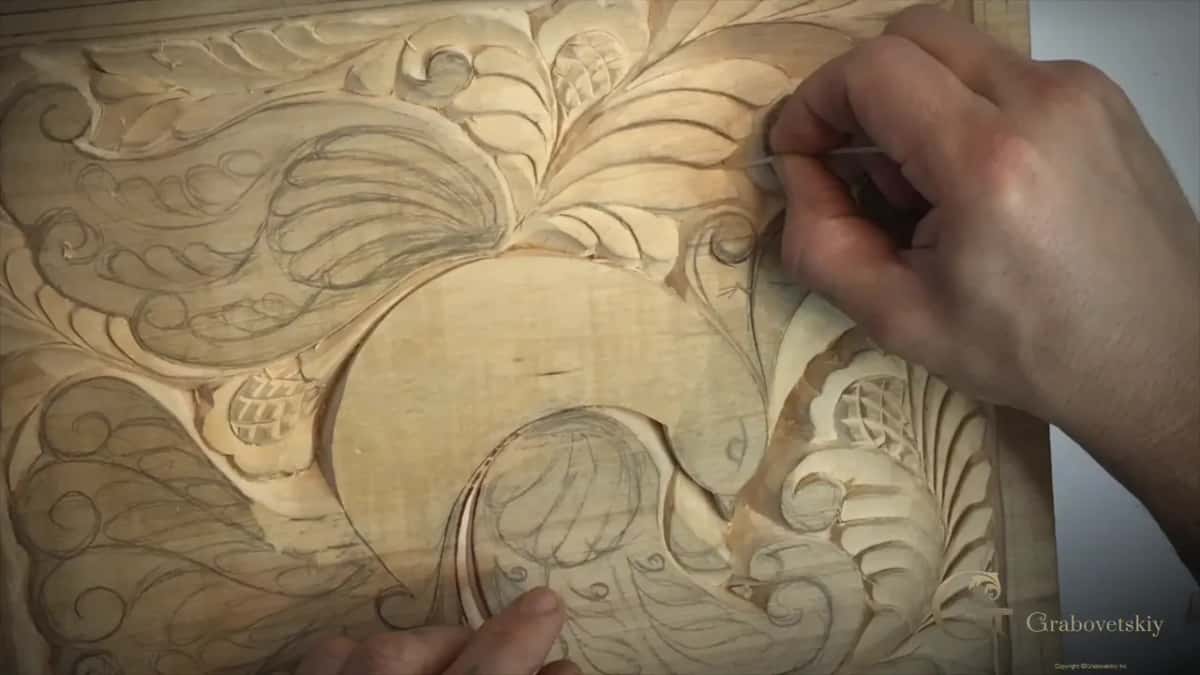
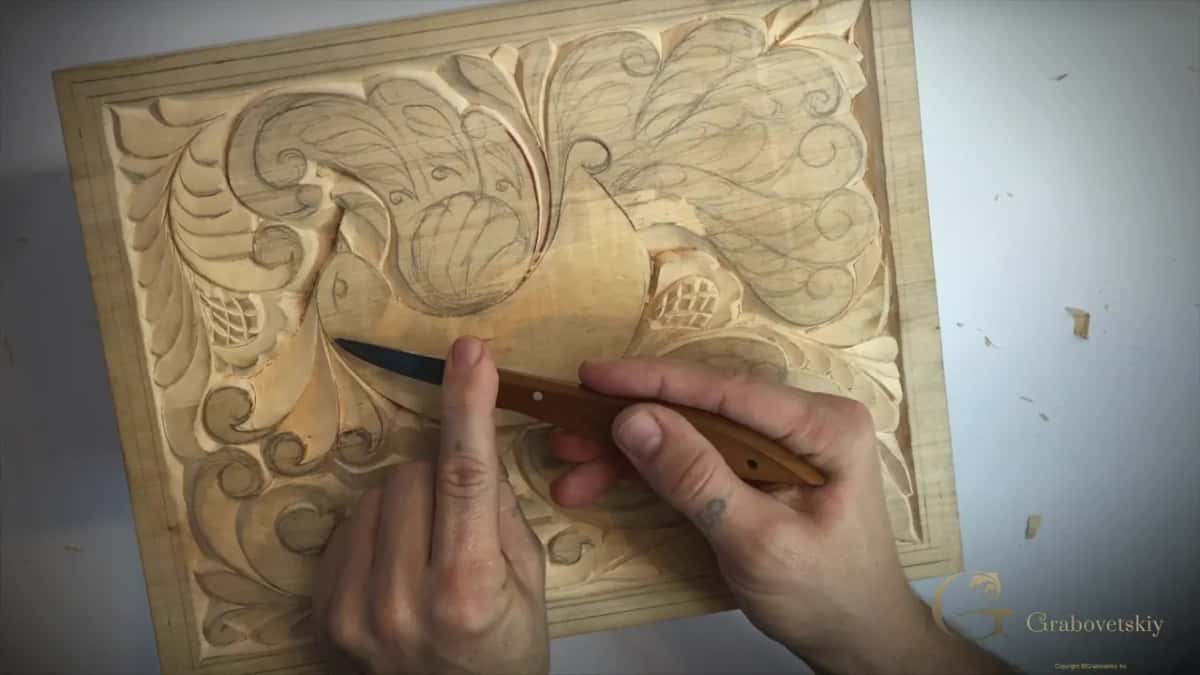
After the reed, the work moves to the bird of paradise. I start on the upper section and then move to the wings, and that upper part is pretty much the same idea as a volute, or curl. In Greece they definitely knew what a volute is. In Germany or the Scandinavian countries they didn't know the name, I say, and it would just be a curl, because it curls.
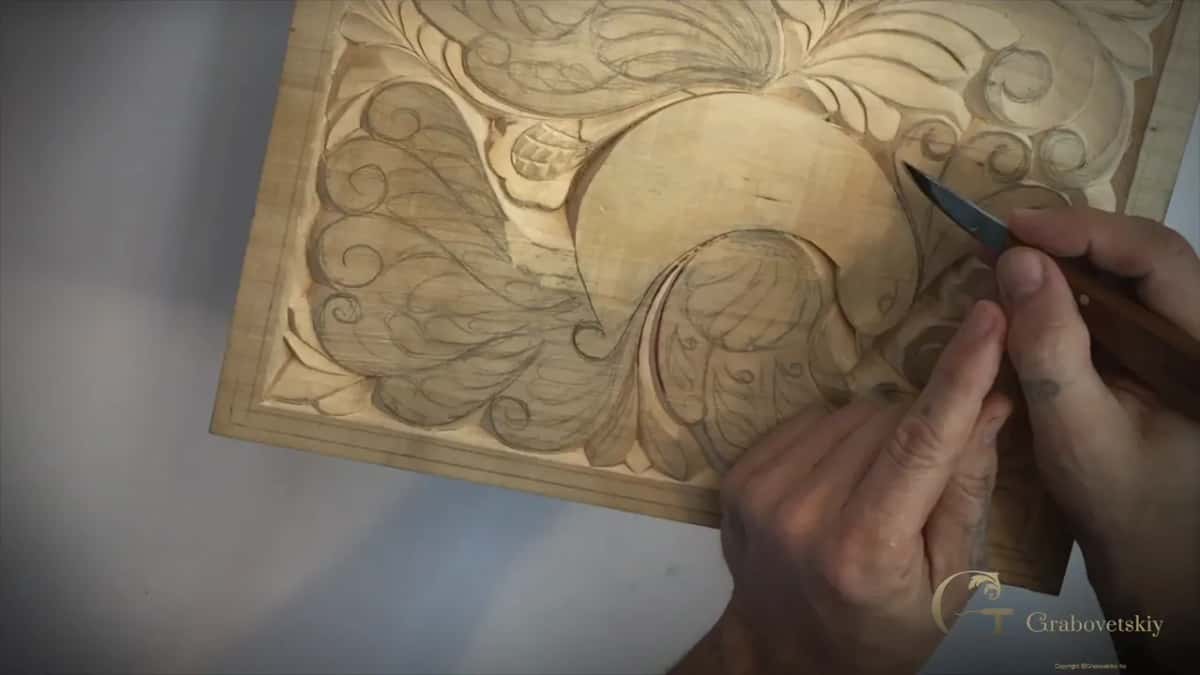
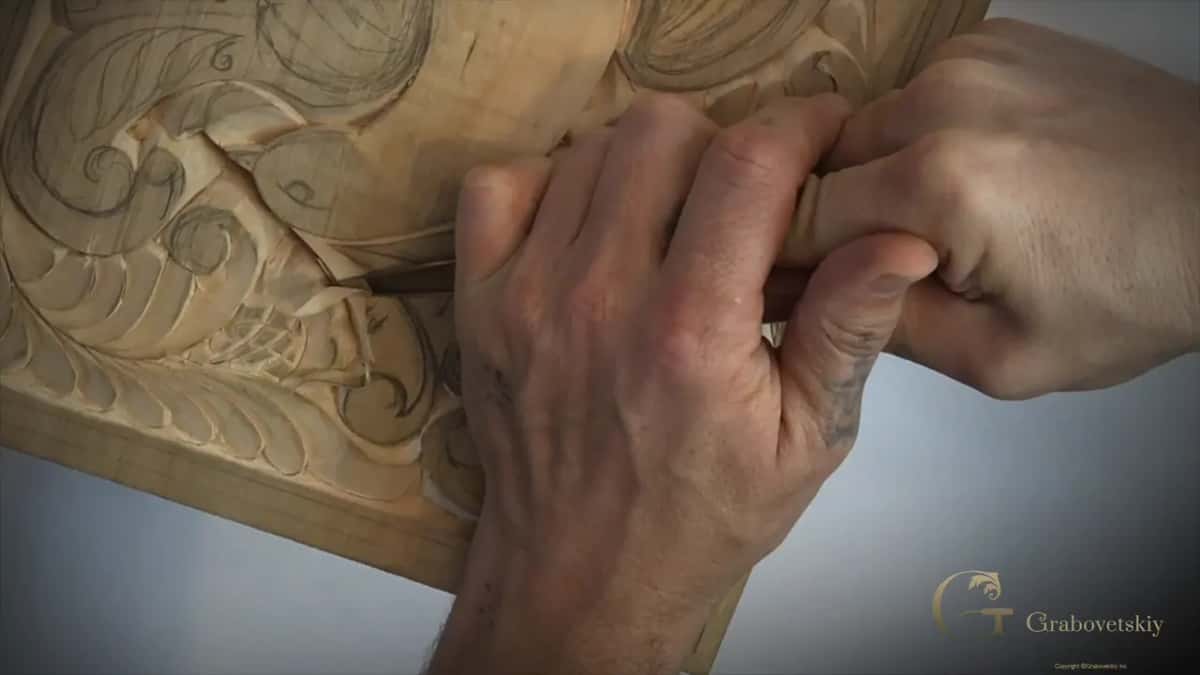
Beside the bird's straight down cut I need a second line, about 3/32 of an inch away (2.4 mm), and I make it with my smaller number 12 carving knife. That V is not a true V cut. One side is straight down, and only the other side is beveled.
Between the three details I start with a slight bevel to match the one next to it and finish straight down, at 90 degrees. Be careful at the end. Don't press too hard, because it's easy to break pieces from the area between those two cuts.
Is one pass enough?
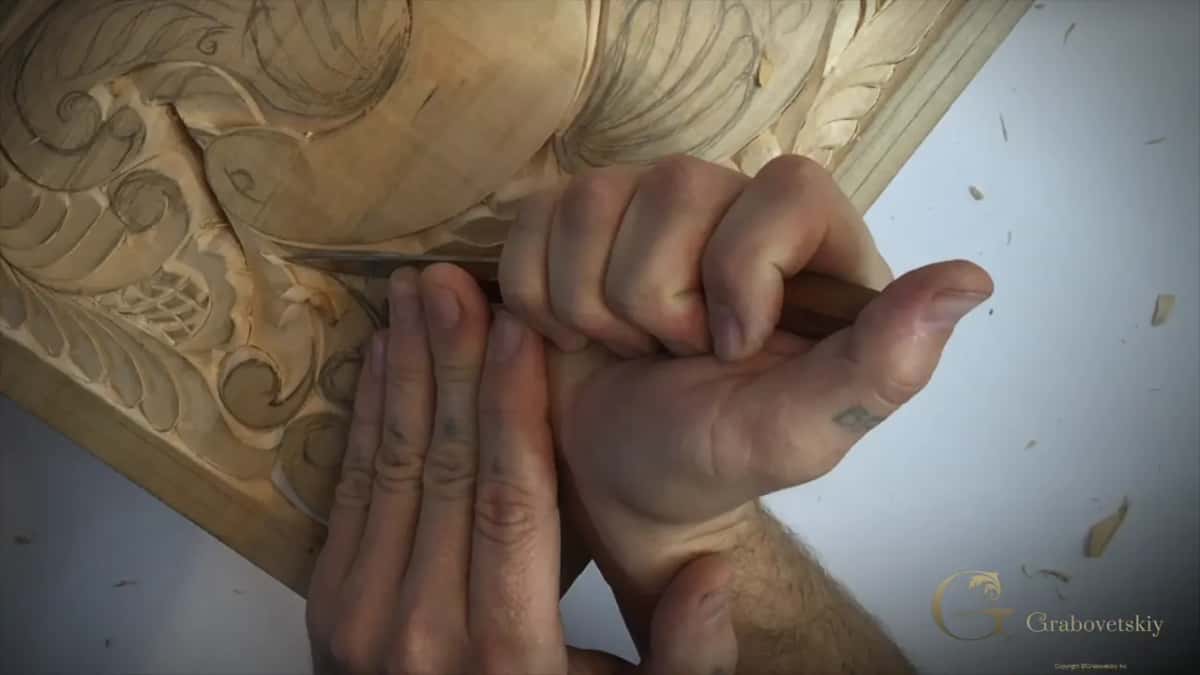
Some people will say the work has to be done in just one pass. I don't necessarily agree. Look at the ancient carvings. Sometimes their scale is so big and so huge, with the same details and the same movements, and it's just impossible to take that much material out in one pass. My guess is they did exactly what I'm doing, little by little.
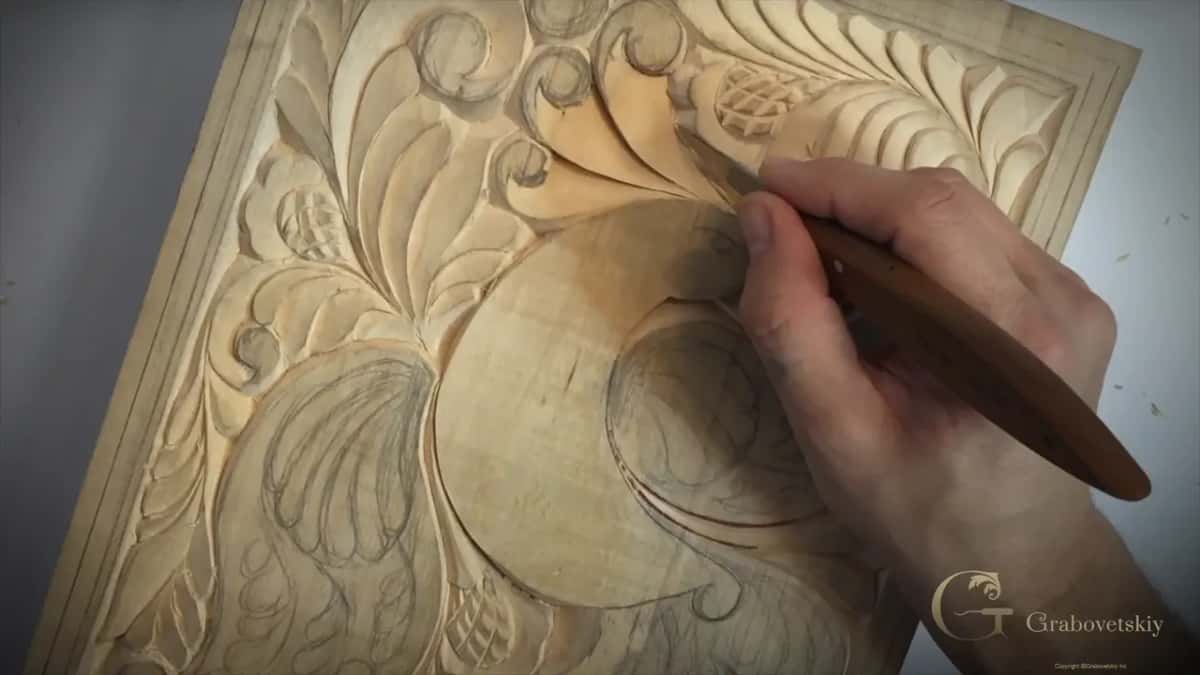
At this spot I went about a quarter of an inch deep (6 mm), down to where the two cuts come together. I call that the marriage line, and I'm not sure I can even say that.
Every stroke is like a painter's brush
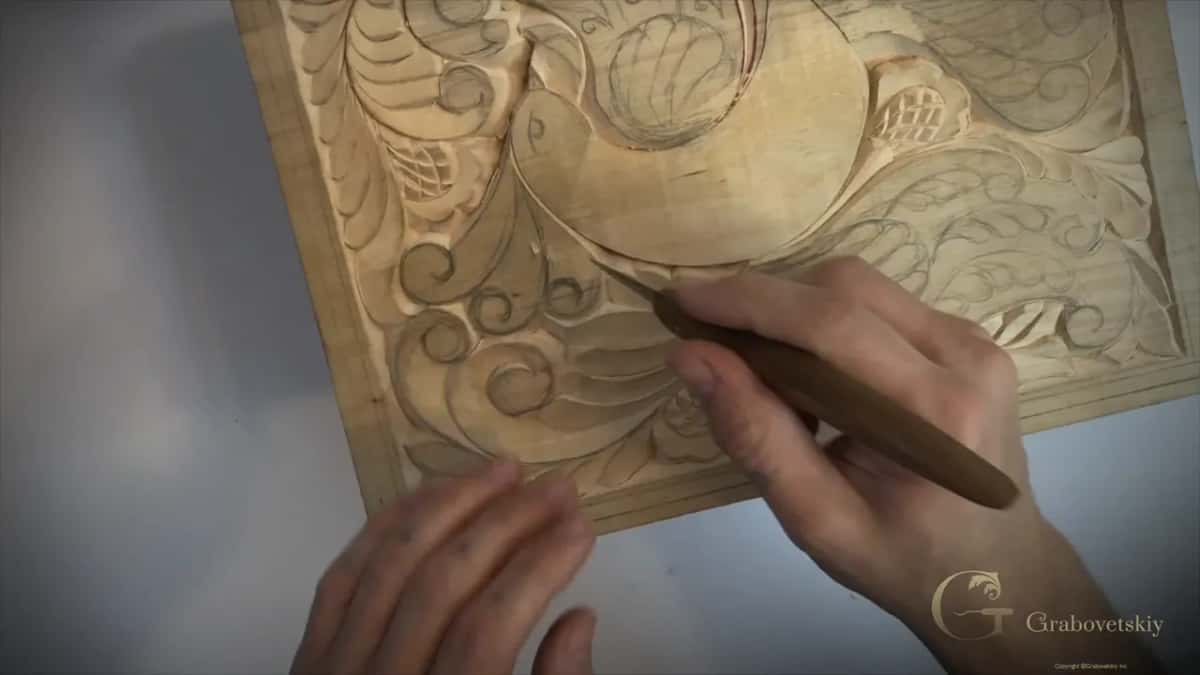
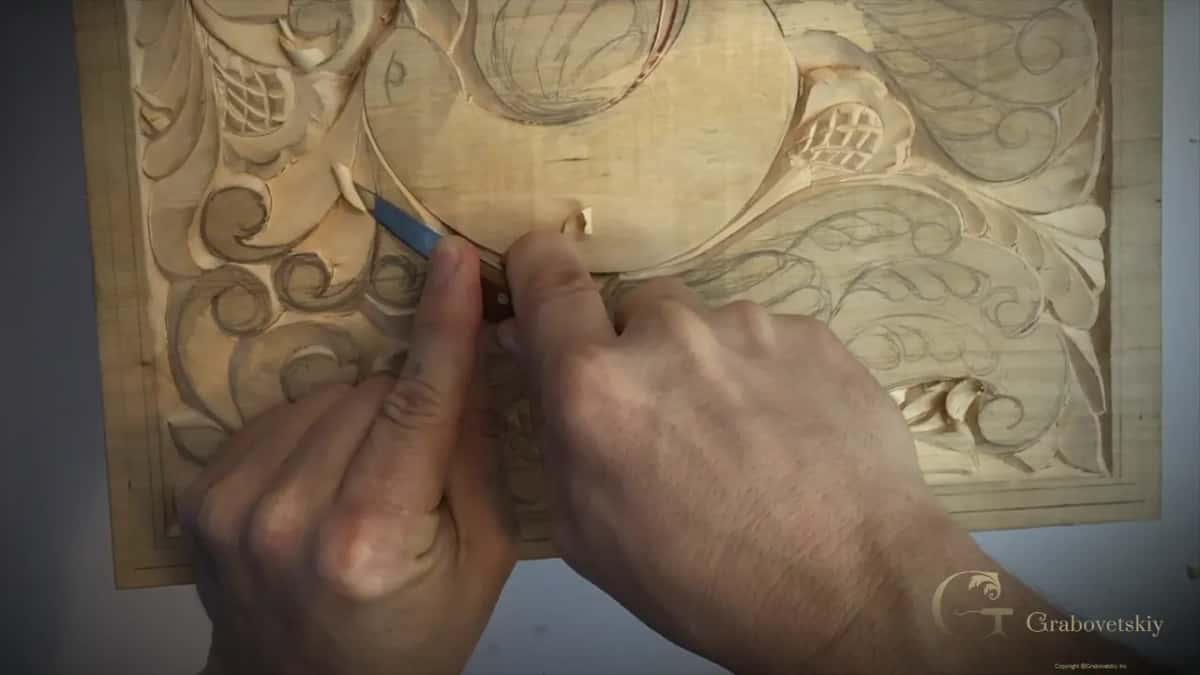
Shaping is easy, I say in part 10.2. You can dig and dig and dig and make lots of different facets, but it's not the best approach. Every stroke of the knife is like a painter's brush. It has to leave the right type of mark on the wood, so while I carve I keep an eye on what my knife leaves after it finishes.
On one curl I start with a really low bevel, then raise my knife and finish with a sharper bevel. Low and high still have to connect, and the only way I can control that is by taking multiple passes.
One of you asked me how organic lines are supposed to flow into each other. Everything goes to the same main line. That's a rule, or a law of flow, and where my curl finishes I start another line and connect it to the main line. Follow the original line, or start at the same point and follow the second one, and either way it flows into the main detail. I'm not sure it makes sense, but for me it feels much better.
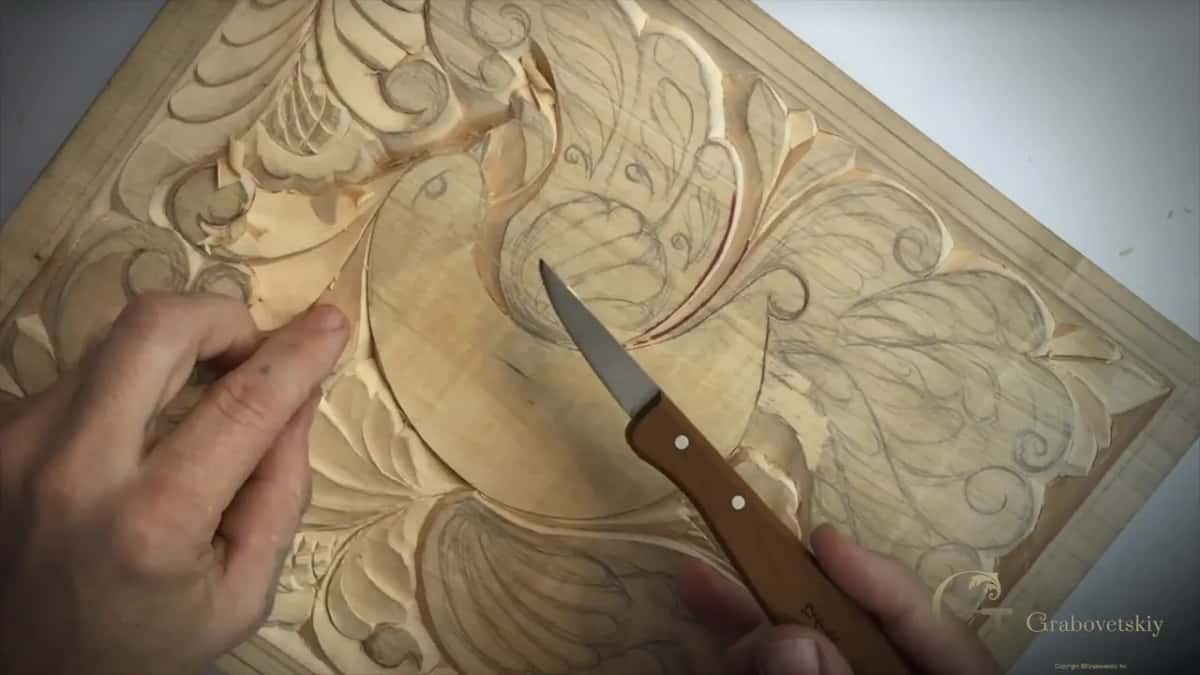
What if the edge slips?
It happened to me on camera. I was probably talking too much, I wasn't careful, and my edge hit a spot it shouldn't have. That is a good example of what you should not do.
So I went deeper there first, about a quarter inch down at that triangle, then lowered my knife for the refining pass. The ridge it left didn't look good. It took multiple passes until the ridge blended in and the whole surface looked like one single pass.
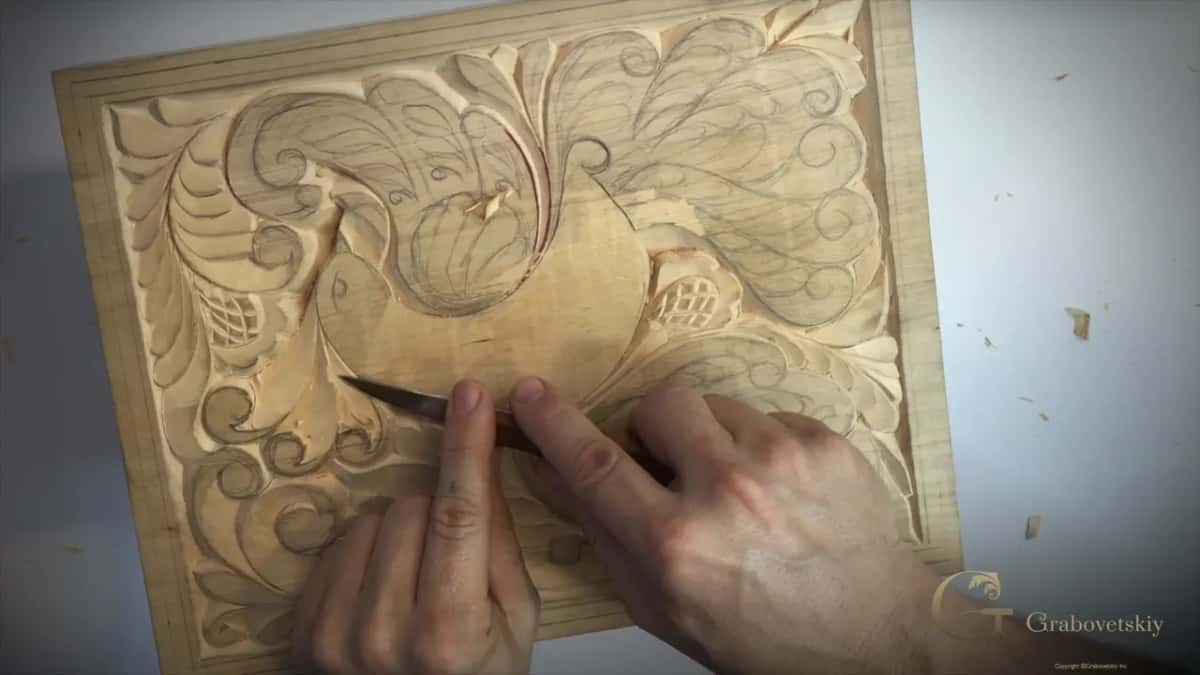
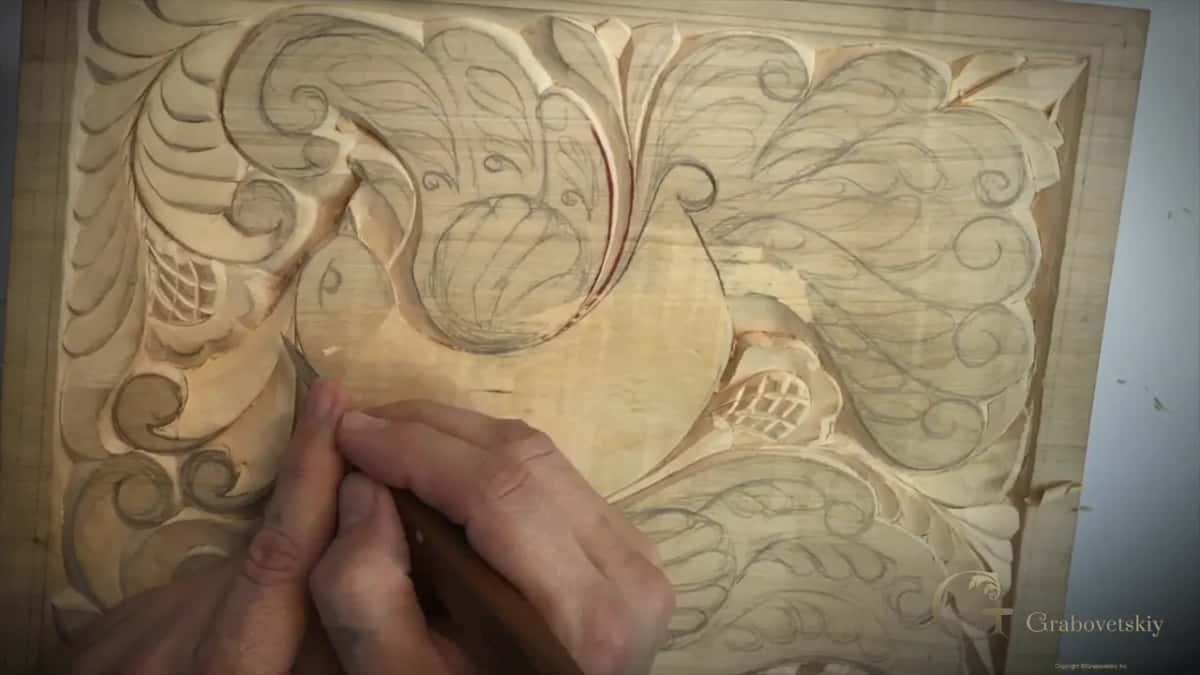
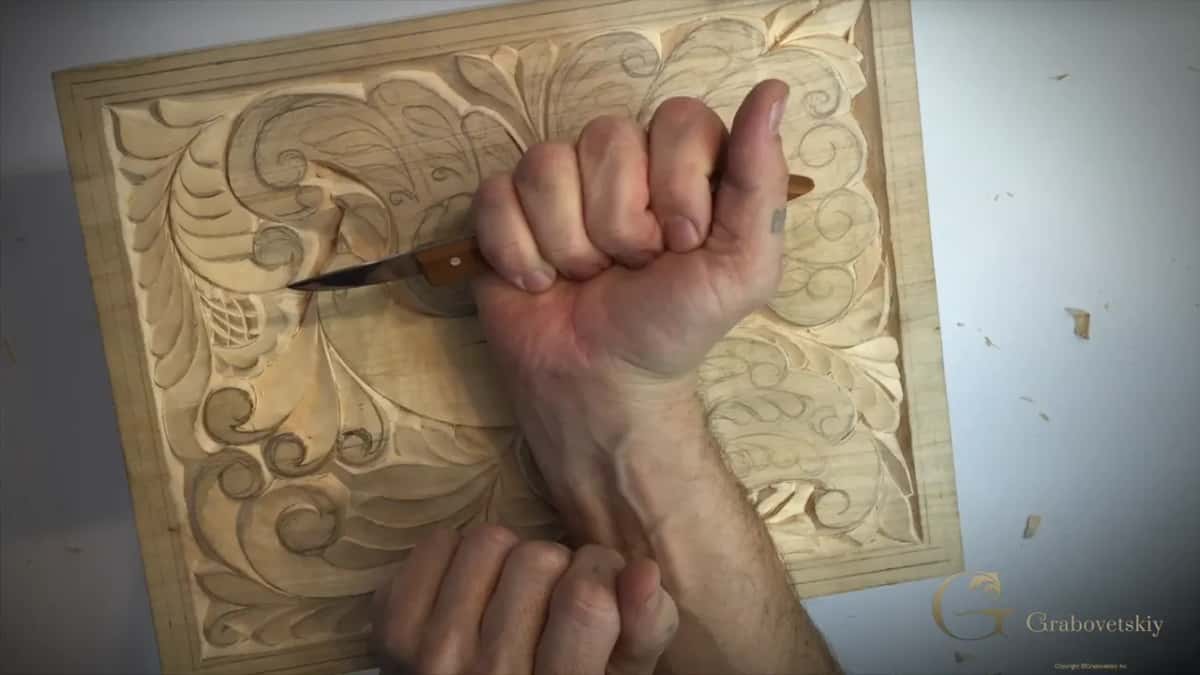
How I hold the knife matters for work that low. With my hand lying on the wood, I can't lower the blade any more. Held from an upper point, there's almost no distance, and I can get as low as I want, with one finger controlling where the blade goes and almost no pressure at all.
This kind of carving really trains you. You feel how deep your knife travels, and you control the pressure.
Where this lesson sits
Before this lesson comes Workshop 9, after it Workshop 11, and every workshop of this board is in order in the beginner course. All four parts of Workshop 10 come with tuition at the school.
Find a reed by the water, cut a short section, and listen to it on your next carving.
How it's done
- Find the reed. Look near a river, a swamp or a lake, or buy reed rush from a music shop.
- Cut a short section. Make it about an inch and three-quarters long, about 45 mm.
- Sand with the tube. Use the whole tube as it is. In small areas it works fine, because you can get really close, and you will hear it taking a little wood.
- Split a fresher piece if you like. Pick a section that is not as dry, so it won't crack when you split it, and sand with a small piece.
- Keep it light. Light sanding with the reed is fine. Ridges stay, and where you see imperfections, go back with the knife and refine a little.
- Check it under different light. Look from different angles with the light hitting from different directions, and any ridges left show up much better.
Frequently asked questions
Where can you find Dutch reed?
Look near water, at the edge of a river, a swamp or a lake, since it is a plant that grows there. Music stores sell reed rush too, as I mention in the sandpaper video. Any reed will work, I said in my acanthus course, so you are not tied to one kind.
How fine is Dutch reed compared with sandpaper?
Much finer than an 80 or a 180. In Workshop 10 I said it is a very fine grit, and in other lessons I put it near 400. Light work only, then, since on my Hashemi flowers I said it smooths the wood but leaves the ridges in place.
Do you need to glue Dutch reed to anything?
Gluing is up to you. A man in the YouTube video linked before Workshop 10 stuck it to thick tape and used it like sandpaper, and a bare piece works without any glue at all. I dried a section of mine on a roll of paper for the Hashemi flowers.
What to carve next