
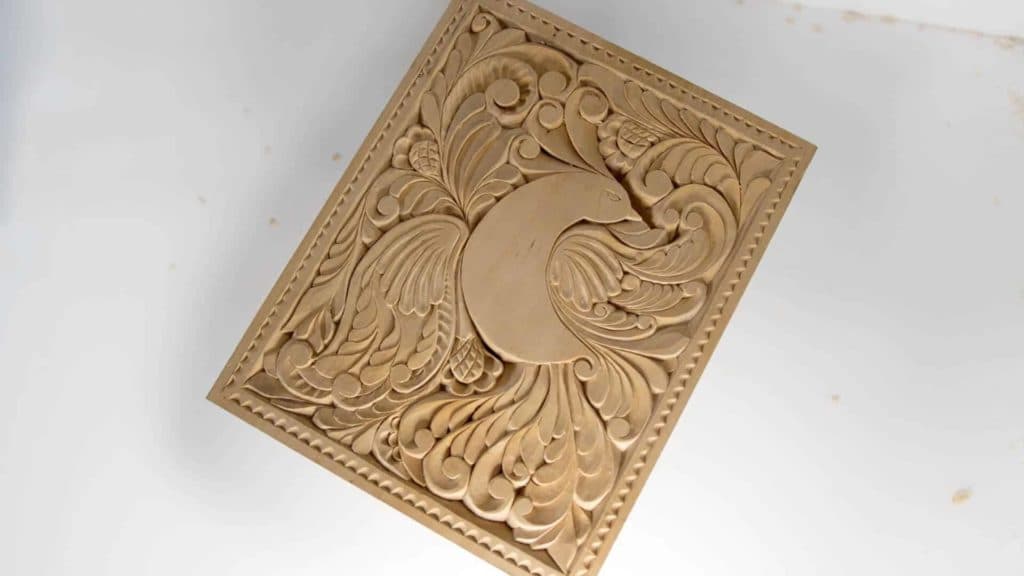
Alexander Grabovetskiy, woodcarver, School of Woodcarving · Published 2018
How do you make a wood stain that is safe for food?
Quick answer: Food safe wood stain is, in my shop, onion husk or walnut shells boiled in water for about four hours, with some baking soda if you want. No chemicals go in. I call the walnut one 100% safe, and it dries to the color of black walnut on a lime wood board.
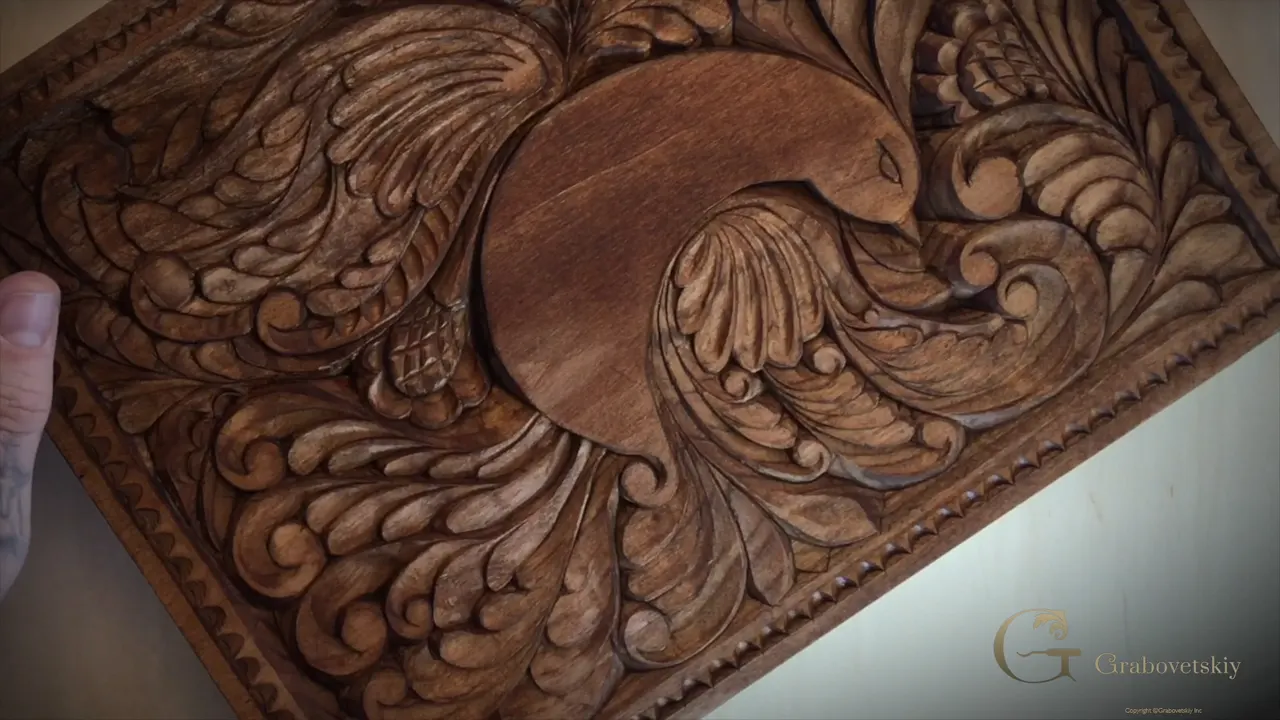
A food safe stain, the way I make it, is plant waste boiled in water with a little baking soda. For this carved cutting board I used two of them. One is onion husk, the other is walnut shell, and each one boiled for four hours or so. There are no chemicals involved, and once the walnut stain dries, the lime wood turns the color of true walnut.
Have you ever peeled an onion? Have you cracked a walnut and brushed the shells off the table into your hand? Then you have already held what both of my stains are made from.
In this course I made a promise. I said I would finish it absolutely food safe, so you can use it in the kitchen and put food on it, no problem. Here you get both recipes, the order I brush in, and the line I left by mistake, which you can skip.

What goes in the pan, in six lines
Four hours of boiling turns onion husk into a really dark stain with dark cherry red in it.
Walnut shells give my favorite, the color of black walnut once it dries.
Baking soda is optional. I used one teaspoon, give or take, with the husk.
It behaves as a dye does, so if you stop halfway across open ground you get a line.
With no sandpaper on this board, the grain hardly rises when the water goes on.
Food goes on the back side, and the final coat in Workshop 18 is mineral oil of the food grade kind.
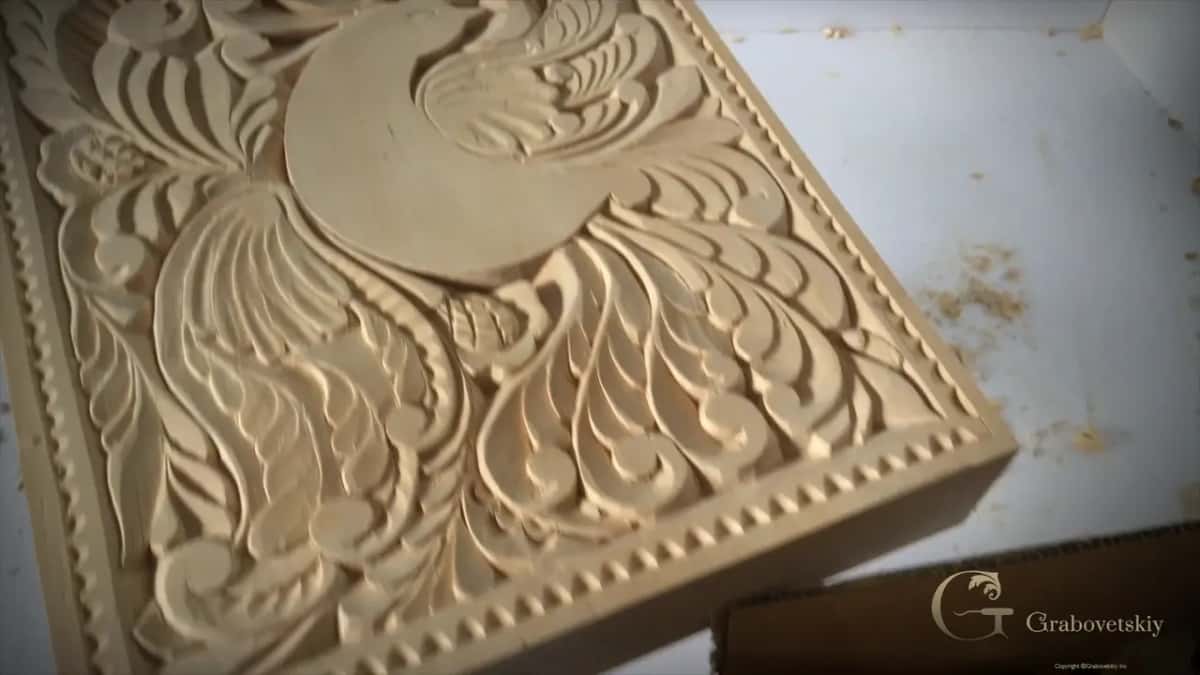
Workshop 16 gave the board its border. At the start of this lesson I said you could work on this piece as much as you want, because there is no end, and you will always find some stuff to refine. But at this stage I think it is absolutely fine just like it is.
What goes into a food safe wood stain?
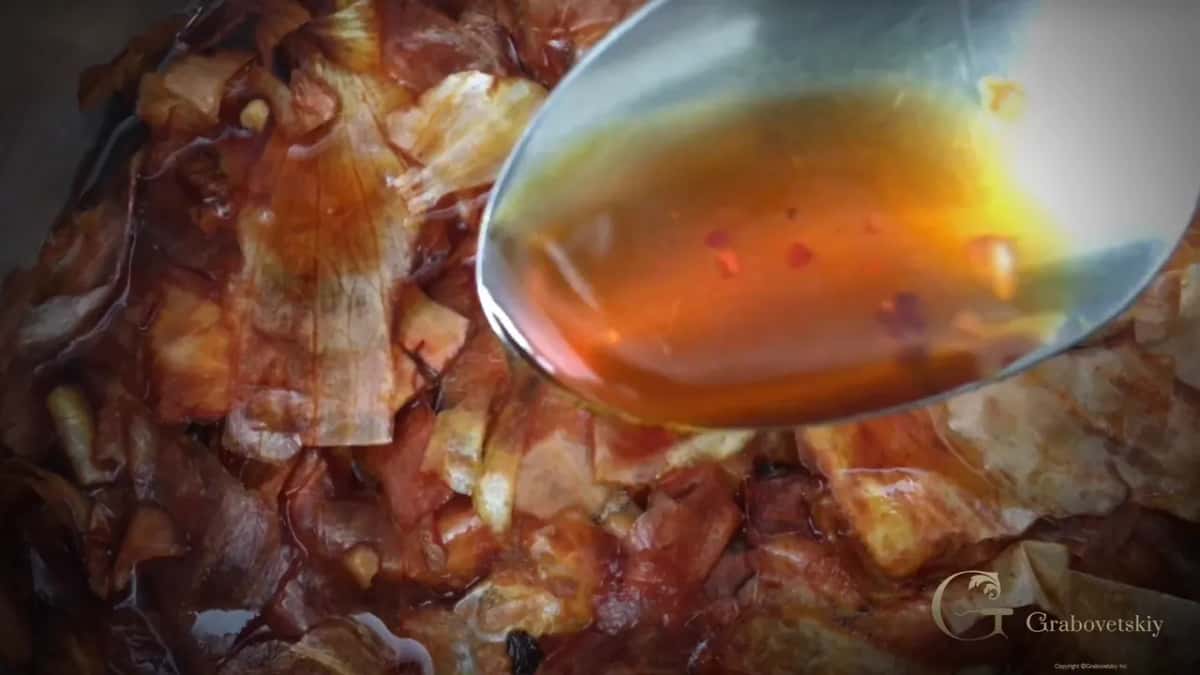
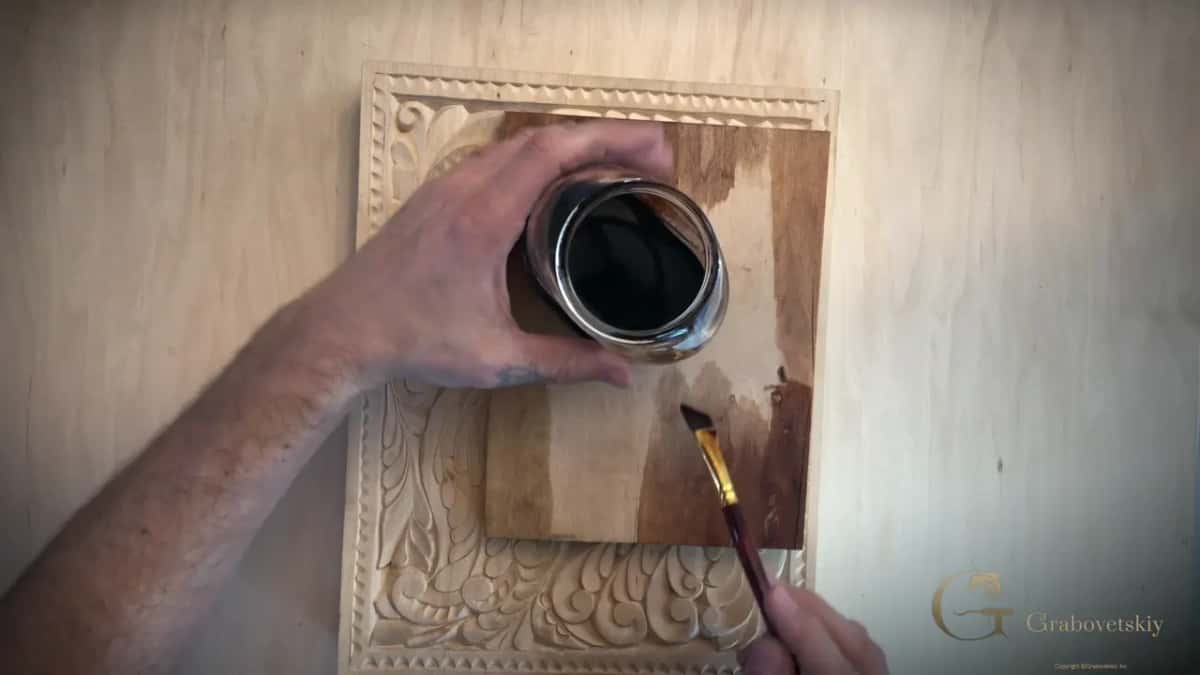
Plant leftovers, water and time. I asked my wife, whenever she cooks, to put the onion husk aside for me. I placed the husk in just a pan with some water and about one teaspoon of baking soda, and I boiled that. You don't have to add the soda. I did.
After about ten minutes the color started to develop. It was a yellowish brown that still had some greenish yellow in it. The more you boil, the more reddish it gets, and what I showed on camera was the color after four hours of boiling that onion husk.
Stain number two is probably my favorite, and it is the one on this board. No onion husk in it. Just the shells, and not too many of them, with some water and just a little bit of baking soda. I boiled that for about four hours and got a really, really thick stain.
Brushed onto the carving it looks reddish while it is wet. Once it dries it becomes exactly the same color as black walnut. After the board sat overnight, in Workshop 18 I held a piece of walnut from my shop beside it, and the color was really, really close.
| Pan | Color | Use |
|---|---|---|
| Onion husk | yellowish brown first, then reddish, dark cherry | hollows around the bird |
| Walnut shells | reddish when wet, black walnut once dry | the whole bird panel |
| Pine bark | somewhat reddish, close to the onion husk | birch plywood in Russia |
Is a homemade stain really safe on a cutting board?
I call the walnut stain 100% safe for food, and I said it on camera more than once. It is water, shells and some baking soda, and that's all. No chemicals went into this finish.
I'm going to be honest with you about how I use this board. The carved side is the decorative side. Somebody asked online how you are supposed to cut food on it if it is all carved, and I answered in Workshop 18. You use the opposite side for all the food preparation. And for me this one stays a decorative piece, because I made it for the lesson.
You could finish it with the same stain all around, the back too. The sides got no stain from me. The final coat in the next lesson is butcher block finish, which is just a pure, food grade mineral oil.
One fact from outside my own videos. The Wikipedia article on mineral oil says the food grade kind is a popular preservative for cutting boards, countertops, salad bowls and utensils, because it keeps water out and has no taste or smell.
Did old carvers stain their work?
Some did. Look at the work of Riemenschneider in Germany. That is the Middle Ages, and he used lime wood, exactly the same wood we use today. All his work has a brownish color, and it definitely looks like some color was applied to it. There were no chemicals like ours back then, and still the color looks beautiful.
Color on wood is old. I would say at least about 4,000 years, because woodworkers even in ancient Egypt used some color on the wood, with no chemicals at all. Babylon and Assyria used color too. Only the natural colors they could find around them went on.
In my Roman acanthus course I put it this way. German carvers did stain their work, and they boiled walnut shells and used that as a stain. In England they did not. Later, in the time of Grinling Gibbons, he never stained his work and never even waxed it. He left the wood natural and white, with no stain and no shellac, because the idea was how the light hits and the shadow it makes.
There was also a furniture maker who used exactly the method I am using here. His stain was walnut shells boiled down and put on the furniture, and that was his favorite way. Mine too, I guess.
How do you brush it onto a carving without lines?
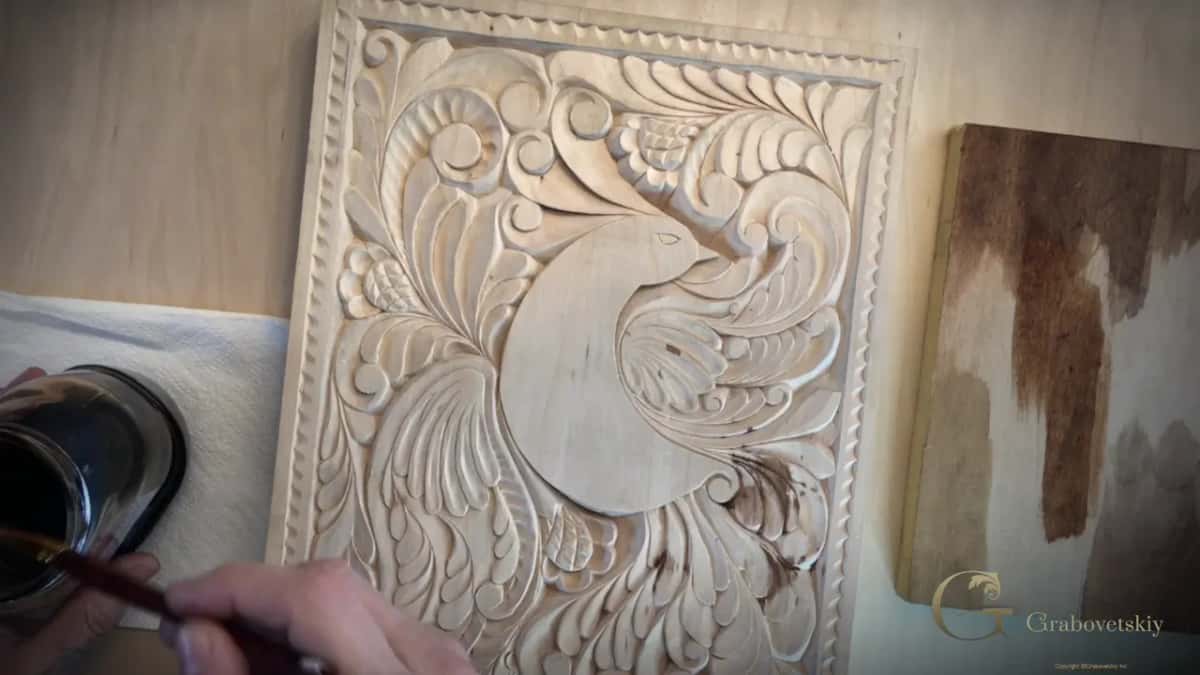
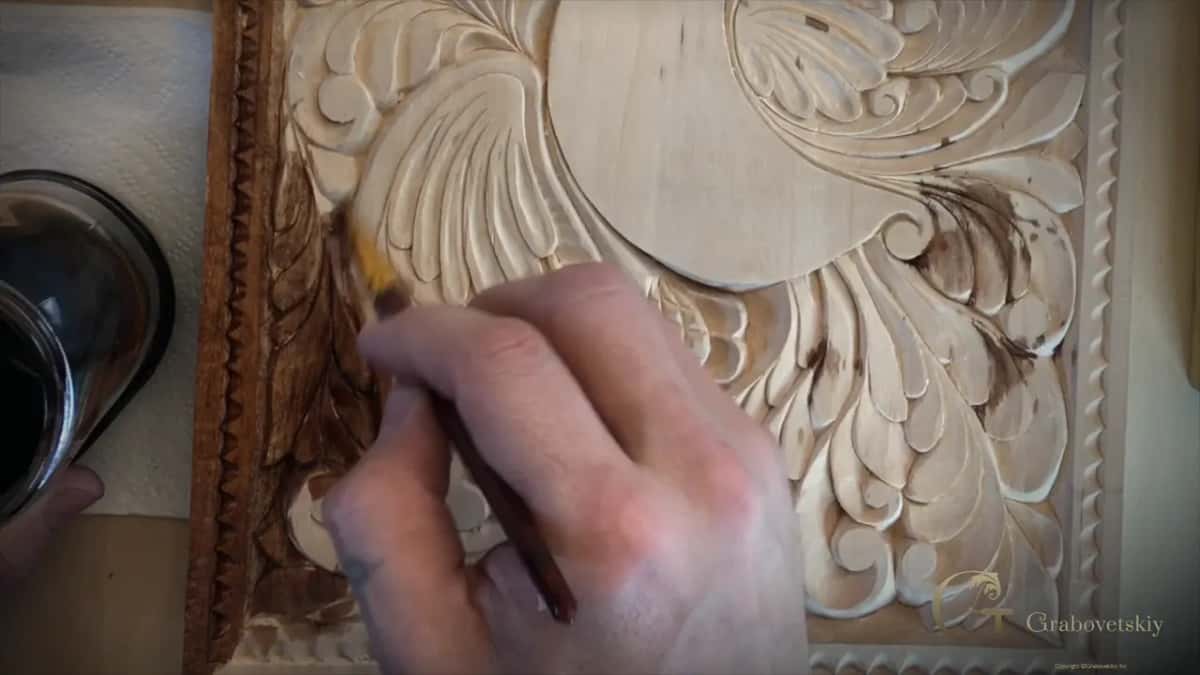
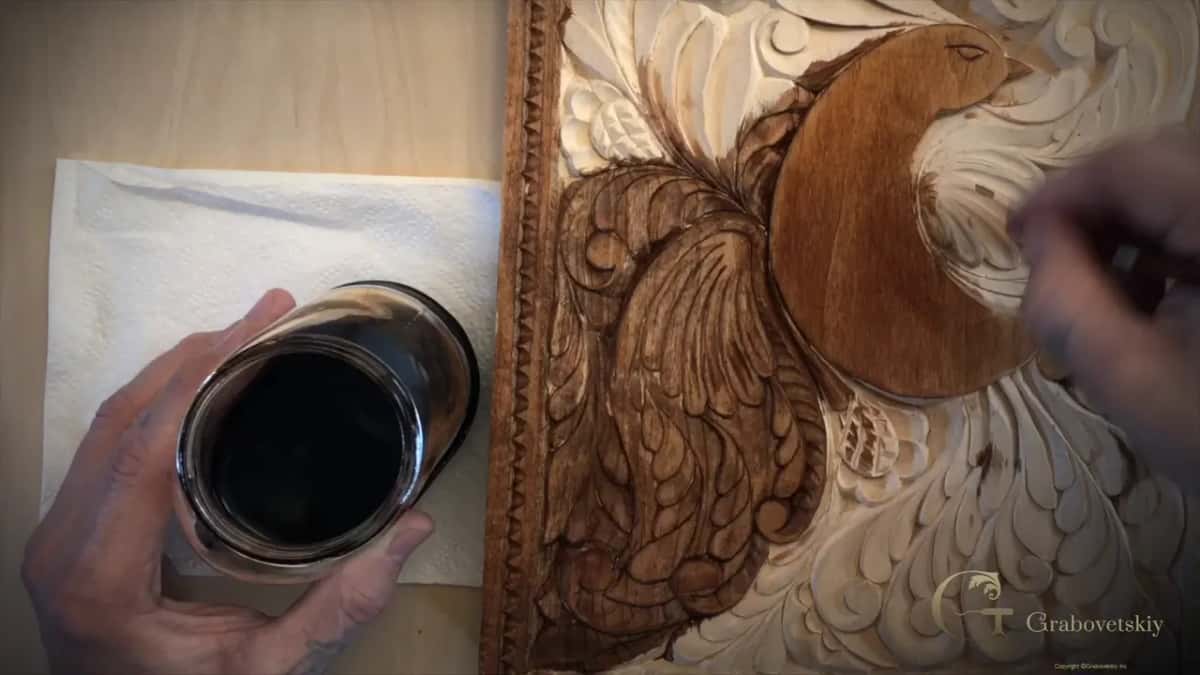
Use a brush and start in the cavities first. I have a big brush, but at the start I don't really need it. Keep in mind this stain is water based, because we just added water and boiled it.
I am not afraid to leave a little more inside the carved areas. Those spots just come out a little darker, and the color inside develops a little richer. But the more you leave inside, the longer it takes to dry, so it's a good idea to have some limit on how much you leave in there.

On the bird I had to work really fast. That is open space, and this stain works like a dye. If you stop and leave it without putting the next coat on right away, it becomes a line, and that line is hard to get rid of.
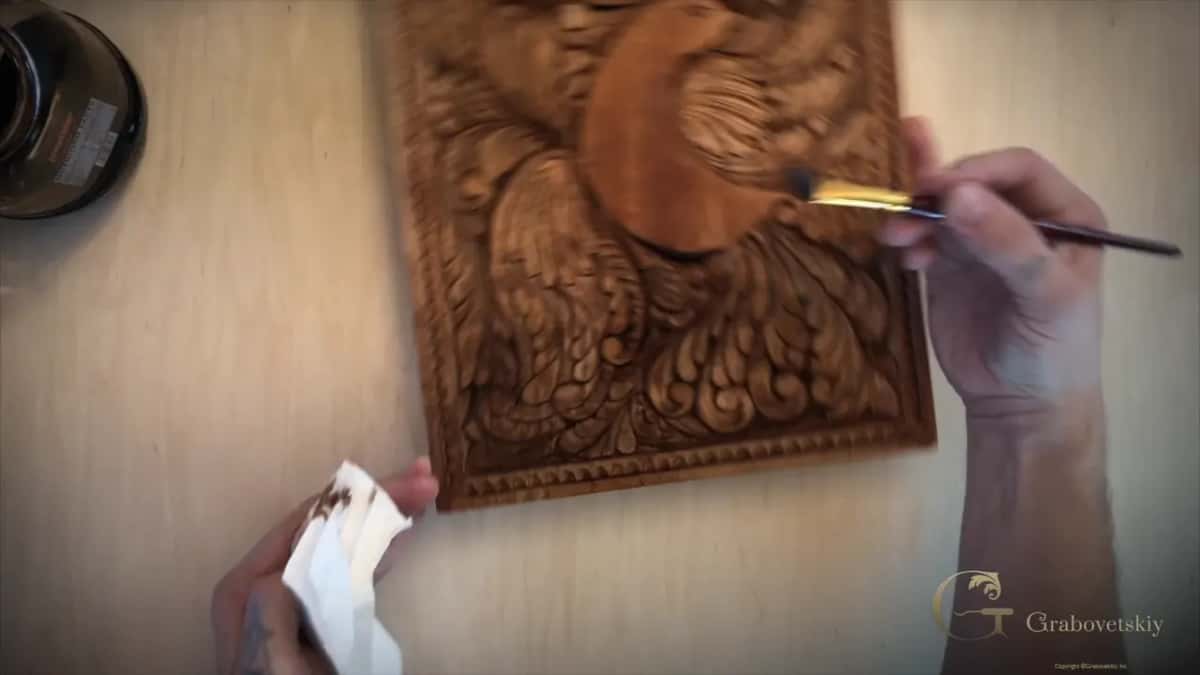
A bigger brush helps on open ground. I picked up my two-inch brush, about 5 cm, because it is probably much faster. Heavy first.
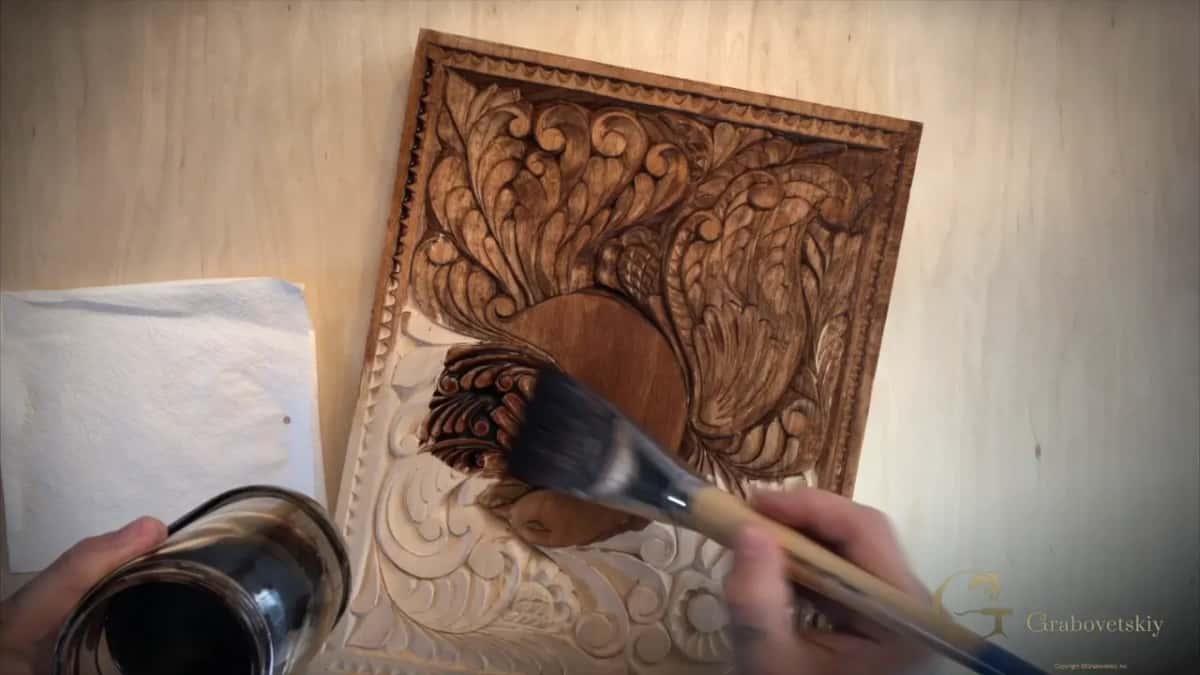

Then I rotate the board. From another angle I can see spots I missed, little white spots where the stain did not go in, and I go back over them. Even so, I left a line. That's a mistake I shouldn't make, so I blended it by putting a little more stain right on top of it. Later I saw brush marks where I had brushed one way, and I blended those the same way.
Why does an unsanded carving take a water stain so well?
Sandpaper never touched it. When you use sandpaper you press down some of the fibers, and once you put the stain on, all those fibers rise. The grain gets raised. Here the surface is clean carving with no sandpaper, so the raising of the grain is minimal, almost nothing.
That's one of the reasons I didn't sand before the stain. In Workshop 14 I said that on a flat piece, or on furniture, you can sand again and again, but on really complicated forms with raised grain it is not easy. There can still be spots where you pressed too hard, and water lifts those a little, but not as much as with sandpaper.
On the Lily Box it went the other way. I had sanded those olives off camera, and when I added a little water to a universal tint, I said don't be too crazy with water, because we did sand that, and it's going to raise the grain. Same water. Different surface.
Once the board is dry, it is pretty much ready for the final coat, whatever we are going to put on.

Can you mix onion and walnut stain on one board?
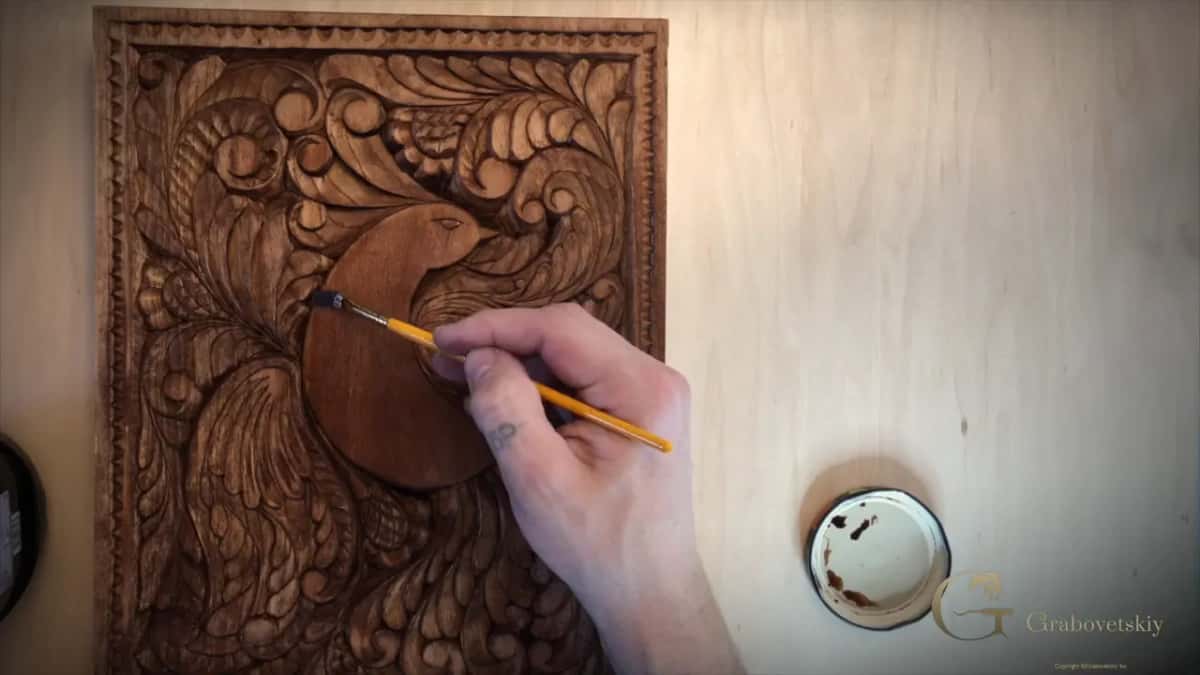
On this one I tried it, just for fun. After the walnut, I took a smaller brush and brushed onion husk stain inside a few areas around the bird, to make a color difference. Even wet, it shows a little different color, and still a beautiful one.
Both are just water. One is onion husk and one is walnut shells, but both are water based, so you can easily mix them together and get unique colors. The more you apply, the more color develops. Put it over the coat before and it gets darker, and you can do beautiful things with that, but you still have to be careful.

I wanted to stain my butterfly plate too. You don't have to cook it, of course, but I really like to play with cooking my own stains, and I said so there. You can do onion husk, you can do walnut shells, you can do pine bark, and whatever has a color, you can extract it. Then my daughter came and said she wanted it just like it was, with no stain. I made the decision and left it.
How did I fake marquetry with stain in a Russian jail?
When I was in a Russian jail, I had to make some furniture and some marquetry. Sometimes I didn't have any veneers for real marquetry, and we didn't have any walnut either. So I took simple birch plywood and cooked a stain from pine bark with just a little bit of soda, the same method you see here. It gives a somewhat reddish color, close to what you get with the onion husk.
Then I drew a picture on the plywood and made my separation lines right on it with a really tiny gouge, a one-millimeter gouge (about 1/25 in). By building color inside some shapes and making shades, I made it look like I had used different veneers. It looked awesome. People didn't even know it was not true marquetry.
That method was actually ancient, and my teacher said it was a 15th century method they used. I'm not sure, I can't say for sure, but why not? I believe it.
I told more of that story in Let me introduce myself. In the jail I made a knife, with a blade of 10 millimeters (about 3/8 in) at the most, and I believe a small gouge from a nail. A teacher taught me that staining technique, a kind of pre-marquetry, drawing on the wood with natural stains, and we made coffee tables and other furniture with it.
What do you do once the stain is on?
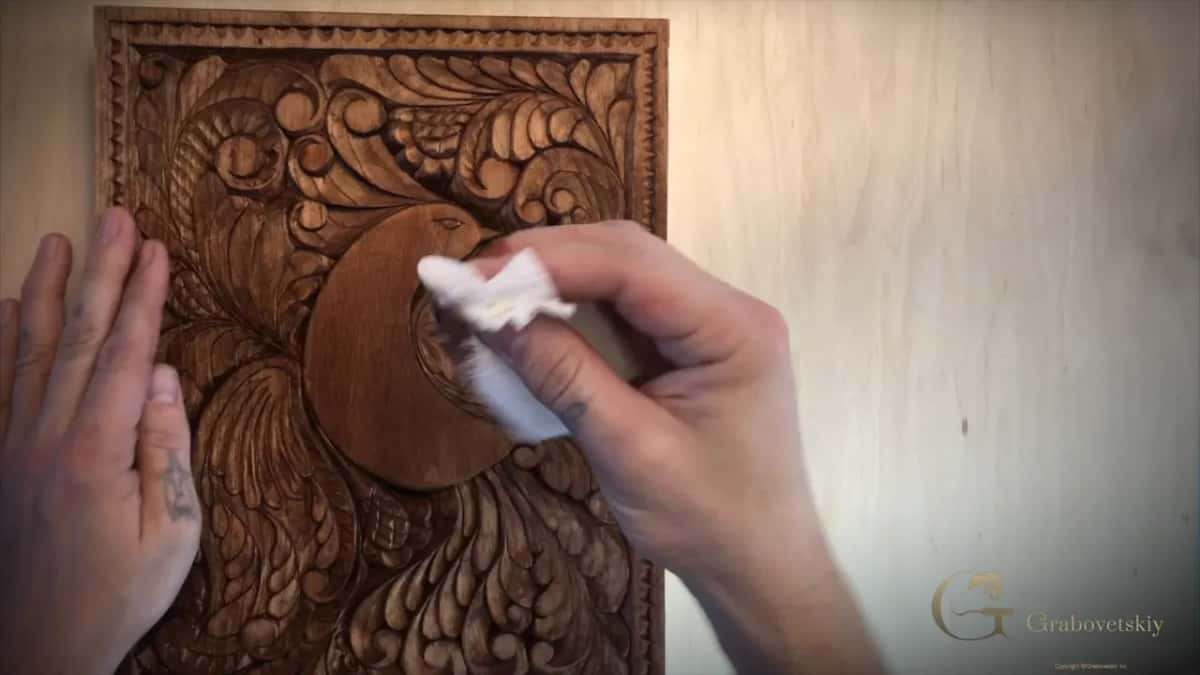
Before it dries, take a napkin, or you can use just a rag, and wipe it a little bit. It wipes out just like a stain does. Be careful when you do it. I saw one more spot right then, just one more.
Later, once it is dry, I'll take a scraper or sandpaper, though the scraper is actually better, and carefully scrape the edges, slightly. That makes them stand out. Then let it dry, and the final coat comes in the next lesson.

For that final coat you could use linseed oil or a mineral oil. You can just go to a pharmacy and get normal mineral oil and save some money, and it's still going to be food safe, and you can put on several coats.
One more note from outside my videos. The Wikipedia article on linseed oil says the boiled kind is raw linseed oil mixed with metallic drying agents, which make it dry faster.
As far as we know, ancient people used only two final coats, beeswax and oil. It could be linseed oil, boiled linseed oil or some other oils, and most of the time it was boiled.
As you know, I'm from Russia, and in St. Petersburg some buildings are about 300 years old. By Russian standards the city is not that old. Peter the Great built it. Window jambs, sashes and doors there are wood, and they put boiled linseed oil on them. That wood still looks really fresh today. Three hundred years later, nothing is rotten and there are no wormholes, and it is still really nice.
Workshop 18 adds one more thing about finishes. Wax is safe, but it is not water resistant, so a waxed board can't go under water. The last coat on this board is mineral oil.
Why did furniture makers stain walnut with walnut?
To use the sapwood. Walnut has areas called sapwood, which is a different color, more white. Sometimes it's okay to just leave it like it is. But if they wanted to unify the color, European furniture makers used exactly this stain and blended the sapwood into the main body of the walnut.
There is a lot of waste in walnut, up to 40 percent, and people throw it away just because of the sapwood. They did not throw it away. They used it.
What can keep a stain from going on evenly?
Glue can. In my back cutting tip I make a fragile piece stable with wood glue diluted 50/50 with water. That method is good only if you're not planning to stain, because you won't be able to stain it nicely there. Thin super glue is the same story. For paint, it's great.
And be careful with the stain itself. I spilled some of mine on camera, and it is actually like a dye.
Do you have a pan and a few walnut shells? Then you have the start of this finish. Tuition and access open the whole of Workshop 17 on video, from the first brush stroke in the cavities to the line I had to blend, and the rest of the beginner course with it.
How it's done
- Collect the husk or shells. Ask whoever cooks to save the onion husk. For walnut you need only the shells, and not too many.
- Boil them for hours. Put them in a pan with water, plus the soda if you want it, and boil. The husk turns a yellowish brown in about ten minutes and gets darker and redder after that.
- Start in the cavities. Brush the stain into the carved cavities first. A little extra left inside dries darker.
- Cover open ground fast. On open areas like the bird, keep going without stopping, with a two-inch brush if you have one, or the stain leaves a line.
- Rotate and blend. Turn the board to find spots you missed, and brush extra stain over any line or brush mark.
- Wipe, then let it dry. Before it dries, wipe the surface a little with a napkin or rag. Once dry, scrape the edges lightly before the final coat.
Frequently asked questions
How long do you boil onion skins for a stain?
Four hours, for the dark batch on this board. After roughly ten minutes the water already turns a yellowish brown with some green in it, and the longer the husk stays in, the redder the color gets. The shells needed just as long.
Do you need baking soda to make a natural stain?
Only if you like. I put a teaspoon or so into the onion husk pan and a little bit in with the walnut shells, and on camera I said plainly that it isn't required. My pine bark stain in Russia was the same method.
Will a water based stain raise the grain on a carving?
Very little. Sandpaper presses some fibers down and the stain lifts them back up, but on a clean carved surface, never sanded, the raising is minimal. On my Lily Box I had sanded the olives first, so there I warned against too much water.
What to carve next
- Wood carving for beginners, the whole cutting board course
- Workshop 16, the border, the lesson before this one
- Workshop 18, the mineral oil finish, the lesson after this one
- Workshop 14, why this board gets no sandpaper
- Carving Roman acanthus 7, German and English carvers on staining
- Lily Box 13, water and a sanded surface