
Alexander Grabovetskiy, woodcarver, School of Woodcarving · Published 2017
How do you get depth into a shallow carved panel?
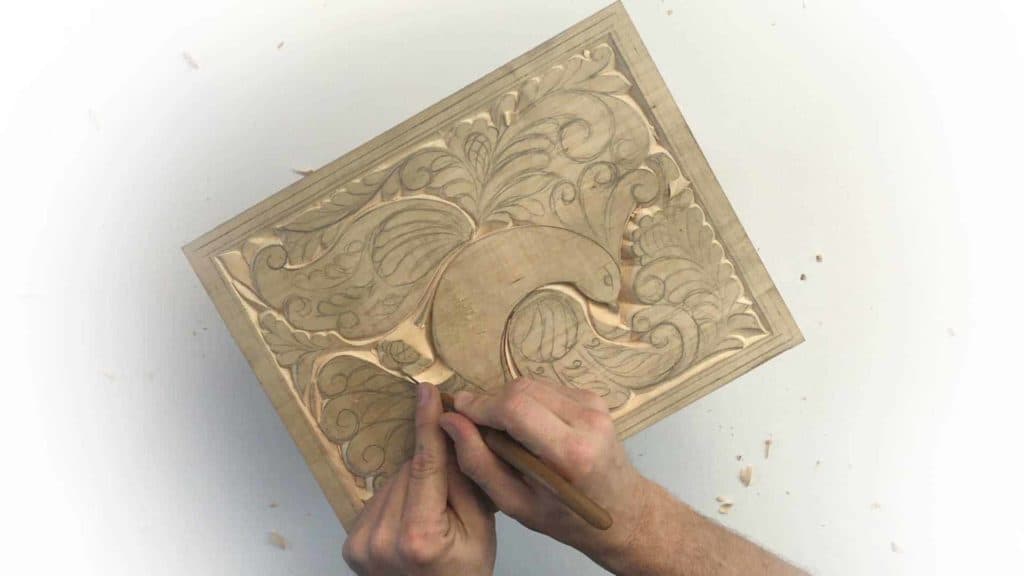
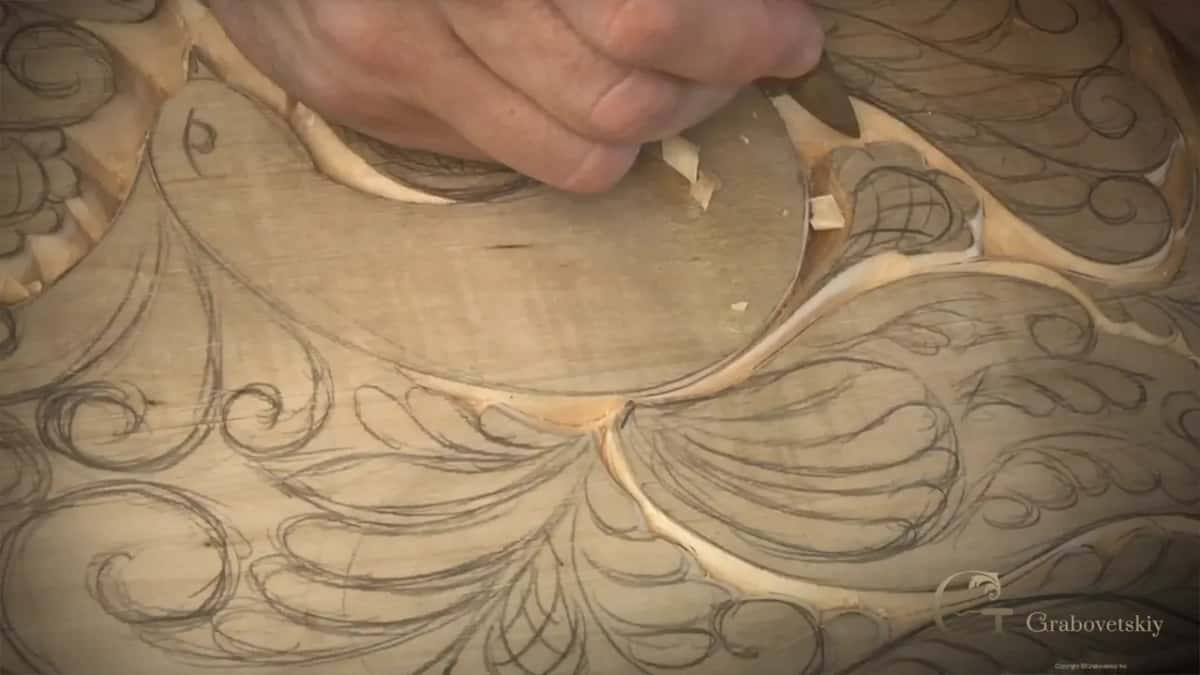
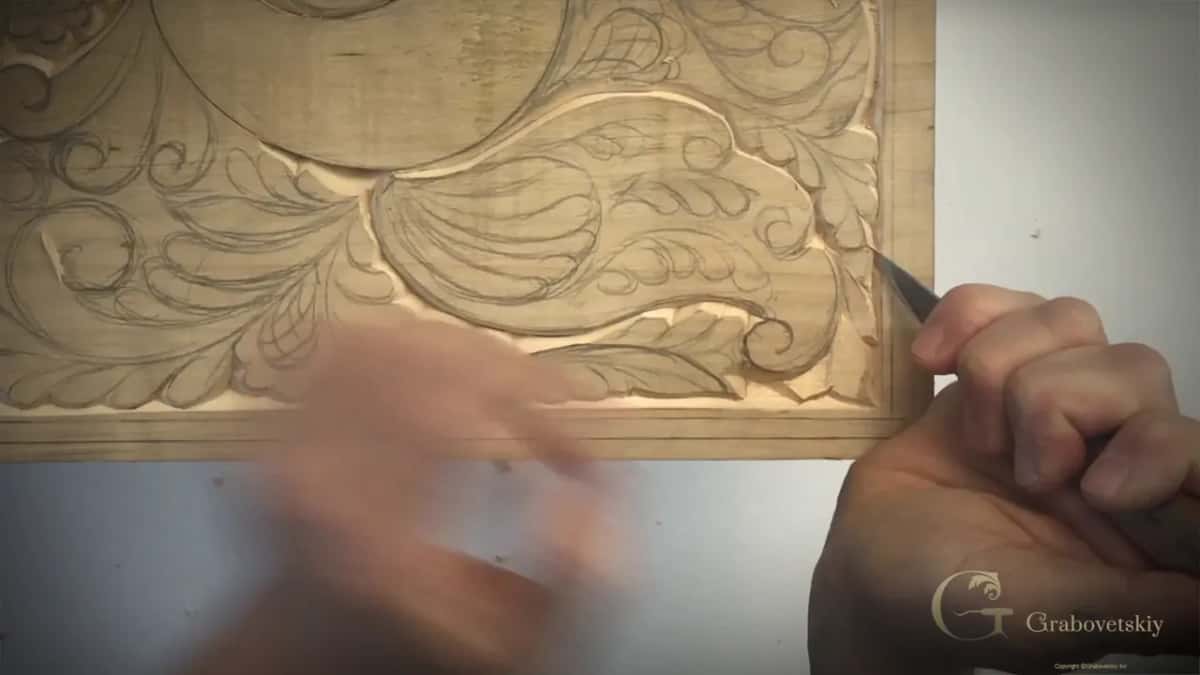
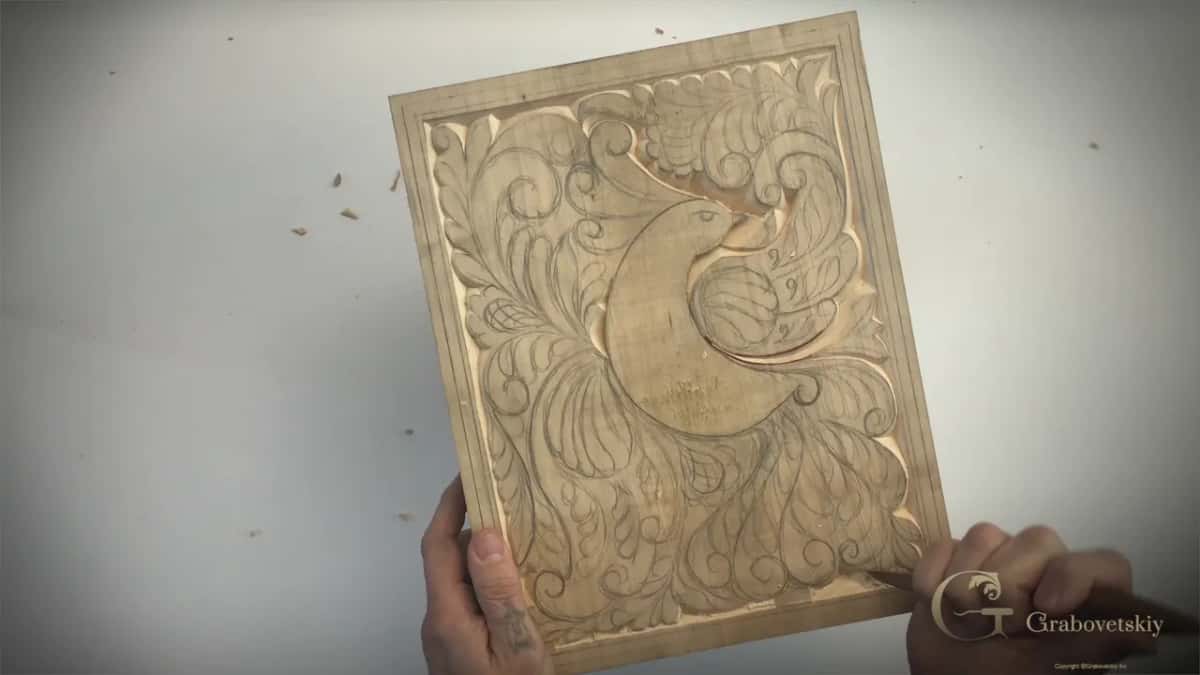
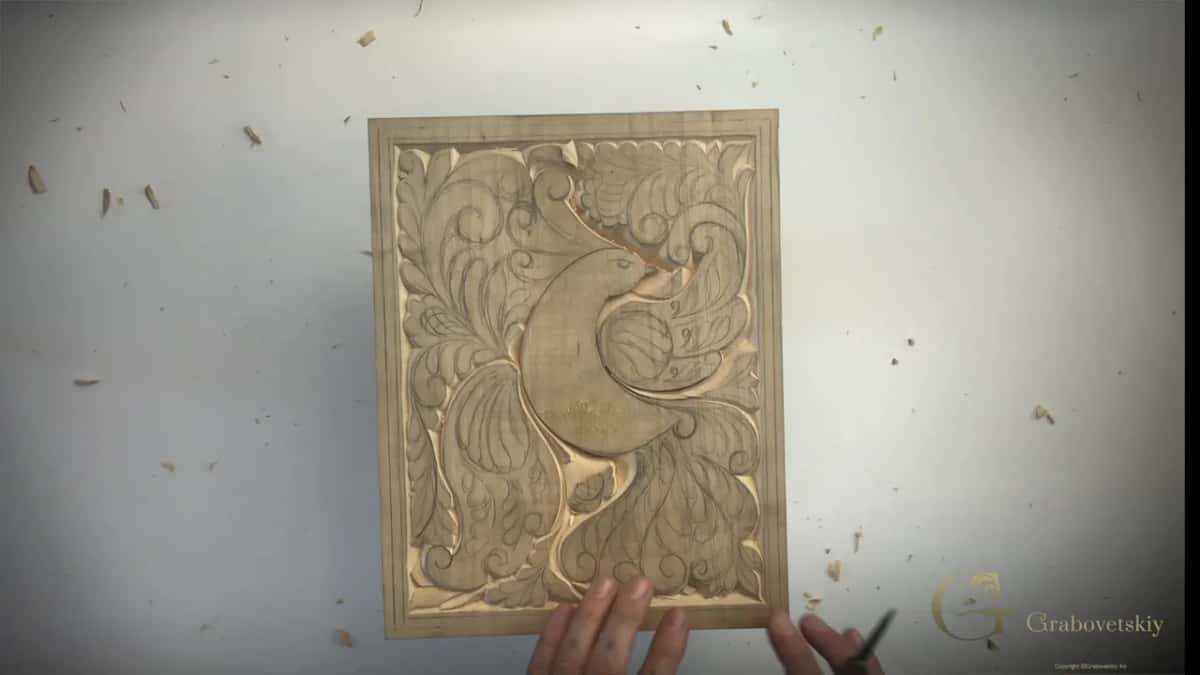
Quick answer: Depth in a shallow carved panel is something my bird of paradise cutting board got from the angle of my knife. The bird's outline went straight down, which left a dark line of shadow at its edge. Beside one wing, the bevel went down really low over a few passes, and that wing popped out from the shapes around it.
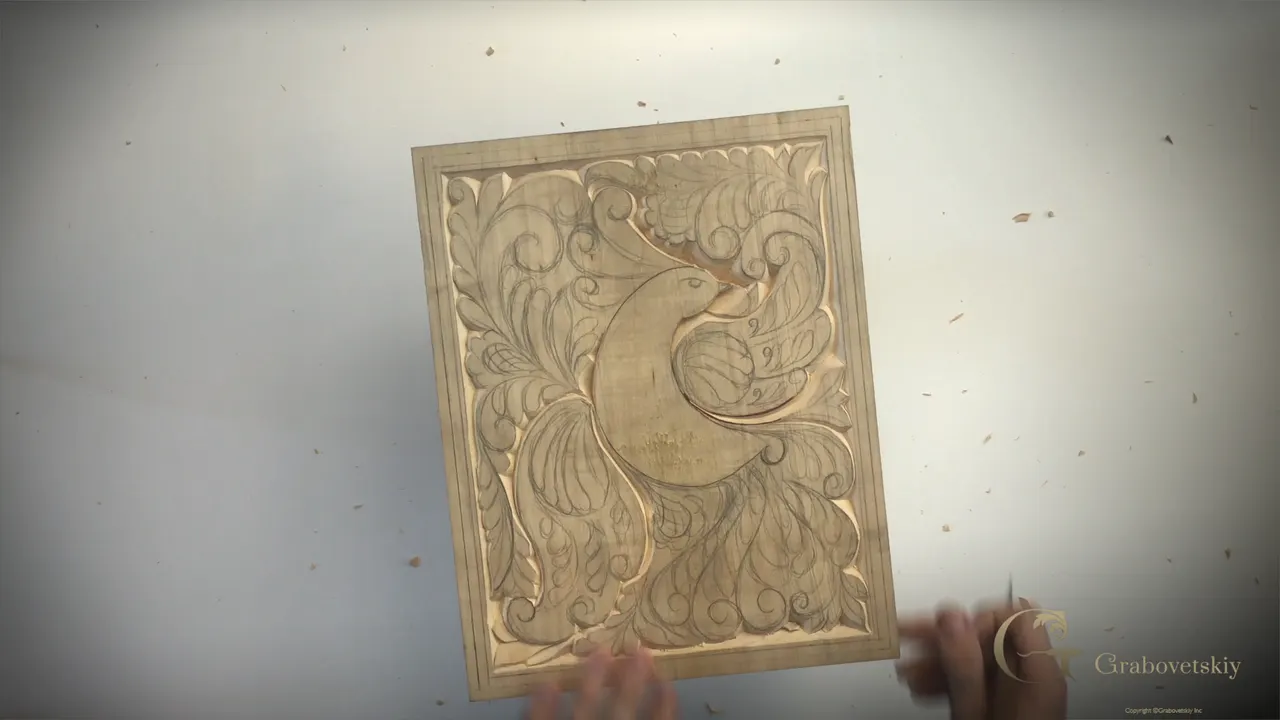
Depth in a shallow panel like this cutting board comes from where I carved straight down and where I laid the bevel really low. Going straight down around the bird left a shadow line. Then a low bevel, right beside one wing, made that wing pop out.
This is Workshop 6 of my beginner course, four parts long. I'm still using just one knife, a number 12 by Pfeil, which is actually made for chip carving. The cutting board itself is a block of basswood I found in my shop, two inches (51 mm) thick, as I said back in Workshop 3.
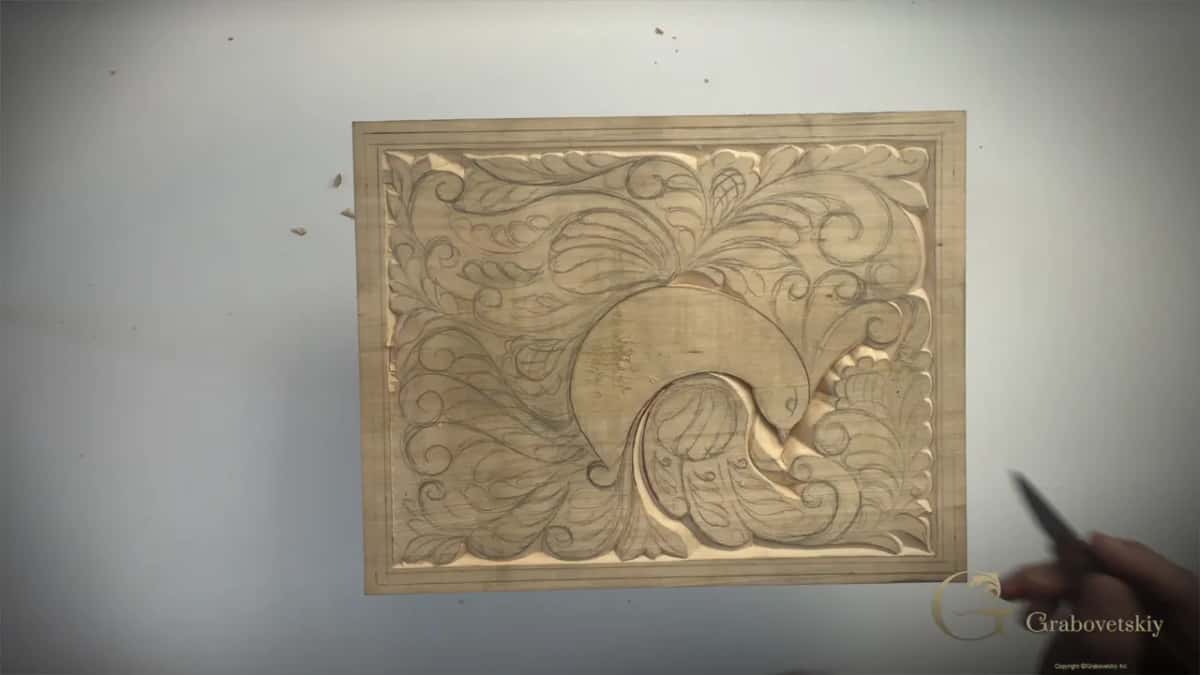
Have you seen carving where lots of small curls and leaves sit side by side? Do they start to look alike after a while? Then one shape has to stand out, and on this board I gave that job to a wing.
What this workshop shows about depth
An upright outline on the bird throws a shadow.
Big open spaces get a bevel, since an upright cut there would leave a deep hole.
The wing popped out once I laid the bevel beside it really low, over several passes.
Chips that refuse to come out mean you need another pass.
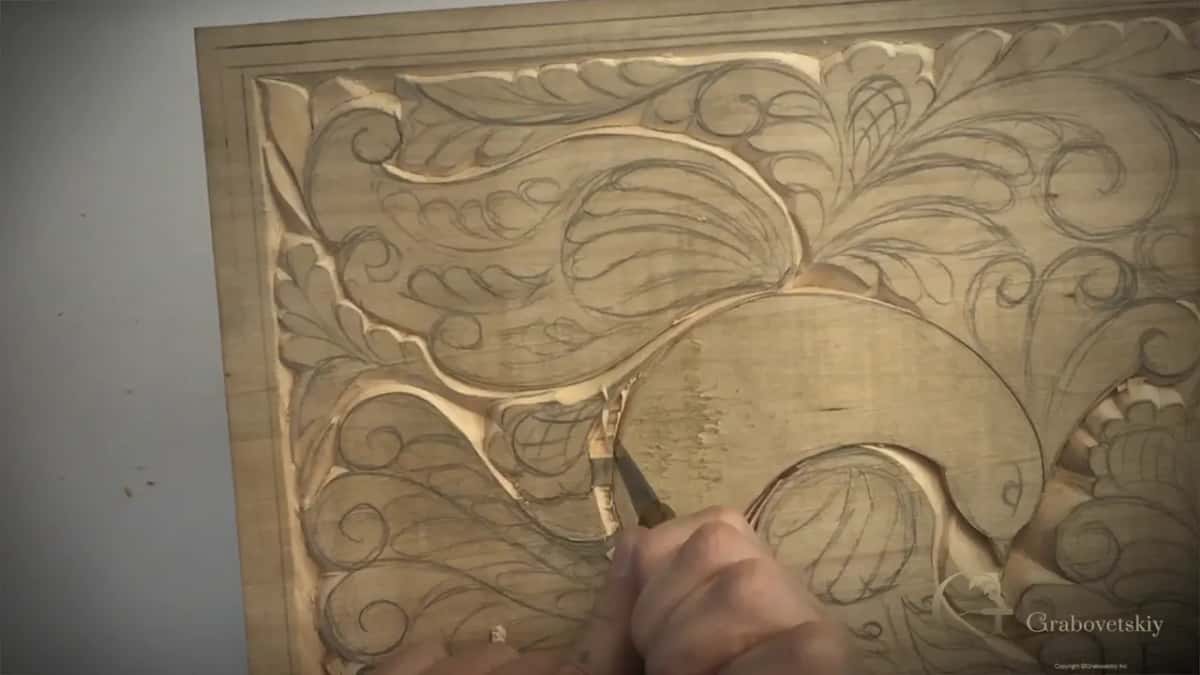
Two bevels, one from each side of a space, leave a sharp line in the middle for a flower to grow from.
What makes one shape stand out on a busy carved panel?
A really low bevel right beside it. Part two had a triple leaf in one spot, one leaf, two leaves, and three leaves, and the wing next to them had to pop out so you can see it easily.
So I made my bevel as low as possible, took a few passes, and moved almost to the edge.
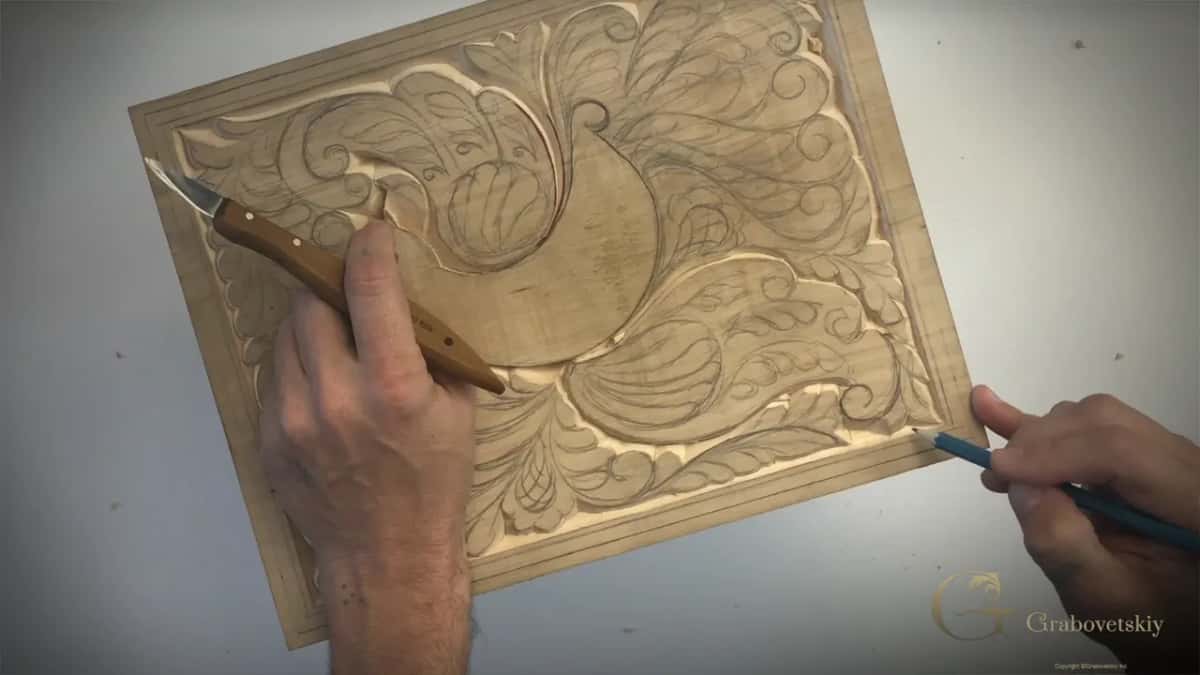
I did all that for one reason. We've got so many details going on in this design, and they really look alike, so the main picture can get lost easily if we don't do something about it. Volutes are everywhere on this board, triple ones on the tail and triple curls on a wing.
One more trick came earlier in part two. Working on the curly details by the wing, helping with my finger, I made one more pass so it looks like it's going from underneath the wing.
Part three went back to it. I recreated my leaves, the main movements, made one straight cut down, and then a really low bevel again. Really low angle. Or low bevel, should I say.
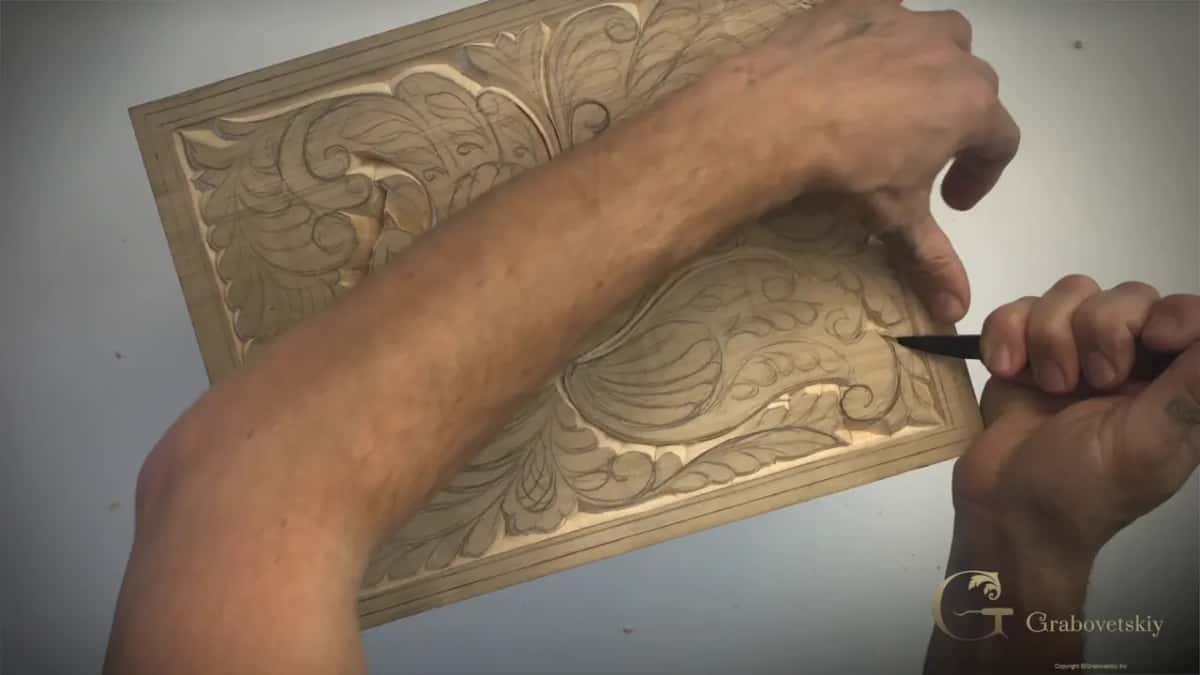
A little later in that part I told you that you should see the results just like that. And I did make that wing stand out.
Why go straight down around the bird but bevel in open space?
They do two different jobs. Workshop 4 is where I outlined the main body of the bird straight down. I said it could be slightly angled. It's okay. But it would look better if you can go straight down.
Straight down means 90 degrees, without any bevel or maybe a slight one, as I explain in Workshop 12.
You can see what that outline does in part four of this workshop. It actually creates a beautiful shadow line, and that side is kind of really, really deep.
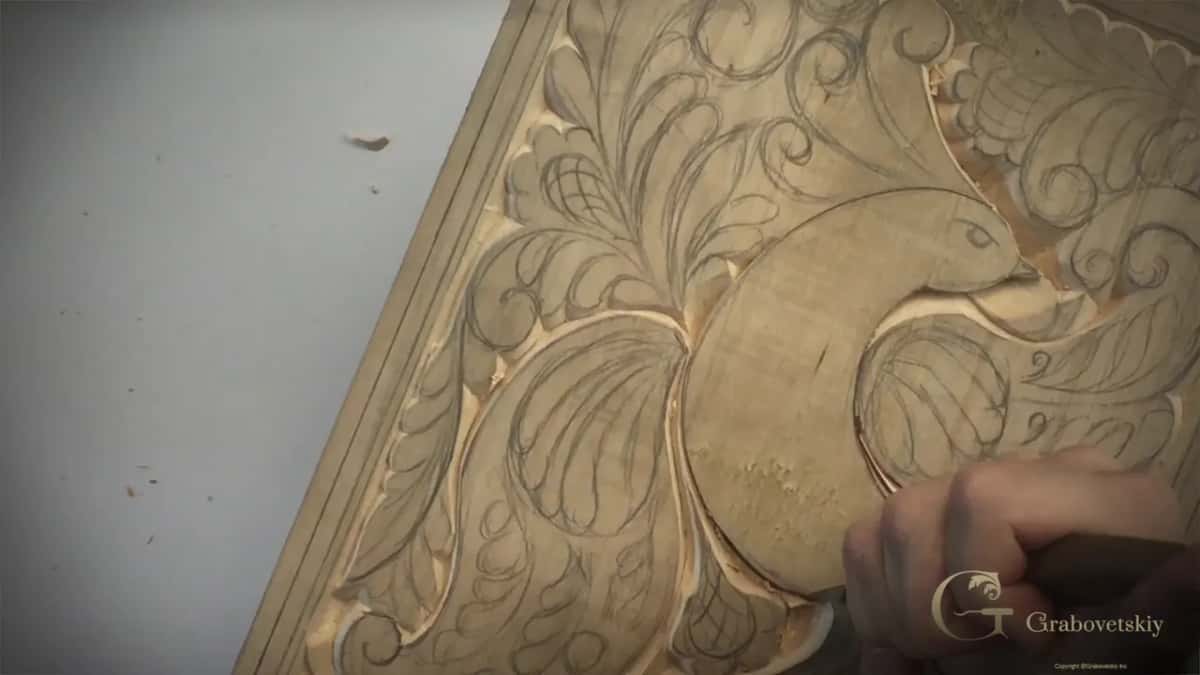
Open space is a different story. On the tail in part three the space was kind of big. If I went straight down there, the hole would be too deep, and it wouldn't look as nice. So the tail got a bevel cut.
Part one had a spot like that as well. Because there was a lot of empty space, I said I might have to just attack it multiple times.
A wing back in Workshop 4 gave me the same worry. I could even use a sharper angle, I said, but then that section would be really deep, and I didn't want to see that deepness. So I lowered my angle as far as I could and repeated the pass a couple of times. The other fix I named there was to probably add some small elements, just to take away that deepness.
How deep do you carve a shallow panel?
On this board, between a sixteenth of an inch and a quarter, depending on the spot. Those numbers come from later workshops on the same board.
| Spot | Depth | Notes |
|---|---|---|
| Curls, Workshop 11 | About a quarter inch (6 mm) | Measured between the upper point and the low point of the curl. |
| Tighter curls, Workshop 12 | Five millimeters, or 3/16 inch | There was less distance, so I didn't go a full quarter inch there. |
| Wings, Workshop 13 | An eighth of an inch (3 mm) | No deeper than that, and I still want to see some shadow. |
| Small overlapping parts, Workshop 13 | A sixteenth of an inch (1.5 mm) | That's the deepest, and I said it still looks three-dimensional. |
So none of these numbers goes past a quarter inch. And look at the last row. Even at a sixteenth, I said, it's still going to look deep, believe me.
There's a habit behind those numbers too. On a wing in Workshop 13, first I set how deep I wanted to go, my low point, and then I blended everything to that point, little by little.
Later still, on the small parts, I let this one go underneath that one, and that one underneath this one, and so on. I thought it would look good, and it was not going to be as deep as before.
How do you make a carved flower look like it grows from somewhere?
Split the space between its two lines in half. Part two has some type of flower coming out from one spot, and the most logical place for it to grow is the middle between those two lines.
I placed my knife on one side and made my bevel cut, then placed it on the other side and made another one. Supposedly that gives you a nice, beautiful central line.
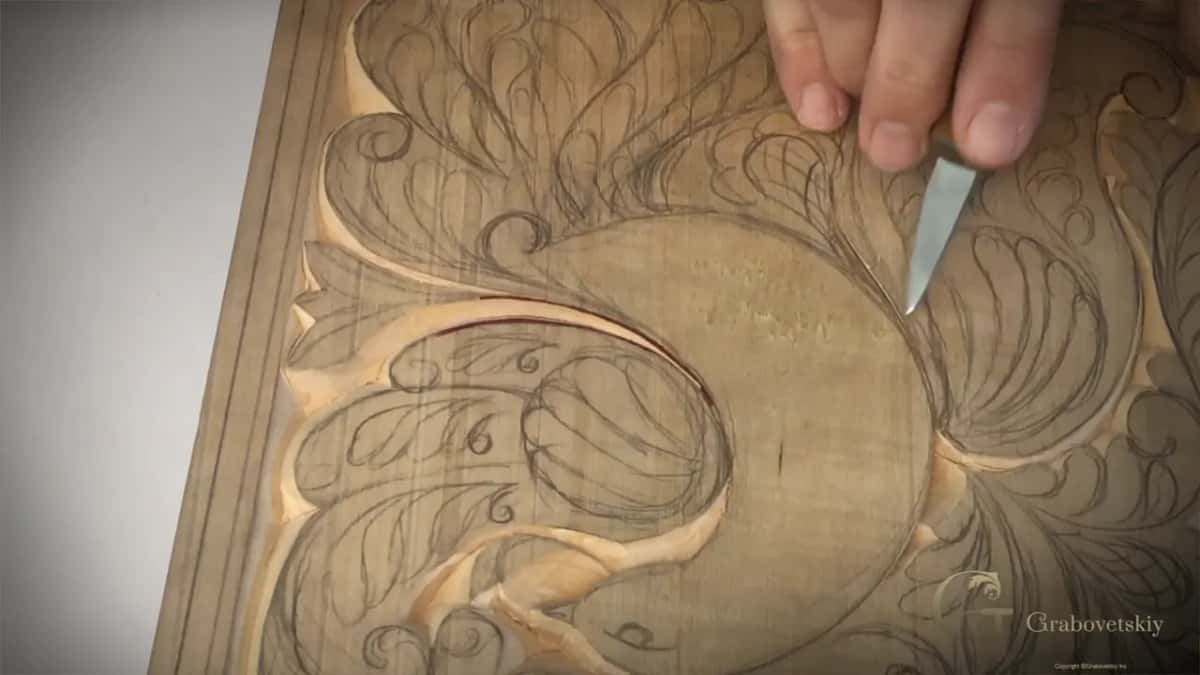
By part four it showed. A really nice, sharp edge sits right there, and that's why I said the line should be divided in two.
Keep the same bevel as your first cut, otherwise it won't look as nice. I told you that in part two. Part one opens on the same idea, since three sides already had one bevel and I had to carry that bevel onto the fourth.
Near the end the flower still had to grow from somewhere and look proper. I wasn't sure it made sense when I said it, but that's what I did, keeping the angle really low.
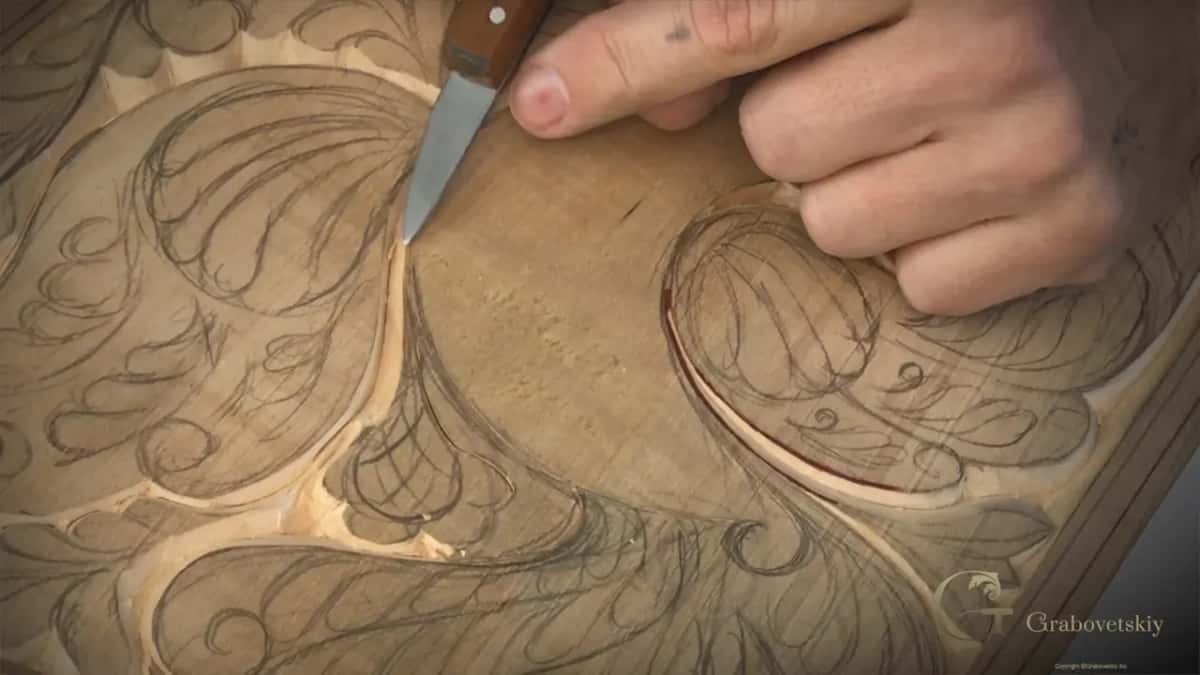
Why take several passes instead of going deep at once?
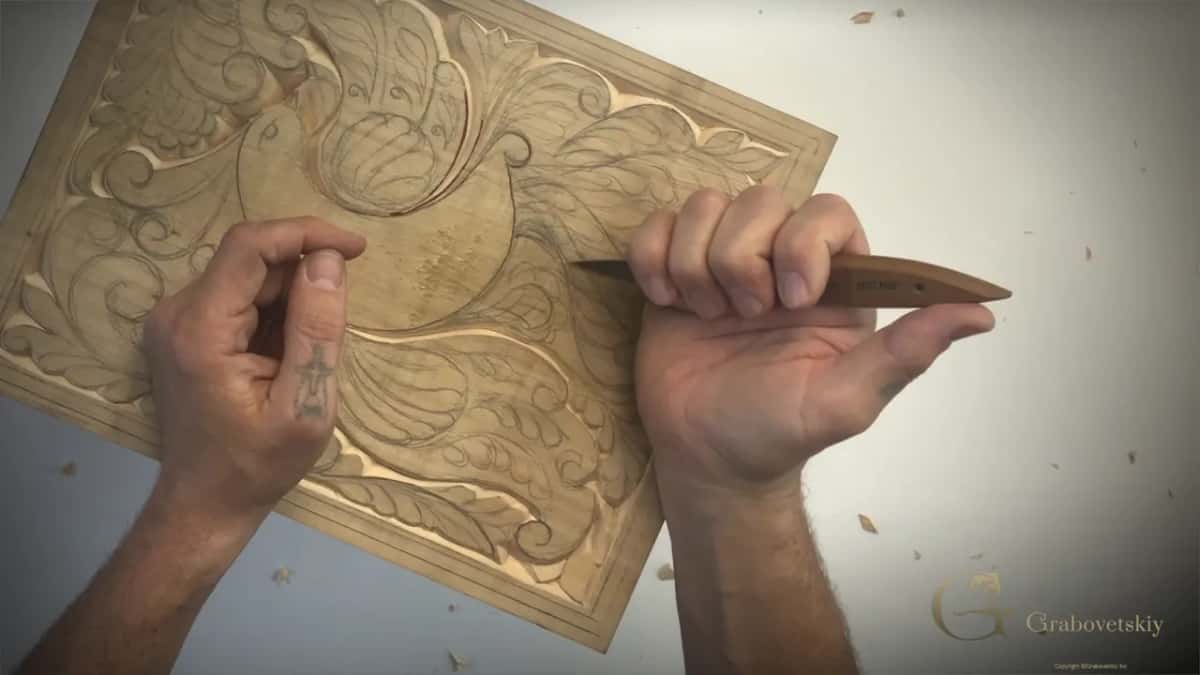
One pass that tries to do everything can break your tool. Back in part one I told you not to try to make everything in one go. You'll be able to clean it and make it deeper later, but for now there's no reason to force it, and first of all, you can break your tool, and you don't need to break it.
The chips tell you how you're doing. When they're not coming out easily, that side is not deep enough yet, so you come back later and make another pass.
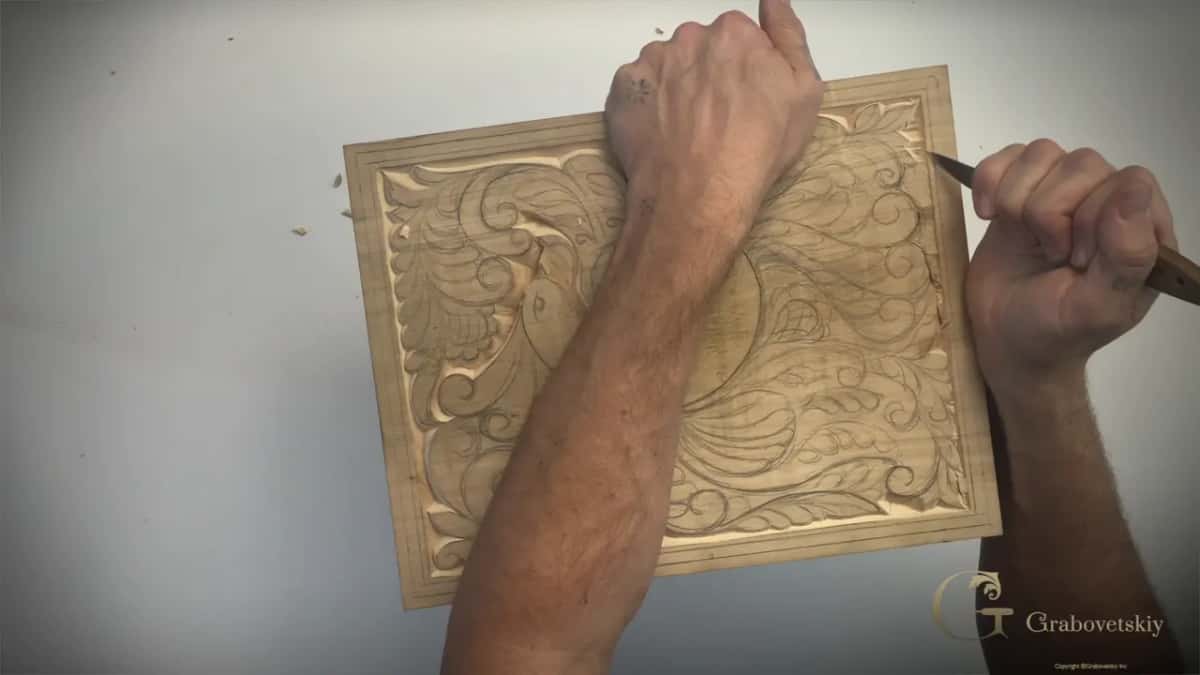
On the wing in part two the main chip stayed put. One more pass, maybe more than one, and then it just popped out.
Part three says it plainly. I'm just doing multiple cuts because it's much easier than to force it.
A big chunk gets the same care. During part four I could have started digging right away, all the way deep, but I can break my knife again, and I don't really want to do that. Instead I chipped away little by little with a really low angle until not much material was left.
Then I went back to my flower and took the same approach, bit by bit, until I was really close to my first bevel on that side. After that I rotated and made my cleaning cut.
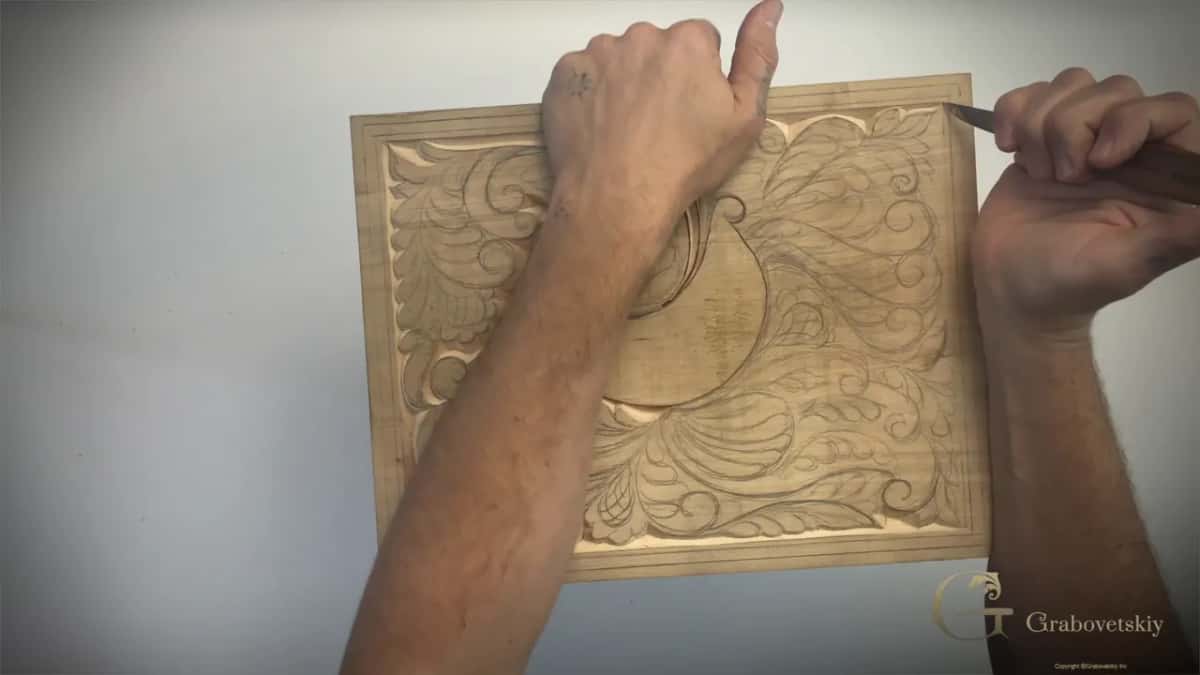
Over in Workshop 10 I gave a second reason. Every cut is just like a painter's brush, and it has to leave the right type of mark on the piece of wood. When a low bevel has to join a higher one, the only way I can control that is by taking multiple passes.
The last pass on a wall is the cleaning cut. My goal there is to make it as long as possible, so that side looks really clean.
Patience, patience, and patience, as I said in part one.
Why is one of my number 12 knives shorter than the other?
I broke it. During part one I picked up a different number 12, since I've got several of them, and showed you that its blade is shorter.
First I told you I made that on purpose, and that I can control the knife better when the blade is shorter. Then the real story came out. I broke the blade, I had to sharpen it again, and I found the shorter blade is actually easier to work with. So the real reason is that I just broke that knife. But I still like the shorter blade.
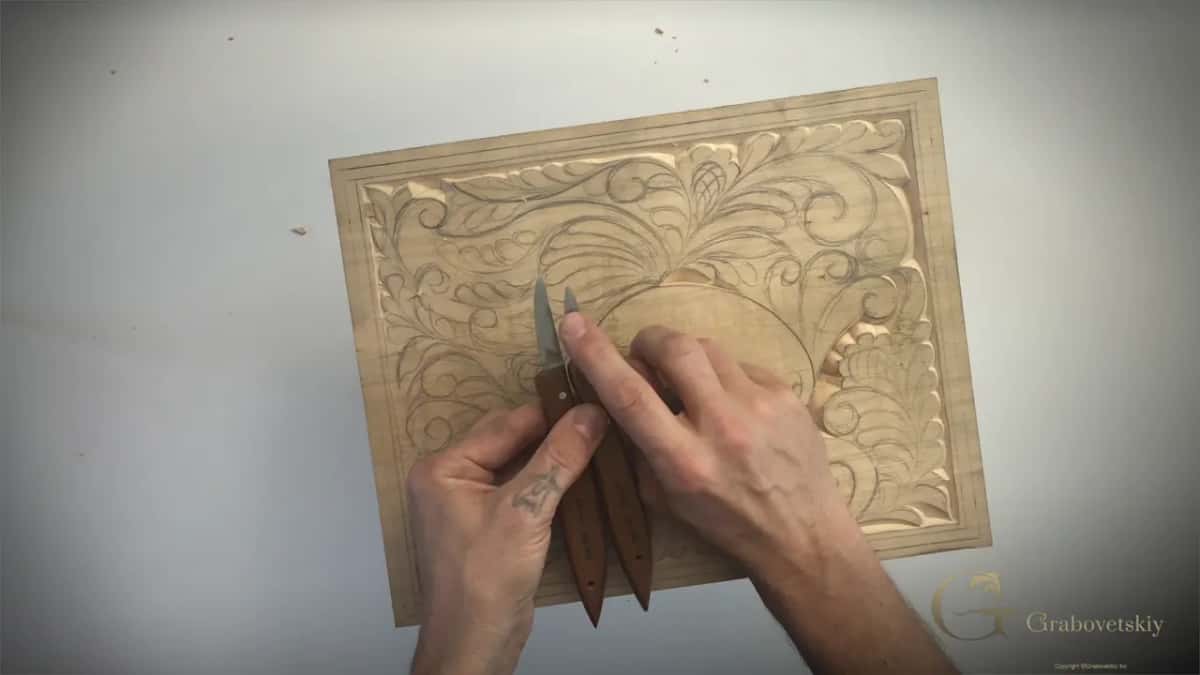
The knife I reach for is a Swiss-made number 12 by Pfeil. Workshop 16 has me calling it one of my favorite knives, a really good knife that does 99.9% of my work.
Even with a good knife, this is not easy like some people think. It's really, really not easy at all, especially when you work on an end grain side.
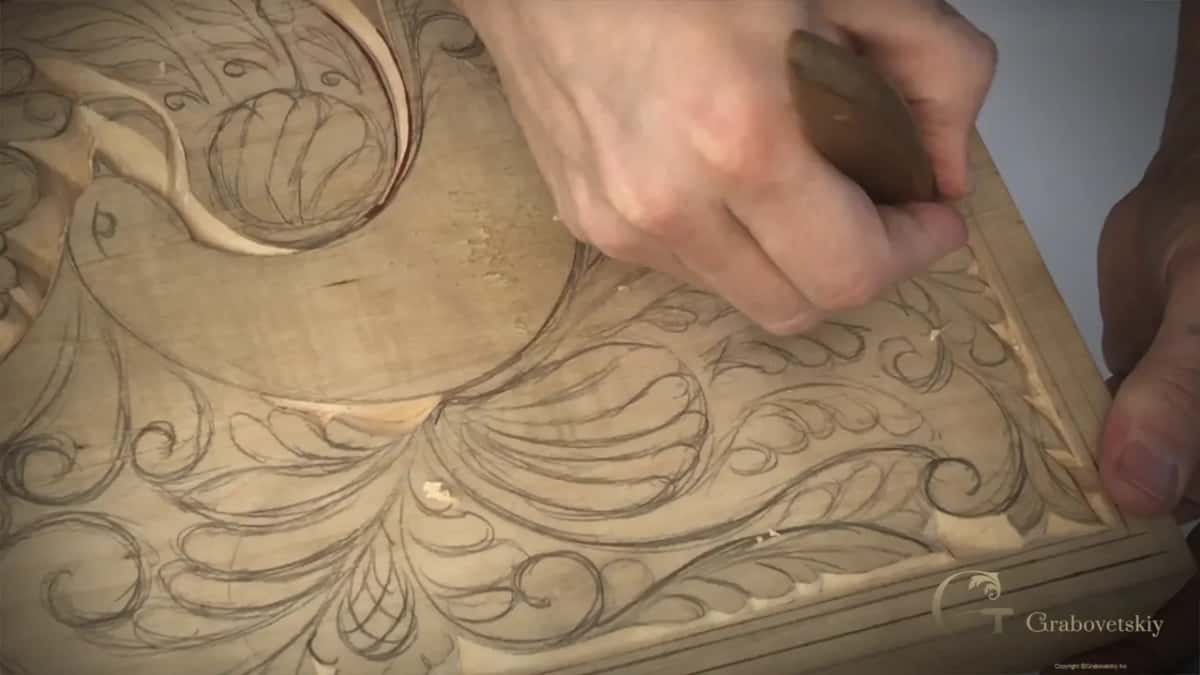
Could this board stay plain knife work?
It could. Later on we're going to use the first gouge to make it look even more beautiful, but I could leave it just one knife technique, and it still would look nice, especially in that ancient style.
This type of carving is really ancient, from a time when people's tools were limited, like to a simple knife. Still, you are absolutely not limited in your choice of design. Look at old carvings. All the Celtic knots and all those weird movements were made, most of the time, with the same technique I'm using here.
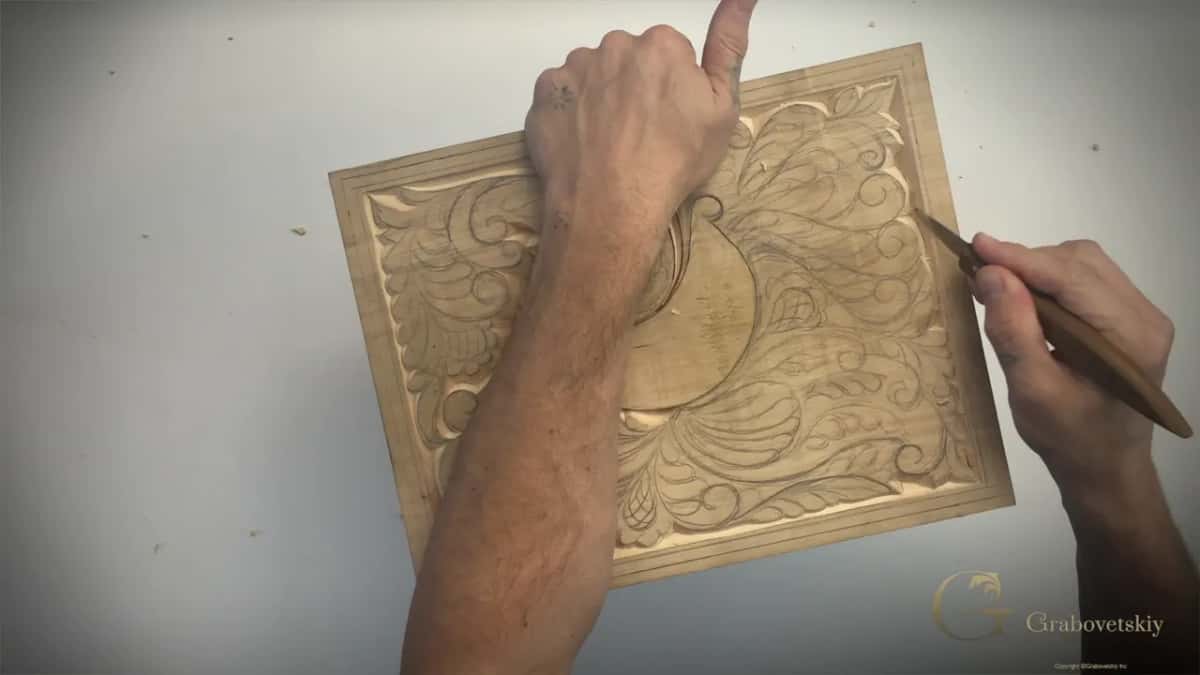
Later, in Workshop 12, I added something. Most of what we do with this pointed knife you could also do with a straight carpenter's chisel, which was a big practice in ancient times too. The knife just gives you more flexibility.
And a knife can go further than this board does. Workshop 13 is where I said you can do true three-dimensional carving with it, and I still use a knife a lot when I carve flowers and fruits.
Does a hand carving have to be perfect?
If you see some imperfection, that is actually okay, because you are not a machine. You are not CNC, and you should not be. So make it look like a human being did it, by hand.
There's a limit, though. On a carving for the Venice Room I said a spot slightly off is not a big deal at all, since it just shows a human being did it. Of course, to a certain degree. You don't really want it too wavy.
Right after that line in part four I refined that spot, because I wanted to make sure the line is really sharp. And in part three I took a triangle out of one spot simply because I didn't like how it looked.
Workshop 13 has one more thing. When I edit my videos on a really big screen, I notice ridges and imperfections I didn't see right away, and that's good practice for me to see what needs fixing later.
Do you need a vise to carve a cutting board?
You don't have to use one, and for a cutting board I don't have to either.
I used mine on purpose, just to show you how easily I can rotate this piece because of my vise. Any type of work can go in it, for lots of designs and styles of wood carving.
Turning the board happens all through this workshop. Let's rotate, I say in part one, and later it's just turn it, while I finish a volute in part three.
Keep the hand that holds the piece out of the knife's way. I warned about that in Workshop 4, because I've done it, and I cut myself.
What comes after Workshop 6?
More details. At the end of the last part I can see my wing, another one, and I start to see my tail, though not completely yet. The rest is for next time.
If you missed the start, Workshop 5 comes right before this one, and Workshop 7 comes next.
All four parts of this workshop come with tuition at the school. Got one knife and a board with your drawing on it? Then find your wing.
How it's done
- Outline the main shape straight down. Hold the knife at 90 degrees on the outline of the bird and start really slowly. Don't force it, and keep your other hand away from the blade.
- Choose what has to pop out. On this board it was a wing next to a triple leaf.
- Lower the bevel beside it. Make the bevel as low as possible, take several passes, and go almost to the edge.
- Bevel the wide spaces. Where the space is big, use a bevel cut, because going straight down there leaves a hole too deep to look nice.
- Pass again if a chip stays. A chip that won't come out easily means that side isn't deep enough. Come back and make another pass, maybe more than one, instead of forcing your knife.
- Finish with a long cleaning cut. Make the clean cut as long as you can so that side looks really clean.
Frequently asked questions
How deep should a beginner carve a cutting board?
On my bird of paradise board some curls went about a quarter inch (6 mm) deep, measured between the upper point and the low one. Wings stay at an eighth of an inch (3 mm) or less. Even a sixteenth (1.5 mm), I said in Workshop 13, still reads as three-dimensional.
What is a straight down cut in chip carving?
A straight down cut goes in at 90 degrees, with little or no bevel. The bird's outline on my board was done that way, and now it throws a dark edge of shade along the body. Wide open ground gets a bevel instead, since an upright cut there digs a hole too deep to look nice.
Why won't the chip come out when I carve?
One wall of the chip hasn't reached far enough down. Go back over that line once more, maybe twice, and the chip pops free. Forcing it puts the blade at risk, and I have broken a blade myself, which is why a number 12 of mine is short now.
What to carve next