
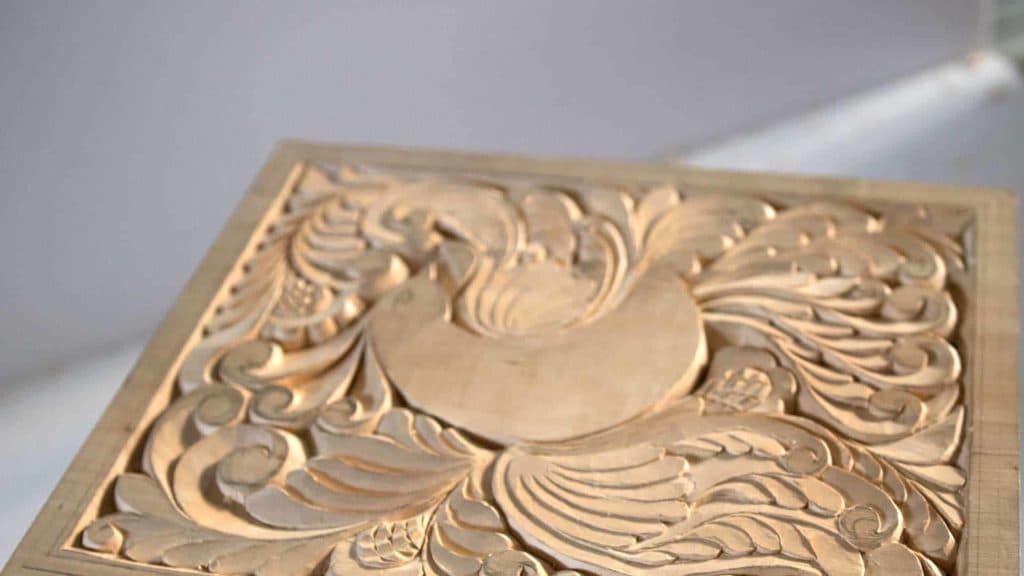
Alexander Grabovetskiy, woodcarver, School of Woodcarving · Published 2017
Why learn to carve with one knife when you already own gouges?
Quick answer: Learning to carve with one knife first is handling a single tool properly before you take up the others. In Workshop 14 I said that once you handle the knife correctly, other tools become just like toys. In ancient times people had a knife or a straight chisel, and that was all.
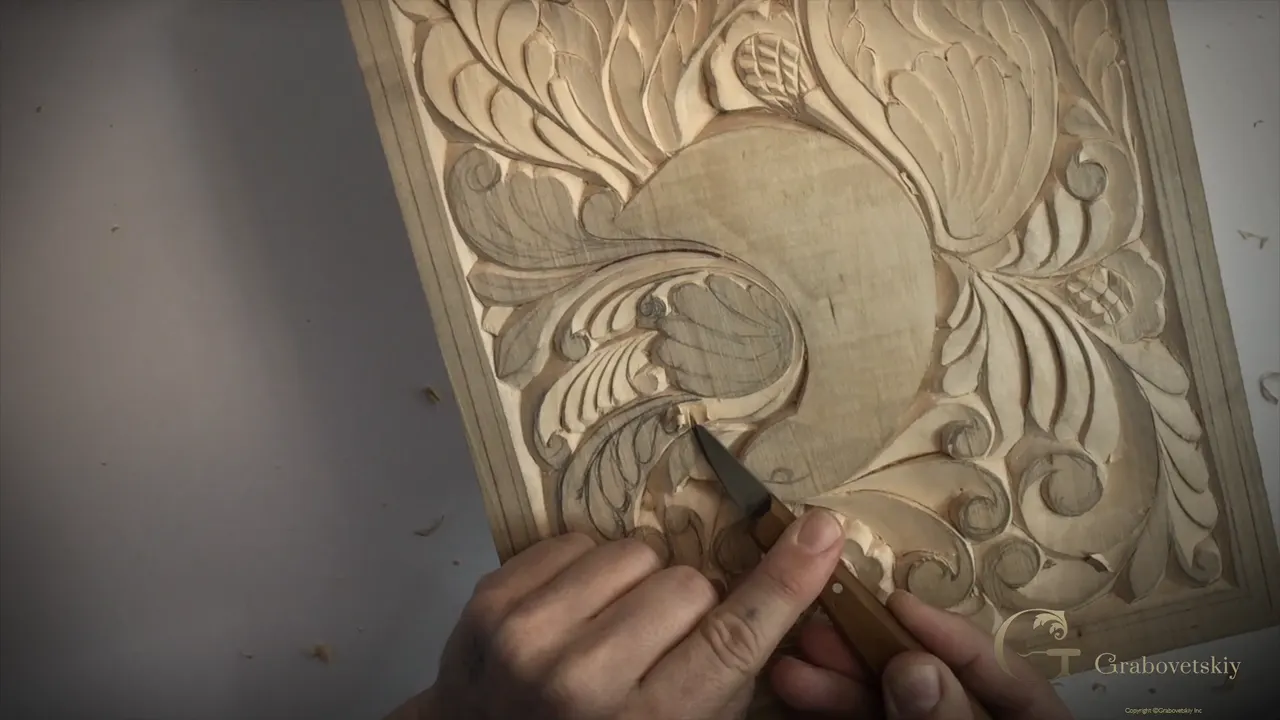
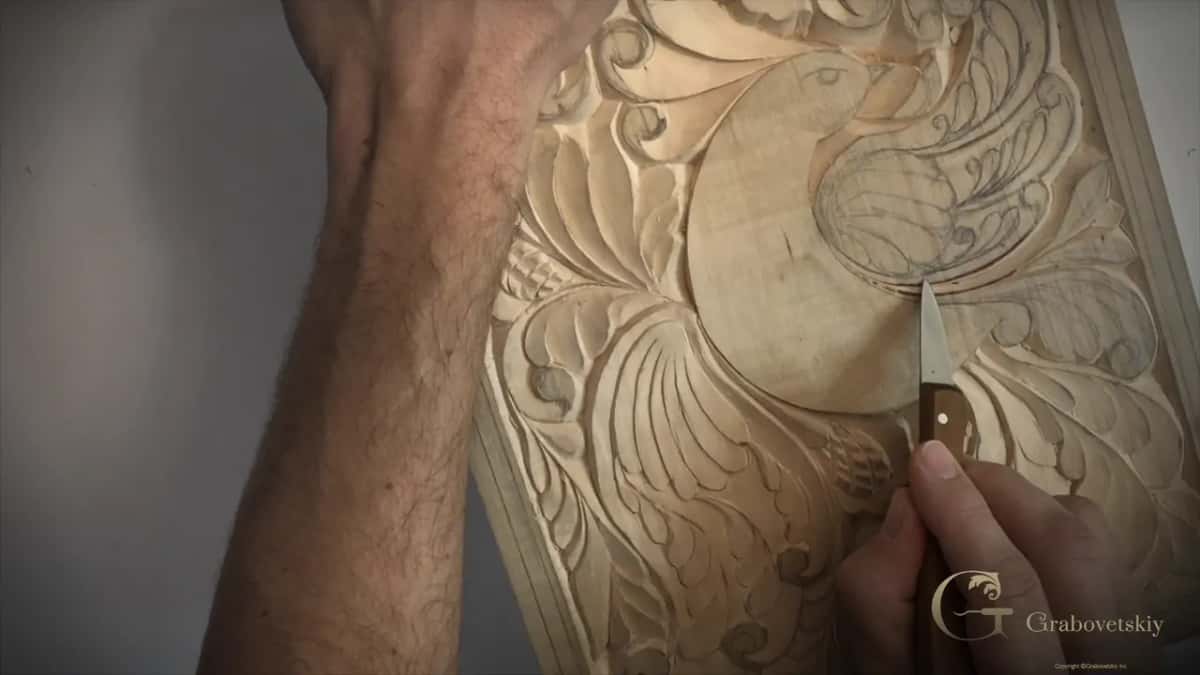
Starting on one knife is learning to handle one tool properly, before you pick up the rest. That's what I teach in Workshop 14 of my beginner course, while I carve the other wing of a bird of paradise on this kitchen cutting board.
Somebody wrote me a comment, not on the site but outside of it. Why do you even teach that one knife technique, they asked, if people do have other tools? Who needs that?
Would you like to carve beautiful things in wood? Do you want every carving tool you ever pick up to feel easy in your hand? Then start the way I start, holding a knife.
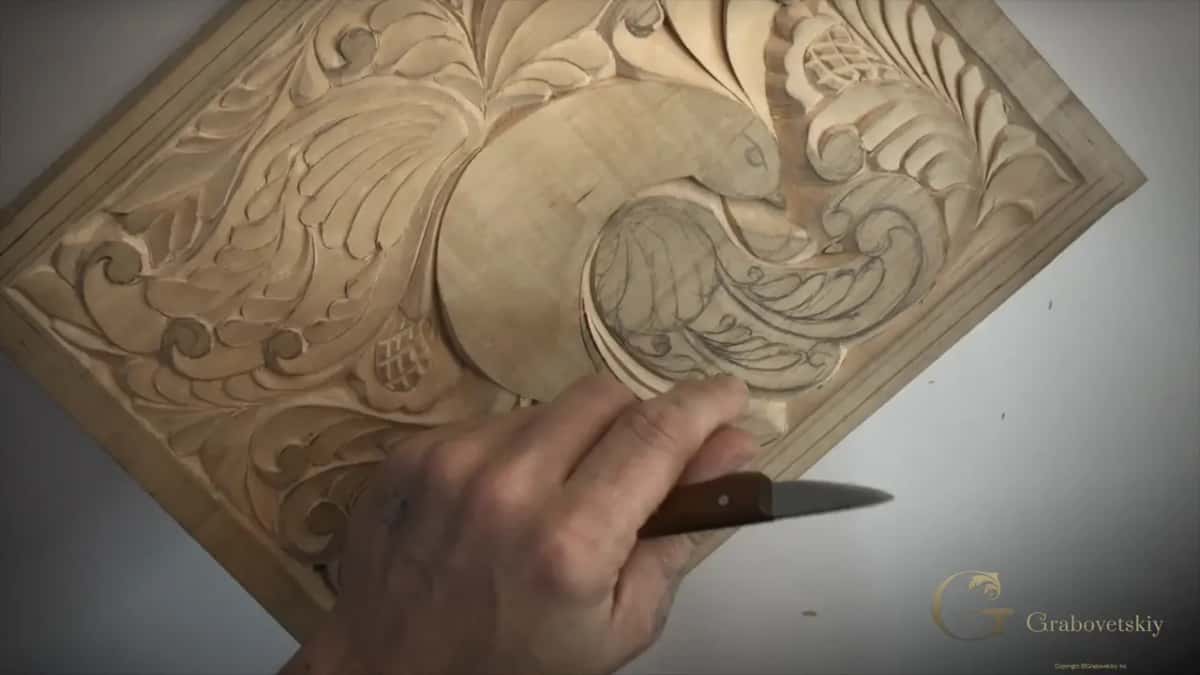
What I did on this wing, knife in hand
Held the knife like a pencil.
Kept a slight bevel and stayed really shallow on the small volutes.
Pressed only lightly by the edge.
Took small triangles out first in two places.
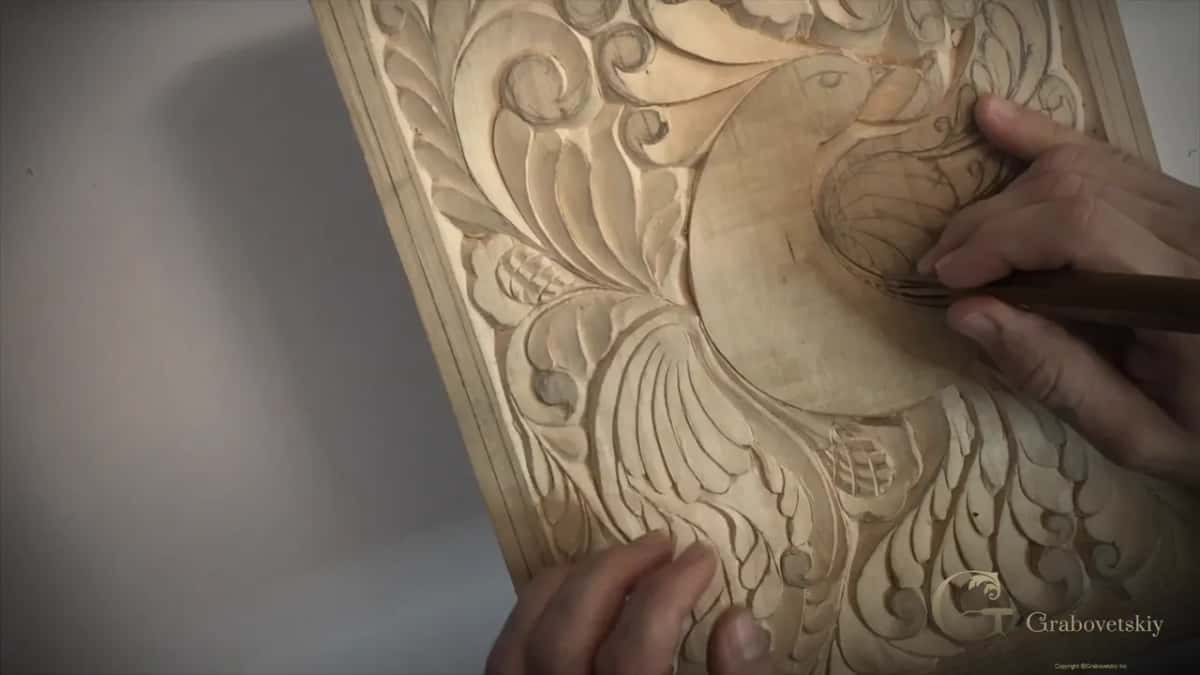
Erased lines that bubbled out of the flow and drew them again, so they ran with the line beside them.
Fixed a spot that came out too deep by lowering the wood there.
Why learn one knife when you already own gouges?
Each tool has to be handled properly. I strongly believe that, and it is how I answered the comment in the second video.
I do have lots of different tools on the wall right behind me, in lots of different shapes. Some are weird ones, like a tool for spoon carving that looks like a hook. Most likely you never saw some of them before. I have a whole course about tools as well.
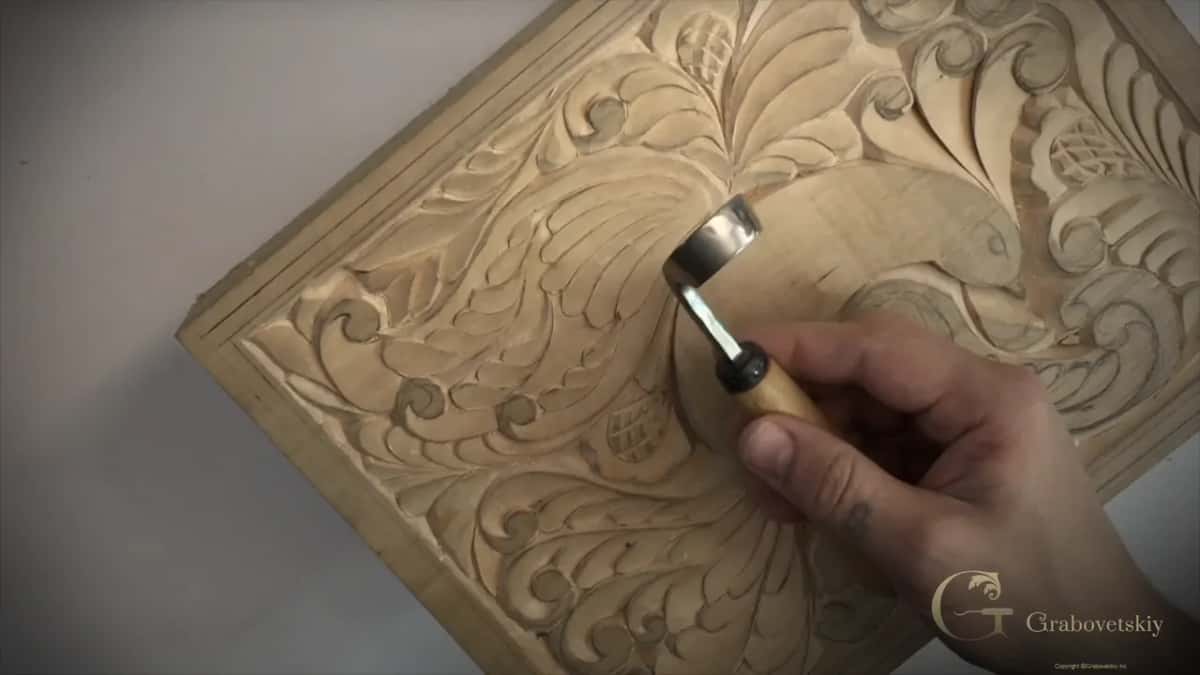
But the point of the school, and of this workshop most of all, is to teach you to carve wood. You go step by step, you learn to handle tools, and you learn how wood carving developed through its history.
The first video put it another way. With the knife, the idea is to learn to handle it, and then other tools are going to be just like toys, because they're much easier to use once you handle the knife correctly. Believe me on that.
What tools did the oldest carvers have?
A knife, or a straight chisel. In ancient times, I said, those people either had a knife or they had just a straight chisel.
Lots of the stuff I do on this board you could do with only a straight chisel, the number one carpenter chisel. You work with the edge of it. The principle is the same as a knife, since you're using one point of the chisel, and only one side of it.
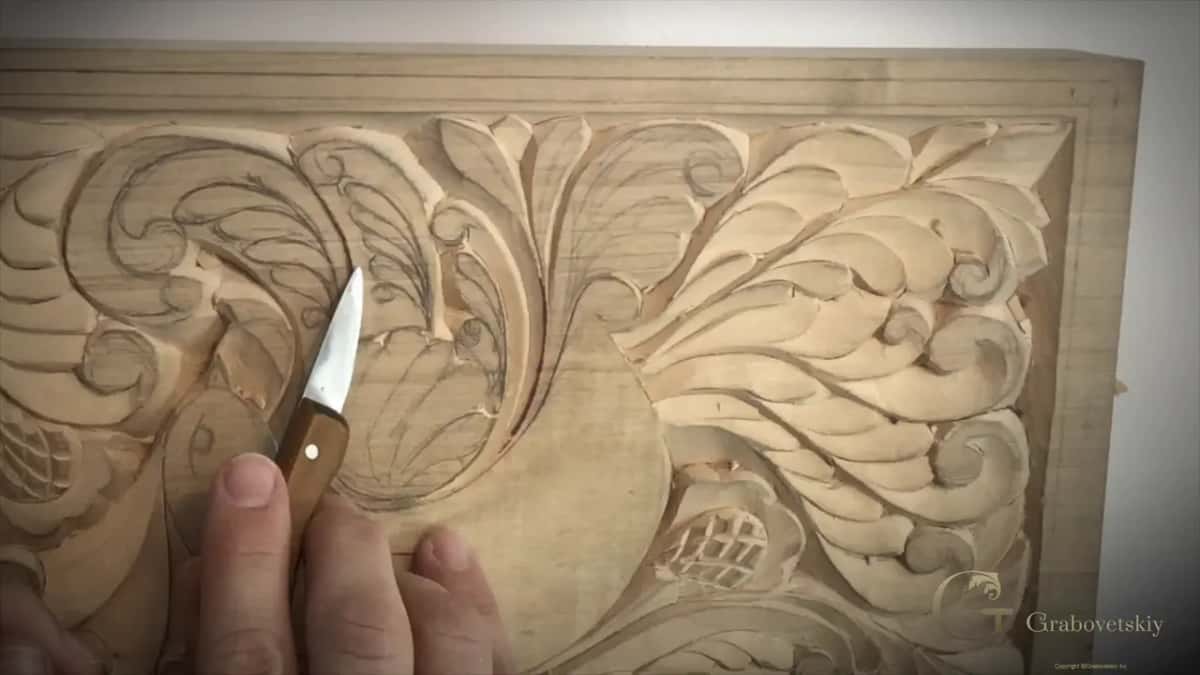
Knives differ too. Some really go to a point, and some are not that pointy, almost like a skew chisel.
On my Greek acroterion I went further back in time. In parts of northern Europe they found carved wood dated from the 8th to the 12th century, I said there, in an ornamental chip carving style done pretty much with just a knife. I think even the people of Britain used one knife techniques. It's just probably the quickest way.
Does one knife first mean one knife forever?
The gouge comes later. We're just using the knife as of now, I told you in the first video, and later on we're going to use a gouge, so you will be introduced to it.
On the acroterion it went the same way. I shaped it carefully with my knife and said I'd take a gouge a little later for the concave work.
A question came in the chat during a livestream from April 2020. Gouges, chisels and knives get used together depending on the project, the viewer wrote, so please correct me. You are correct, I said. If you're carving for yourself, you can use whatever tools you wish, and in combination that is a good idea.
It depends on the client, I said. The project I was working on that day was different. I wanted it authentic to the 15th and 16th century, so I could not use V tools or a knife on it.
| Tool | Job | When | Words |
|---|---|---|---|
| My carving knife | Every line on this wing so far | Right now | Using the knife as of now |
| A V tool | Right on the line, with no pressure | Not here | It would not be a problem |
| A straight chisel | Works off one point of its edge | Ancient times | Knife or just a straight chisel |
| The first gouge | Comes into this beginner course later on | Later on | We're going to use a gouge |
Why not use a V tool on lines near the edge?
A V tool would have no problem there, though. You would go right on the line, I said, and it wouldn't create any pressure.
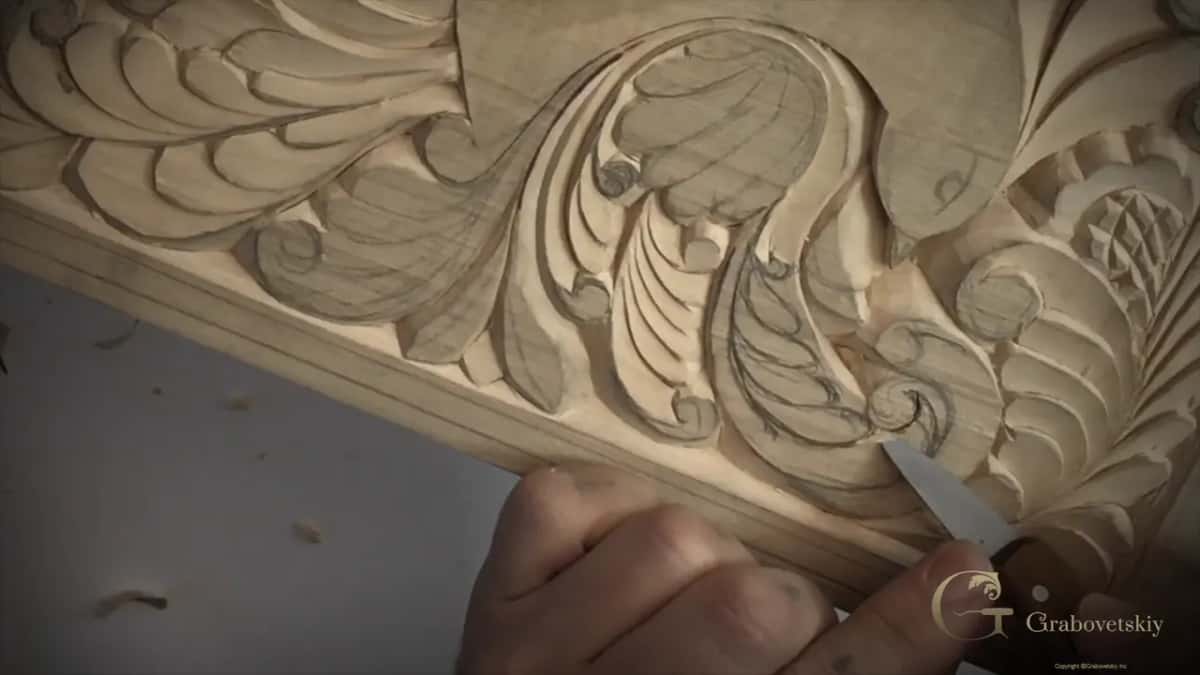
I had to be really careful there. The grain on that line ran one direction, close to the edge, so I had a lot less fibers on one side of my line than on the other. Really important, I said, not to create a lot of pressure.
I said it again in the last video. Be really careful when you're going really close to the edge. Almost no pressure at all. Almost none.
And once, in the third video, I noticed I pressed too much at the edge, and I shouldn't have.
How deep does the knife go on a small volute?
About a 16th of an inch, a couple of millimeters only, and some spots even less.
I was holding my knife the same way I would hold my pencil, and I was not going really deep. My bevel was just a slight bevel. Less than a 16th of an inch inside of the wood, inside of the fibers.
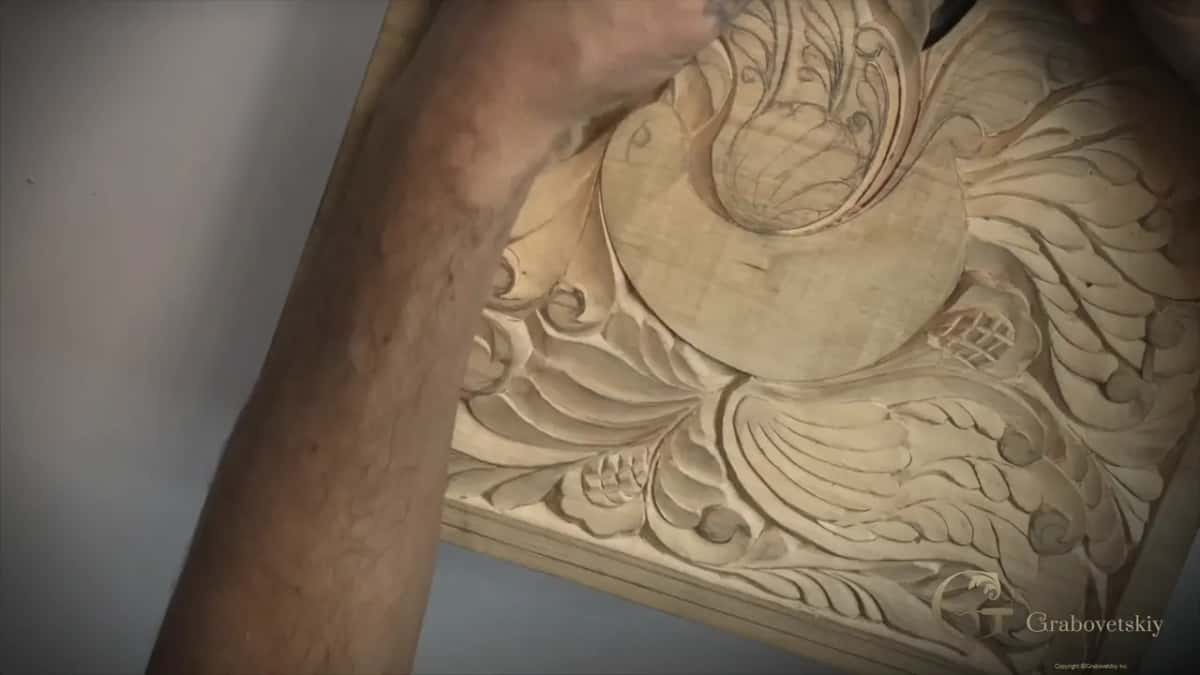
How deep you go here is up to you. I went about a sixteenth right there because the volute is small, and I didn't have any reason to go really deep. Of course, I could dig deeper later.
I also had to keep an eye on my edge, and on how deep I was digging into that wall. Then I went out to the edge of the detail until the red mark had disappeared, really carefully, because with a bevel that low I was barely taking out any material.
What happens when the bevel is too sharp?
You go deeper than you wanted. I made a little mistake right there on the wing, and we'll fix it, I said. I got a little deeper because my angle, my bevel, was too sharp. I should have done a little less bevel, but it's okay.

Early in the third video I didn't like what I did in one spot. I went too deep, and I should not. The way I fixed it was to lower that part with a really low bevel, and later on I would lower the other side as well.
You can always go back. In the corners, where two passes meet, it's sometimes not as clean at first. We recheck everything later on, and you can take your knife to the edge and clean it that way. Another technique for that was coming later, I said, one that makes the corners look really clean and nice.
Should you take the triangle parts out first?
If it's easier for you, go ahead. It's much easier for some, I said in the second video, so let's do that. Just the triangle parts first, and take them out.
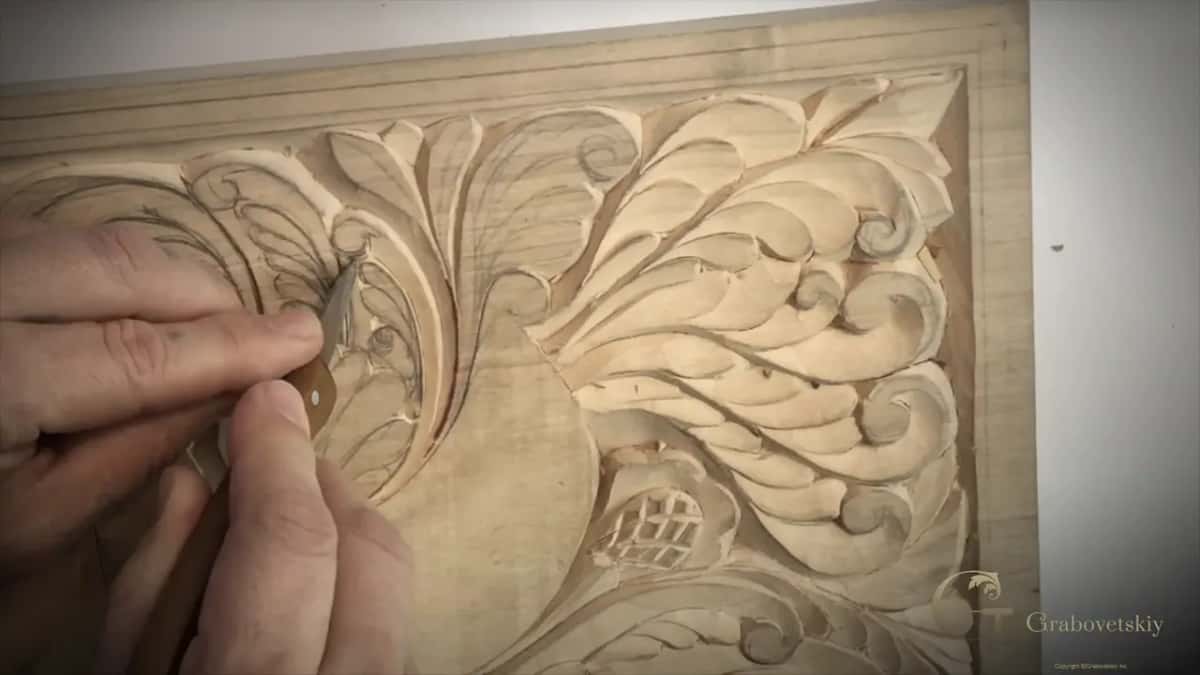
One spot needed a different bevel, so I changed it there. A triangle came out again in the last video, then I went around the shape.
Why redraw a line before you carve it?
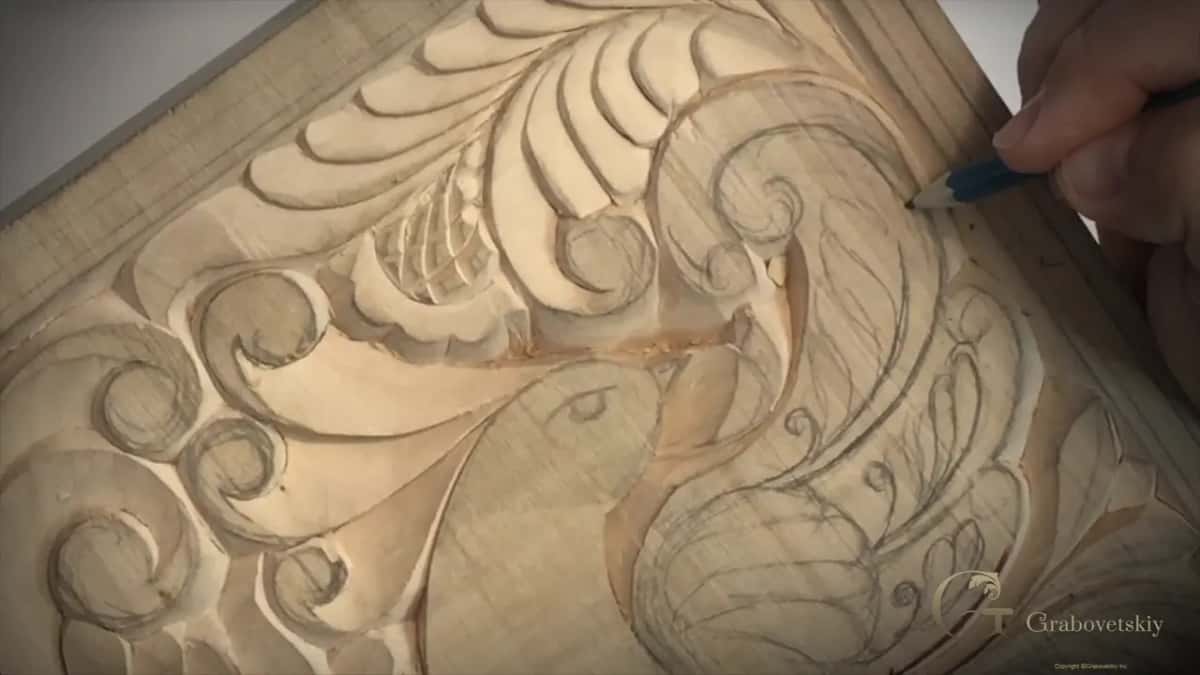
To keep it in the flow. Some of you don't understand when I say let's refine the line and everything has to go to the flow. This wing had a good example. I was really quick when I first designed it, just drafting.
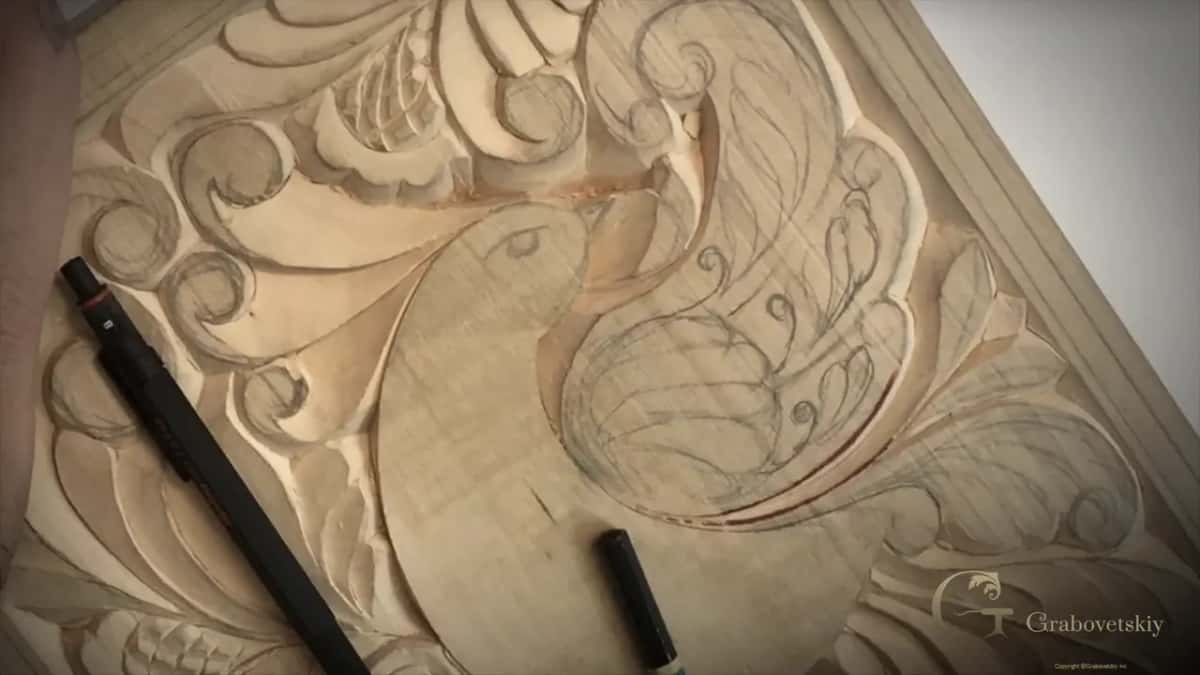
The outside line of one future curl, or volute, wasn't in the flow. It was kind of like a bubbling. It wasn't in harmony with the outside line, so I redrew it to make sure this line repeats that line and the two flow together.
In another spot the line would just die, and it didn't create a nice flow. That's common when you're drafting everything really quickly. They're not mistakes, though. We can always refine.
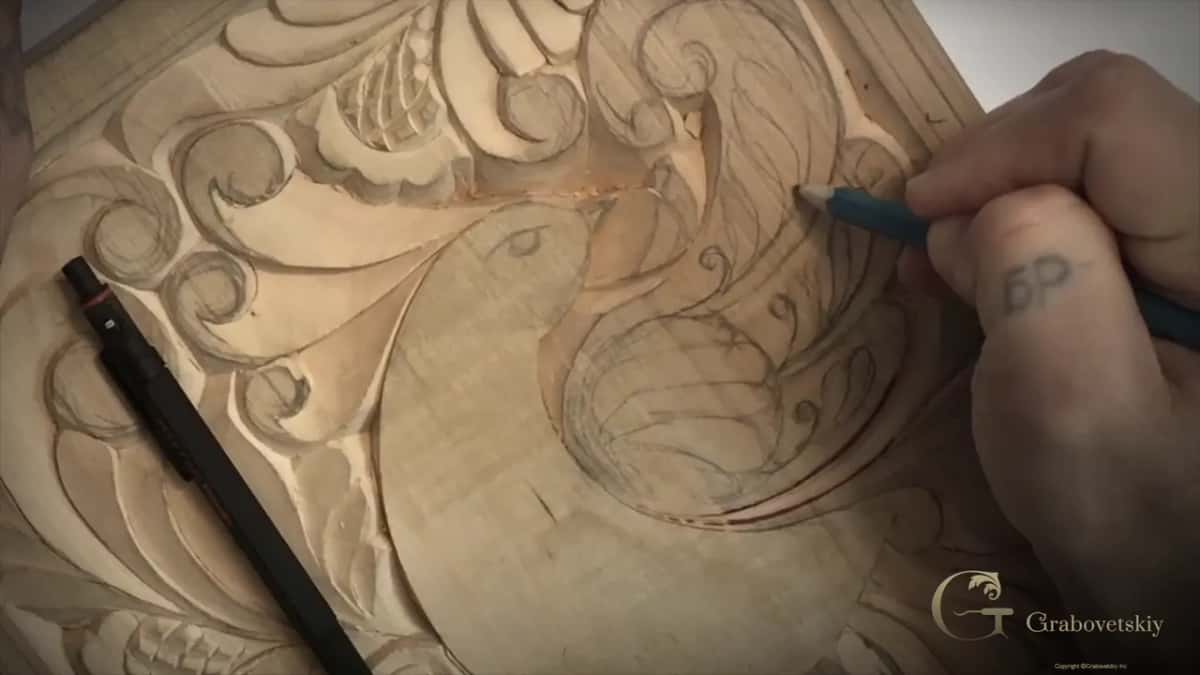
I erase it, take my pencil and make sure the line is free flowing and connected to its point. One line I had to move a little to the left, and I wasn't sure the camera could catch it. I do this a lot when I'm drawing quickly, and then I look back after a few days and try to fix everything.
On those volutes I set the second line flowing to the main line too. One volute, I said, should almost touch the edge, because I just think it looks better.
What does flow mean in wood carving?
I call it flow, F-L-O-W, because it's like a flowing all together. Everything has to flow together and interconnect, every detail, and all of it has to go to the same line.
Another bubble showed up in the last video. The flow went more to one line, and that bubble bubbled out. It didn't look nice, and it didn't look natural, so I refined it. Then came a slight bevel, not much, and my flute, which I refined to make it more curly.
One line that should flow continuously still had a spot that wasn't that nice. I check everything later and go over it with a single pass, until it's the same continuous flow line.
The small details around my volute are not really feathers, I said, but still they kind of look like it.

How do two knife passes blend into one?
You blend the second one into the first, really carefully. That was the number one pass we did, and right now is the second one, I said in the last video, and I want to blend those two together.
A little later the grain met in one spot. My grain was actually meeting together, so I went from the other side and blended that in, little by little.
Right by the edge, in the second video, I connected my first pass with the second, so I had to be careful again.
One chip in the first video came off whole. It's beautiful and continuous, I said, especially since that's end grain, and I really liked that one. Being end grain, you can easily break it into multiple pieces.
Does knife work help a furniture carver?
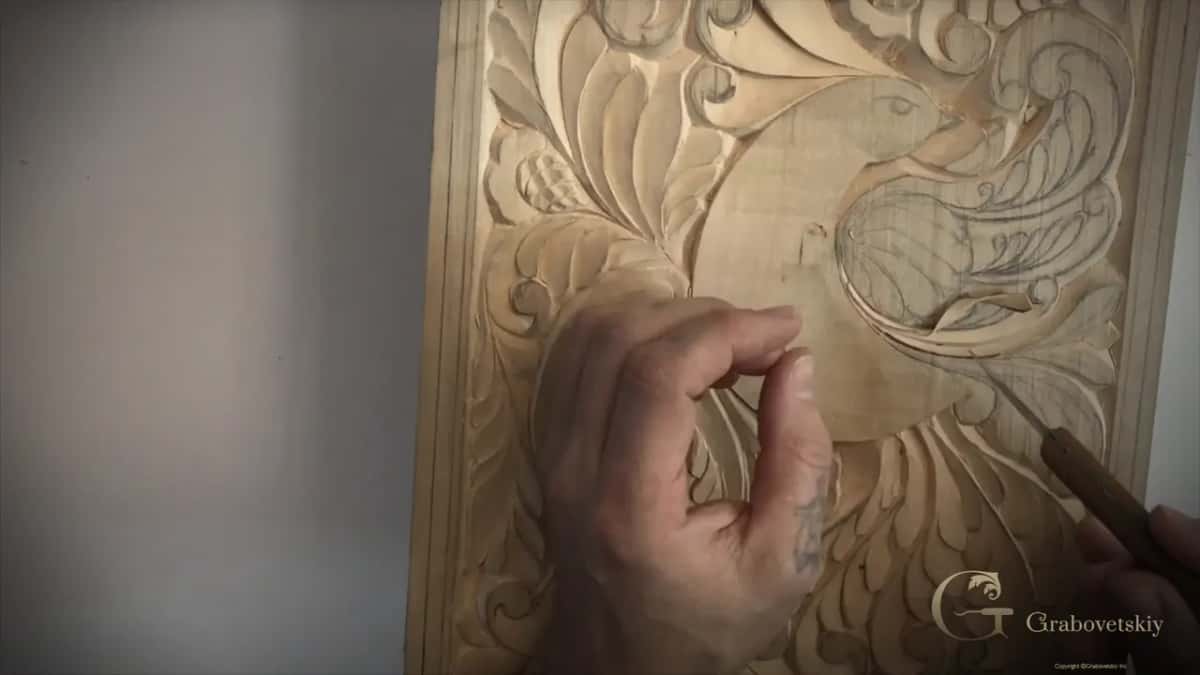
Even there, it makes the work quicker. I understand if some of you would like to handle just one type of carving, like furniture style carving. That's absolutely understandable. There are lots of furniture makers, and they would love to learn to carve antique style, or to restore antique style furniture.
We'll do that, absolutely, with a really nice Chippendale almost flat semi relief carving. But believe me, even in furniture carving, if you learn how to use your knife, it's going to be much quicker and much easier.

On my furniture panel I said I could probably get an even bigger tool and start outlining, although the first passes needed the knife.
Not everyone sees the knife that way. Those of you in the UK know this one, as I said in that April livestream. There, if you use a carving knife, you're not even considered a wood carver, because people mostly use gouges, veiners, V tools, which they call a parting tool, and chisels. I still don't get it.
What can you carve with just one knife?
There's absolutely no limit to the designs, once you master your skills with the knife. I know I said that many times, and I'm probably going to repeat it.
On the acroterion I shaped pretty much the whole piece with that one knife, taking big chunks of wood with really heavy passes. You have to use a lot of force, and keep a consistent angle on both sides. But you can get really good results with the one knife technique.
I also did some projects in a prison in Russia using one knife, mirror frames in particular. Nobody would let me have carving tools in a prison, especially a lot of them, but a small knife I could have. It was even smaller than the knife in my hand that day. They wouldn't let you have a longer blade, so nobody could use it as a weapon. Although you could use anything as a weapon.
If you don't have any tools at all and would love to start carving, my suggestion is to buy a cheap carving knife first and master that. That's what I said on my flower rosette. You can do really beautiful things with just one knife, and at the beginning you really don't need expensive tools at all.
Then, on that same rosette, I took a small number six gouge to remove around the center. You could use the same knife, I said, but I thought the gouge was a good idea right there.
That's how my teacher started me. In that April 2020 livestream I said the first tool he gave me for carving was a knife, just a knife, and I had to practice really complicated forms with it before I started to use gouges. He would say I have to master my knife techniques before I do anything else.
Why is there no sandpaper on this board?
A couple of reasons. One person asked me why I don't want to sand, and that is a really good question. When you sand, you're actually pressing fibers together. Then if you use a water based finish, for example, it raises up all the fibers, the grain is raised, and you have to sand it again and again.
That's easy on a flat piece of furniture, but not easy on really complicated forms. When you just carve, the grain stays right there. Well, not much will be raised. Spots where you pressed too hard still come back up with water, but not as much as with sandpaper.
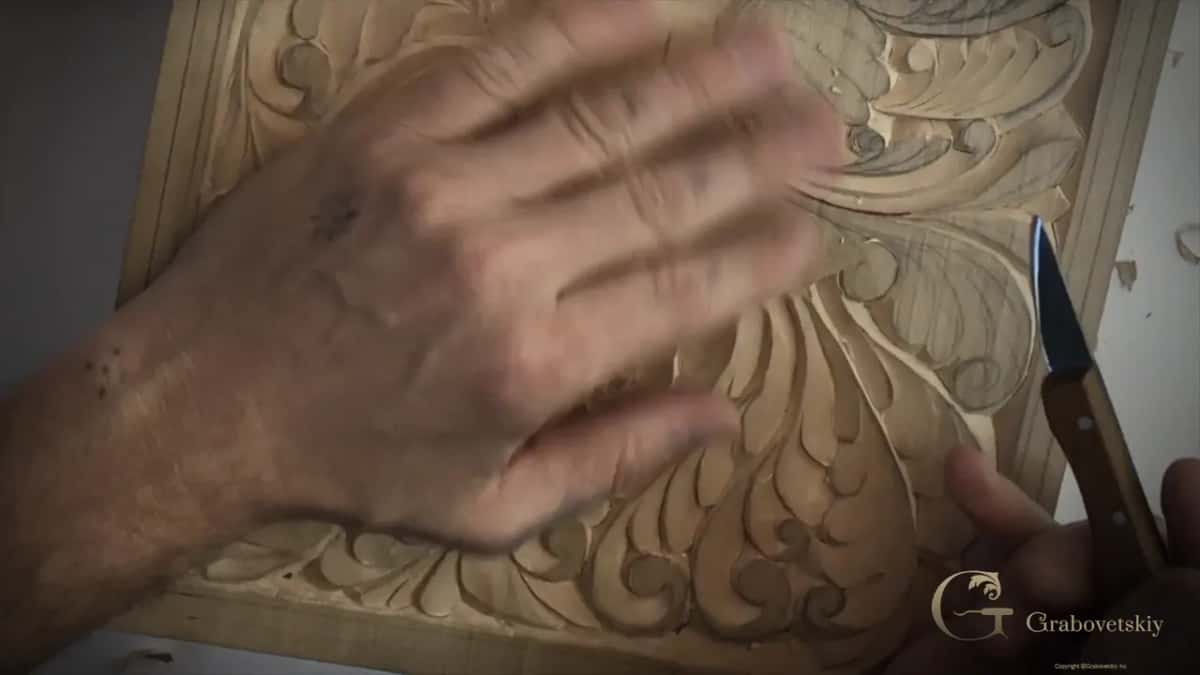
And besides, it looks more human when you see all those marks and they're not sanded out. It looks like it's not done on a machine but by a human hand, which is the whole idea, actually. My Workshop 8 page goes further into sanding.
Where this lesson sits in the course
We are developing the ancient skill, taking it progressively toward the modern approach of wood carving. It's still classical, still traditional. It's historical carving, with a long, long history.
This is the fourteenth workshop of my beginner course. Workshop 13 comes before it and Workshop 15 after, and the page for Workshop 4 takes on a whole panel using a single knife. The full videos are for students of the school, and Access is how you get them.
One curl on your board is waiting for its line.
How it's done
- Refine the drawing. Look at your quick drawing again after a few days. Erase any line that bubbles out of the flow and redraw it so it repeats the line beside it.
- Hold the knife like a pencil. Follow the line with a slight bevel, less than a sixteenth of an inch into the fibers.
- Lighten up by the border. Where a line runs by the border of the board, take great care and press very lightly, almost not at all.
- Lift out the triangles. If it is easier for you, remove those small triangles first, then go around the shape.
- Blend the two passes. Blend your second pass into the first. Where the grain meets, come in from the other side and blend it, little by little.
- Check the flow line. Later, check everything and go over any spot that is not nice with a single pass, until the line flows continuously.
Frequently asked questions
Can a carpenter's chisel do a knife's job?
Much of it, yes. A number one carpenter straight chisel can do lots of what I carve on this bird of paradise board, working off the edge. You use a single point of it and only one side, the same principle as a knife point.
Is a V tool better at the edge of a board?
Your V tool would manage fine there, because it sits in the line and puts no pressure on the wood. With a knife, the wood on the edge side of the line has a lot less fibers, so I go really carefully and barely press at all.
How far into the wood should a knife go on small ornament?
On these small volutes I went about a sixteenth of an inch, a couple of millimeters, and in some spots even less. A small volute gave me no cause to go deep. The depth is up to you, and you can always dig deeper later.
What to carve next