
Alexander Grabovetskiy, woodcarver, School of Woodcarving · Published 2017
How do you know when a wood carving is finished?
Quick answer: A finished wood carving is one you decide is finished, because the work itself never ends. I leave a piece alone for a couple of days, sometimes a week, then come back and see the mistakes my eye had adjusted to. I fix what I find, and at some point I let it go.
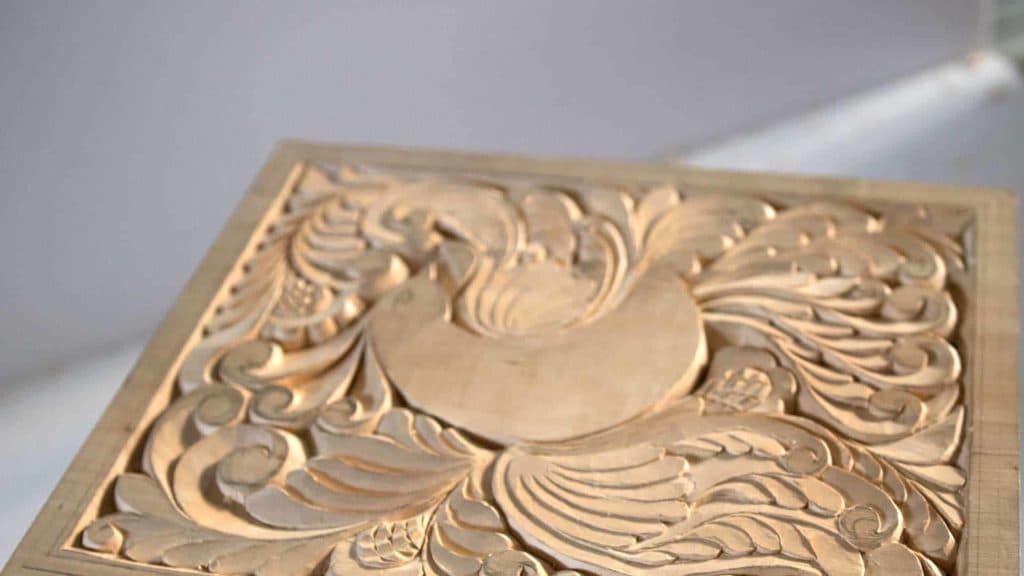
A finished carving is the one you decide to call finished, because the work itself never ends. Your board is done when you say it is, and honestly it never quite gets there. You can always find one more ridge to take down, one more line to refine, one more detail worth adding. Nobody else can make that call for you.
Have you ever looked at something you made a week ago and seen faults that were invisible while you worked? Do you know why that happens? Workshop 15 of my beginner course is almost the last of the knife work on this bird of paradise board, and it opens on exactly that.
Here is what my teacher said to me once. If you look at your work and you think it is done, and you like it, then you are not an artist anymore. A real one still sees every mistake, and still knows the spot he could have carved differently. I'll show you how I catch my own mistakes, and when I let a piece go.
What Workshop 15 shows about finishing
Your eye adjusts to your own work, so faults become invisible while you carve.
Leave the piece alone for a few days. Come back and every fault is waiting for you.
The triangles set the depth here, and I judge it by eye.
Furniture panels give you a quarter inch (6 mm) of wood to work in, total.
The number 12 knife does the daily work, and a tiny one is just for the tiny spots.
Where many lines meet, I work one detail at a time instead of setting straight passes first.
Why can you not see faults in your own carving?
The eye adjusts to what it sees. You catch some faults while you carve, but a lot of times you catch them days later.
Think about a cracked mirror in your house. Within a couple of days you get used to it, and you really don't pay attention to that crack anymore. Carving does the very same thing to you.
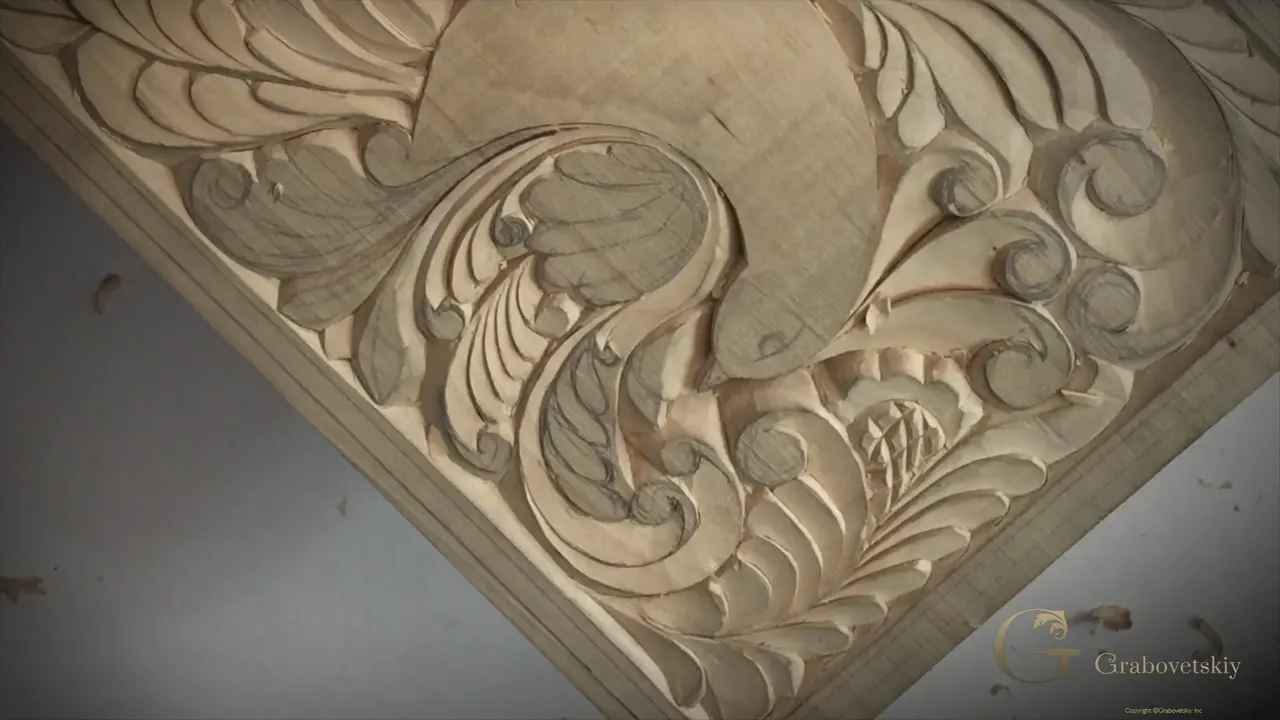
Sometimes it's a good idea to leave the work for two days or more, even for a week or so, and work on a different carving. Then, when you return, you see all the mistakes you made while your eye was adjusting. So I put a piece down for three days, four, sometimes a week, and I carve something else in the meantime.
I had just refined one line on this board when I saw a little bubbly area on it. It wasn't really flowing. It looked like it didn't belong to the main flow line, so I recarved it, and you can see yourself it looks much better. But it takes fresh eyes.
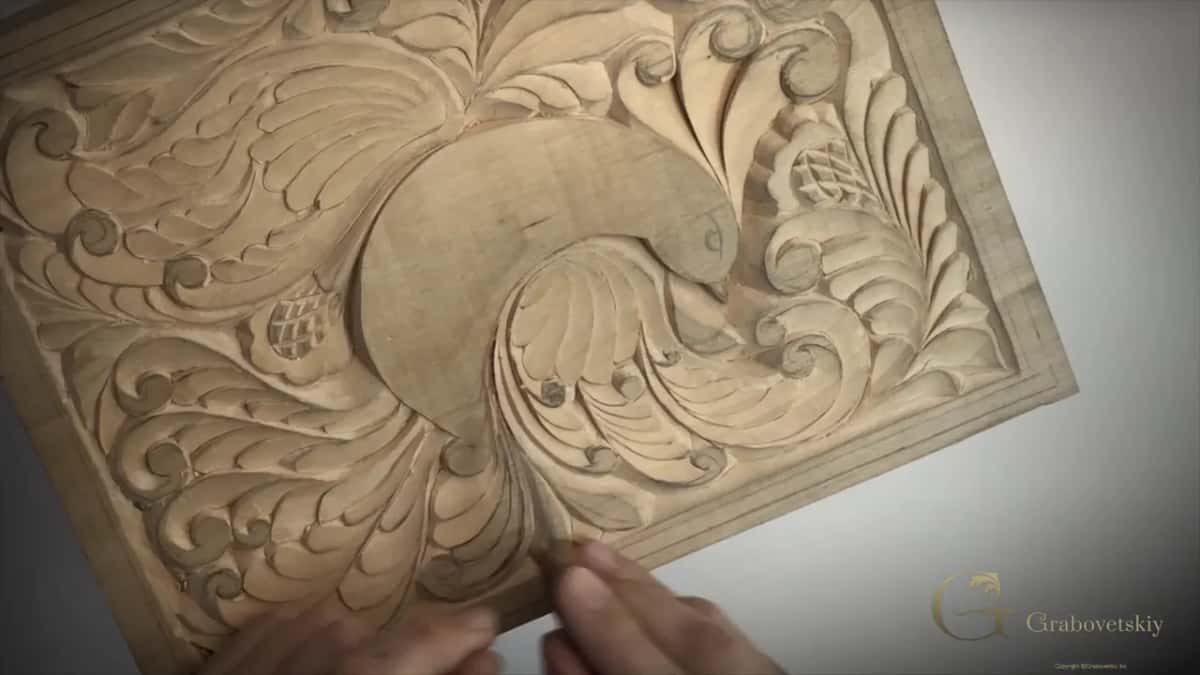
I know some of you had a question in the side of your head. Why in the world does he leave some spots rough? I deliberately leave rough areas rather than cleaning them immediately, because I know I will be back in a few days with better eyes and will find them faster then. Even after many years of practice I still find imperfections.
What's left inside, between one pass and the next, stays for now. At the end I'll spend maybe half an hour just cleaning everything, to find whatever I find. Later I'll show you a way to clean those spots with a small block of wood. I showed it before with a toothpick.
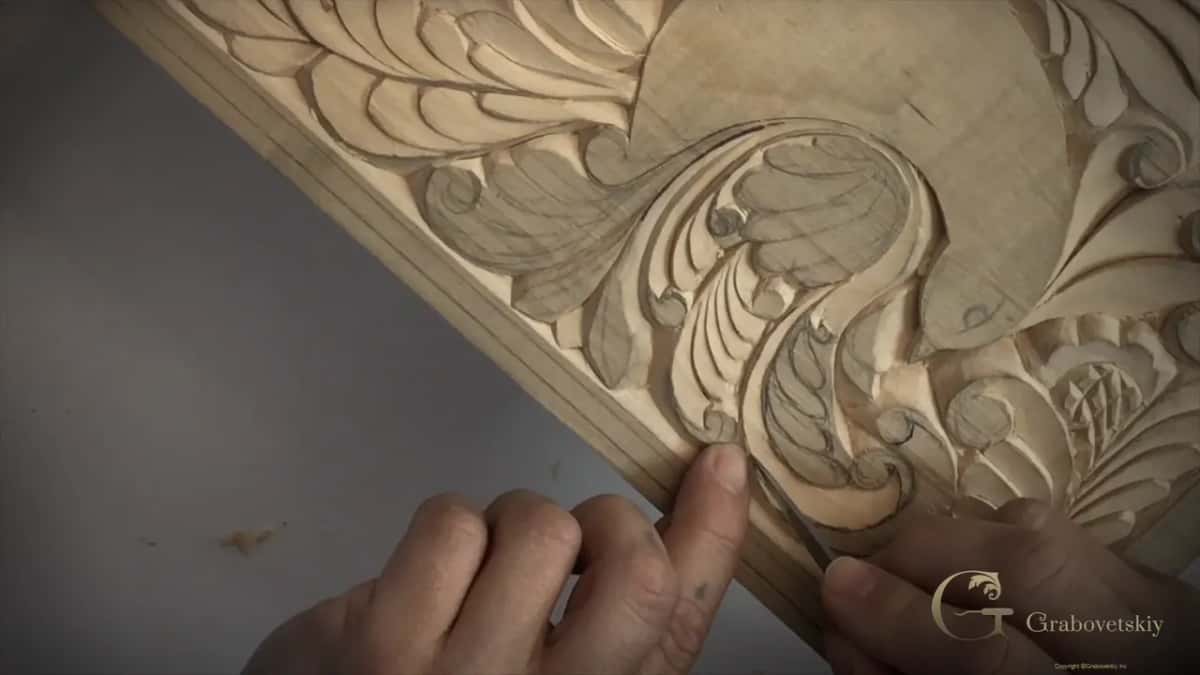
On my Modern Acanthus course I gave this habit one more reason. I don't take a detail to the final stage while I still work on the overall project, because who knows what you'll want to change when you look at it with a fresh eye. Spend so much time cleaning an area, then want to change it, and you get frustrated. In real life you see a carving from all points of view, from different angles, and you realize it's better to change a little. That is why my first stage is the overall shape.
When is a carving actually finished?
Whenever you decide it is, and that part is only up to you. Believe me, your work is never going to be finished. Never. Go on and on, and you still find something to refine and something to add. Art never ends.
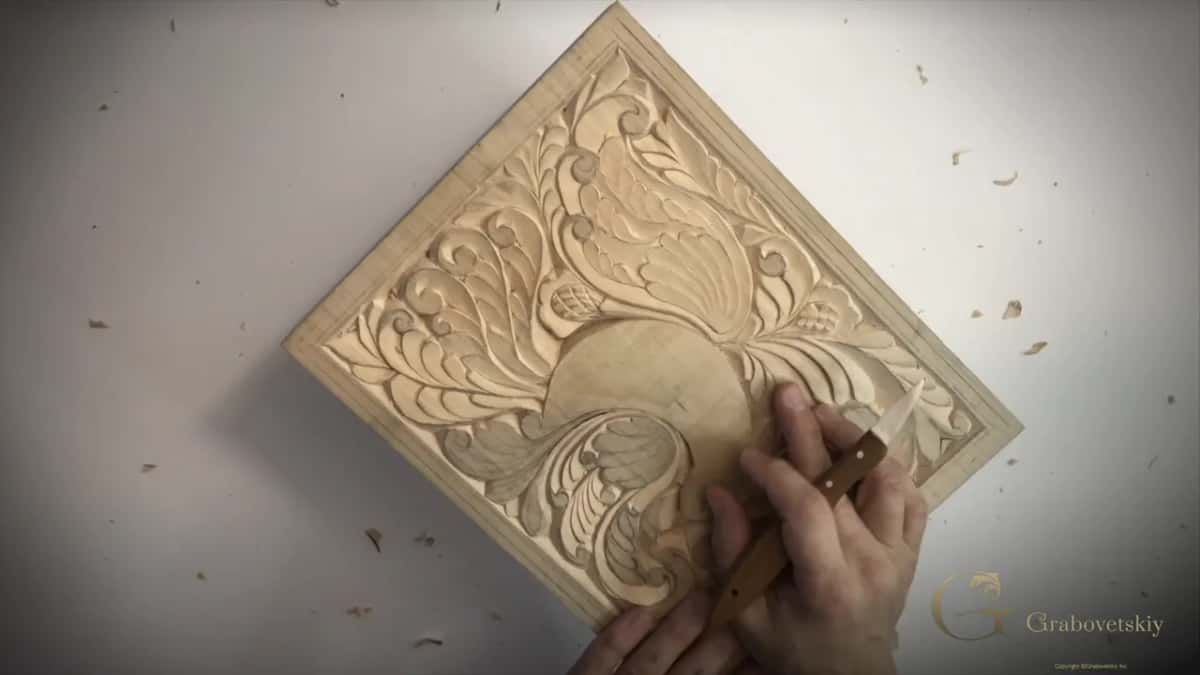
Teaching the Hashemi flowers, I told my students what the hardest part is for me. The carving itself is just the same passes over and over again. The hard part is how nice I want the final look to be, because you can go as far as you wish and there is no end to it. You will always find some imperfection, something to fix, something to do differently.
There I quoted my teacher a little differently. The day you see your own work and say, wow, it's beautiful, I couldn't make it better, is the last day of your artistry. A true artist can work on one piece all his life and still see it's not done.
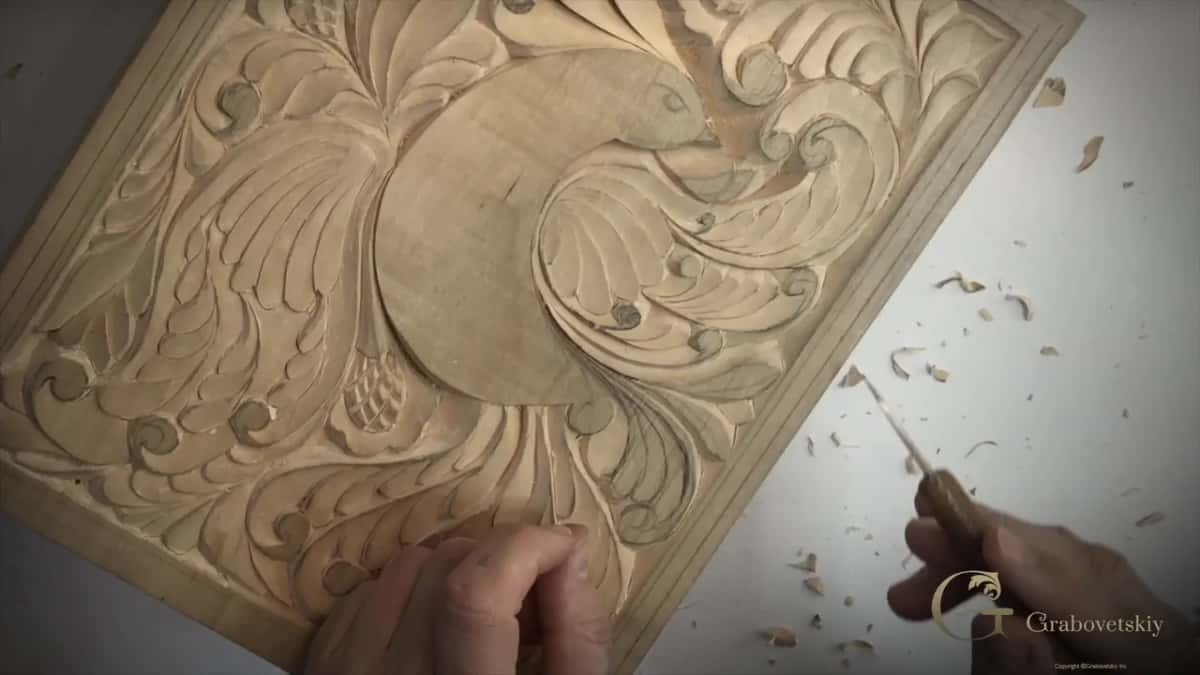
Sometimes the business side of me kicks in, and I have to say, that's enough, I have to feed my family. At some point I just finish it and let it go.
The Lily Box lesson puts it another way. A tendency to overdo your work tells something good about you. For a true artist, the piece always looks unfinished, honestly. Under-doing on purpose is okay too, when your money depends on speed and you need to pay your bills. That is a stopping point too, and it's justifiable, absolutely okay.
How deep should a flat panel be carved?
Here the depth comes from the small triangle areas near the volute. I call those areas the triangle, and that is where I set how deep my pass is going to be. In that spot I don't want to go deeper than 1/16 of an inch, about 1.5 mm.
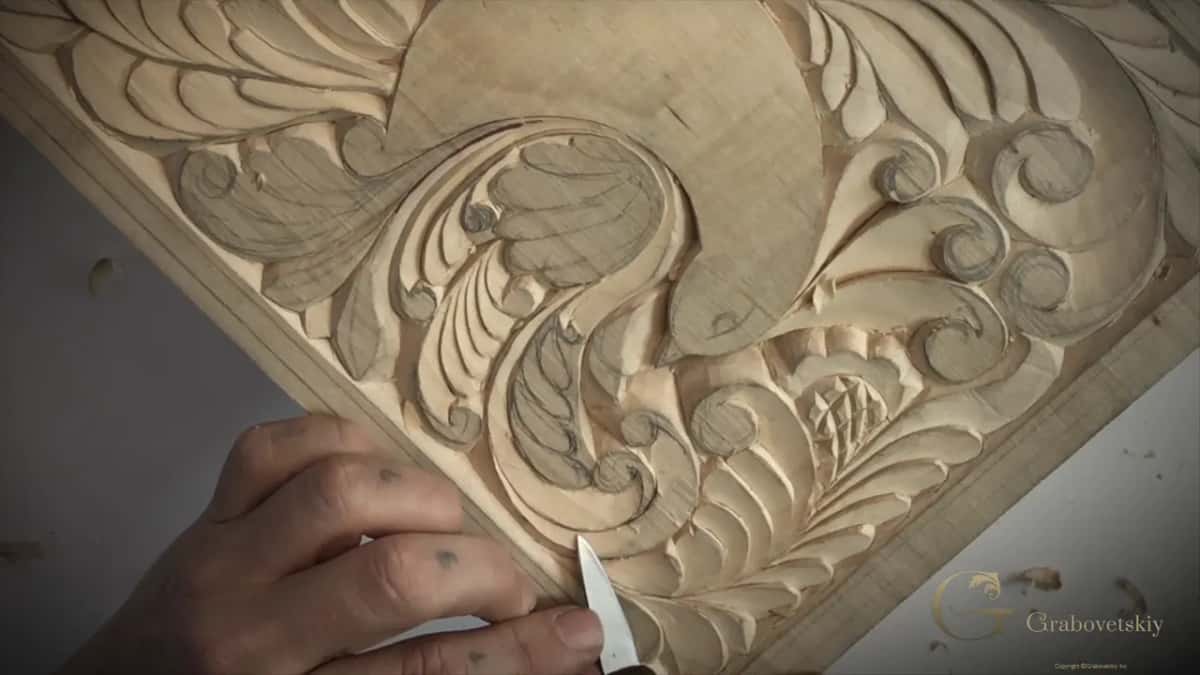
I do not measure. I'm just eyeballing it, and you could measure, but I don't. Everything else I blend to that point. Making a couple of passes, even more than a couple, and blending them together is better than trying to take everything at once.
| Where | Depth | Why |
|---|---|---|
| Triangles by the volute | about 1/16 inch, roughly 1.5 mm, judged by eye | everything else blends to it |
| One wing line | much less, maybe about one millimeter (0.04 in), one mil | shallower than the triangles |
| Around the bird | a little deeper, so the bird looks outlined | it stands above the design |
| Furniture door panels | near a quarter inch (6 mm), or even 3/16 of an inch, five millimeters | still feels three-dimensional |
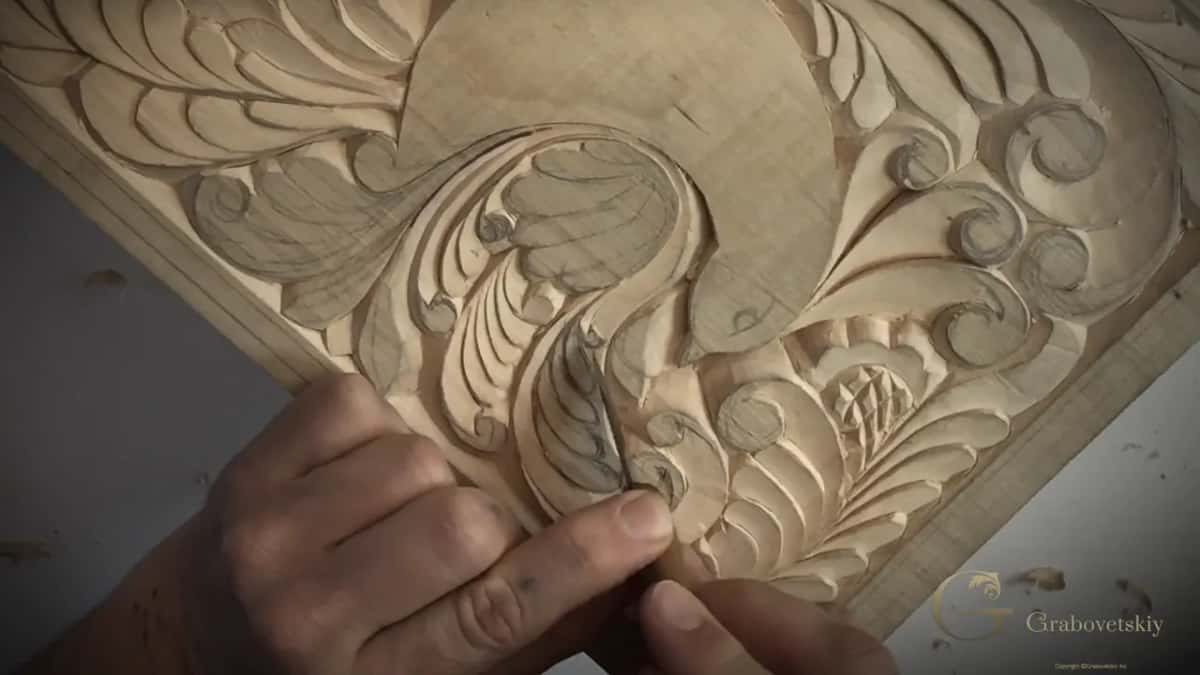
Why not deeper? We are training your hand to feel how deep the carving is supposed to be. Say you're planning to carve furniture, like Chippendale style panels, or French or Belgian style. The panels inside their doors are sometimes a quarter inch deep. You really can't go deep on those panels, but you still have to create the feel of three-dimensional carving.
The only way is to train yourself to work with just that. Here we go only a sixteenth, and it still feels carved. It still creates the shape.
Does the finish make carving look deeper?
A little bit. Once we finish this board, those lower areas get a little darker, and that creates a feel that it's deeper.
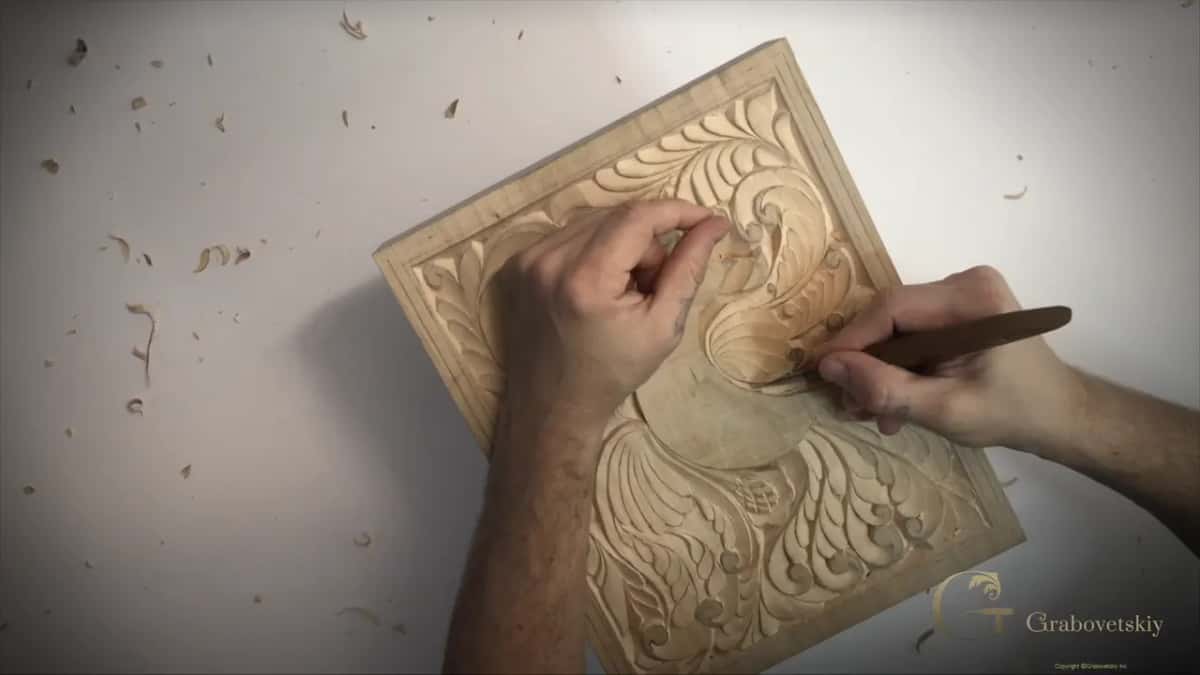
For a spot like that on the wing, I said I'd maybe take a scraper later and clean it really carefully. It's better to use a scraper than sandpaper there, because of the fibers. You're not pressing the fibers in.
In Workshop 17 the stain is water-based, and I explain there why I didn't sand before it. Sanding presses some fibers down, and once the stain goes on, those fibers get raised. Then in Workshop 18 this board did get a slight sanding with 400 grit, just to make the upper level more noticeable.
Which knife does all of this work?
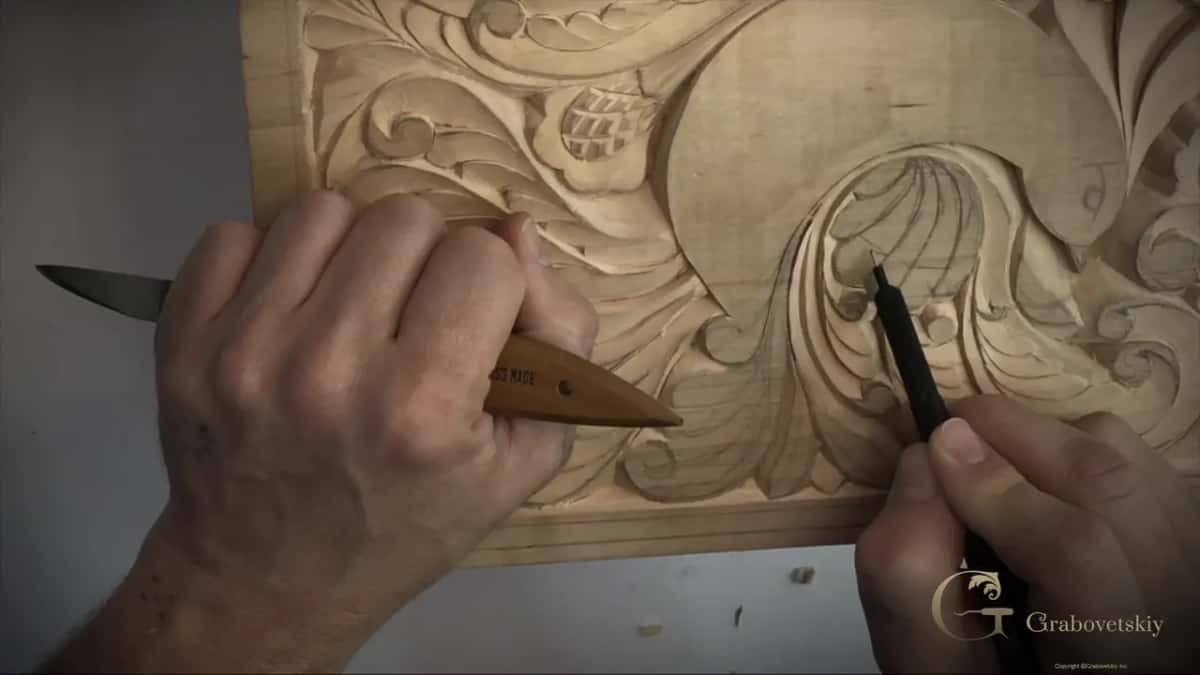
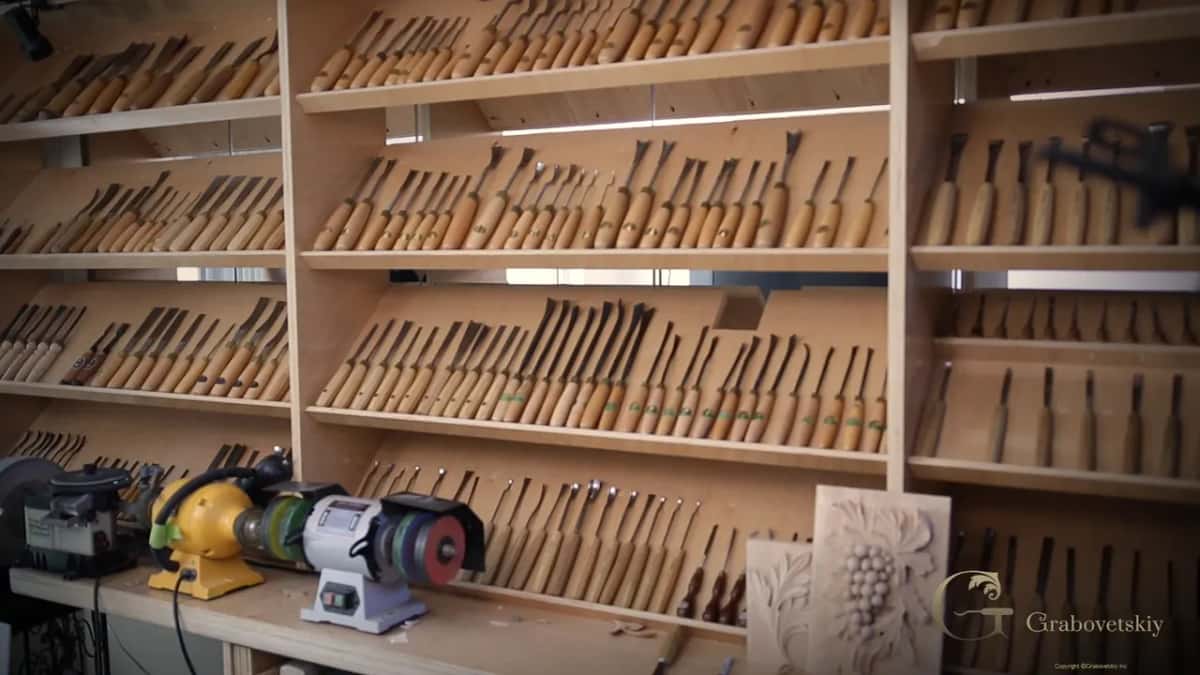
My number 12, which I use every day. It's Swiss made by Pfeil, and back in Workshop 7 I called it one of my favorite knives.
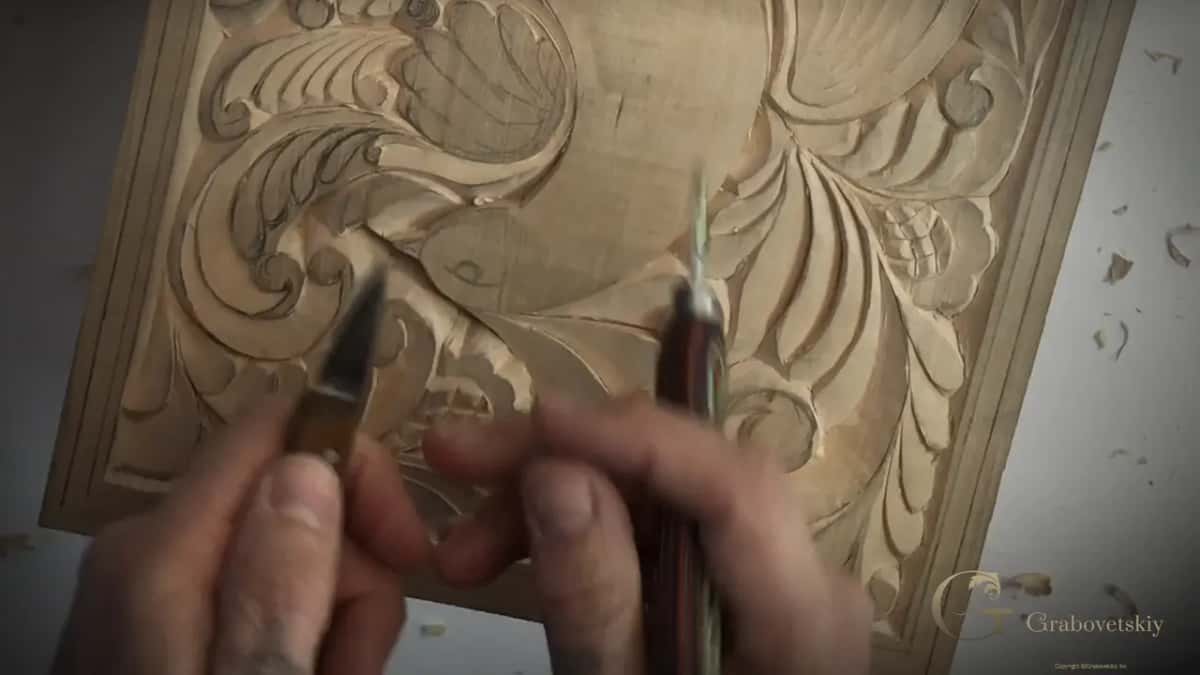
There are smaller knives you can use. In this lesson I hold one by Ramelson next to the number 12, and it's a really tiny one. The only thing I don't like about it is the metal. The little one is thicker through the body, so it does not flex at all, while the number 12 has a bend in it under pressure. That small one, you can break easy.
For small, tiny spots a smaller knife is nice, just to get really inside them. But I'm not using that one every day.
What decides whether the spacing looks right?
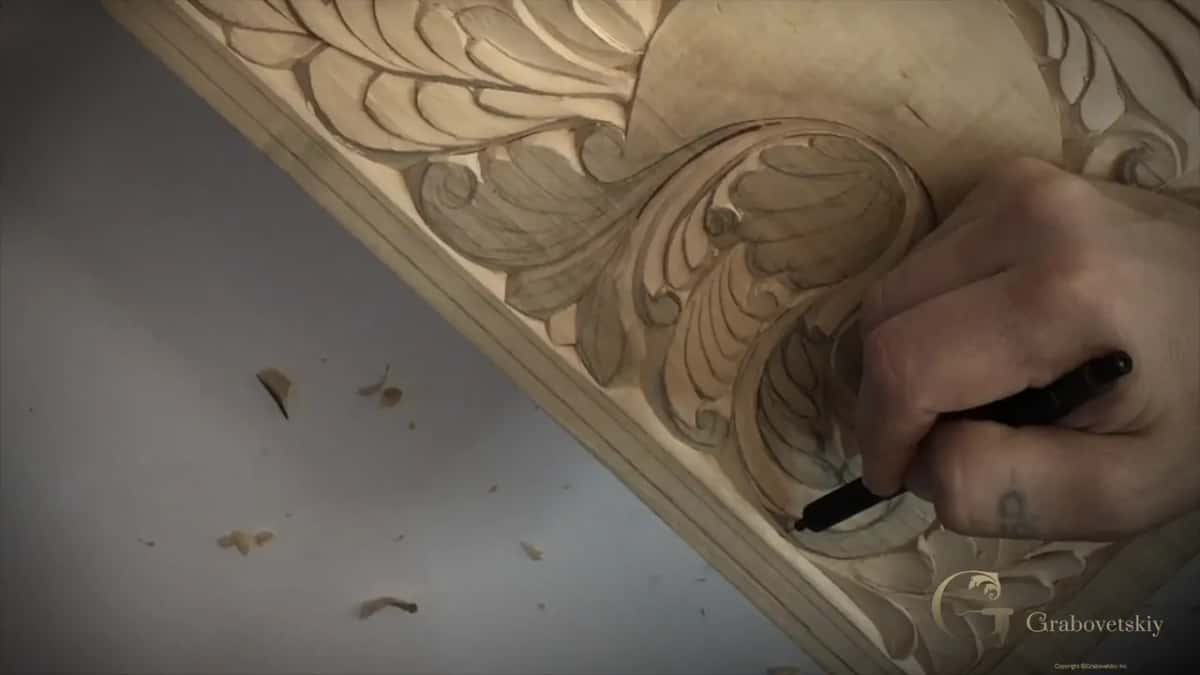
Before the knife goes in, you need to understand where your line is supposed to be. The original line on this wing was just a preliminary, really quick sketch. It didn't flow together. I needed to reestablish it, and I encourage you to keep an eye on yours and do the same.
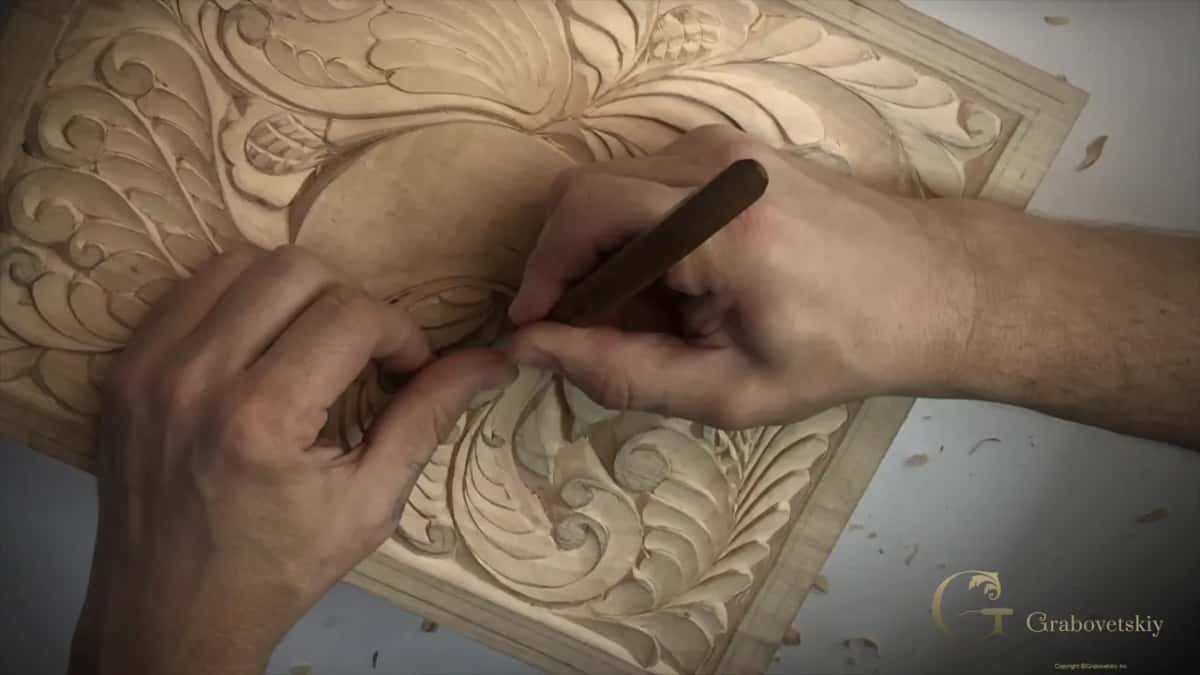
The lines have to blend together and work as a unity. Looking along this wing I could see one distance much wider than the next, and another one almost as wide, a little less. I didn't like it, so I brought one line closer to make them semi-unified. It would look better if the central part were wider than the others, but I was happy with what I saw. It should all flow.
The same goes for the feathers. They're not even feathers, just ornamental details that represent feathers, and I refined them so all of them flow into the same flow line.
Is shallow work really carving at all?
People tell me it is not. Some say, oh, that type of carving is not even a carving. I strongly disagree. It's actually more carving than you even think. You're really carving the wood, and it's just a different style of carving, which I love.
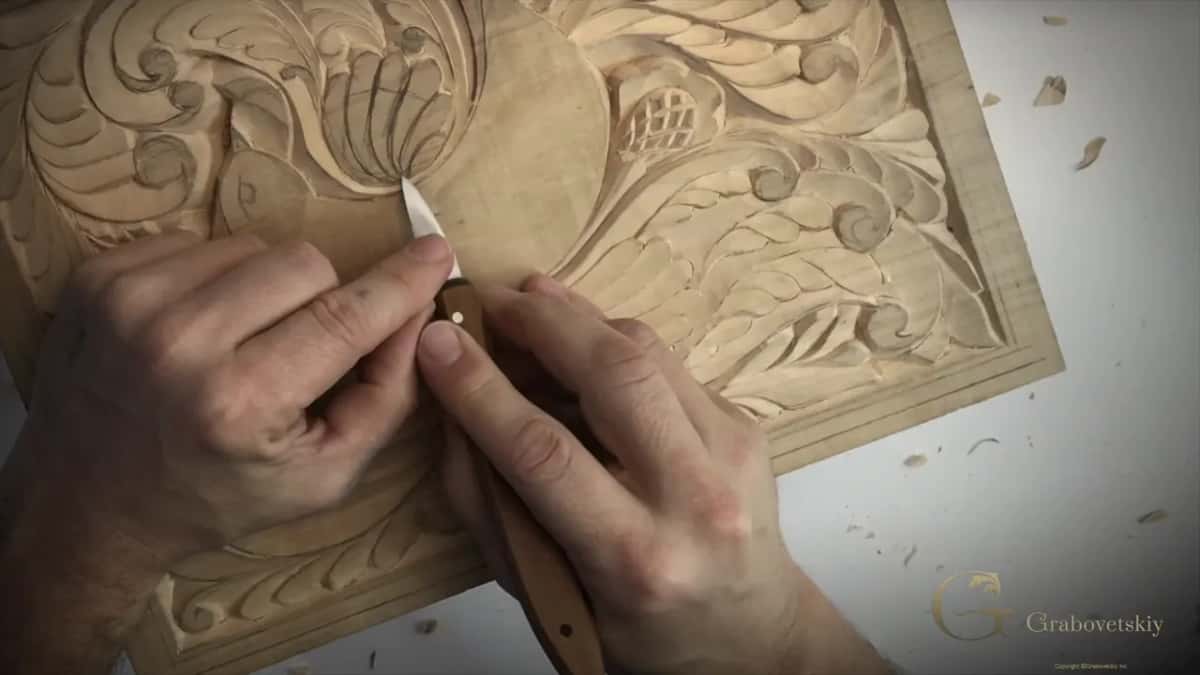
Right after I said that, I was hitting with the edge of my knife, and that's not nice.
In my furniture panel design course I said that some people call the style of that panel Chippendale, but it's not necessarily true Chippendale. Hundreds and hundreds of carvers around the world, in the 18th and 19th centuries and the beginning of the 20th, used that technique, the shallow carving technique.
Why do I bring a lamp in close when I'm almost done?
With it you see much, much better. When I'm almost finished, I take my lamp, get really close to the details and start refining everything. The lamp was in the way of the camera in this video, so I said maybe I should find a way to use it and still connect the camera somehow.
For the Lily Box I did bring it in, and I asked you to forgive me if it was too bright. For me it's more convenient to see through the lamp. It's a magnifier lamp, and when I use it and talk at the same time, I lose quality of the sound.
In the Venice Room I placed my lamp exactly where the light of that room was going to come from. A concave I carved there would then cast extra shadow in that direction.
Even on my furniture panel I found a tool mark right on my background, which I had said many times I don't want to see. Somehow I created it for myself. It's okay. There is a way to hide that. A few minutes later I got my lamp again for the finer details.
When should you stop planning and work detail by detail?
Where many lines converge in a small area. This last section of the board is tricky a little bit, because lots of lines go together there.
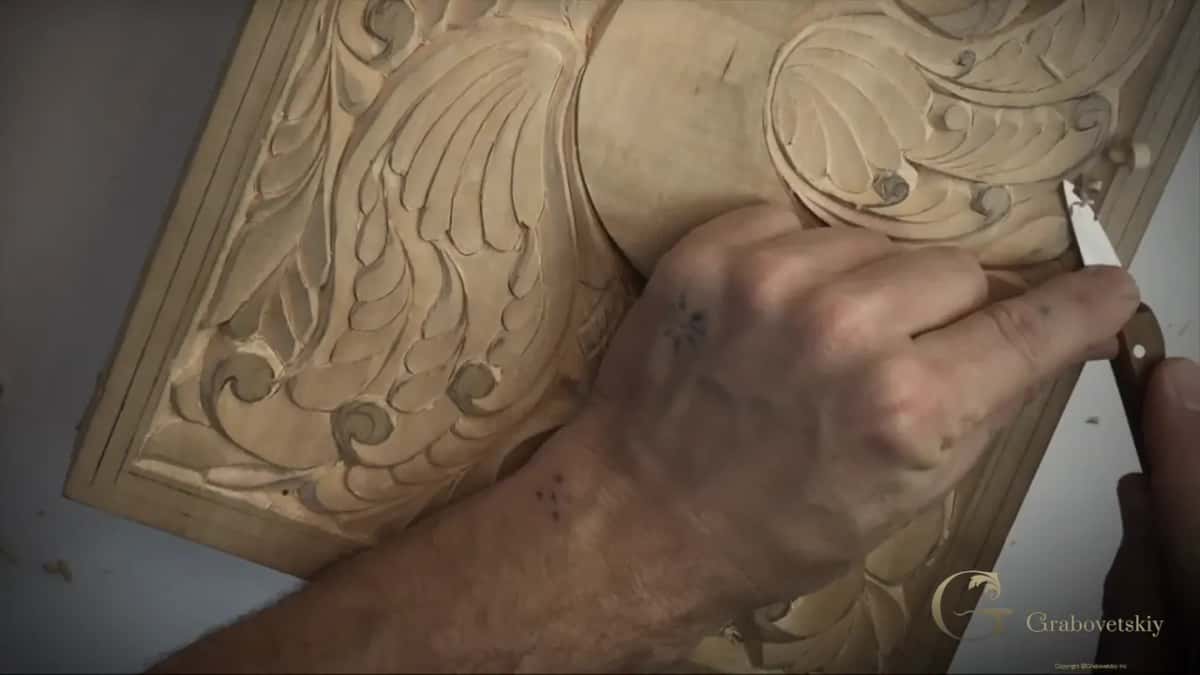
In this case I did not establish my straight passes first, but worked detail by detail. It's just a different approach, but I like it in cases like that, when lots of lines go together.
You saw the bubble on the right-hand side. I didn't like it, so I refined my flow before the pass. Then I changed my bevel to a really low one, and I'm really happy with the result. Last, I beveled one more element in the opposite direction, and I think it looks much better.
What keeps a shallow pass steady?
Your hand underneath. Look how I'm holding my knife. My hand is underneath, and I'm using just two fingers. One finger controls how far I'm going, and my hand is on it, controlling the pass, so it's not hanging in the air. That gives me a really steady pass.
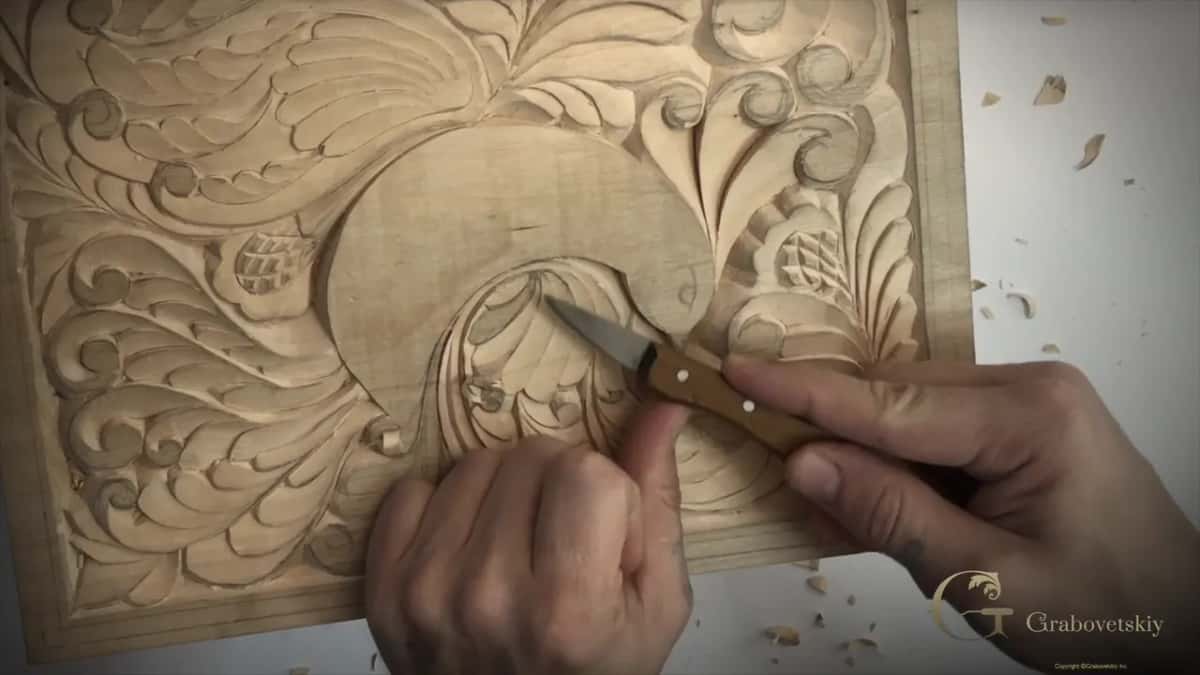
Be careful close to the edge. Don't create a lot of pressure there, because your weaker point is on the left-hand side of the knife, where there are much less fibers. A moment later I could make my pressure harder, and even harder, and get deeper.
Along the wing I went almost straight down, with much less pressure at the end, and I stopped right before the edge.
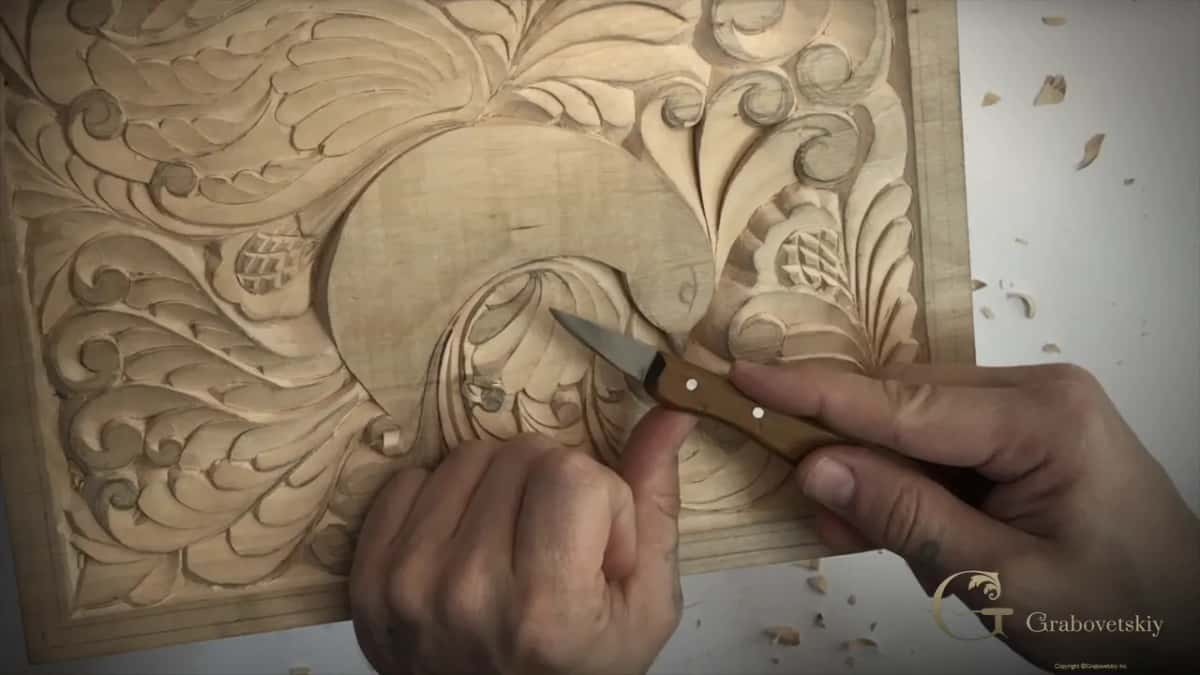
End grain needs the same care. Don't create too much pressure; you have to feel what pressure to use, and that comes with practice. Not all of you will get it on the first pass, which is understandable. When you need to come back, just do a couple passes. Because I didn't press hard there, the wood didn't come out as easy as it should. That's not a problem. I can always return and recarve it.
What happens when you make a mistake this late?
You fix it. Just before one long pass I said, don't press too hard, because if I press too hard, I'll make a big mistake. Then, working so close I couldn't see too good, I made one. I just made a mistake, I said, and I need to fix it. I'll get back to it.
On a tiny line, keep an eye on your edge. Hit too hard and you can break that upper point, which is part of the design. If you break it, just lower that down and recarve it. Earlier in this lesson I said I made a mistake and should have come from the other side.
My cleaning pass came next, and it took out the red mark. We were almost done with the knife. After that we work with the gouge, and that's Workshop 16.
Is your board close to done? Has your eye been on it for days? Put it down for a while, and come back to it fresh. The full lessons are for students of the school, and Access is how you get them.
How it's done
- Set the piece aside. Put it away a few days, even a week, and work on a different carving in the meantime.
- Look again with fresh eyes. Return to it. The mistakes your eye had adjusted to show up, and you find them much quicker.
- Refine under a lamp. As I get close to done, I bring my lamp near the details and refine everything I can see.
- Clean the leftovers last. Clean the rough inside spots in one go, last. For spots like that, a scraper is better than sandpaper, because it doesn't press the fibers in.
- Decide it's done. Choose the moment yourself, because your work will never be finished. Then stop.
Frequently asked questions
When is a wood carving actually done?
Only when you choose to stop, since the work can go on and on. My teacher told me that if you ever think your piece couldn't be better, you are no longer an artist. Real artists keep seeing flaws, so they pick a moment and let the piece go.
Why can I not see mistakes in my own carving?
The eye gets used to the piece as you work on it. A crack in a mirror at home stops catching your attention after a few days, and a ridge on your board behaves the same. Set the board aside for a few days, carve something else, and the mistakes show up when you return.
How deep should a beginner carve a flat board?
On my bird of paradise board the triangle areas go about a sixteenth of an inch, 1.5 millimeters, and one wing line only about a millimeter. Shallow work trains your hand for carved furniture door panels, which can be as shallow as 3/16 inch (5 mm).
What to carve next