
Alexander Grabovetskiy, woodcarver, School of Woodcarving · Published 2019
How many tools do you need to carve a flower in wood?
Quick answer: Carving a flower in wood takes about four tools. A V tool for separating petals, an eleven veiner set to one millimetre, then that profile halved, and a gouge near five millimetres. Everything else on my bench is convenience. Those four carve an unlimited number of flowers.
Four. That is the honest number, and I say it out loud in the opening minute of this lesson while holding each one up.
Think for a second about how many gouges sit behind a carved peony. Fifty? A whole drawer?
Lesson 49 closes the Hashemi flowers panel course, and it opens by taking the mystery out of the tool question. Four will carve an unlimited number of flowers. Everything beyond that is comfort, speed and reach, which are worth having and are not the same as necessary.
The four, and what each one is for
- A V tool, for separating petals.
- An eleven veiner, one millimetre, which does the bulk of the deep work.
- That profile again, halved, for the last stretch where the eye gives up.
- One gouge near five millimetres, for hollows and waste.
- Everything else buys speed and reach.
So how many tools is it, really?
Approximately four basic tools, in my exact words on camera, and those four or five are all you will need for any flower you care to carve.
Nobody believes that until they try it. Forty gouges in a rack looks like the answer to a hard carving, and it mostly answers impatience: a size for every curve means never adapting a cut to the tool in your hand. The flower in this lesson has hundreds of cuts in it and almost all of them came from the same handful of edges, used over and over. Whether carvers have a favourite gouge answers the question underneath this one.
Which V tool?
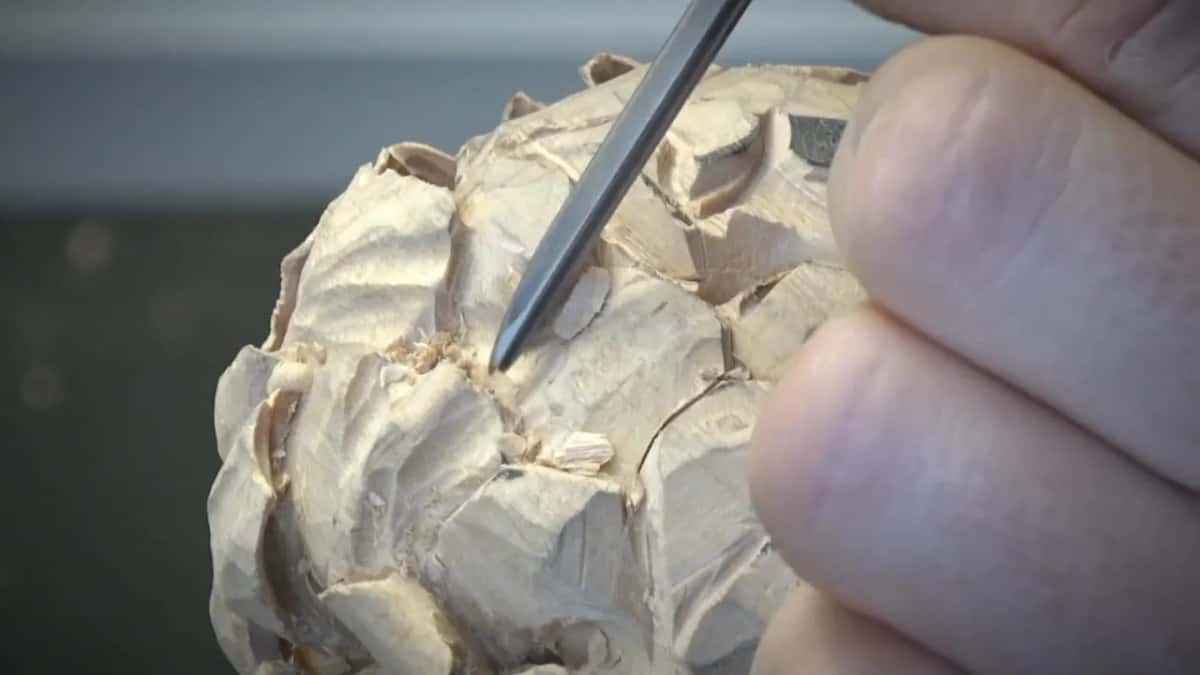
Any of them, honestly. Mine is a number sixteen, which has a really sharp angle.
The job here is separation: laying a line between two petals so the eye reads one lying over the other. Narrow angles reach further down without widening the cut, which is why the sixteen suits me, though a broader sweep gets there too, one pass later. Pfeil number the angle that way, and so do Ashley Iles and Henry Taylor.
Why carry two veiners?
The second one goes where the first has run out of room, and that last stretch is what makes the shadow.
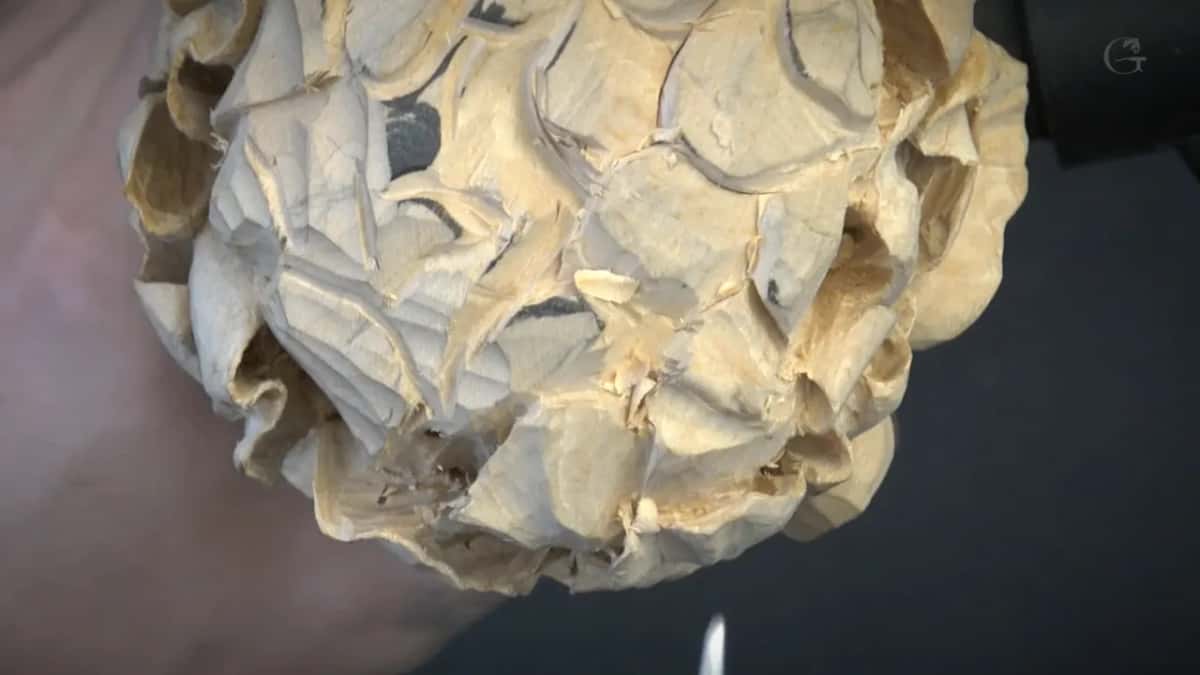
Set to one millimetre, the eleven takes a join down until its own shoulders start rubbing the sides. Swap to the smaller one and the cut carries on into wood the first tool could not reach. You do not have to own the smaller one. In my opinion it creates a beautiful deep cut that nobody will ever detect directly, because you cannot see that far in, and it still throws shadow. The vanishing point cut is what those two tools are building.
The small gouge, and what it actually does
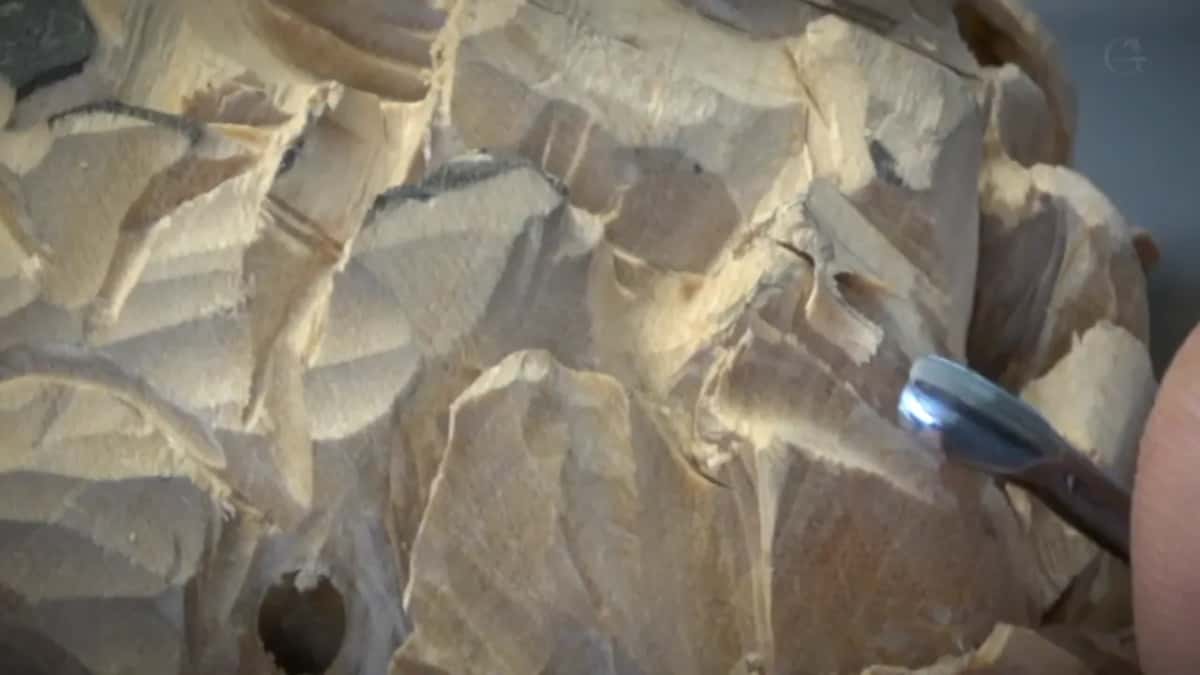
Hollows, convex shapes, waste removal and undercutting. Mine measures five millimetres and it does more of the hour than any other edge on the bench.
One trick doubles it. Cut your concave the usual way, then turn the same tool upside down and the bevel becomes a convex former. Two shapes, one edge, no swap. On this flower the pairing of a hollow beside a rounded rise is what gives a petal its movement, and getting both from one gouge is why four tools are enough. A limit does exist, and the grain sets it. Some spots on this flower simply do not want a gouge at that angle, and rather than force the cut I pick up a knife and come at the same place from a direction the fibres will accept. Changing the tool is cheaper than changing the grain, and forcing a gouge across fibres that refuse it tears a hole nobody can put back. Concaves and convexes covers the shapes themselves.
The kit, and what each edge is doing
| Tool | Job | Necessary? |
|---|---|---|
| V tool, number sixteen | Separating a petal from its neighbour | Yes |
| Eleven, one millimetre | The deep work, first join to last | Yes |
| Eleven, halved | The last stretch of all | Strictly speaking, no, and I would still buy it |
| Gouge, five millimetres | Hollows, rises, waste, undercutting | Yes |
| Number eight, one eighth of an inch across the sweep | Undercutting where the five millimetre cannot reach | Convenience |
| Number twelve knife | Edges, cleaning, softening a corner that came out too square | Convenience |
| Back bent gouges | Getting in behind a petal at all | Convenient, and genuinely so |
Is a carved flower actually complicated at all?
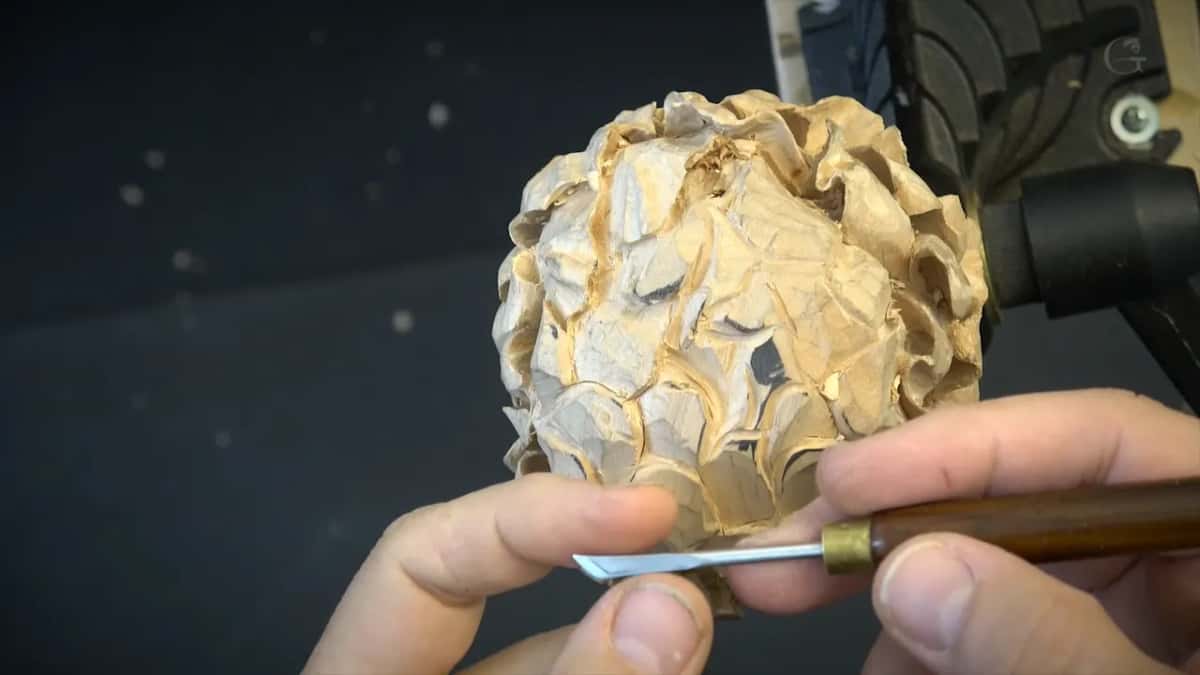
By now you should see that nothing complicated is going on, even in a somewhat complicated flower. My words, near the middle of this lesson.
What the work is, is repetition. The same cuts again and again, on petal after petal, under three rules that never change: wavy, deep, clean. The hard part was never the hand. It is deciding how far to take a piece that will always have one more thing wrong with it. Why the peony is the hardest flower to carve argues the other side of that, and both things are true at once.
Should you work tool by tool instead of petal by petal?
On paid work, yes, and I demonstrate it here rather than just mentioning it.
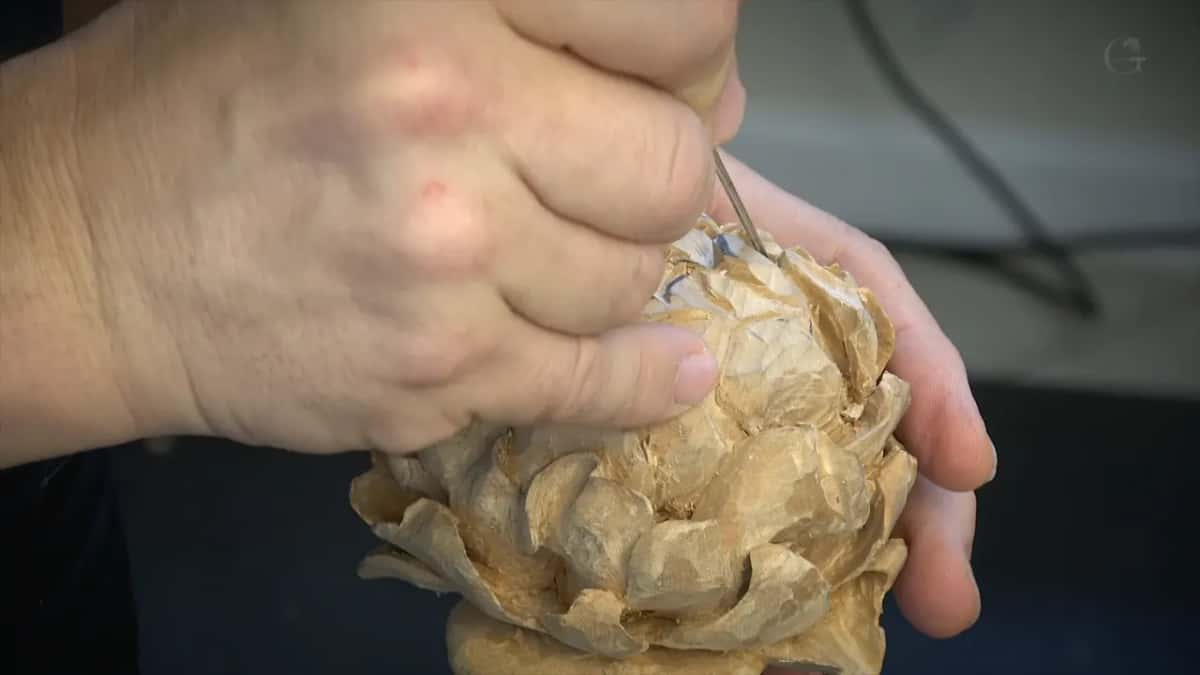
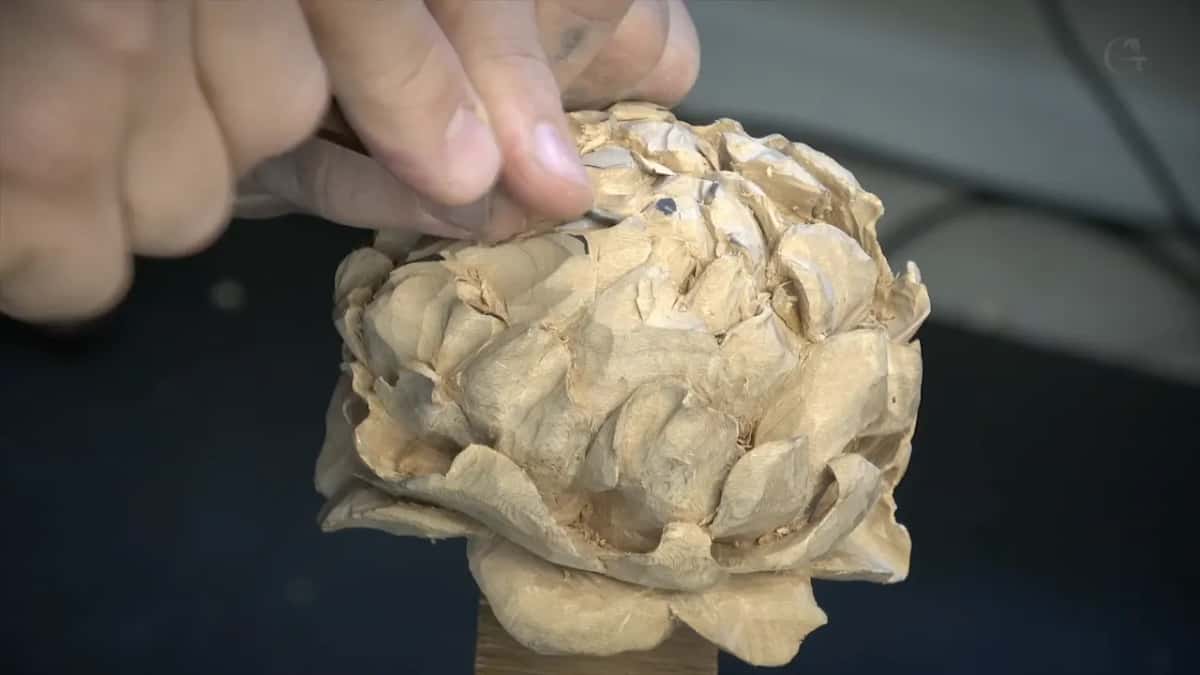
The technique is simple: take one tool and use it everywhere on the piece until it has nothing more to cut, then pick up the next. I go round the whole flower making every concave with a five millimetre number eight, come back with the one millimetre veiner and undercut everywhere, and only then reach for anything else. Far quicker than finishing each petal in turn. It also keeps the depth consistent, because your hand is doing one motion rather than switching between six.
Can a flat gouge do this work?
Partly. Some carvers use flat gouges for nearly all of it, and I understand why even though it limits them.
A three shifts material fast and establishes main forms quickly. What it cannot do is waviness, and waviness is the entire argument of this course. So it earns a place for the rough shaping and then hands over. Nothing forbids reaching for it, though staying with it too long carries a cost of its own, and that cost arrives quietly. What a wall is on a carved petal is what happens when the flat tool leaves an edge unfinished.
Where do you crank, if not against the carving?
Against your own finger. That is the sentence in this lesson I would hand to a beginner before any of the others.
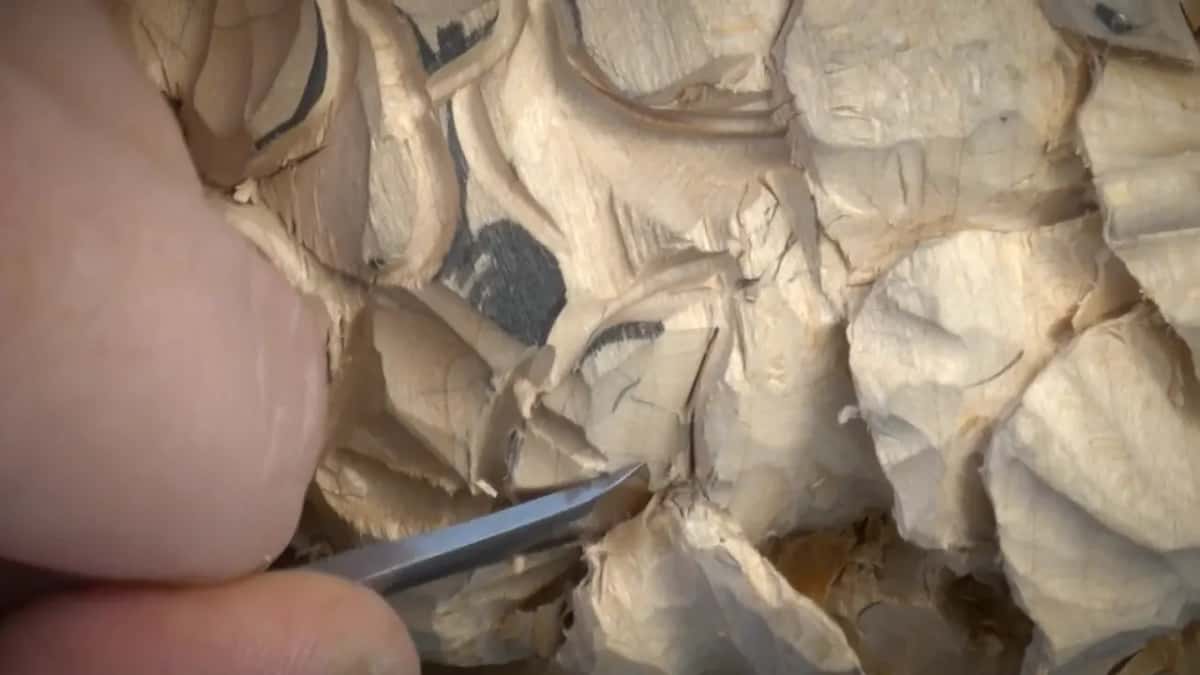
Cranking is levering a tool to free a chip. Do it against a neighbouring petal and the petal is what gives. So the finger of the holding hand goes in as the fulcrum instead, and the wood takes none of it. I repeat the warning three times across the nine parts, and when somebody points out that I have said it too often, my answer is short. I learned it the hard way. A piece almost finished, everything cleaned, one extra cut that did not need making, and a detail snapped off. Breaking a carving tool is the other half of that same carelessness.
How do you blend with no sandpaper anywhere?
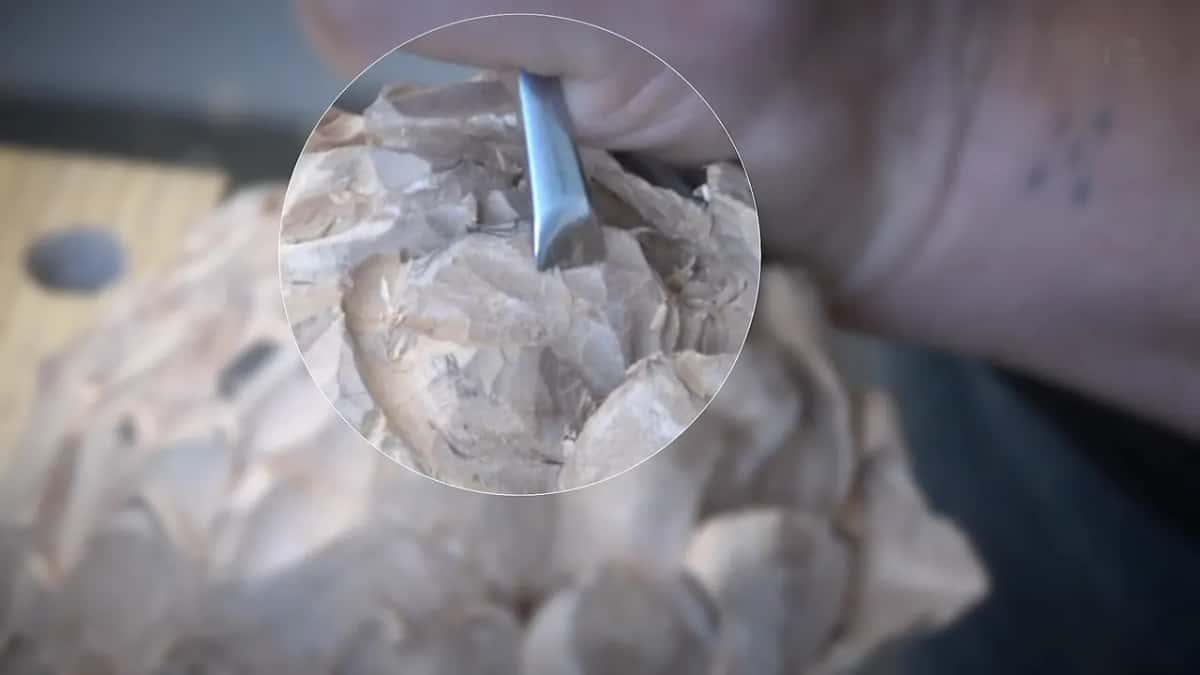
Turn a flat gouge over and rotate it, with the handle barely travelling at all.
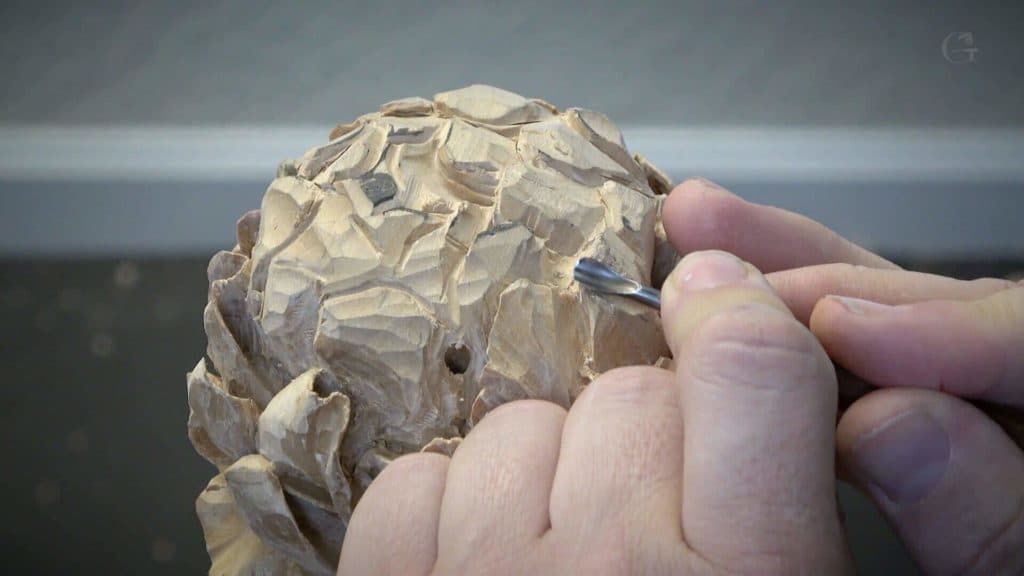
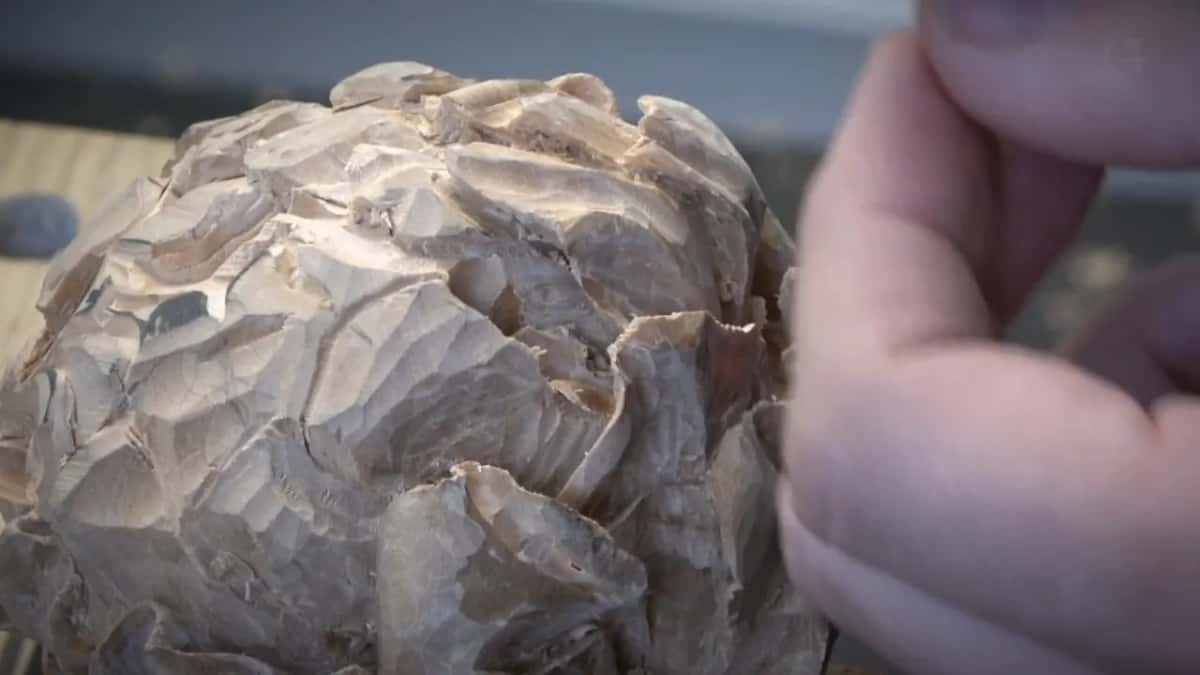
Take a number three or a number five, present the back of the sweep, and work it in small circles across a surface carrying too many facets. The facets do not disappear, they simply stop shouting. Nothing is being sanded here, which matters, because the tool marks are what throw the shadow and wood carving is all about the shadow. I do most of this off camera, since it takes a long time and nothing needs saying while it happens. Not many carvers attempt a flower at this level, and the ones who do already have enough confidence that they do not need to watch every step of somebody else cleaning. Telling when a petal is thin enough covers the other half of finishing.
Does the whole flower get the same depth?
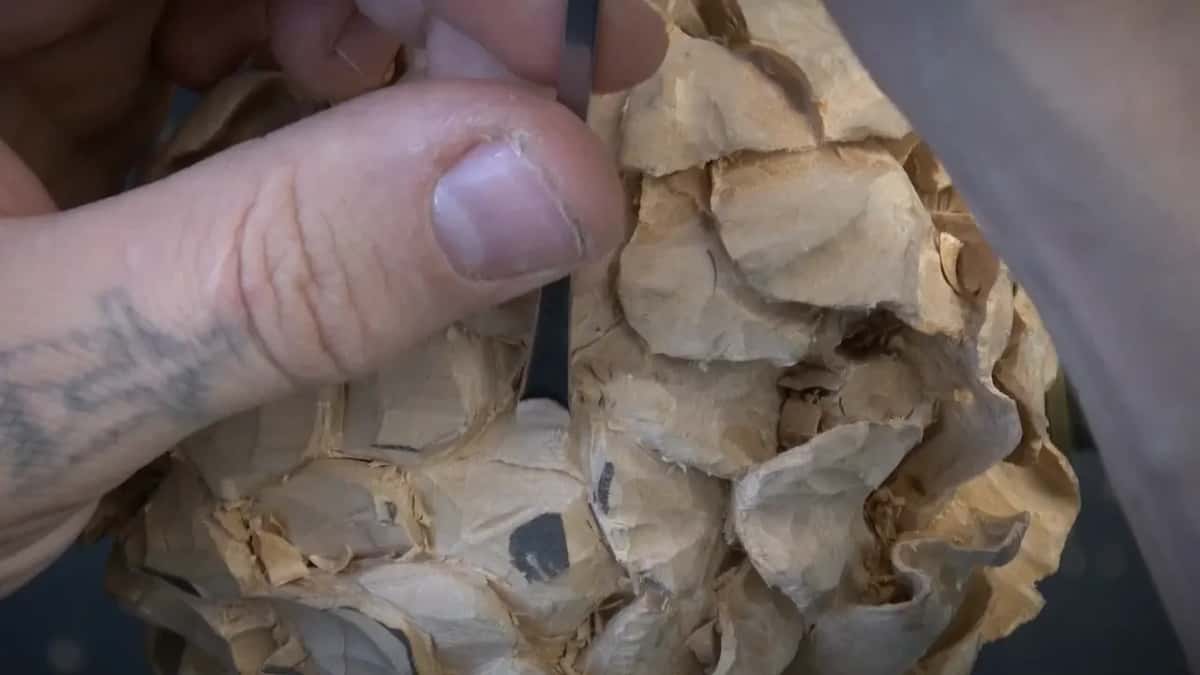
It does not. Closer to the centre, far less waviness is needed and the excavation stops going so deep.
The outer ring is where the drama lives: deep joins, big movements, petals lifting clear. Approach the middle and the petals crowd, each one smaller than the last, until the final petal simply slides under its neighbour. Carving those as aggressively as the outer ones would leave nothing holding the centre together, and it would look wrong anyway. Flowers tighten as they go in. How many petals a flower should have counts that structure.
What does the very last petal look like?
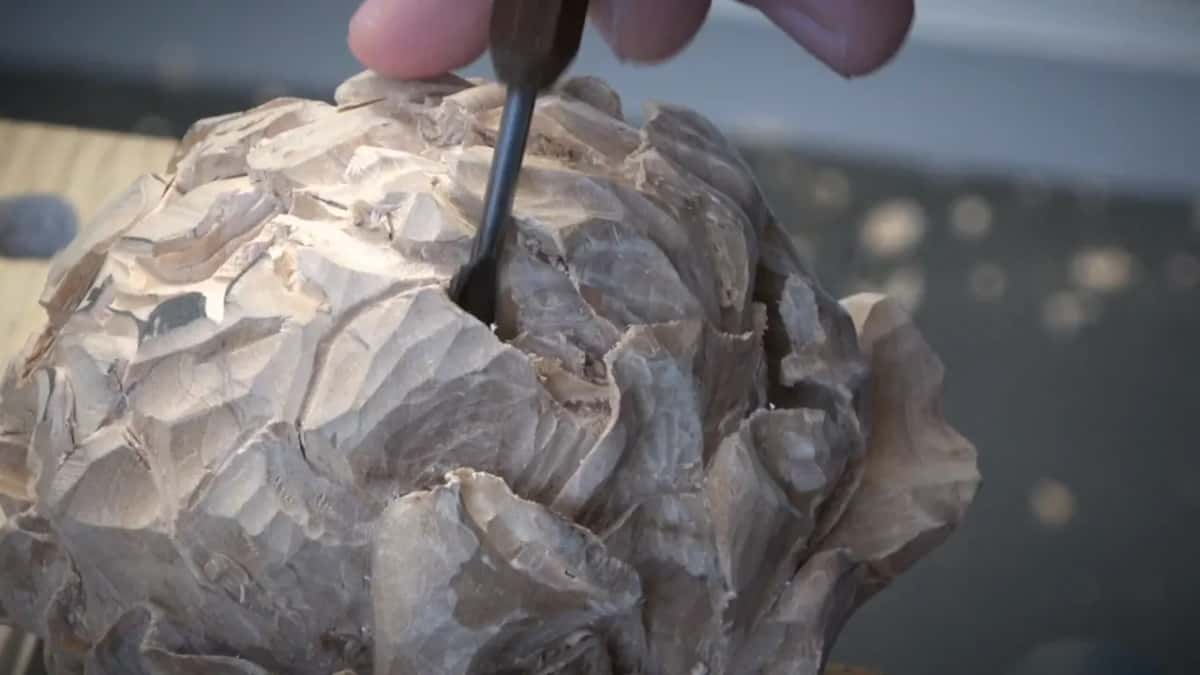
Small, tucked under another one, and carved in a space you cannot properly see into.
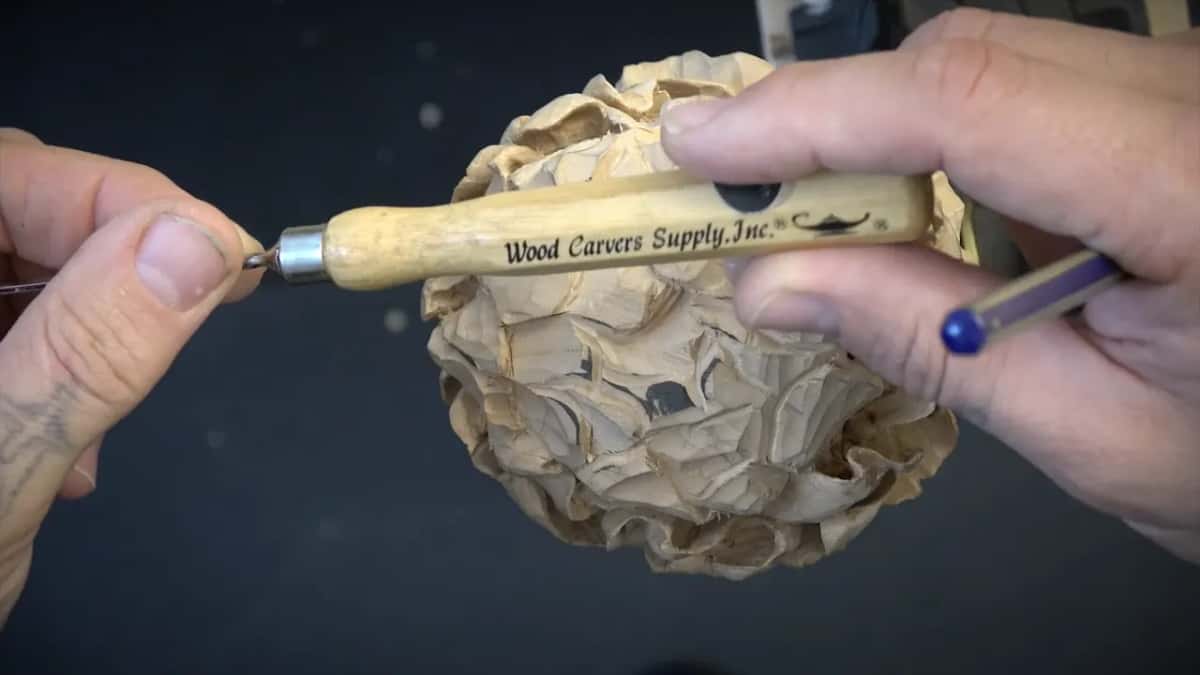
Two of my drilled openings ended up close together near the middle, so instead of fighting that I made a small petal in between them, undercut on both sides. It is tiny and almost impossible to watch on camera. When people see work like that finished, the question is always the same: how is that even possible in there? My answer disappoints them every time. The same technique goes in, on a smaller scale, with the same four tools. Carved in lime or basswood, that scale is workable.
What happens when it finally comes off the block?
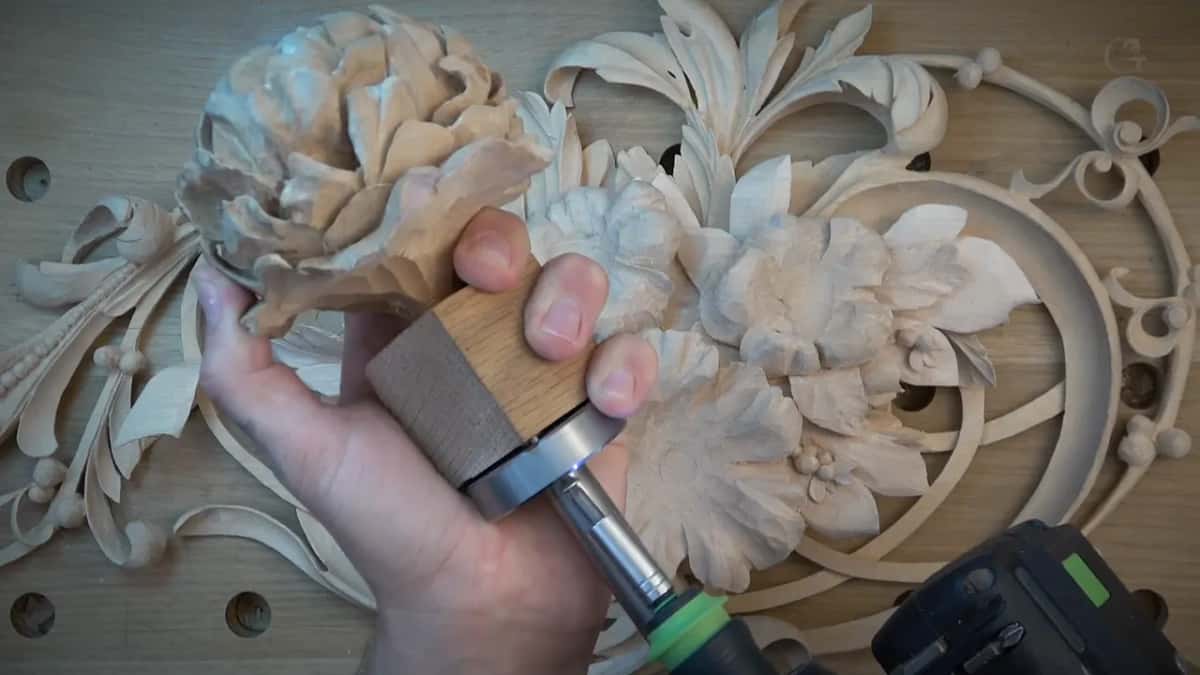
Two screws come out, the flower drops into its socket, and you find out whether every decision taken since the first roughing cut agrees with the others.
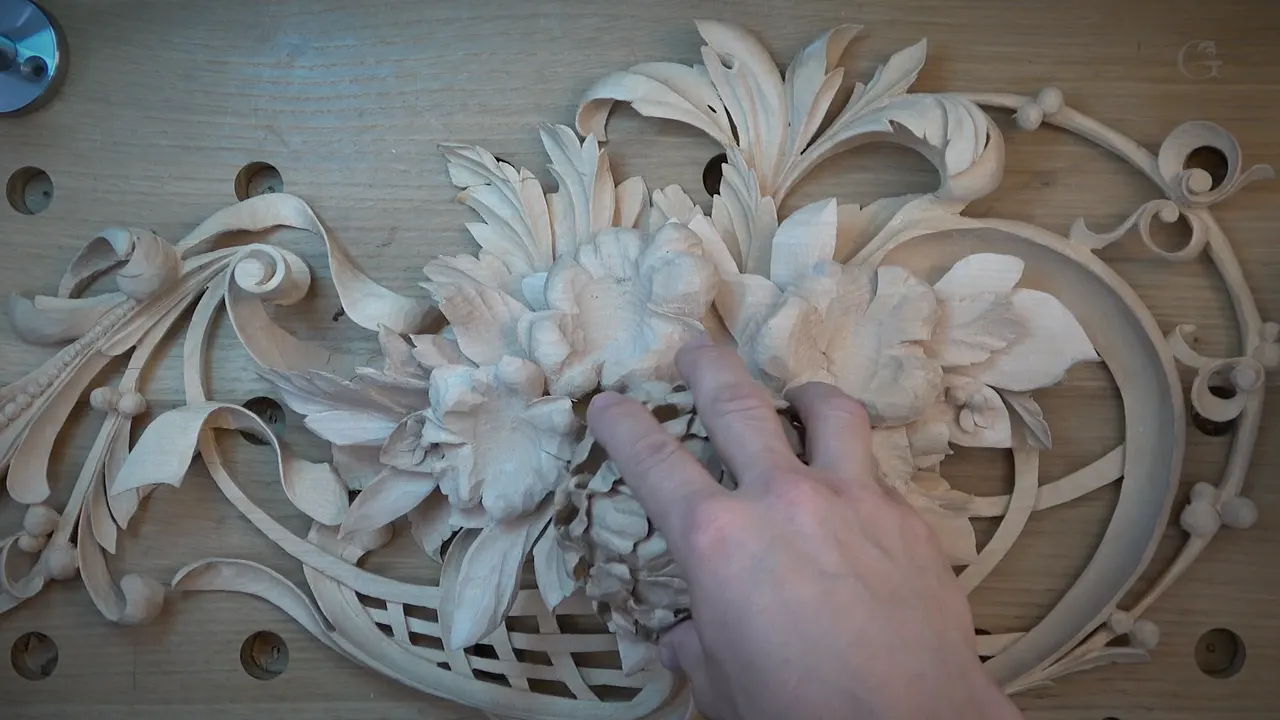
I call that the moment of truth on camera, and it is. The blank has been held on an oak block by a big screw and a small one since the first roughing cut. Out they come, and the peony goes into the panel it was always meant for. It fits from everywhere. Possibly a little large against the three flowers still to be carved, and I leave it loose rather than fastening it, because lowering it later is easy and un-gluing it is not. The second layer of the panel went on off camera while this flower was being carved, so the arrangement could be judged as a whole rather than guessed at, and dowels will go right through the stack afterwards to reinforce the joint. Attaching a carved flower to a panel is the operation this is rehearsing.
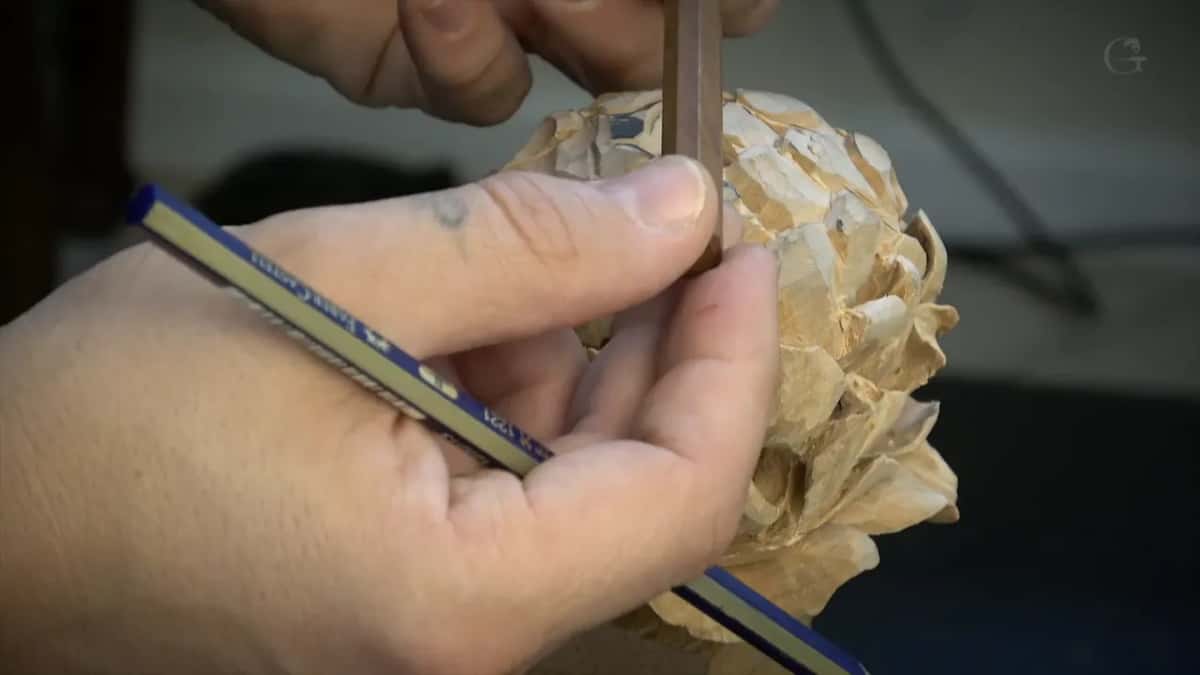
Why draw with a pencil he tells you to avoid?
Filming. Left to myself I keep the pencil off the wood almost entirely.
Graphite makes a carving dirty. On a piece that will be sanded afterwards nobody cares, because the surface comes off anyway. On a flower that never meets abrasive paper, every line you draw is a grey smear that has to be carved away later or lived with forever. A camera cannot see a cut line, so I draw one for you and then carve straight through it.
Off camera, there is one more thing
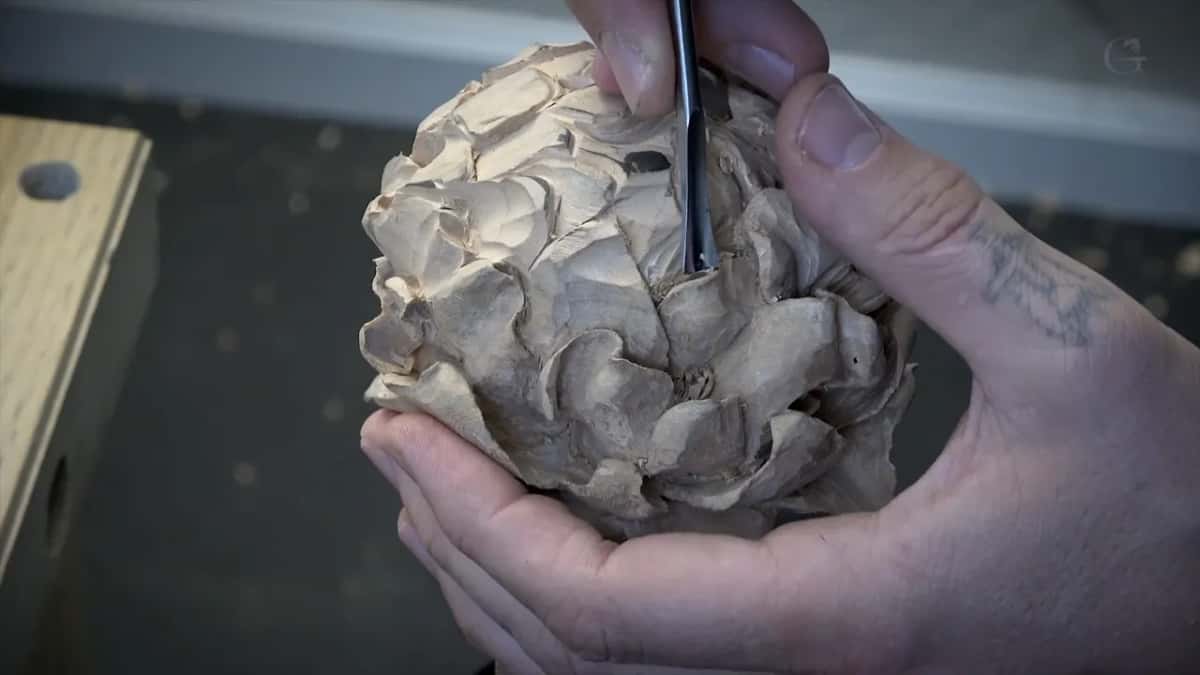
A lamp with a magnifier in it, and most of the cleaning hours.
Under that lamp the tiniest details come within reach with no problem at all, and work that looks impossible on camera stops being impossible. Filming through a magnifier is not practical, so the lesson you watch is the deciding and the shaping, while the refining happens afterwards with better light. Nothing is being hidden. There is simply nothing to say during an hour of quiet blending, and no reason for anybody to watch it.
Can an undercut go too far?
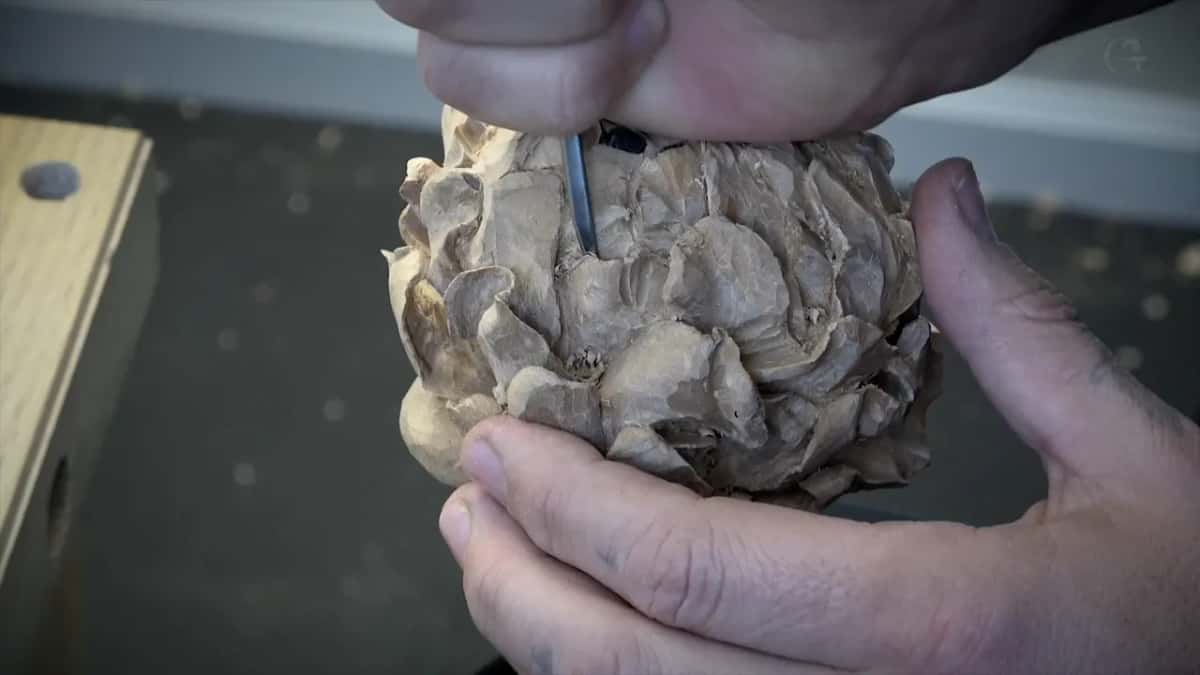
It can come out the other side, which is survivable but not the plan.
Working two sides of the same join alternately takes you deeper than either side alone: one side, then the other, then back again. Keep going and the two cuts meet and you have made a hole through the flower. A couple of those exist on this peony and they do no harm. All the same, aim to stop short, because a hole where the peony should be solid reads as damage rather than as depth. The difference between long bend and short bend spoon gouges covers the tools that reach round corners like that.
What was the whole course for?
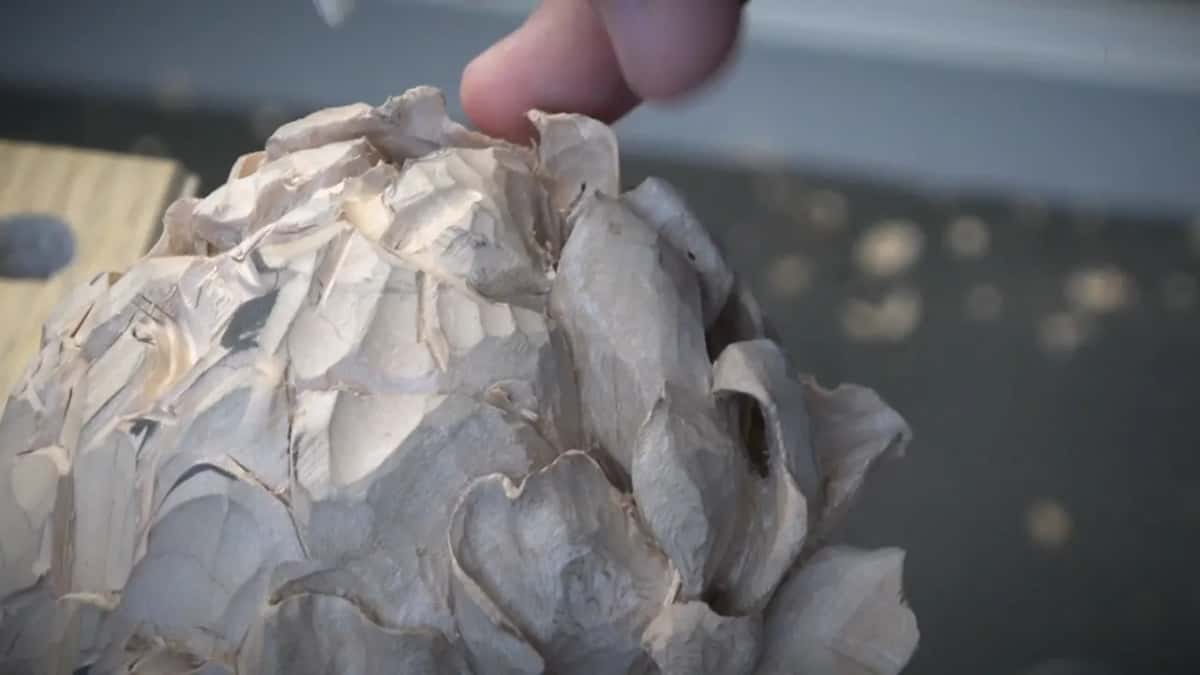
One peony, carved separately, fitted into a panel that carries three more.
Forty nine lessons got from a square blank to a flower with petals a millimetre and a half thick and joins you cannot see the bottom of. Nothing in it needed a machine, and nothing in it needed forty tools. Look at the V and A sculpture rooms and you are looking at relief work made the same way, by people who owned less than you do. Why the flower was carved as a separate blank is where the socket came from.
How it's done
- Separate the petals with a V tool. Sixteen goes deeper without widening the cut, though any V tool arrives there after another pass.
- Take the join down with a one millimetre veiner. That tool carries most of the deep work, until its own shoulders start rubbing the sides of the cut.
- Finish with the smaller veiner. The smaller veiner reaches wood the first could not, and the shadow it leaves is what sells that seam.
- Hollow and round with one small gouge. Five millimetres cuts the concave, then turns upside down so the bevel forms the convex beside it.
- Work tool by tool, not petal by petal. Use one edge everywhere until nothing is left for it, then pick up the next. Quicker, and the depth stays consistent.
- Crank against your finger. Lever a tool against a neighbouring petal and the petal gives. The holding hand supplies the fulcrum instead.
- Blend with a gouge held upside down. Number three or number five, back of the sweep down, rotated in micro movements until the facets stop shouting.
Frequently asked questions
Which tools does a carved flower actually take?
Four: a V tool, an eleven veiner at one millimetre, that profile halved, and a gouge of roughly five millimetres. An eighth inch number eight and a knife make life easier without being necessary.
Which V tool is best for carving flowers?
Narrow angles such as the sixteen drop a separating line further down without widening it. Broader sweeps get there too, one pass later.
Is a half millimetre veiner worth buying?
Strictly speaking you do not, and I would still buy one. It reaches wood the larger veiner cannot, and the shadow at the bottom of that cut is what makes a seam read as a gap.
What to carve next
- Carving Hashemi Flowers
- Telling when a petal is thin enough
- What a wall is on a carved petal
- The vanishing point cut
- Breaking a carving tool
- Why the peony is the hardest flower to carve
- Why the flower was carved as a separate blank
- Concaves and convexes
- Do carvers have a favourite gouge
- How many petals a flower should have
- Attaching a carved flower to a panel
- Long bend and short bend spoon gouges