
Alexander Grabovetskiy, woodcarver, School of Woodcarving · Published 2024
How do you burnish a wood carving?
Quick answer: Burnishing wood is pressing the carved surface down with a wood chip, rubbing wood against wood with no metal. The fibers lie flat and turn really shiny. Small facets can fade under the chip, a big one stays, and gold leaf needs that shine first.
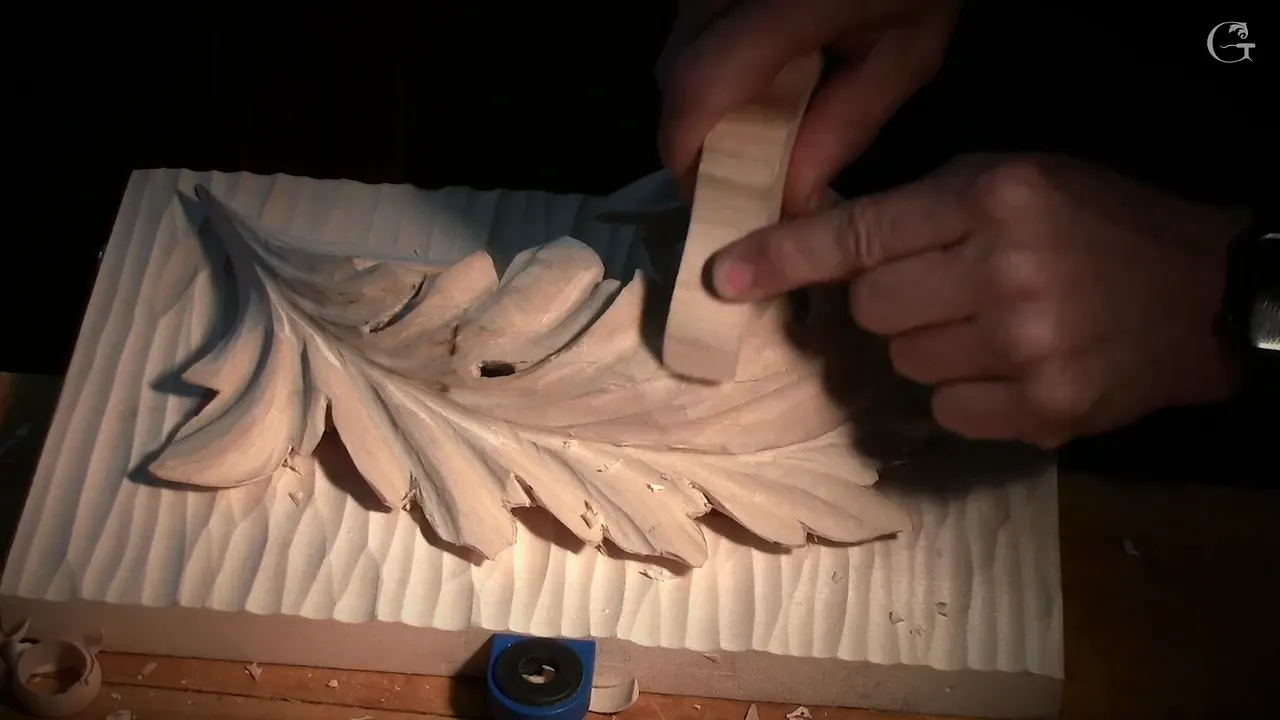
Burnishing a carving is rubbing the wood you carved with a chip of wood, with no metal tool in your hand. You push the fibers down, and the surface starts to shine as if some finish went on. I don't use a metal burnisher for this. And I usually don't burnish at all, by the way.
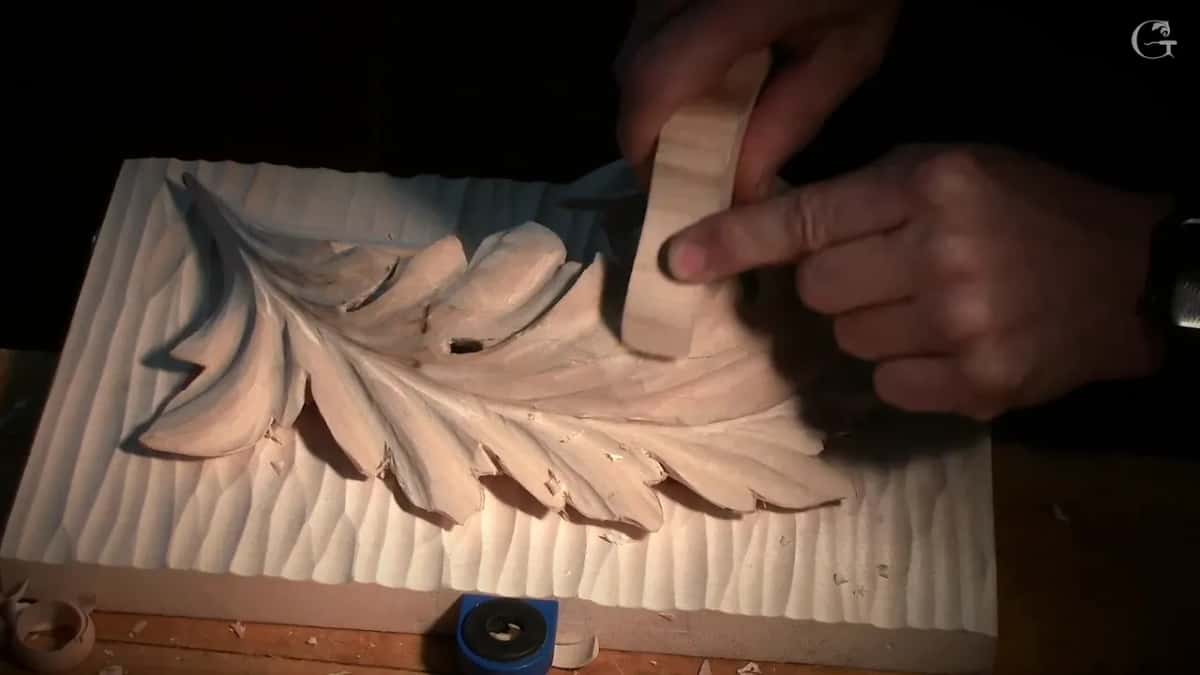
Have you ever seen carved wood shine when nothing was brushed on it? Is there a scrap of wood somewhere in your house right now? That's my burnishing tool.
The question in this short lesson is plain. Do I have a burnishing tool made for the job, or do I just make one from wood? I answer it on camera in well under a minute. Each piece I bring up has its own lesson, so you can go and watch it yourself.
What rubbing with a chip does to carved wood
- No metal burnisher, just a chip.
- Rubbing pushes the fibers down, and the wood shines almost like a finish.
- Only small facets fade under it.
- Gold leaf wants a shiny surface under it.
- After the chip, the olive lily showed me every imperfection left on the petals.
- Mostly, I don't burnish.
Do you need a special tool to burnish wood?
A chip is all I use. For the burnishing, I don't use a metal burnisher. I'm using just the wood itself. Let's say you have a chip left from a carving you did before. What you do, you just rub pretty much wood against the wood, and you can see it becomes really shiny.
I doubted the camera could catch it that day, because my cameras were not pointing in that direction. It gets shiny anyway. That's how I burnish.
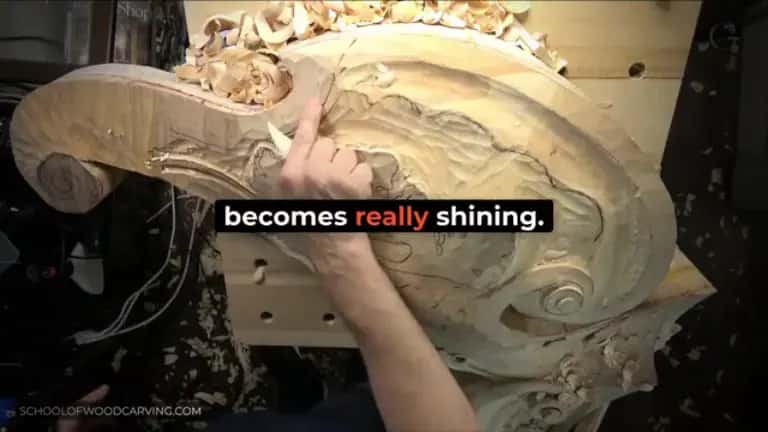
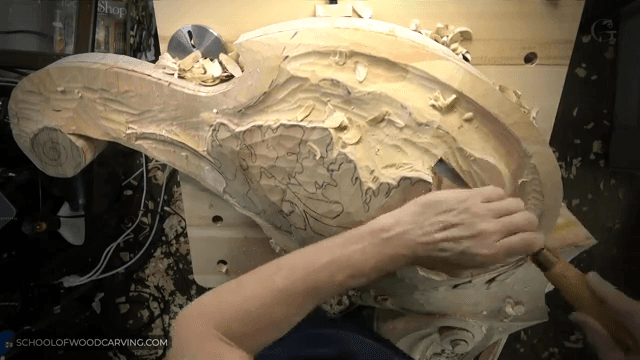
On a carved acanthus over a molding I put a name on it as I worked. That is the word burnish, wood against the wood, and don't use any metal. You take whatever bit of wood you have, you try to ride on top of the fibers, and you press them down. I said the result gives you an absolutely different feel from a surface left by the tool, and then I said something just as plain. If you want to do that, go ahead and do it, but I was not going to spend time on it. That moment is in acanthus over moldings 10.
What happens to the fibers when you rub them?
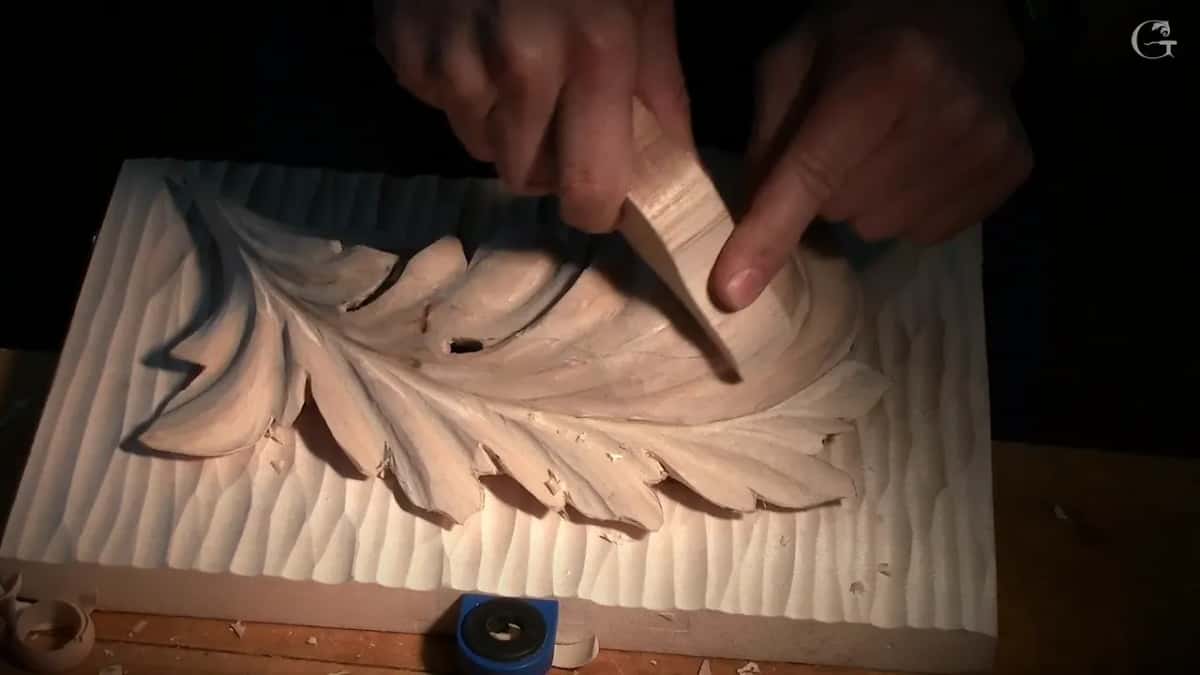
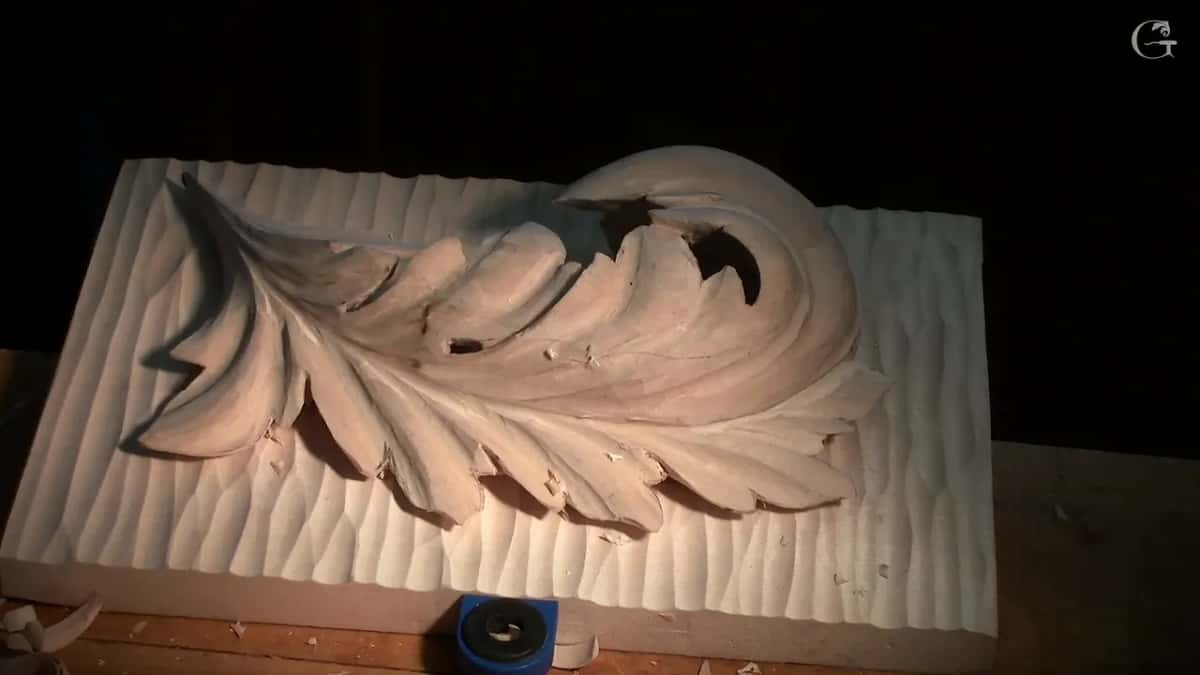
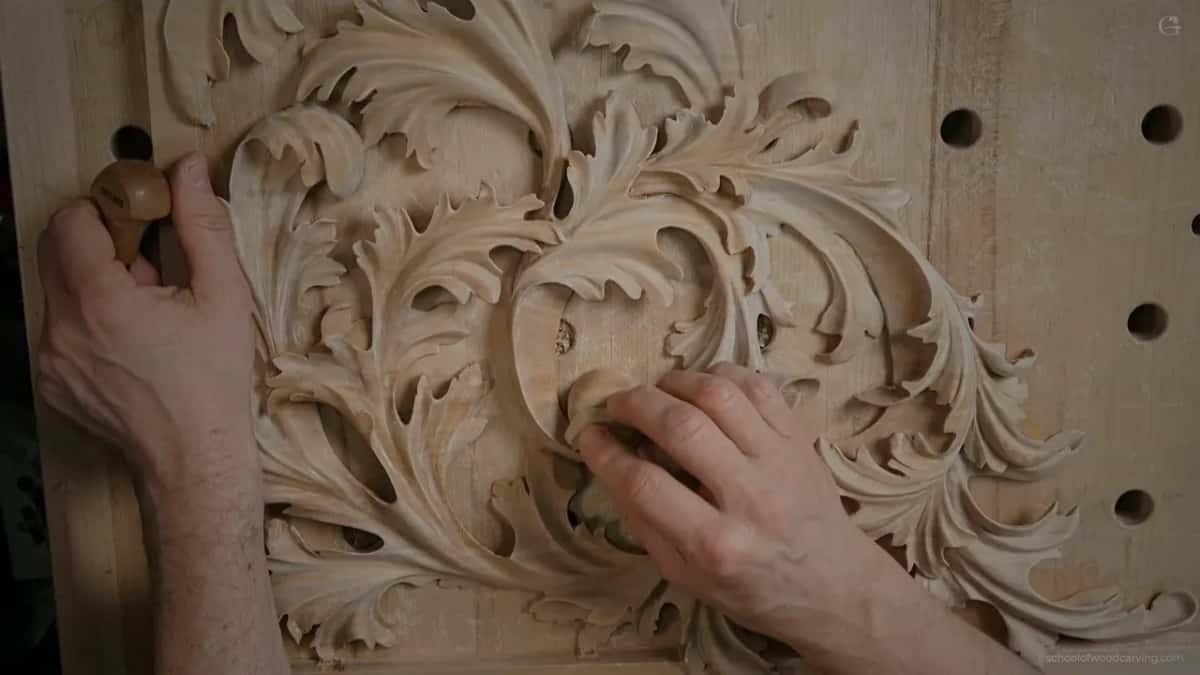
They get pushed down. On a Byzantine acanthus leaf I had a bunch of wood left, so I got the burnisher from the same piece of wood the leaf came from, and I talked while I rubbed. You're actually pushing down on the fibers, and that's going to become really shiny, almost like you applied some finish on it. I wasn't sure the camera caught that shine either. The whole demonstration is in finishing a Byzantine leaf and its background.
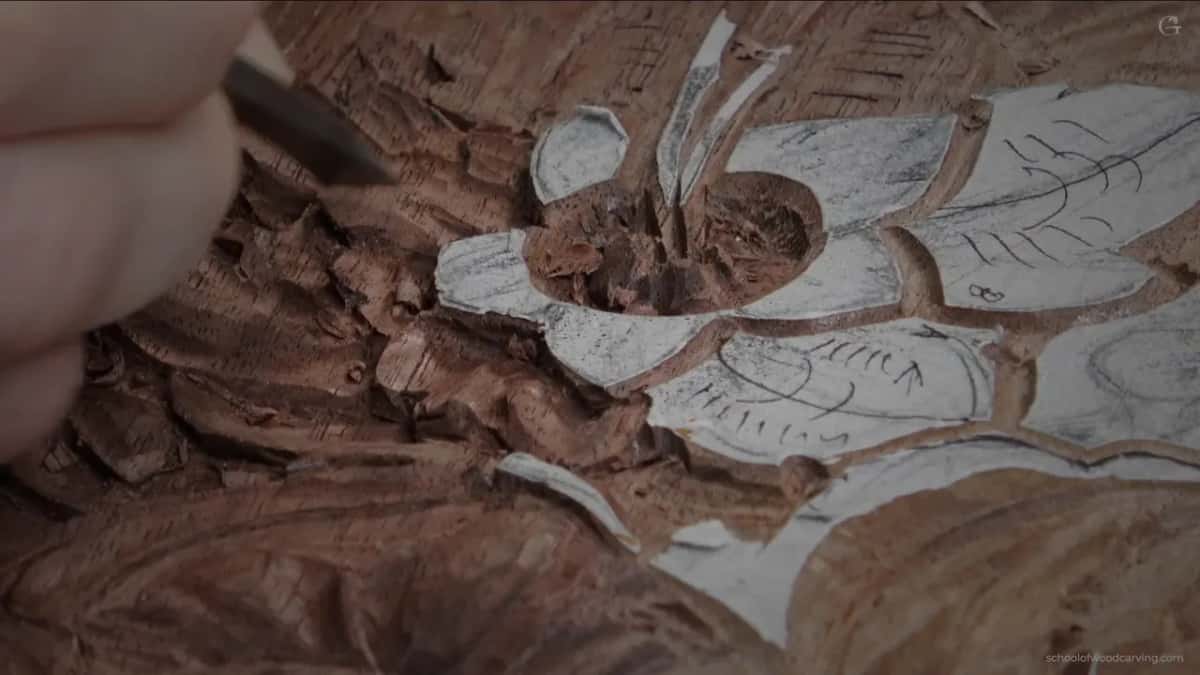
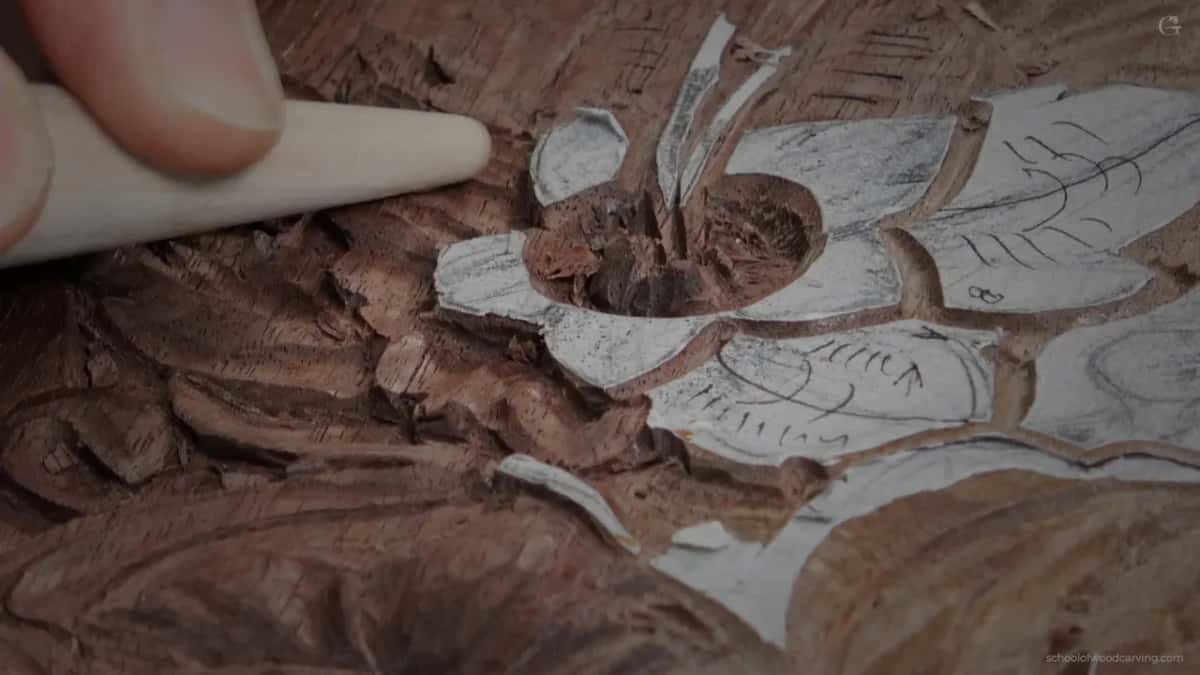
My words on the olive wood lily were rougher. My recorder lost part of the video, so I explained afterward what I had done, and the first thing I pointed out was the shine. What I did, I just took a scrap and burnished that nicely. You're actually smashing those fibers in, and that gives that shiny look.
Will rubbing take the tool facets out?
Small ones, sometimes. On that Byzantine leaf I said you're smoothing everything, and some of the facets are going to disappear on their own. Rubbing is another technique to get rid of the small facets. Not the one under my chip, though, since it was a big one, a little too big.
So I went back to the flat gouge. Before the chip I had said a number three or a number two both work, and you attack the facet at an angle, almost like shaving, with a rotation motion. At one point I caught the grain. No bueno. I just attacked it from different sides, and I said if you spend another month, it can look like sanded. In a concave I like a number 11 for this, because you can use just the side of it, or the bottom if you wish.
On furniture panel 33 people asked me how I take care of those facets. First of all, I said, I don't really worry too much about cleaning, because once you apply some finish, it makes it a little smoother. I look at the facets as a painter's brush. But in case it bugs you, I showed three ways on that panel. Turn your tool upside down, a number three, a quarter inch (6 mm), and ride over the facets in a circular motion. Or scrape it, using that same tool, and they did a lot of scraping in the 18th century. Or take a little block of wood and burnish it.
Can a sharp tool leave the shine for you?
A really sharp one can. I pointed it out on the Roman acanthus. If you are using really sharp tools, it leaves a really shiny surface, and that really finished look was my goal on that piece. I still wanted to see some micro facets, because that is my hand work. It's like brush marks. You can see it in Roman acanthus 16.
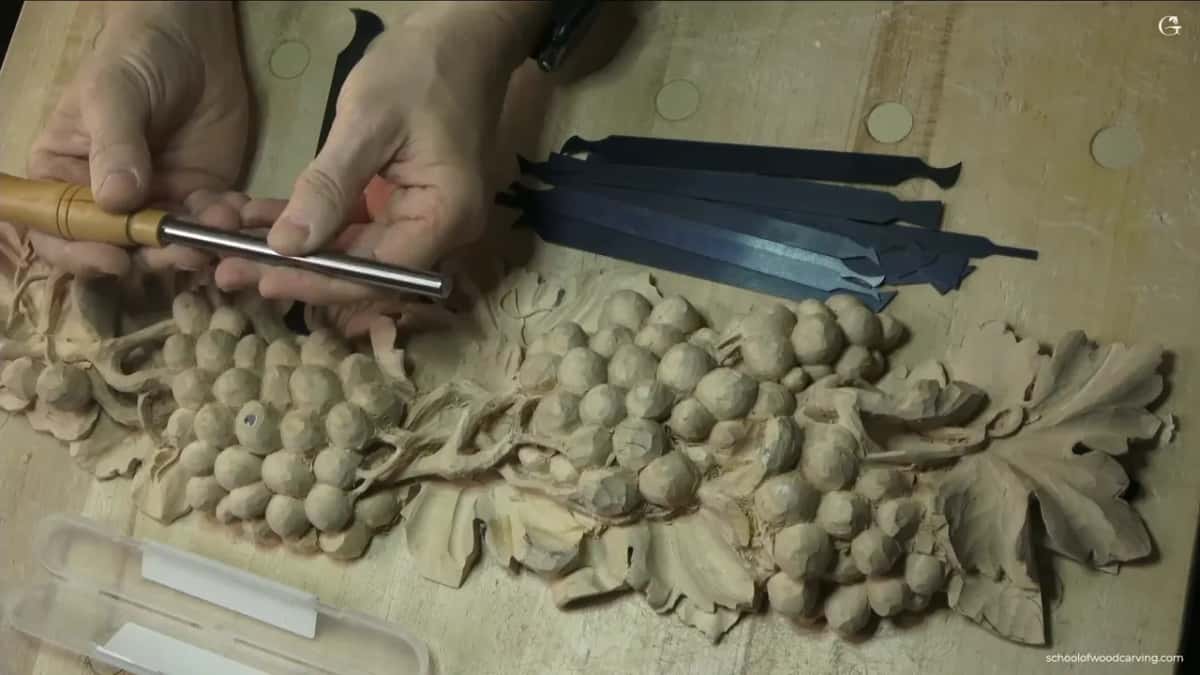
How you present the tool matters too. For the grape onlay I had a number three gouge about half an inch wide (about 13 mm), and I said most people hold the tool at 90 degrees to the direction they carve. It's okay in some cases. At 45 degrees the surface came out really shiny, and next to it the 90 degree pass looked kind of rough. The sharpness of the tool makes a huge difference too, but there it was the angle.
A background can come close as well. On furniture panel 16 I said I can get an almost polished result, if I wish, with just a router plane, really smooth and nice. You'll find it in the furniture panel background lesson.
In this lesson I said I usually skip it. Talking about sandpaper and rasps with that Byzantine leaf on the bench, I said I still love out of the chisel finish.
When does the surface have to shine?
Before gold leaf. In the sandpaper lesson I said it's gotta be shiny before you apply the gold leaf, otherwise it's not gonna look good. There, on a shade for a pipe organ, I scraped the whole surface with a carving knife, and then I said you could burnish it with the same species of wood. In that case it was American basswood, which is pretty much the same as European linden or lime.
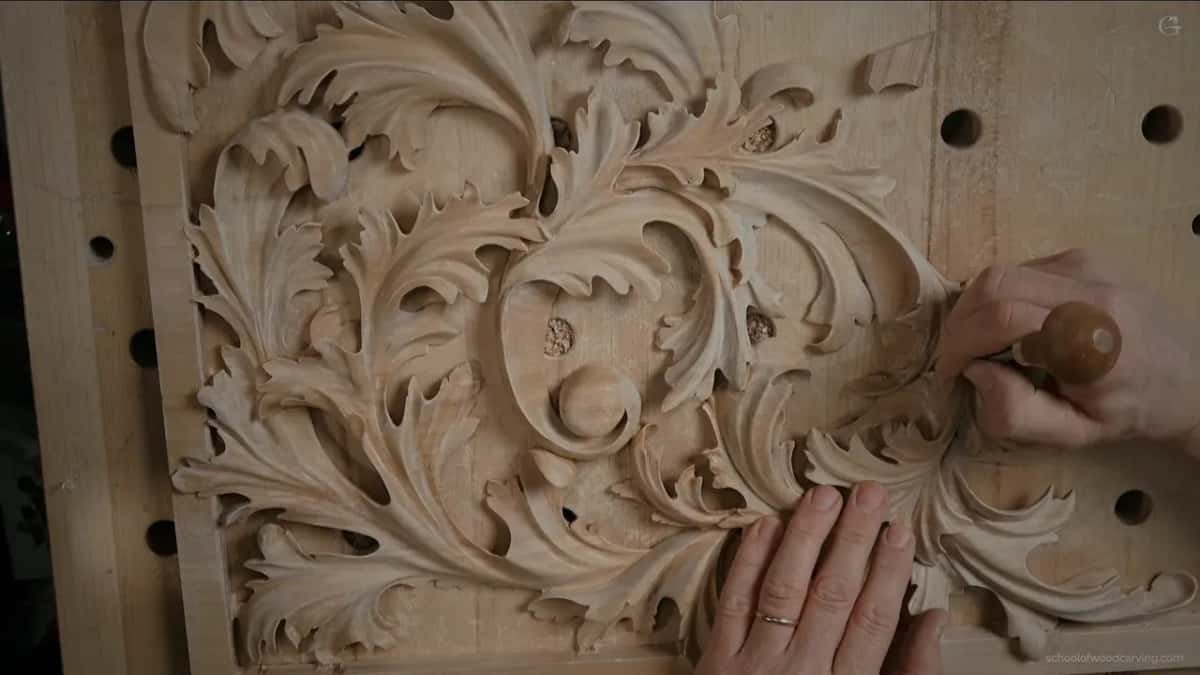
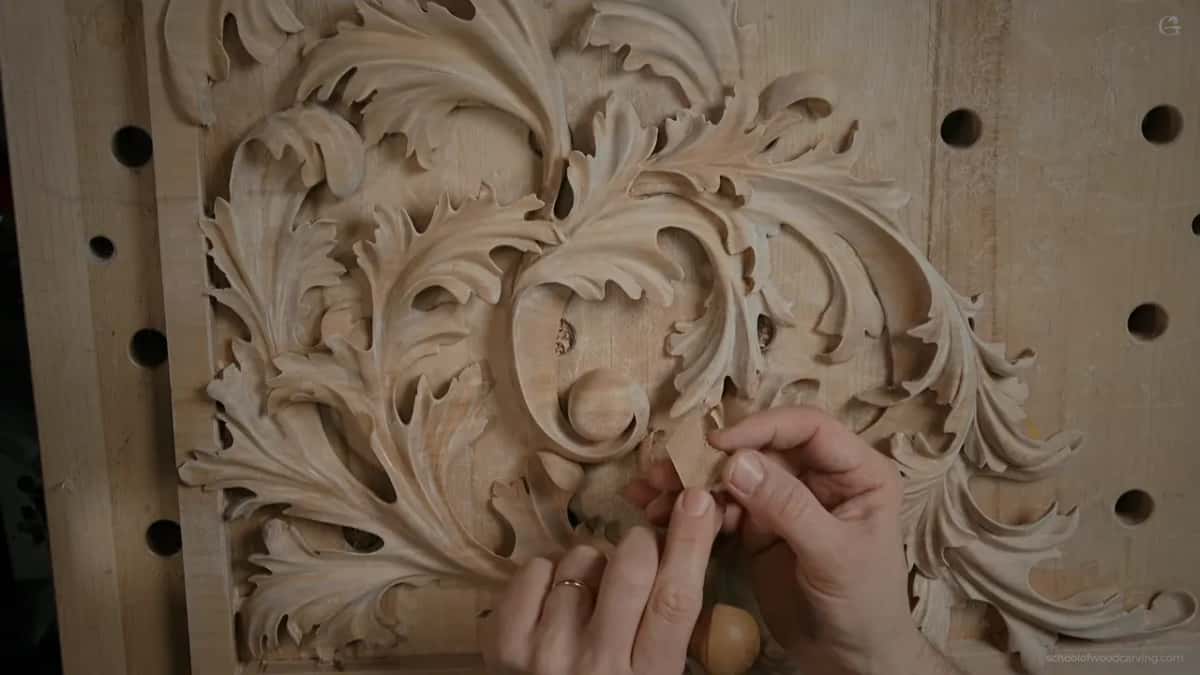
The Byzantine acanthus is the clearest case. In that course I said the Byzantine leaf was never left as bare wood, finished wood, stained wood or shellacked wood. It was always gold leaf. Deep cavities and channels created a big problem for the gold leafing back then. Nowadays you can gold leaf anything, I said, but the leaf was a little thicker back then. You see a convex in the middle of the leaf, then concaves, and inside, that day, we were going to make a dome, and all of that is really easy for the gold leaf, even thicker gold leaf. That talk is in Byzantine acanthus 5.
How did the old gilders burnish?
Twice, and they burnished red clay before any gold went on. The old gilders come up in two of my courses, and I told it a little differently each time, so here are both.
On the Byzantine leaf it went like this. Before the gesso, the Italian gesso, they used just red clay, and red clay is really thick. Gilders call that clay layer bole. They would carve it without too many details, apply the clay, and burnish the clay itself. It's like taking all the facets out, and it looks almost like it's sanded. Of course, they did not sand. They used sometimes pumice stone, just to make it a nice surface.
Then another really thin layer of red clay, then oil, then the gold leaf. It's going to stick really perfectly for years to come, so you barely can take it out. Then they burnished that gold leaf again. That creates small cracks in the gold leaf itself, the red color comes through in those cracks, and that actually makes it stand out even better. If the cracks were too big, they would just apply another gold leaf layer.
The olive lily got a shorter version. They did not use really small tools like the number 11, half a millimeter (about 1/50 inch), that I use a lot. The smallest might be about three millimeters (about 1/8 inch) for an undercut, and that way you can get the gold leaf nice and smooth inside. It's not like today's technique. They would carve it first, cover it with red clay, burnish it really smooth, put on layer number one of the gold leaf, burnish it again, and put on the second layer. That would be impossible, I said, with a really sharp V cut. I kind of like that idea. I really like it, although one of my favorite tools is actually a number 16 V tool. That part of the story is told while I carve the petals in lily box 10.
Can you burnish inside a deep concave?
A small scrap gets in there. The olive wood lily has deep concaves in its petals for a reason. A real lily flower has a really deep concave in the middle, going all the way to the center, with convexes on the sides that blend nicely. Lots of times carvers take a V tool and create a V cut there, and some still take a gouge or a veiner and make a U cut. I made a really, really deep concave with that same half millimeter number 11, and excavated some of the concaves on the sides with a number 8, one eighth of an inch (3 mm).
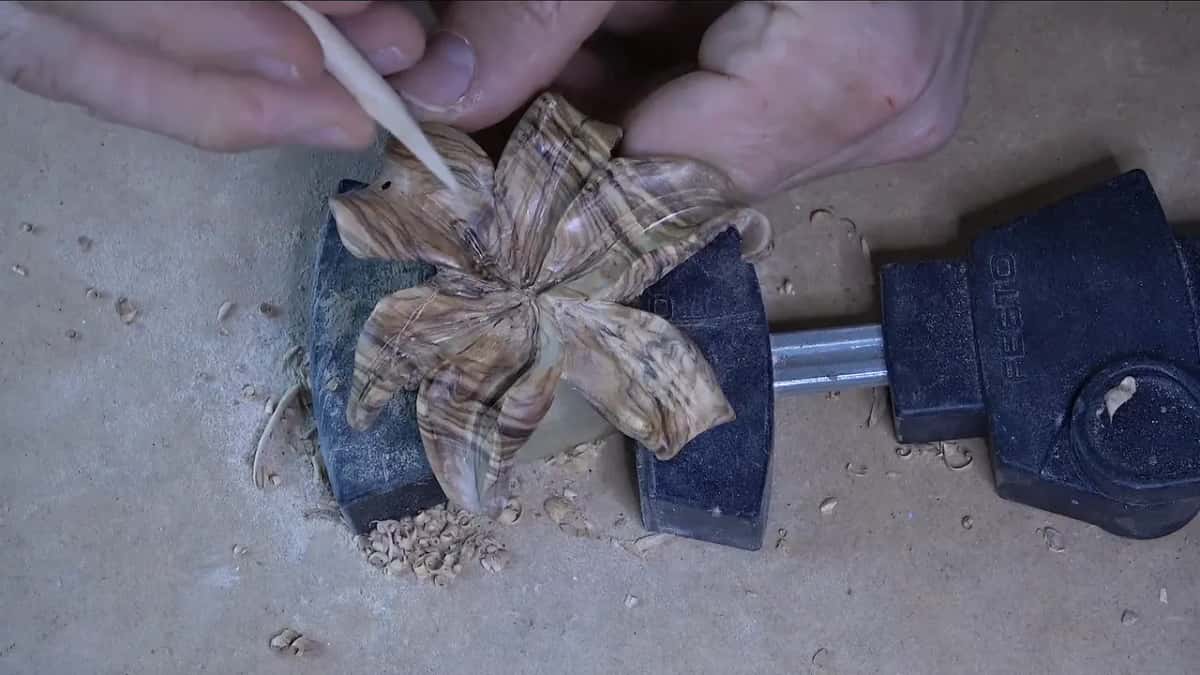
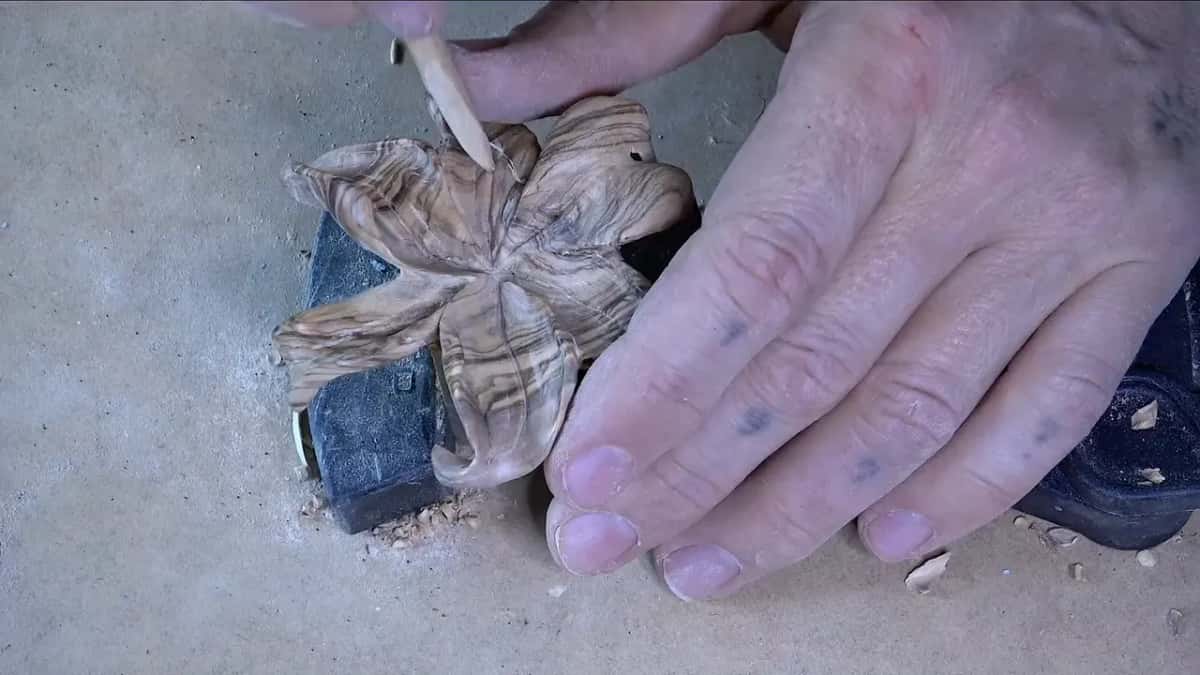
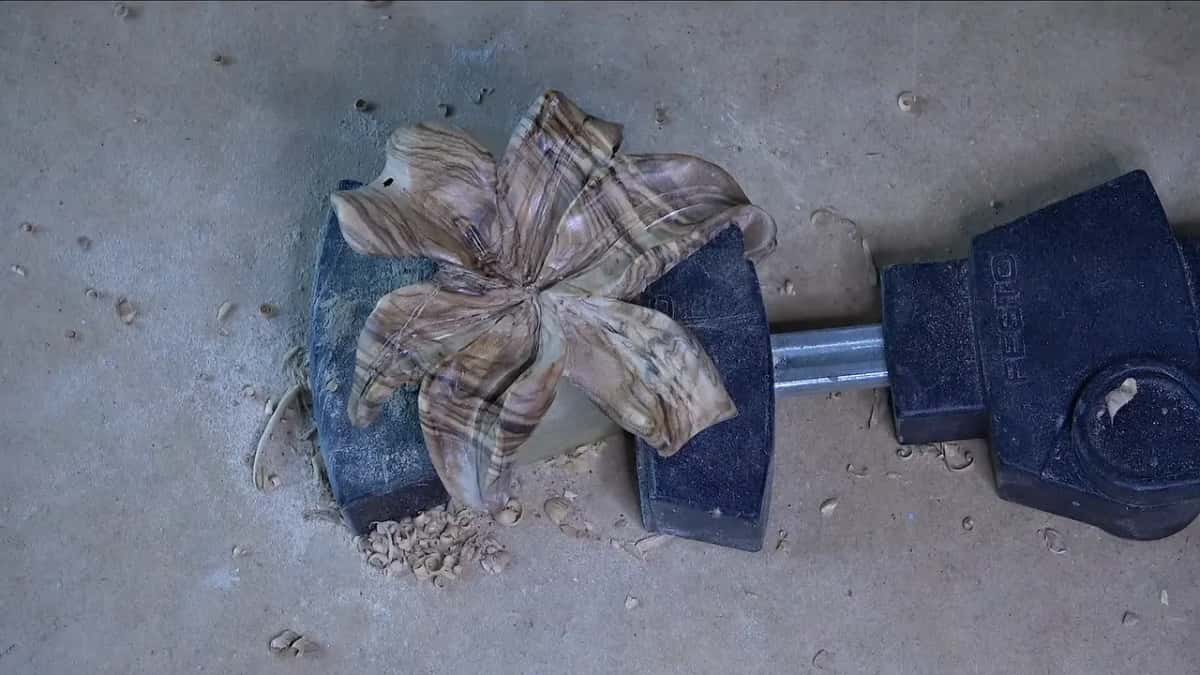
That one piece I sanded on purpose, just this piece, because I wanted to see that beautiful grain of the olive wood. At the end I used 4,000 grit by Mirka. Then I took just a bit of wood to kind of burnish inside of those concaves. And now I could see all the imperfections. I could probably hit them again with the micro tools if I needed to, I said, but that side was pretty much 100% done. All of that is on camera in lily box 11.
What did burnishing do on a paint grade carving?
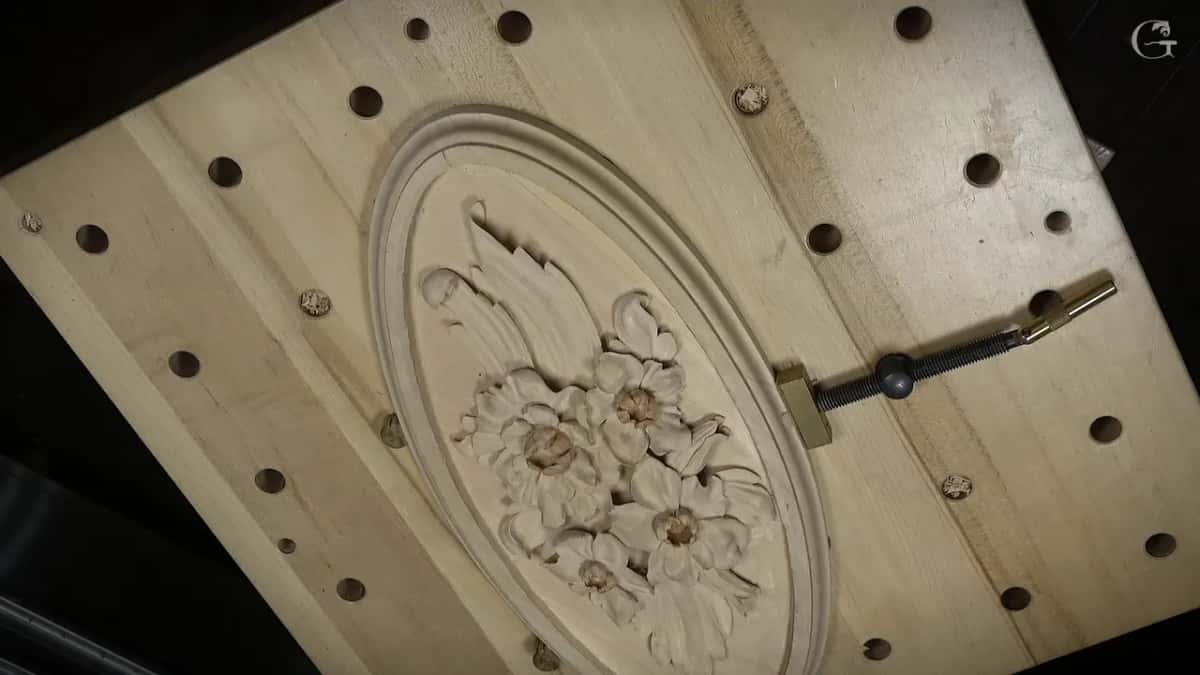
It made my Venetian rosette look almost shiny, and that rosette is paint grade. I used a kind of smoothing technique on it. I took a chip, whatever chip was left, and burnished that. Because it's paint grade, I also decided to experiment with a sandpaper before I burnished. I did not take too much with the sandpaper, just a little bit of sanding, and in my opinion it looks good.
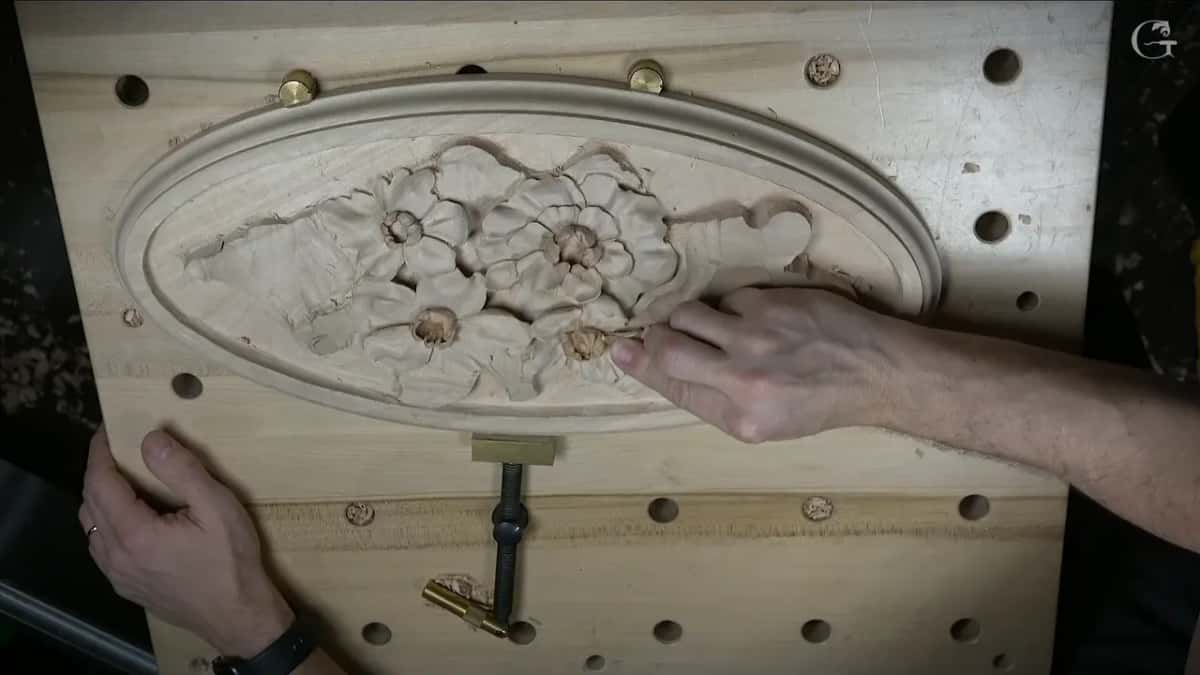
In the next lesson I came back to it. I didn't sand all the way, just the high spots, and then burnished a little bit. I kind of liked the result. And I was going to paint it just to prove the point, for those of you who like the idea of sanding. Both moments are in Venetian flowers rosette 4 and the lesson after it.
What else can burnish a small spot?
A toothpick can. In a class on the Tray of Blessing I took a plain wood toothpick, pressed it into a center point, and it became a dot. It's kind of clean, and you can also burnish those sides slightly, and it becomes the clean spot. Then I broke the toothpick on purpose, because now I could use a mallet and create a deeper dot.
Where I do need a steel burnisher is a card scraper. To create the hook on its edge, you're going to need some kind of burnisher, and sometimes I use just a screwdriver. That job belongs to the lesson on scrapers.
Which pieces got a chip, and what it did
| Piece | Burnisher | Result |
|---|---|---|
| Byzantine acanthus | A leftover chip of the same wood | Shiny, but the big facet stayed put |
| Lily petal concaves | A pointed scrap inside the petals | Every imperfection showed |
| Paint grade rosette | A chip, after a little sandpaper on high spots | Almost shiny |
| Furniture panel 33 | A small block, after scraping with the tool | One of three ways |
| Old gilded work | Red clay and gold leaf, each burnished | Red showed through cracks |
| Tray center dot | A wood toothpick on the sides of a dot | A clean spot |
Most pieces on this page have a full course you can carve along with from the start, and that is what Tuition and Access at the school are for. The rest of these short answers live in the techniques course, and more of my bench is on YouTube.
Is there a chip on your bench floor right now? Pick it up and rub it on the last thing you carved.
How it's done
- Find a chip. Pick up a chip left over from your carving, ideally the same species.
- Rub wood on wood. Ride on top of the fibers and press them down. Keep metal off it.
- Check the facets. Tiny facets may vanish while you rub. A big one will stay, and on the Byzantine leaf that meant going back to the flat gouge.
- Get into the hollows. Reach inside a concave with a pointed scrap, the way I did on the olive lily petals.
- Look again. With the shine on, you see the imperfections. Hit those spots with micro tools if they need it.
- Choose what comes next. A shiny ground goes under gold leaf. On paint grade work, a little sanding on the high spots and a light rub was enough for me.
Frequently asked questions
Is burnishing the same as sanding?
Sandpaper takes wood off with an abrasive, and on my acanthus over a molding a 180 grit took out most of the facets. Rubbing presses the fibers down instead. On that same piece I sanded first and rubbed a scrap over it afterward, so one job can follow the other.
What wood should you burnish with?
Use wood of the same species if you can. My burnisher on the Byzantine leaf came off the same piece of wood as the leaf, and in the sandpaper lesson the same species was my advice, American basswood in that case, which is pretty much European linden or lime.
Does burnishing replace a finish?
Rubbed wood can look as if a finish went on, but what goes on after is a separate choice. My Venetian rosette was going to be painted after its chip. On old gilded work, gold leaf went over red clay that was burnished first, and then the leaf got burnished too.
What to carve next