
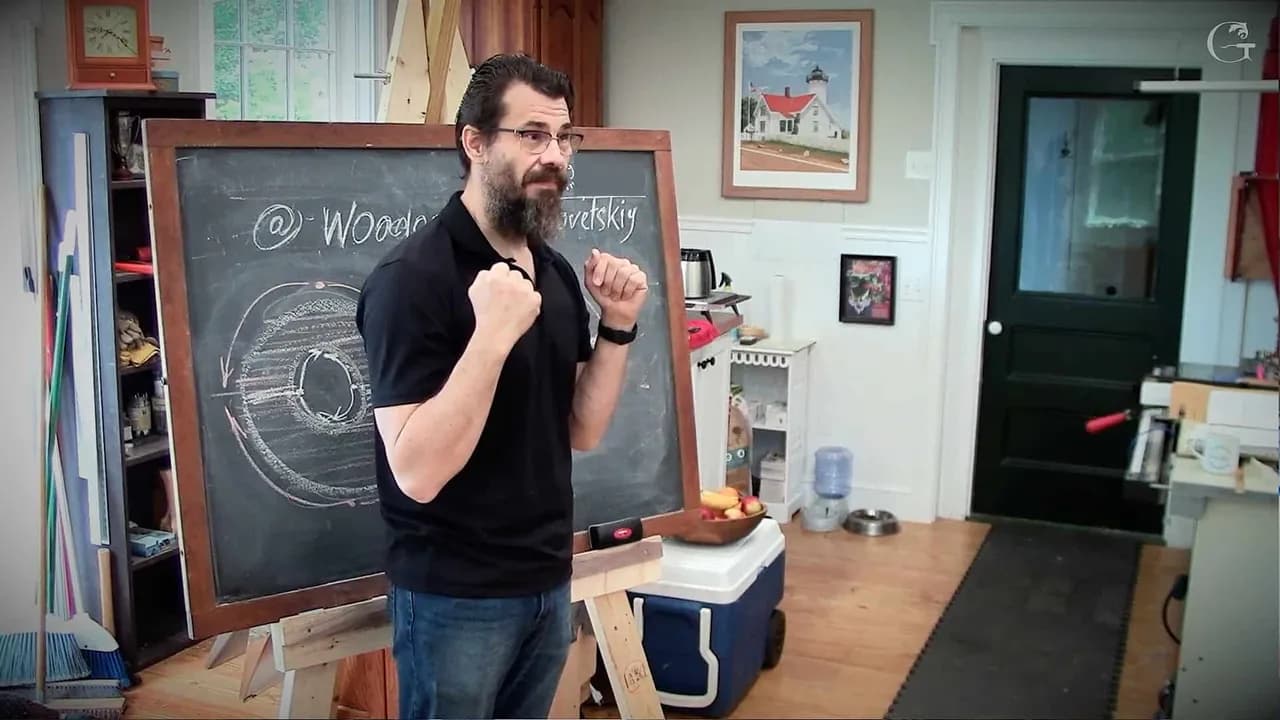
Alexander Grabovetskiy, woodcarver, School of Woodcarving · Published 2021
What does carving with the grain mean?
Quick answer: Carving with the grain is starting each pass at the short grain and following it to the long grain, so the longer fibers below hold up the ones you carve. In a hollow you follow the grain instead, each side its own way, and at the spot the grain meets you come at it from both sides.
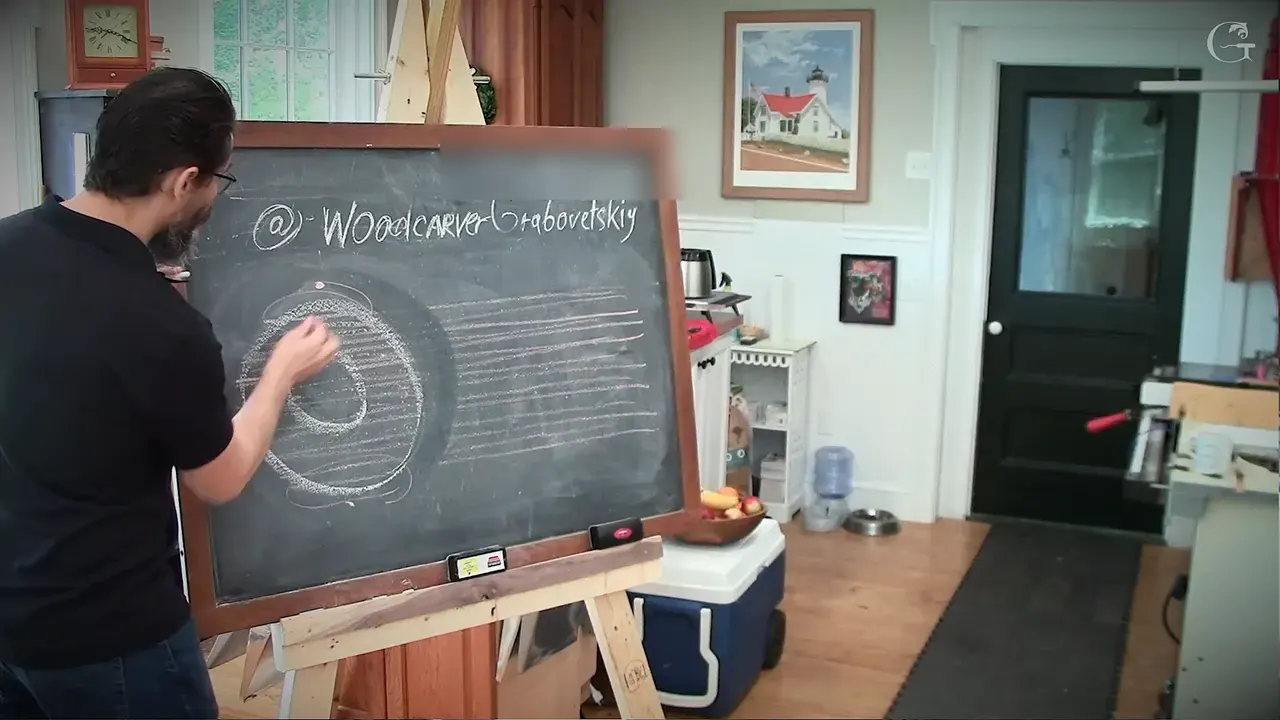
To carve along the grain is to start each pass where the grain is short and follow it to the long grain. Around the outside of a round shape, that works. But in a hollow, short and long look the same, so you just follow the grain, and each side gets its own direction.
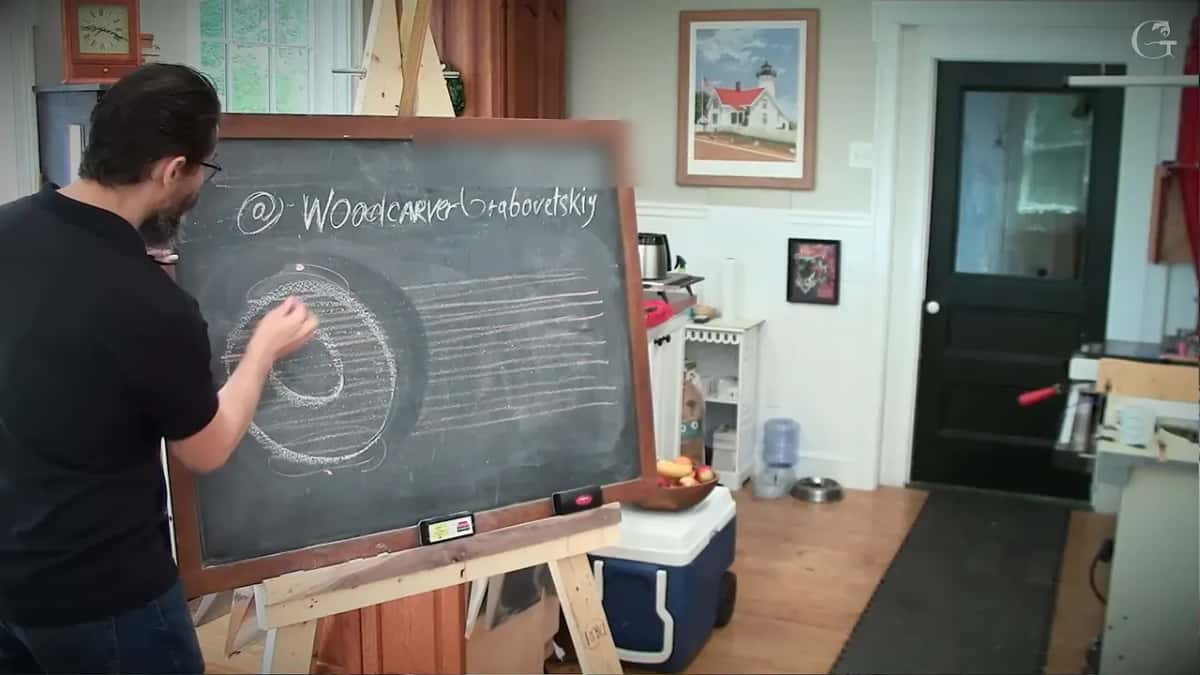
Has your gouge ever come out of a groove with one wall clean and the other one rough? Did you look it up and get back a pile of terms? What I found is that people don't really understand grain until they feel it fight them.
That's why I don't start with grain on day one. I usually wait until day three, when people come to me with the question. How do I approach the grain if it just fights me? Here is the simple way I explain it, as I understand it.
My chalkboard rules for grain
- Wood has grain and stone doesn't, which is why wood carving takes a lot more tools.
- Outside a round shape, short grain comes first.
- A hollow has no short end or long end to find, so each side of it goes its own way.
- Top grain needs support below.
- Every channel has a good wall and a rough one.
- Come at the marriage line from each side.
- Carving like Gibbons, there's no rule to follow, only sharp tools.
Is stone easier to carve than wood?
In some ways, yes. I talked about stone carving on the first day of that class too, and some people ask me which one is easier. Stone carving is much easier. Stone doesn't have a grain, so you don't have to fight it, and stone carving takes a lot fewer tools and a lot of sanding and polishing.
But it's harder on your lungs. Whether it's marble, soapstone or limestone, all that dust still gets inside your lungs, unless you work all day long in some kind of protection. And it's heavy, no matter what kind of stone you use. I don't like stone carving just because of the dust.
I love wood carving because of the material, because it's warm and it's beautiful. And wood does have a grain, so in wood carving we use a lot more tools. I look at my tools as my army. Each tool is just like a soldier, and my army is on my side. You can go on and on about the grain. When I draw it on the board, I say this is my grain. Not migraine, but the grain of the wood.
What does short grain to long grain mean?
It means each pass starts at the short grain, then runs toward the long grain. In class I show it on a chalkboard. First a piece of wood, with lines for its grain. Then picture number one, a donut drawn on top of those lines, and there are multiple points where you can start carving a donut.
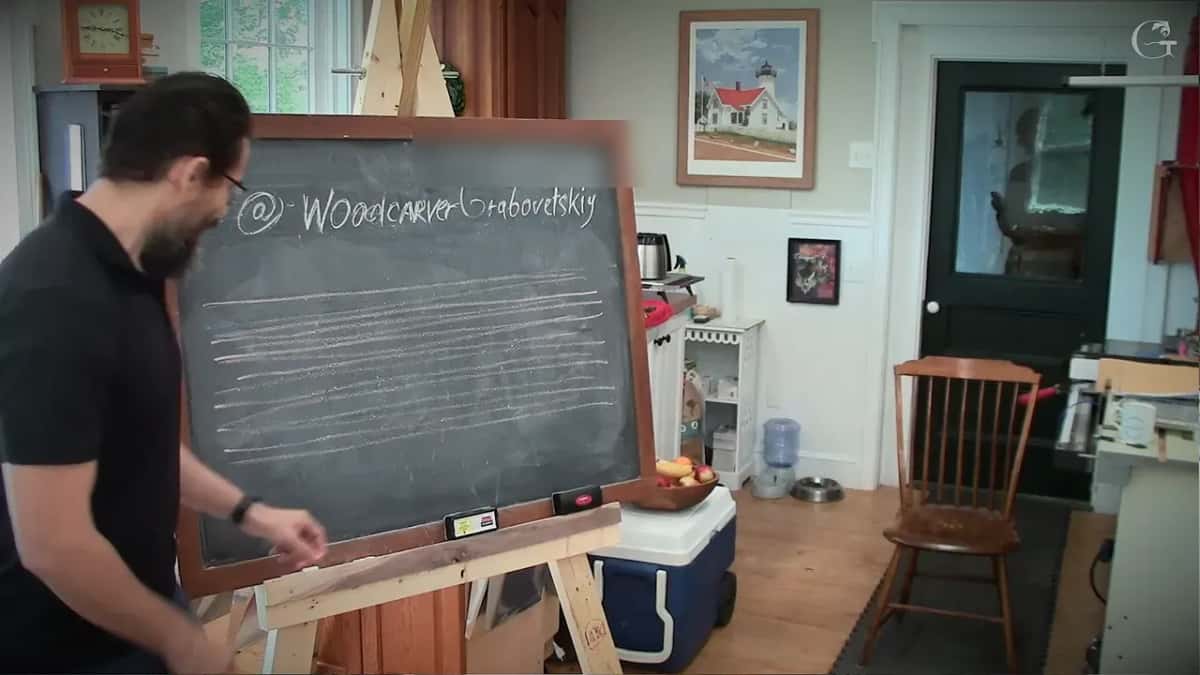
When you Google that idea, you get all kinds of terminology. Carve short grain to long grain, carve along it, supported or not supported. It's somewhat confusing. So take the first term and look at the donut. Short is this part, and short is that part too. And the long part is right there.
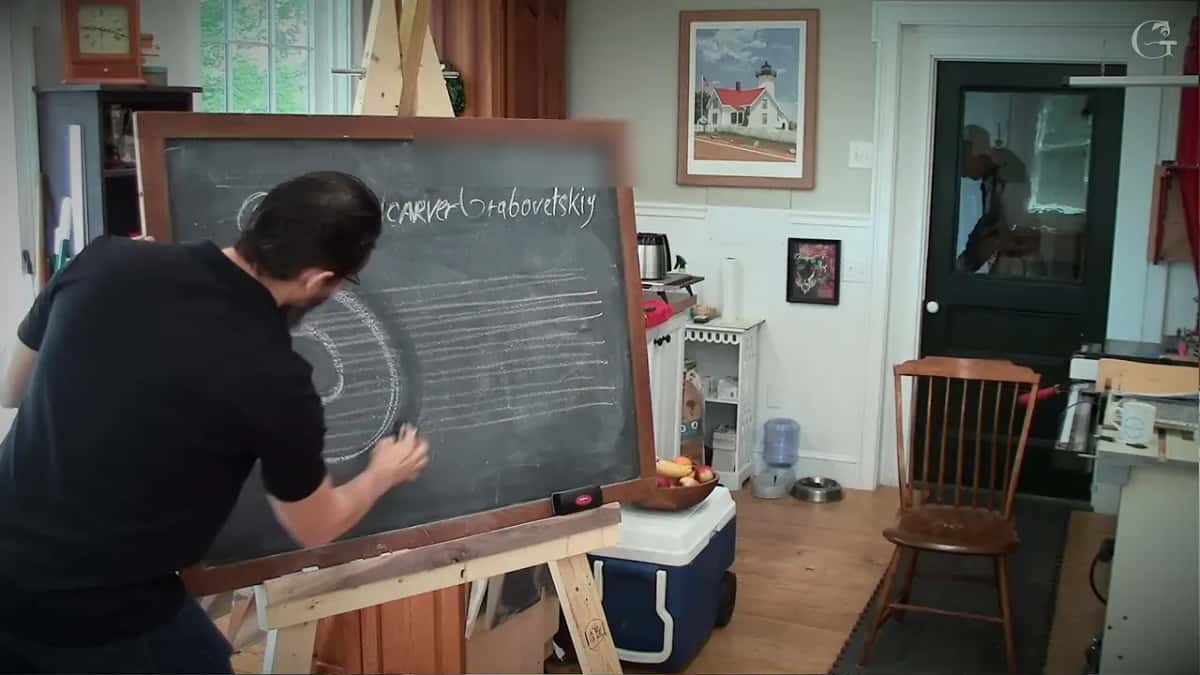
You always start at that point or this point if you want to create that round shape, and then you go on to the long grain. On the far side it's the same. You can't go long to short. You still have to find the short grain and go to the long grain.
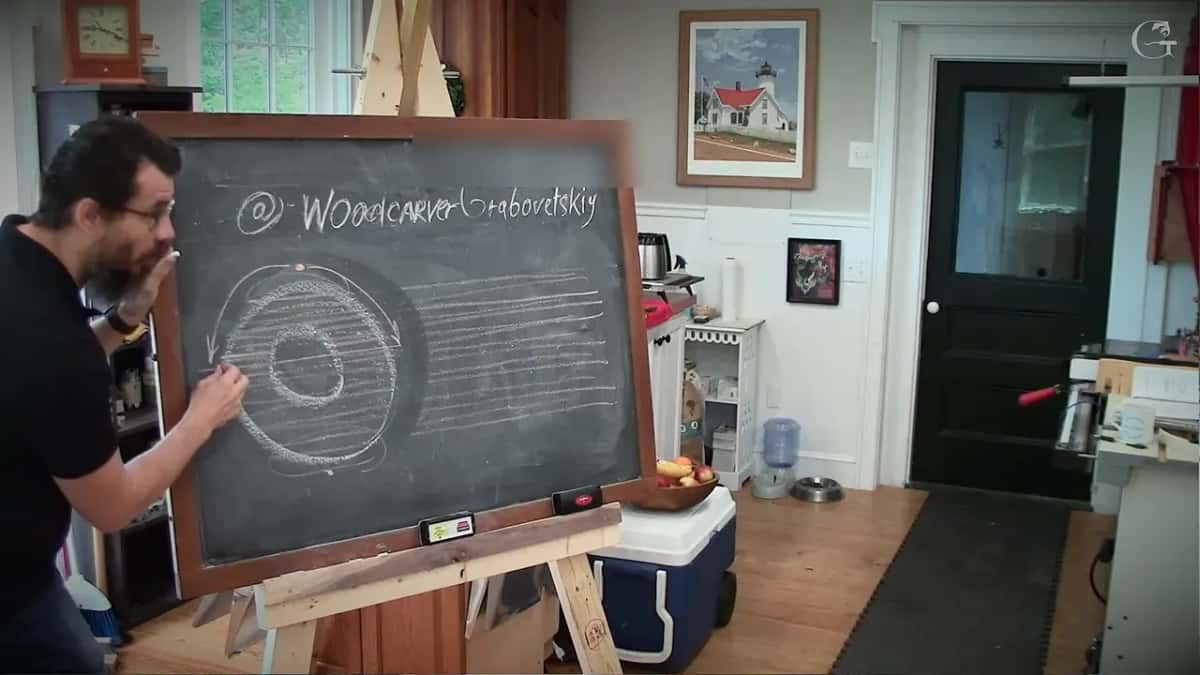
Why does short to long stop working inside a hollow?
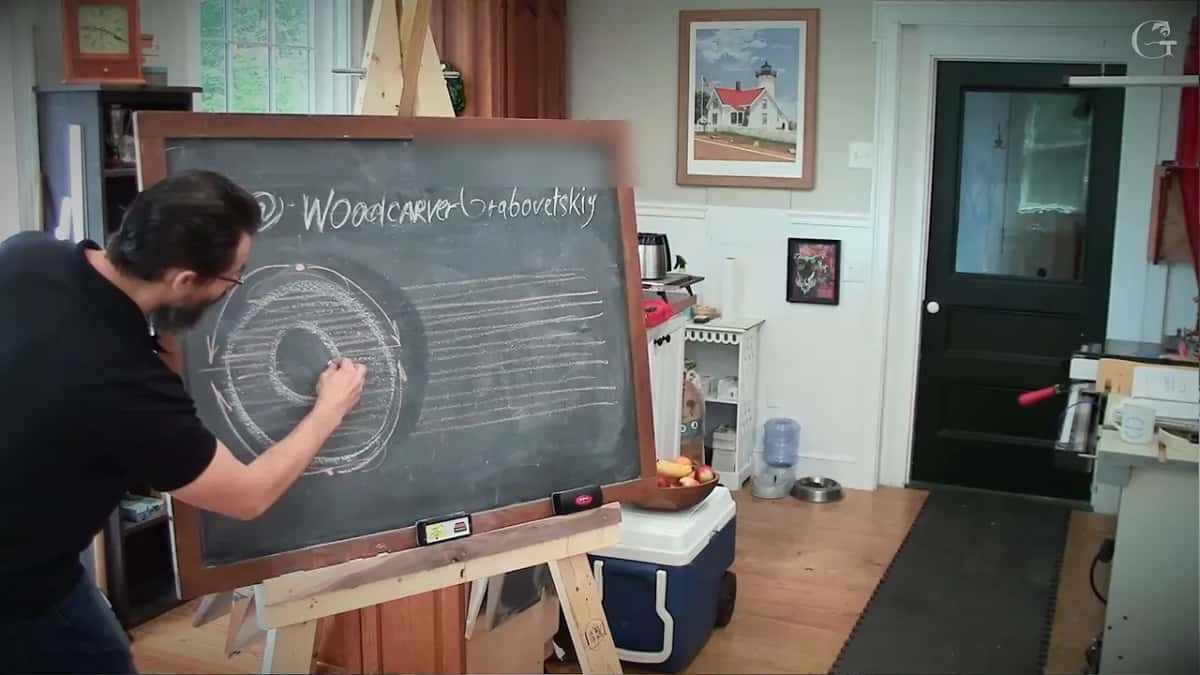
Inside the donut you can't find where the short is and where the long is. They're all the same. So that terminology probably won't work anymore, and the second idea kicks in. Nothing about short or long. We just say along the grain.
Your starting point is right here, and the longer part is over there, so you carve this way. From that other point, you carve that way. The shortest part sits on one side, the longest on the other, and it's kind of opposite direction.
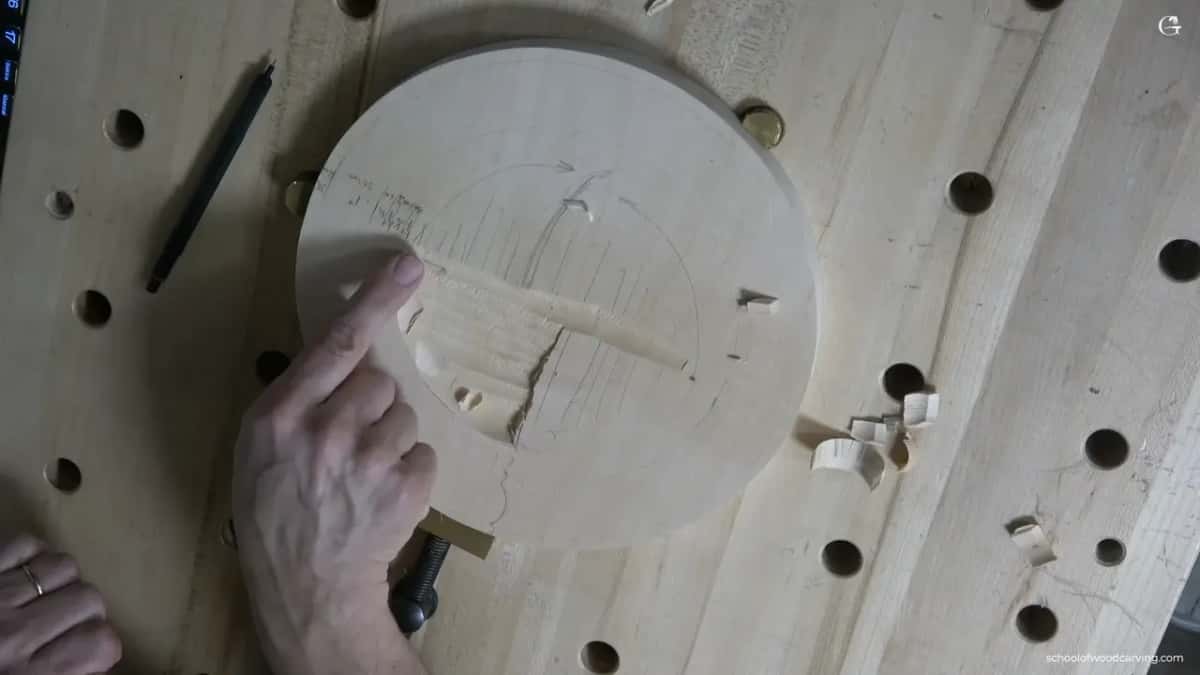
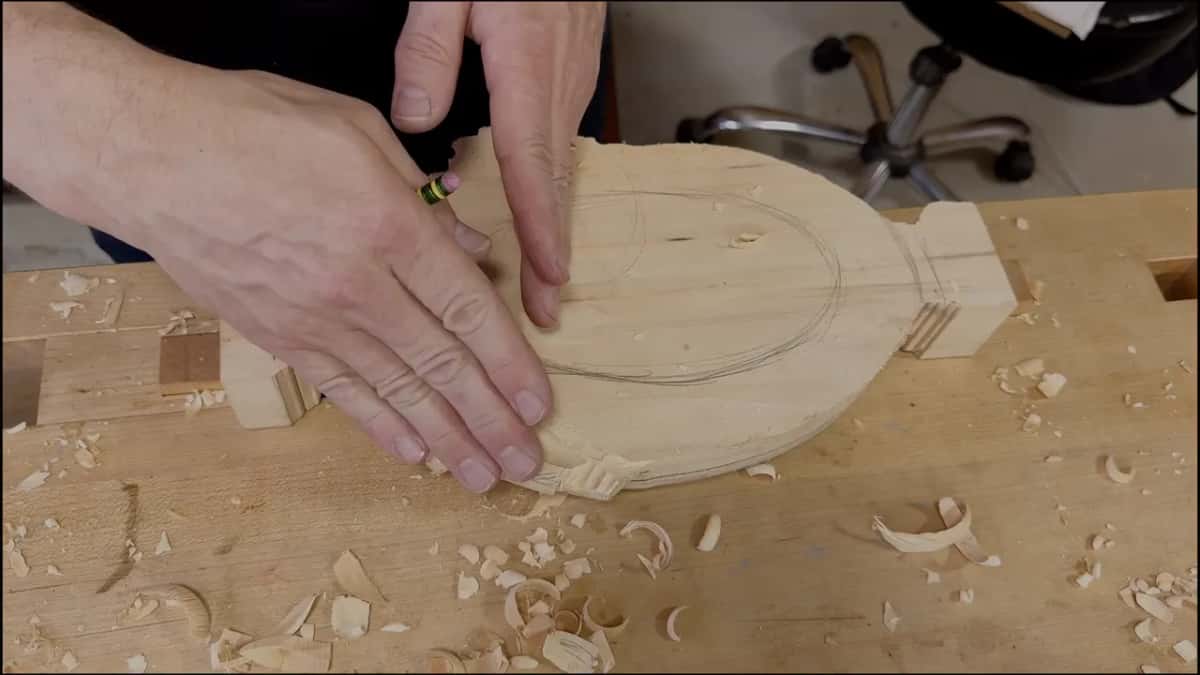
My plate with butterflies had the same thing in real wood. My first pass went this way and the second one that way, just because of how the grain runs. Then I got inside, and it ran against me. The grain changed, my support was now on the other side, and the clean side was the opposite direction, so where I had attacked from one point before, now I had to go the opposite way.
What is supported grain?
Supported grain is grain with a longer grain lying under it and holding it up. Exaggerate the grain in a drawing and you can see it. That is the upper part of the grain, and below it is a supporting grain that actually holds it. The one under that is even longer, and the next one is longer still.
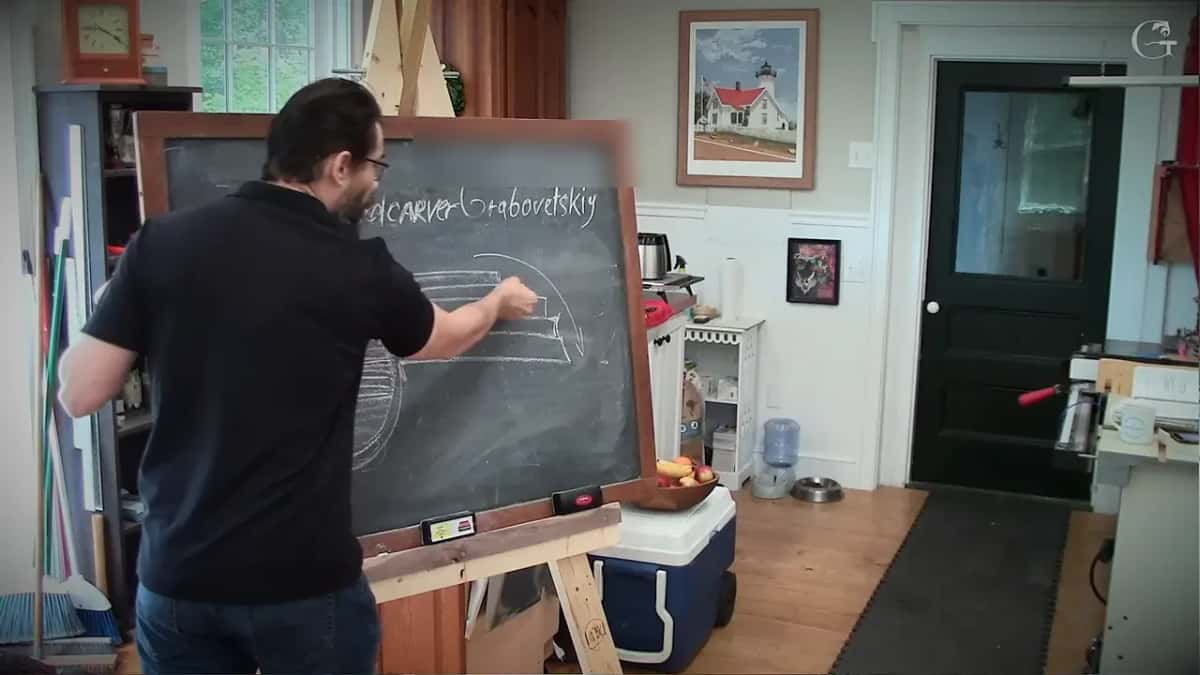
If you start carving from the end where there's no supporting grain, it just rises up. It fights. Picture a bunch of drinking straws from McDonald's, held together in that shape, and try to rub your hand over them. Which side is going to be easier? Or if you have a dog, try to pet him against the grain.
I put it another way in the grape onlay course. Look at the grain and think of small, small pipes, like drinking straws, carrying all the juice. That came up while I was undercutting from the back, in why I hollow the back of a carving. And on the butterflies plate I told students you really need support underneath when you carve, so there's supporting grain under the tool.
For the Tray of Blessing I started from one point on purpose, because I wanted supporting grain, grain that holds up what I carved just before. Then I told it one more time, because I still see the same problem, and with everyone. When people start carving, they push straight in at 90 degrees, but you always have to present the tool at 45 degrees, and you get a much cleaner pass, more of a slicing one.
Why is one wall of a channel clean and the other rough?
Grain is easy to explain on a board. The trouble is the one my class ran into the day before. You make a channel with a gouge or a veiner, and how can you go short to long on both sides? One wall goes with the fibers and the other goes the wrong way. This wall comes out clean. That one comes out really rough, and sometimes it just splits.
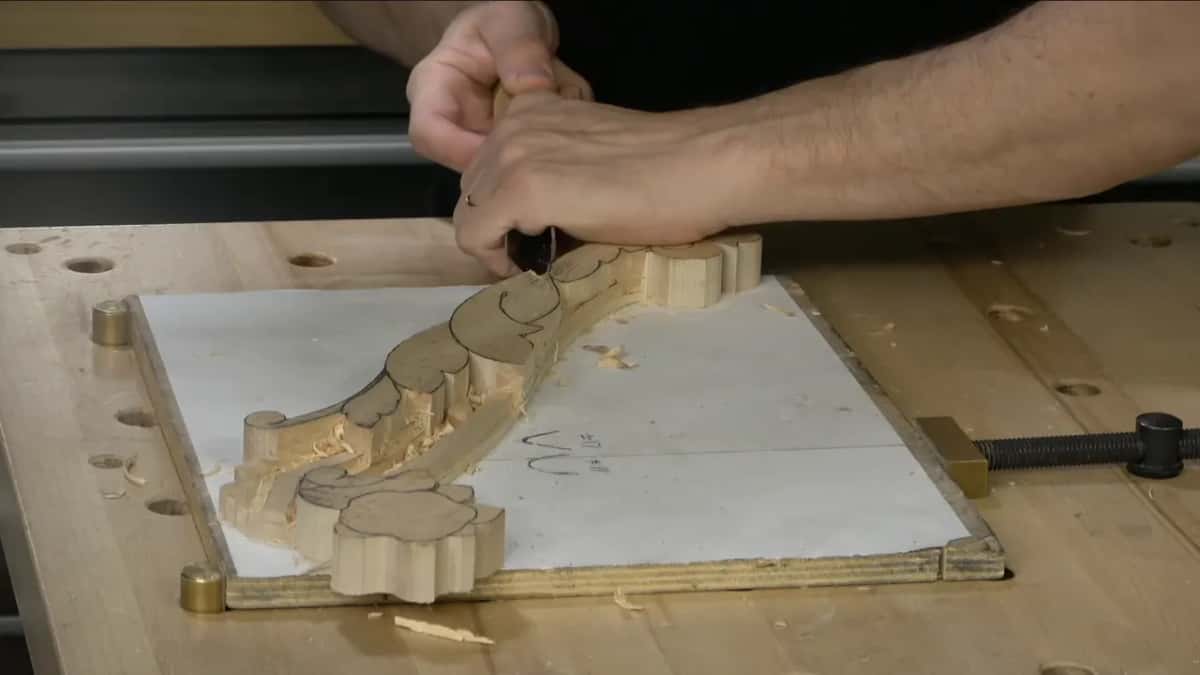
On a molding in the acanthus over moldings course I had to pick. Any gouge, a number 11 or even a V tool will give you one clean side and one rough side, so first I need to find which one is my clean side. Here the grain ran that direction, and I really needed to keep the left wall somewhat clean. So I attacked from that position and didn't worry about the right hand side.
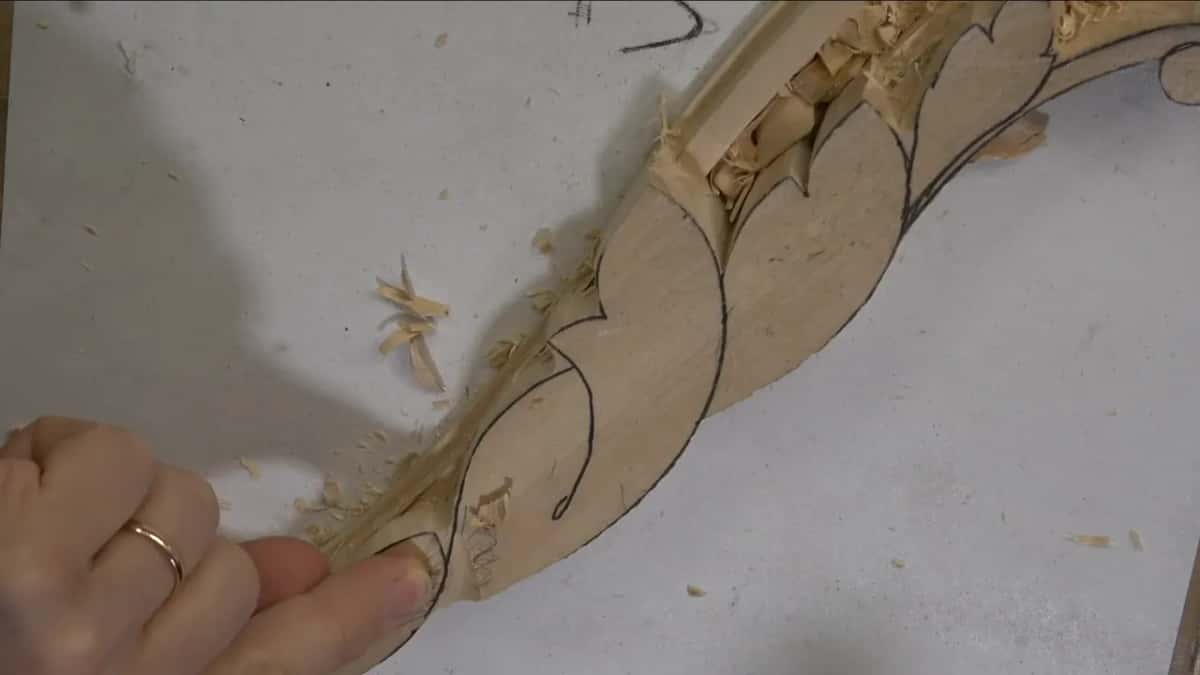
My tool there was big, like three quarters of an inch or so, 20 millimeters to be exact. That lesson shows what I mean. The left hand side came out really clean, the other side kind of rough. I could have attacked from both directions and gotten both walls clean. For me the left one mattered a lot more.
In the next lesson of that course I took really short strokes on the first passes. I know there are lots of different opinions, only long strokes or only short strokes. I mix, and with short strokes I can keep an eye on what is going on with my grain. That's the idea behind short strokes first, long ones later.
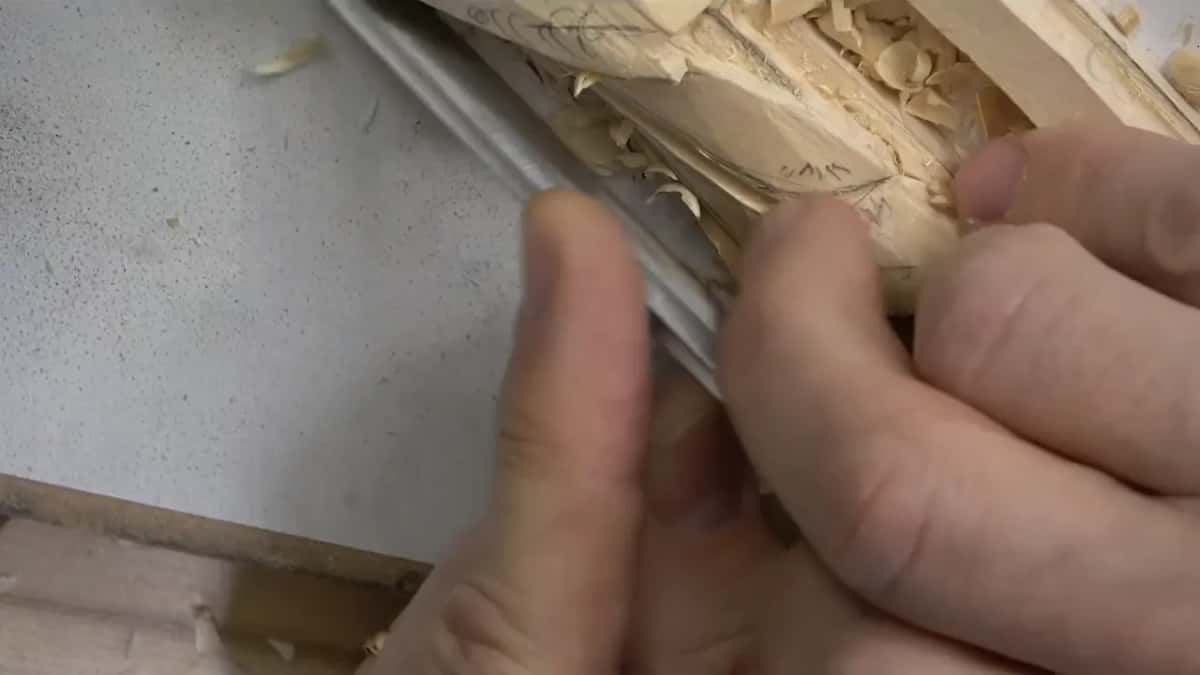
So what's the solution in a channel? If it's wide enough, attack one wall, then come back for the other wall the other way. That works. But on a really tiny spot you can't do it, and you also spend twice the time, because every pass turns into two. What's the solution then? Sharp tools, and break the rules.
Someone in that class asked if I play with it. Sometimes I do, but only on a small, tiny pass, just like wiggling inside. Another lesson asks whether to wiggle a gouge while carving.
Is there any grain rule in Grinling Gibbons style?
No. Absolutely no. When you carve in Grinling Gibbons style, there's no such thing as following the grain. You have to attack from some angles. In work like that, how can you even find the grain? The only solution is just to keep your tools sharp. That's it.
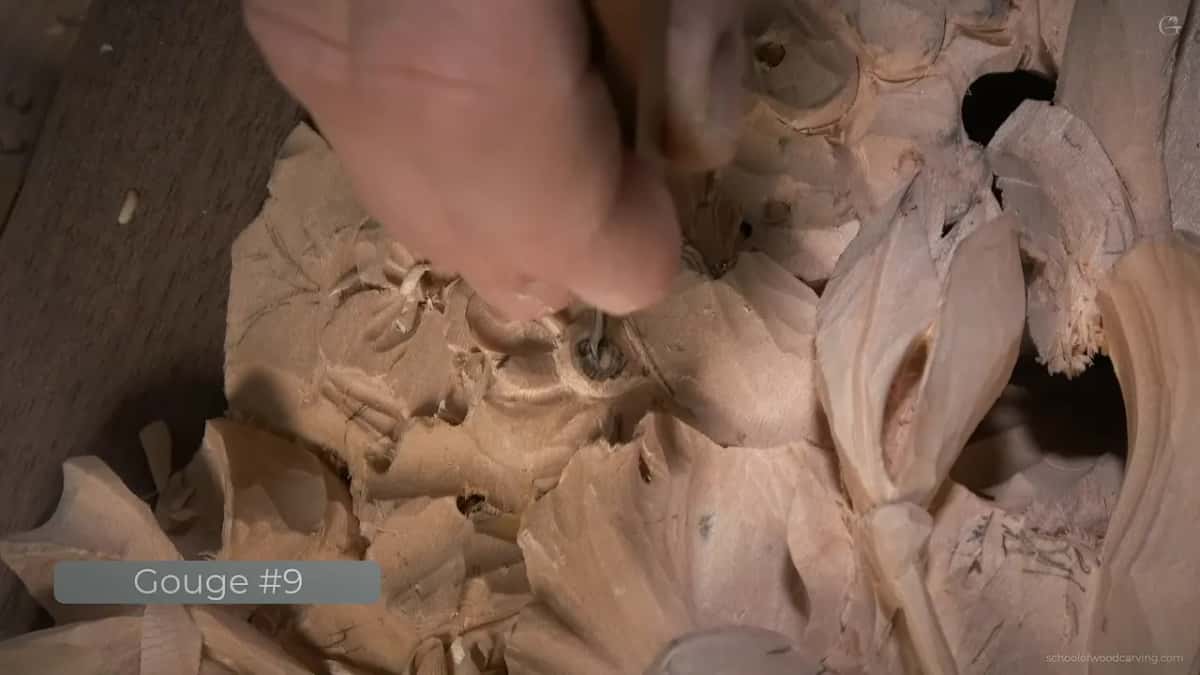
In the Maine class on Gibbons style one flower was so fragile I could break it just moving it. I used the same small tool, about a sixteenth of an inch (about 1.5 mm), a number 9 or a number 8, and made the pass right on the side of the flower, about 90 degrees to it. I didn't measure.
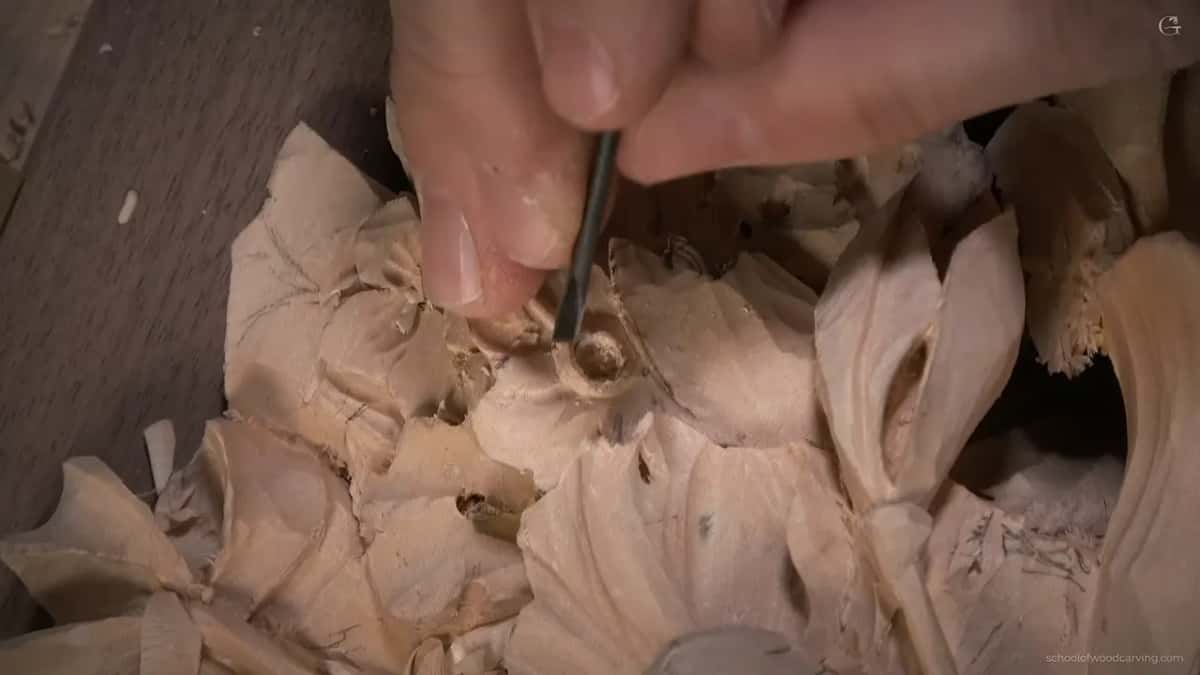
One student asked if, after all these years, I still struggle, or do I feel the wood by now. I feel it, absolutely.
What is the marriage line?
The marriage line is what we call the spot in a bowl or a leaf where you have to switch sides. Let's say a bowl. Once you start carving it, the grain changes direction, and you really have to attack from the opposite direction. Of course, I exaggerate on the board. Sometimes there's almost no sweep, but there's still going to be a marriage line, and if you just keep carving, you're going to split it.
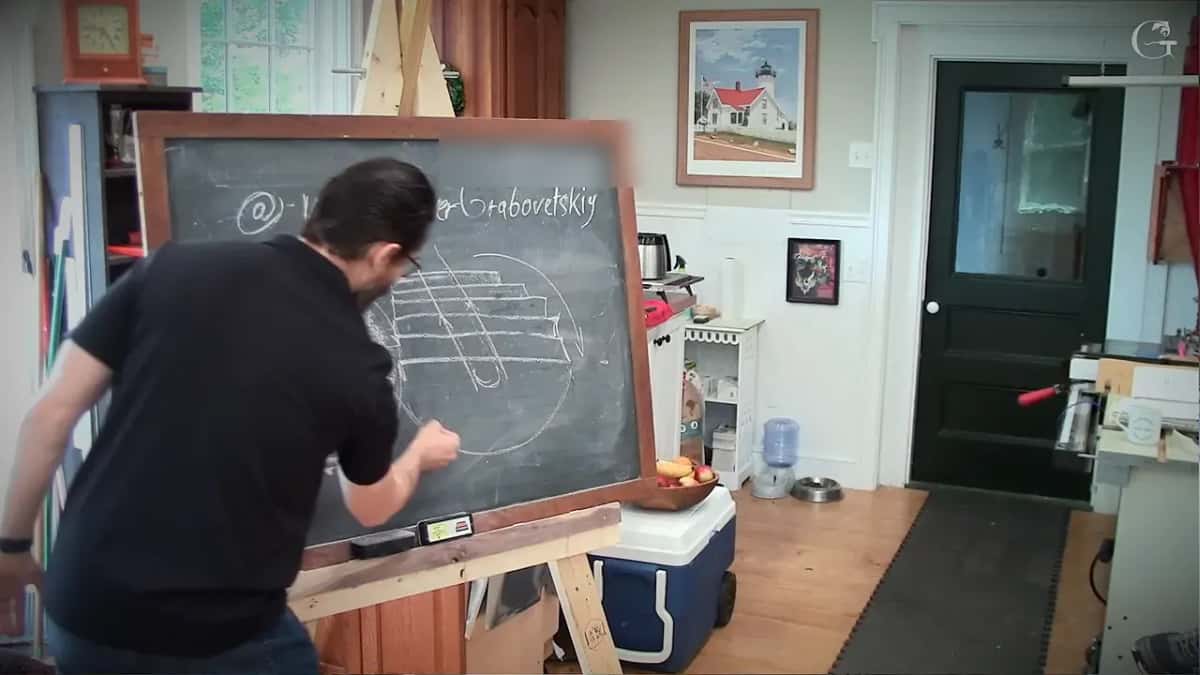
Why marriage? I said it on a Venice Room panel. At that spot the grain is just not in favor of my tool, so I go in from the opposite side. I'm going to marry that spot. Carefully, a little at a time, until it blends nicely, because if I force it, I'm going to break it.
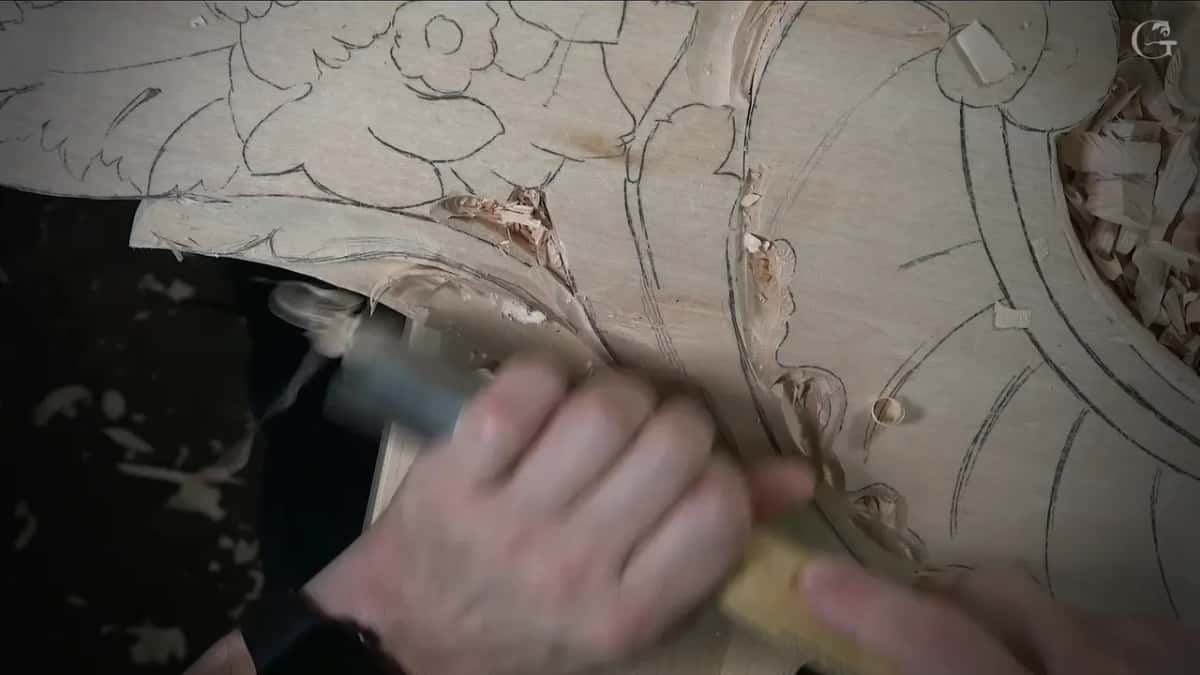
On the modern acanthus from a 1903 design I had a big number 9, 20 millimeters (about 3/4 in), and ran into one. I started to say the grain turns, then put it better. The grain doesn't change direction. It's actually the pass that changes. At that point the grain meets, and if I push it, I break the whole thing. I blended that marriage line together instead, from different points, and it didn't have to be perfect.
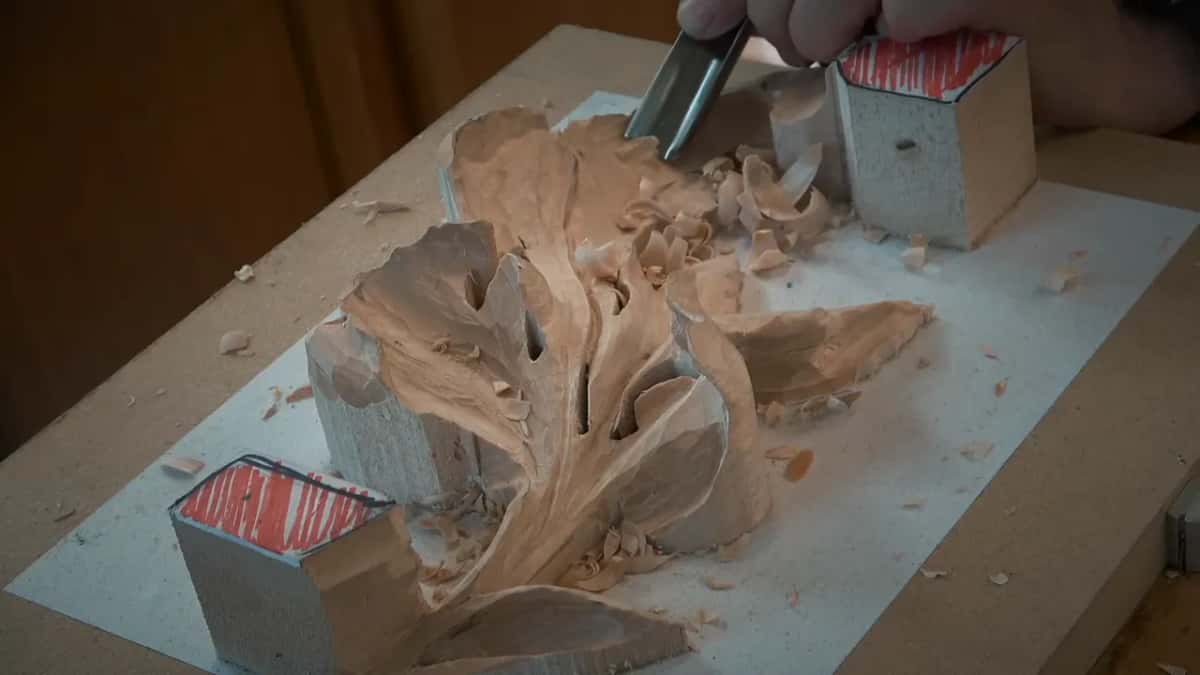
At the very start of the Venice Room it was the same. I had a number 9, close to three quarters of an inch, 20 millimeters to be exact. So that is my marriage line, which means I switch sides and attack the other way. From the same direction I would split it and damage my overall shape. If I force it, it can split, and it's better to back off and start all over.
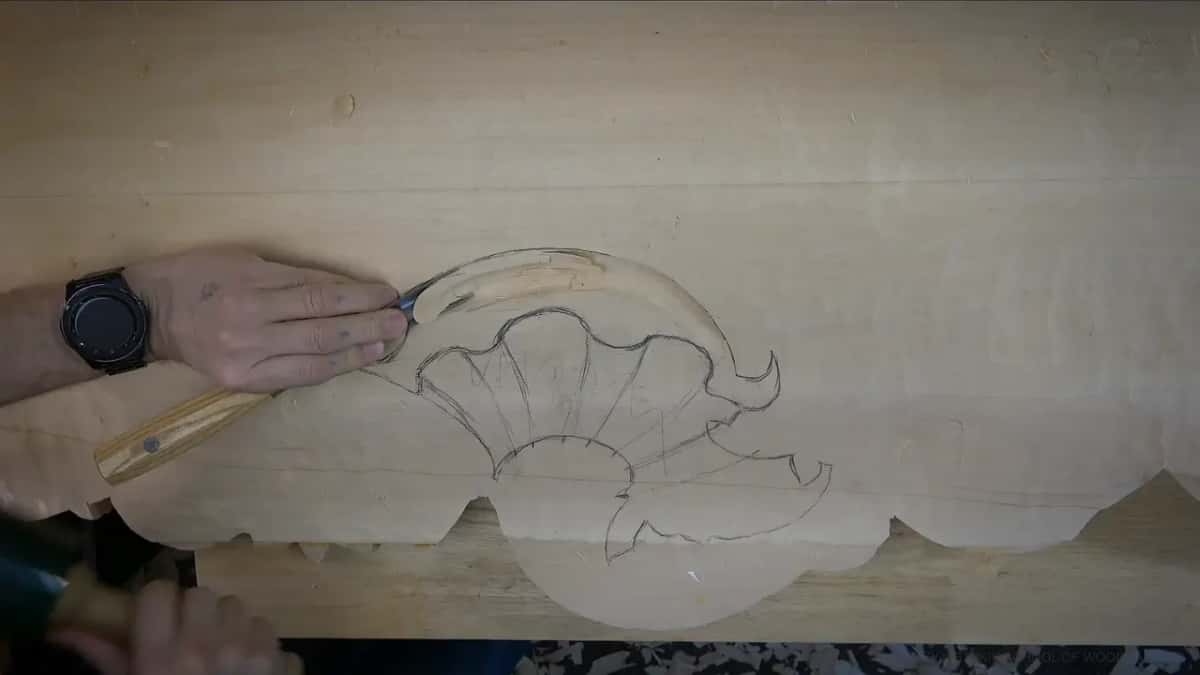
But like I said, it's still not always the case. In a complicated carving you sometimes have to work against the grain, no matter what. Sometimes you really have to go up, because there's no way to attack from the upper side. And the only way to do that is sharp tools. When a part does break anyway, there is a lesson on what to do when a carved part breaks.
Why do I keep telling students not to overcomplicate it?
Don't overcomplicate things. If it fights you, just sharpen your tools. Don't stand there thinking, what angle should I take? Just don't overcomplicate it.
Sharpening on sandpaper was actually the first thing my teacher taught me. He said, don't overcomplicate things unless you have enough money to invest in stones. A stone is really expensive. Just get the sandpaper on a bench, and you're sharpening.
How do you sharpen a half millimeter number 11?
Carefully. That morning someone had a question about sharpening that I wanted to answer. The day before I had shown the class how to sharpen huge tools, but what about tiny ones? I've got one at one and a half millimeters (about 1/16 in), one at a millimeter (about 1/25 in), and a number 11 at half a millimeter (about 1/50 in).
The hard part is the inside. Whatever you use, you create a micro wire edge on the inside, so how are you going to get rid of it? One answer from the class was a string, a guitar string or a fishing string. Will it take care of the inside? No. And if you want that edge to be strong, you have to create a super micro steel bevel in there.
The solution is sandpaper on the inside. Go to Home Depot and buy 6,000 grit automotive sandpaper, the water polishing and buffing kind. They've got up to 8,000 grit. Then just the old way, go inside and sharpen it. Easy solution.
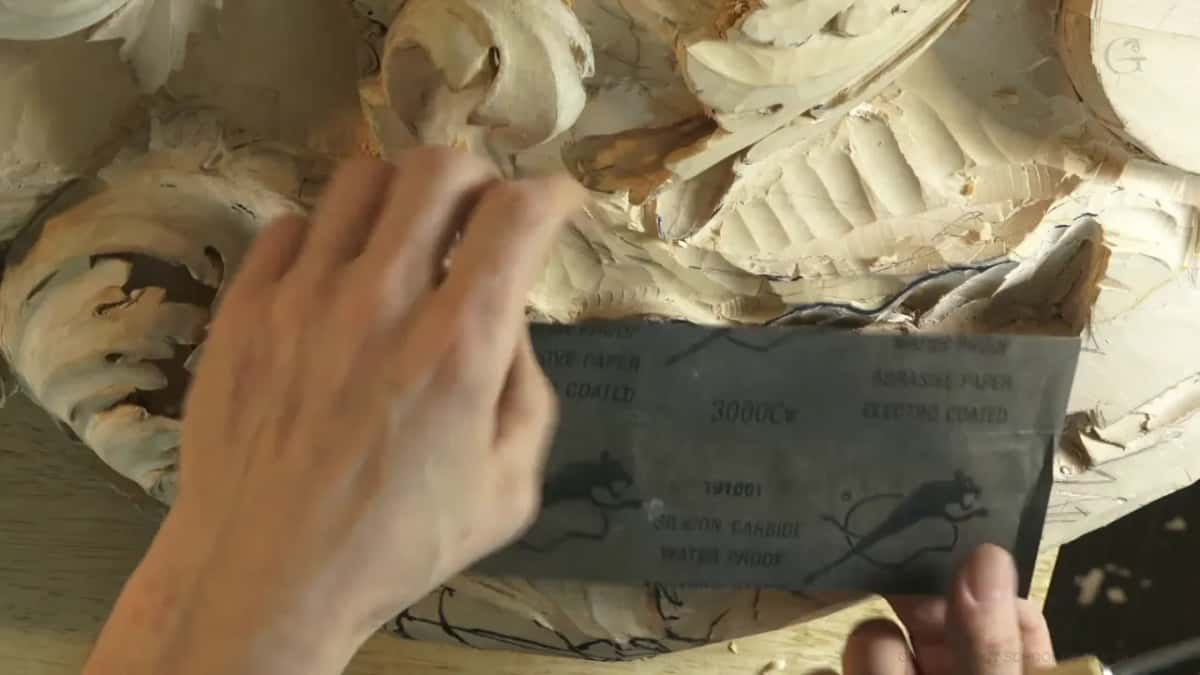
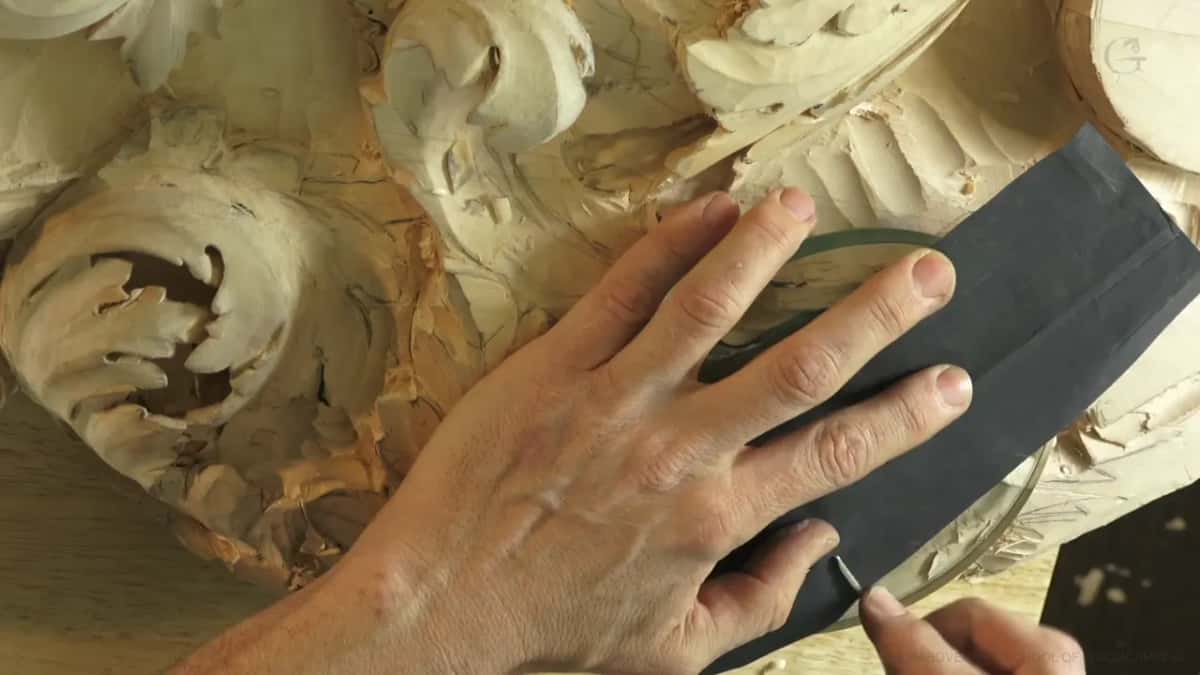
I showed it close up in the micro tools lesson. Slip stones are not cheap, and there's no slip stone that fits inside a tool that small. I took a chip from my carving the day before, wrapped the sandpaper around it, and did exactly what I would do with a slip stone. The paper there was 3,000 grit silicon carbide, waterproof, made for automobiles. I have up to 12,000, but plain 220 works. A half millimeter tool doesn't even need the chip, just the paper.
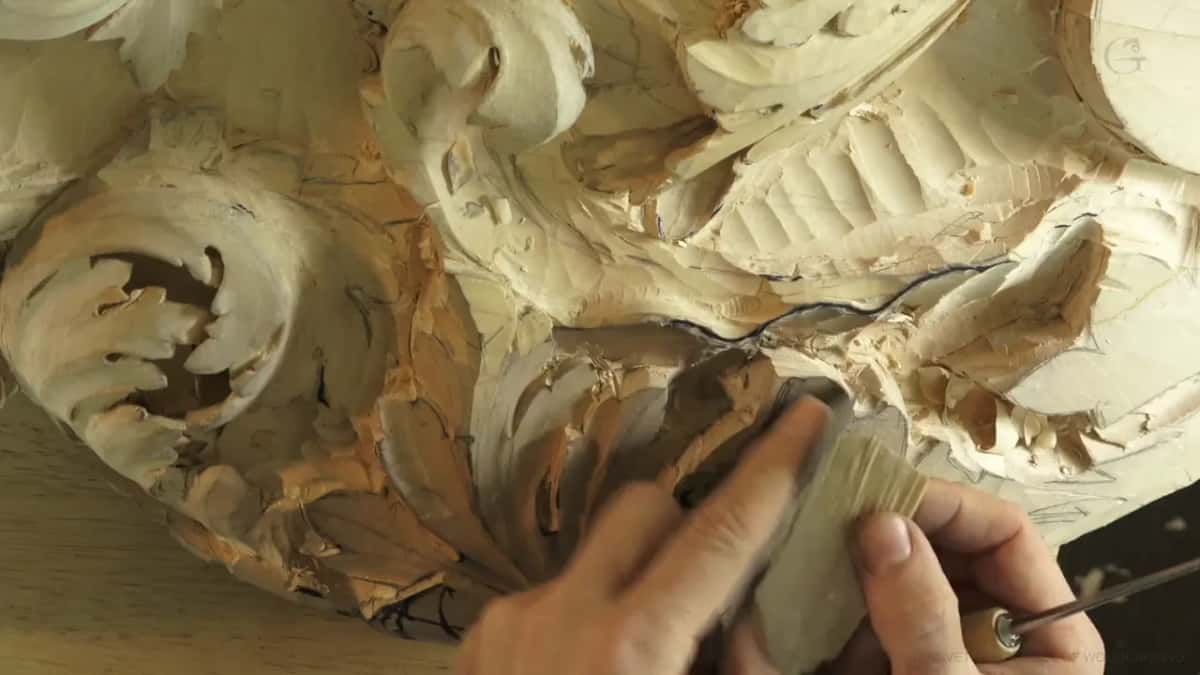
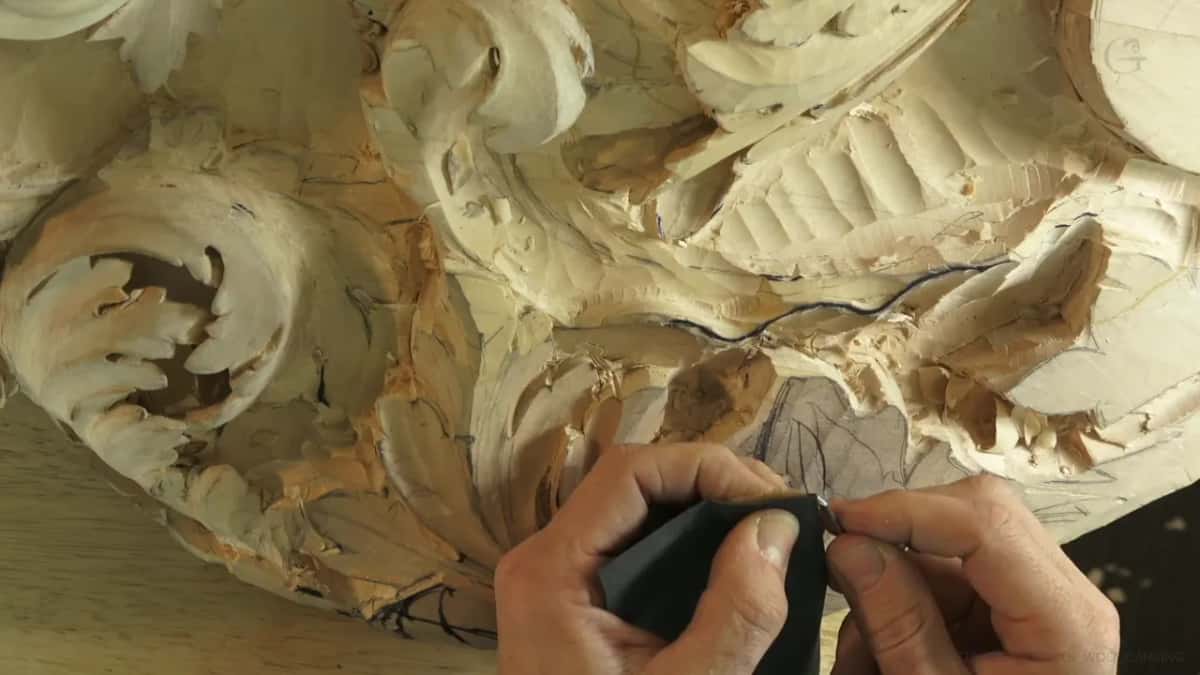
The same sandpaper sharpens pretty much any of your tools, if you don't want to spend a lot of money on stones and a machine. Lay a few grits on a bench, flat, and use them like a stone. I keep sandpaper in the kitchen too. When my wife asks me to sharpen knives, I just put it on the countertop, and that's it. She always has the sharpest knives. More of my sharpening is in the sharpening course.
Which way do you carve in each spot?
| Where you carve | What the grain does in that spot | My move |
|---|---|---|
| Outside a ring | Short at two spots, long right there | Short first |
| Inside the hollow | Short or long, it all looks alike | Two directions |
| Unsupported top grain | Nothing under it, so it rises up | Opposite direction |
| A wide channel | One wall clean, the other wall rough | Both sides |
| A tiny channel | No room to go at it twice | Sharper edge |
| The marriage line | Grain meets there, and pushing it splits | Both directions |
| Work like Gibbons | Finding the grain at all is hard | Keep sharpening |
This whole lesson, the chalkboard and the questions, is inside the school, and the rest of these tips are in the techniques course. More of my bench is on YouTube.
Is there a board on your bench that tore on one side? If it fights you, sharpen your tools and attack that wall the other way.
How it's done
- Find the short grain. Look for the short grain on your shape and begin there. The long grain comes after.
- Change course inside a hollow. The two ends look alike in there, so give each side of the hollow its own direction.
- Keep support under the edge. Begin at the side where longer grain lies underneath. The unsupported end rises and fights.
- Choose the clean wall of a channel. Pick the wall you need clean and attack from its side. If the channel is wide enough, return for the other wall from the other direction.
- Meet at the marriage line. Stop pushing at the meeting spot, switch to the opposite side and blend.
- Sharpen when it still fights. Don't overcomplicate it. Put the edge back on your tool, and inside small gouges use fine sandpaper.
Frequently asked questions
Why do wood carvers need so many tools?
Wood has grain, and stone doesn't. A stone carver gets by with a lot fewer tools and a lot of sanding and polishing, but wood carving needs many more tools because of that grain. I look at mine as my army, every tool a soldier on my side.
Where does short grain sit on a donut shape?
On my chalkboard donut, short grain sits at two spots on the ring and long grain at another. Start at either short spot to make the round shape, and both sides finish in the long grain. That fails in the hollow, where every spot looks the same.
Why does my wood tear when I carve one way?
Starting at the end with nothing underneath lets the fibers rise up and fight. Below each bit of grain lies a longer one holding it up, so begin where that support is. And if the wood still fights you, sharpen before anything else.
What to carve next