

Alexander Grabovetskiy, woodcarver, School of Woodcarving · Published 2017
How do you use background punches on a wood carving?
Quick answer: Using background punches is steady, small work around the lowered ground of a carving. On my lily box I began with the smaller punch beside the design, struck it with the side of a hammer for control, and went lighter toward the edge. In the Venice Room I turned the punch between blows.
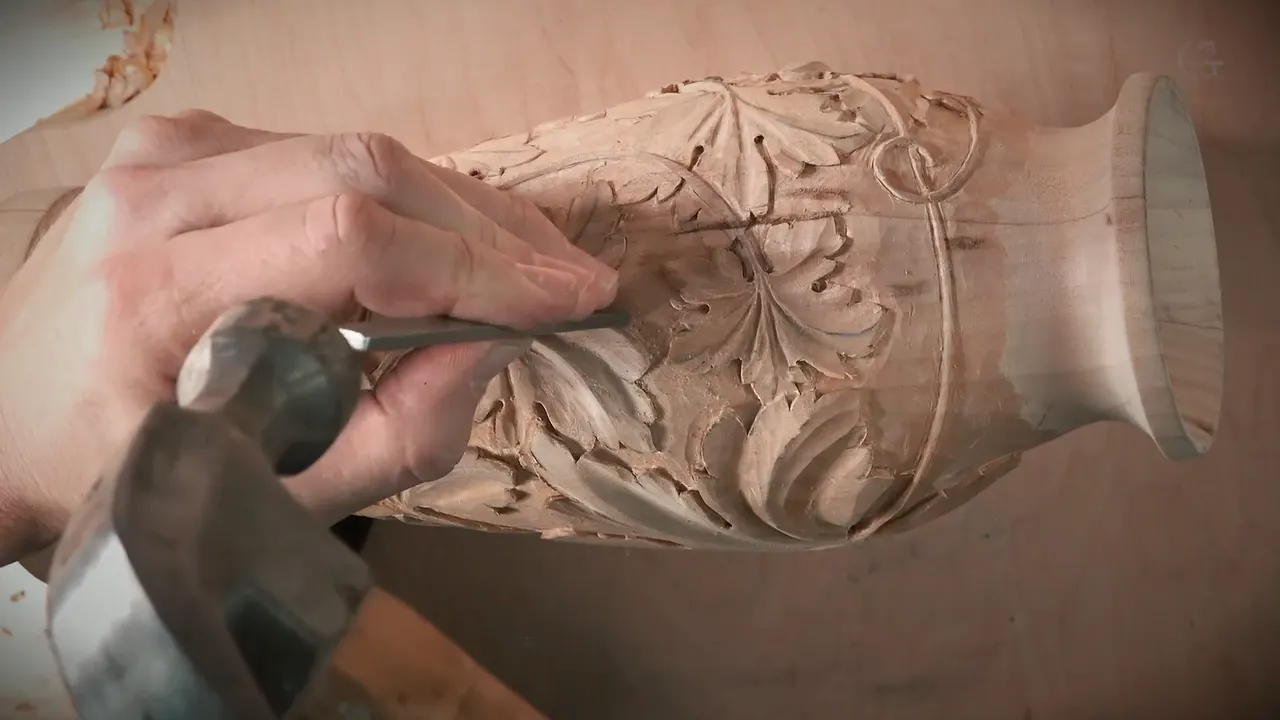
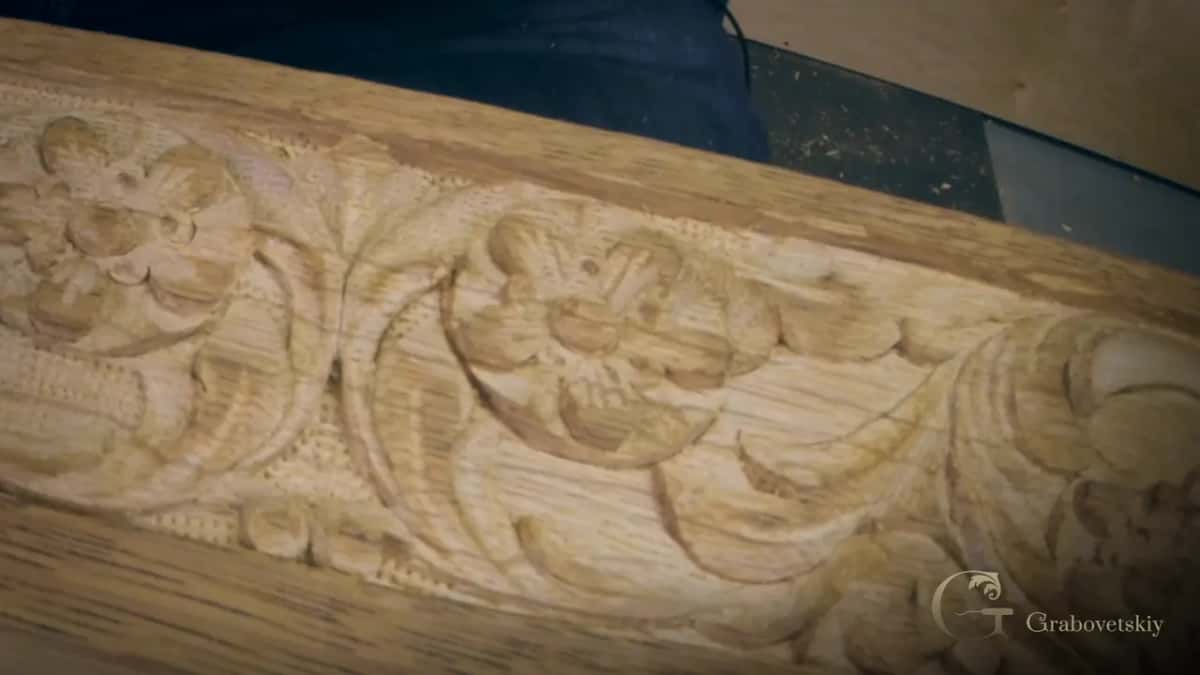
Wood carving background punches are small metal stamps you strike into the lowered ground around a design, one blow beside the next, until that whole area carries a texture and the carving stands apart from it. I've punched the grounds of several antique style rosettes and a lily box. A vase got it too, and so did a table apron and some of my Venice Room pieces. How I held the punch, and what I hit it with, changed with the piece.
Got a carving with a lowered ground around it, or one you plan to carve? Want that ground to look finished without hours of smoothing? A punch will get you there. It took me less than five minutes on the lily box, and it made a huge difference on the design.
I'll go piece by piece and name the lesson each one comes from, so what I did on one piece stays with that piece.
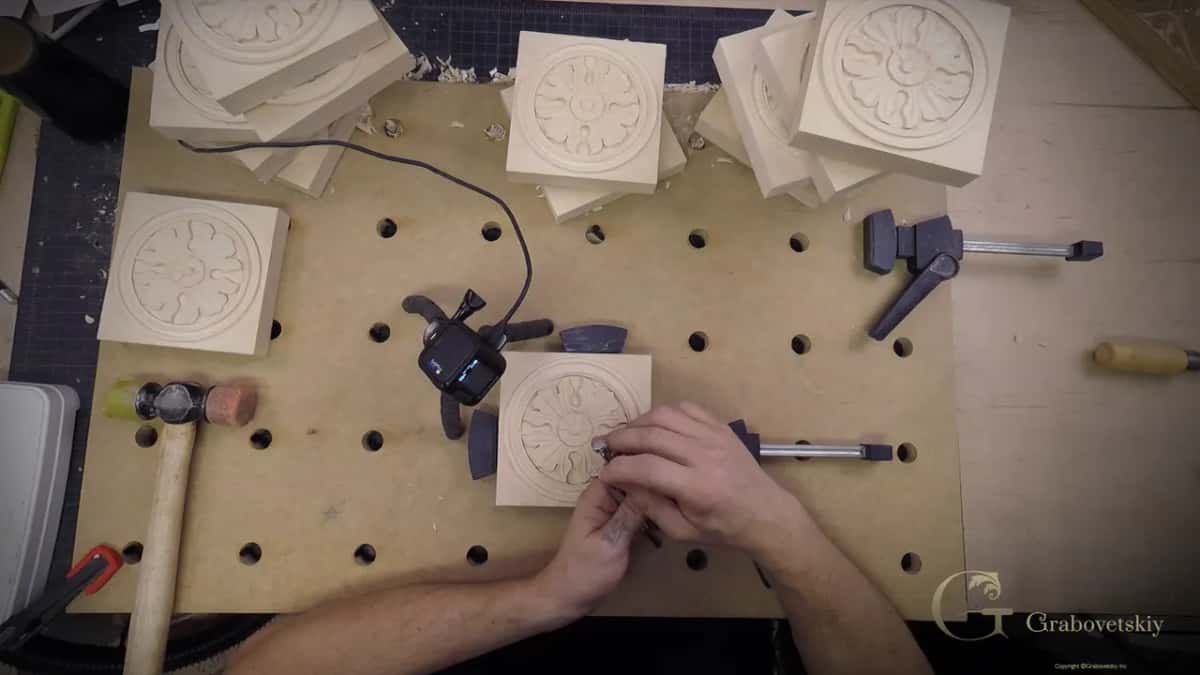
Six things I did with a punch
- My first punch on the lily box was the smaller one, next to the design.
- There I hit it using the hammer's side, for better control of the pressure.
- Harder near the design, softer near the edge.
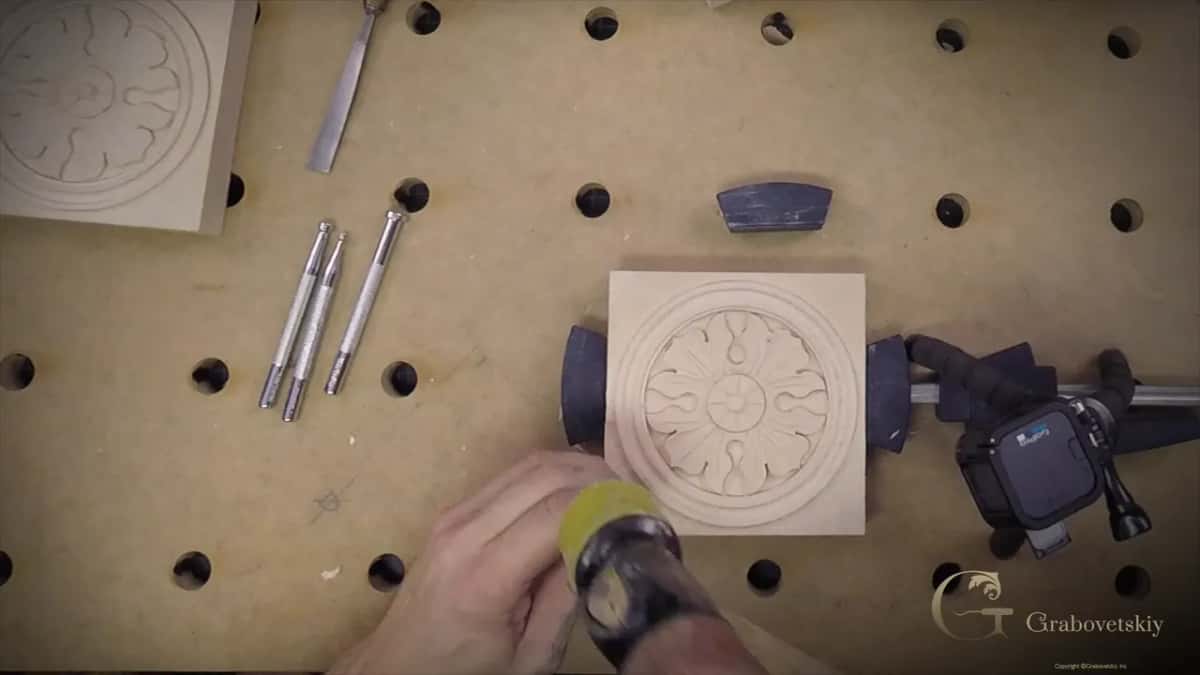
- Workshop 93 had me turning the punch as I went, so the pattern faced different ways.
- A two row punch filed down to a single row gets inside an undercut.
- I punched that box before its second layer was glued on.
What are wood carving background punches made for?
Grounds on furniture, mostly. When I punched the vase with grape leaves, I said those punches are actually made for wood carving, and they were mostly used for furniture making. Traditional tools had carved that vase, so its ground got a traditional method too.
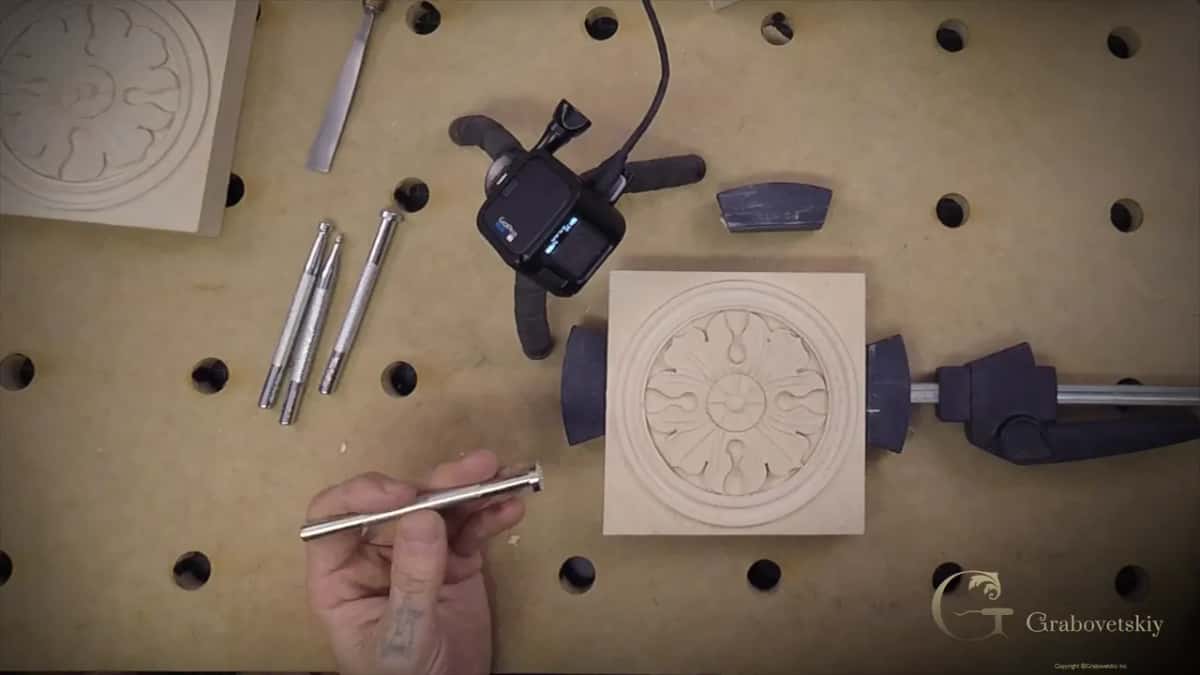
Four punches came in the set I used there, sold by Woodcarvers Supply in Florida. About the lily box I said four is pretty much what you need for all the furniture carving, and Europe has a lot more places selling them.

During workshop 93 of the Venice Room I counted them out on camera. Among the four are two round ones and a rectangle. Most of the time there, I said, I'd use the round ones, with the small one for getting inside the corners.
You can make your own, too. A nail head or a screw head and a file will do it, I said while texturing a rosette of Venetian flowers, and for the vase I mentioned a dull nail or a dull screw, the same idea. The thick nail I filed into a punch has its own lesson.
Bubbles on my antique rosettes came from punches sold for leather work, and that rosette lesson covers them. Those sets come with other patterns too, besides the bubbles.
Which punch do you start with?
It depends on the piece, and I've done it both ways. On the antique rosettes I took the biggest one first, about half an inch round, and went around the outside with it before the smaller ones came out.
The lily box went the other way. Let me start with the smaller one, I said. I worked it around close to the design first, then just gradually upward from there.
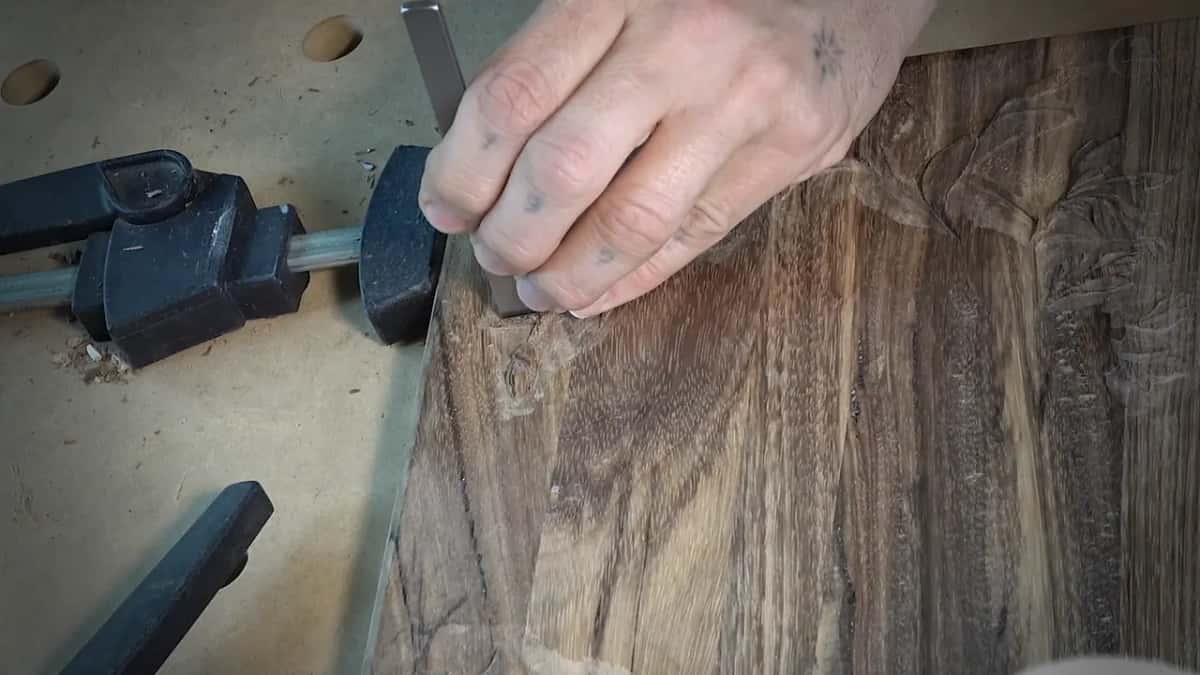
That box is dark wood, and the carving on it is shallow. At its deepest point it went only an eighth of an inch, about 3 mm, and with all the movements it came to no more than a sixteenth, about 1.6 mm. Something that tiny has to stay visible against the background you're carving.
Once one side had plenty, I turned the box around and did exactly the same on the other side.
What controls how hard the punch goes in?
Mostly by feel. On the lily box it also came down to how I held the hammer, and I didn't want a mallet there at all. I could have held it the normal way, but I like to use the sides, because I feel I can control the pressure much better.
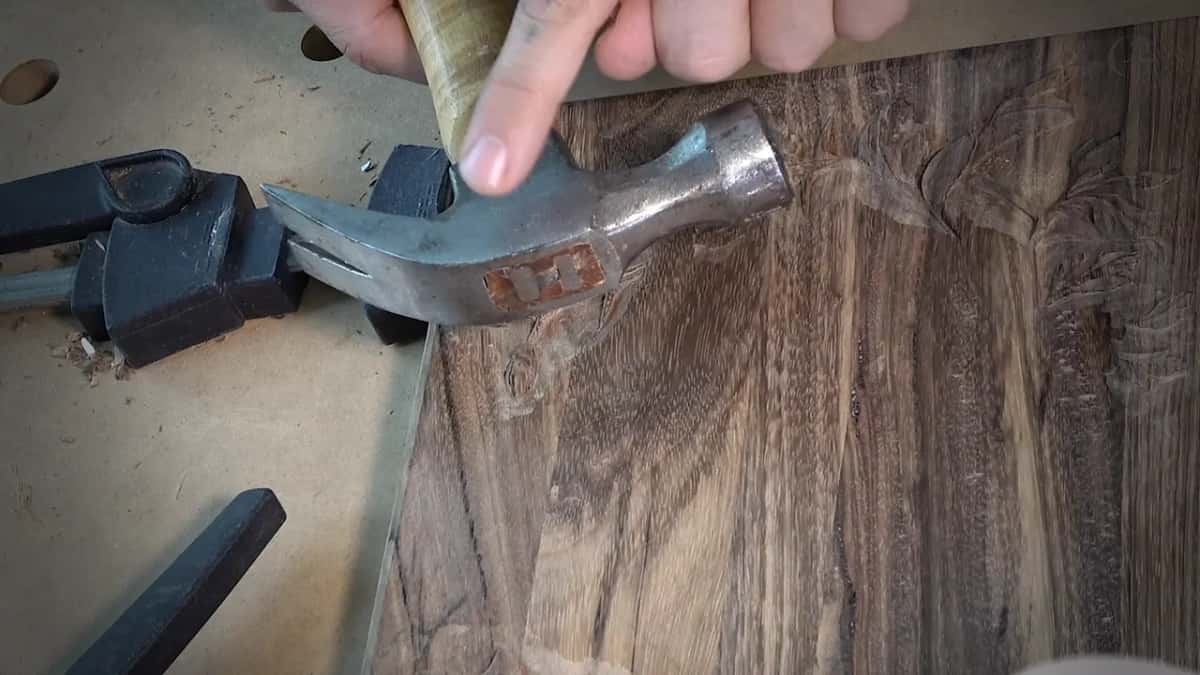
Then the pressure changed across the piece. Harder punching went in near the design, lighter toward the edge.
Small punches need watching. You kind of have to feel it, I said about the rosettes, because it's easy to overdo with the small one, and it goes deeper.
As for what drives the punch, I've used both. A carpenter's mallet with plastic at the end did the rosettes and the table apron. A mallet made of wood I wouldn't use, I said there, since the metal punch would damage it. A normal hammer did the vase and the lily box. It did the chamomile rosette too, and the Venice Room piece in workshop 93.
Why turn the punch between blows?
To send the pattern different ways. In workshop 93 I said there's nothing special about it, just punch the background. While I'm punching, I make a rotation movement to get my pattern going in different directions.
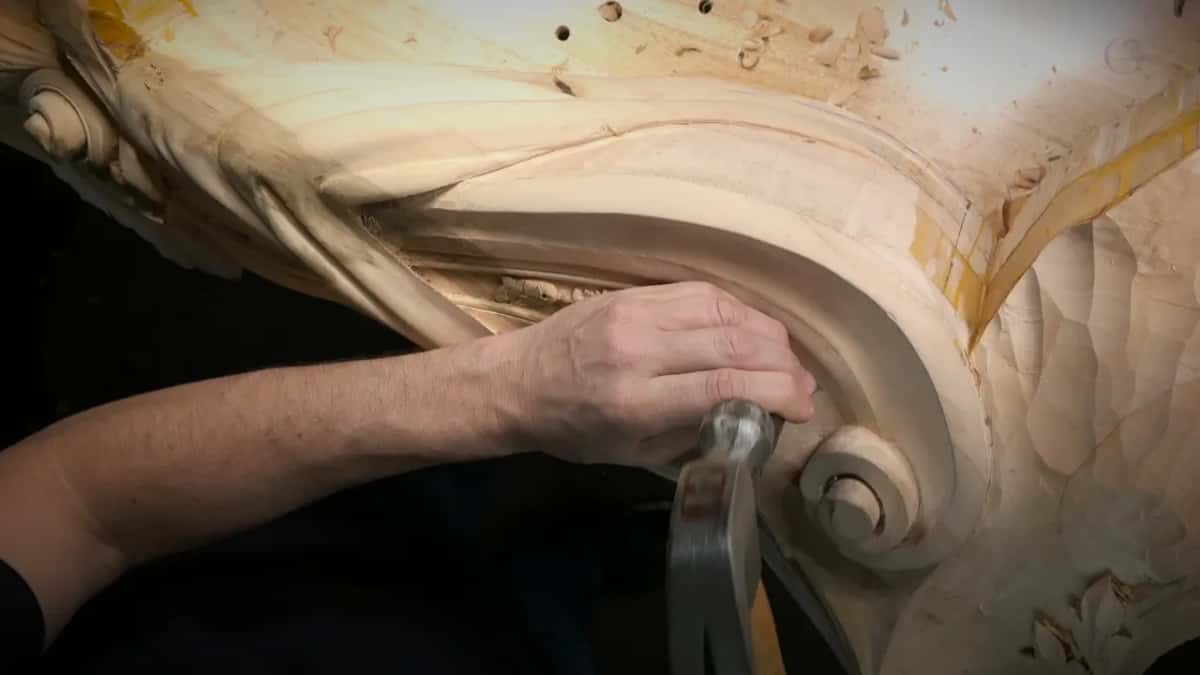
The rosettes had their own version of that. Just randomly place your punch, I said there.
Round punches did most of that Venice Room ground, and the rectangle went into the small areas. Afterward I said it gave me a really beautiful textured background.
Does a planned texture change how you carve the ground?
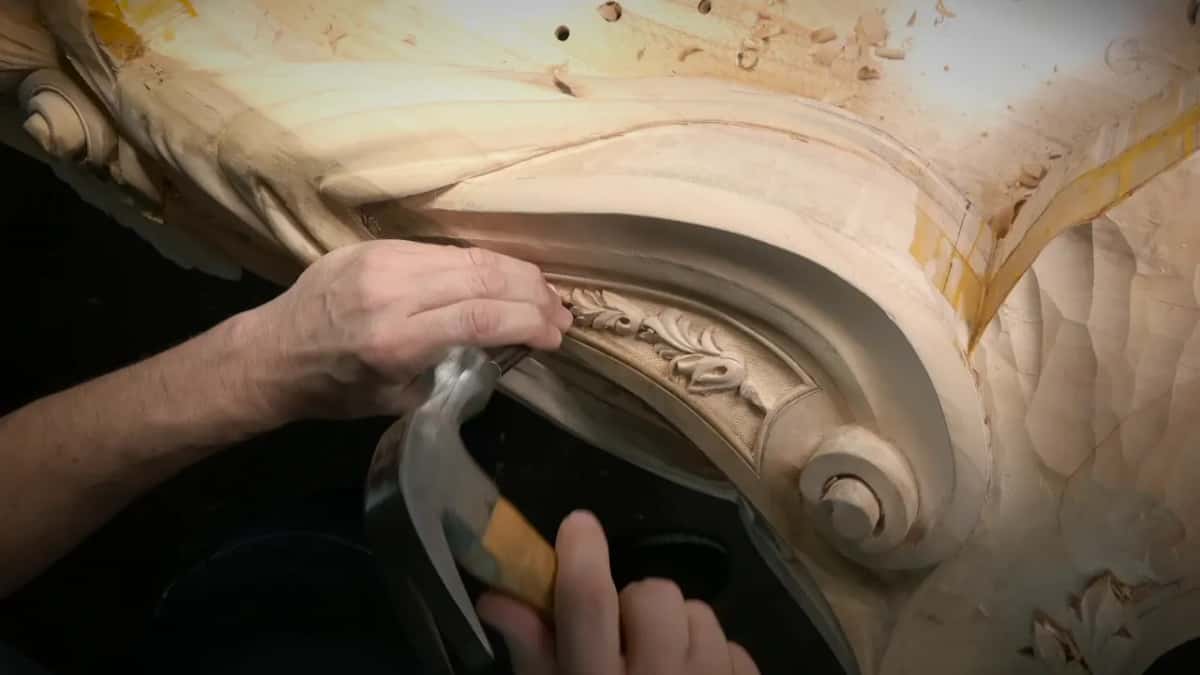
It can change the depth. In workshop 90 I'd lowered one area about 5 mm, roughly 3/16 of an inch. Later it would go all the way to a quarter inch, and I said the way I'd do that is with punches, because it was going to be textured.
I put it another way for the rosettes. I don't have to worry about how clean my background is carved, I said, because it's going to be pushed down anyway, and you won't be able to see it.
Workshop 92 had a knife in it. Mine was super sharp and can go in really deep and damage a background, but not in that case, I said, because there would be a background texture.
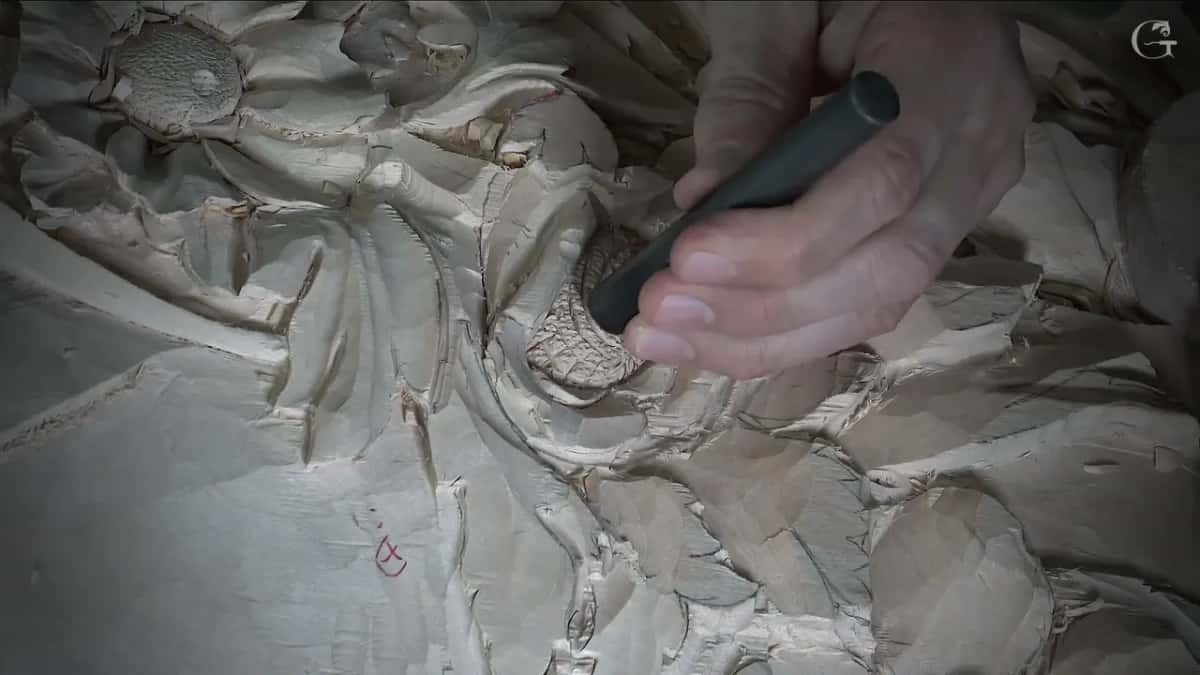
Back in workshop 93 I'd lowered the ground without worrying about making it super clean, since the texture was coming. Earlier that same workshop, a part full of loose chips needed only a little blowing, because the texture would take care of all the fuzz.
Do you have to punch the whole background?
Only some of the lily box got it. I said I wasn't going to go all the way, just areas on the inside. And really, you don't have to do everywhere, I said, just some parts.
The vase with its grape leaves was different. I kept the punching not too deep there, but all of the background got punched.
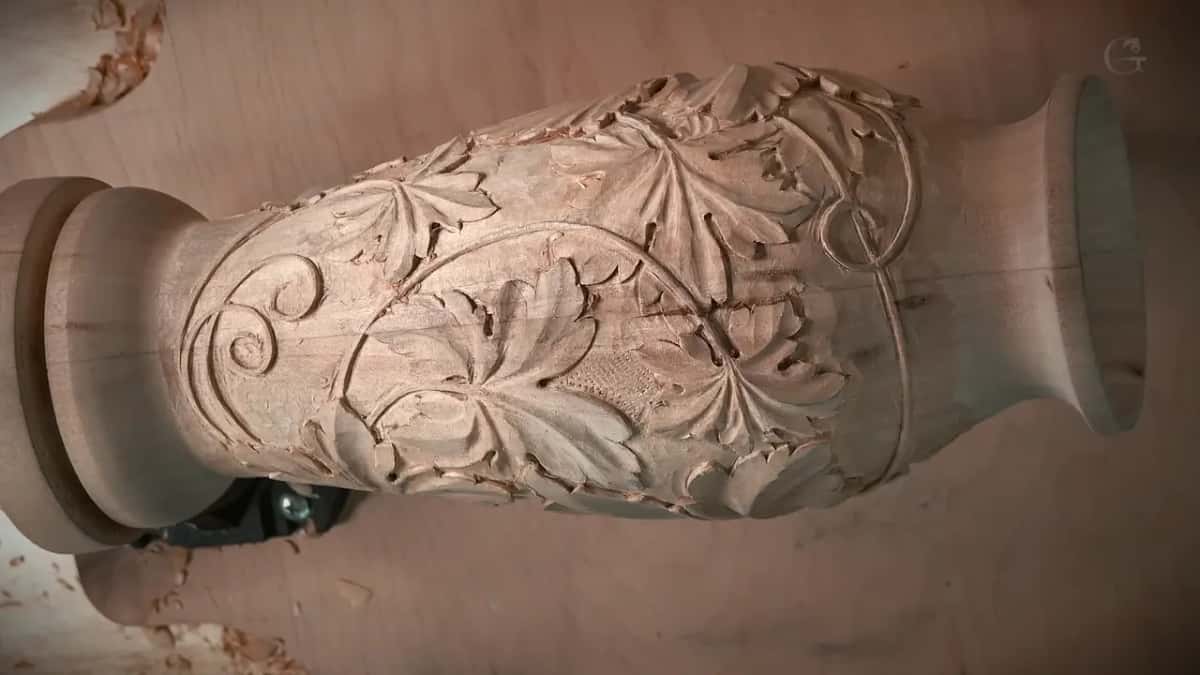
And where a punch won't fit? While punching the dining table apron, I told you that's not really critical, because you won't catch it, even if you look really close. If you know about it, you'll see it. A guest in the house won't.
Most visible areas in workshop 93 took the set as it was, so nothing smaller was needed there.
When in the job do you punch the ground?
Once the carving looks right, and before anything goes over it. I checked the workshop 93 piece from different angles, liked it, and only then turned to the background.
The order mattered more there. A second layer gets glued onto that box, and I said it was really important to get the punching done before the glue, because in some of the areas I wouldn't be able to get in afterward.
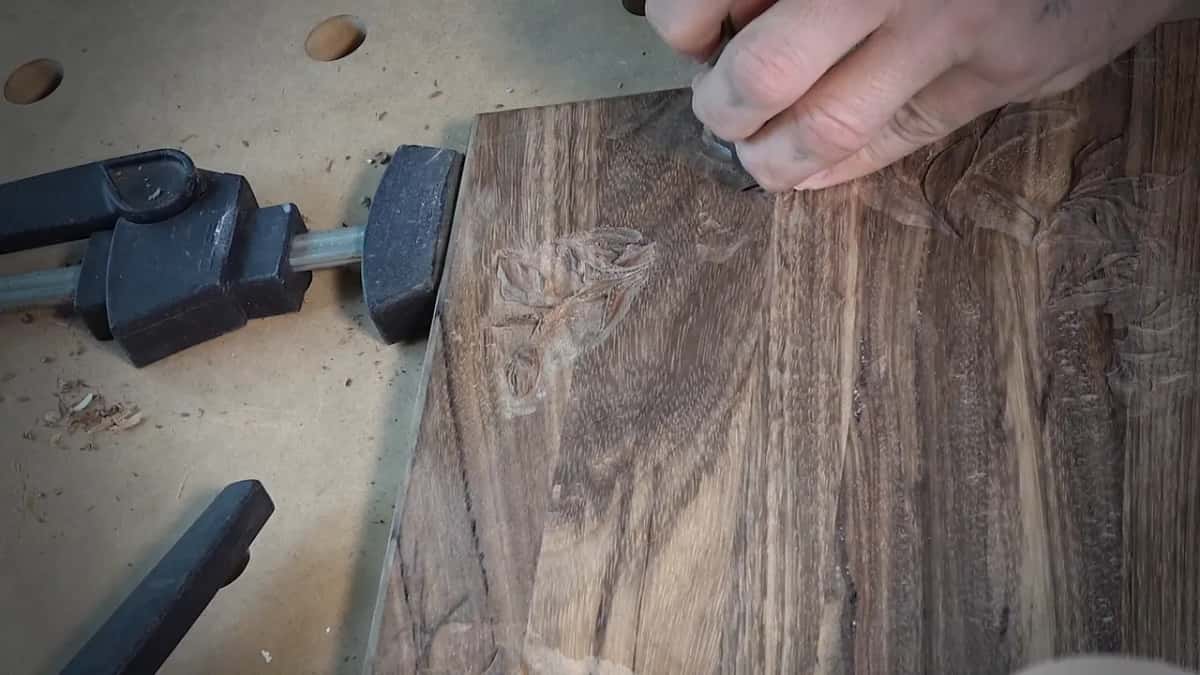
Back in an earlier lily box lesson I'd said you could even use sandpaper on that kind of carving, though I wasn't advising it. But paper can't do anything on the inside, and that's why punches are a good idea there.
The vase got its punching before any color went on, and all fifteen rosettes were carved before I started on their ground.
How do you get a punch under an undercut?
File it to a single row of teeth. One of my sets had two rows when I bought it, and sometimes they just aren't convenient for tight spots, so I filed that one down to one row. That Venetian rosette is where I explained why I like it. With one row I can angle right inside the undercut and texture it there, and that separates it even better.
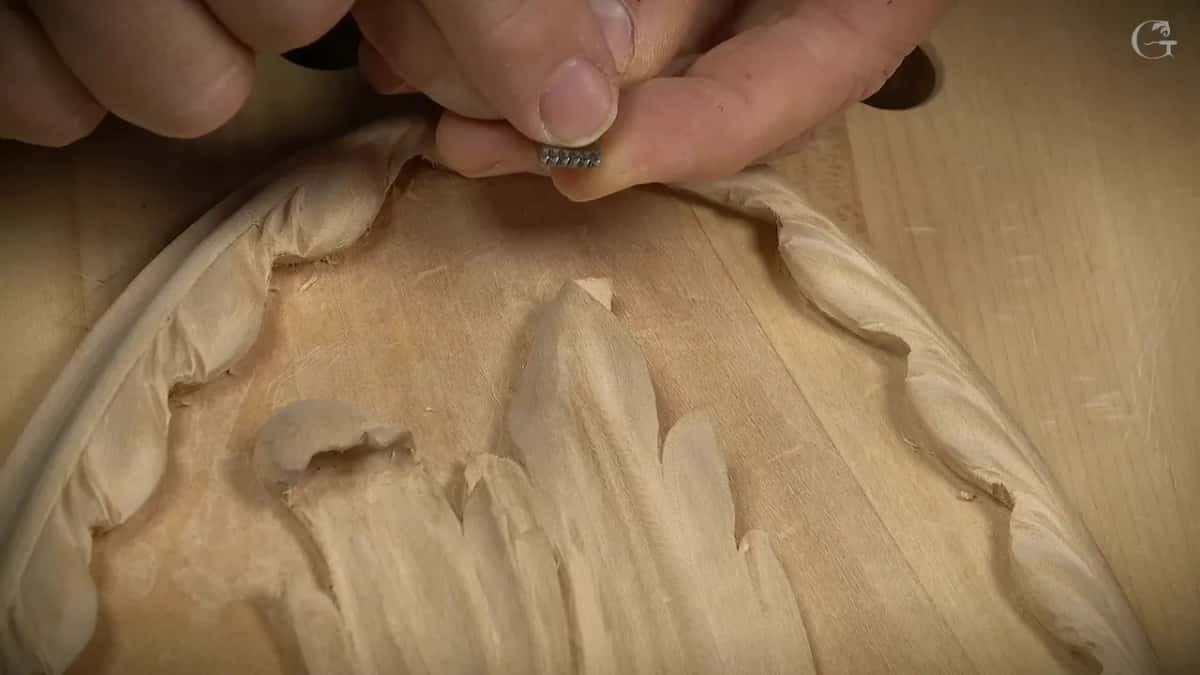
On my chamomile and bow rosette I showed two punches I'd changed. The regular one has two rows. Mine kept only one, and it has a couple of notches now, so I can get underneath if I need to. In that case I didn't need it, but I said it's a good idea to understand the principle behind it.
Two sets came up in workshop 93. Maybe it's a good idea, I said, to get two and reshape some of them smaller, even to a single run for the tiniest spots. Usually it isn't necessary.
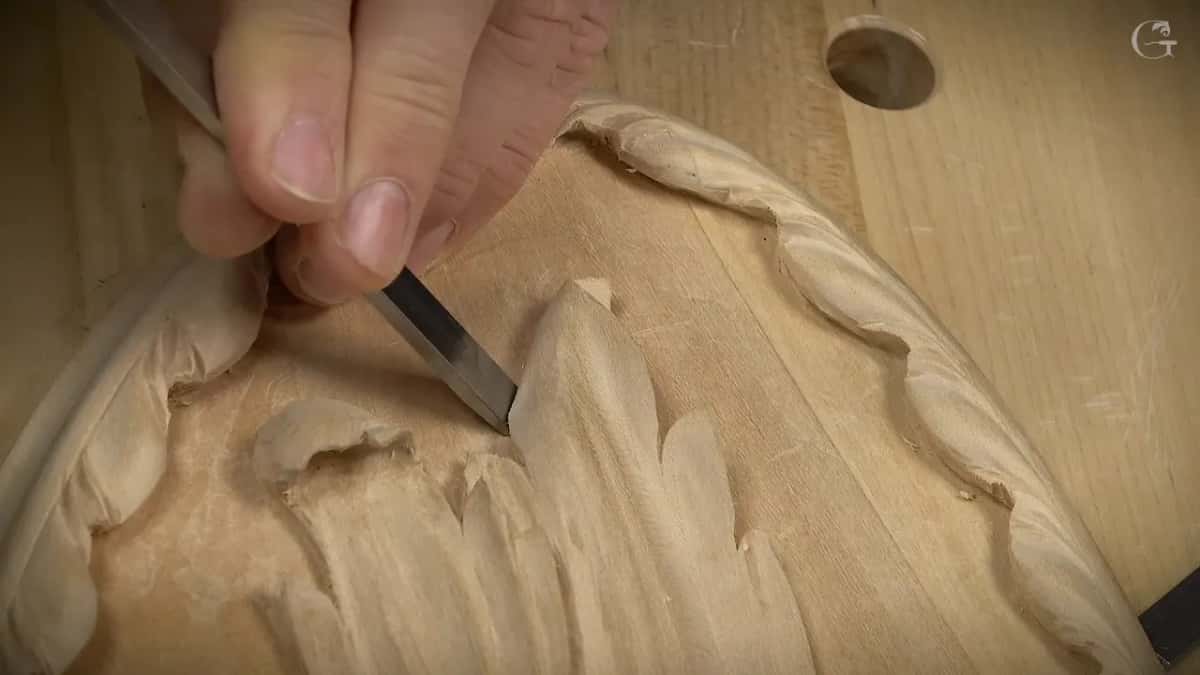
The apron got much the same talk. You could buy two of the same set and grind one to about 1.5 mm, a sixteenth, and leave one row. It wasn't really necessary, I said, because you won't catch it. And the original carver of the piece I was matching didn't do it either, so I wasn't going to.
Even the small one was too big for one spot on the rosettes. So I ground one side off it. Losing it didn't worry me, because it's not that expensive, and I can always replace it.
Can a punch make the center of a flower?
It did in the Venice Room, workshop 115. That flower was a simple one, and its center needed something to show where it was. I don't really have to do anything there, I said, I could just use punches.
First a 7 mm gouge, about 1/4 in, made a small plug, just to show it, for the shadow's sake. It already pointed the direction I wanted to see. Then my punches went around it.
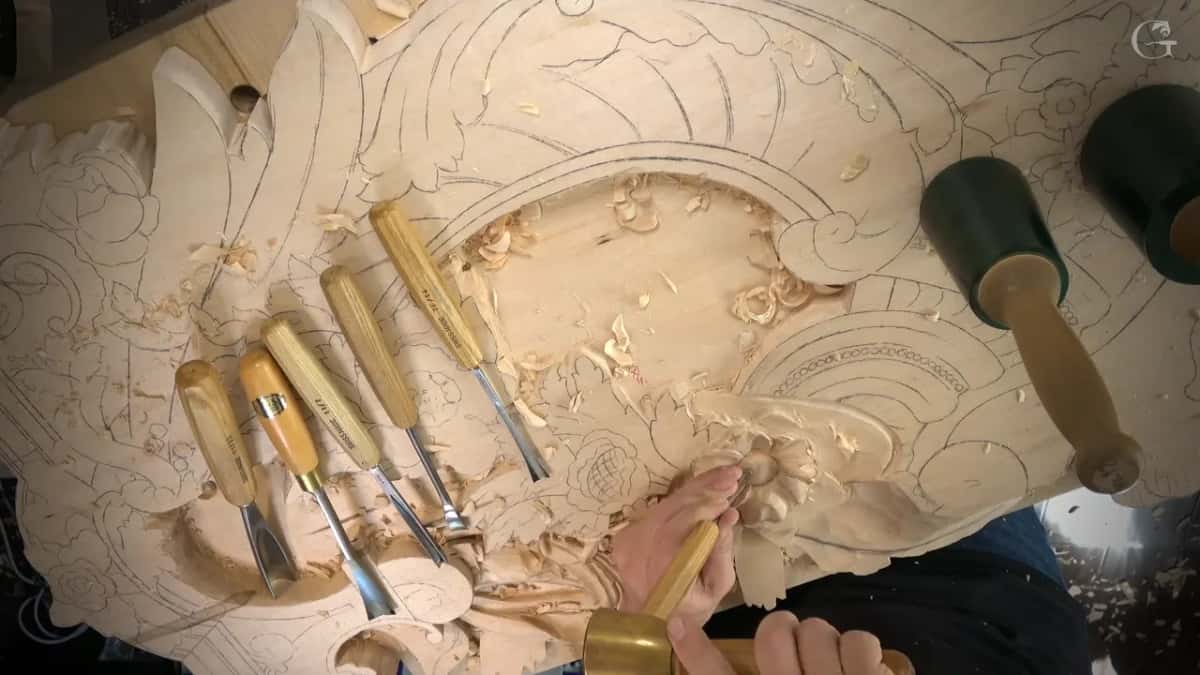
Workshop 139 put the same punch inside a flower, where I could have spent a lot longer getting the lines to perfection. I didn't need to, because I wanted the texture there. First, I don't spend too long. Second, it looks more realistic. You still see the lines, and the texture just blends the designs together. There are multiple ways to do that, I said, and I chose this one to blend all three. It makes it much quicker, too.
Inside a flower on the Venetian Flowers rosette the same punch went in. It gives a realistic look, I said, even though the composition is stylized and those flowers aren't true to life.
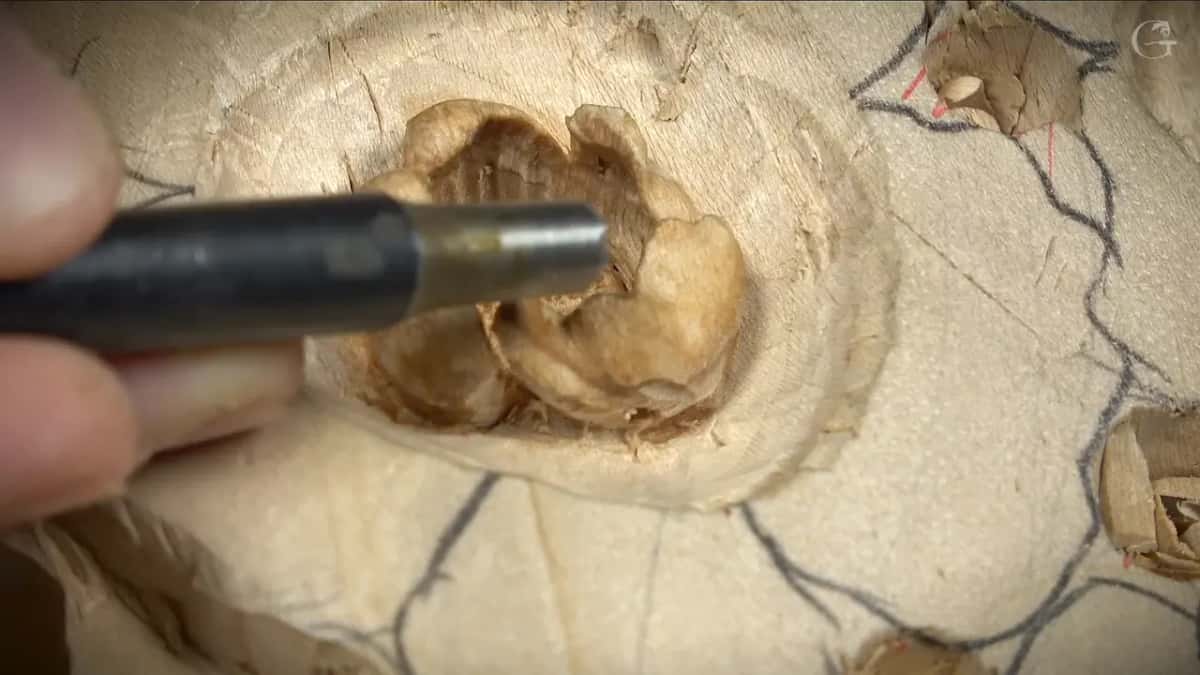
What does punching do on dark wood?
It makes the carving pop. The wood on the lily box is dark, I said, and on darker wood I really want the main design to pop out from the background, and the punch helps me.
Without the finish it's not as noticeable. Once the finish goes on, you see a big difference, because it goes into the punched areas a lot more and they get even darker.
That course also has me calling punching a common technique for furniture, especially on darker wood.
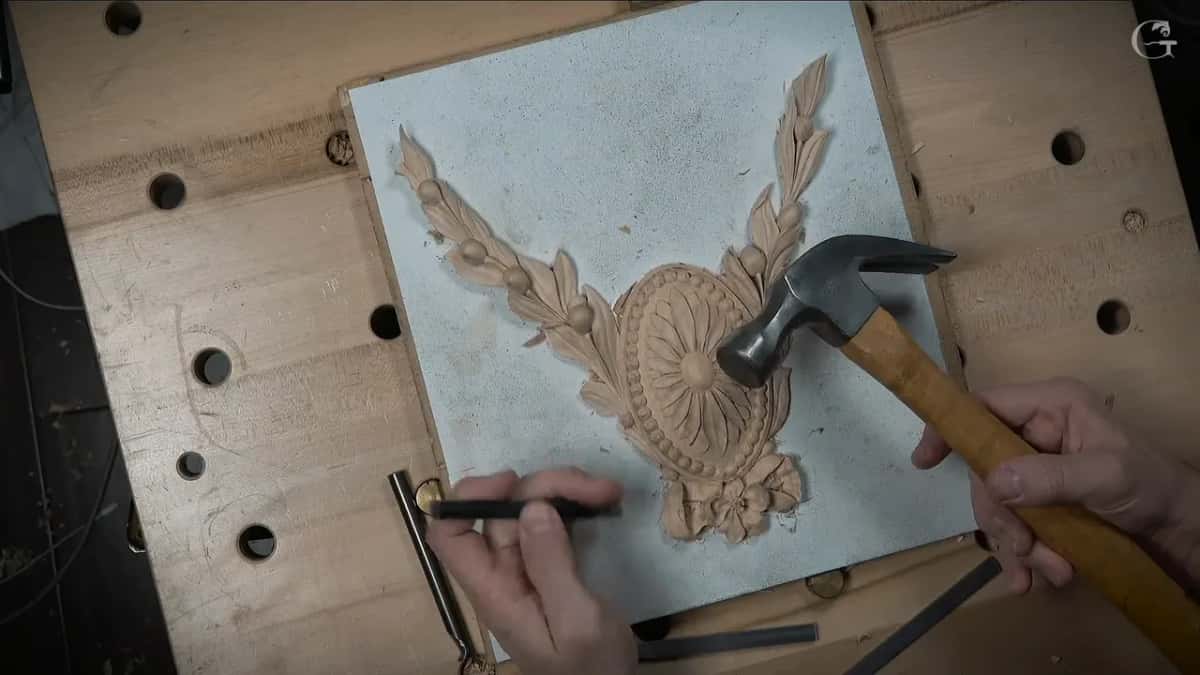
You could play with darker colors or even antiquing instead, I said on the Venetian rosette, to make the inside darker near the flowers. Then I picked up the punches.
Over on the chamomile rosette I pointed back at the one I'd done before. See how big a difference it creates, I said. Huge difference.
It's a noisy job, too. I called it a little noisy on that box, and with the Venetian flowers I told you that you don't really need to watch it or listen to it.
What do you clean before and after punching?
Chips before, a last pass after. Before the small punch went into the rosettes, I cleaned the inside so it was free of any leftovers from the carving.
After the apron's background, I said, I'd take the really tiny V tool and clean it again. Punching shows you spots, too. When you do that background, you find some more places to clean that you might have missed before.
How each ground got punched
| The piece | Which punch, and what drove it in | What I said |
|---|---|---|
| Antique style rosettes | Leather punches, biggest first, a carpenter's mallet with plastic | Exactly like the picture |
| Lily box, dark wood | The smaller punch first, then a hammer held on its side | Huge difference on design |
| Venice Room, workshop 93 | Two round punches and the rectangle, turned while I punched | Really beautiful textured background |
| A Venice Room flower | Punches around a small plug from a 7 mm gouge | For the shadow's sake |
| Chamomile and bow rosette | The small round punches, struck with a carpenter's hammer | See how big a difference |
| Venetian Flowers rosette | A punch filed to one row, angled into the undercut | Separates it even better |
| The grape leaf vase | Four background punches and a hammer, not a mallet | Not too deep |
| Dining table apron | A 5 mm punch as my main one, and a mallet | Looks much more finished |
Where to watch the punching
Every punch above goes into wood in the lessons I named, and the Techniques course keeps short answers like this one. If you'd like me beside you while you try it on your own carving, that's what the school is for.
How it's done
- Get a set of punches. A set of four covers pretty much all furniture carving, or you can make one from a dull nail.
- Finish the carving first. Look at it from different angles before the ground gets touched. If a second layer goes on later, punch first.
- Start next to the design. Work near the carving first and move out gradually, and strike harder there than out by the edge.
- Turn the punch as you strike. A rotation movement between blows sends the pattern in different directions.
- Reshape a punch for undercuts. File a two row punch to one row so it angles inside an undercut. Grind one side off for a spot nothing fits.
- Clean the ground again. Go over it with a really tiny V tool afterward. Punching shows spots you might have missed.
Frequently asked questions
Can you make a background punch from a screw?
Yes. A screw head or a nail head worked with a file makes one, as I said for the Venetian flowers, and a dull screw gives the same idea, as I said for the vase. Bought sets aren't that expensive in the United States or in Europe.
How long does punching a background take?
Less than five minutes for the lily box, where I punched only some parts. Quick work. Even so, I said it made a huge impact on the design, in my opinion, and once a finish goes on, I said, those punched areas go even darker.
Should you punch before gluing on another layer?
Yes, on the lily box. Its second layer was still waiting to be glued on, and I said it was really important to get the punching done before that. After the layer went down, some spots would be out of my reach.
What to carve next