
Alexander Grabovetskiy, woodcarver, School of Woodcarving · Published 2017
Can you make a background punch for wood carving from a nail?
Quick answer: A background punch you file out of a nail is a thick nail, the thickest you can find, ground flat on the end, with a pattern filed across it using a small triangle file. It works as a punch. I've made mine that way multiple times, especially when I wanted a different pattern.
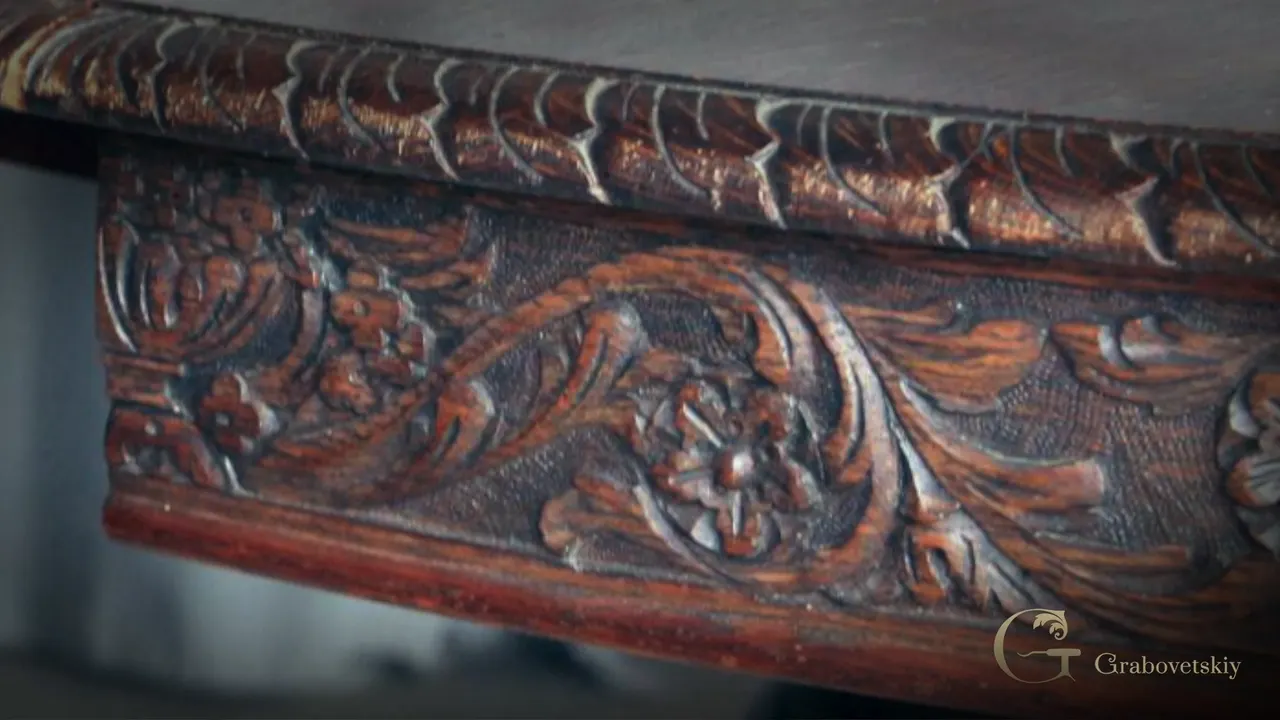
A homemade background punch is just a thick nail with its end ground flat and a pattern filed into that face. Set it on the ground beside your relief carving, tap it, and it leaves a small texture in the wood. I've done that a lot. For the four apron pieces in this lesson I used a bought set instead, because those punches matched the original piece exactly, and I said on camera that without them I would have had to make mine from a framer's nail.
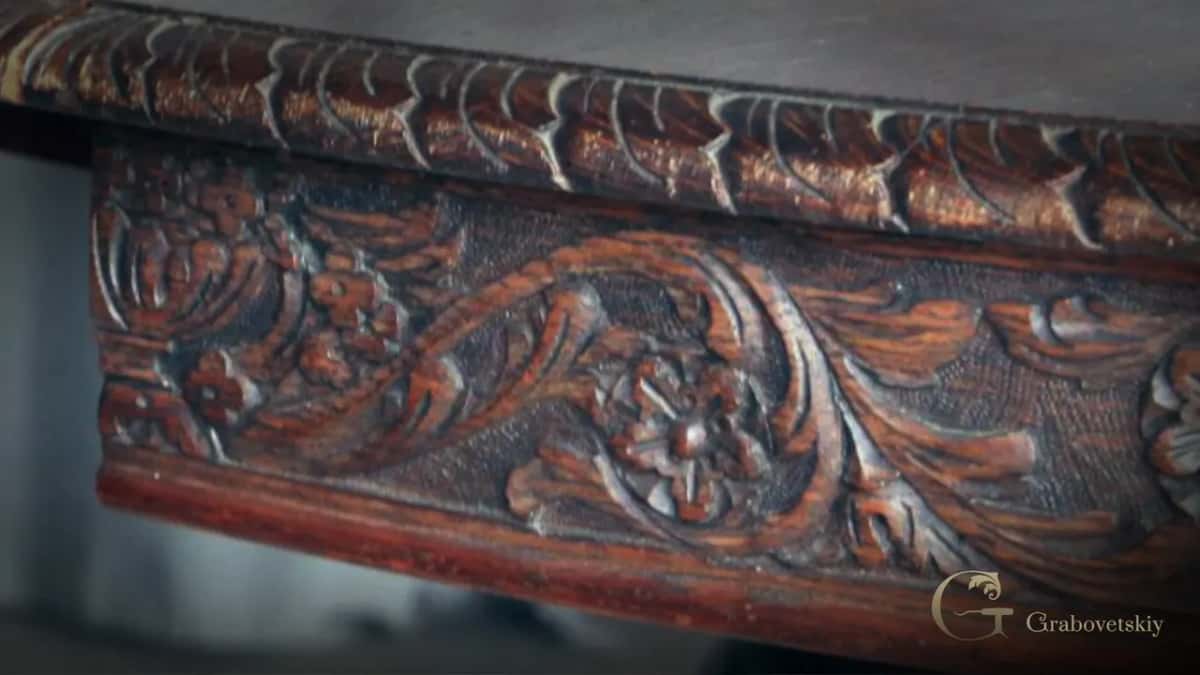
Seen those tiny dots on the ground of old carved furniture, around the leaves? Would you like that texture on a carving of your own? You can buy the punch for it. Or make one with a nail and a file, the way I did in Maine with a Grinling Gibbons class.
The background punch from a nail in five lines
A thick nail works, a framer's nail if you have one, the thickest you can find.
A flat end comes first, then a pattern filed in with a small triangle file.
When a bought set had a double row of teeth, I filed one punch down to a single row for tight spots.
One round punch did the bulk of the ground on this apron.
Under stain, lacquer or shellac the punched ground goes darker, and that looks much nicer.
Can you really make your own punch out of a nail?
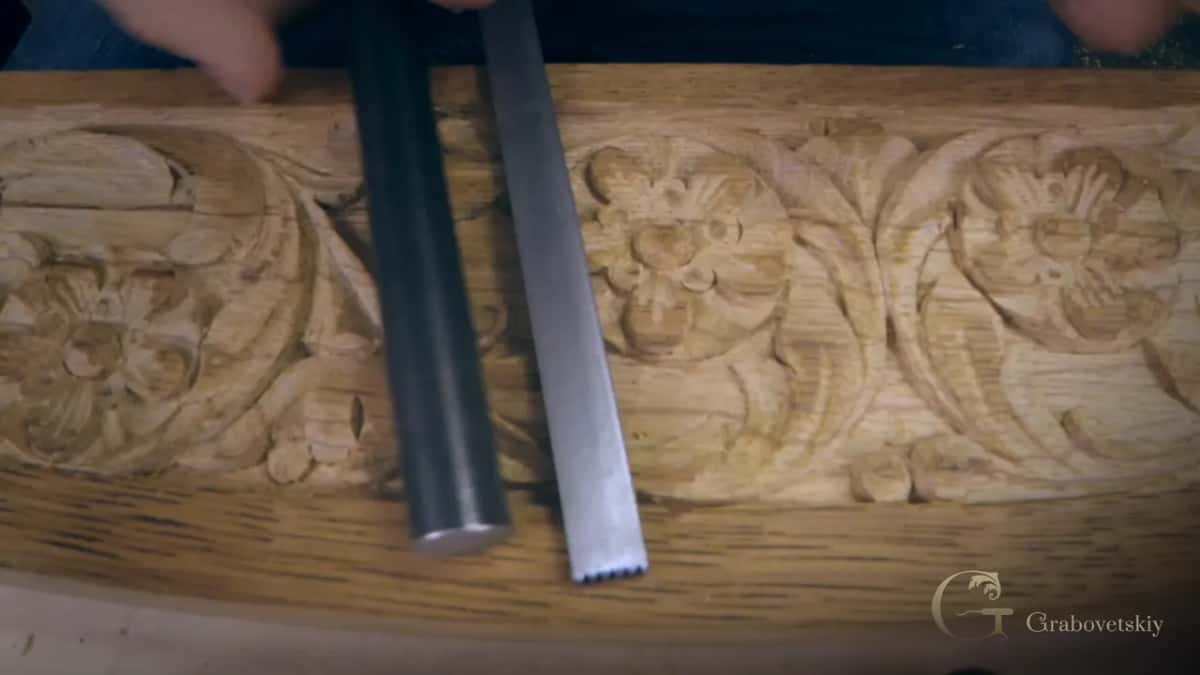
A thick nail will do it, and I've made punches that way multiple times. In this lesson I said that if you are not in the United States and can't find the punches in your country, or you just don't want to spend money on them, nothing wrong with that. Take the thickest nail you can find and use that.
Especially when I wanted a different pattern, I made my own. With your small files and a nail you have a lot more freedom over the kind of pattern you get, so you're not limited, actually, in the background.
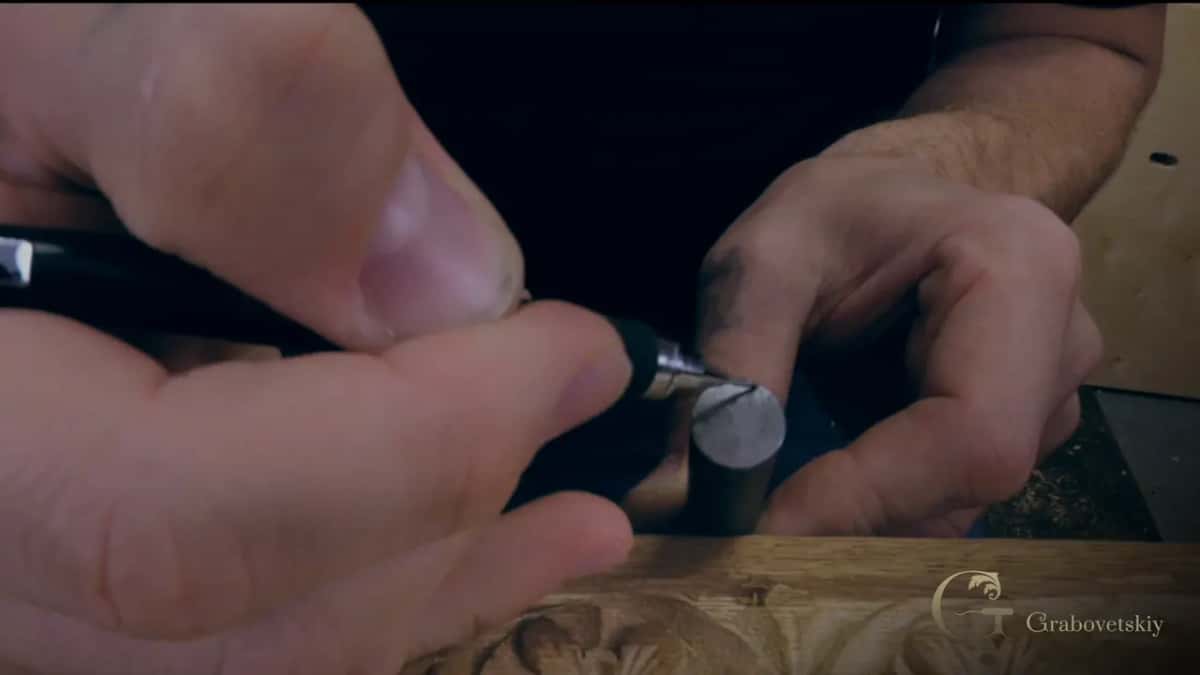
I've said the same in other courses. During a little flower rosette I told you that you can make up your own designs, and that I've done it before. You take an ordinary framing nail, use a file, and make different designs, and it gives some interest to your carving.
On my Venetian flowers rosette I called them just simple background punches. You can make those yourself from some kind of nail head or screw head and a file. And in the Venice Room I said it's pretty much just a simple punch, and you could make some yourself.
On a vase with grape leaves I said I would punch all the background with a normal hammer, not a mallet, and not too deep. There are multiple ways you could do that, I said. You could use just a dull nail or a dull screw, the same idea.
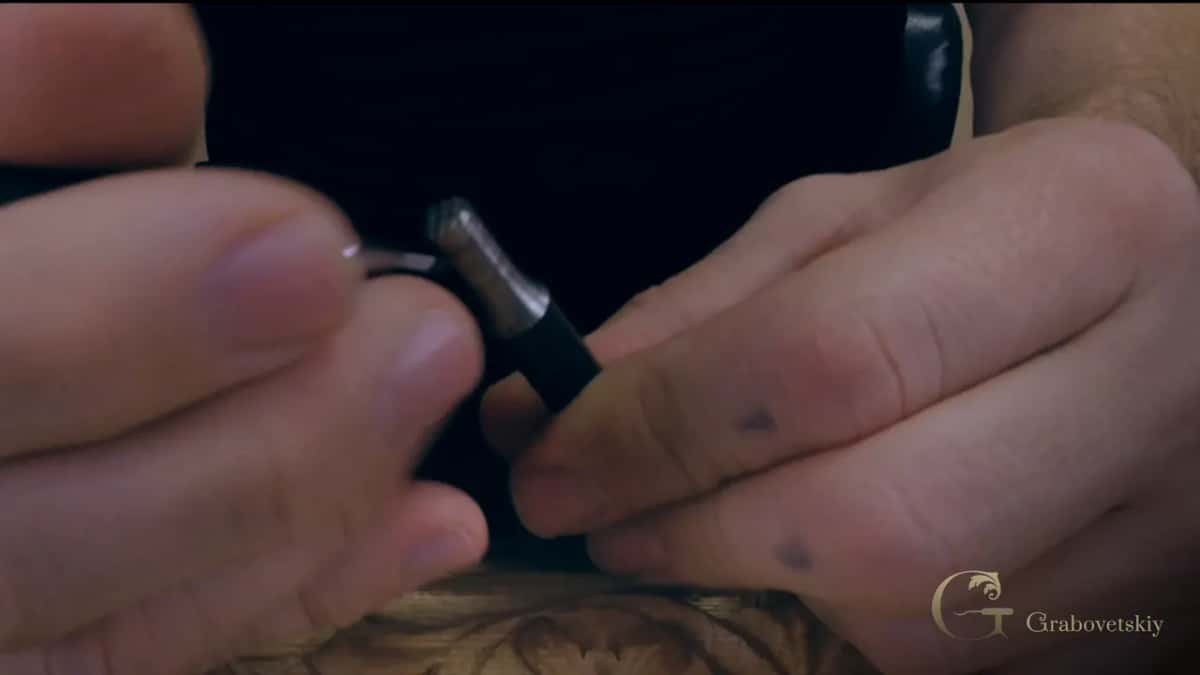
How do you file a pattern into the nail?
Grind the end of the nail flat first. Then take a triangle file and file a series of grooves across that flat end to make the pattern, and you will still be able to use it as a punch. That's the whole recipe from this lesson.
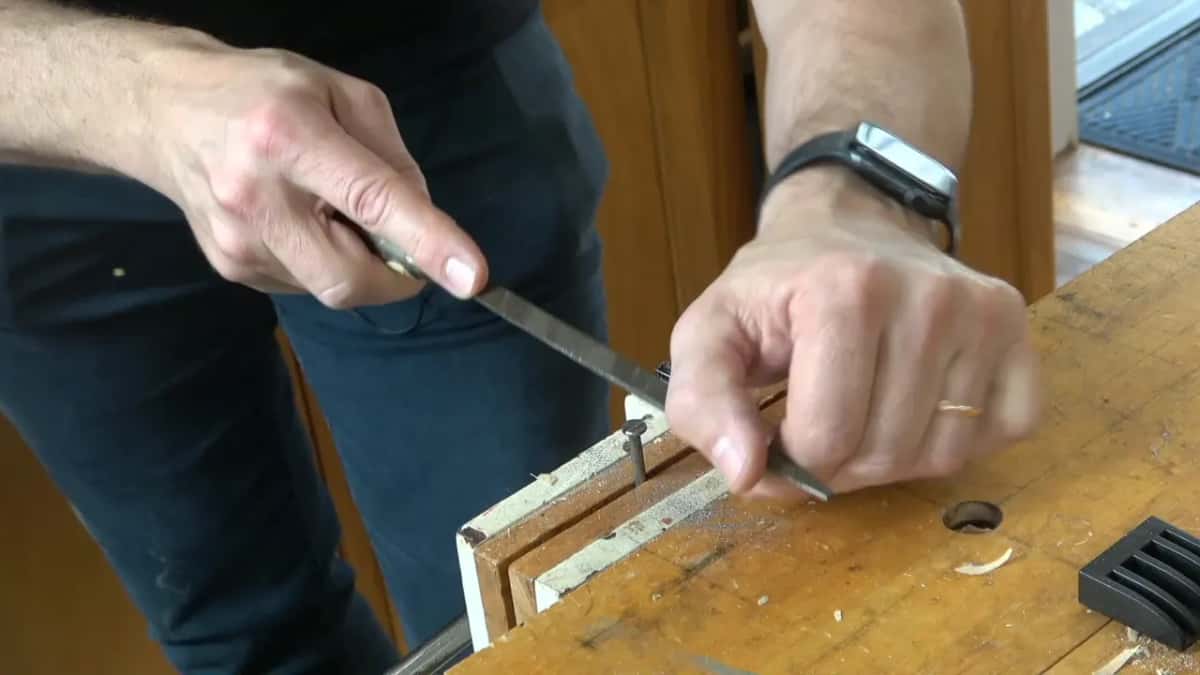
Let me tell you a story. In my Grinling Gibbons class in Maine we were giving texture to a background board, and I said we're going to create a background punch the old way. The nail stood upright in the vise on the bench, and I worked its end with a file.

That is a hard nail, I said. One way is to file several grooves and get a grid look, and on the other hand you can make a cross cut. At one point I said that nail gets hot.
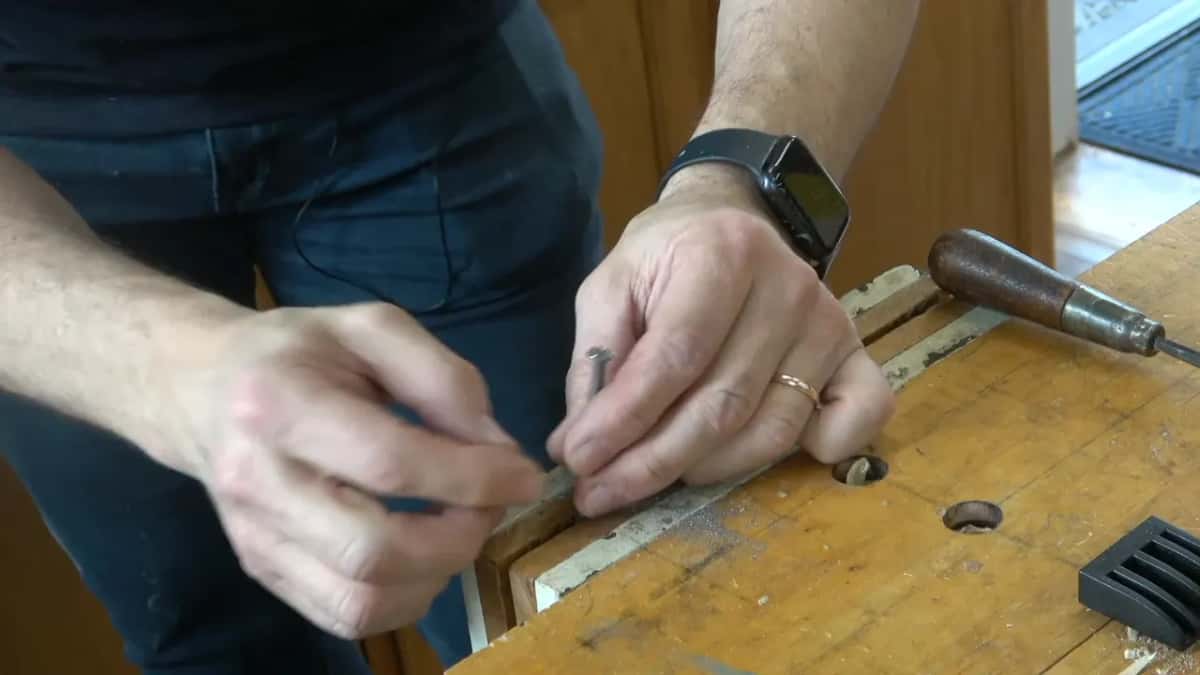
Here you go, I said, I've got my background punch, let me actually show you. The whole thing is in class 6 of that Maine course, and the punch goes to work at the start of the next part.
What do you do with a punch you made yourself?
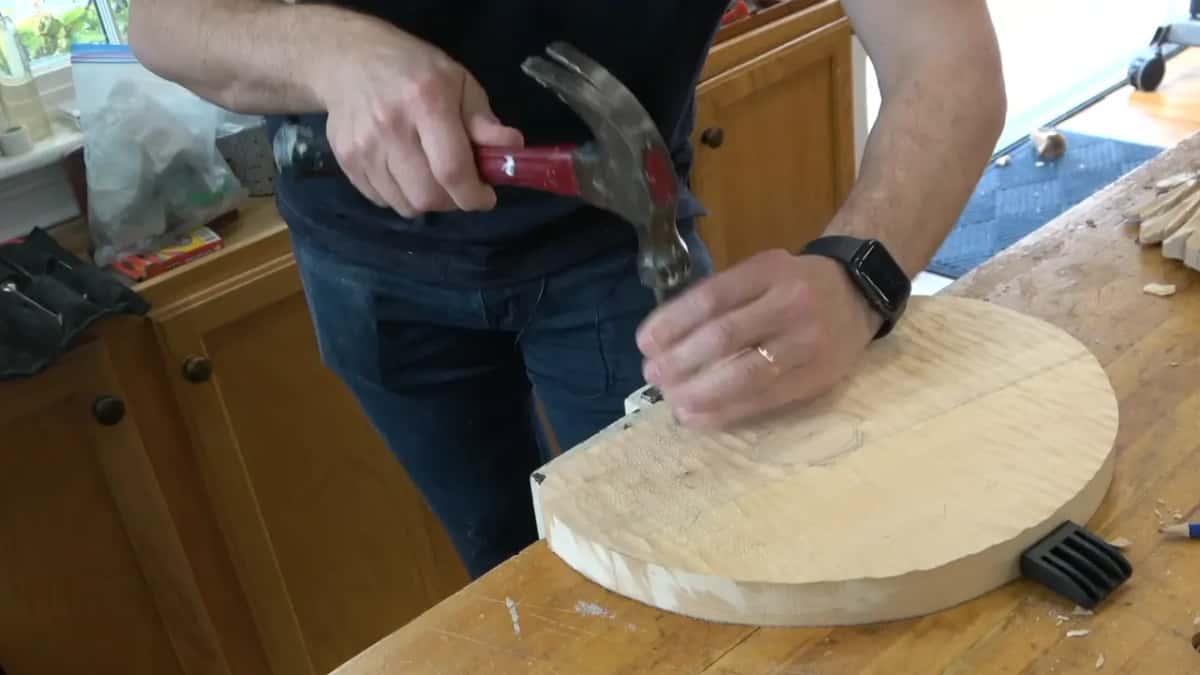
In Maine I asked the class for a hammer. You hold the nail a little higher than the board itself, about 3/8 of an inch, 10 mm, the way I held it, and you don't have to place it on the board first. Then you create stippling like this.
Do it randomly. That background was going to fade from the inside out, so it would not be as pronounced. That's the furniture style, I said. It just makes the background look a little different. See how it's going to look, I told them, and that is going to look awesome.
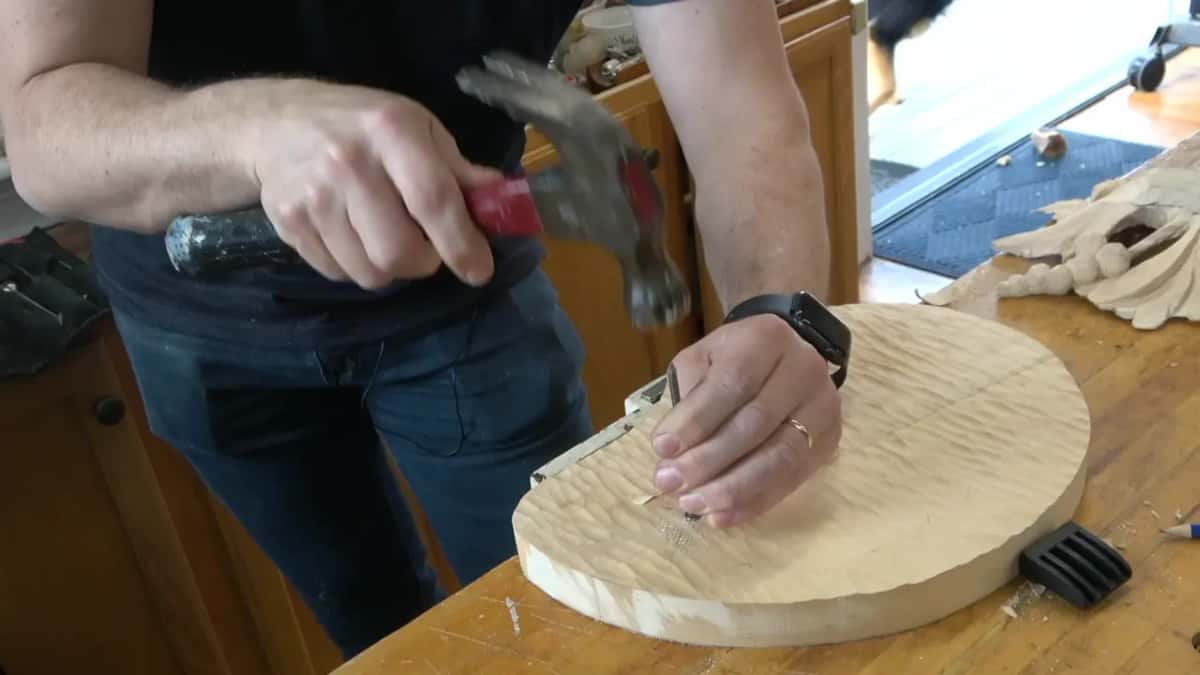
I asked the class if they remembered the rosette with flowers I had shown them. Its background was just like that.
Over on the antique rosette in this same course, the bubbly background lesson, I said that when you look online for background tools for wood carving, you're never going to find anything. On antique pieces, those tools were used on other things besides wood, and whatever they could find, they would use it.
Should you file a bought punch down for tight spots?
Filing one down works, and I've done it, though back in the apron lesson I only said you could. Buy two sets the same, grind one down to a sixteenth, about 1.5 mm, and leave just one row, and then you can get to those tiny spots. I didn't bother there, since visually you won't catch it.
For the Venetian flowers rosette I did change one. When I bought the set it had two rows of teeth, and two rows are just not convenient for some tight spots, so I filed that down to one row. With that one row I can get an angle right inside the undercut and texture it there, and it separates even better. You don't really need to watch that part, I said, or listen to it, because it's really noisy.

On my chamomile and bow rosette I showed you two punches I had modified. The regular one has two rows. I left only one row, and it has a couple of notches, so I can get underneath the undercut if I need to. There I didn't need it, but it's a good idea to understand the principle behind it. Punches are what I usually use, I said in that lesson, and you can see how big a difference the texture makes, a huge difference.
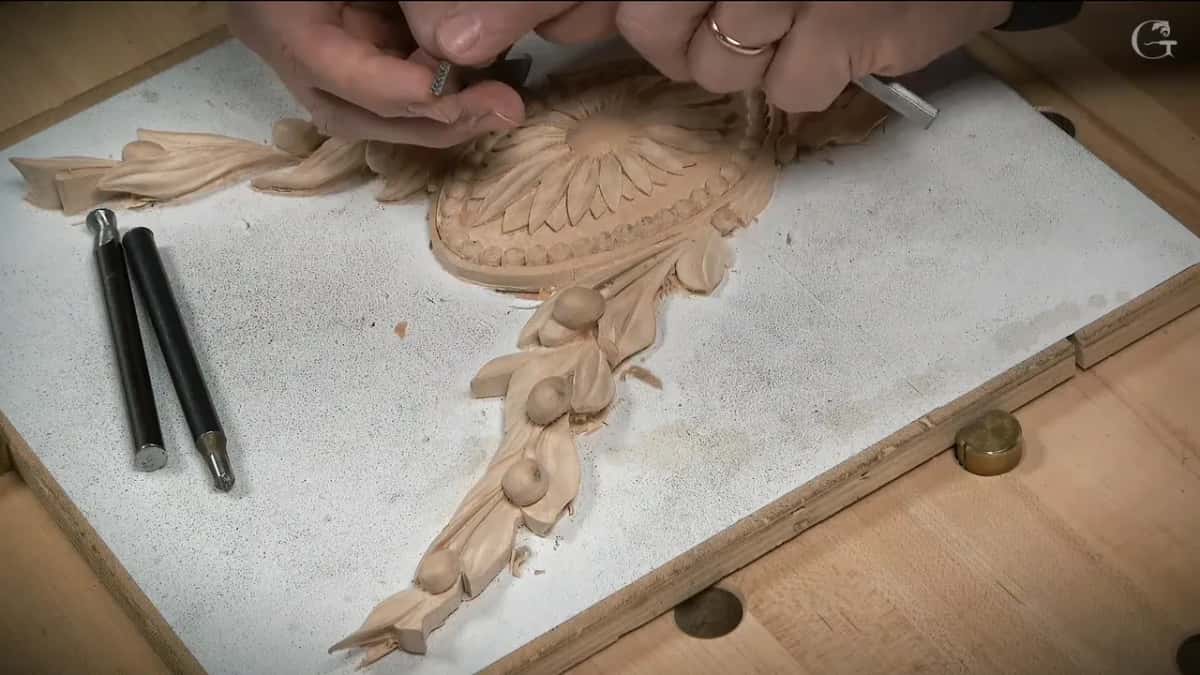
Much the same went into the Venice Room. Maybe it's a good idea to get two sets and reshape some to make them a little smaller, a single run for the tiniest spots. Usually it isn't necessary. The set fits most of the visible areas.
Where can you buy background punches?
If you are in the United States, Woodcarvers Supply sells them, and the ones I used on this apron matched the original piece exactly. I was blessed to have punches I am still able to buy, and you are still able to buy them too. The set comes as five, three round ones, one square one and one small rectangle. On the grape vase I called them a traditional method, background punches actually made for wood carving and mostly used for furniture making.
I said on the Venetian rosette that in the United States or in Europe you can buy those not that expensive. The Venice Room lesson adds that Woodcarvers Supply may be able to ship to Europe or even Australia. You just have to contact those guys.
Do you hit a punch with a mallet or a hammer?
I've done both, and I said different things in different lessons, so here is each one where I said it. On this apron I did not use my regular mallet. I used a carpenter's mallet, the kind you can still buy at Home Depot in the United States, with plastic and rubber faces.
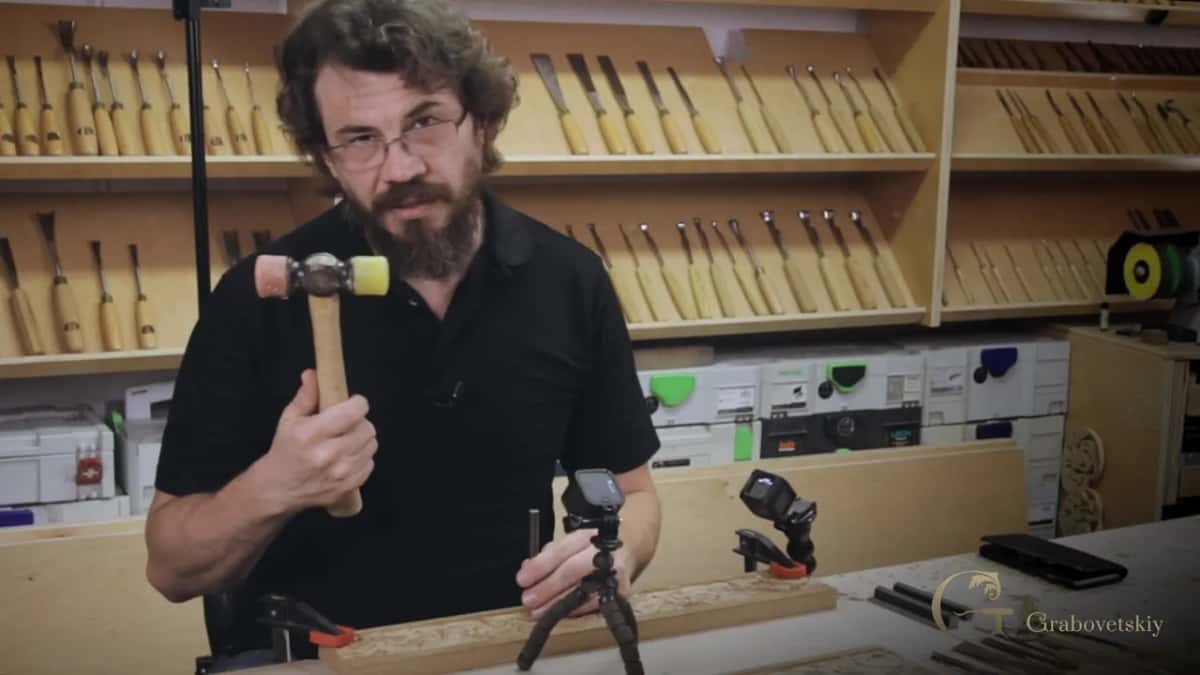
A mallet made of wood I wouldn't use on a punch, because you are using the wood against the metal right there, and you're going to damage it.
With the chamomile rosette I said I always use just a normal carpenter's hammer and never a mallet, because a punch is still metal and I don't want to damage the mallet. And in the Venice Room it was plainer still. Please do not use any mallets, use a hammer, just a normal hammer.
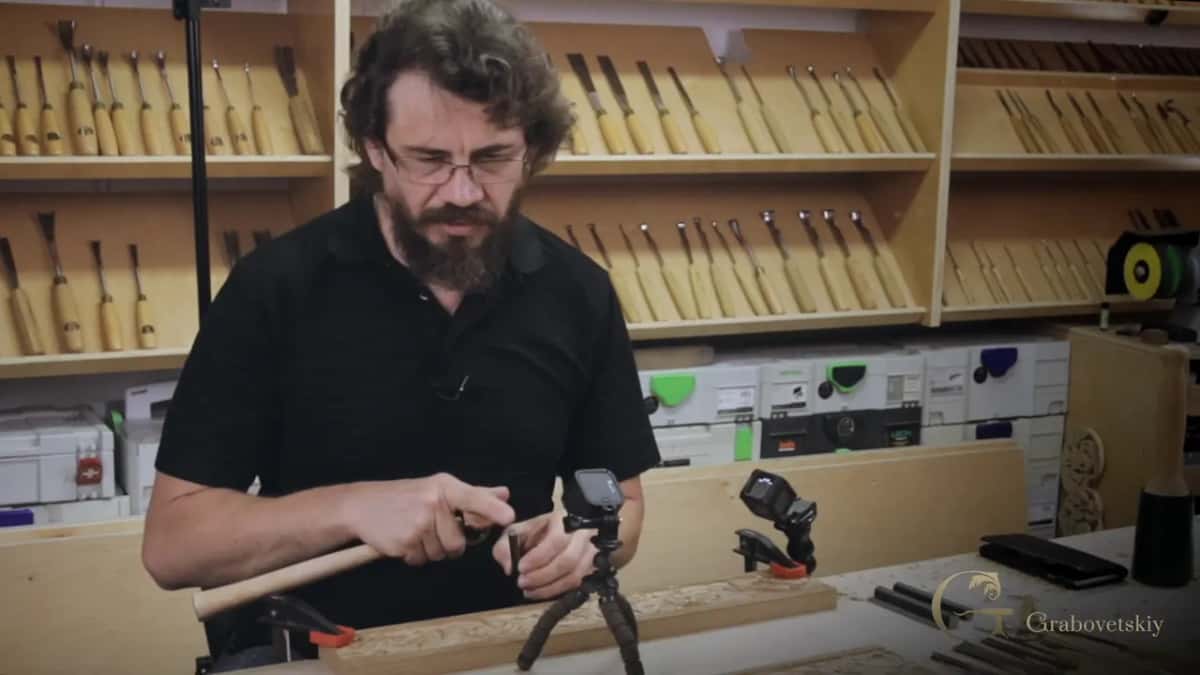
With leather punches on that little rosette it went the other way, just the mallet there, no metal hammers, and don't hit too hard. Twice the reason I gave was the tool you hit with, so it does not get damaged.
How do you punch a dotted background on low relief?
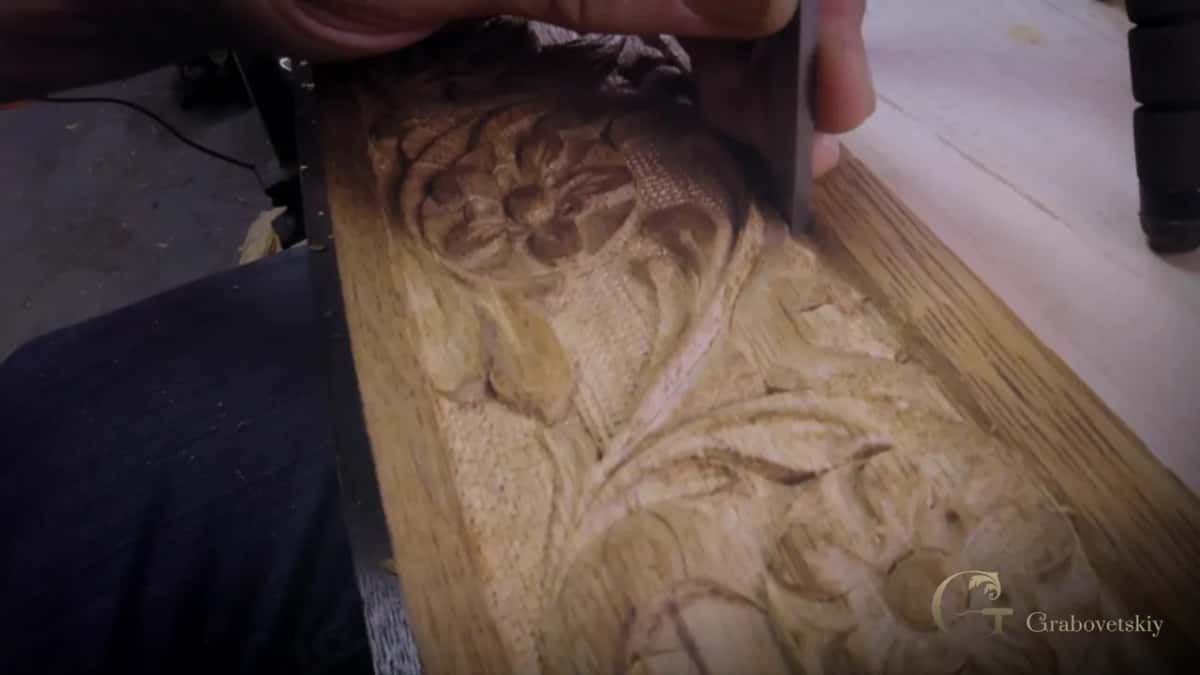
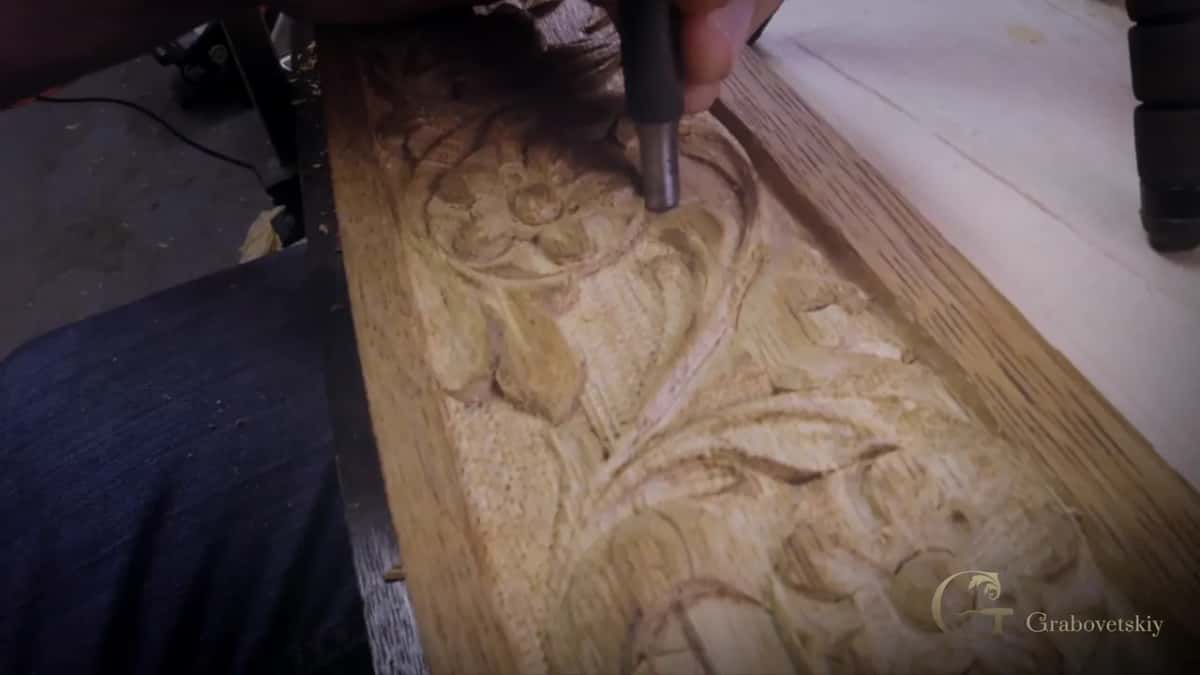
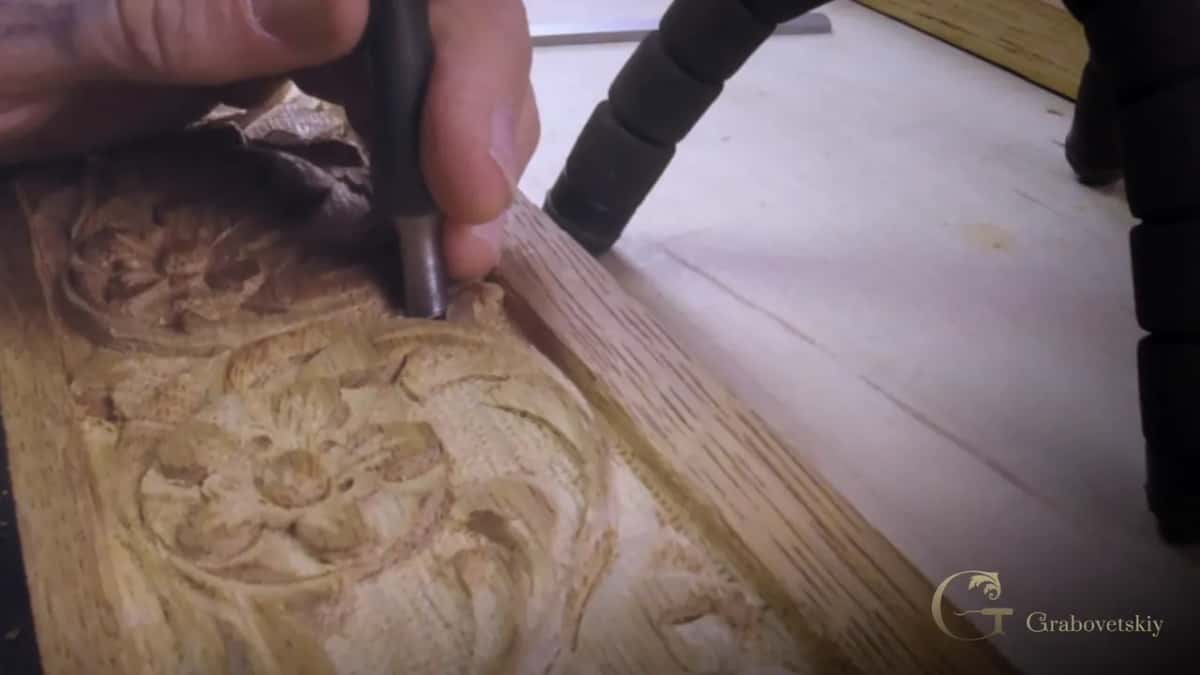
Place the punch, take the mallet, and just punch it, just like that. That's it. Then go all the way around. My main punch on the apron was about 5 mm, 3/16 of an inch, and the next one is a small rectangle, 3 by 10 mm.
Punch | Size | Use |
|---|---|---|
Round set punch | About 5 mm across, my main punch | Open ground |
Small rectangle punch | 3 by 10 mm, out of that set | Some spots |
Punch filed down | Teeth filed down to one row | Tight spots |
Hard nail, filed | Grooves filed into its end in Maine | Random stippling |
I didn't worry about getting into the really tiny spots. If you're not able to fit everywhere, that's not really critical, because you won't catch it even if you look really close. Of course, if you know about it, you will see it. A guest in the house won't.
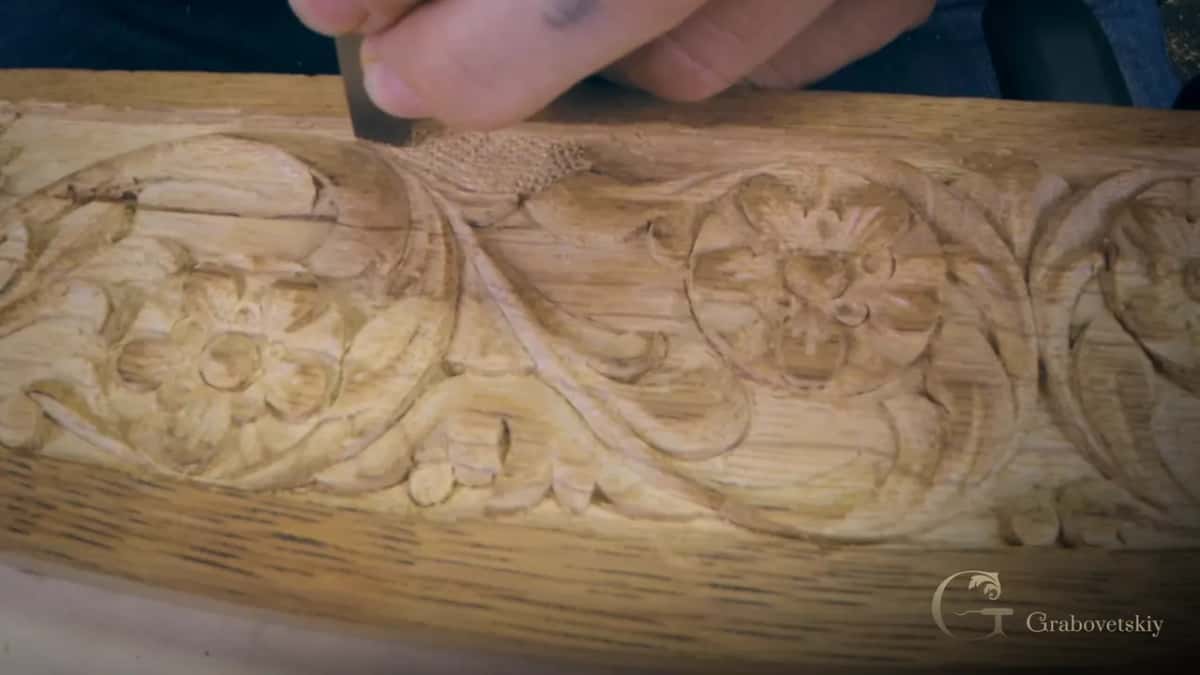
The original carver didn't really do that either. If he didn't do it, I'm not going to do it.
Punching everywhere takes about 10 minutes, I'd say, 15 minutes at the most. Over in the Venice Room I also made a rotation movement while I punched, just to get the pattern going in different directions.
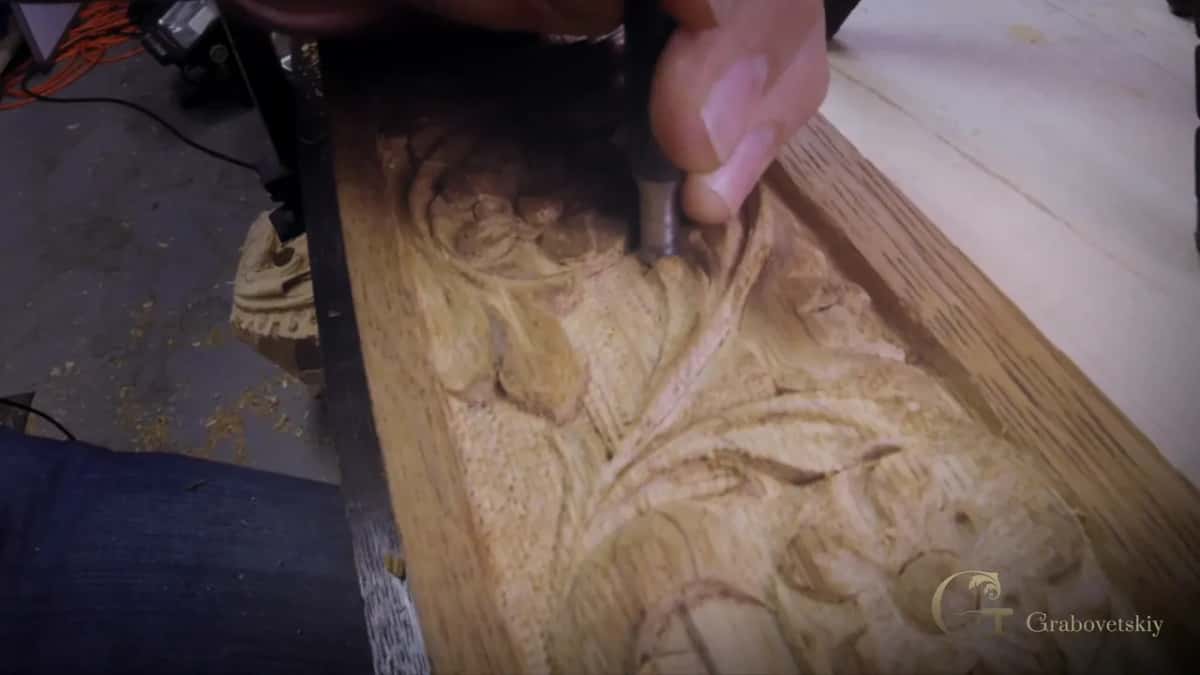
I left part of the ground on the little flower rosette with only an angle cut, not lowered fully. The punch presses the wood fibers down. That gives you exactly 1/32 of an inch lower background, about 0.8 mm.
What do you clean before and after the punching?
In the apron workshop right before this one I cleaned the pieces first. The carving still had some leftovers from the roughing out, small chips, and I took them out with a really tiny V tool, a number 16 of only 1 mm. That's somewhat like undercutting, but it's not. It's just cleaning.
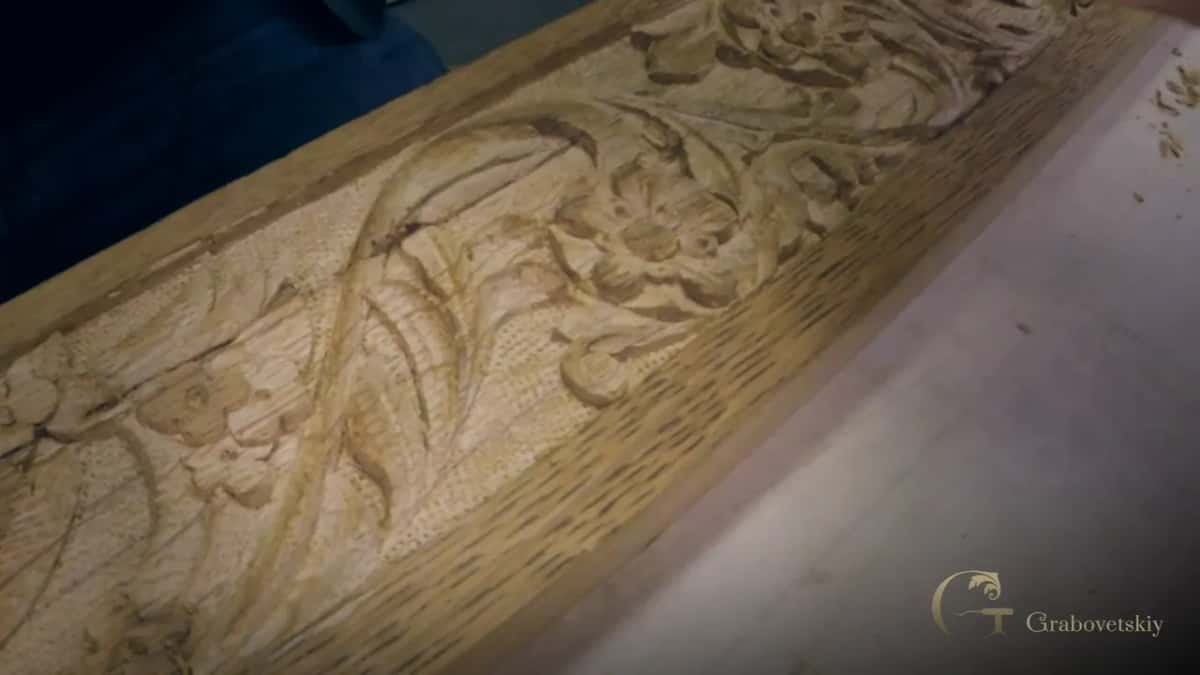
I don't have to be too crazy about it, I said, because it still has to look hand done. Small chips left here and there are not a big deal. I checked the original one, and the original carver didn't really do that cleaning. He left some spots, so I did too.
Once the punching is done, take the really tiny V tool and clean it again. Because we cleaned before, you won't see leftovers or chips. The punch also shows you spots you missed before. Near the end I took the clamp off, finished those areas, and still found a couple more.
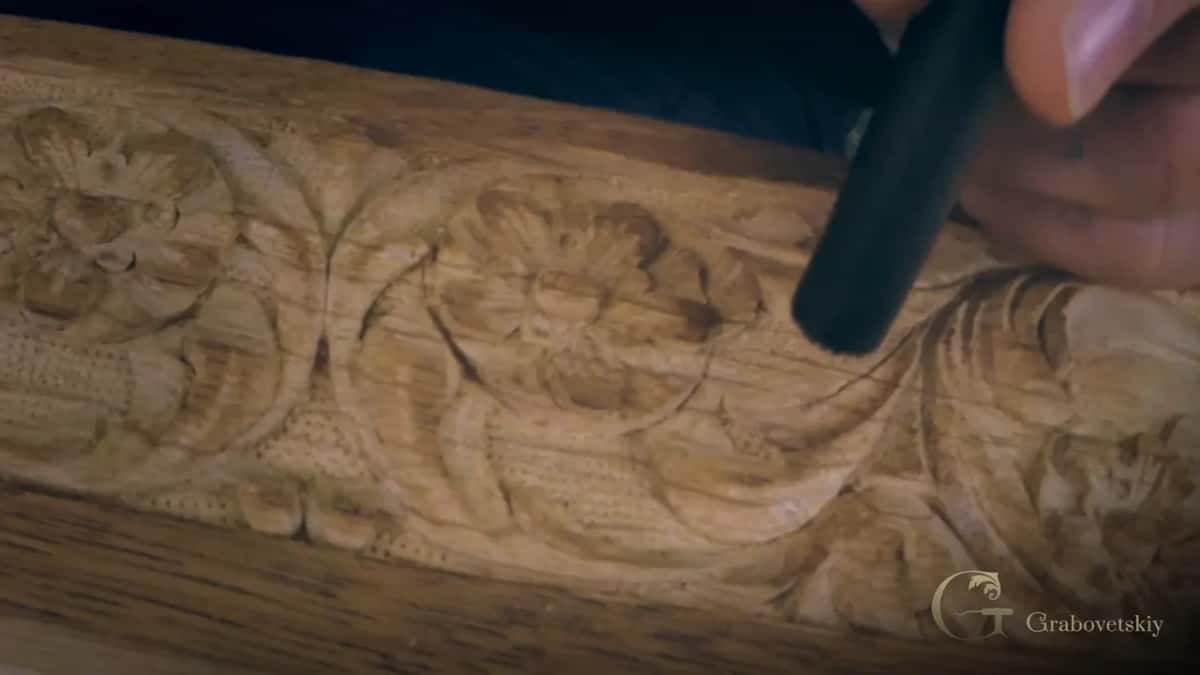
What does a punched ground do for a carving?
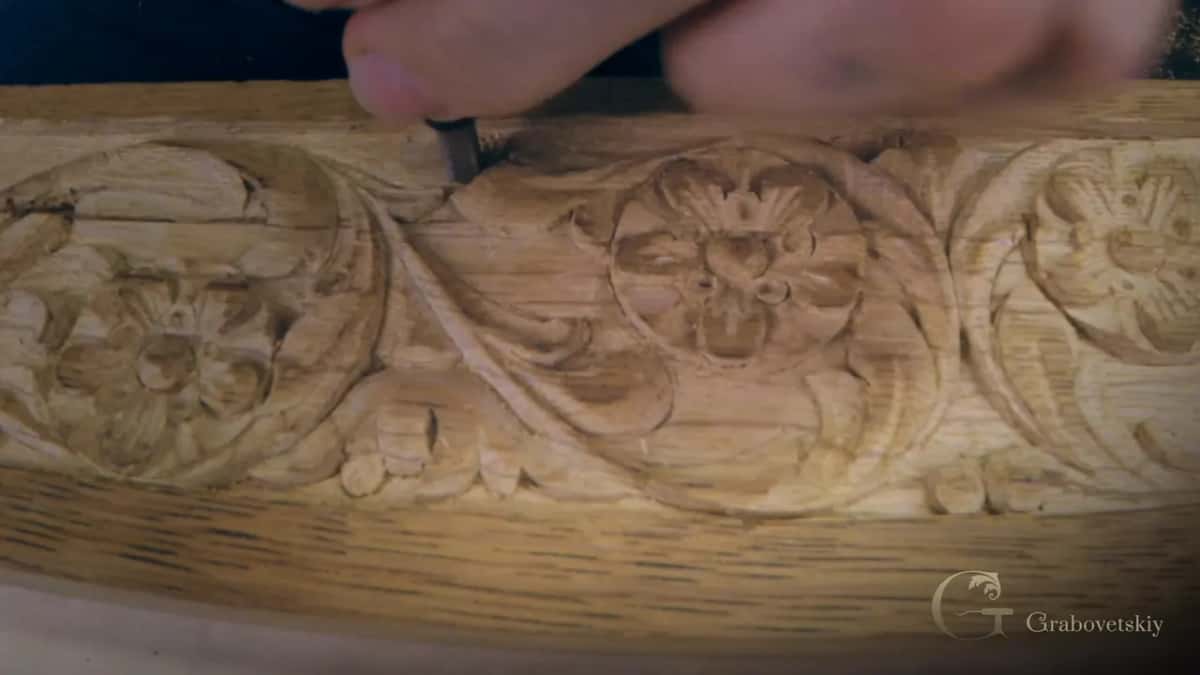
The main design separates from the background and pops. It looks much better, more finished, and on a really low relief it makes the carving look a lot deeper. If you stain it, or finish it with lacquer or shellac, the background takes the stain a little differently. It's darker, and that looks much nicer.
It's common mostly in furniture style carving and not used as much in architectural carving, but you can use it in any type of wood carving. Nothing complicated at all, either. In the cleaning lesson I talked about furniture carvers in the old English tradition. Furniture is close to your eyes, and with a table people can kneel down and look at the apron.
My Venice Room ground got lowered without any worry about making it super clean, since there was going to be a texture on it. Back on the flower rosette I said carvers in previous generations used background punches to hide unevenness or mistakes on a background. In some European cultures, using one meant you were not a professional carver. That was the case. But I don't see why you wouldn't use it, because it gives really good results.
There's one place I said not to punch. On a piece with absolutely no background, carved in the first cuts course, you shouldn't use any punches, because in ancient times they did not use those punches.
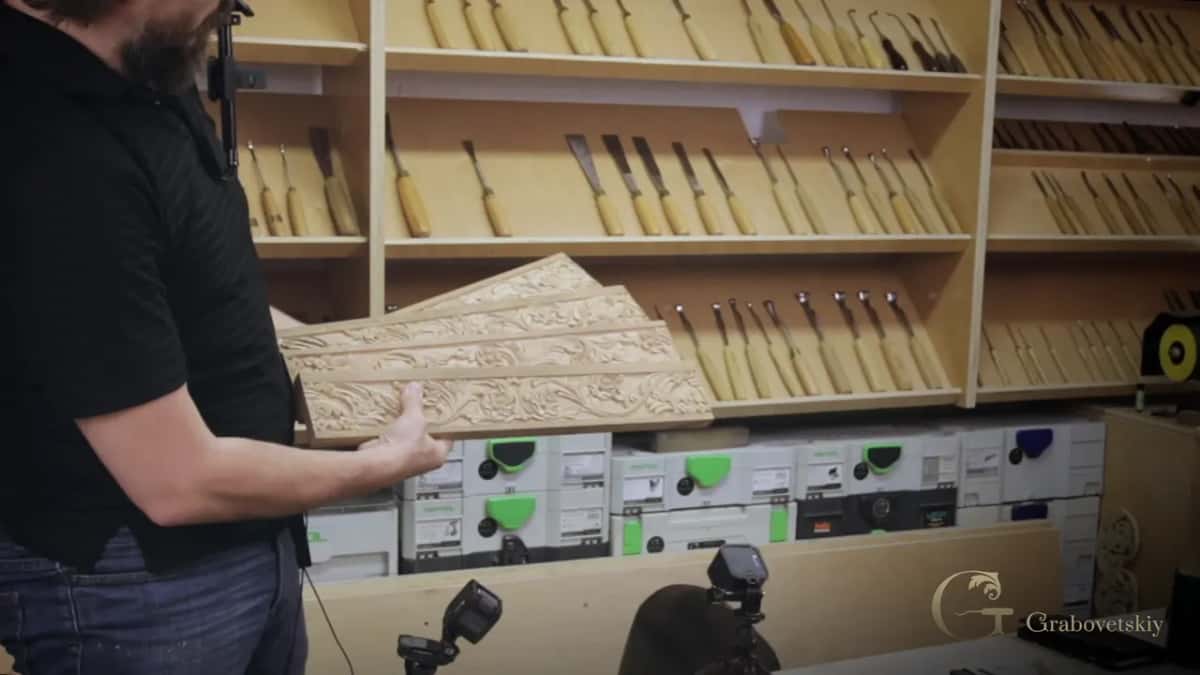
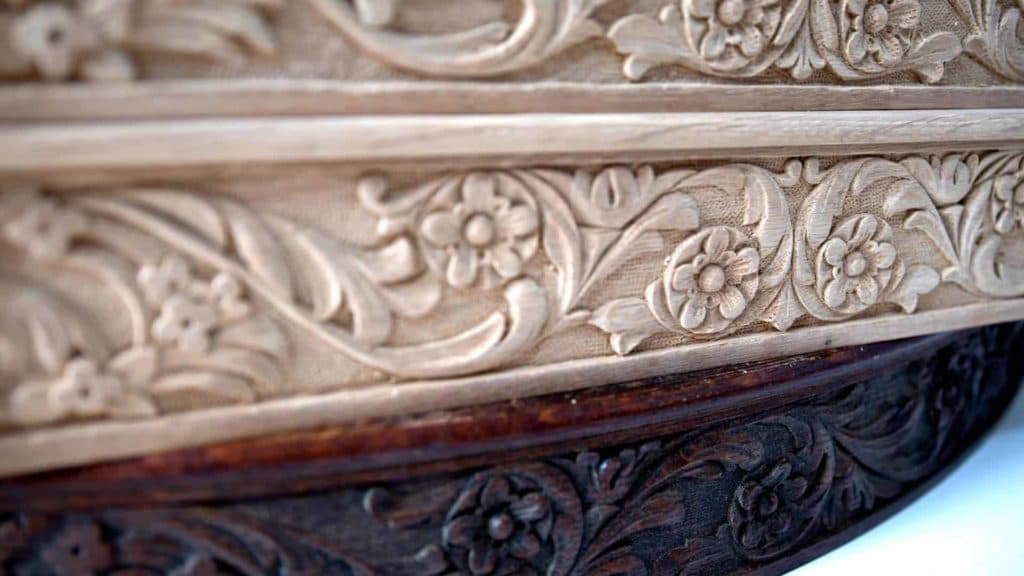
These four are the pieces of the dining table apron, all matching the original. Got a thick nail in a drawer and a triangle file? Then you have what I started from in Maine. The rest of the small tips like this one, the kind that change how a finished piece looks, are in the techniques course inside the school.
How it's done
- Pick a thick nail. Go for a framer's nail, or whatever is thickest in the shop.
- Flatten the end. Hold the nail's tip to the grinder until it is flat.
- File the pattern. Work grooves across the flat face with a triangle file, as a grid or a cross.
- Clean the carving first. Pick the leftover chips out of the carving with a 1 mm V tool before any punching.
- Punch the open ground. Place the punch, tap it, move it, and go all the way around.
- Clean again. Go over the carving once more with that small V tool and catch the spots you missed.
Frequently asked questions
What kind of nail makes the best background punch?
Thick ones. My words in the apron video were the thickest you could find, and then a framer's nail. The small flowered rosette got an ordinary framing nail, and for the oval Venetian piece, a nail head or a screw head, filed.
Should you grind or file the end of the nail?
Both. Grinding flattens it first, and then the triangle file puts in a row of grooves. In Maine, working on a hard nail, I mentioned two layouts for those grooves, a grid look or a cross cut. That nail got hot, too.
Can a store bought punch be changed to fit small spots?
I did it on my Venetian rosette. Its set had two rows of teeth, I took one off by filing, and that single row reaches tight spots and slips in at an angle under an undercut. Back on the apron I only suggested grinding a second set to about 1.5 mm.
What to carve next