

Alexander Grabovetskiy, woodcarver, School of Woodcarving · Published 2023
How do you stabilize a fragile wood carving with penetrating epoxy?
Quick answer: Stabilizing a fragile carving with epoxy is soaking resin down into the thin parts so the fibers hold together. I brushed a two-part penetrating epoxy onto oak leaves thinner than a sixteenth of an inch, and it came out the back. The base stayed wood. A sprayed satin lacquer then hid the plastic look.
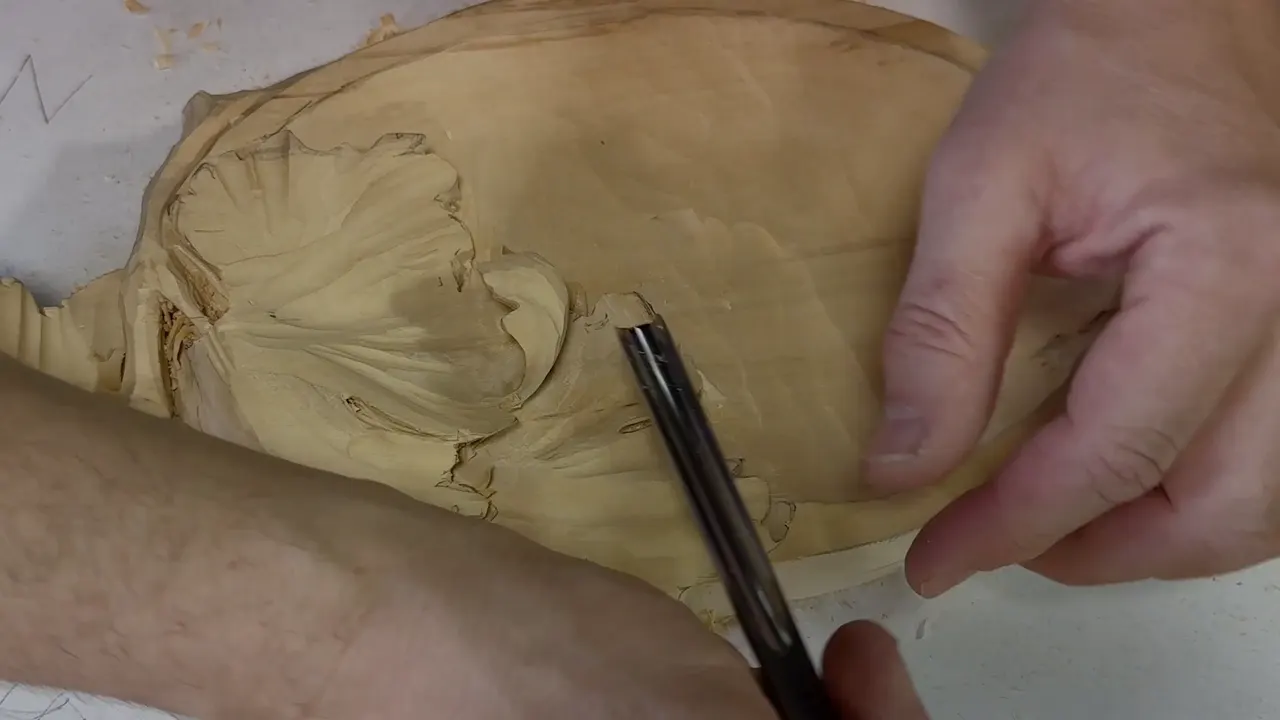
Penetrating epoxy for wood is a two-part resin you brush into the thinnest parts of a carving, and on my oak leaves it soaked in and came out the other side. Then a lacquer goes over it, so the wood stops looking like plastic. That's the whole idea of this short lesson from the Techniques course, filmed live while landscapers were mowing my grass.
Ever carved a leaf so thin that light comes through it? Ever dropped one? I have. In my live stream right before this one, I broke the same piece twice. So the thin parts need resin inside the fibers, not a coat sitting on top.
Don't get me wrong, I'm not always breaking stuff. Sometimes days like that happen. The piece on my bench that day was a school project, based on a late 18th century carving in really, really low relief, and I had tried multiple ways to stabilize thin work and still keep it looking good.
What follows comes from that live stream and from four other courses where stabilizing thin wood or epoxy came up while I was carving.
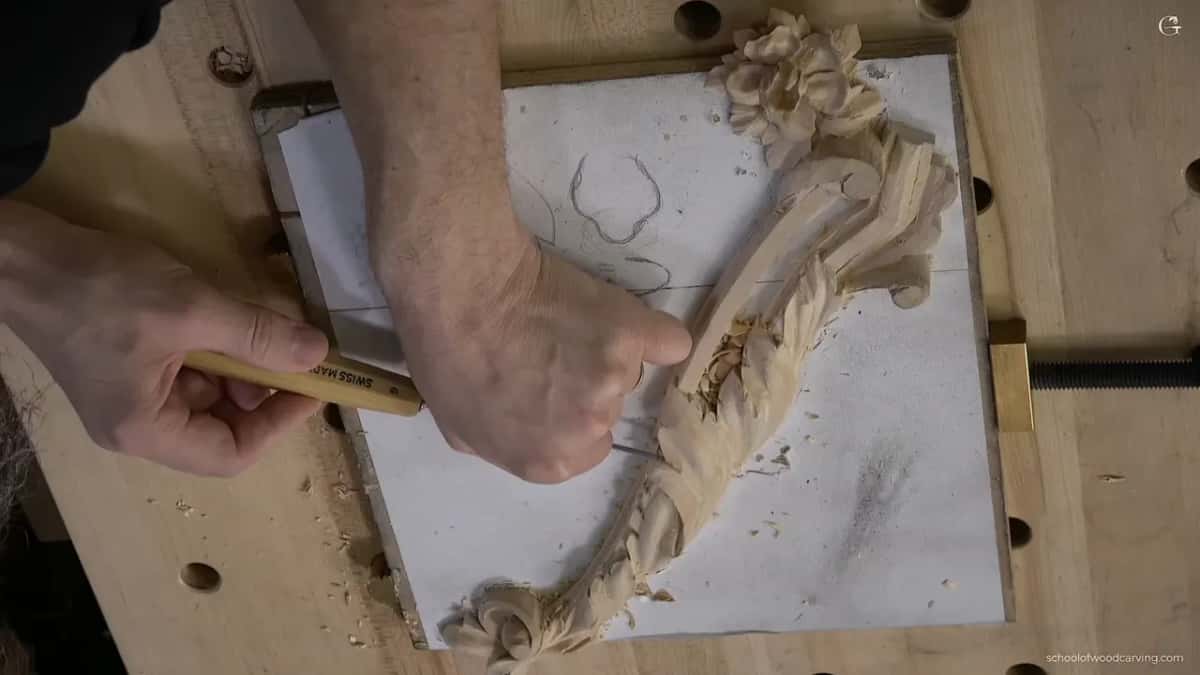
What I did to the oak leaves, start to finish
- Lacquer alone never gets deep enough.
- A friend of mine who builds upright basses gave me the idea of soaking thin wood with resin.
- On oak leaves thinner than 1/16 inch, about 1.6 millimeters, the epoxy showed up on the back.
- Cheap brushes, two-part epoxy.
- Bubbles showed up.
- A heat gun took care of them, and a satin lacquer sprayed on top took away the plastic look.
Why does a paper thin carving need anything at all?
Paper thin pieces are fragile, and I broke mine when I handled it. I love to carve really thin. Those oak leaves came from a five day class at the Marc Adams School of Woodworking, some parts less than a sixteenth of an inch, under 1.6 mm. I dropped that piece too, and I don't know what happened.
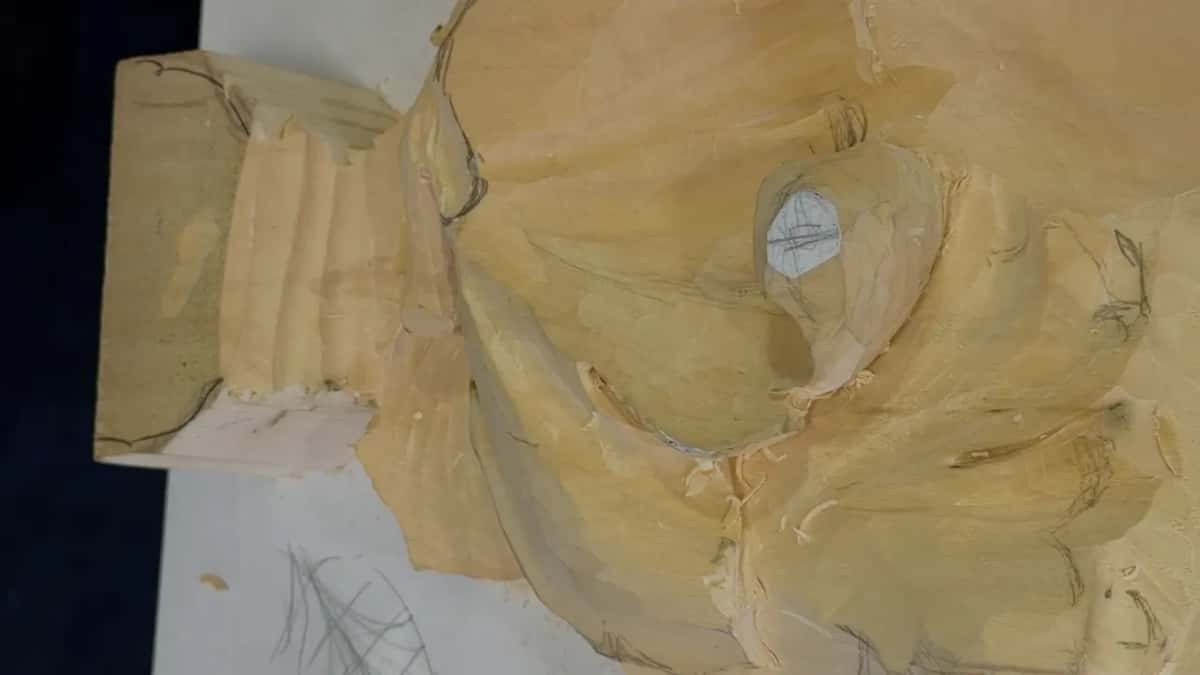
Grain makes it worse. On the Tray of Blessing I said that if the tray weren't going on my dining table, I would dig underneath the stem of that Cabernet leaf and make it airborne. There's no limitation to what you can do, I said, and then we did the airborne idea anyway, flute turned to about nine o'clock.
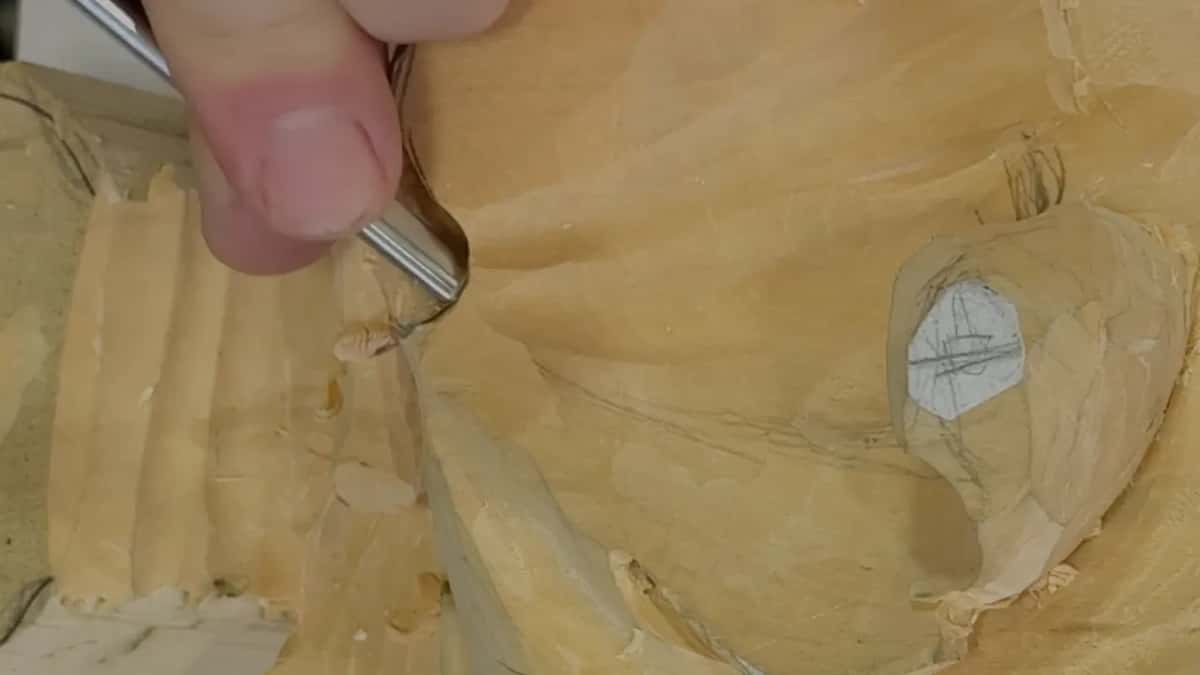
Digging under that stem, I said out loud that it was already dangerous. The short grain, and you can break it. Grain direction has a lesson of its own, Carving with the Grain.
A few minutes later, in lesson 5 of that tray, I had gone right through under that stem. See that hint of light? So that is absolutely airborne, I told them.
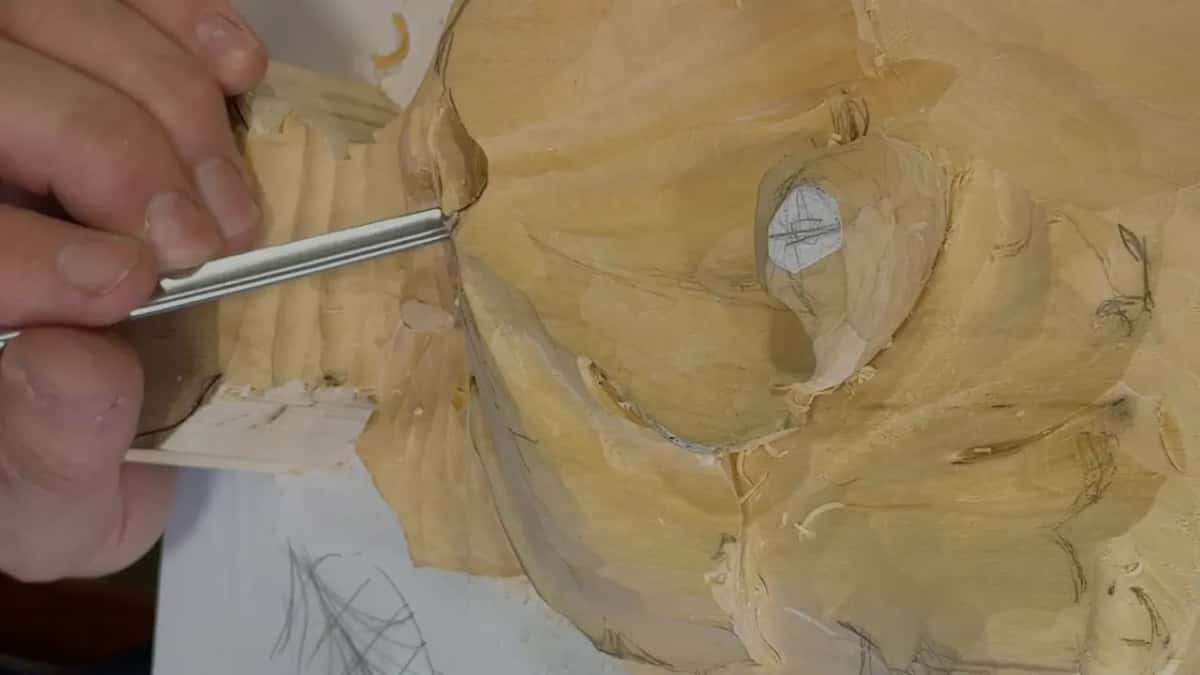
Carving the Grape Onlay, in lesson 10, I laid the tool right on my finger, because I didn't want to crank on that airborne part. Kind of fragile. Here it was okay, because of the long grain. In another spot, I said, that would be a big mistake, because the grain runs that direction and it's super fragile. A minute later I said my goal was to make it about 1/16 inch, a hair over 1.5 millimeters.
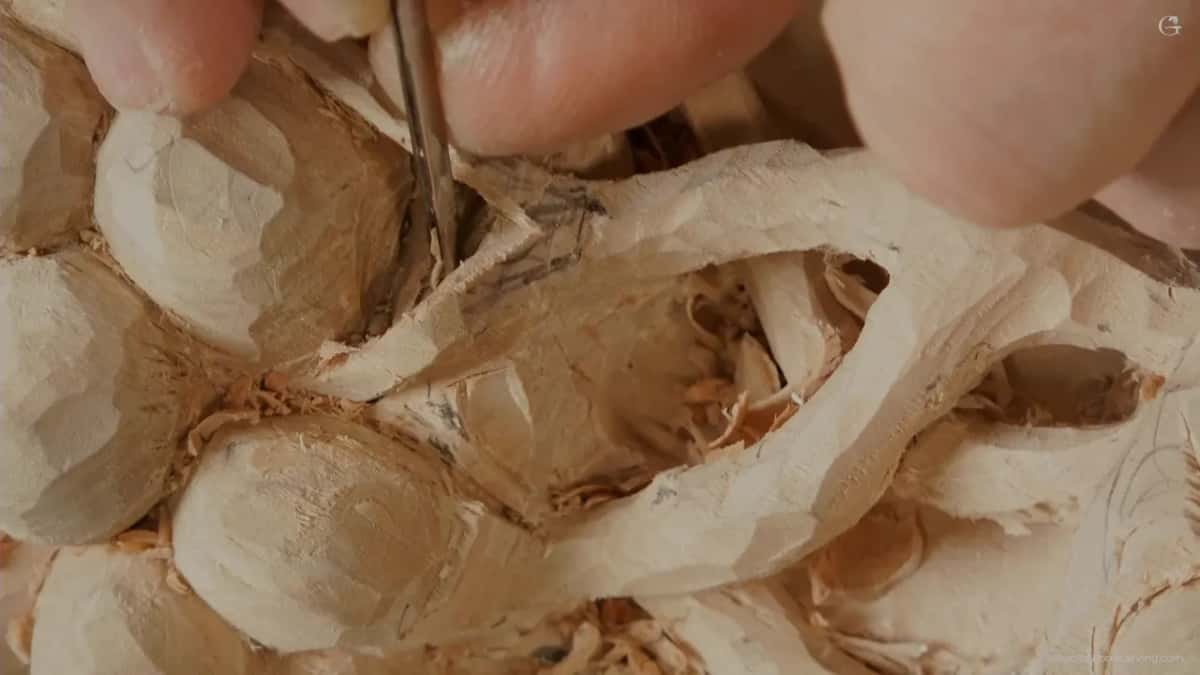
How does a stem get that thin in the first place?
By digging under it on purpose, with small tools. Where the stem joins the leaf, I opened a deep excavation on both sides, to cast a really beautiful shadow. A number 9 at 10 mm, about 3/8 inch, took a chunk out first. After that came a number 11 at 3 mm, about 1/8 inch. I held the flute at roughly 11 o'clock and carved slightly underneath, so the undercut started right away. See how deep the shadow gets?
I stayed off the design line at first. You can always make it wider later, so it's better not to sit on the line right away. We are painting with shadow and light, I said.
Later, beside that stem, I made a shallow pass with the gouge and then small, tiny ones, without forcing it. A danger zone, I said. Danger zone.
In lesson 6, on a stubborn end grain spot, I held a number 7 at 45 degrees and took small chunks without forcing it. The undercut went in with a number 11, flute upside down, about six o'clock to the surface. A little later came the same warning in other words. Don't set in with a number 2 right away, like most people try to do, because you're going to damage it. Make a relief first.

Then my left middle finger went down, placed there to protect the wood itself, so if I slip somewhere I don't break it.
Why won't a coat of lacquer hold thin wood together?
A lacquer never gets deep enough. You could put lacquer on, but it won't go into the wood far enough, and it won't stabilize those fibers.
So I asked a friend of mine who is a luthier. He builds upright basses. The panel on that instrument is only about three millimeters thick, like an eighth of an inch, almost nothing, and to stop it cracking, you have to stabilize it. What's the secret, I asked him.
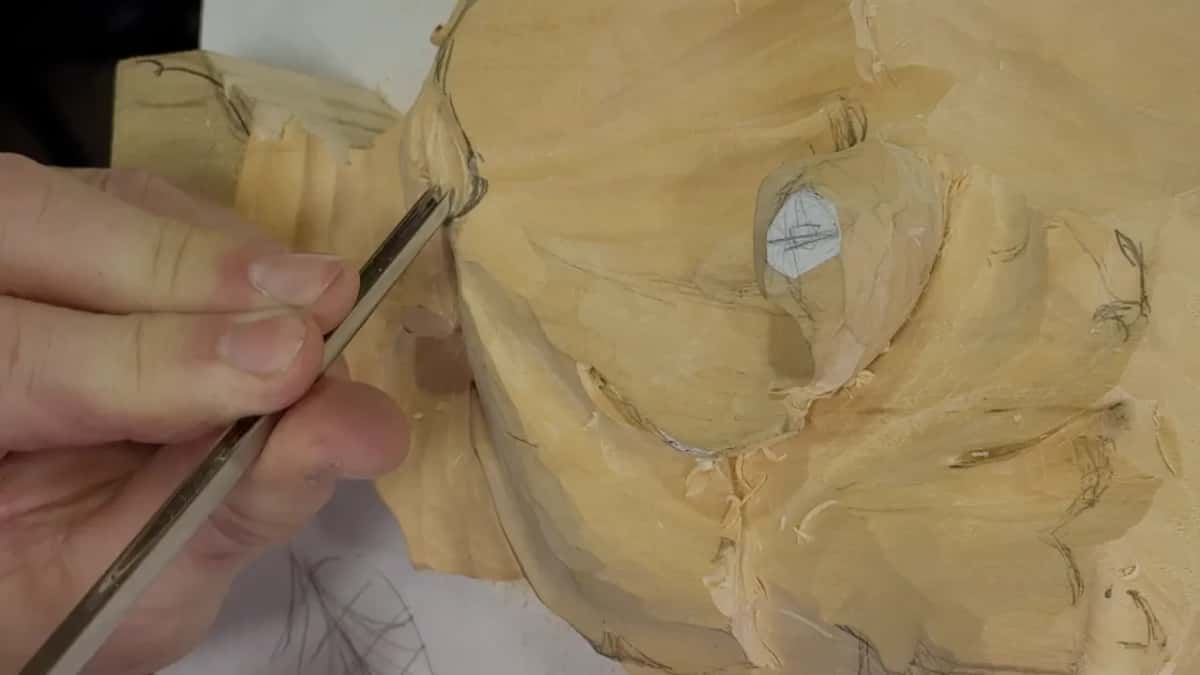
One of the ways is shellac. You dilute it with spirit and soak it in several times. Then he told me he uses a certain resin to penetrate the wood. For me that was a surprise. Nowadays we've got all kinds of resins on the market, and I went looking for a good one.
Which epoxy did I end up with?
TotalBoat, their penetrating epoxy. I don't even know why I bought TotalBoat. I just read all the reviews people wrote about the resins and epoxies out there, and it came out among the better brands. Maybe there are better ones.
It comes in two parts. The ratio is two to one, and the hardener is the smaller bottle. I'm not the big epoxy guy. Maybe I will now.

How do you brush penetrating epoxy into a fragile leaf?
With cheap brushes. You can't use your normal brushes, because after a while they're gone. I bought some cheap ones and took the oak leaves, the thinnest part.
Then I just went all the way through. The epoxy came out on the other side of the leaves, and I was surprised to see the result.
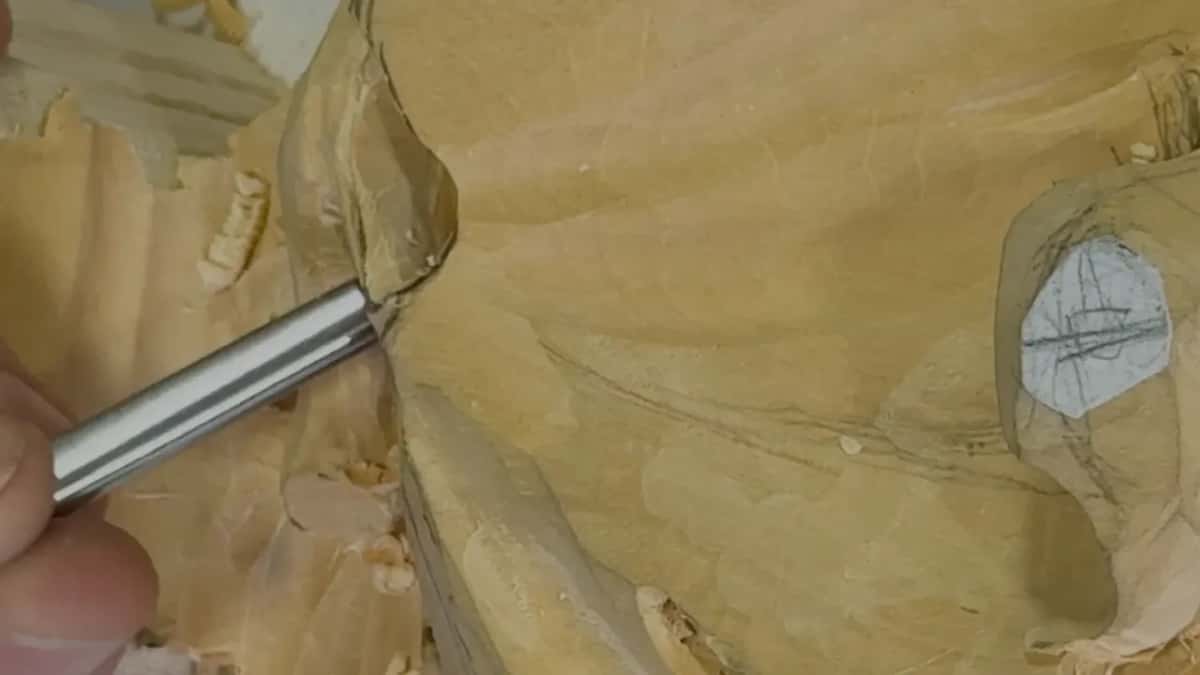
Epoxy gets bubbly. A couple of times I saw bubbles come up, so I took a heat gun and got rid of them. Maybe I could do a little better job taking out all the bubbles. I like the result anyway. I really like it.
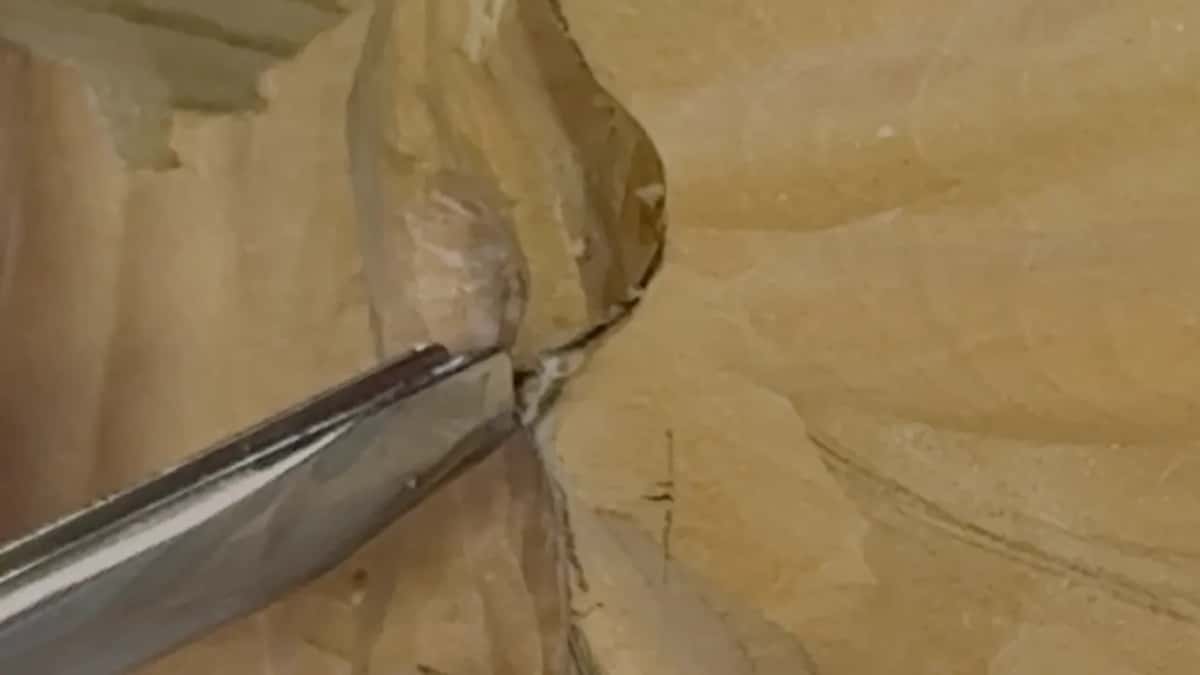
Later the tray class heard how I did it on that same project. I brushed on the penetrating epoxy, then I put the lacquer on it, and you can't even tell there was epoxy below the lacquer.
Where does penetrating epoxy for wood stop inside a carving?
In the carved part. That resin got into every fiber of those leaves, and the carved part became almost 100 percent resin. The base did not. It never reached through the base itself.
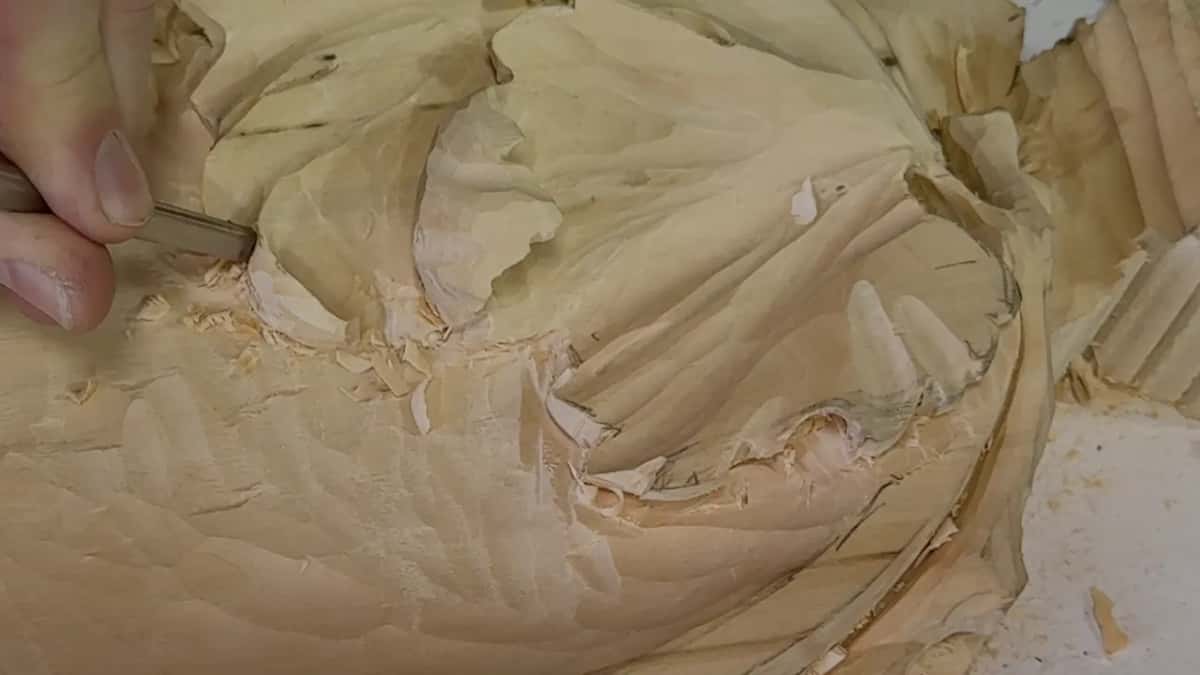
Why did my leaves look like plastic at first?
Epoxy has its own plastic look. At the beginning I didn't like the look of it. It looked plasticky.
In lesson 5 of the tray I said it plainly. The epoxy itself, that's a plastic look, and that's why I don't like epoxy when they do it on tables. Once you put some lacquer or any other finish over it, even a water based one, then it's okay.
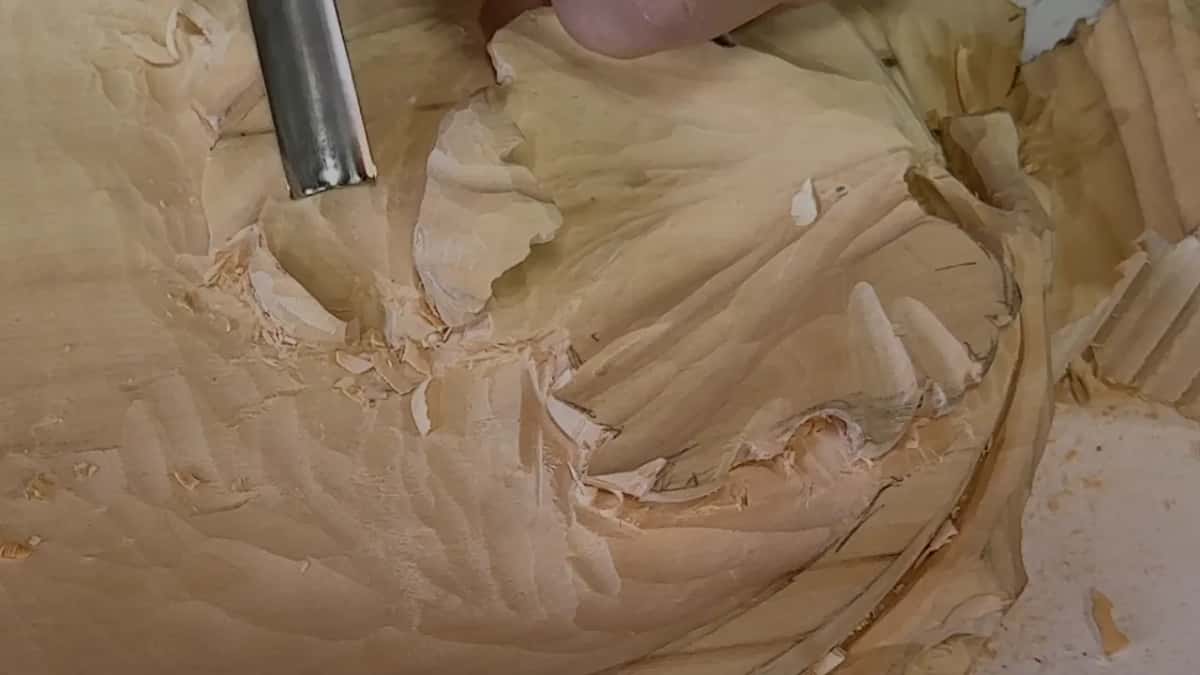
Another piece I soaked with the same epoxy and left with no lacquer yet. It brought out all the grain, just like you would use an oil finish on it.
What finish goes over penetrating epoxy?
Lacquer, sprayed the normal way. After the resin I sprayed a couple of coats, and in my case it was Mohawk, a satin. I'm not affiliated with those guys.
Now it doesn't look like plastic. It looks like I soaked it in some kind of oil, let it dry, then put lacquer on, and I can see all the grain. You could probably disagree with me. It's up to you. You can do a gloss, and I did just a satin.
Do you need a vacuum chamber to stabilize wood?
Not for a carving. A student on the tray asked if I meant something like cactus juice. Cactus juice is a resin too, I said, and a little different. It would be really nice there, but you have to carve the piece again, because once you cook it you see all kinds of stuff going on on top.
Penetrating epoxy, you don't have to cook, and you don't have to put it in the pot. When somebody asked if it could go in a vacuum, I said yes, a vacuum or a pot would do. Mine went on with a brush.

On my Acanthus over Moldings piece I said you're okay as long as you keep the mass of a detail somewhat thick. Even furniture can go paper thin, if you know the way to stabilize it and make it like plastic. Nowadays it's easy. From there I walked through the cactus juice method. You need a good chamber, and for that piece a big one, and I don't have one that big. There are big vacuum chambers, with a really good pump, and after you cook it and clean it, it turns just like plastic.
Then you can do crazy stuff, paper thin, and it's still unbreakable. To a certain degree. That's the honest end of the cactus juice vs epoxy question on a carving, because in lesson 6 of the tray I said you don't need the cactus juice, not all the way. All you need is the stabilization of the surface, pretty much.
Which carvings are worth the epoxy?
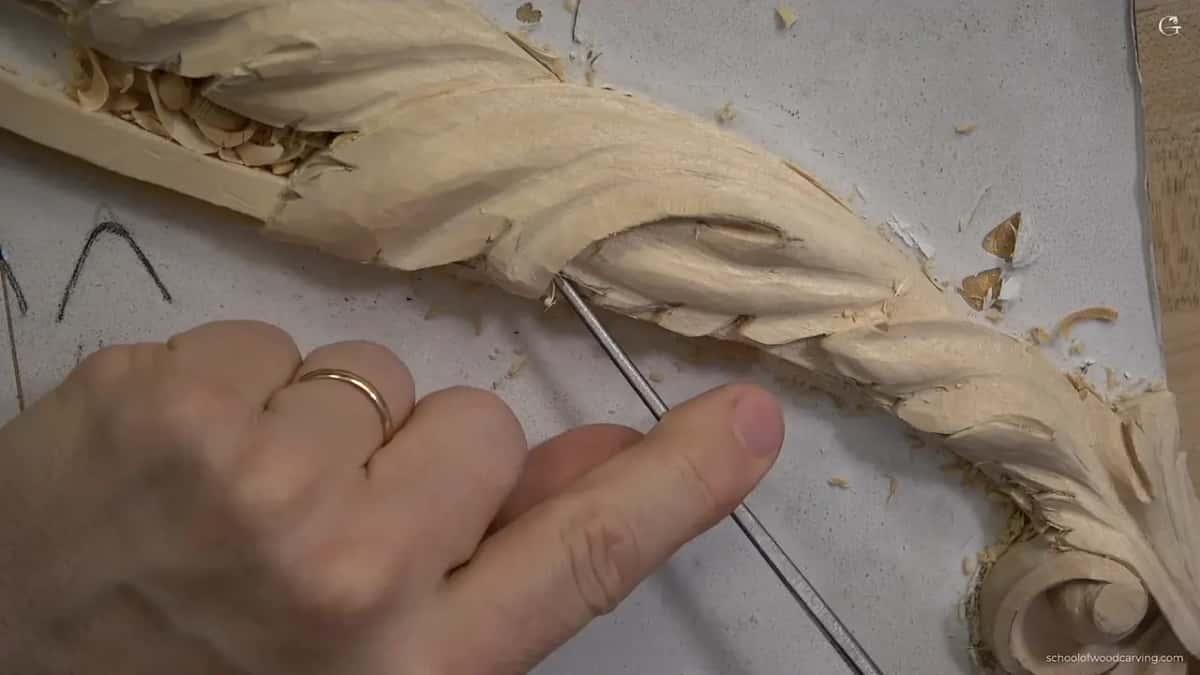
The ones people will handle. Lesson 6 of the Tray of Blessing had me carving a little gothic curl into the leaf, curling one way and then back, the way the 14th and 15th century guys did it. I gotta be careful, I said. I don't know how much material I've got, and I don't want to break it. Right then a student asked if I'd put stabilizing epoxy on that tray. If it's going to be used on the table and stuff like that, not just kept away somewhere, I said I'd use a deep penetrating epoxy. It really goes in and becomes like plastic, and it's going to stay pretty much forever. Then I picked up the number 11 at 3 mm and took tiny bites for an even smaller curl. One wing of that number 11 worked as a number 3, pretty much.
A few years ago a man wrote under one of my YouTube videos that he loves what I carve, but it's not practical, you can break that.
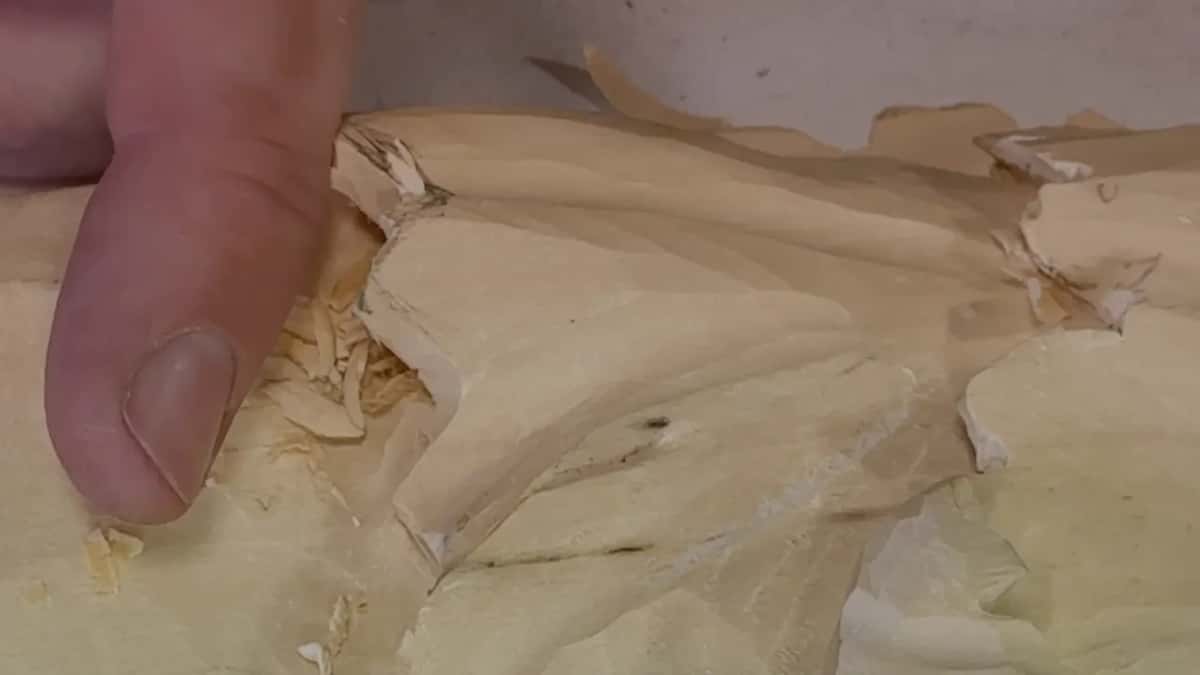
I can prove it, because I broke the same piece twice. But a carving hanging on the wall, I'm not going to touch, so there's no danger.
If you'd rather stiffen thin wood with glue, I talk about that in Stabilizing Fragile part of a Carving, and holding a fragile piece face down while you carve its back is in A simple tip for Back Cutting.
Does epoxy belong anywhere else on a carving?
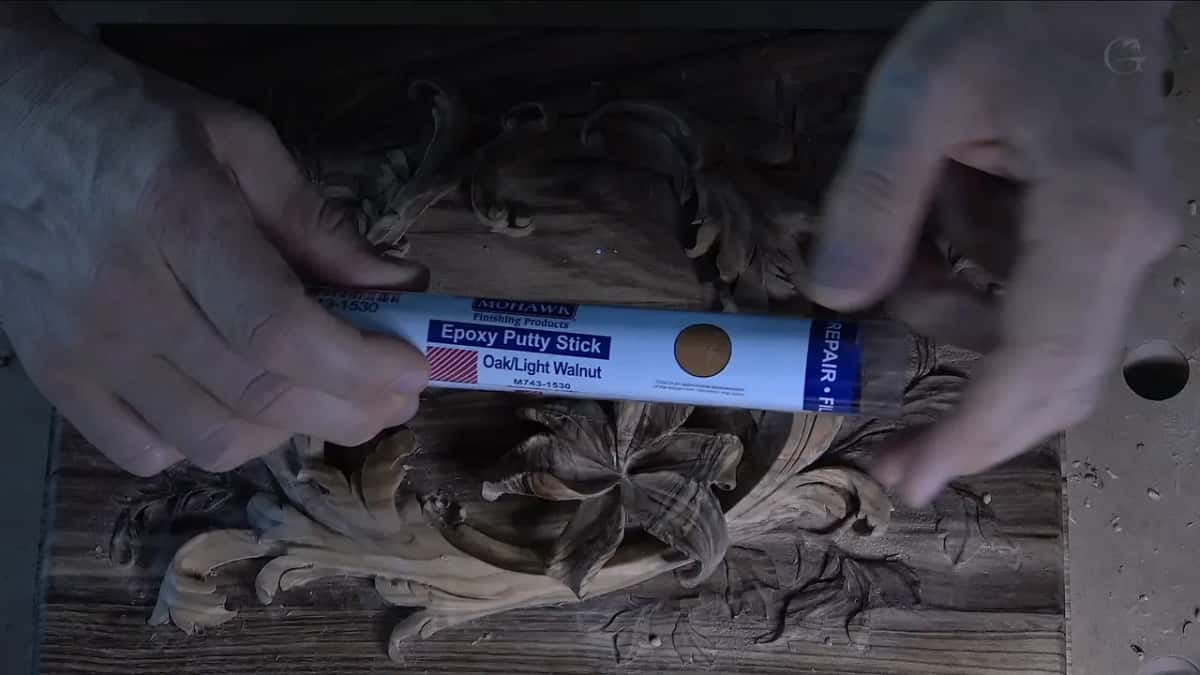
Yes, as a filler, and that's a different product. At the start of the Lily Box, lesson 11, an old hole was already gone. I had filled it with a Mohawk epoxy putty stick, pre-colored and a really close match, pretty much, the gray and the brown mixed together until it becomes like solid wood. Later in that lesson I found another hole I'd made. Yes, I am making some mistakes, I said. It got the same epoxy from the backside, oak or light walnut, two parts again and really quick to mix.
What did I say about each option?
| Stage | Used | Result |
|---|---|---|
| Lacquer by itself | Not deep enough to reach the fibers | And it won't stabilize those fibers |
| Shellac with spirit | Diluted and brushed on again several times | One of the ways I named |
| TotalBoat penetrating epoxy | Two parts, the hardener the smaller bottle | Went right through to the back |
| Cactus juice resin | Needs a chamber, a pump and cooking | You have to carve it again |
| Satin lacquer after | Couple of coats, sprayed the normal way | Reads like oil, grain showing through |
| Heat gun pass | Taken to bubbles a couple of times | Bubbles gone, but could do better |
What I'd tell you before you open the bottle
Have you got a leaf you're scared to pick up? A stem you can see light through? Then the thin parts want resin inside them. If you want to watch me carve those airborne parts in the first place, the whole tray is inside the school, on Tuition and Access, and there's a longer write-up on stabilizing thin carvings too.
How it's done
- Mix two to one. Two parts resin, one part hardener. My kit keeps the hardener in the smaller bottle.
- Brush on with a throwaway brush. Epoxy finishes off a good brush, so buy cheap ones. Work the resin into the thin leaves.
- Chase bubbles with heat. A heat gun takes care of them.
- Spray lacquer over the top. Two or so coats of satin lacquer, sprayed like you would on any piece, take the plastic shine off and let the grain show again.
Frequently asked questions
Does epoxy stop thin leaves from moving later on?
During the live stream I said I would keep an eye on what happens to my oak leaves, and that I doubt they're even going to move. Every fiber in the carved part took the resin, and those leaves were thinner than 1.6 mm in places.
Do you have to use Mohawk lacquer over the resin?
Any lacquer works, as long as it's the kind common in cabinet making and furniture making. I just found Mohawk easy to get, even on Amazon. I buy mine in a local store, and the store is a little better, because it gives you the percentage of sheen.
What sheen did you pick for the oak leaves?
Satin, which comes to about 15 in my case, though a satin can go from 15 up to 25. I also keep dead flat lacquer, with no sheen at all, for a piece where I don't want to see anything shiny.
What to carve next