

Alexander Grabovetskiy, woodcarver, School of Woodcarving · Published 2017
Should you use a slicing cut on every pass?
Quick answer: Slicing on every pass is my habit with a gouge. A small turn of the tool goes into straight-down passes, concaves, undercuts, background and roughing out. Sometimes the handle swings wide, sometimes the rotation is too small to see. A straight tool in a tight spot has no room for it, and you can still push.
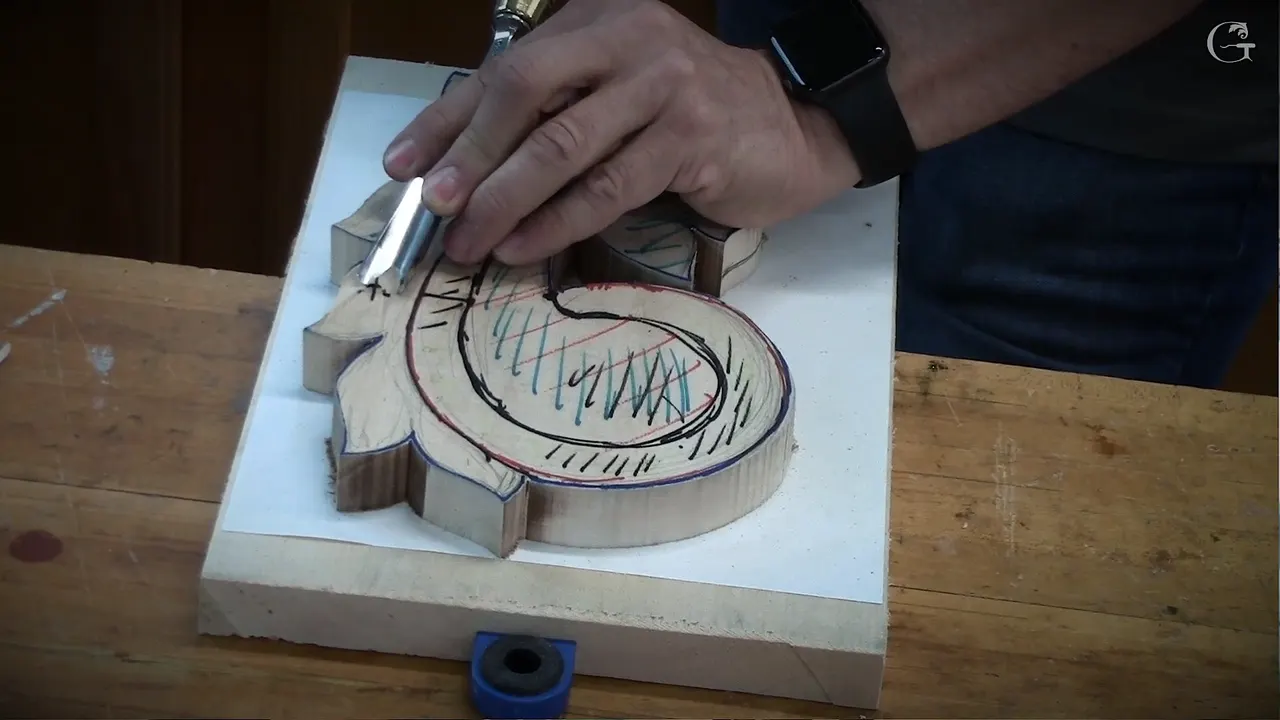
The slicing cut is what I put into nearly every pass of a gouge, in roughing out and in the final stage alike, and on camera I also name the few spots where it won't go. In this short Techniques lesson I say it while I work on a big carved scroll. I'm kind of slicing, I'm not pushing wood. Although you can.
Want your gouge to move through the wood without a fight? And the last surface clean straight off the tool, with no paper after it? Then learn how to use a carving gouge with a small turn in it, pass by pass.
Each line on this page comes from my own lessons, with the piece and the tool named, so you can open that lesson and watch my hands.
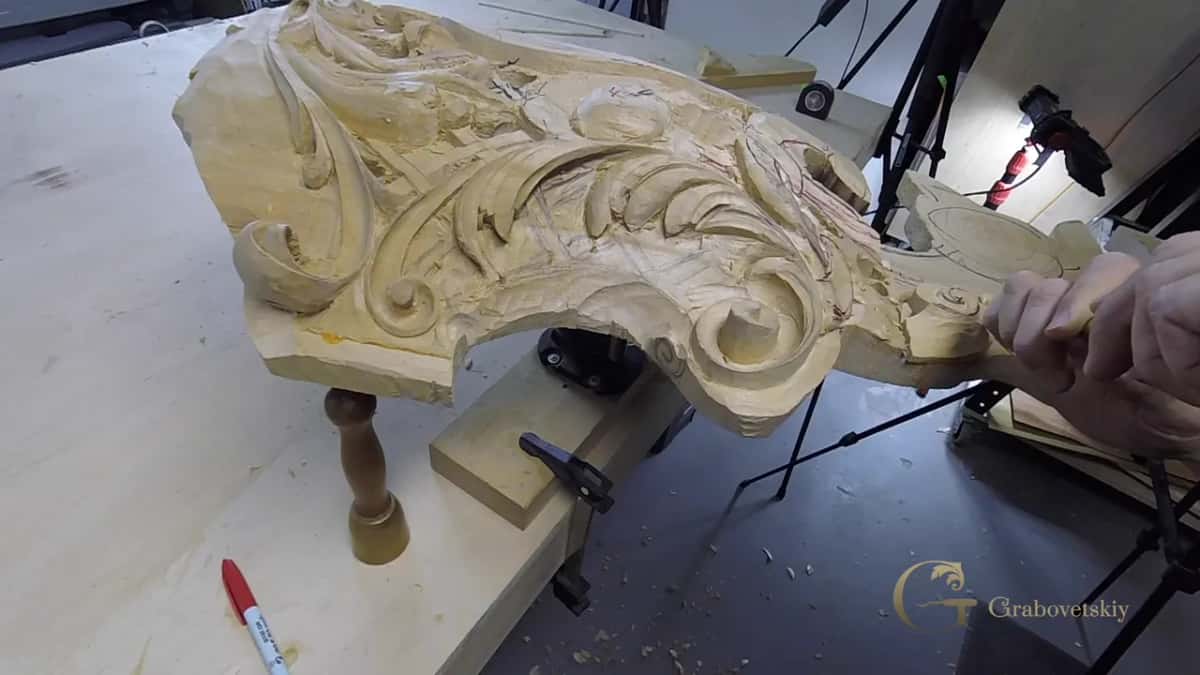
Where I slice, and the spots I can't
- Straight down, into a concave, under a leaf and across the background, the gouge gets a turn.
- Small tools get it, and so does a knife.
- Sometimes the handle swings a lot, and sometimes the rotation is so small nobody sees it on camera.
- Near your fingers, the turn decides where a slip goes.
- In the final stage every pass has to come off clean, because no sandpaper follows.
- A tight spot can leave a straight tool no room to turn.
Should you use a slicing cut on every pass?
Nearly every one, and I've said so in more than one course. Carving my 1903 acanthus, in lesson 1, I put it bluntly. When people push, that's a big mistake. It's not carving. I make a rotation movement while I create every pass. In the Hashemi course, lesson 24, I called pushing a big mistake too. I'm always making my passes slicing, I said, not just pushing.
During a livestream in April 2020 a viewer asked me if I twist when I carve a slicing cut. Yes, I do, absolutely. That's actually the biggest part of what I teach online about it.
Do you slice on a straight-down pass?
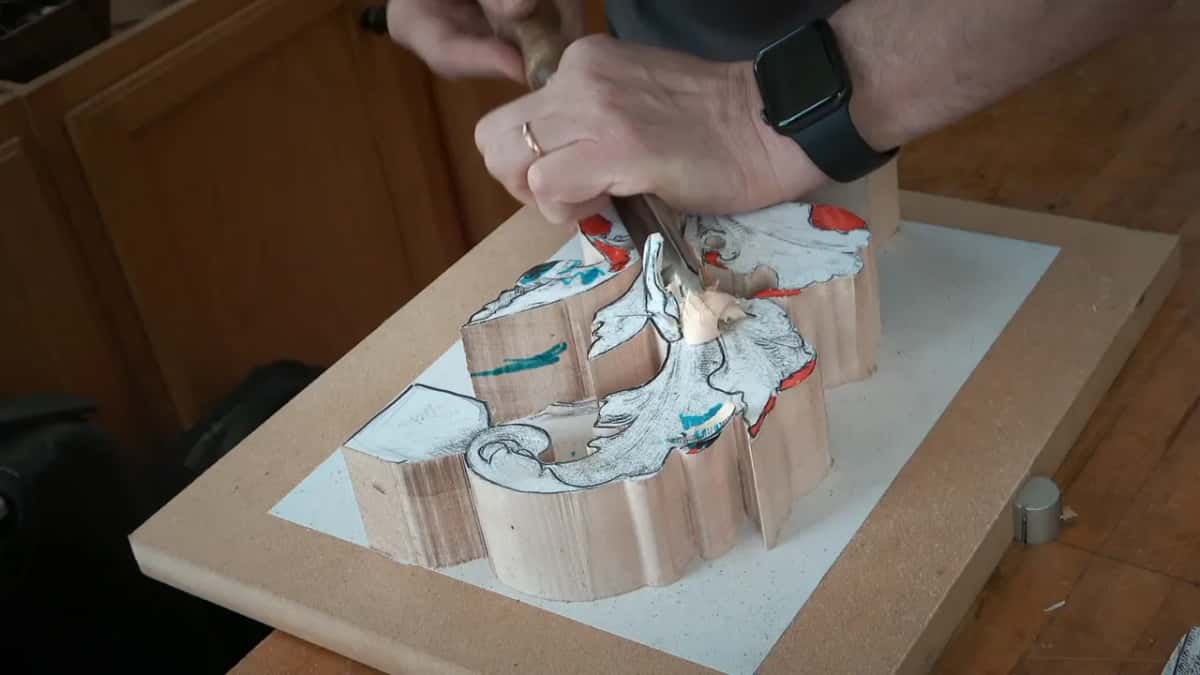
Yes, even there. For the second lesson of the Floral and Molding panel, I went around the elements with a number seven, about 14 mm (9/16 in), straight down. But I still sliced it, not just pushed it. It doesn't have to be super clean at the beginning, because a lot of that material is going to be gone.
In lesson 3 of that panel I relieved a line using a number 9 at 10 mm (3/8 in). Watch the hands and you see a rotation cut, or slicing, I should call it, because the proper name is a slicing. Then I grabbed a flatter tool, a number 2, set it right on the line and went downhill. Keep it at 90 degrees down, I asked you there, as close as possible.

What about a concave or a chamfer?
Same turn. On the Lily Box, in its first layer, I had to be careful, because I was working against the grain. In slow motion you'd see it. I was creating a concave, but I was also rotating my tool and slicing, not pushing. Because if I push, I'm going to slip.
Later, in lesson 11 of that box, I was making a chamfer on the lily flower. I kept a little angle and didn't hit straight. Instead I rotated my tool a little bit and tried to slice. Not everywhere could I get with that tool, and I said I might have to switch to the micro tools at some point.
Does an undercut get the same turn?
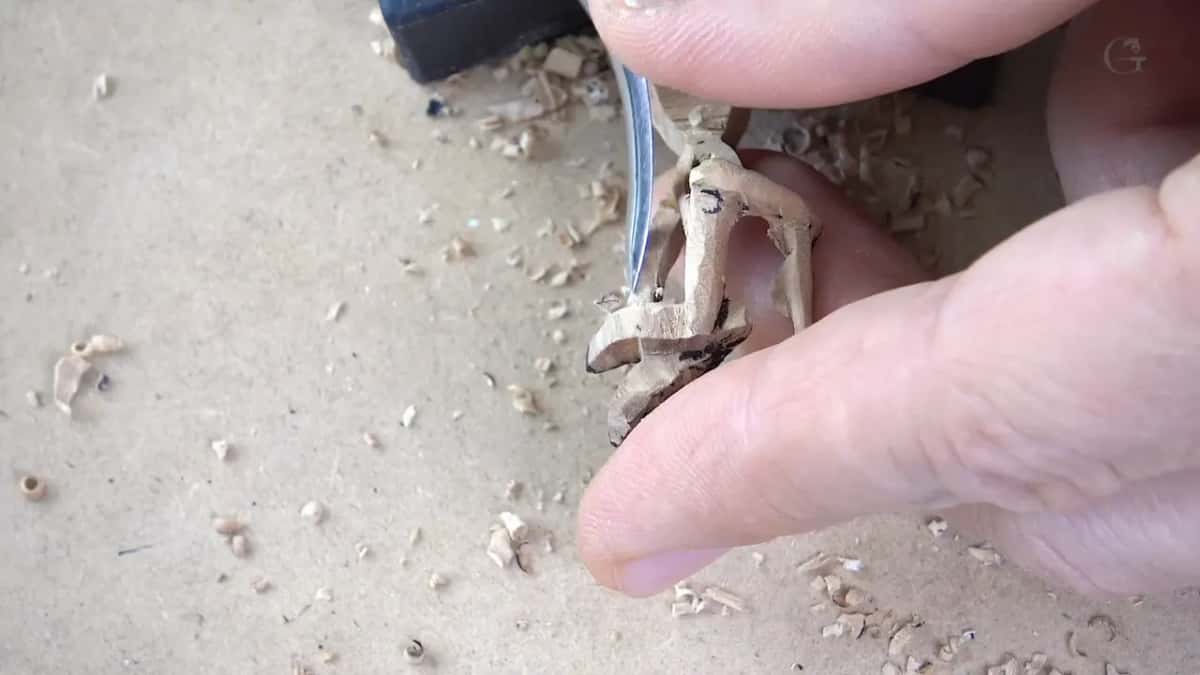
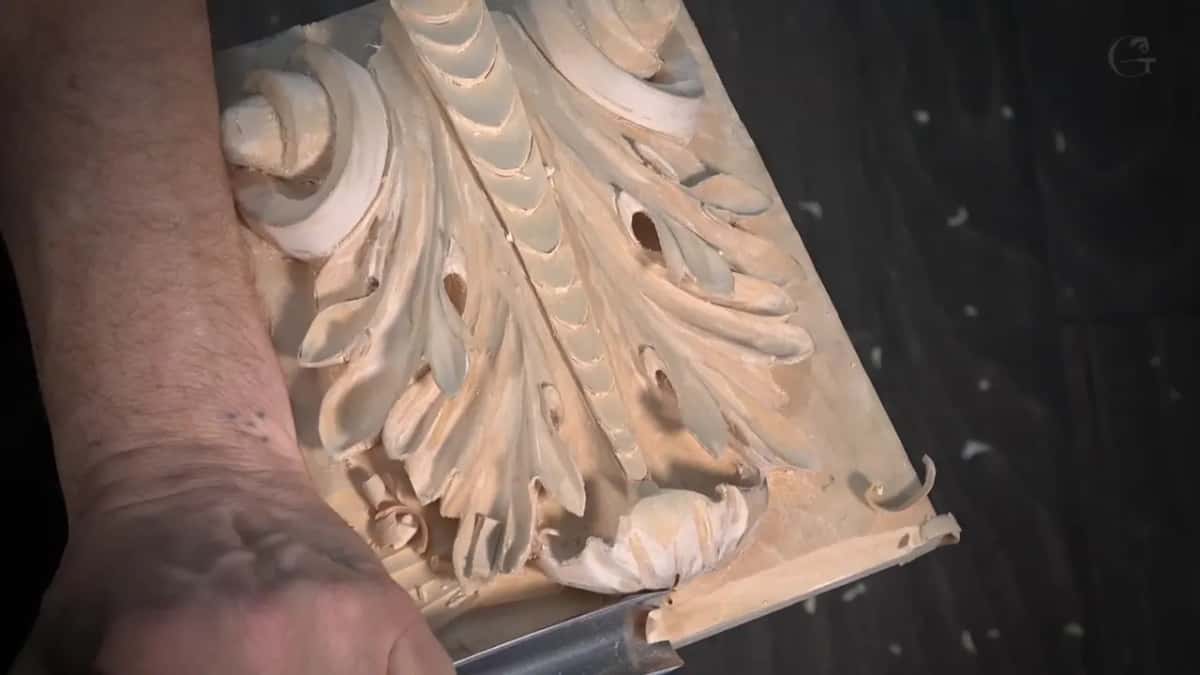
It does. Placing the tool toward the hole on the Byzantine acanthus, leaf 9, I said again not to forget the rotation movement. Every pass you make, slice it, and undercut with the same tool, pretty much. Go in, but for now leave about a quarter inch (6 mm) between the ridge and the hole.
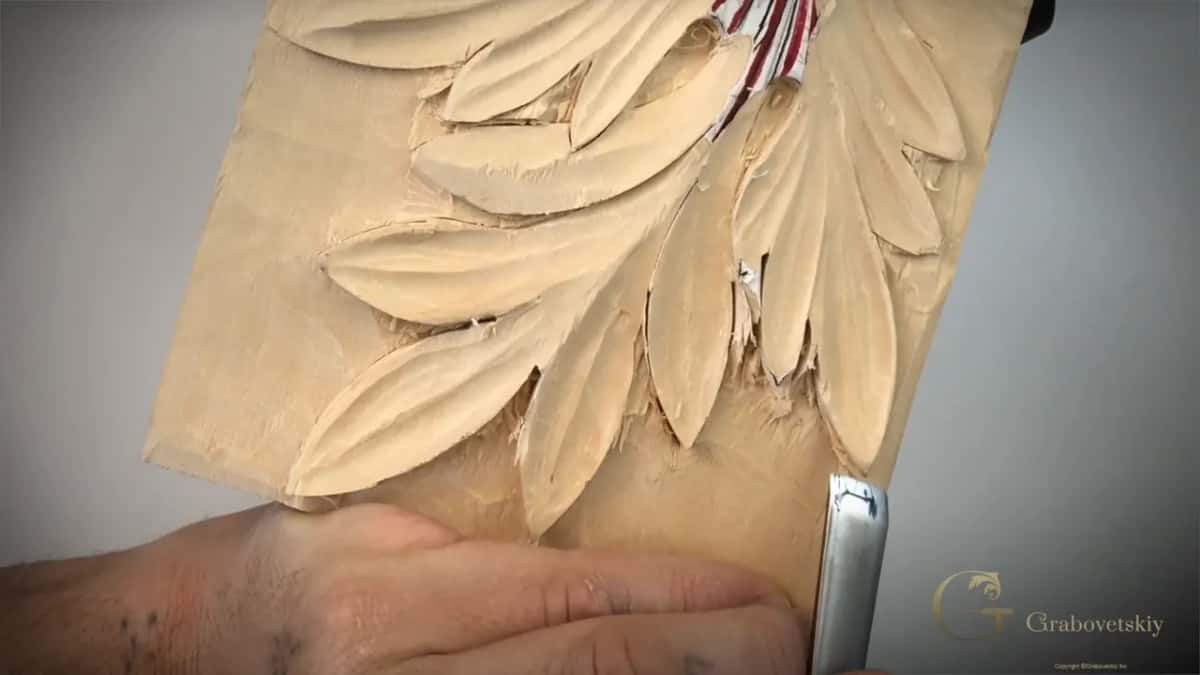
With the Corinthian acanthus, lesson 5, I turned the tool upside down to undercut toward the background. Then I just sliced. The chunks came away easily, and you could see it. After that I turned it back and cleaned. Watch my moves there. I'm slicing everything, with my hand placed right at the edge.
Does the background get sliced too?
All of it. Back in lesson 2 of the Corinthian leaf, I said we'd clean that background later, so it would look nicer, and to make rotating movements when you do. You don't push. You rotate, or slice, your gouge.
Lowering the ground of the relief on my furniture panel, lesson 16, I kept away from an island I didn't want to touch. I started somewhere right there and rotated the tool as it went, slicing. The knife marks I made first stay there even when the paper comes off, and I stopped short of my design for now.
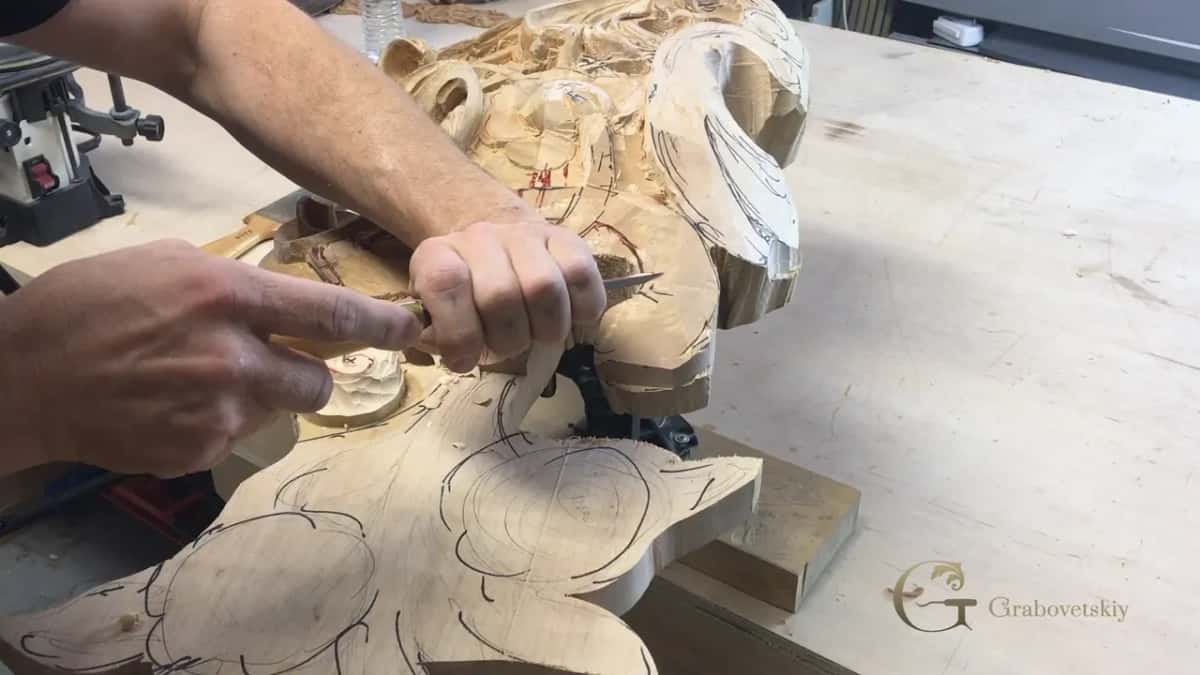
During lesson 16 of my Roman acanthus, the vise wasn't holding, for some reason, and my tool was a little too small. So I got a bigger number nine, 20 mm (about 3/4 in), twice the size. Taking the background down, I kept making my rotating moves all the way to the final line.
Can a small tool or a veiner make a slicing cut?
Yes, right down to the micro level. In lesson 20 of the furniture panel, carving the flowers in its upper right corner, I went toward the center with a small tool and still tried to slice, not push. That gave me another concave.
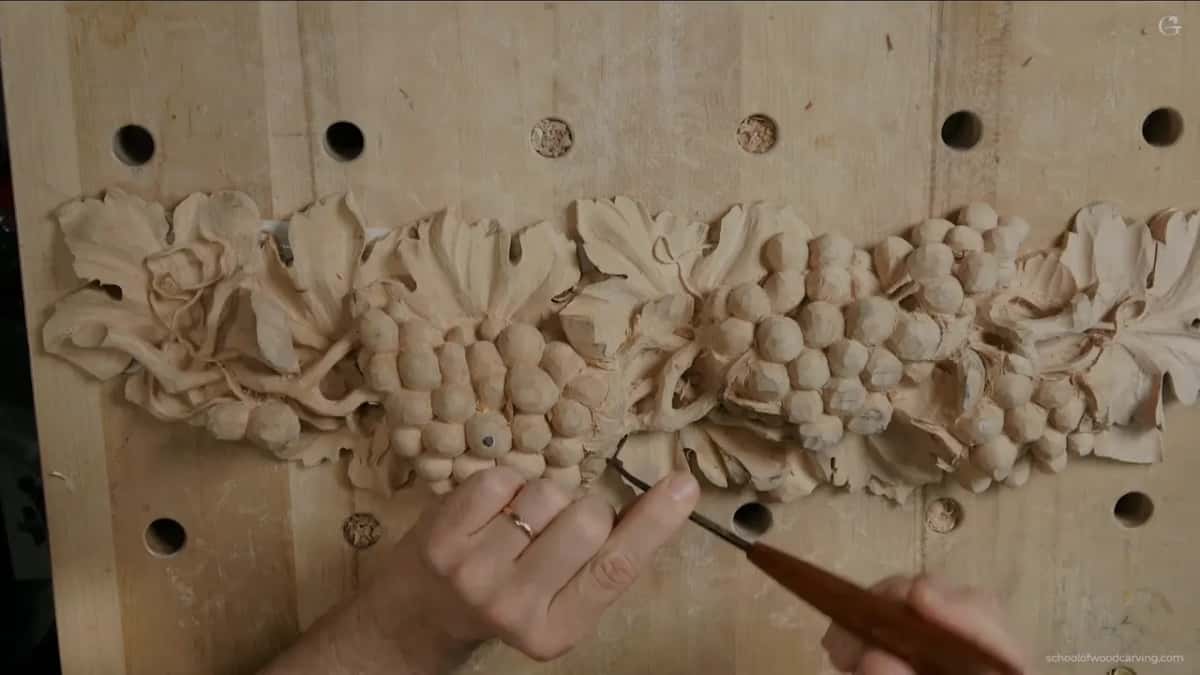
Lesson 9 of the Grape Onlay, a carved cluster of grapes, had me holding a really, really big veiner, and even with that one I kept the slicing motion and the rotation.
A picky area of the Roman acanthus, lesson 9, got just the number 9, and I said it plain. Don't push. What I mean by slicing is that you always make micro rotations. My 1903 acanthus heard it again in lesson 8. Don't push it, slice it, even if it's on the micro level. That area is just like a micro eye.
Does a knife slice the same way?
Like a gouge does. In another April 2020 livestream, the one about knives, I worked a really complicated under carving with a knife. I wasn't just pushing, because I was carving against the grain. Slicing, like slicing a piece of bread. You could see the chips, and they all came off with that knife alone.
How big is the turn in a slicing cut?
Big or tiny, and it depends on the spot. Look at my handle in the tenth Grape Onlay lesson, and you see a lot of movement. That movement gives me the slicing motion. You present your tool at an angle and slice, and that's enough.
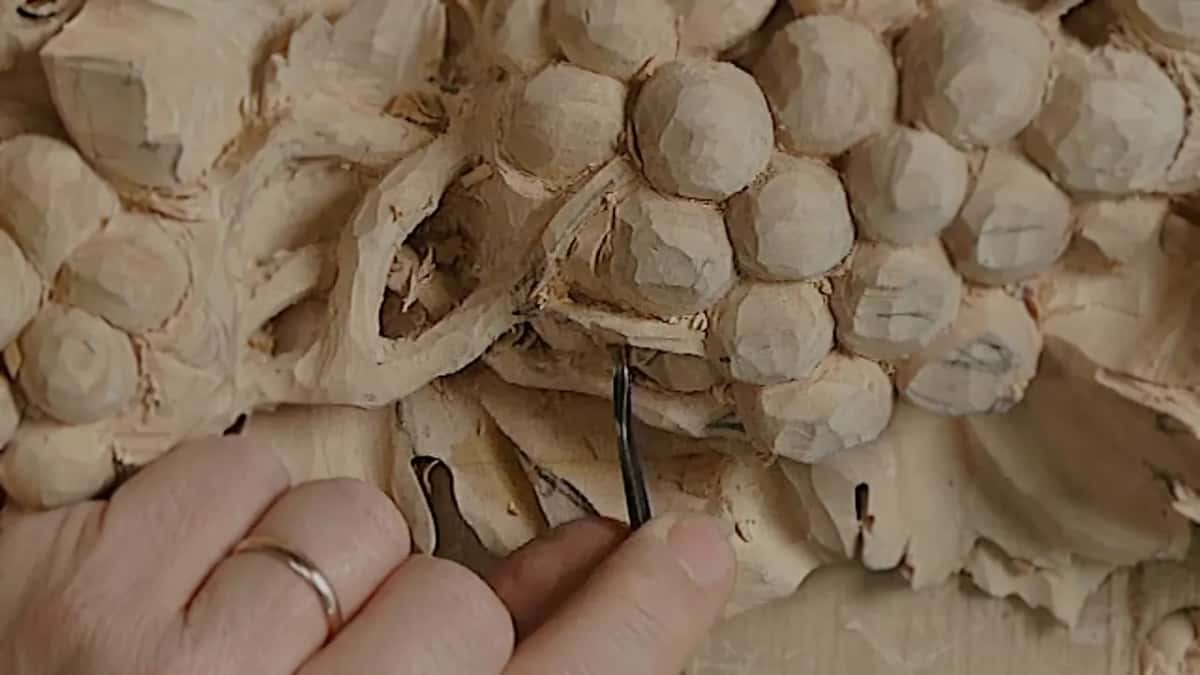
Lesson 22 of the furniture panel sat at the other end. Not just pushing, but slicing a little bit. It's not always possible, and it's almost invisible to the eye, but I'm still slicing. Micro-slicing.
Two lessons later, on that same panel, I said it again. When I do it really quickly, it's almost impossible to see, but I do that. I still create the rotation.
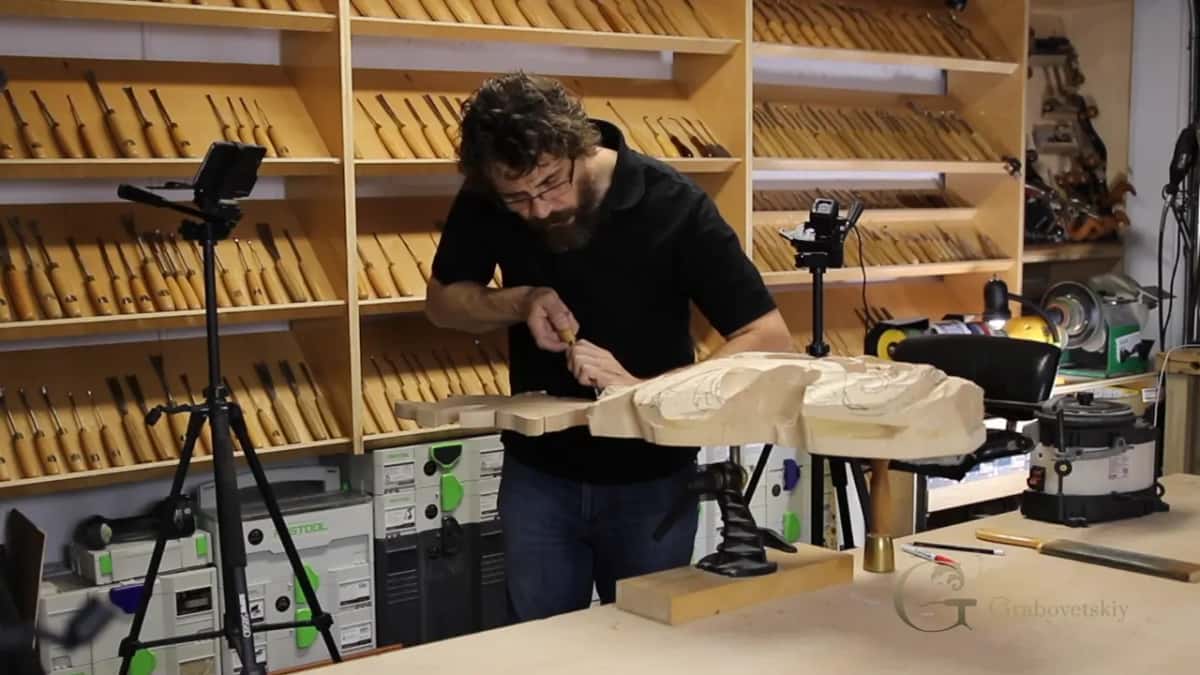
Over on my Greek acanthus, lesson 13, a number five at 8 mm (5/16 in) went in on the right-hand side and moved toward the inside. Maybe it wasn't visible on the camera, I said, but I wasn't just pushing. I was doing some slicing, little by little.
Which side of the edge goes in first?
Either one works. A lot of people just push, and that's no good. Setting the tool on the board for the Byzantine acanthus, leaf 2, I turned it to one side, left or right, and started the pass from there. In my case it sat on its left side, and while I pushed, I made the rotation. So it's a lot less resistance in the wood, just by the logic of how it works.
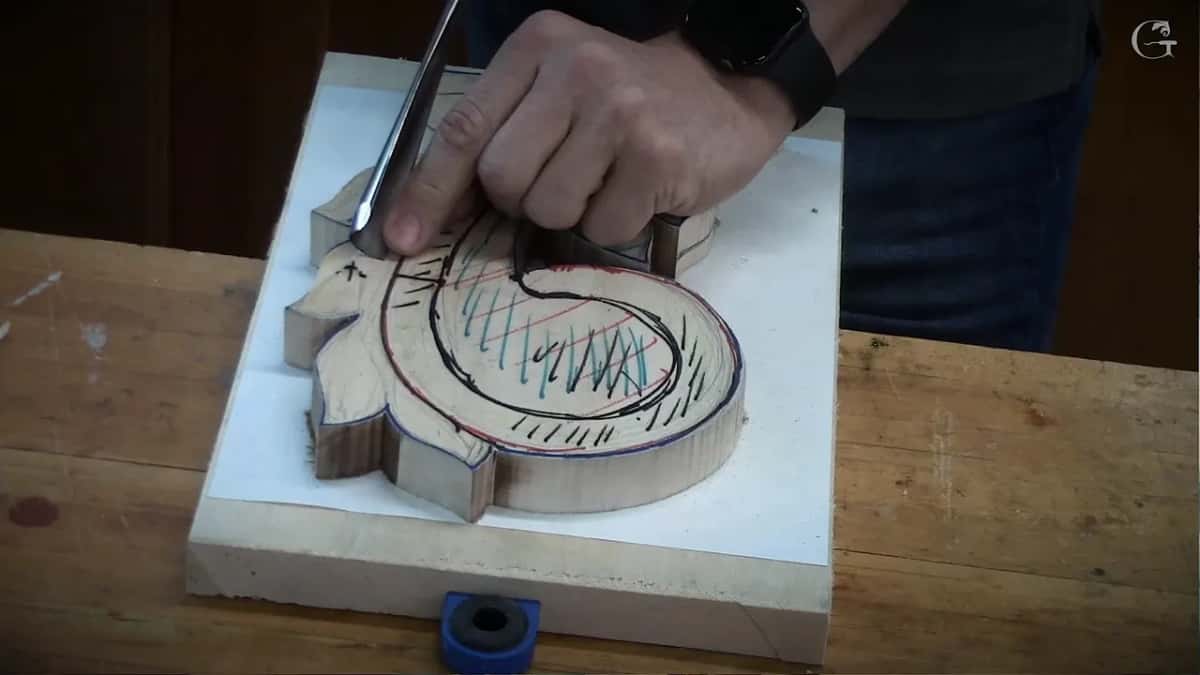
It could go left to right, or the opposite way. There it made sense to start at the left corner and head right, because that was the side I was going to escape to. And you could see how quickly I took the wood out.
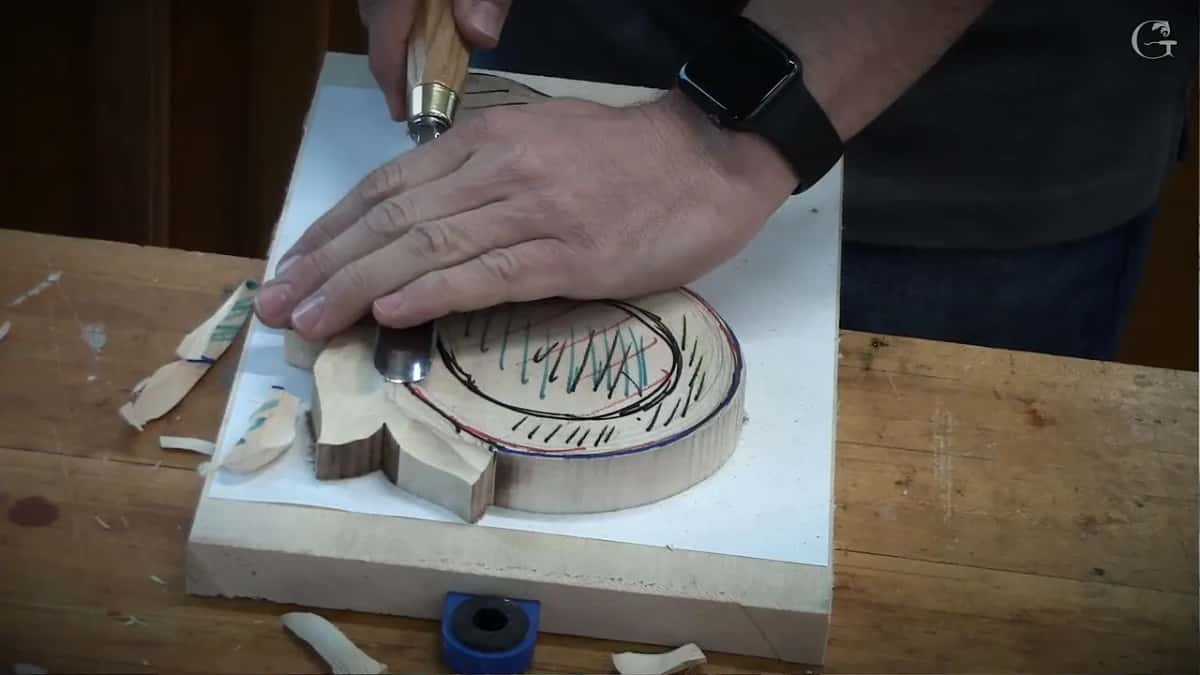
By leaf 3 I left the choice to you. Start the pass on the left-hand corner of the tool, or on the right one. It doesn't really matter, whatever feels more comfortable, and you make your concave.
Is roughing out sliced as well?
It is. For the Tray of Blessing, lesson 1, I made a motion of rotation, or slicing, as it's called, and it was really important there. See how quickly I could excavate? That stage is called roughing out, or boasting, as they say in England. Be careful not to destroy the edge, I said. You don't have to be perfectly right on it, but still, you don't want to destroy it.
Five lessons on, in lesson 6 of the tray, I said I never push like that. I always scoop it out with the rotation, with slicing. That's why I'm not getting tired, and I have no blisters on my hand. It's really soft.
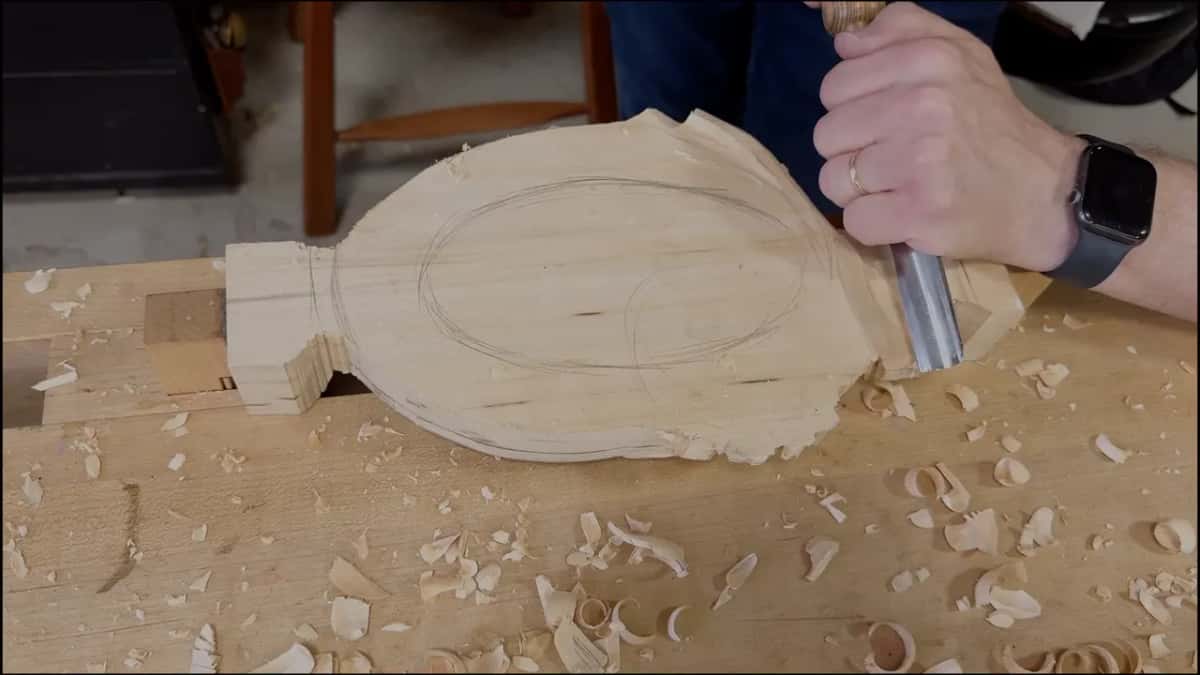
Pushing still works, though. Right after the line about not pushing wood in this lesson, I add that you can. With the Hashemi flowers, lesson 15, I felt I could just push it and get really good results, and I still chose slicing for a much cleaner surface. I wasn't forcing it, I was just taking my time.
When is a slicing cut not possible?
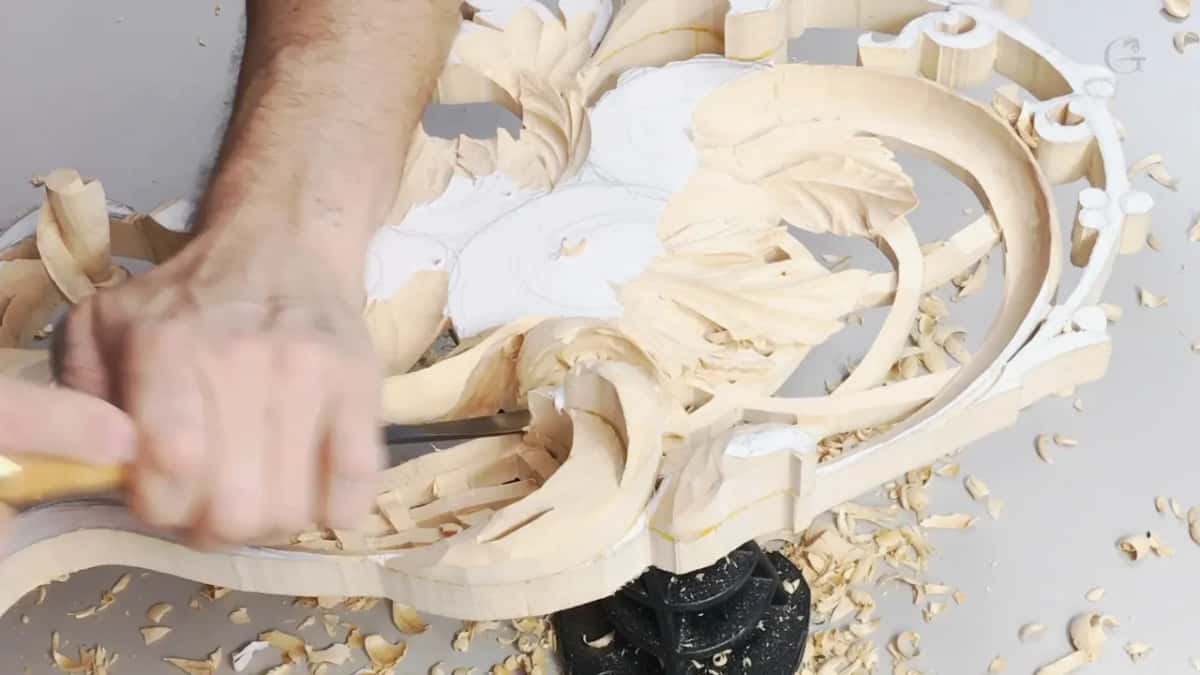
In tight spots, mostly. For lesson 9 of the Hashemi flowers I made a sweeping movement with every tool. But with a straight tool pushed in there, I didn't have enough space to make a slice, so I picked up a skew one.
Why does a pushed gouge slip?
A push carries your whole body. About mallets, in a third April 2020 livestream, I said that when you're just pushing with your tool, you're forcing the whole body. There's still momentum, and that pass can slice and destroy the next detail.
Carving the olives on the Lily Box, close to my fingers, I told you to make sure you're slicing, not pushing. Push, and you're going to cut your finger. Always make the rotation with the tool, so even if you slip, you slip to the surface of the table. Not to the finger.

Working the tray in lesson 3, I let the tool do the work and control the speed itself. If I push with too much force, I'm not going to be able to control it.
Why does the final stage need the turn most?
That surface is the finish. In this lesson I said that once we refine everything, in the final stage especially, every pass is going to come off clean. We're not going to use any sandpaper. True masters never used it in the past. So you have to make it really, really clean, and to do that, just rotate. As the tool travels, make a movement like this.
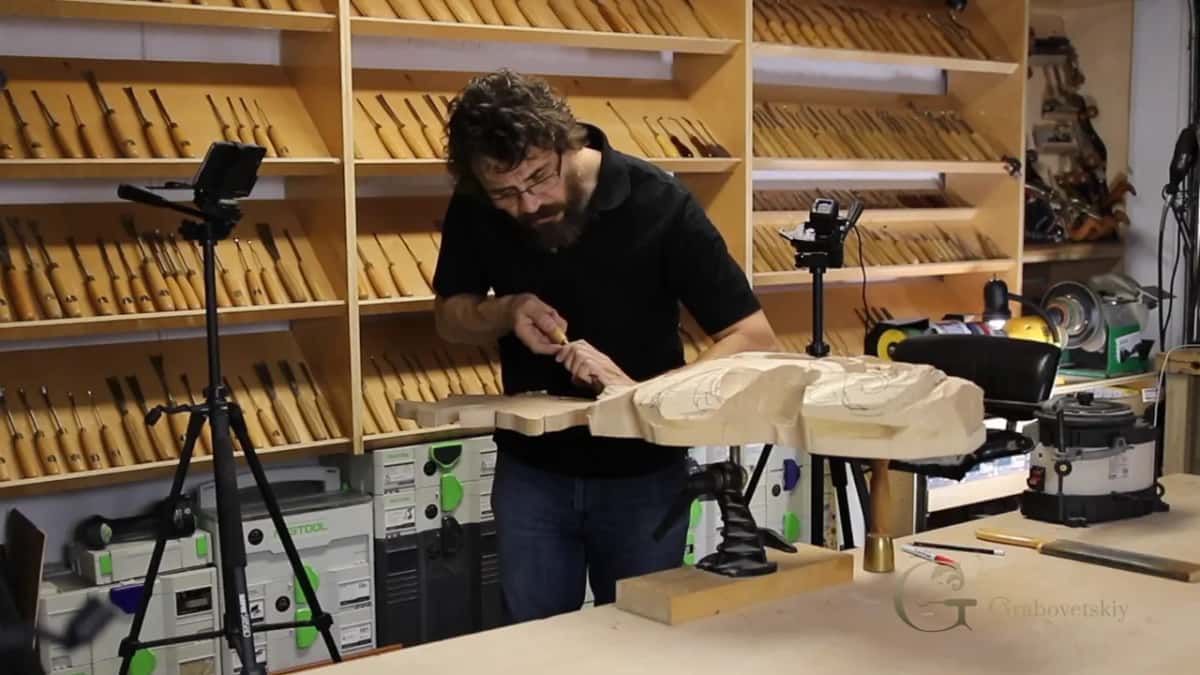
Acanthus over Moldings, in lesson 9, has a leaf that goes under the molding, and there I said slicing is really important. Don't just push it. Rotate your tool, and you get a really nice clean result. We all want clean results without sandpaper. But like I've said before, it's absolutely okay to use sandpaper if you feel you have to, and I have no problem with that.
My plate with butterflies, lesson 2, needed the same angle all along, so the surface would stay really consistent. I went right on the line, really slowly, and I wasn't pushing. Staying on the line was a lot easier, because I'd marked it with calipers, not the pencil, and the line was really sharp.
On my flower rosette, you can easily destroy the flower part when you go in there. So I took just a number eight, because I think it's safer, and I rotated it really carefully, constantly watching my line.
Which passes got the turn, and on which piece?
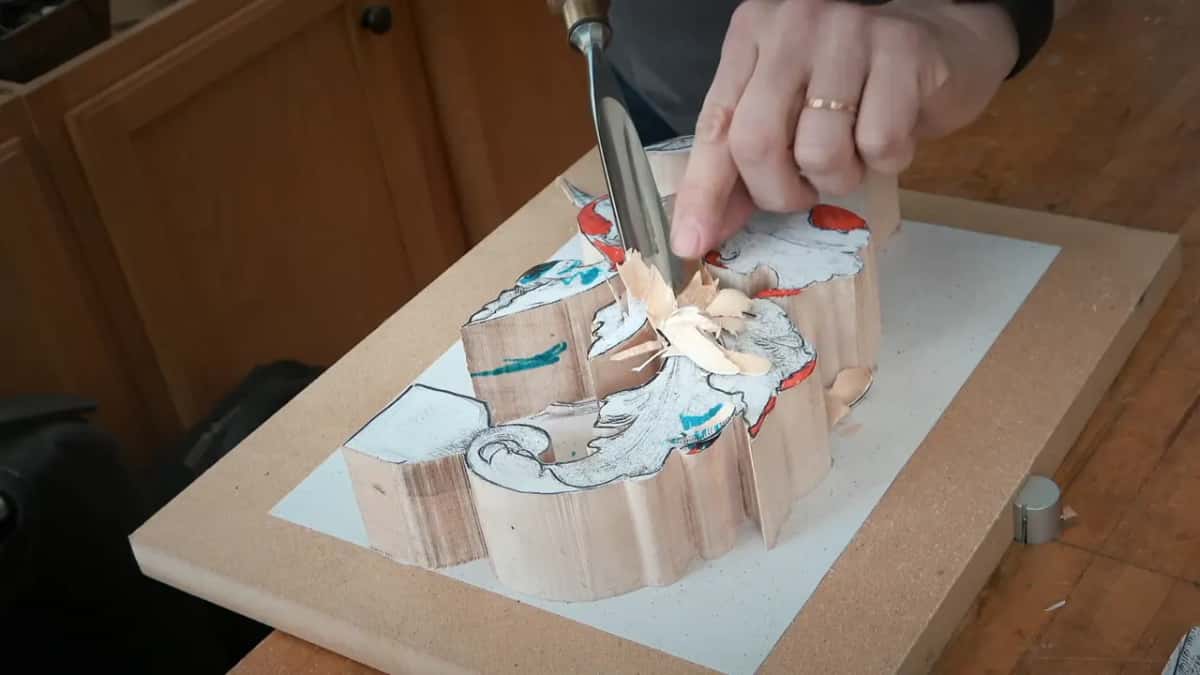
| Pass | Where | Said |
|---|---|---|
| Straight down, sliced | number seven, about 14 mm, floral panel | Not super clean at the beginning |
| Concave against grain | Lily Box first layer, and slow motion | Push it and I would slip |
| Undercut toward hole | Byzantine acanthus, the same tool pretty much | Leave a quarter inch for now |
| Background, rotating moves | Roman acanthus, number nine at 20 mm | All the way to final line |
| With a veiner | Grape Onlay course, a really big veiner | Still the slicing motion and rotation |
| Knife against grain | Livestream, April 2020, a complicated under carving | Like slicing a piece of bread |
The full courses
These short answers live in my Techniques course, and each project above has its own course, acanthus leaves and tray and panels. If you want me at your shoulder while you put that turn into your own passes, that's what the school is for.
How it's done
- Lean the edge to one side. Set the gouge on the wood tipped toward its left or right corner, whichever one suits your hand.
- Turn it as you push. Roll the tool while it travels, so the other corner finishes what the first one began.
- Go easy on the force. Watch which way the grain runs, don't overforce the gouge, and give every pass its rotation. The work gets much easier and comes out much cleaner.
- Slice when your fingers are close. With your hand near the edge, slice instead of pushing. A slip then runs into the table and not into a finger.
Frequently asked questions
What other name do carvers use for the slicing cut?
Carver's cut is the other name I use for it, in the Hashemi course and again in a livestream from April 2020. Both names point to the same turn of the gouge as it travels through the wood.
Can a skew gouge slice without the turn?
On the Hashemi flowers, in a spot with no space for a straight tool to swing, I pushed a skew one forward instead. Pushing that skew did the same as if I had sliced it, and it made my work much quicker.
Where should the second hand sit during a slicing pass?
Keep it on the blade, every time. Carving the Byzantine acanthus, I said not to hold two hands on the handle, and that doing so is not right. My left hand went down solidly on the Tray of Blessing before I made the rotation.
What to carve next