
Alexander Grabovetskiy, woodcarver, School of Woodcarving · Published 2021
Can you carve small details with a big gouge?
Quick answer: Doing small work with a large carving gouge is a matter of letting only one corner or one side touch the wood. On a Byzantine leaf I said the big tool then becomes really a small micro tool. Close to a detail, though, that corner can hit and break the wood away instead of slicing it cleanly.
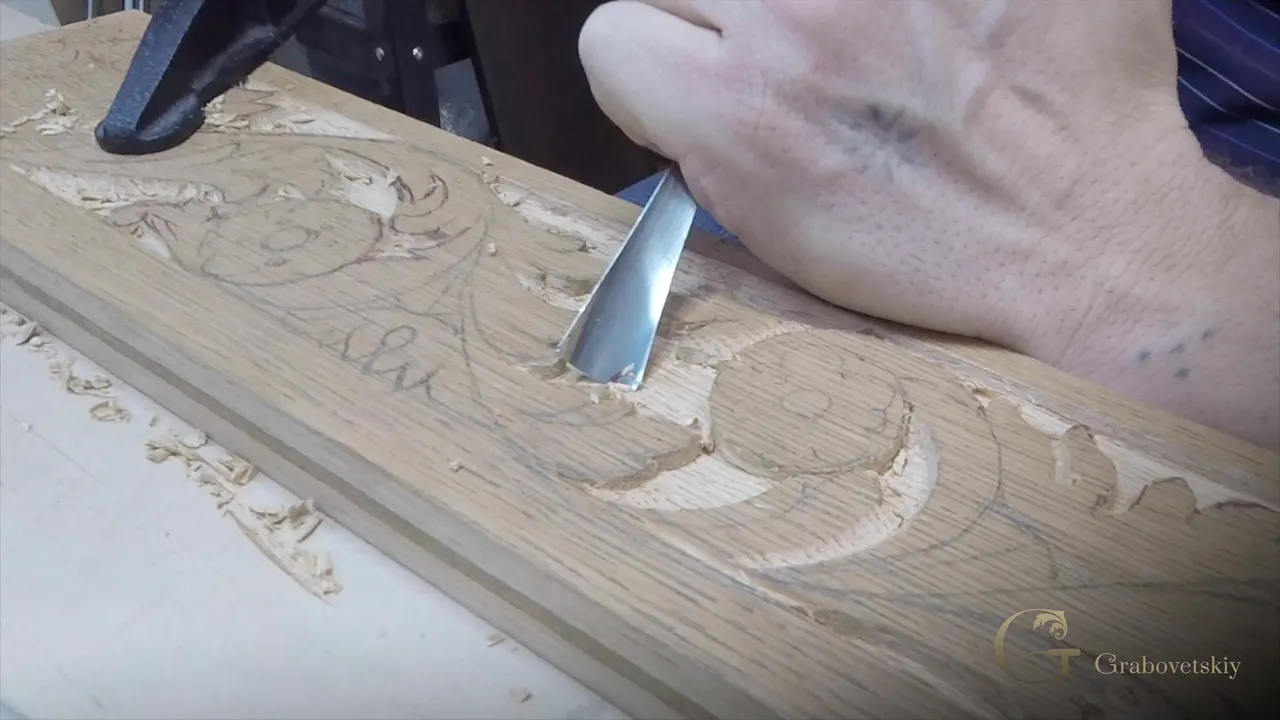
Carving small details with a big gouge is using one section of its edge, a corner or one side, while the rest of the width stays out of the wood. I said it to a live class, that you can do anything with the huge tool. Take a section of it and carve with that section. That line is my short answer on how to carve the small details in wood when the tool in your hand is wide, and the longer answer is about where the corner helps and where it breaks the wood.
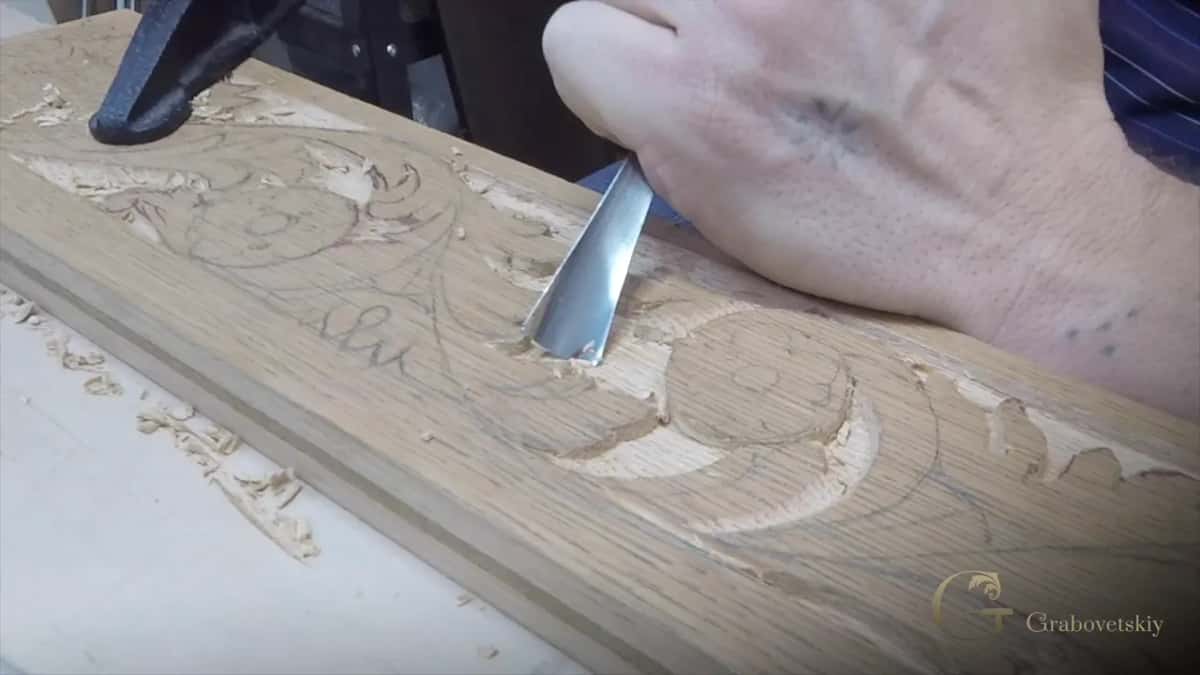
Ever looked at a tight little spot on a carving and felt the gouge in your hand was far too wide for it? Ever set that gouge down and gone digging through the drawer for something tiny? Try a corner of the wide one first.
Below are moments from my filmed lessons where one part of a wide edge did a small job, and a few where it went wrong and I picked up something smaller.
What a section of the edge can do
A big gouge does small work when only a corner touches.
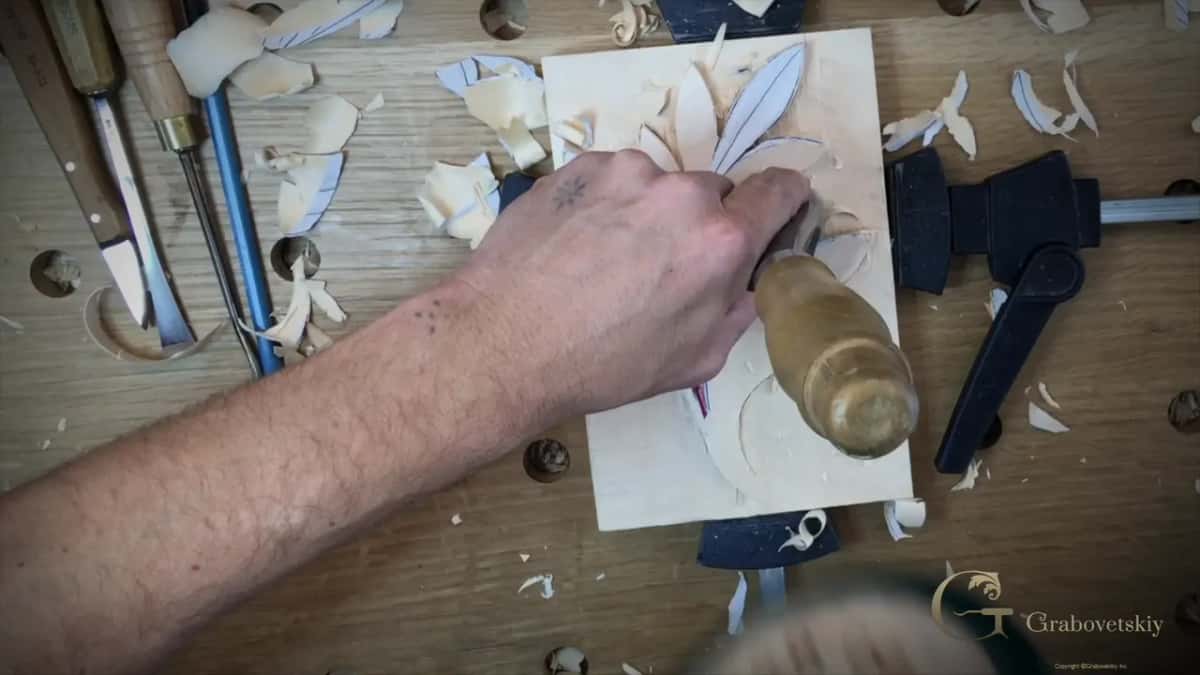
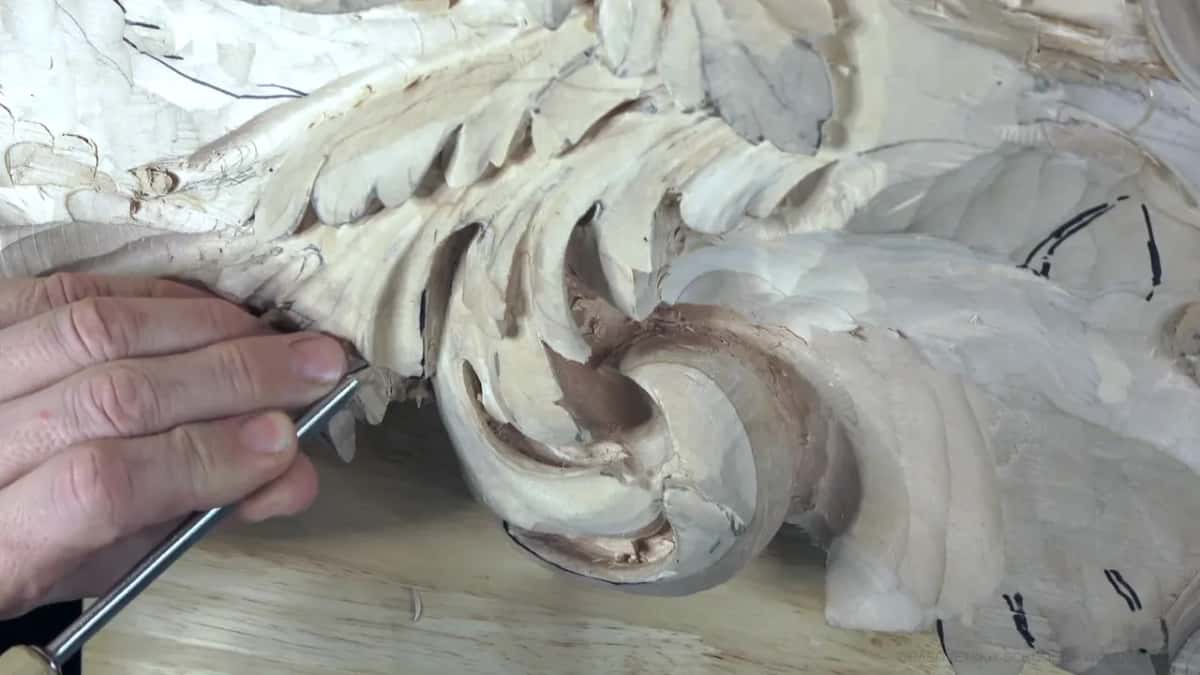
A sliver of the big number 9 did a little tool's job on a Byzantine leaf.
Tip the gouge to about 45 degrees and turn it, so the corner leads.
Following a profile with just the edge, the sweep of your gouge does not have to be a perfect fit.
Near a detail, a corner can hit and break the wood away.
Weak wood under a tiny detail is the time to go smaller.
Can a big gouge really carve the small stuff?
It can, as long as only a slice of the edge is in the wood. That was my point to a class in Maine, after Bill invited me up there to teach, and I made it with an airplane.
By big I meant an 80 mm tool, like three inches and one-eighth. Medium was about 20 mm, three-quarters of an inch, and small was a quarter inch and less. When you buy a set, I said, you usually get small to medium, and you will rarely see the big one in it.
I also compared the sizes to the ways I could have come up from Florida. The plane took me about five and a half hours. If I don't drink coffee, I don't have to stop. Driving would still have taken about 30. And the Appalachian Trail runs right through there, 2,500 miles and about four months on foot, though some people take half a year, and you have to start in March to finish before the snow. I really wish I could buy a Sprinter van and convert it. But I flew, because I am busy. When you take a huge tool, I said, it is just like the airplane.
Bill drove me an hour and a half from the airport. Maine reminds me so much of Russia. Birch trees. The day before, I parked by the library, walked to the water and took some pictures of a yacht. The water there is different from Florida water, and colder too, probably.
What does carving with one section of the edge look like?
A slice of the width does the carving while the rest of the edge rides above the wood and never touches it at all. Mine was the big number 9, on a Byzantine acanthus leaf. You could use a smaller one, I said, but the bigger you have, the better. Then, using just a part of it, the big tool becomes really a small micro tool, and you bring that part right up to the edge of the leaf. Keep an eye on how far you go, I said, and be careful not to overdo it once you get to the edge.

Back on a dining table apron, a carved apron that runs under a tabletop, I picked up the same gouge I had used to set my radiuses. With a bigger gouge you can use it a lot more than the main radius. I used just one edge of it to clean up my background, getting into corners the way a small gouge would. I said that day I would probably buy the bigger ones first, not the smallest. With the big one you can carve really small details.
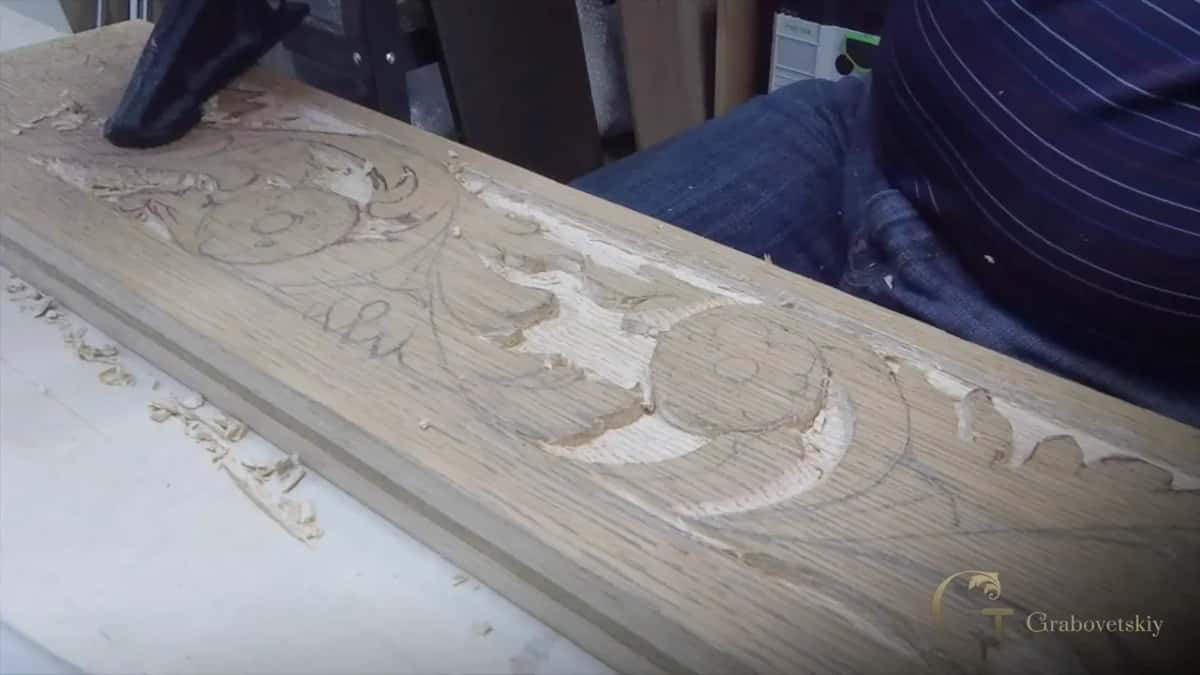
My Corinthian acanthus lesson showed it with a number 7 that I believe is 60 mm, about 2 3/8 inches. Only the very edge of that huge gouge went into an overlap on the acanthus, and it let me work even the smallest details. Then, because of the grain, I had to change direction.
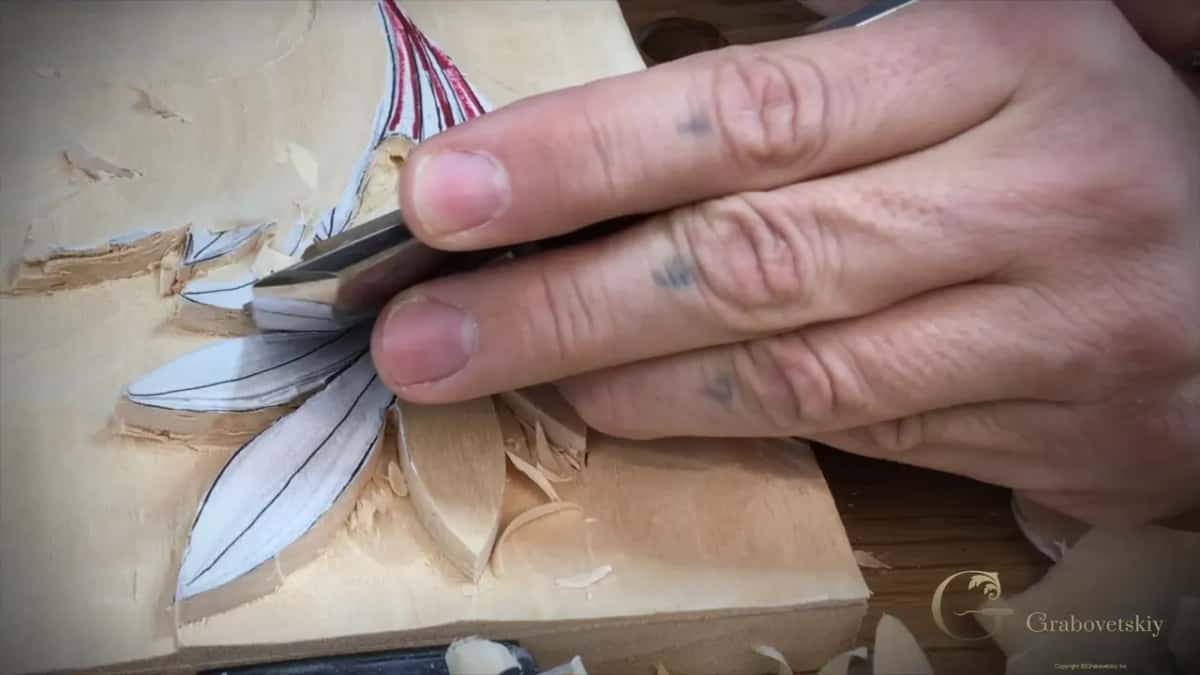
How do you hold a wide gouge so just the corner carves?
Tip it over until one corner leads, and turn the tool rather than push it. For a furniture panel background I held a number 3 in about a 45 degree position, using only the corner. I'm not pushing, I said on camera, I'm just turning like this, and I took my time to get underneath.
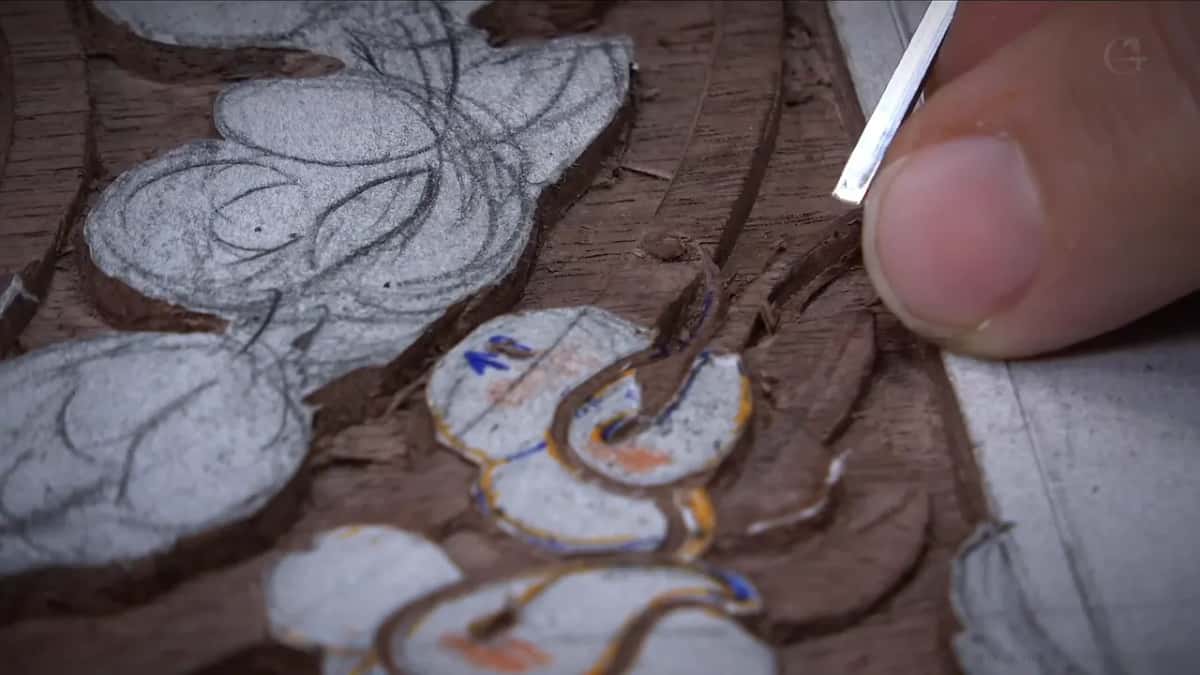
My tool in the Venice Room that day was a 14 mm number 7, a little bigger than half an inch, and I placed just one corner on the wood, the right hand side. I was not trying to catch the true curvature of the tool. With one corner down, I can actually control where my tool goes.
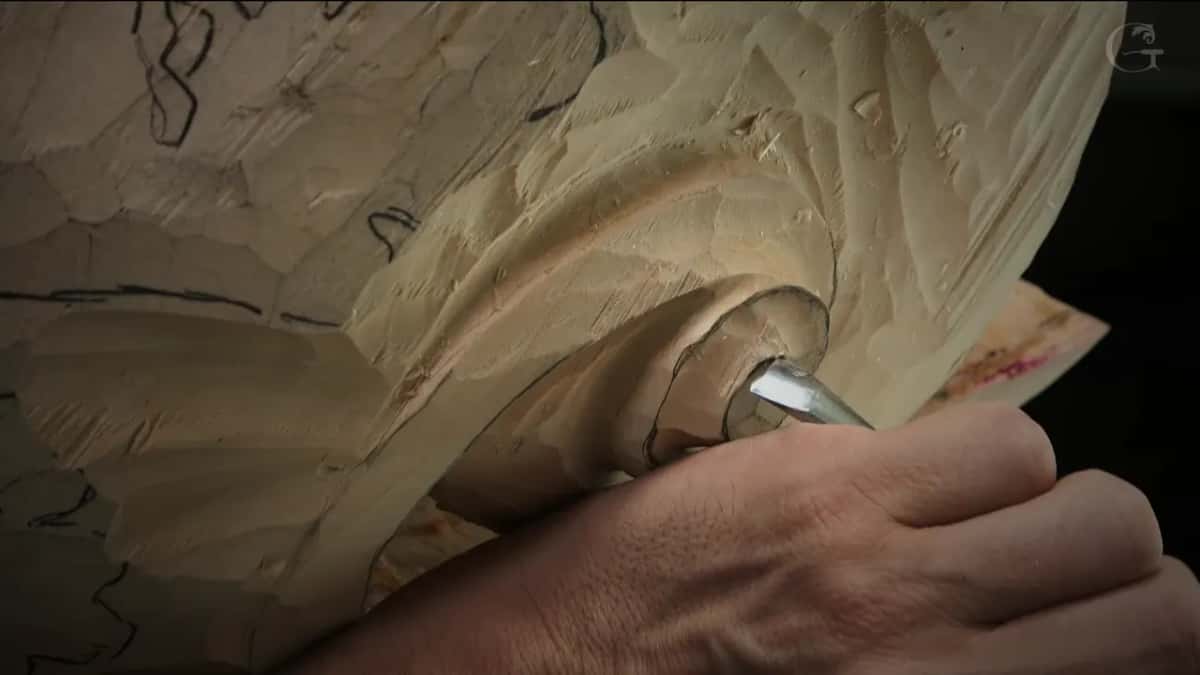
How do you carve small details in wood when the gouge does not fit the curve?
You angle it so some of the edge follows the line, and you live with the fact that it is not a perfect fit. On another day of that background I had a 14 mm number 7 against a profile it did not match. It was much bigger, but because I angled the tool, I could use just a part of it and get really close to the profile I needed. That is one of the techniques.

The right sweep does help. At the table apron I said you just rotate around the main radius, and that is why I have a lot of different sweeps, because it makes my work a lot quicker. But it does not have to be a perfect fit. Use just the edge, follow the profile little by little, and you can still carve different shapes with fewer tools.
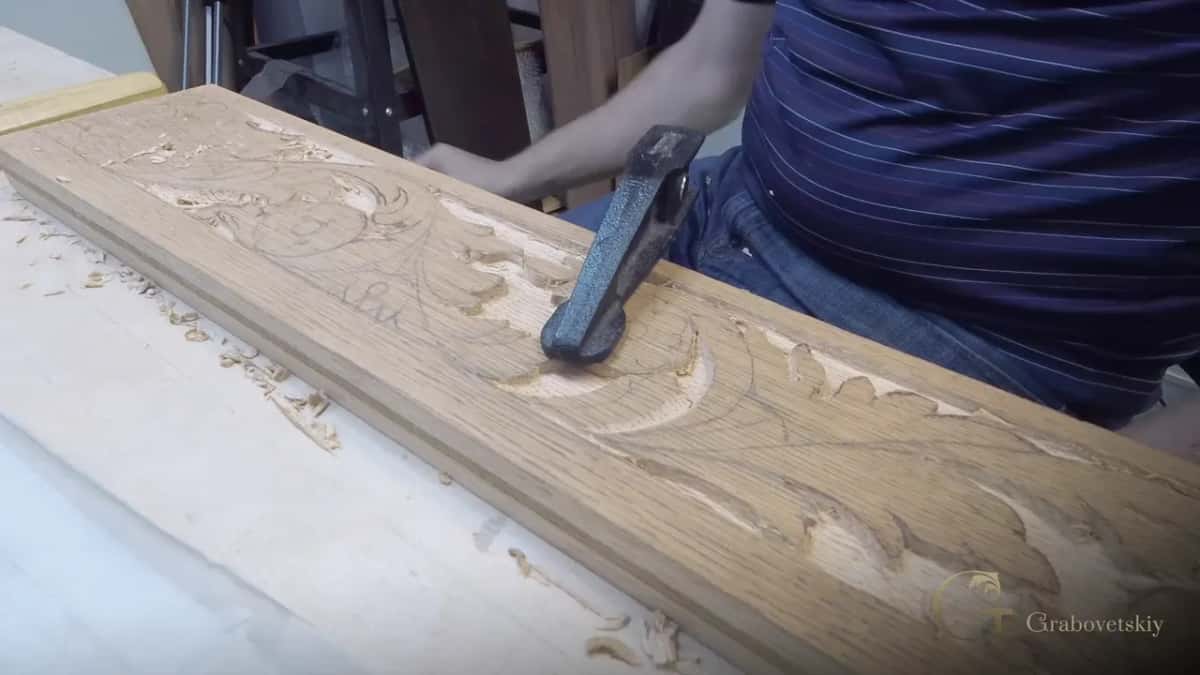
I'm not in the business of advertising tools, and I said that on camera while lowering the background of a relief panel. Of course it is nice to have more tools. But you can do lots of operations with a limited amount of them. I used a number 7, corner only, to get closer to my down cut, then said I needed something a little smaller, maybe a number 5 at 3 mm, roughly 1/8 inch, to get closer to the final depth.
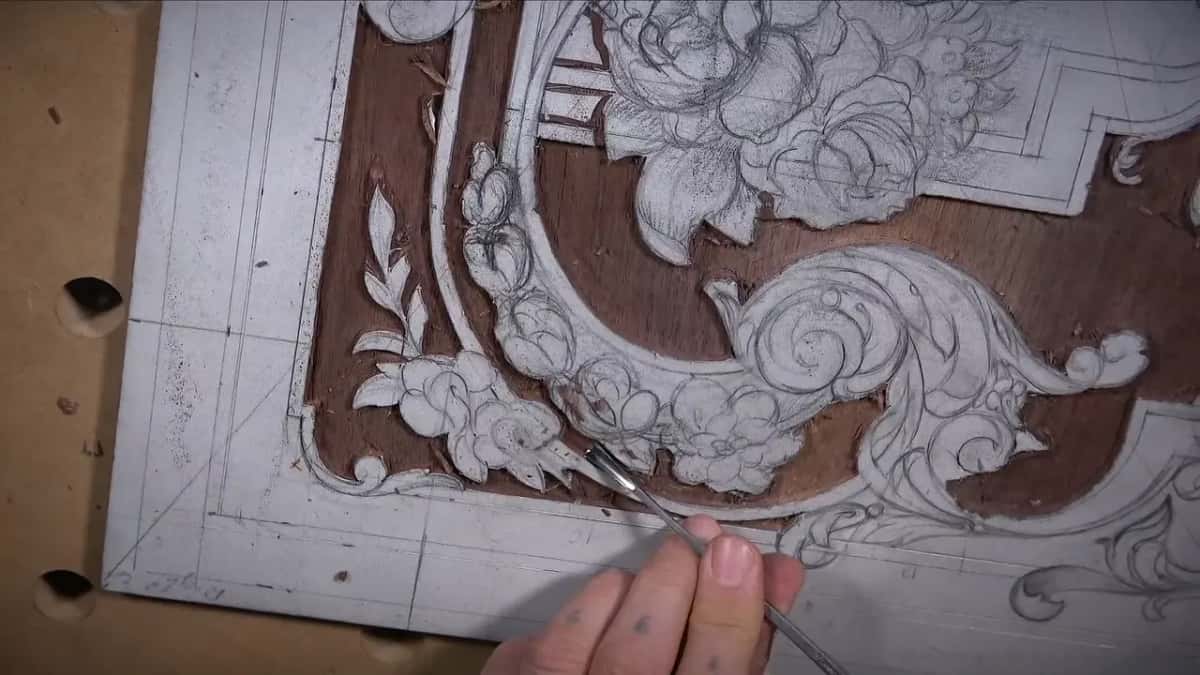
For the main separations in workshop 125, a Venice Room panel, I used a 30 mm number 11, close to 1 3/16 inches, and only some of its width, whatever three quarters you get coming in from one corner. I took my time. There was a marriage line there, and if I forced it, I would break it.
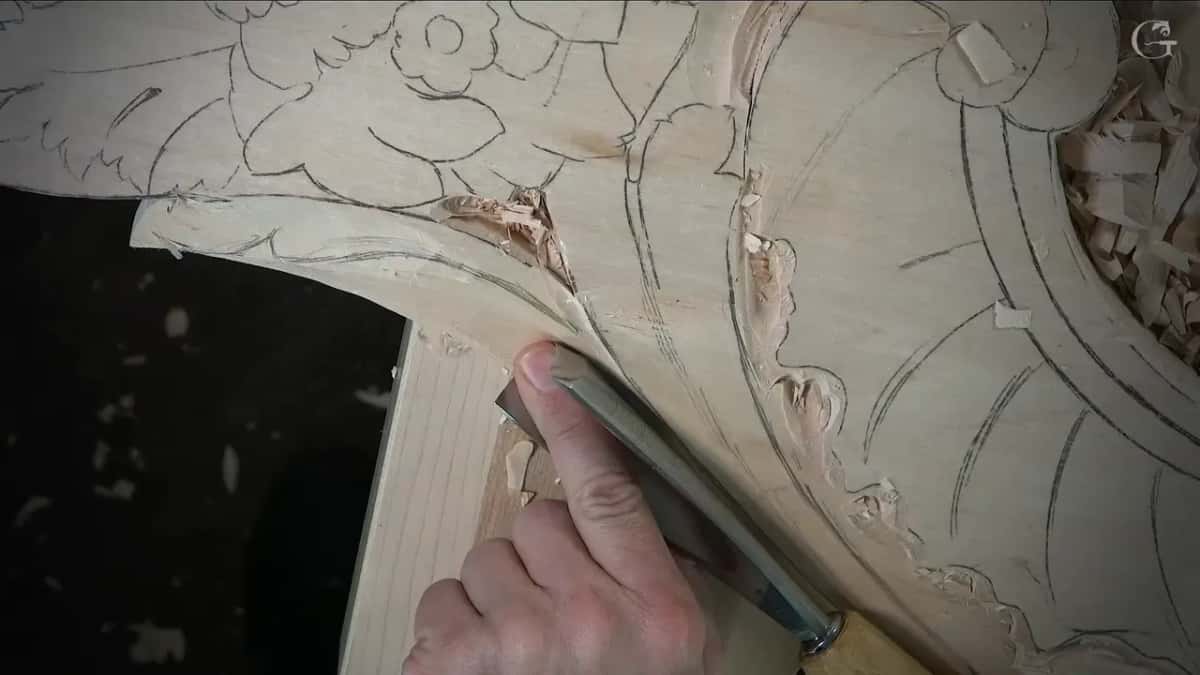
Can the corner trick work on a chisel or a bent tool?
It worked on both in my lessons. I laid a normal number 1 chisel flat on the surface I had already carved, for one architectural detail in the Venice Room. Then I used only its corner and sliced down to the deepest spot. A number 11 at 2 mm (1/16 inch) took out the mess after it.
In workshop 93 one part stood really high, and I could not do anything there with the knife. I had to think differently. So I reached for a back bent gouge, 6 mm, near 1/4 inch, and used just its corner. Just the corner.
And on a small filler flower on the lily box I went around the middle dome with just a point, the corner of my tool, to make a kind of V. Not much. We are talking about a hair, no more than that, just to give a visual separation. I could have left that middle simple, and many of you probably would.
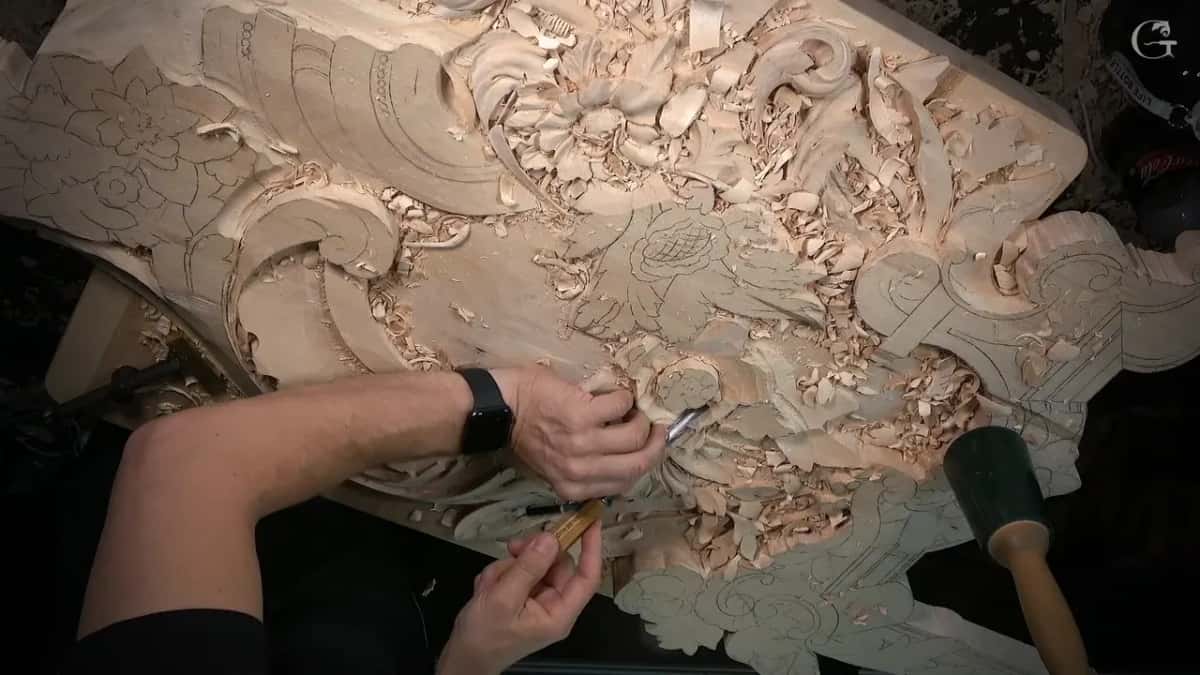
Which lessons show one corner doing the small job?
Six moments from my filmed lessons, with the bit of the edge that did the work and what I said about it.
| The gouge used | Which bit of the edge carved it | My words | Lesson where the moment is filmed |
|---|---|---|---|
| The big nine | Just one part, brought to the edge | Beautiful outline | Byzantine acanthus, filmed as lesson 5 |
| Radius setting gouge | One edge only, cleaning up the background | Small gouge | Dining table apron, workshop 9 footage |
| 14 mm #7 | One corner, the right, not the curvature | Really good | Venice Room panel, filmed workshop 96 |
| Veiner, 30 mm | About three quarters, coming from one corner | Taking time | Main separations during Venice workshop 125 |
| Shallow number 3 | The corner alone, turning at 45 degrees | Got underneath | Furniture panel background, its nineteenth session |
| Number 7 gouge | Its corner, hitting close to the detail | Broke away | Venice Room workshop 45, too fast |
Where does the corner of a big gouge let you down?
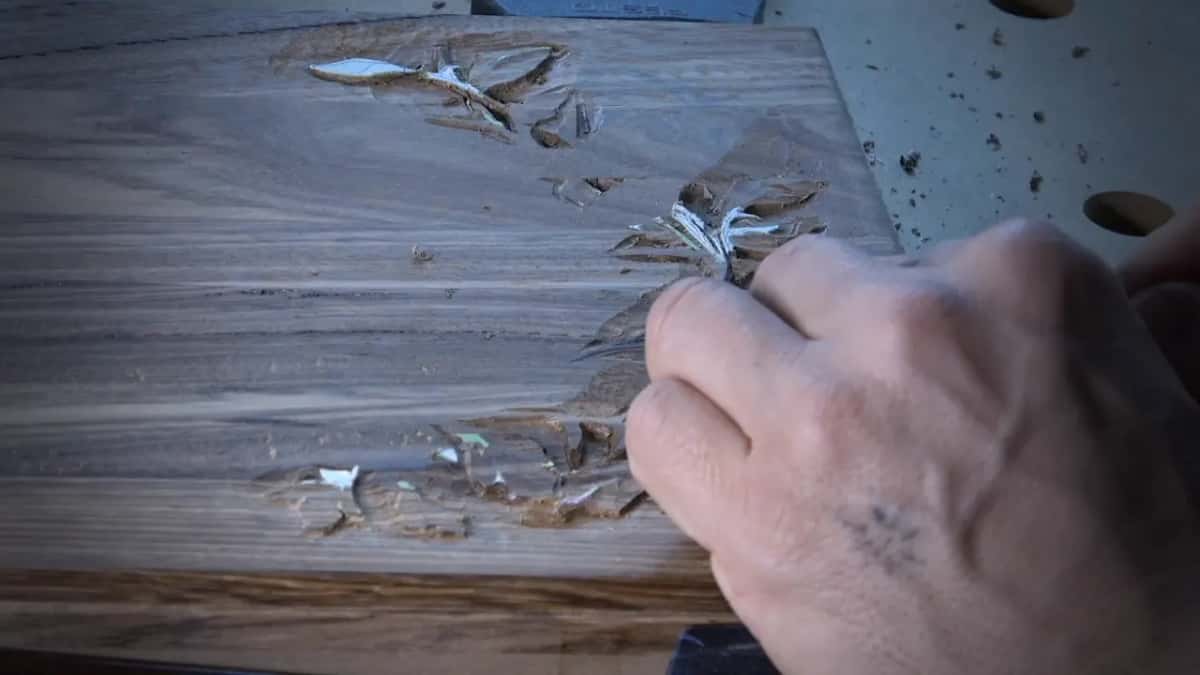
Right next to a detail, where the corner hits instead of slicing and the wood breaks away. In workshop 45 of the Venice Room, at one spot, I was probably too fast with my number 7. It did not carve the upper part. It just hit with the corner and broke away, and that is why it is better to use proper tools. It was not the end of the world, though. It actually made a beautiful movement.
Under a molding it can leave marks you never wanted. Working the furniture panel, I warned about zigging with the corner underneath the molding. Undercutting it on purpose is okay. Otherwise you get extra shadow and an extra tool mark, and you lose a really nice wall.
The lily box, carved with lilies, was where I showed that even a bigger tool will do when you have no number 11. My number 5 was about a quarter inch wide, and I turned it upside down and went in with just its corner. It worked. But it is not the same result, because all that junk is hard to remove, and with a tiny number 3 you can go extremely far underneath.
When is a smaller tool the smarter pick?
When the tool is a little too big for the line, or when the wood under a tiny detail is weak. While refining a line on the acanthus over moldings, I wanted it to run right underneath the acanthus movement. Maybe this tool is a little too big, I said. I can always use the corner of the tool, or be smart and use a smaller tool, and that is probably smarter. A number 4 went in next, pretty close to a number 3, with a little more curvature.

Later on the same lily box I tried a number 7 on small, tiny details. I did not know yet how it would behave, or what kind of wood was underneath, and I changed my mind out loud. Maybe a bigger tool is not such a good idea. No, it is not. I went to about 10 mm, about 3/8 inch, and even that felt shaky, because I had no glue underneath. Those details make the whole world of difference, and I really did not want to lose them.
Back on the Byzantine leaf there was a little triangle area. A smaller tool works there, if one is on hand, I said, and gets right into that point. Nobody is ever going to see it, but it is going to cast a beautiful shadow.
What happened with the piece that took ten years?
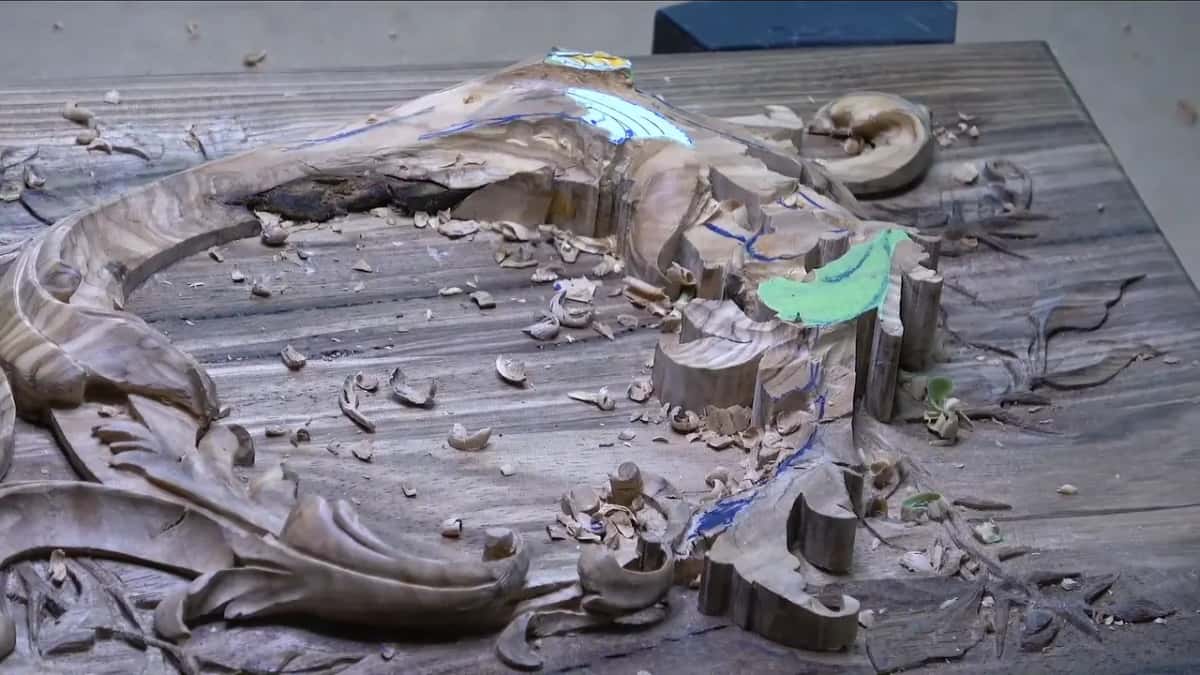
I worked on it for ten years when I could have got it done in one month, and the tools had nothing to do with it. I had other projects. I told the Maine class about it right after saying a small tool still gets you there, in about forever, like ten years. I gave that piece away as a gift and told them it took me ten years. At least they are going to respect how much is in it.
What can you try on your own bench?
Grab the bigger tool if you have one. Always. That is what I told the Maine class in the techniques course. When a spot looks small, tip the wide gouge and let one corner try it. If the corner starts chipping, or the wood under it is weak, be smart and go smaller.
Every lesson on this page was filmed while the work happened, slips and all, the Byzantine leaf and the Corinthian one too. Access to the school opens all of them, the Maine class included, and the tuition is on that page.
How it's done
- Reach for the wider gouge. If you have a bigger tool, grab the bigger tool. That was my rule for the Maine class.
- Tip one corner down. Hold the gouge at roughly 45 degrees so a single corner leads and everything else stays above the surface.
- Turn it through the pass. Rotate the handle as the corner travels along the line, the way I did on the furniture panel. Pushing straight is what I avoided there.
- Stop short of the outline. Leave about 1.5 mm, a sixteenth of an inch, standing at the edge for now.
- Finish from the opposite side. Come back from the other direction with the other corner and clean it like a knife cut, for a beautiful outline.
- Drop a size when it chips. Be smart. A smaller gouge takes over once the wide one crowds the line or the wood underneath feels weak.
Frequently asked questions
How close to an edge can a wide gouge go?
About one and a half millimeters, a sixteenth of an inch, on my Byzantine leaf, and one millimeter is fine too. Getting that close makes the leaf look light and almost airy, so people think it is paper thin. Later I come in from the opposite side and finish the outline like a knife cut.
Why does a gouge corner chip the wood?
Digging in with a corner tends to break the fibers close by. On a floral panel, one little move of the corner as I dug in and the grain beside it was already chipping. So I went back in with a number 11 veiner at 5 mm, about 3/16 inch, and cleaned all that stuff out.
Can a single gouge corner clear waste after an undercut?
Yes, on one panel in the Venice Room I had undercut about 5 mm inward first, and I apologized to the camera because it was hard to see. Then I went around hitting with one corner of my number 7, removing the excess, and the shadow came out really deep and beautiful.
What to carve next