

Alexander Grabovetskiy, woodcarver, School of Woodcarving · Published 2024
How do you sand a wood carving without losing the detail?
Quick answer: Sanding a carving so its detail survives is a late, light job. I roll the paper up or take a small piece, work just the highest parts, and stay clear of the edges. After that a sharp tool recarves any line the paper made soft.
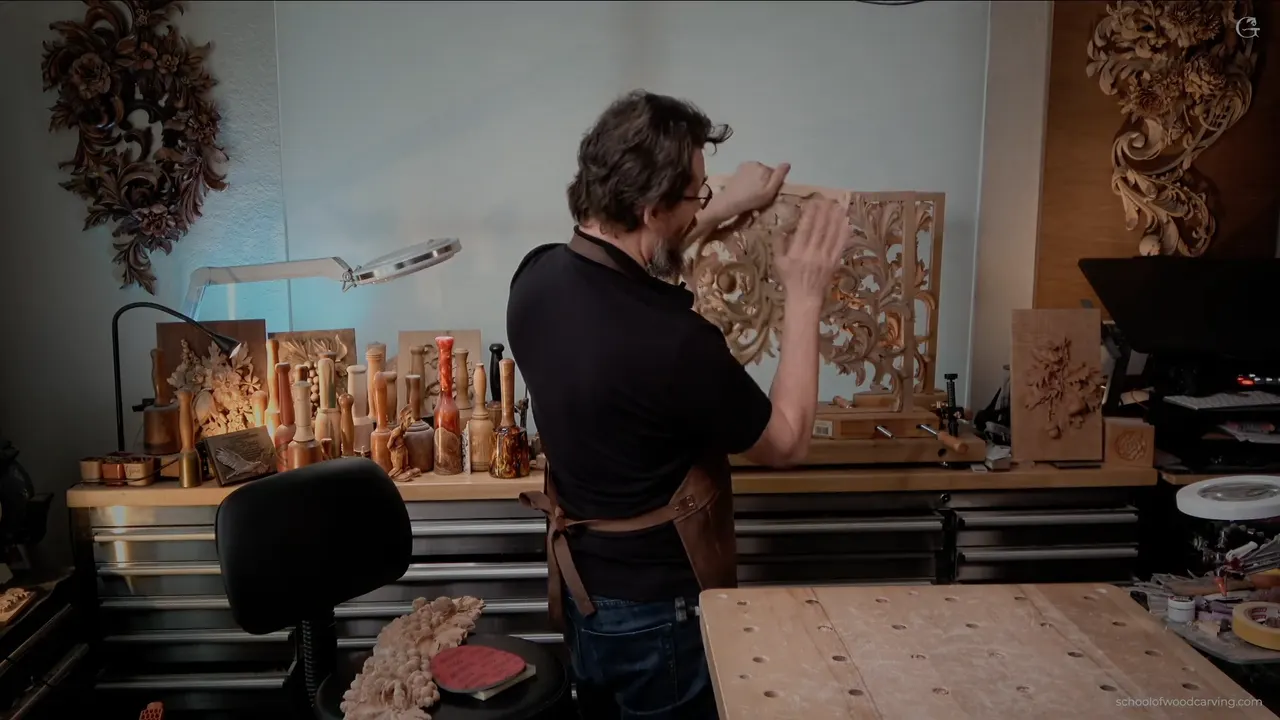
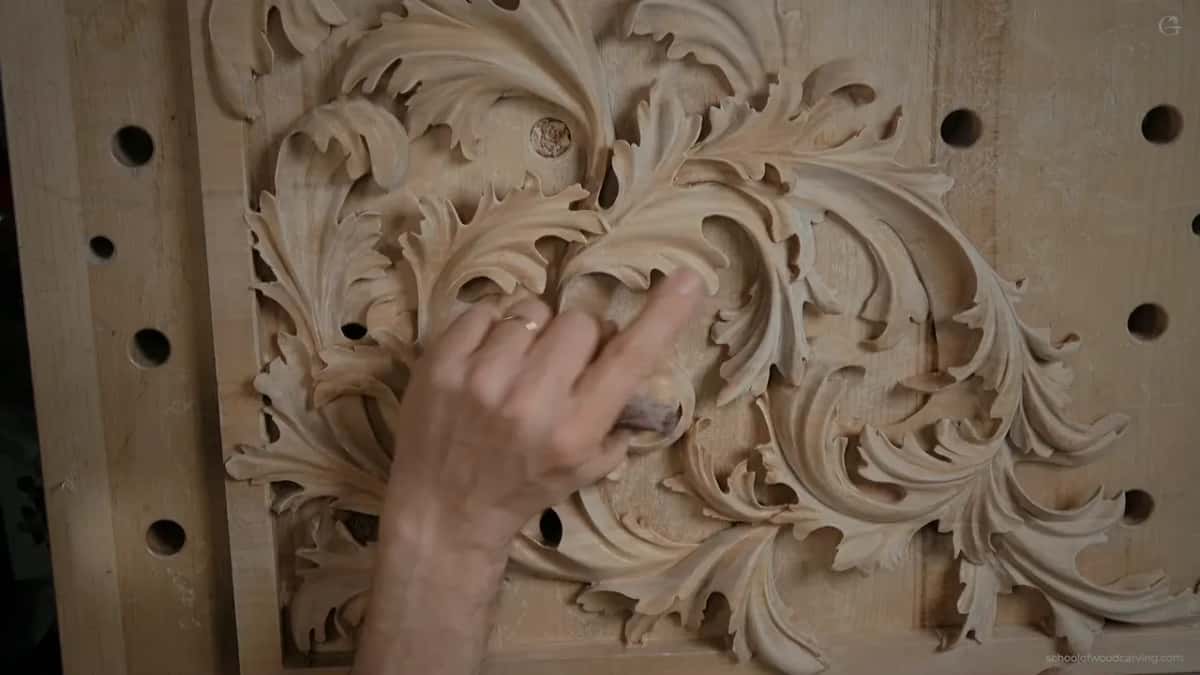
Sanding a wood carving without losing the detail comes down to two things, where the paper goes and what you do right after it. I roll the paper into a tube or take a small piece, run it over the upper ridges and the high spots, and keep it off the edges. Then a sharp tool goes back in to recarve whatever the paper softened. That is how to sand wood carvings and keep them crisp.
People email me about this a lot. Should I sand it, or shouldn't I? I answered it once in my techniques course, standing in front of a pipe organ shade that was going under gold leaf. It all depends on the finish, I said, and on how that finish goes on. Then the plain answer. Yes, it is absolutely okay to sand.
Ever run your thumb across a carving and feel every ridge? Want it a little smoother, without rounding off the sharp lines you worked so hard for? Then put the paper on late, keep it small, and touch only the tops.
Everything below comes from my own lessons, mostly an olive wood lily box, plus rosettes, one vase, a beginner cutting board and a Roman acanthus leaf. I name the lesson each time, so you can go and watch the paper work.
Six habits that keep the detail
- Carve the form first and bring in the paper late.
- Start as coarse as your tool marks need, and stop there.
- Make a tube of paper for hollows, and a scrap of it for tight corners.
- Let the paper ride the tops, and leave the edges alone.
- Recarve any line the paper softened, with a sharp tool.
- Wipe off the dust before color.
Is it okay to sand a wood carving?
I said it is. As much as I love a finish straight off the chisel, I still use some sanding. On that organ shade the wood has to be shiny before the gold leaf goes on, so it gets sanded, and I told you to be really careful while you do it.
The first layer of the lily box got the same answer another way. I've seen great work by carvers who never sand anything, and great work by carvers who sand everything really smooth. Whatever works for you. I even have customers who ask me to sand a piece completely smooth.
Back in the Venice room I caught myself wondering why I didn't sand before. Then I corrected myself. I did a little on some of the works, depending on the customer, because some customers really require everything smooth and almost polished. Google Chinese wood carving, I said, and the famous work you see is sanded completely smooth, and it looks beautiful.
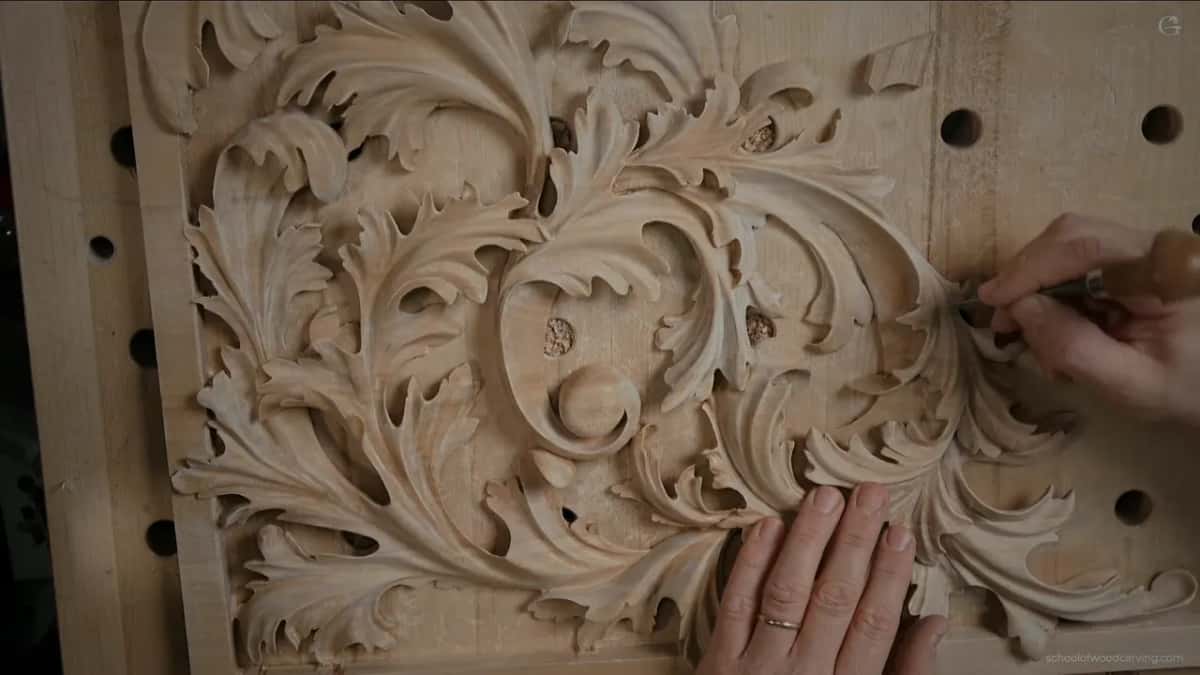
I still like my tool marks. But carving a Roman acanthus leaf I said it straight, there is nothing wrong with using sandpaper. Even if you're just sanding, it's still done by hand. So the question is how.
When should you sand a carving, early or late?
Late, once the form is close to done. Working on the Venice room, one area still looked a little too rough, and I said I could always sand it later if I needed to. Not right then, though. I didn't want to affect my tools, and every time you use sandpaper, the problem is tools become dull.
The reason is the grit. Sandpaper leaves some of its abrasive inside the fibers, and when a gouge goes back in there, it gets dull quicker. Much quicker. I said that twice on the lily box, once on each of the first two layers.
The 320 came out on one lily flower when I was, in my own words, pretty close to the final form. Another one, after the 220, still had a spot that did not blend, so I went in with the tool right away. Yes, I know it's going to dull my tool, I said. That's okay. You need to know how to sharpen it anyway.

What grit should you start with on a carving?
As coarse as your tool marks need, and not one step more. The olive lily didn't have too many tool marks, so I started at 150 and didn't need the 120 or the 100, then moved up to 220 Festool and an automotive 320. For the Chamomile and Bow Rosette I said 180 or 240, not lower, because 100 or 120 gives you a really, really rough look. Once, on that Roman acanthus, I cheated with about 80 grit, just to see what kind of marks it would leave. It didn't look right, and I had to clean it. How I sand a whole grape onlay, grit by grit, has its own lesson.

How to sand wood carvings in the tight spots
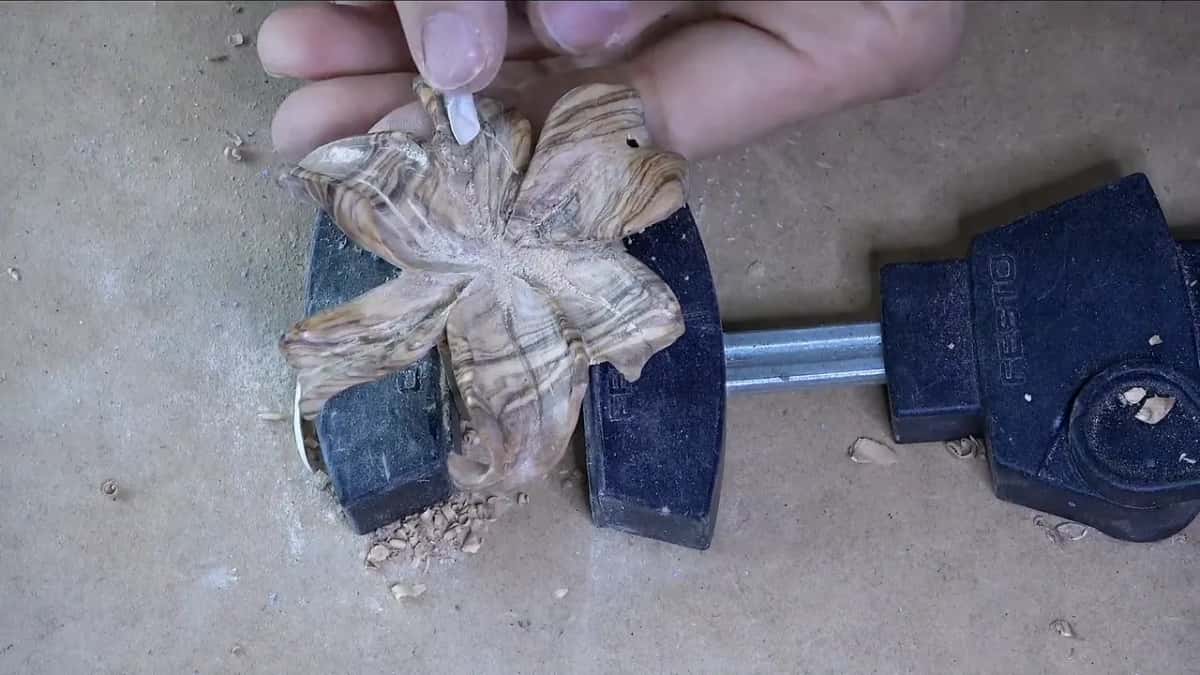
Make the paper fit the spot. Old Festool paper from my sander went into a tube on the lily box. I really wanted to see smooth concaves and convexes there. Later the automotive 320 got rolled the same way, the paper they use on cars in paint shops when they're sanding Bondo.
For one spot I used a smaller piece, so I could get underneath. I moved to a different spot of the paper, too. I didn't want the whole sheet on the chamomile rosette either. So I cut a small section of Abranet, 240, rolled it, and that was sufficient.
Before I sanded the edge of one small lily flower, I checked first whether the paper would even fit in. Sometimes it won't. Back in the first lessons of that box I told you that you could sand if you wish, though I wasn't advising it, going in the same direction. But you're not going to be able to do anything on the inside.


Where should sandpaper touch a carving?
The tops, and hardly anywhere else. For my flower rosette I took a sanding block labeled 80 grit, though it felt more like 220, and went over the upper parts only. I left the details alone. It just made the top a bit smoother.
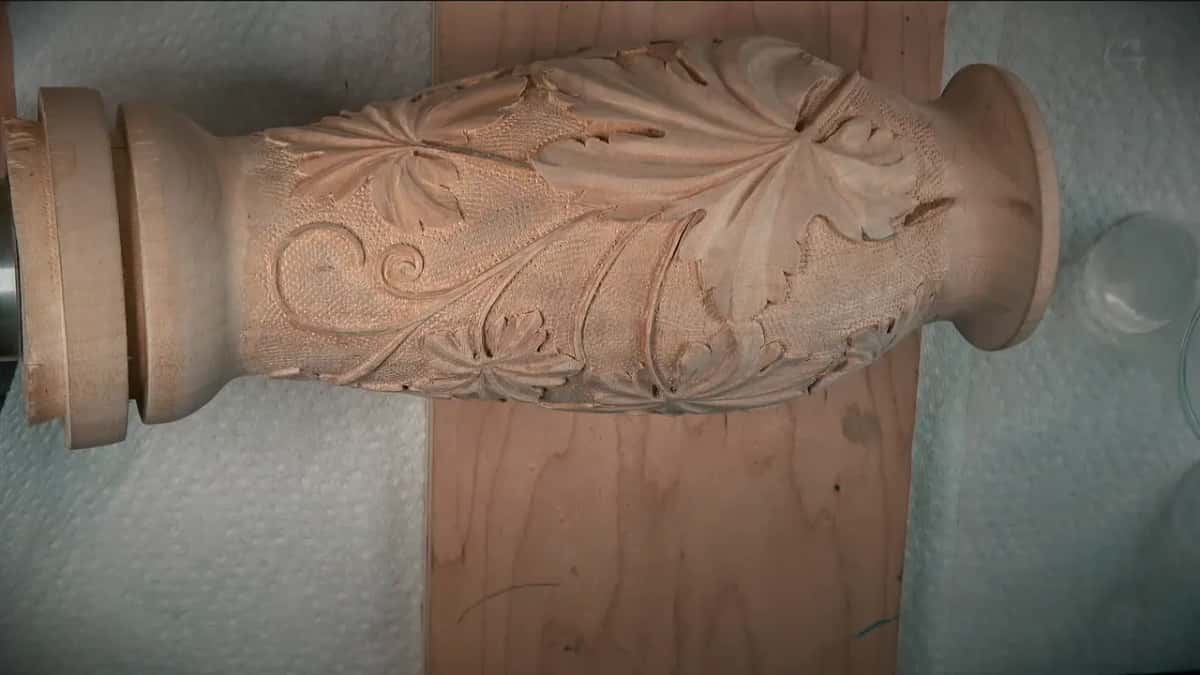
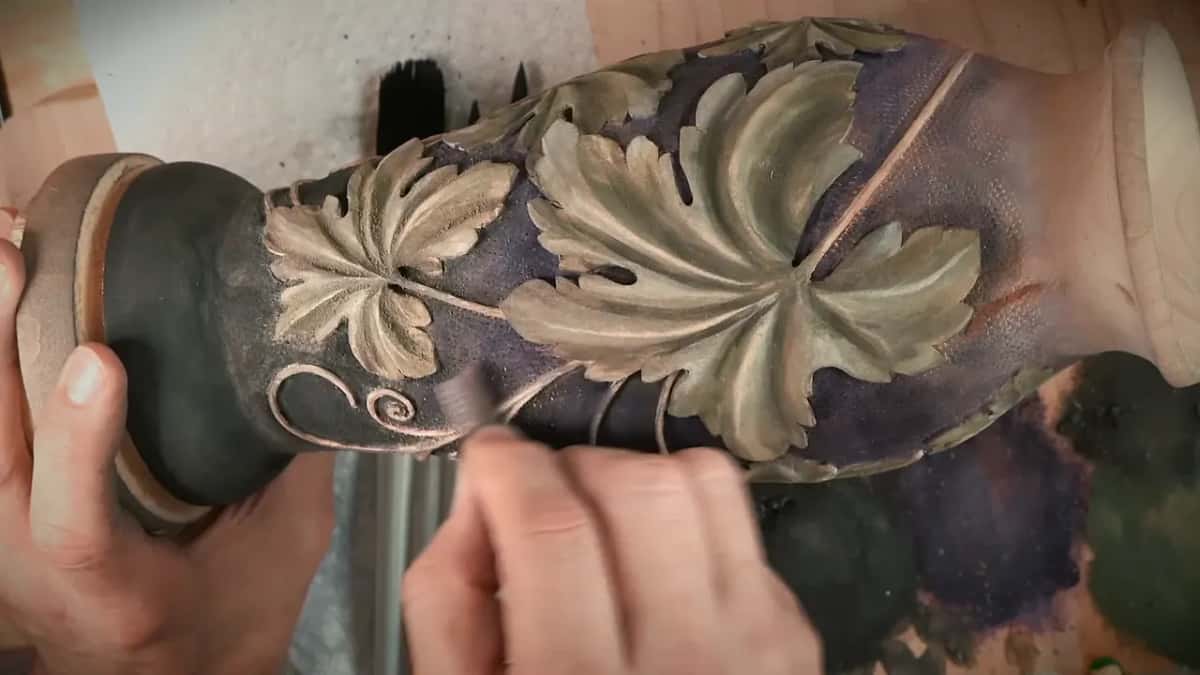
The vase with grape leaves got Abranet at 400, just to knock the high spots. That vase is a turning, and on a turning it's a good idea to knock down sharp points. It looked good without the sanding too. For its small details I said not to make the sanding too aggressive, and to be careful.
The rule for edges came in one line on the lily. Just make sure you don't touch the edges. Carving the beginner cutting board, I spoke to anyone not comfortable with a scraper yet. A little sandpaper is fine there, but don't over-sand it, because you're going to lose the detail.
At the end of that board I had a sanding block in my hands and gave it a light sand, just slightly, without over-sanding. 400 grit paper would do the job too, I said. The point was to make the upper level more noticeable, as you can see in workshop 18. Sometimes a tool does the same job first. Shaving out the first layer of the lily box, I said I wouldn't need any sandpaper, because the surface was going to be really nice. On the Greek acroterion I said maybe just a touch of a back bend would take the high ridges, and I didn't want to overdo it.
Why sand only the upper ridges?
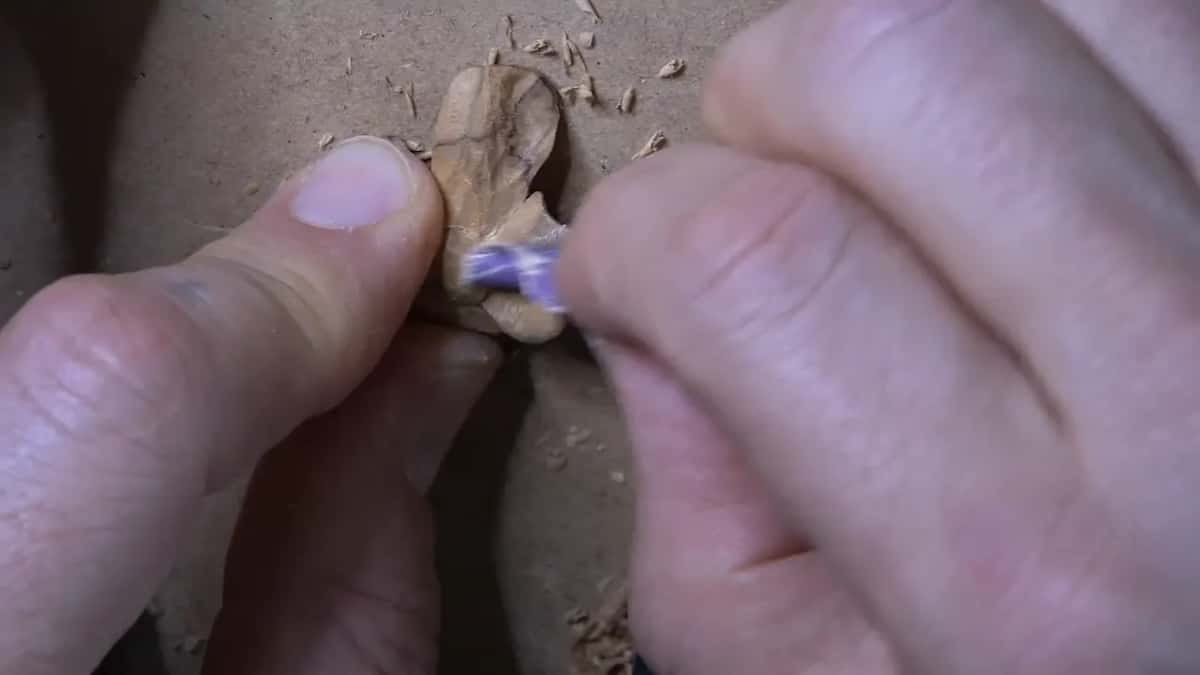
The light rides on them. Over a small lily flower I asked out loud, should I hit that with sandpaper or not? Then 320 went across the top ridges and nothing else. I'm not really destroying those ridges, I said, just giving the light a smoother travel.
And I don't mean speed. I mean how light travels on the surface once it hits, and how it makes the shadows. Leave every hard ridge and the light gets a bumpy ride. Hit them lightly with the paper and it travels a little smoother. I still kept the main form. The form we made is still there, and I'm only bringing out the grain.
What do you do after the paper comes off?
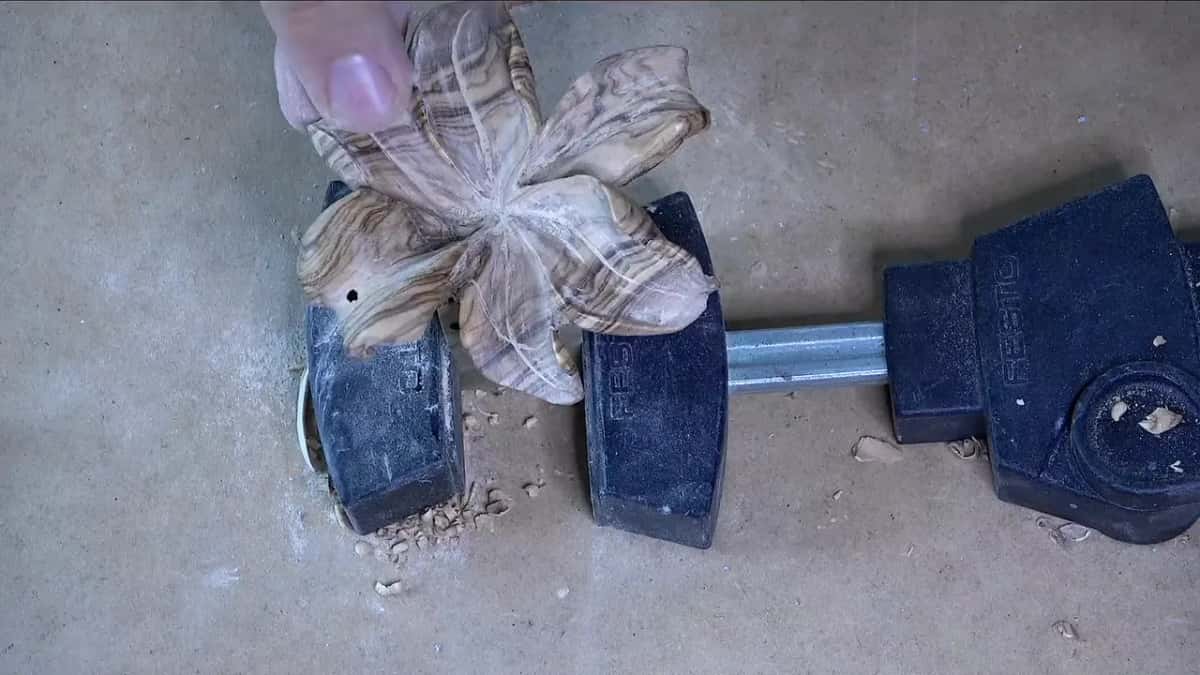
Go back in with a sharp tool. After the 320 on the lily, the middle still needed a micro cut. Half a millimeter, I said. With the sandpaper on it, I could see it better.
A different flower had one spot that didn't look natural, so I hit it again with the back bend. Then the 320 took off a few extra edges I didn't need and added a little more roundness, and I wasn't losing the crispness of that detail.
Watch for scratches, too. One flower I had barely sanded still showed a lot of scratch marks from the previous grit, so I went over it once more.
And keep it even. Once I had recarved a few concaves on the small flowers, I took the same 320 to them right away. We had already sanded other spots, so those had to be sanded too, to stay true to the rest of the work. One more unhappy spot got the knife, and then a touch of 4,000 by Mirka.

Can sanding show you the mistakes in a carving?
Sandpaper gives me the ability to see all the imperfections, I said on the lily, and right away I spotted one I didn't like. Even the dust helps. Once I hit the middle of a flower with sandpaper on purpose, so all my lines would fill with the dust and I would see much better.
That dust has to come off before color goes on. After a 400 pass on the vase, I wiped it all with a paper towel and denatured alcohol, the same stuff I use to mix my stains. Some dust stayed in. Not much, I said, because I didn't sand it with a really high grit.
After the color went on the lily box, the paper had one more job. I hit it lightly, so the upper part came up lighter while the dark line stayed dark. Along the middle line I didn't scratch with it, because I didn't want visible marks. Just a slight rotation.
Can sandpaper take off a paper pattern?
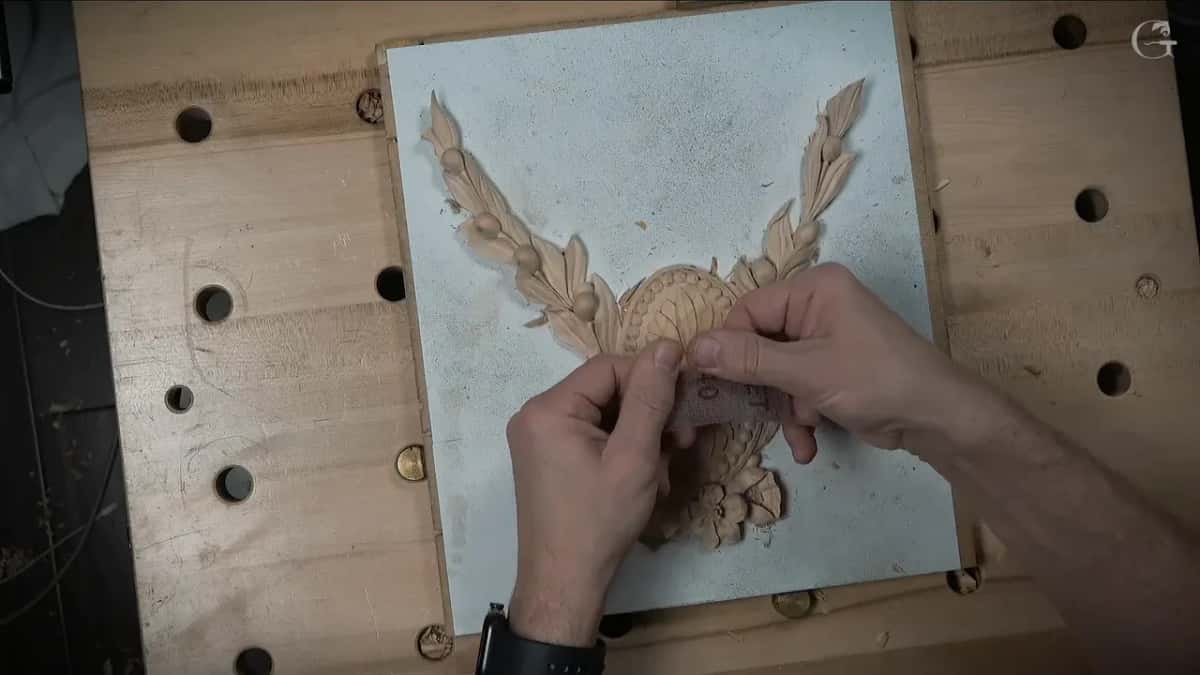
It can, and here the coarse paper earns its place. There are multiple ways, I said on the chamomile rosette. I laid 100 grit on a flat surface and rubbed the carving on it.
The antique style rosette got 150 grit on a block of wood. A cabinet scraper would scrape the paper out of the Greek acroterion, I said, but sandpaper will do also. With 100 grit the paper came away easily, and I kept going until it was almost gone completely. Just don't create too much pressure.
When is sanding worth it on a carving?
When the wood itself is the show, the way that olive was. Its grain was so gorgeous that I wanted to pop a little more of it out, even though I usually don't sand at all. Too many tool marks were drawing the eye. I wanted the eye on the grain of the wood and the overall movement.
Please don't hate me for that, I told you. Some of you really don't like the idea of sanding, and I really don't like to sand either. But sometimes it just makes sense, especially on a beautiful wood like that. Not much, just a little bit, and you still see the tool marks. I tried 4,000 grit on one spot of that olive in an earlier lily lesson, and the grain brought a really nice depth.
Other pieces gave other reasons. That acroterion from its first lesson had an area of end grain, so I said I'd take sandpaper to it later, and I had no problem with that in this case. And the Venetian Flowers Rosette was paint grade, so I tried a little sandpaper there before I burnished it, just where it stood highest, and I liked how smooth it came out. Then I said I was going to paint it, just to prove the point for those of you who like the idea of sanding.
Where the paper went, piece by piece
| Piece | Paper | Lesson |
|---|---|---|
| Olive lily flower | Rolled tube, 150 up to automotive 320 | Lily box |
| Small lily flowers | 320 on top ridges, then Mirka 4,000 | Lily box |
| Flower rosette tops | Sanding block on upper parts, not details | Flower rosette |
| Turned grape vase | Abranet 400 to knock down sharp points | Vase lessons |
| Chamomile rosette surface | Abranet 240, cut small and then rolled | Chamomile rosette |
| Curly kitchen board | A light pass with a sanding block | Cutting board |
Where to watch the paper work
Most of what you just read happens on the lily box, flower by flower. The rest sits in the lessons I named, and the Techniques course gathers more short answers like this one. Burnishing, which came after the paper on the Venetian rosette, has its own page there.
If you want to sand along with me, one flower at a time, the full lessons are inside the school.
How it's done
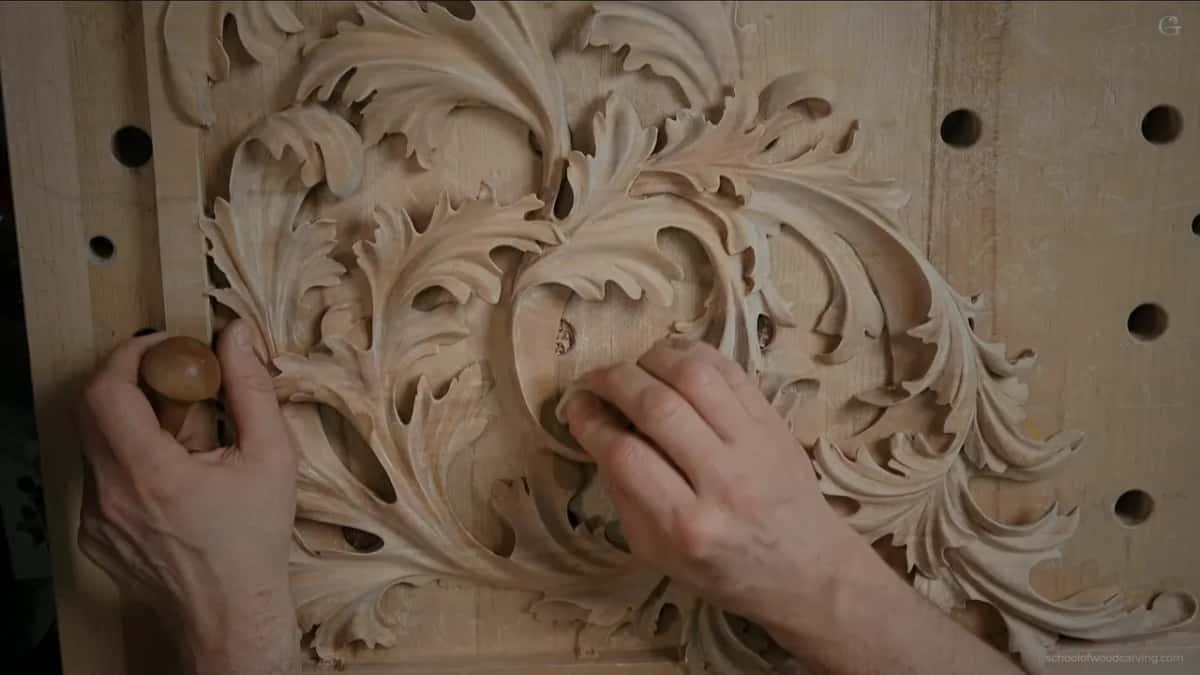
- Bring the form close to final. Do the carving before any paper touches it, so your gouges stay out of sanded wood.
- Pick a grit your marks need. With few tool marks, 150 was enough on the olive lily.
- Shape the paper to the spot. A tube reaches into concaves. Use a smaller piece to get underneath, and a sanding block on the tops.
- Work the tops lightly. Keep the paper away from edges and fine details, or you lose them.
- Recarve what went soft. Where a line blurred or a spot looks unnatural, take a sharp tool to it, then give that spot the same grit as its neighbors.
- Wipe the dust away. Alcohol on a paper towel, before color.
Frequently asked questions
Should you sand with the grain on a carving?
On a flat piece you try to. A carved olive lily was almost impossible, because its grain runs in all directions. My vase had small details where I still tried to go with the grain, and I didn't want the sanding too aggressive in them.
Will sanding dull my carving tools?
Grit left in the fibers does exactly that, which is why I keep paper for late in the job. I recarved a sanded spot on the lily anyway and said that was okay. Knowing how to sharpen covers it.
How do you get sanding dust out of a carving?
Denatured alcohol on a paper towel, the same alcohol I mix my stains with. After sanding the vase at about 400, I wiped the whole piece that way before color. A little dust stayed in, though not much at that grit.
What to carve next