

Alexander Grabovetskiy, woodcarver, School of Woodcarving · Published 2017
Should you learn to switch hands when you carve wood?
Quick answer: Switching hands is a way to carry a pass in the opposite direction without moving the work. I also spin the work, walk around it, or keep my hand where it is and rotate the gouge. On a piece too big to turn, I have to.
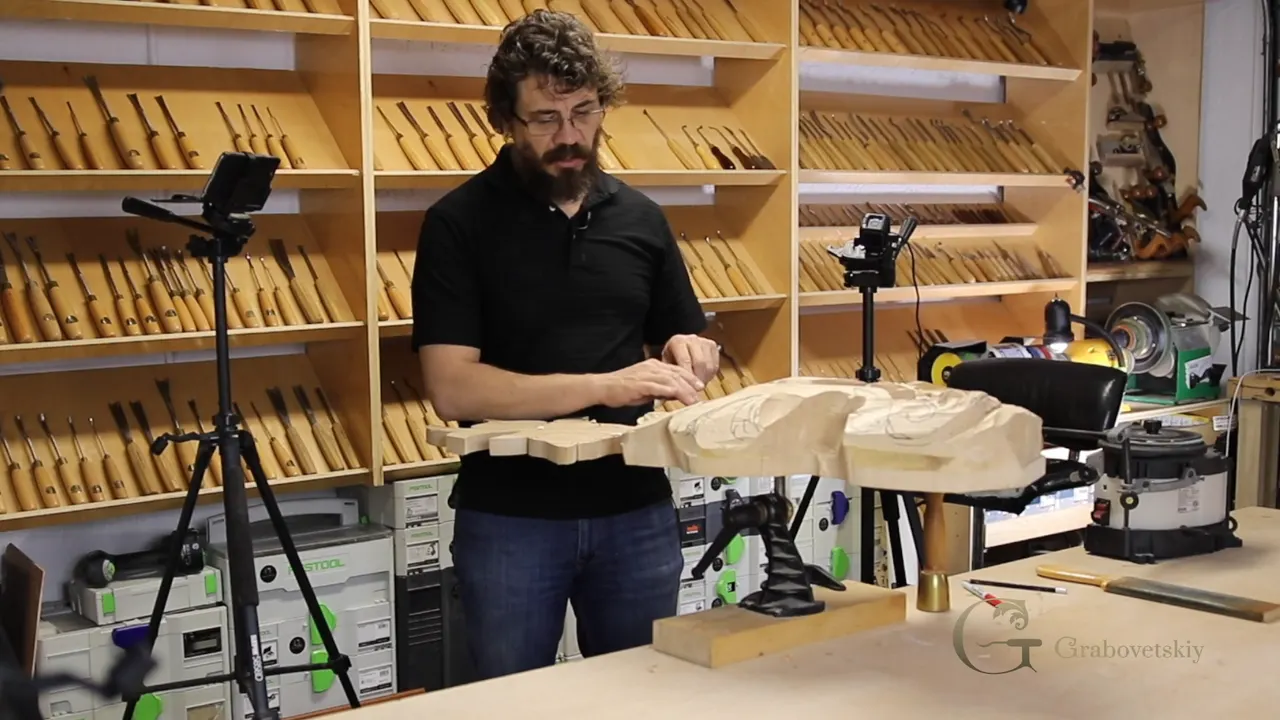
Swapping hands is one way I take the gouge the other direction, and in this short Techniques lesson I call it a good practice for a professional carver, or even a hobbyist. Many carvers change hands, and I do that too. So yes, there's left handed wood carving in my lessons, done by a right-handed man.
Want both sides of a groove clean? And would you rather not spin a heavy board around for every pass? Then you need more than one way to reach that side, and my lessons show four.
Each one below comes out of my own lessons, with the course named and linked, so you can go watch my hands do it.
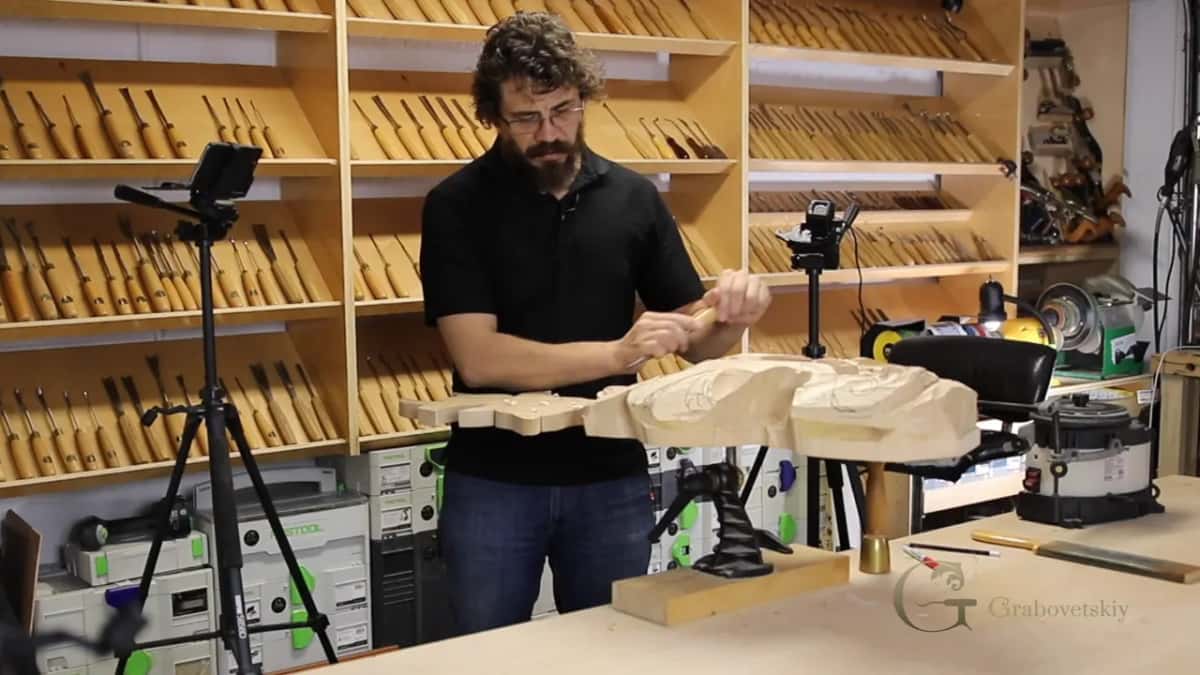
Four ways I reach the far side of a pass
- Spin the work around, especially when it's small.
- Walk around the bench.
- Swap hands.
- Keep one hand on the handle and turn the gouge in it, which is the trick this lesson shows twice.
- Huge pieces leave me no choice, so I switch, right and left.
- Your second hand sits close to the blade.
Do you ever carve with your left hand?
Absolutely, and I have to. A viewer named James asked me that during a livestream in April 2020, the one about wood movement. I do right and left, I told him, and that's the only way, because I can't rotate a piece like that one. It's huge. Turning it was impossible for me.
So when I switch, I'm just using my left hand. That's swapping hands, and that's all it is. The size of the work decided it for me, and I said so right there on the live stream.
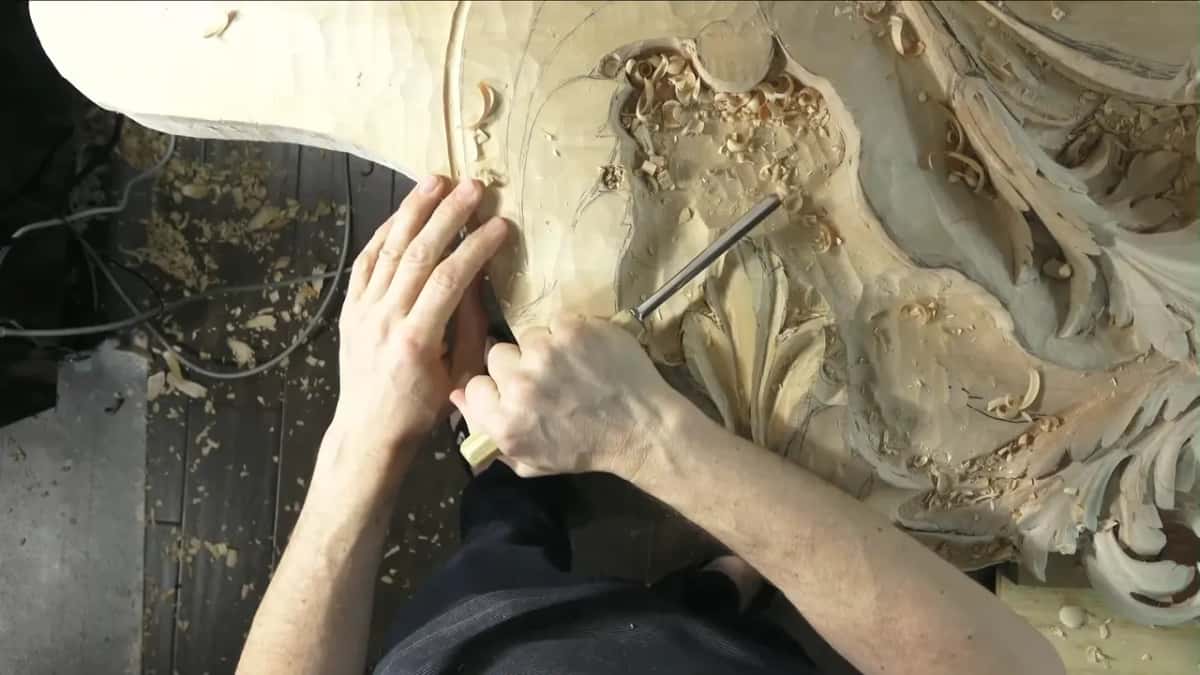
What does swapping hands look like?
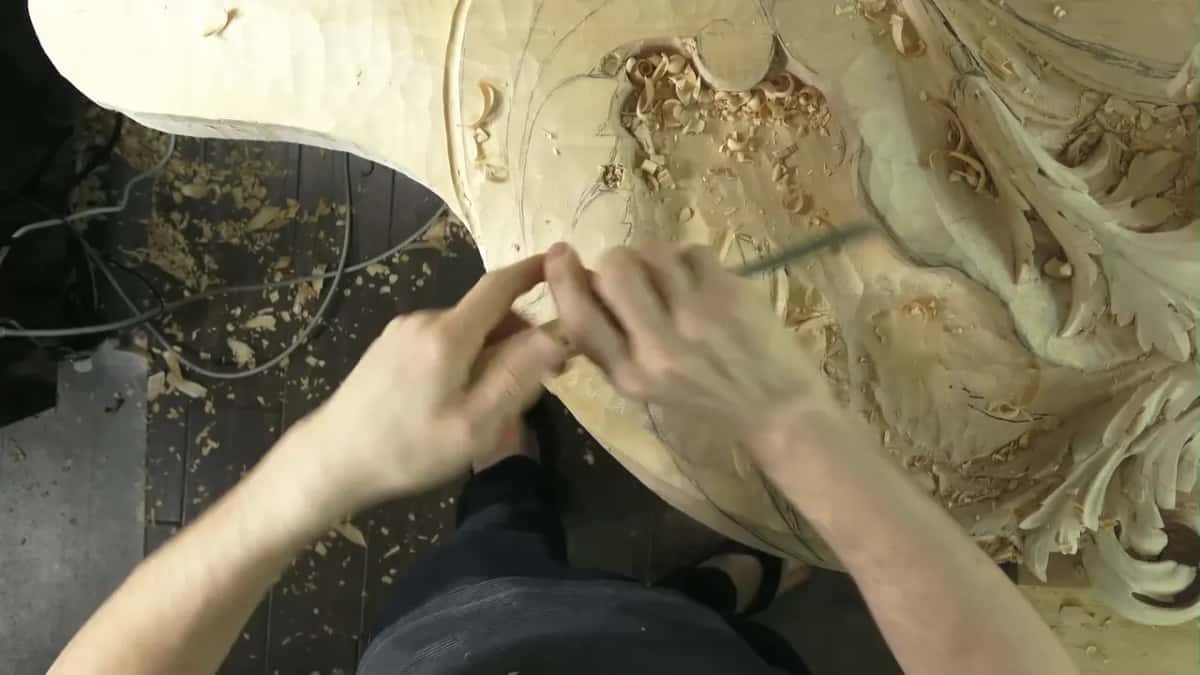
The tool goes into your other hand, and you carve the other direction. Hands come first in this lesson. How you hold your tools is also really important, I say, and you just saw that. Then the swap comes, on camera. Let's say I'm carving this side. I can change my hand quickly, like that, or I can change my hand and carve this direction instead.
When I'm changing hands, it goes like this. Then like that. Just like a dance. All you do is change the position of your hands.
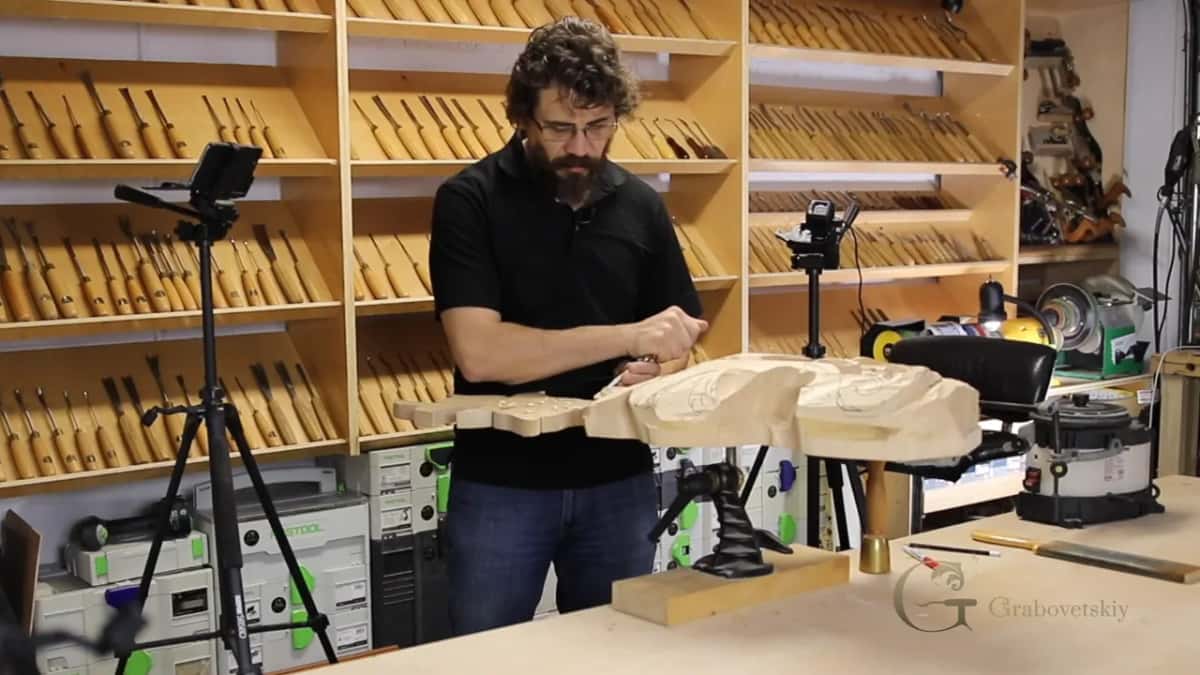
During the livestream I showed it slowly, and I called that the true swapping hands.
Can you change direction without changing hands?
There's a way, and I call it a really fun trick. When I'm carving and I don't want to change the hand, I still keep the same hand. I just rotate the tool. You can practice that.
Sometimes it's a lot easier, I say in the lesson, and then I stop halfway and ask if you saw what I did. While I was rotating the tool, I changed my position. So I show it one more time.
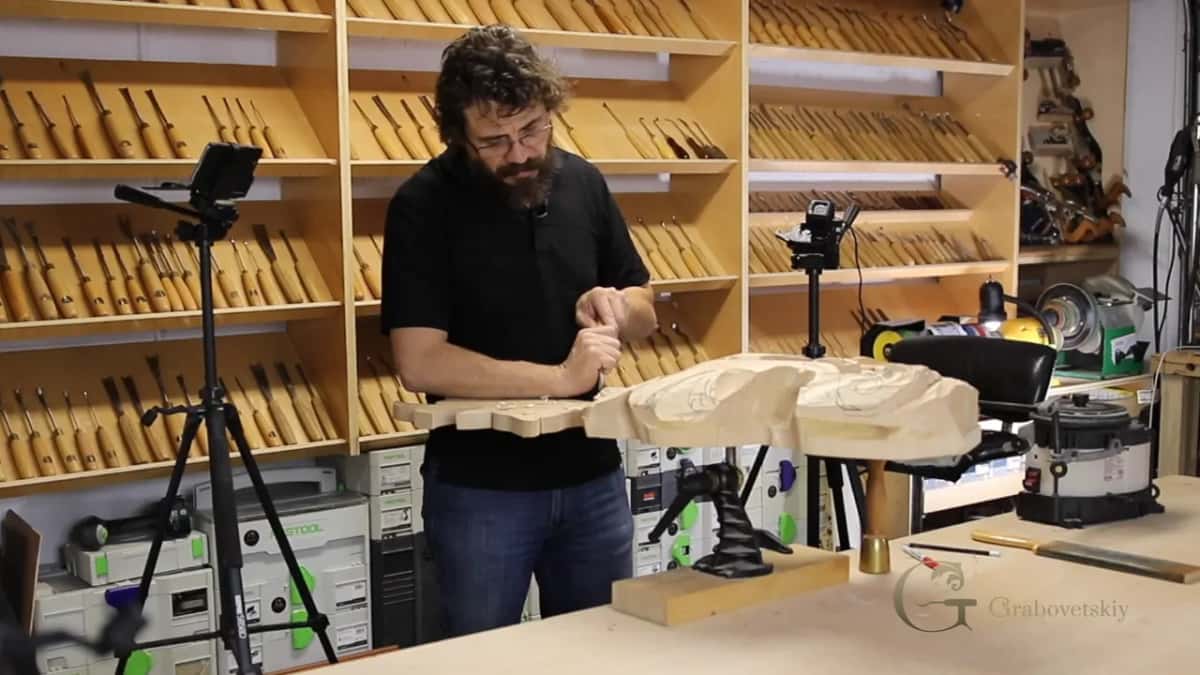
I told James about a same-hand way in the livestream too. Holding with the same hand works, I said, the handle still stays in the right hand, and it's still possible to do. There's also a smaller turn inside a pass, the slicing cut, and that one has its own lesson in this course.
Why turn the piece around?
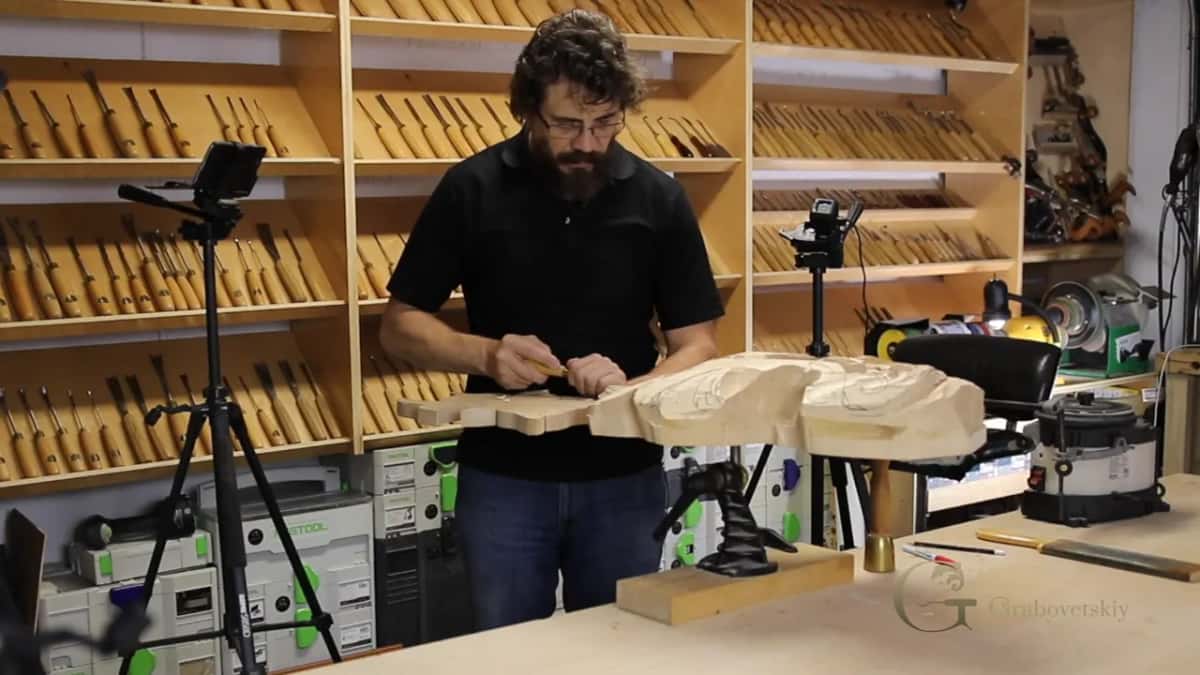
Turning small work around is smarter, and safer, I should say. I said that in Venice Room 57, about a smaller scale carving, where you can rotate the piece or walk around and attack from the opposite direction.
Carving my Byzantine acanthus, leaf 2, I asked you to feel what the grain does. If it's working against you, change the position, rotate the piece, and work the opposite direction. Don't be lazy to rotate it. We do have a tendency, we really don't want to do it, but it's a good idea to attack from different directions, especially on the small pieces.
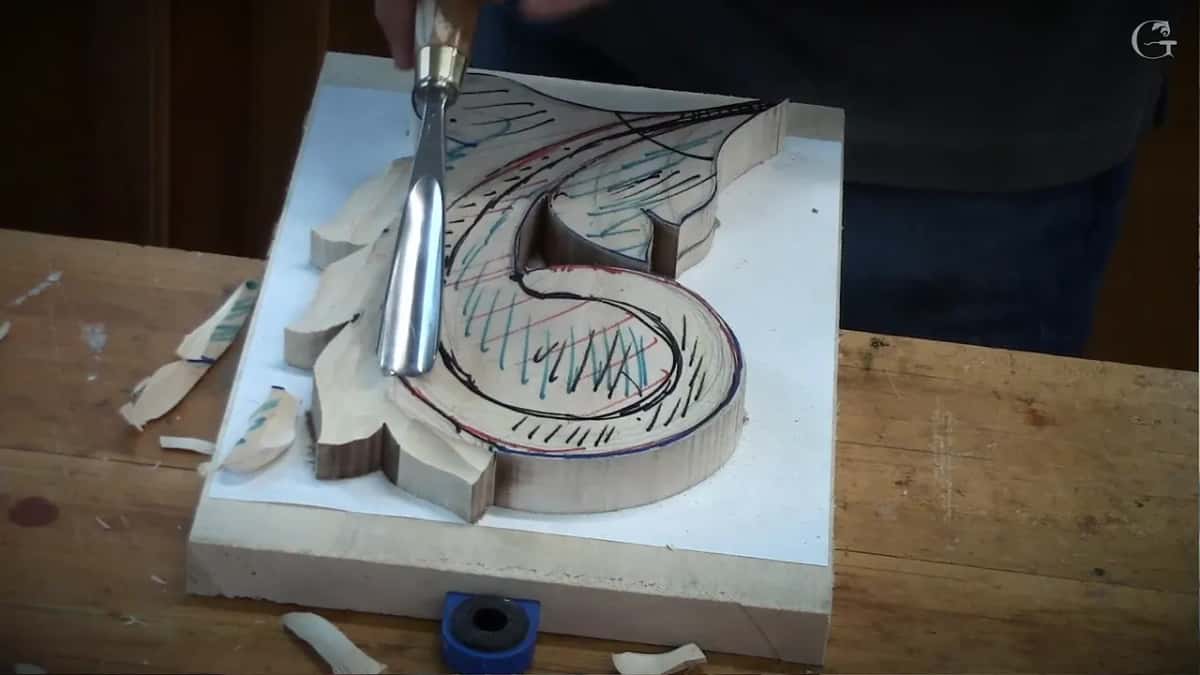
My Corinthian acanthus, leaf 3, needed working from the far side, so I rotated my piece. In the same breath I pointed at the gouge work. One side comes out clean, I said, and the other side somewhat more rough.
Carving my 1903 acanthus, lesson 3, I said it short. If it fights you, don't dig deeper, or you're going to have a problem. Turn it and attack from the other side.
Even the cameras get in the way of that. In the Grape Onlay, lesson 10, I wasn't going to move my work bench just because of the cameras. Working without them, I said, I would obviously just rotate it and attack that way.
With the hazelnuts in my Carving Hazelnuts course, I flip it and attack again. It comes from the right-hand side in my case, because I'm right-handed and for me it makes sense. You could do whatever, I said, as long as the grain direction sits perpendicular to you, and you still stay a little bit on an angle and attack toward the center.
What if the piece is too big to turn?
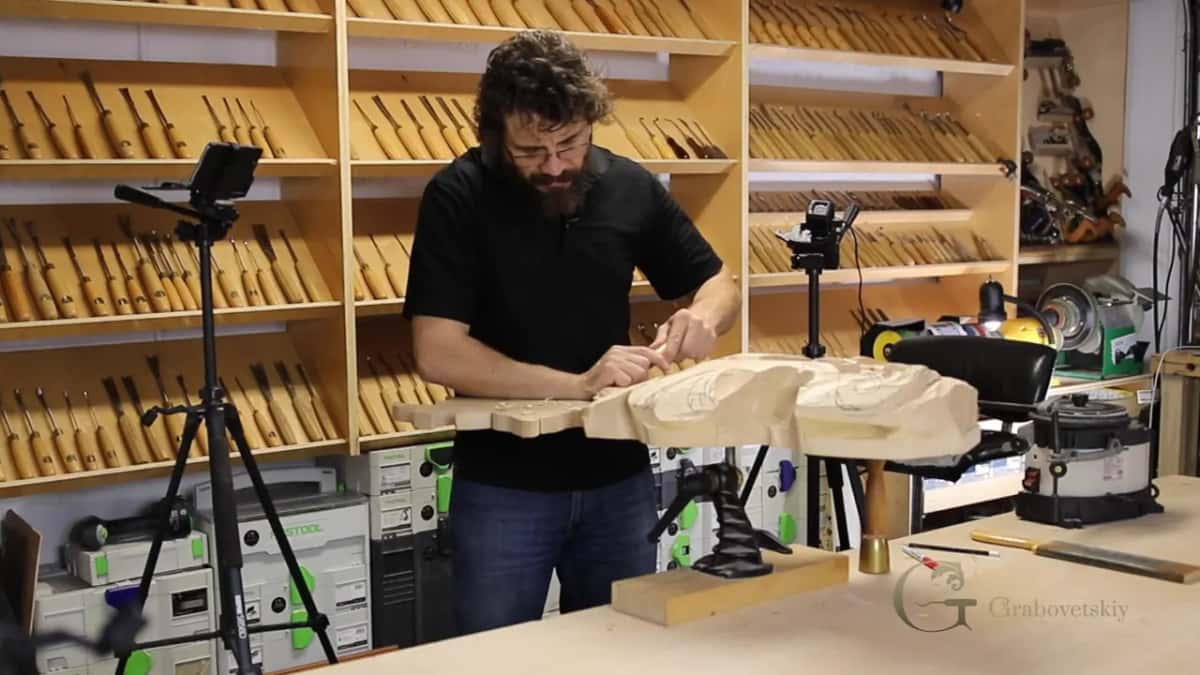
Then the hands do the moving, because the wood can't. In Venice Room 55 I said plainly that I just don't have the ability to rotate my piece. It's too big, so it's got to stay in place. Walking around wasn't what I wanted either, because from there that section would sit a little too far from me.
Two lessons later the same thing came up. Sometimes I have to deal with huge pieces like that, and I just can't walk around. I would spend too much time, and for me that means I'm not going to make it.
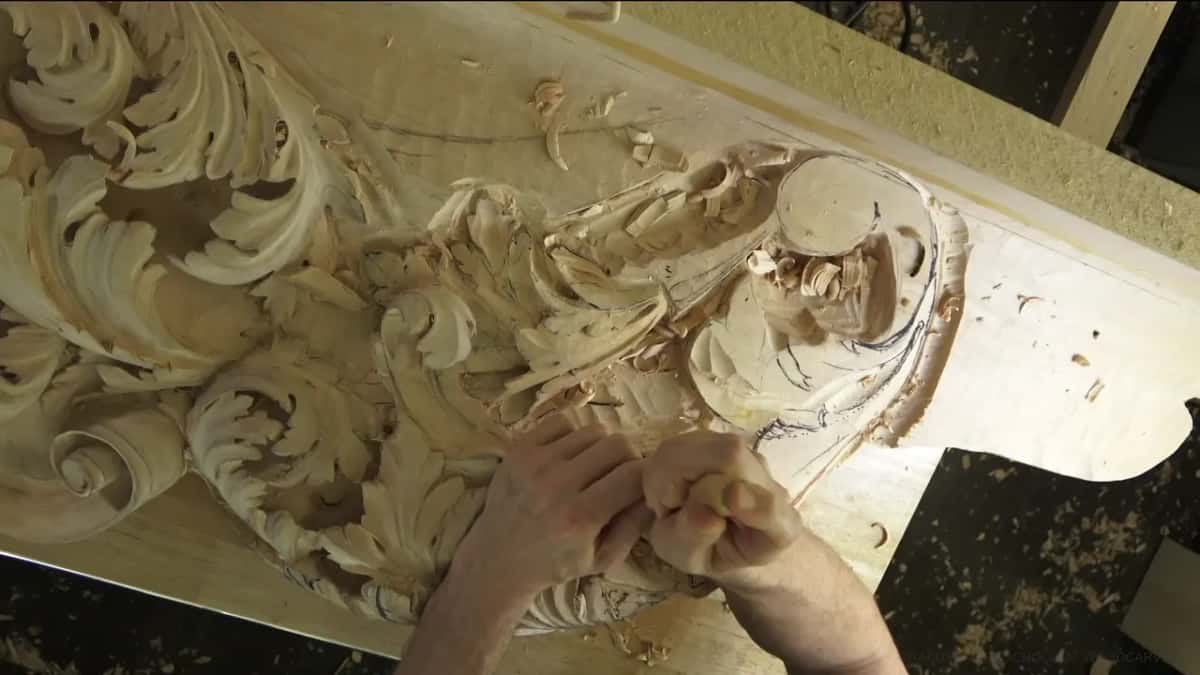
I said more in the Hashemi flowers, lesson 47. I was going backward, with my hand on the backside, pointing back to me. A couple of ways were open. I could rotate my piece and approach from another side, and with a piece like that it's fine. But on the big ones I can't walk around, I can't rotate, and I have to attack from just the one point where I'm standing. That's why I'm developing different techniques. It naturally comes. How you attack your piece, and what hand you're using.
When the pass has to come toward you on a huge piece, I have a story about a student of mine, a dentist, who locked his elbows on the table. It's told in Breaking the Rule of Direction.
Do you have to like swapping hands?
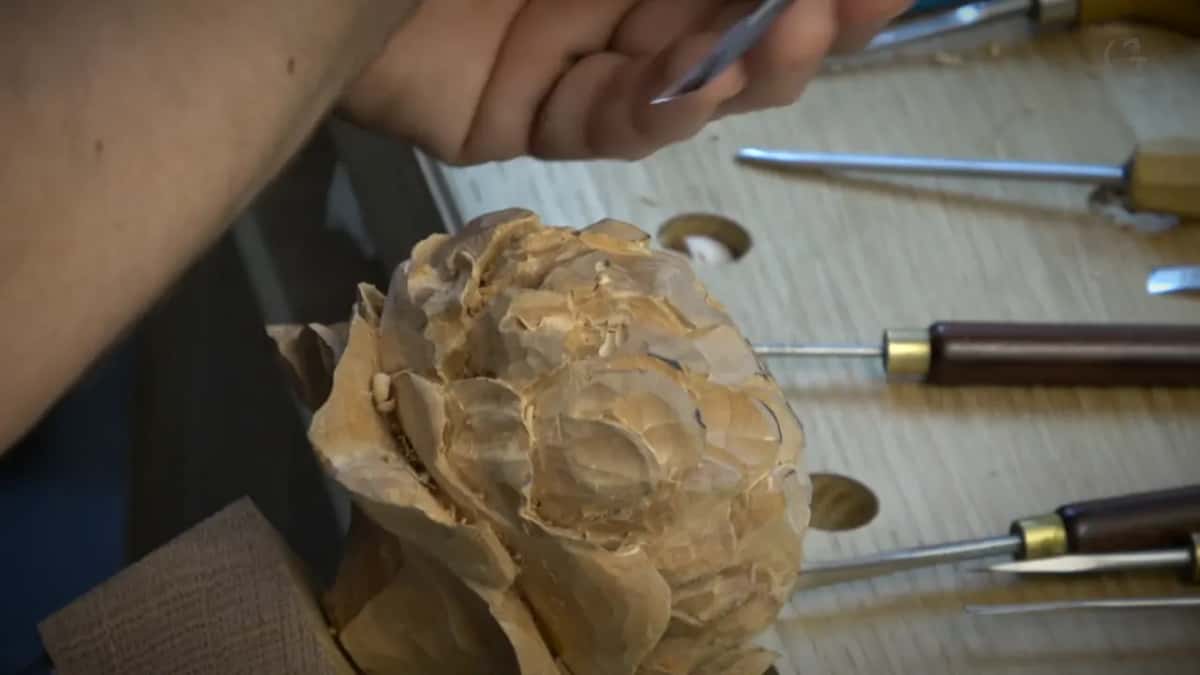
You don't, and I don't either, which I said on camera more than once. In workshop 2 of my Venice Room course, I wanted a really deep pass, three-dimensional. Then I said change the location, three times over.
The reason I did it that way, I said, is that I don't like to switch my hands. That is not my preference. I could swap my hands and go from the opposite direction, and I said that is okay.
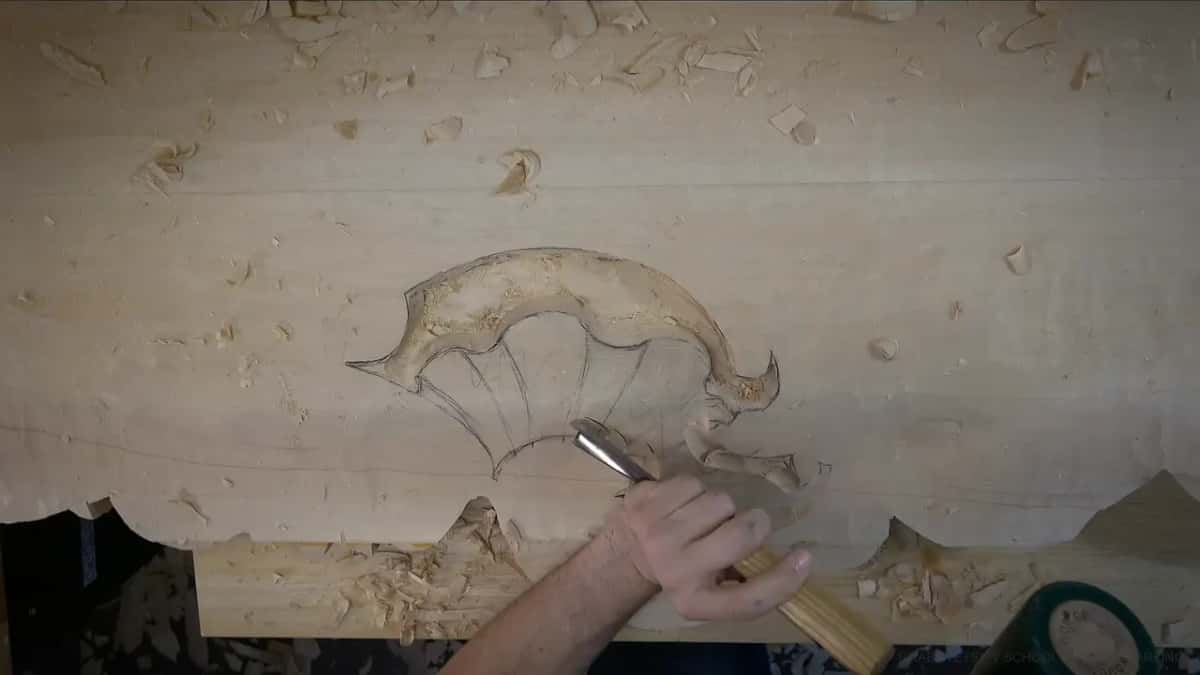
Two workshops later, in Venice Room 4, it came back. My piece stayed where it was, because I didn't want to rotate it, and swapping was still not comfortable for me. I am swapping hands, don't get me wrong, but I'd rather not if I don't have to.
So it's a good practice, and it's still not my favorite. Both lines are mine. I swap when the piece leaves me no better way.
Where did I swap hands on the Venice Room?
Where one side was finished and the work had to continue the other way. One spot in Venice Room 58 sat half a millimeter too deep. The size of a hair. Once the line was consistent, I needed to continue to that side, so I just swapped hands and took it this direction.
You'll hear a noise in that video. Don't pay attention to that noise. I just shut my drawer with the tools, with my knees.
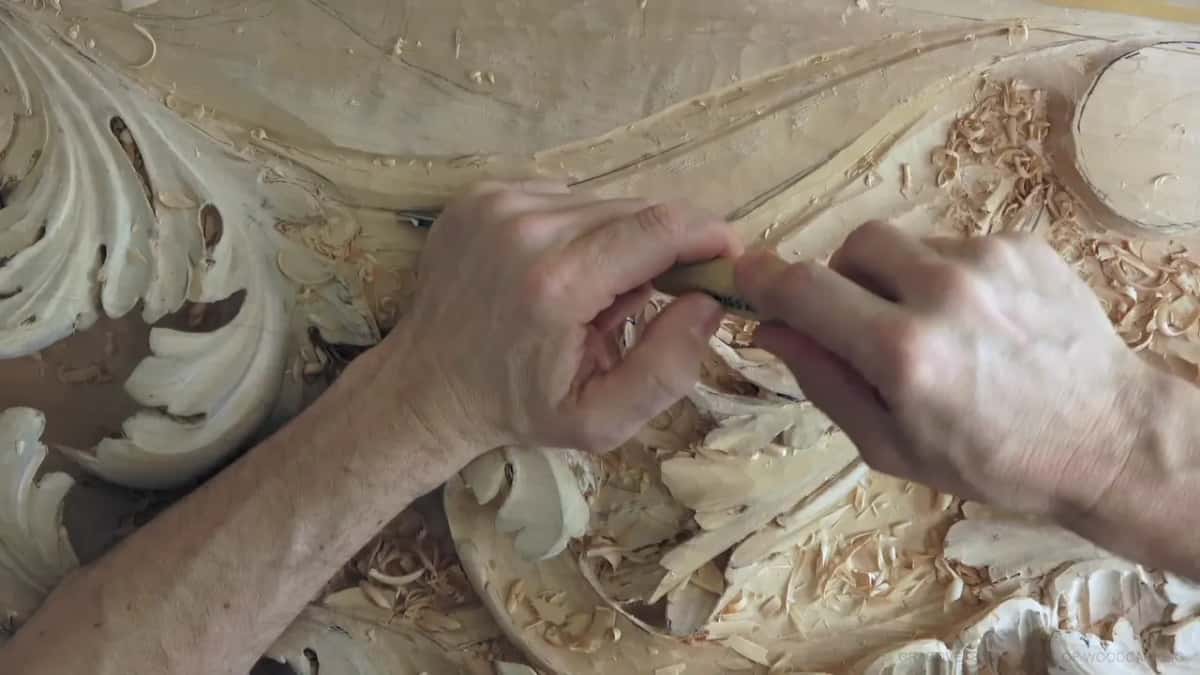
Then in Venice Room 60 I was working on an acanthus, and I joked about its eyes. Eyes of acanthus, not my eyes, because excavating my own eyes would be a big mistake. Then came a channel, one side, then the other. How do I do that? Again, I had to swap my hands and go that direction, underneath the molding. Sorry that I'm covering it with my hands, I said, but please understand why.
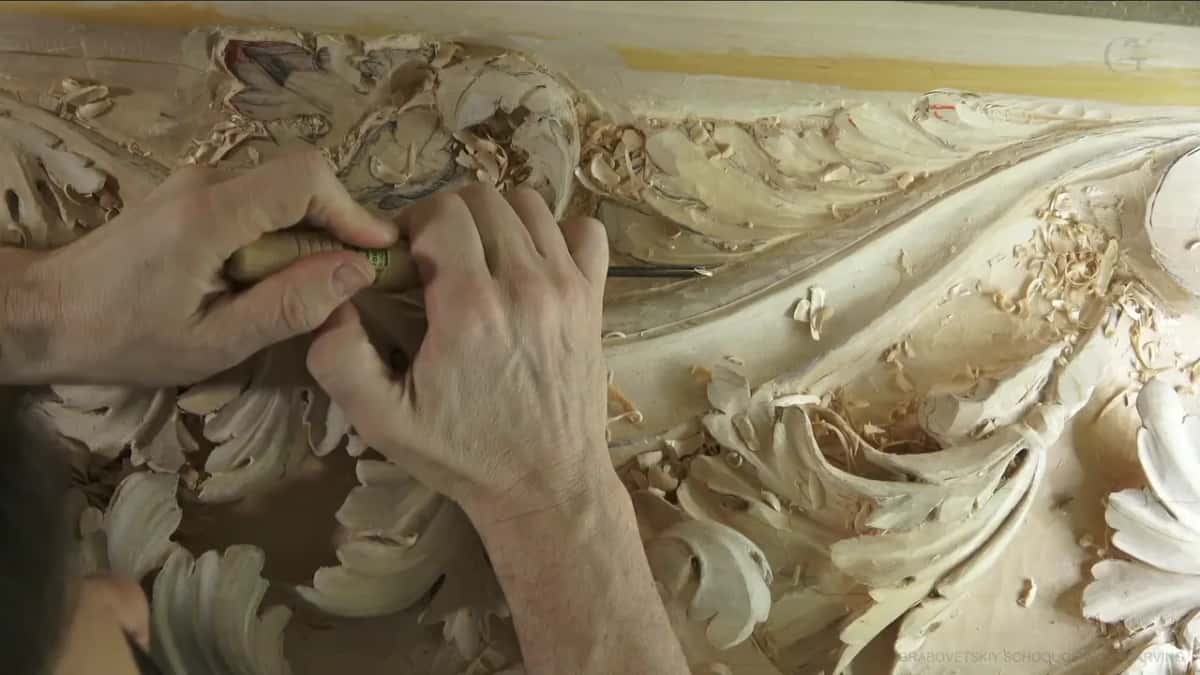
Where does the second hand go?
On the blade, as close to the edge as you can get and still see it. This lesson ends on that. The closer to the blade you hold your second hand, the cleaner the pass is going to be, and the more control you have.
Carving the Byzantine acanthus, I said it stronger, while my second hand sat right there on the blade. Don't hold two hands on the handle, because carving is not painting with a brush. Then your hand sits solidly close by, and you work with the muscles of your hand and palm. So you're not going to get tired.
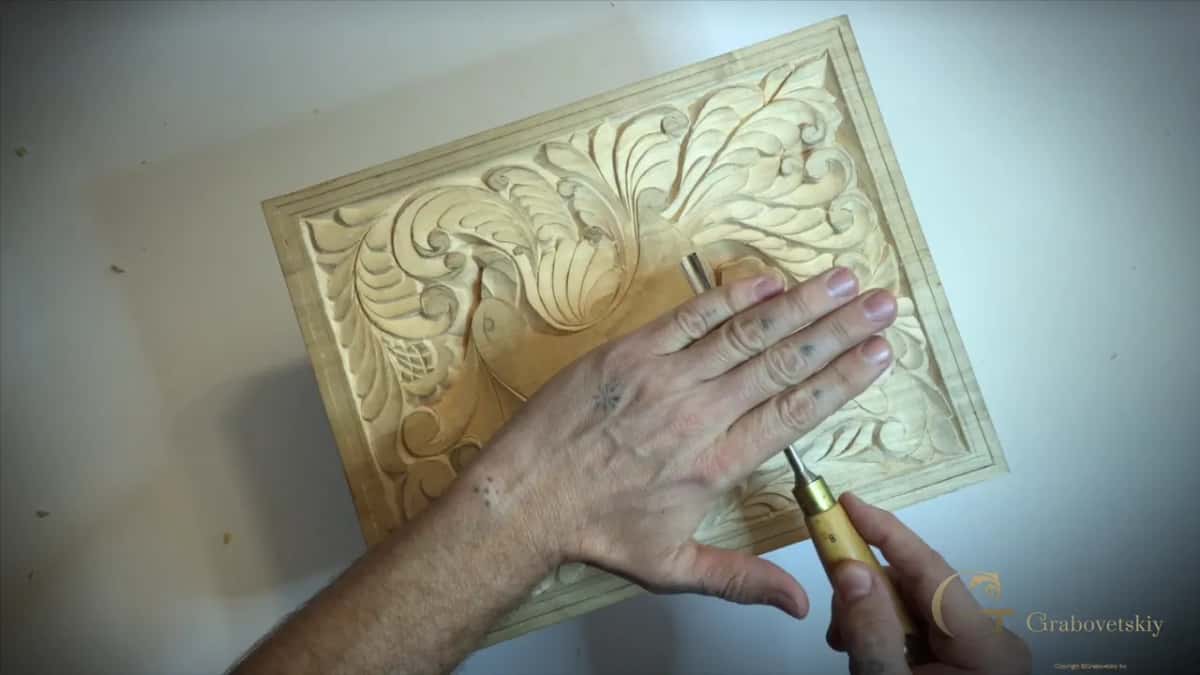
Depth makes it matter more. One pass on my Roman acanthus, lesson 16, was only about a sixteenth of an inch, about 1.5 mm, deep, so the gouge had to be really, really stable. I held it near the edge and placed my hand right on the wood, which made the support almost like a leverage point. So I could control all of it.
Small tools ask for the same. With my number 15 V tool at 6 mm (1/4 in) on a Greek acanthus, leaf 7, the tool lay right on a finger, and a finger controlled how far I went, because it was a micro pass. Excavating with a 2 mm tool in Maine, the tool lay on my middle finger while a finger from my other hand guided it, little by little, without pushing too hard.
And sometimes I come from both sides on purpose. Back on the tray, with a number 11 at half a millimeter, I didn't try to get my hole from one side. I carved it from both sides, with my flute at three o'clock, and the main point of my grip was the middle finger.
For beginners on the curly kitchen cutting board, I called it rule number one. Get as close as possible with your hand to the end of the blade. But still, you have to see it. The thumb can go on the handle, below that or above that, and it doesn't really matter, as long as your hand is right above.
The grip can change while the hand stays put, and lesson 17 of my furniture panel shows it. I changed how I was holding the tool, absolutely differently, and my hand was still solid on the board.
Is left handed wood carving any different?
The hands trade jobs. On the Tray of Blessing, my left hand went solidly on the board, because I'm right-handed. If you're left-handed, I said, it's going to be the opposite, but it always has to be locked in position. Later, in lesson 7 of the tray, I said it again. In my case it's the left hand, and for a left-handed carver it's the opposite hand.
At the Grinling Gibbons class in Maine, I gave the hand rule as we grabbed the first tool. Left hand if you're right-handed, right hand if you're left-handed, and that hand has to sit right at the edge of the blade, really close.
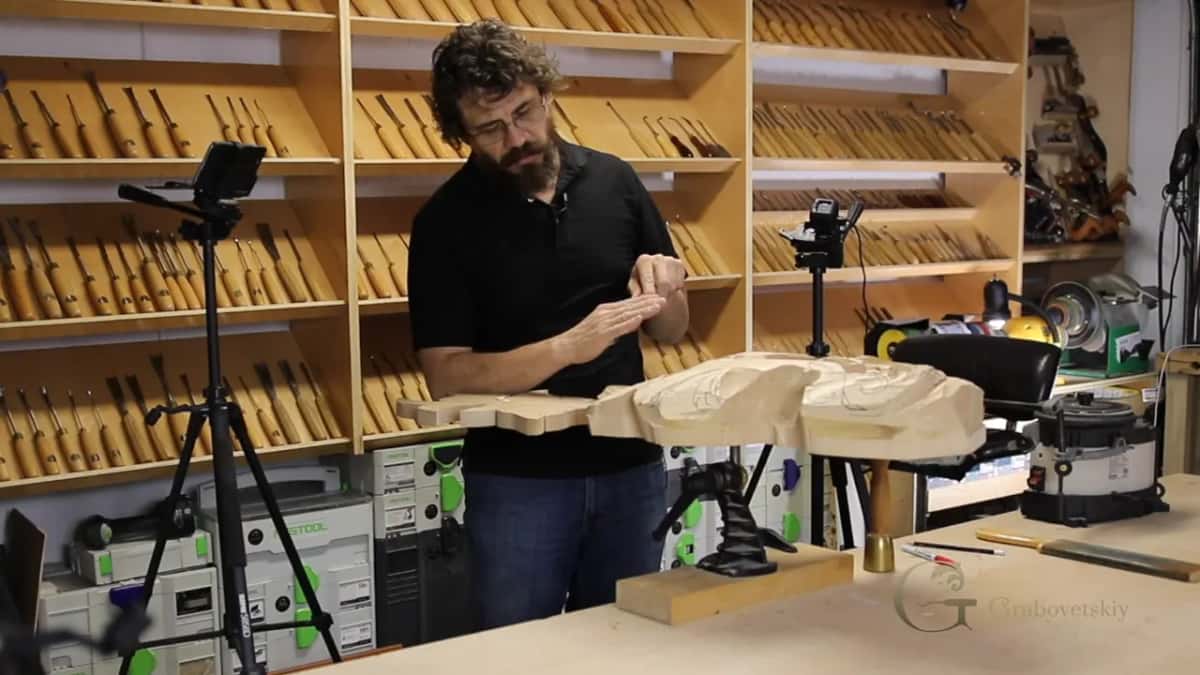
The Floral and Molding panel got it shorter. Left hand always solid, I said, placed on the block of wood, either on the background or right on the design. That way you have a lot more control.
And the left hand does real work too. The tool lays on just two fingers in Venice Room 62, like a pencil, and my left thumb pushes it, while those two fingers make a leveraging point. On an antique style rosette, two fingers support the gouge and I guide with a finger on my left-hand side, holding the position.
Which way should you pick?
In my lessons the size of the piece decides, and so does how far the spot sits from me. Here's where each one shows up, on the bench.
| Way | Where | Said |
|---|---|---|
| Turn the piece | Byzantine acanthus, especially on the small pieces | Don't be lazy to rotate it |
| Walk around it | Venice Room 57, for a smaller piece | Smarter, and safer, I should say |
| Swap your hands | April 2020 livestream, a huge piece there | Absolutely I do, I have to |
| Turn the gouge | Swapping Hands lesson, same hand stays on | Something you can practice, I say |
| Work against grain | Venice Room 4, rather than swap hands | Not the best idea, I said |
Want to watch every one of these passes at full length, start to finish? Every lesson I named here is inside the school, from the Venice Room panels to the beginner's cutting board. See what Access includes.
How it's done
- Feel the grain first. Watch what the grain does as the gouge goes in. When it works against you, change your position and come at it the other way.
- Spin a small piece. If the work is small, rotate it on the bench and attack that spot from another side.
- Change hands for the far side. Carving one side, change hands quickly and carry on in the new direction.
- Or turn the tool in the same hand. Leave the handle where it is and rotate it instead. Practice that one.
- Bring the guiding hand down to the steel. Slide it down the blade, close enough for a cleaner pass and more control, yet never so far that you can't see the edge working.
Frequently asked questions
Is swapping hands only for professional carvers?
Hobbyists need it as well. In this Techniques lesson I call changing hands a good practice if you want to be a professional carver, or even a hobbyist, and I add that it's still important. Many carvers switch, and so do I.
How do you stop a gouge from slipping in a tight spot?
Block the movement with your pinky. Working on my furniture panel, I held the finger on the tool really tightly and set my pinky down so it didn't move at all, and only the finger holding the tool moved. That's how I prevented the slippage there.
What if the grain fights you and you'd rather not swap?
Working against the grain on one side was my choice in workshop 4 of the Venice Room, and I said right away that's not the best idea. Afterward I took a number three to clean the edge, carefully, then a number nine to clean all that mess.
What to carve next