

Alexander Grabovetskiy, woodcarver, School of Woodcarving · Published 2021
When should you stabilize a wood carving with super glue?
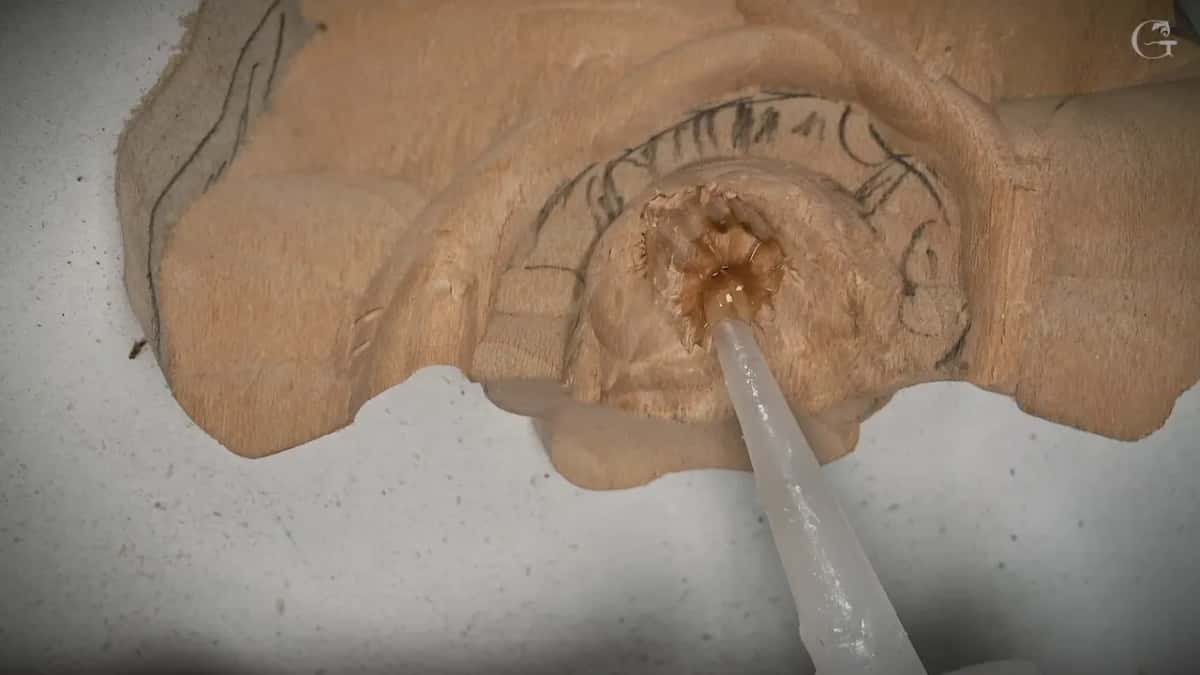
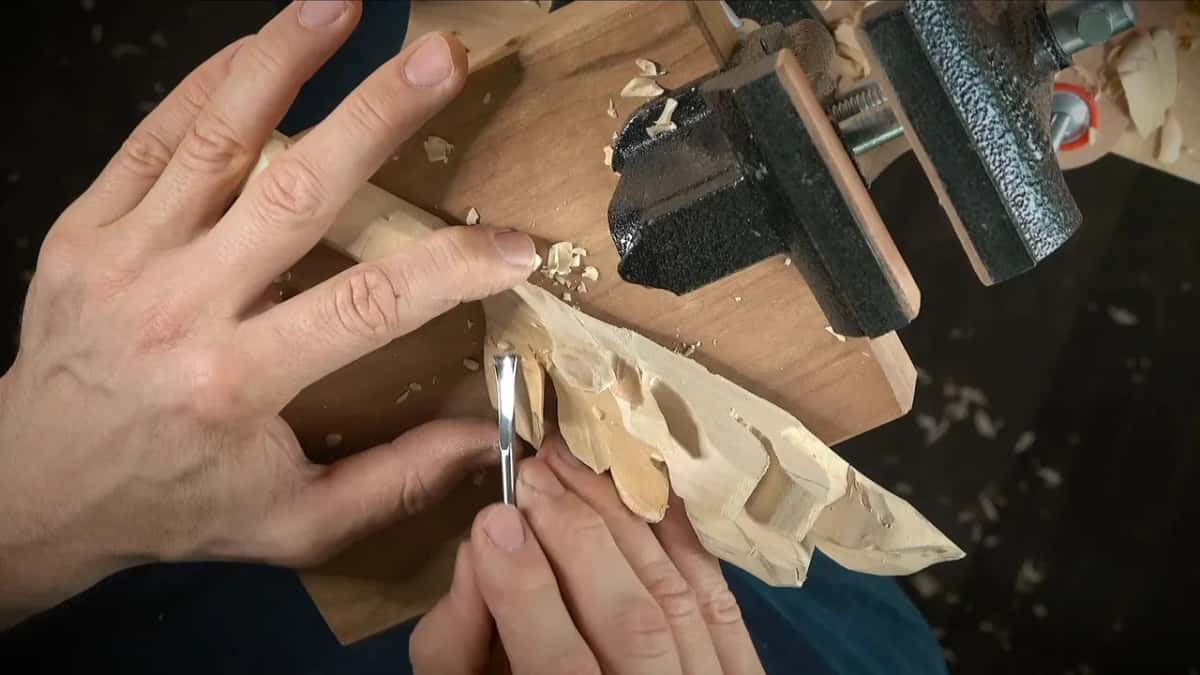
Quick answer: Stabilizing a carving with glue is right only when a finish will cover the wood. My Venetian Flowers Rosette is paint grade, and its flowers sit near shoulder level, where somebody could hit them, so thin Starbond soaked into all four. A piece I leave raw gets no glue.
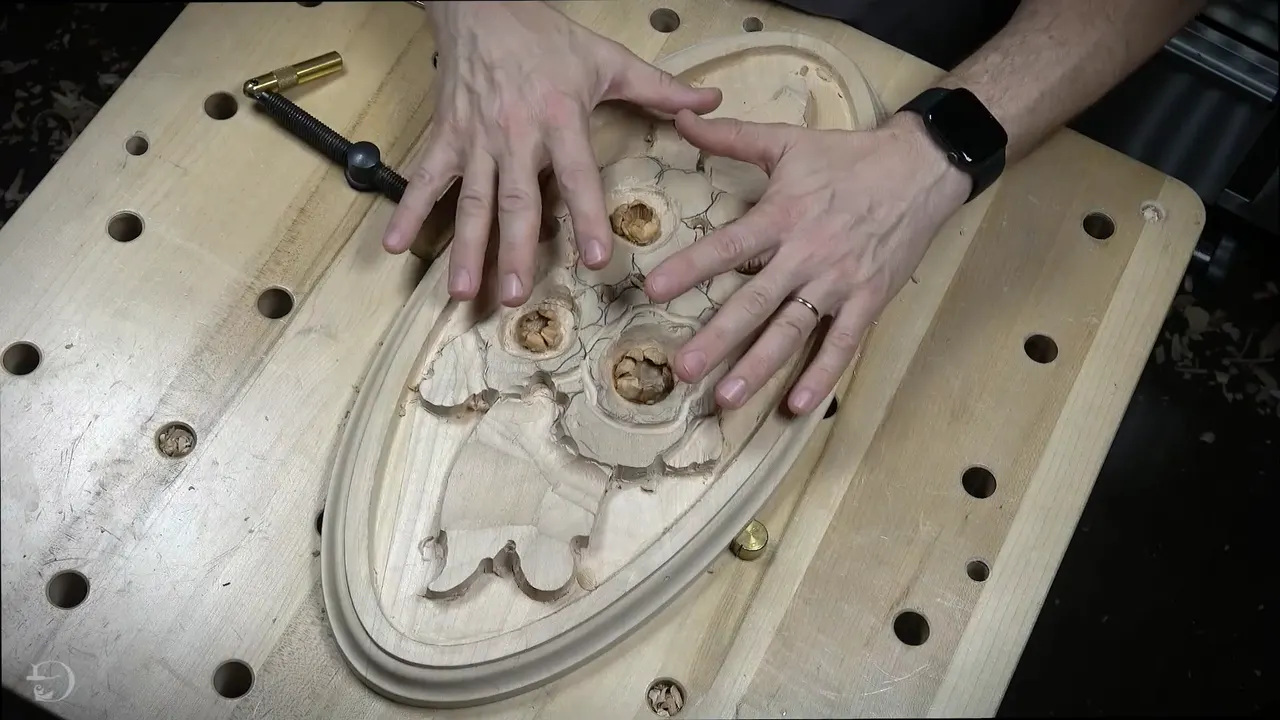
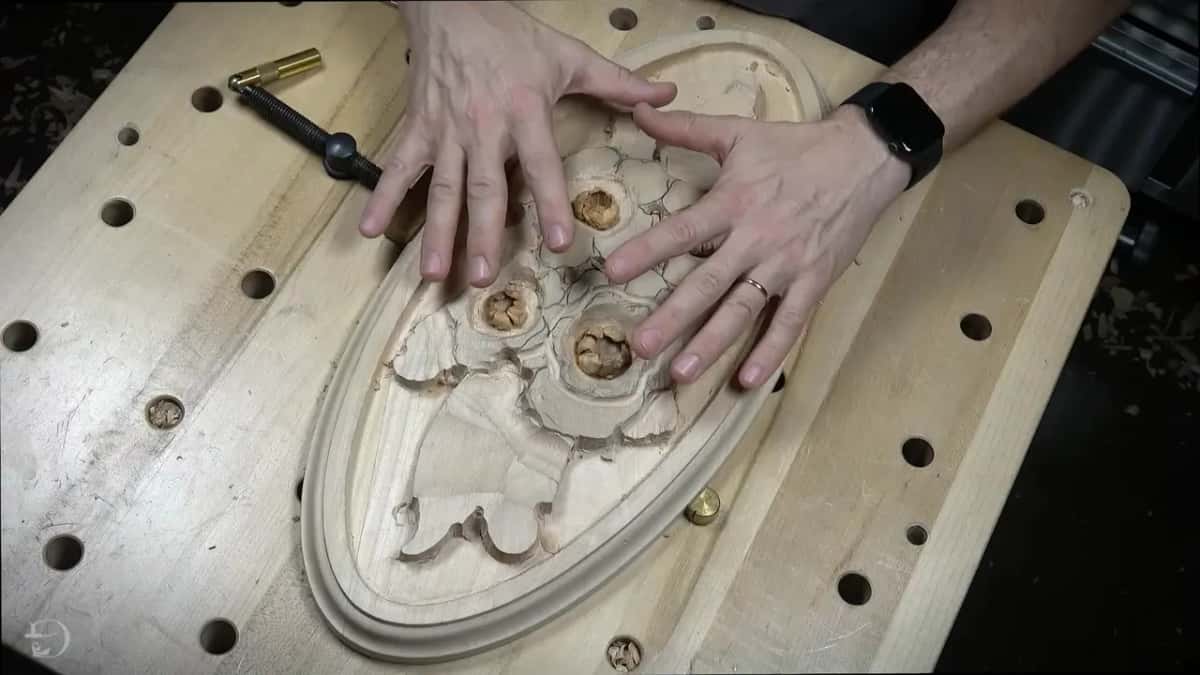
Stabilizing a wood carving with super glue is a good idea only if a finish will cover it, like lacquer, shellac or paint. Raw wood gets no glue from me. The short clip in this lesson comes from my Venetian Flowers Rosette, a paint grade rosette, and its four little flowers will sit at about the shoulder level, where somebody could hit them. So long before any talk of how to stabilize wood, I knew paint was coming. That decided it.
Have you seen carved petals thin as paper? Would you want yours to stay in one piece on the wall? Then these two minutes of video are worth your time. I'm going to be honest with you: glue helps, and glue also let me down once on camera. Below I set this clip next to the other lessons where I talked about glue in fragile wood, so you can watch the same choice on a chamomile flower, a Venice Room panel and a serving tray.
Thin glue in fragile wood, the short version
Glue goes in only when a finish like paint will cover the wood.
Raw carvings get none.
Where the piece will live counts too, like those flowers at shoulder level.
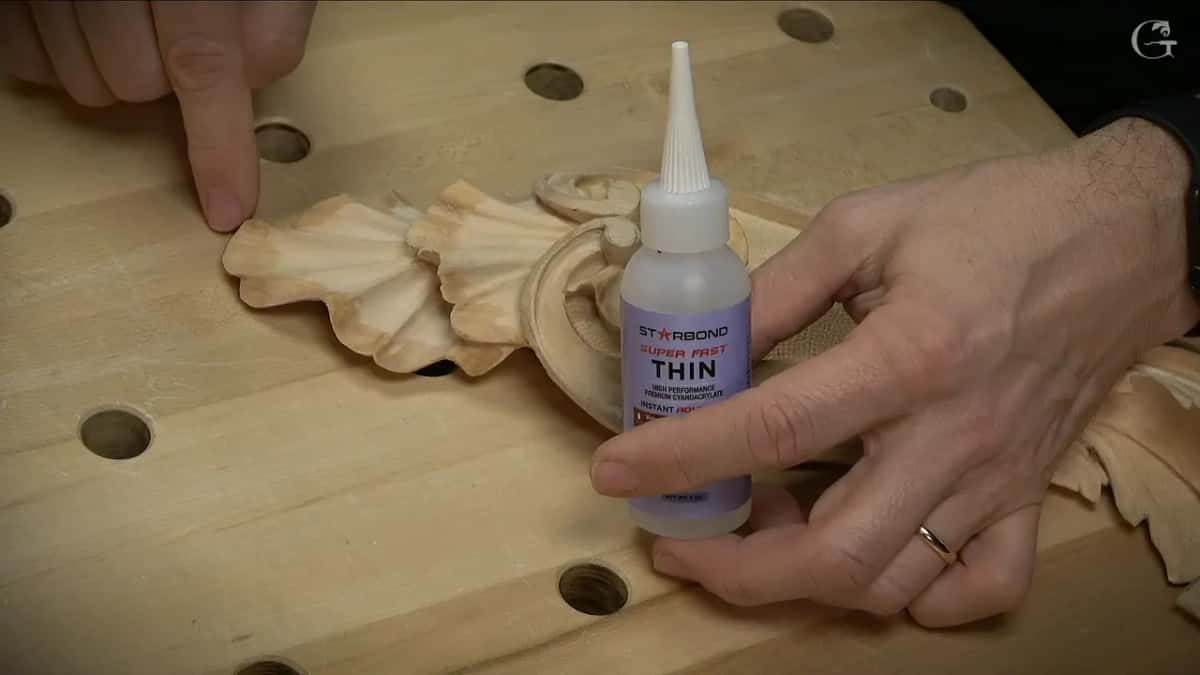
Starbond is the thin one I reach for, almost like water, and it soaks right through a petal.
Glue can go in after the work, before a risky step, or right after a scare.
Glued wood still breaks.
Which finish decides how to stabilize wood?
One that covers the wood. Carving the Chamomile and Bow Rosette, I put super glue into the center and said it right then. It is a good idea only if you're planning to put some kind of finish on it, a lacquer or shellac. Or paint, in that case.
My Venetian rosette was the same story. The first Venetian Flowers lesson is where I showed you four parts already done, paint grade, and told you I did not take them to the extreme. Their edges still came out paper thin. Like a knife edge. They had to be stabilized, and I said I wouldn't do that if they weren't getting painted.
With paint going over everything, there's absolutely no problem. Planning a shellac finish, or any lacquer finish? Then you can also probably stabilize it with that super thin super glue. Probably is my word there, and I'll leave it at probably.
Now take the other case. If I would leave it just raw, without any finish, I wouldn't use that glue. I would keep it like it is.
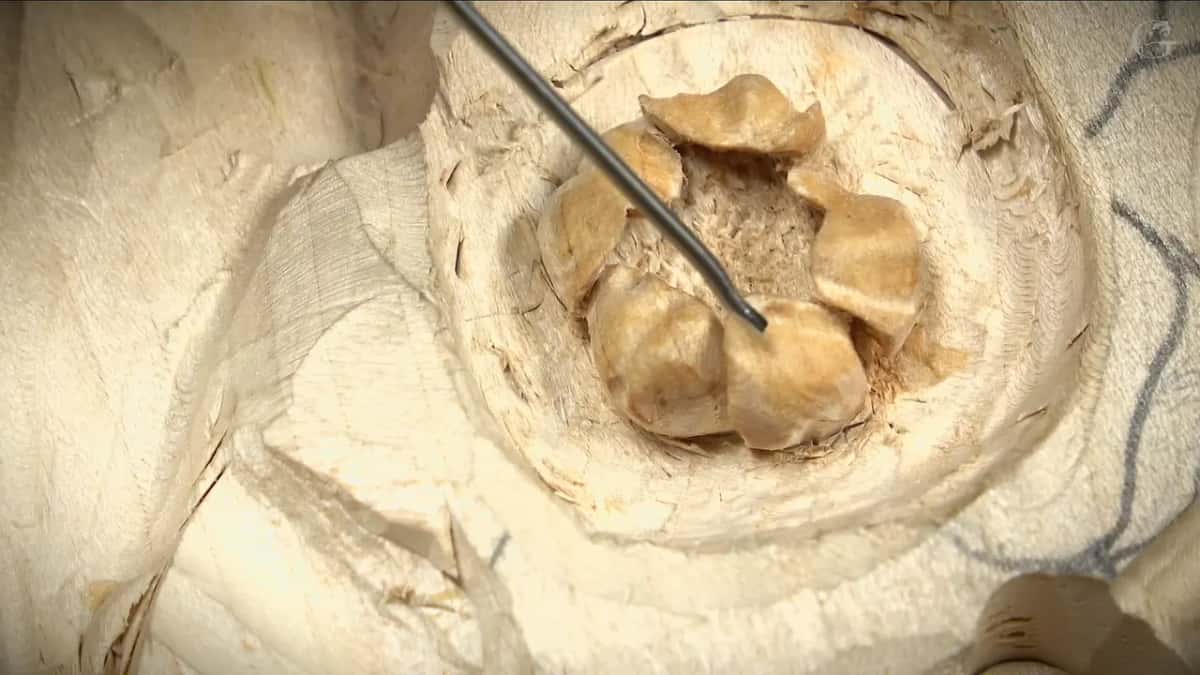
Look closer and you can see some darker areas. I mentioned them myself in both of the first two lessons, and both times I went straight on to the glue and the paint.
Why does it matter where the carving will sit?
These flowers will be at approximately the shoulder level, and since the piece will be used, there's a chance somebody's going to hit one. I want them stable enough for that.
They are still really fragile, but still solid. You still can break one after the glue, of course, but it will be a lot harder to break it. Those flowers look huge on the screen. They're not that big.
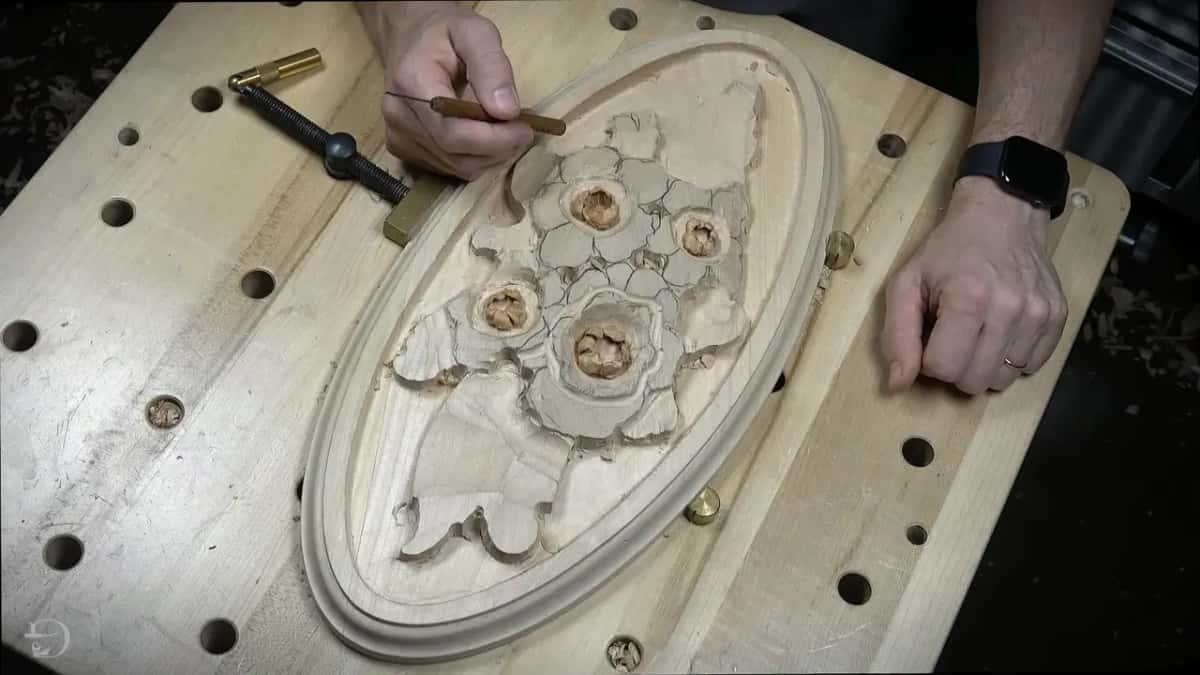
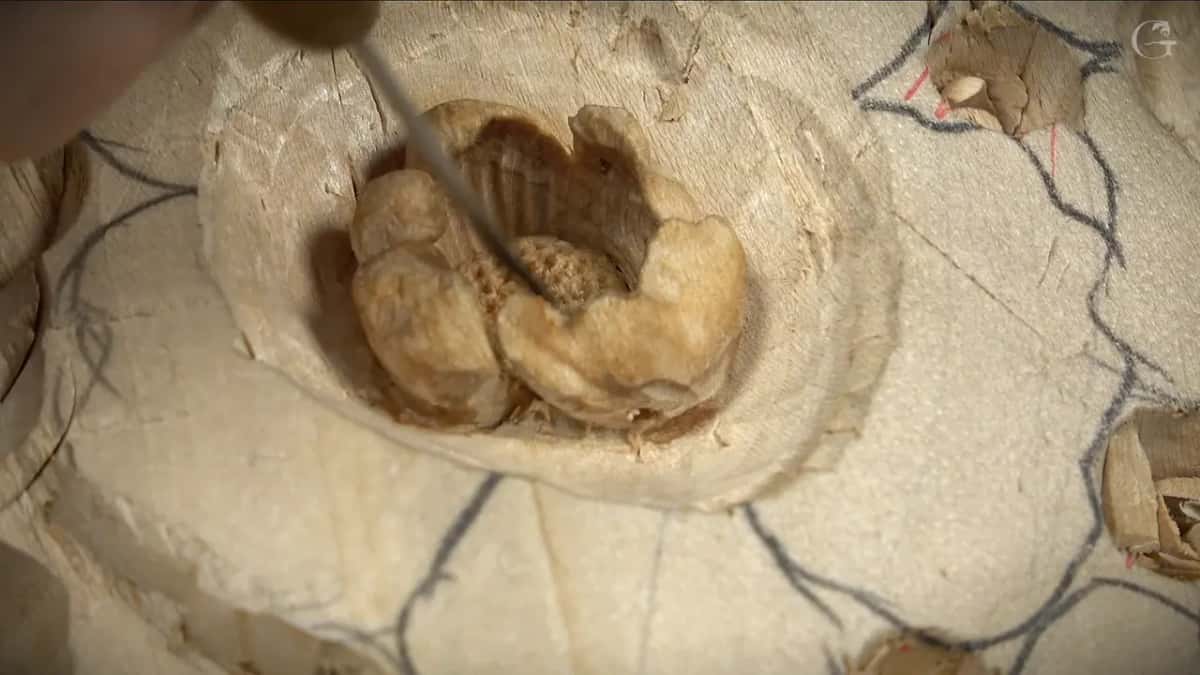
One section of a flower goes concave, convex, concave, another convex and another concave. The next flower takes the same idea without repeating it. Inside, small concaves run to a center that is pretty much a dome, just like a button. That is the thin work the glue soaked into.
The grooves running into that center came from a gouge that is not even a sixteenth of an inch. It's less, pretty much a 1 millimeter gouge, maybe 1.2. And the petals don't all move alike. One has a concave that twists a little on the inside, one has nothing, and one goes up and curls backward. Once you see that finished, I said, it's going to look awesome.
Why thin Starbond and not just any super glue?
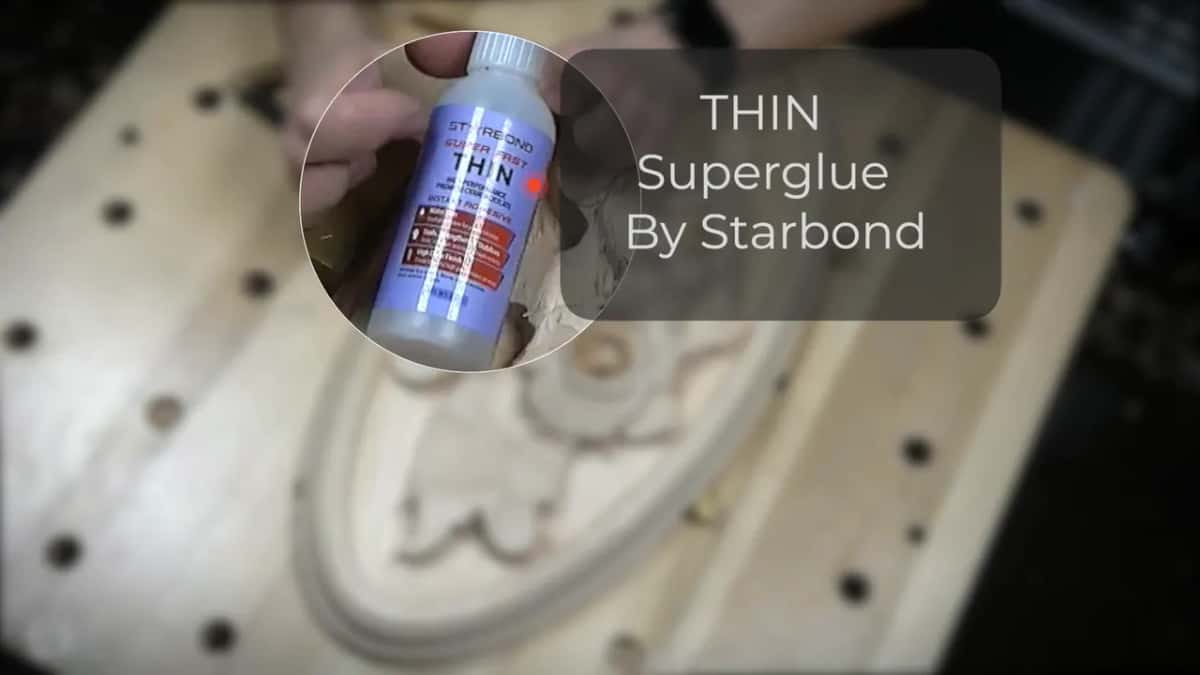
Starbond goes all the way in. It's really thin, made by Starbond, really liquid-y, and on this rosette it went through all four of those flowers.
Working a Venice Room panel, I called it super fast and really thin, just like water, almost. In the next part I said this brand is probably the best I ever saw. It's not staying on the surface. It penetrates right inside, a really deep penetration, and that made it absolutely different from what I'd seen before. I even said I needed to read a little more about this glue. My next job was the leaves, three main divisions inside each of them, a relief cut and another relief cut, and it looked like I needed to sharpen that tool.
It doesn't have to be that brand. I made that point in the back cutting lesson, where I flip a fragile piece over. The one I use there is really thin as well.
When in the carving does the glue go on?
Three moments on camera, and none of them match, so let me tell you a story about each one of them.
On the Venetian rosette the glue was already in when this clip starts, and I talk about it in the past tense.
The chamomile flower was different. A minute or so earlier I had already said it. See, this one is moving, I think I'm going to lose it, unless I stabilize it. Then came the upper part. I wanted it divided in four, with a really tiny plug cut for a center, a millimeter and a half, almost one sixteenth of an inch, maybe slightly smaller. I was really gentle with it, with no force at all, and it didn't really work.
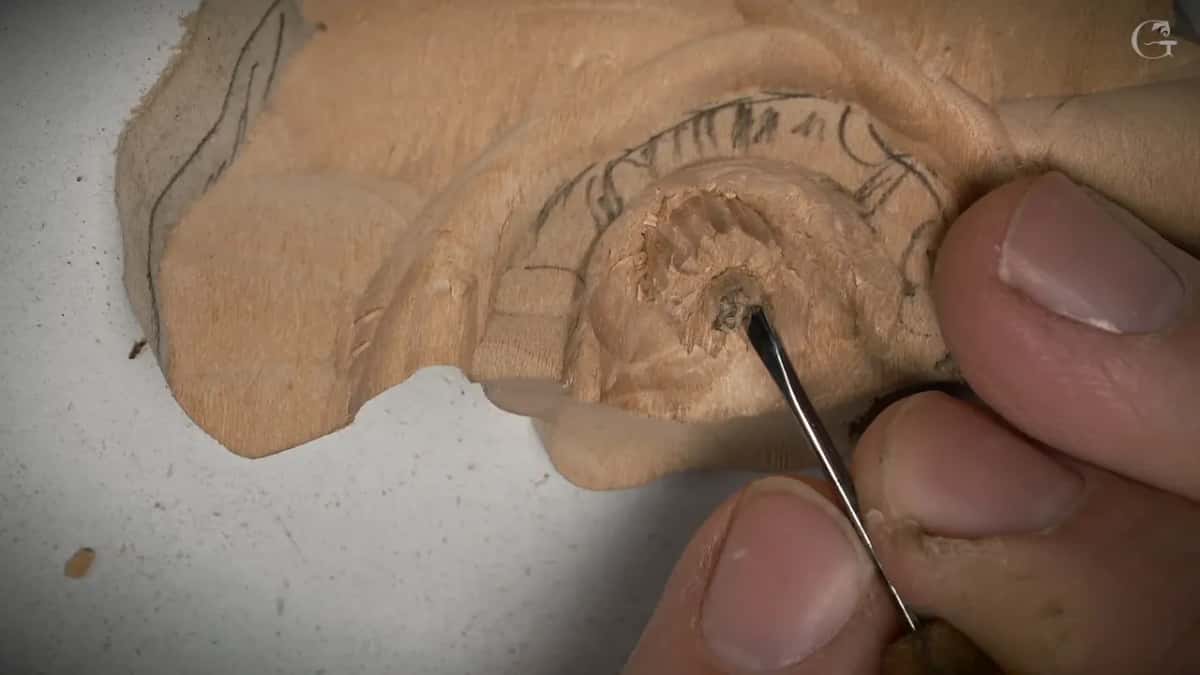
Next came one V cut, and a second one square across it. Maybe I should stabilize it first, I said. That small cross on the inside made the center move, and it kind of made me worry. Then the really thin Starbond came out, a couple of drops right in the center, and I let them penetrate.
Workshop 77 of the Venice Room was the third moment, and that one came after a scare. I held the piece and attacked it from the opposite side, and I almost broke it. Little too aggressive that day. I fixed that part with the CA glue, the same Starbond, and it went right through. It's a paint grade piece, so I really didn't worry about it. But yes, I have to be careful, I said.
Where it ends up | What went into the thin parts | My verdict | Piece and lesson on video |
|---|---|---|---|
Painted wall piece | thin Starbond soaked through all four flowers | No problem | the Venetian rosette, at shoulder level |
Shellac or lacquer | the same super thin super glue, probably | Probably fine | said in this lesson's short clip |
Raw, no finish | no glue, kept just like it is | Leave it | same clip, and Venetian lesson one |
Tiny moving center | Starbond drops right into that tiny center | Still lost | Chamomile and Bow Rosette, lesson one |
Used every day | deep penetrating epoxy, then a satin lacquer | Epoxy, lacquer | Tray of Blessing, a student's question |
How much glue goes on, and what about the extra?
Less than you think, and the extra is not a big deal if you still have carving to do. Hold your breath, I told you on the Lily Box, and seconds later I almost broke it. I used the same Gorilla clear super glue that had just proved to me it was holding good, and I only let it penetrate that area a little bit.
I didn't want to see too much of it. I removed some. And I said I was okay with it going everywhere, because I was still going to work my final detail on that spot. After that I looked at it from all the sides to see what still needed to be taken care of. A lesson later, on the same box, I made what I first called a huge mistake, maybe not that big, and the bit stayed in place. See what happens when you are trying to get really thin? There is a way to reinforce it.
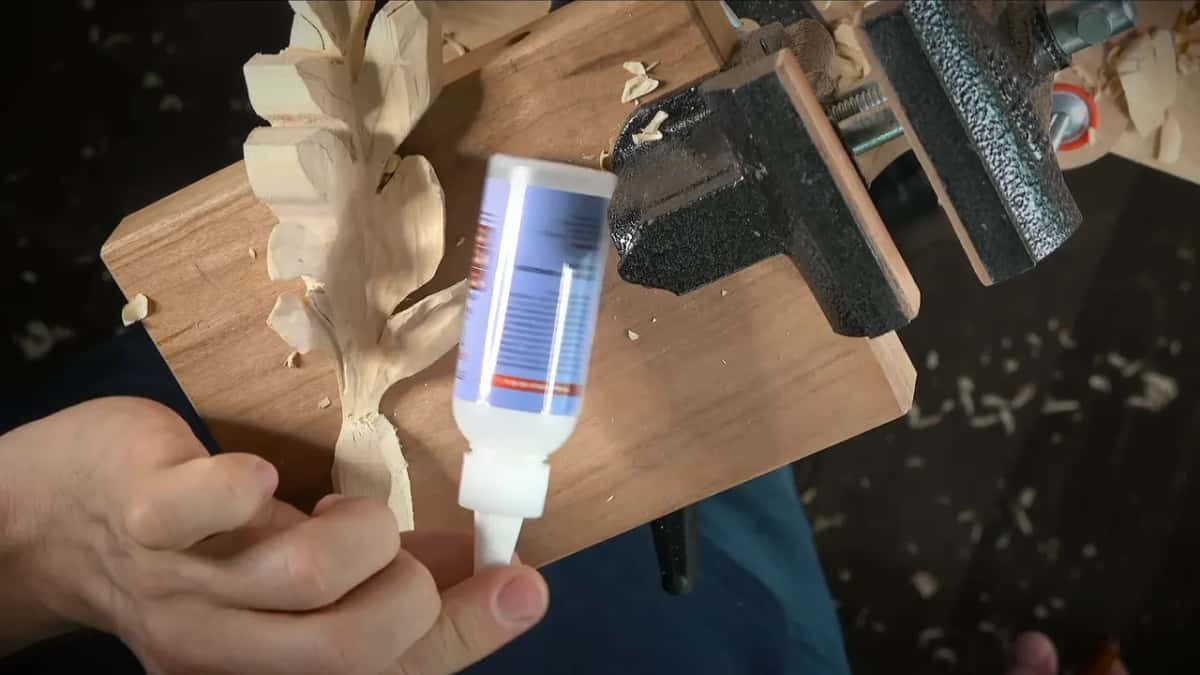
A bit came away on the furniture panel while I was undercutting with the same tool. That is what should not happen, I said, and I'd glue it later. Gorilla again, a kind that works like super glue and dries really quickly. A little bit on a toothpick, a little underneath, and I pushed it back so it fell in the same spot. The shiny mark it leaves didn't worry me. I can clean it. For small details like that, I called that glue excellent, and I'm not the only one who has to deal with that stuff.
The Hashemi flowers gave me a case where I undercut too much, and I gave you two roads. Take that bit out and redo it deeper, or put a small, tiny drop of the Gorilla super glue on it and glue it back. If I can actually find that piece, I said.
Does a stabilized part still break?
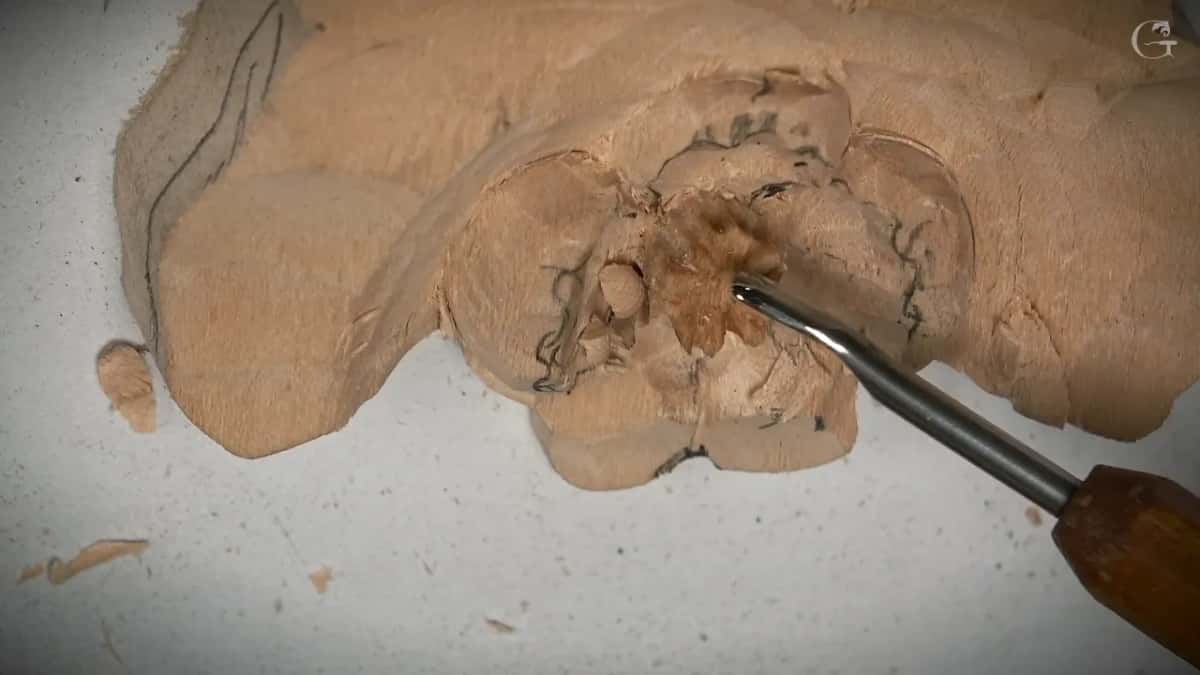
It does, and I have it on video. Later in that same chamomile lesson I asked you please not to destroy the middle part, since it will be raised up in all five petals. Half a minute after that, it came out. My glue didn't hold it, my stabilization, and I lost my middle part.
I hadn't even noticed one was gone. Fix it a little later, I said, and recreate a little lower one, and I went on carving.
I knew the Venice Room glue was probably not going to last too long either. I had to either glue that part to something else, probably what I'd do, or reinforce it on the backside. In the same part I told you not to get too aggressive with the gouge, it is not a good idea.
Two parts later, near the break point, the glued wood carved almost like plastic, which I didn't expect. I put a couple of concaves on the side for some movement, and it was catching some shadow.
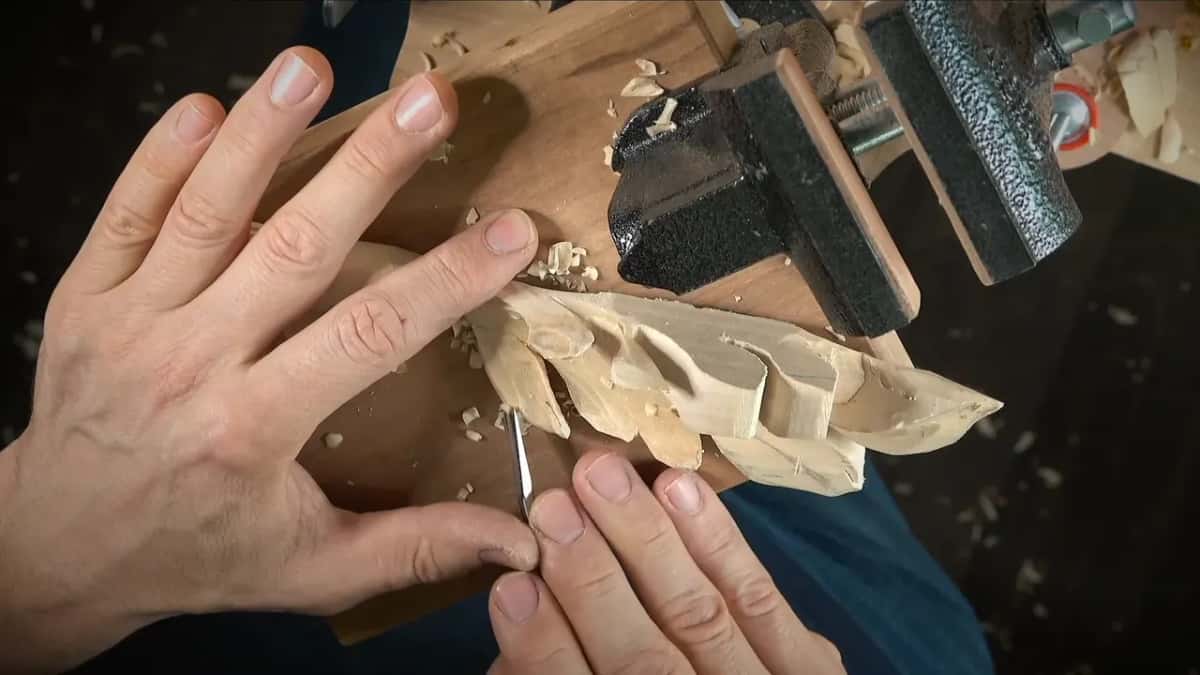
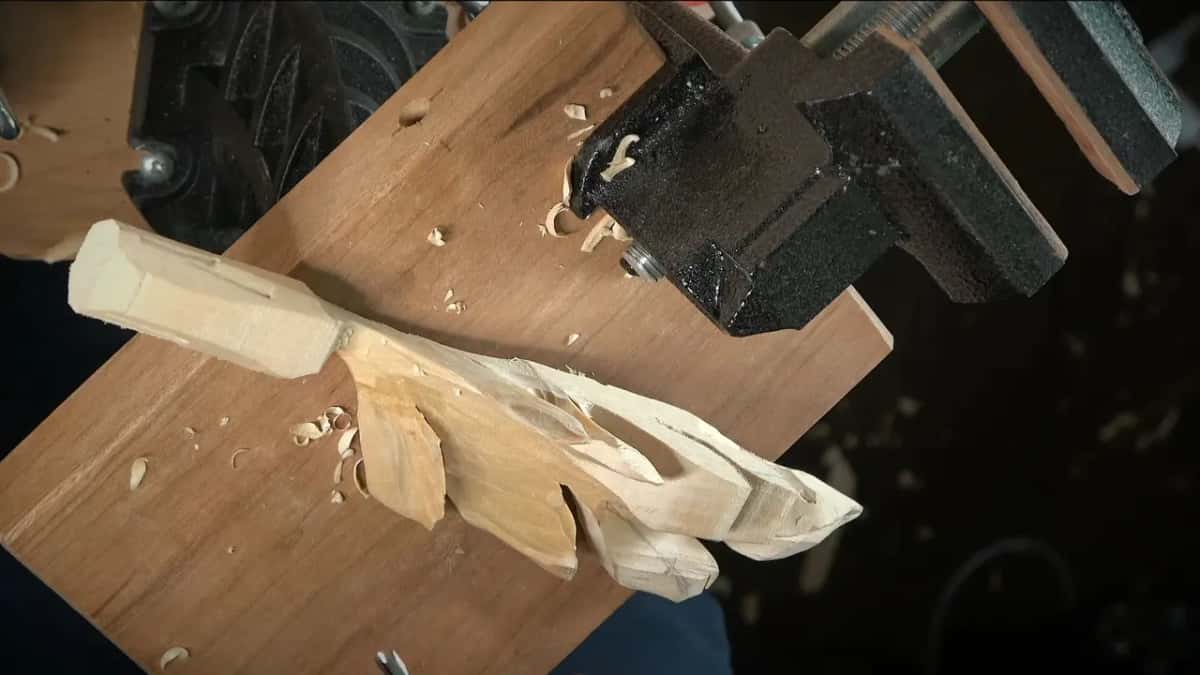
Acanthus over Moldings is where I said you could take a deep undercut with a smaller half millimeter number 11, 0.5 mm (0.02 in), as long as the detail keeps some mass. Unless you know the way to stabilize it and make it like a plastic. Then go ahead, it's easy nowadays, and a paper thin part stays unbreakable. To a certain degree, I said. You can break your own plastic, you can break anything.
What if people will use the carving every day?
Then I'd go past super glue. A deep penetrating epoxy is what I named when a student on the Tray of Blessing asked about the stabilizing epoxy I'd mentioned for it. Yes, I said, if it won't sit somewhere kept away. If it will be used on the table and stuff like this, the epoxy really goes in, the wood becomes like a plastic, and it will stay pretty much forever.
You don't have to soak the whole thing. All you need is the stabilization of the surface. That same tray had a part I didn't want to break, and there I was taking tiny little passes with just a number 11, 3 mm (1/8 in).
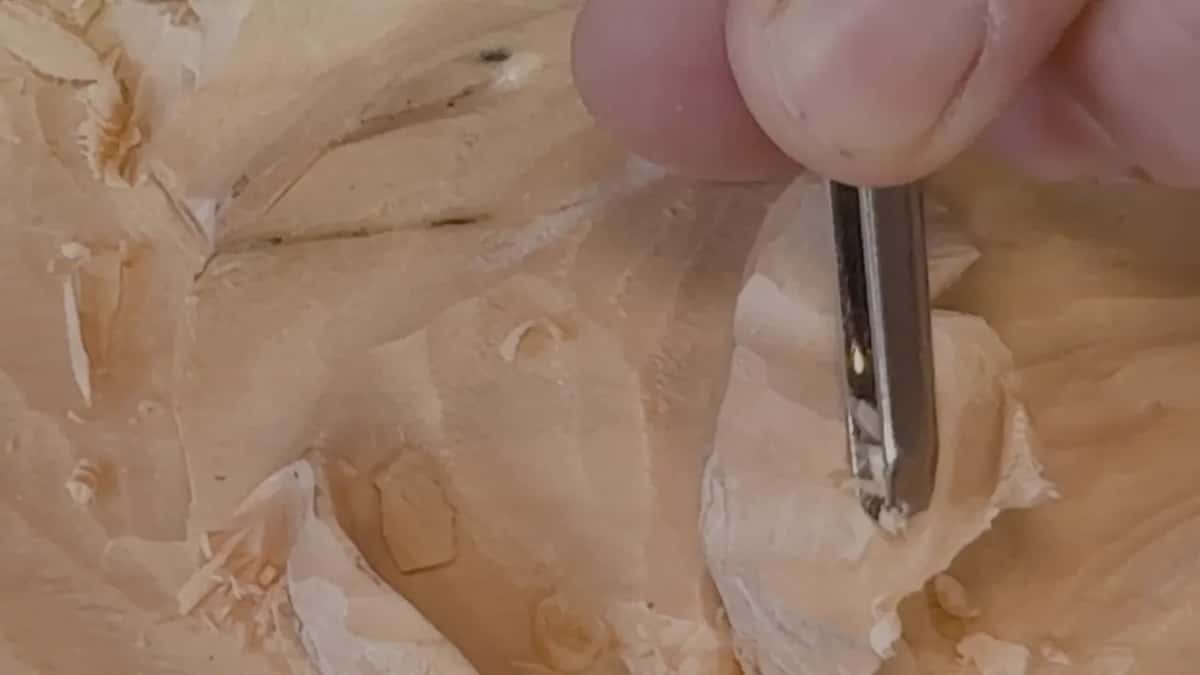
There's a catch, and I'll tell you straight. Epoxy makes the surface shiny and plasticy. Put a lacquer on top, a satin, and it looks like you finished it normally. That plastic look is what I was afraid of when I first used penetrating epoxy, before I sprayed it with the lacquer. I like the TotalBoat brand because it's not yellowing.
A lesson earlier, in the lesson before it, I called one spot already dangerous, because of the short grain. If you're going to stabilize a spot like that, I said, better yet a penetrating epoxy than the CA glue, and you could just brush it on. The carving with the grain lesson in this course is where short grain gets its own talk.
Where to watch each of these choices
The whole clip this lesson was cut from sits in the second Venetian lesson, right after the four flowers are finished. The near break and the plastic feel are in workshop 77 of the Venice Room. If your fragile piece also needs carving from behind, the back cutting lesson picks up where this one stops, and every lesson here hangs off Woodcarving Techniques, Tips, and Tricks.
Would you like to watch each of these moments with the wood right there? Then come and see the finish question decided on real pieces. Every one of these moments is on video, and tuition to the school opens all of them, monthly or yearly, renewing automatically until you stop it.
How it's done
- Settle the finish before the bottle comes out. A painted or lacquered carving can take thin glue, and a raw piece stays just as it is, with no glue at all.
- Think about who walks past it. My rosette flowers will sit near shoulder height, so a knock is possible.
- Reach for a super thin glue. Starbond, almost like water, soaked through every one of the four flowers on that rosette.
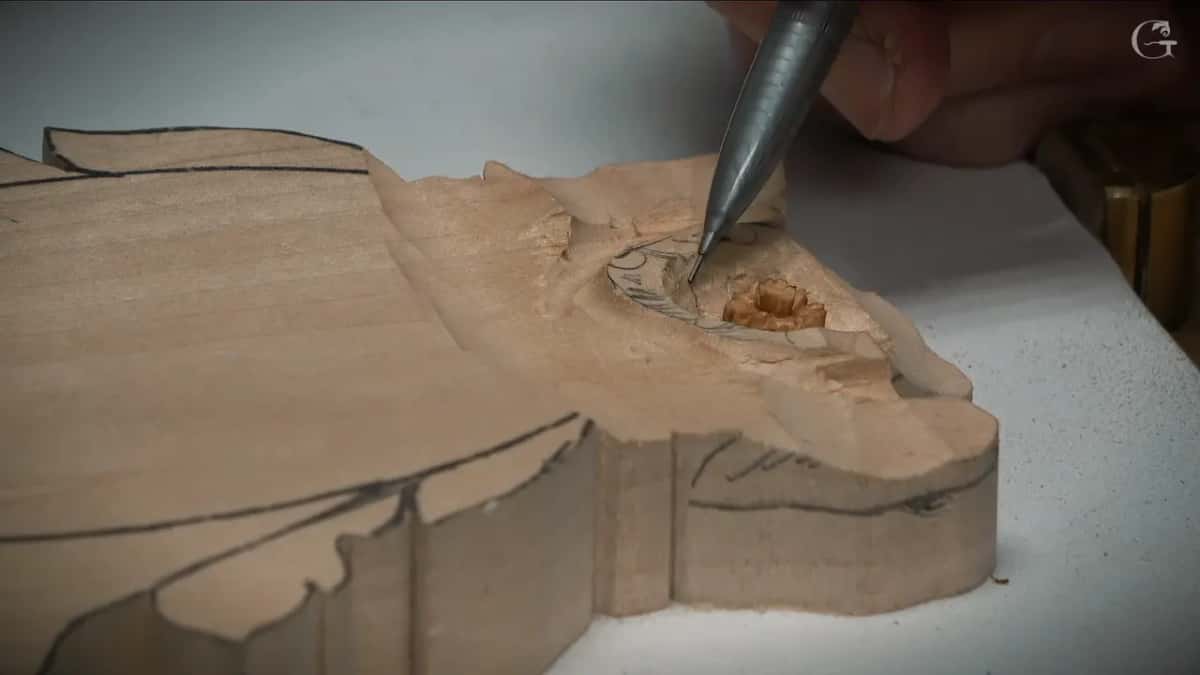
- Drop it on the weak spot. The chamomile center kept moving, so the drops went right there, and I let them penetrate before going on.
- Stay gentle afterwards. Glued wood is a lot harder to break, not impossible, so too aggressive is still a bad idea.
Frequently asked questions
What is cactus juice in wood carving?
Cactus juice is a resin, and you pull it into the wood with a vacuum chamber and a really good pump. I don't have one that big. Once you cook the piece, you can see all kind of stuff going on on top, so you have to carve it again.
Can you keep carving while super glue dries?
I did it on the chamomile flower. The drops were still drying in the tiny center when I started developing the five petals around it. Simple petals on that one, really not complicated, but still nice, and I planned a much deeper, wider carve closer to the inner part.
Does a finish help super glue hold?
I said so on the Lily Box. A gel super glue by Gorilla connected a piece there, and once a finish penetrates the spot, it should hold even better. At that point I didn't know yet what kind of finish the box would get, and I said that too.
What to carve next