
Alexander Grabovetskiy, woodcarver, School of Woodcarving · Published 2017
How do you know when a wood carving is finished?
Quick answer: A carving ends at the moment you decide, and nothing in the wood will tell you. Another ridge to remove and another line to refine are always waiting. My own teacher put it plainly: once you look at your work, like it, and believe it is done, you have stopped being an artist.
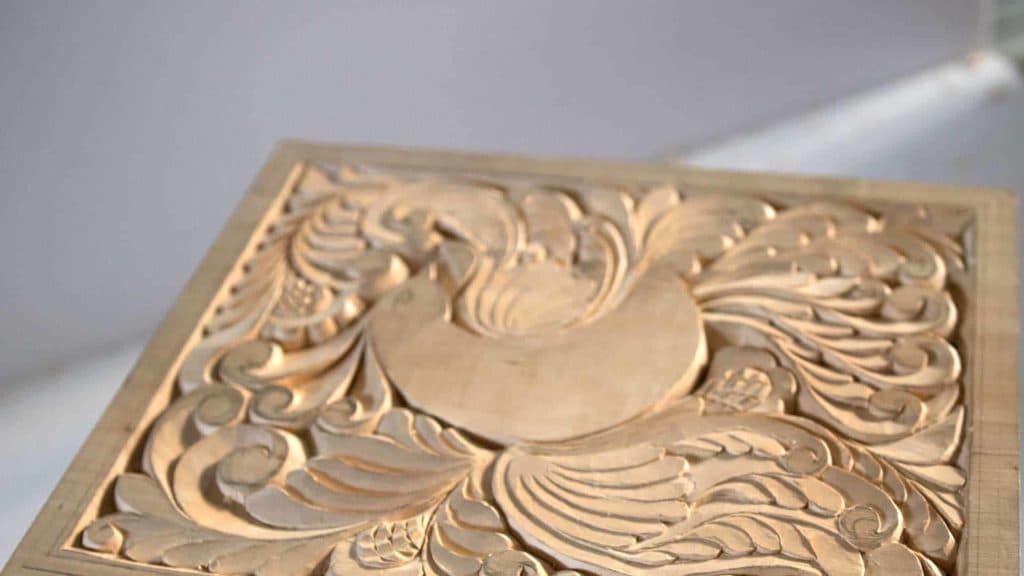
Your board is done when you say it is, and honestly it never quite gets there. You can always find one more ridge to take down, one more line to refine, one more detail worth adding. At some point the knife goes on the bench and you call it done. Nobody else can make that call for you.
Have you ever looked at something you made a week ago and seen faults that were invisible while you worked? Do you know why that happens? Workshop 15 finishes the last of the knife work, and it opens with that question.
My teacher told me something at the end of my apprenticeship that I have repeated to students for forty years. If you look at your work and you think it is done, and you like it, then you are not an artist any more. A real one still sees every mistake, still knows the spot he could have carved differently, and goes on seeing them for the rest of his life.
What the last knife session is teaching
- Your eye adjusts to your own work, so faults become invisible while you carve.
- Leave the piece alone for a few days. Come back and every fault is waiting for you.
- Depth here runs to one sixteenth, judged by eye and never measured with anything.
- Shallow is a skill, not a shortcut. Furniture panels give you a quarter inch of wood to work in, total.
- One knife does nearly all of it. A number 12, nothing exotic.
- Spacing between the lines matters quite as much as the lines themselves do.
Why can you not see faults in your own carving?
Your eye adjusts, and it happens faster than you would believe. Think about a cracked mirror in your house. The first day that crack is all you see. Three days later you walk past it and notice nothing, because your brain has quietly decided the crack belongs there.
Carving does the very same thing to you. After two hours at the bench you stop seeing the piece and start seeing what you intended to make, which are two very different objects. Ridges vanish. Lines that wander read as straight. The only cure is time away from it.
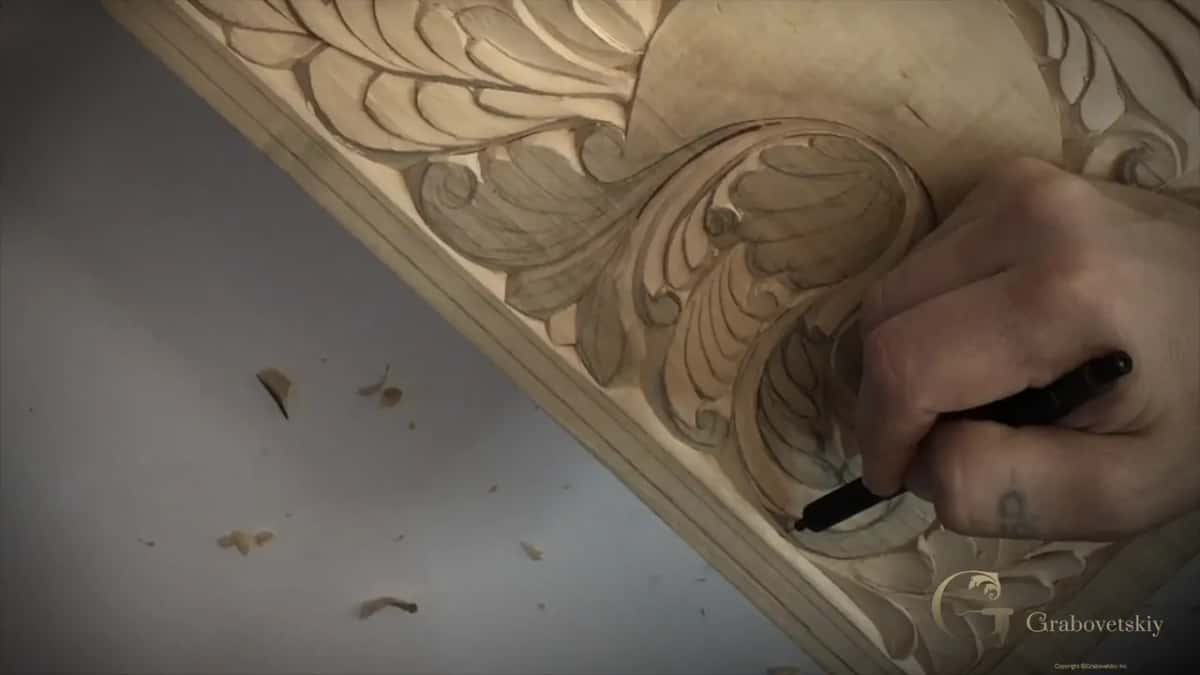
So I put a piece down for three days, four, sometimes a week, and I carve something else in the meantime. Coming back, the faults are laid out for me like somebody marked them. Twenty minutes of rested eyes beat a whole evening of tired ones, and no amount of experience replaces that gap. This whole course is built to be carved slowly for that reason.
Here is the part that surprises students. I deliberately leave rough areas rather than cleaning them immediately, because I know I will be back in a few days with better eyes and will find them faster then. Cleaning everything now would only mean cleaning it twice. Half an hour of proper looking takes care of the whole board, and that half hour is more productive than any two hours I could spend on it today.
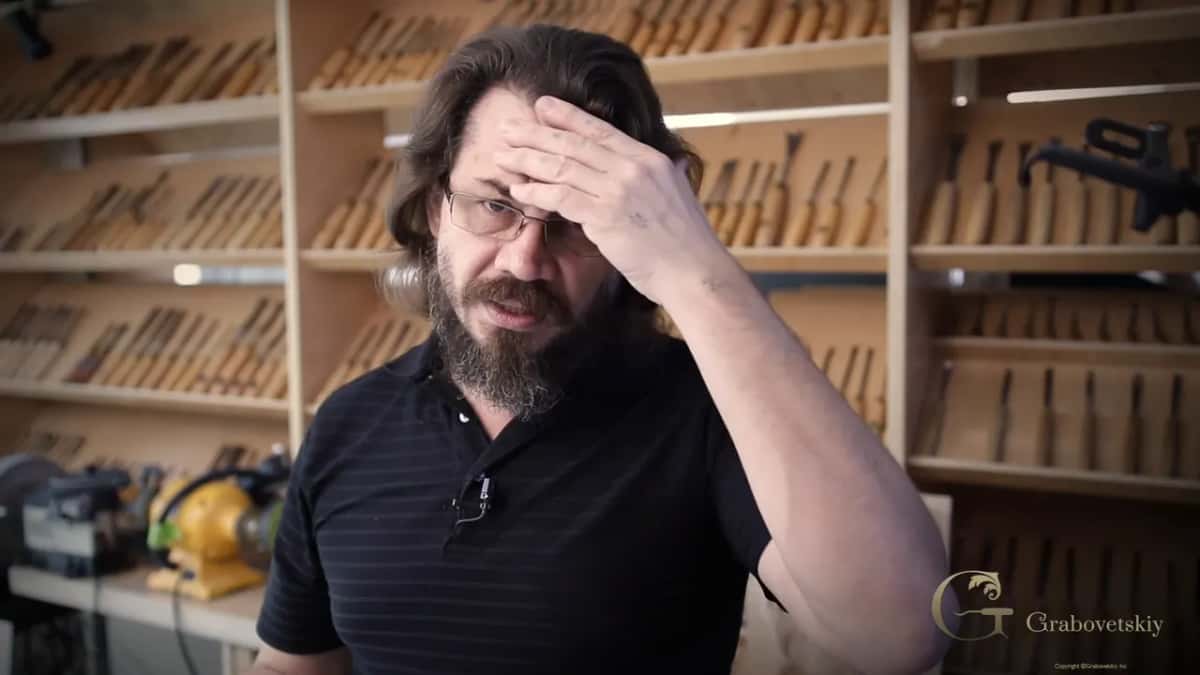
When is a carving actually finished?
Whenever you decide, and that decision is the whole job. Carving has no natural stopping point built into it. Another refinement is always available, which is why some people never finish anything and others hand over work that still needed an hour.
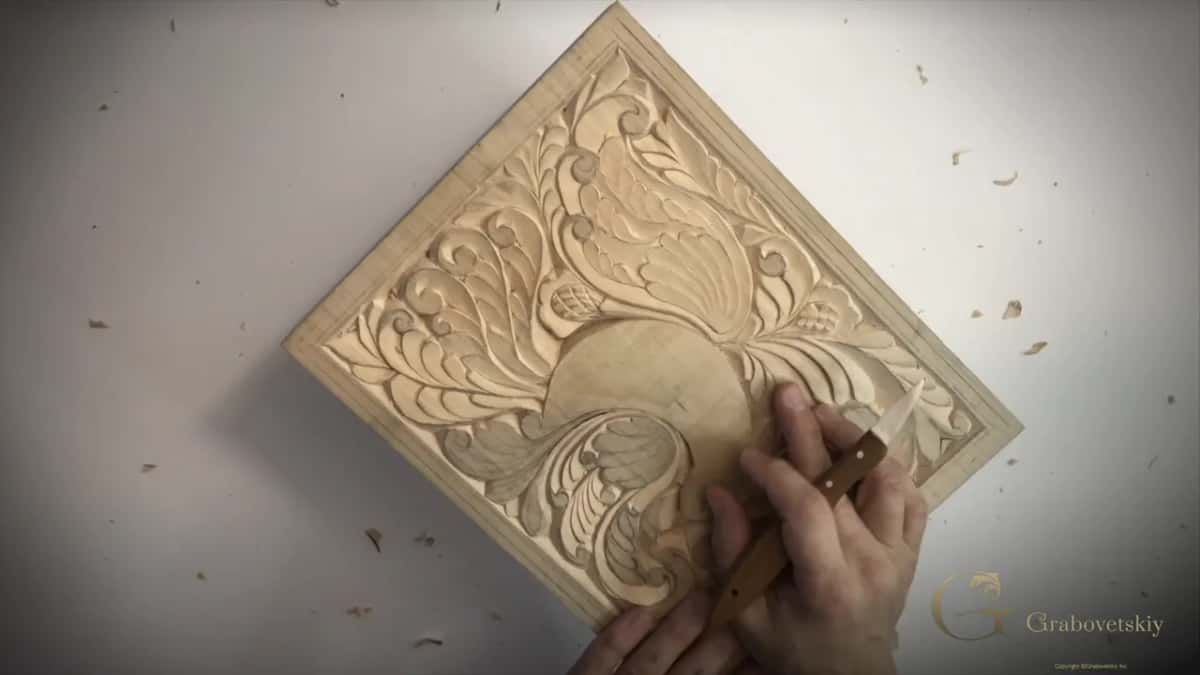
Art never ends. It only gets abandoned at a moment somebody chose. I am fairly sure every old panel you admire was put down by a tired man who could still see things he wanted to change. Once you accept that, the anxiety around finishing disappears, because you stop waiting for the piece to tell you something it cannot say.
How deep should a flat panel be carved?
Roughly 1.5 mm over nearly the whole board, which is one sixteenth. I do not measure. Forty years of doing it means my eye knows that measurement in basswood, and yours will too, sooner than you expect.
| What you are carving | How much depth you have | In mm | What has to happen anyway |
|---|---|---|---|
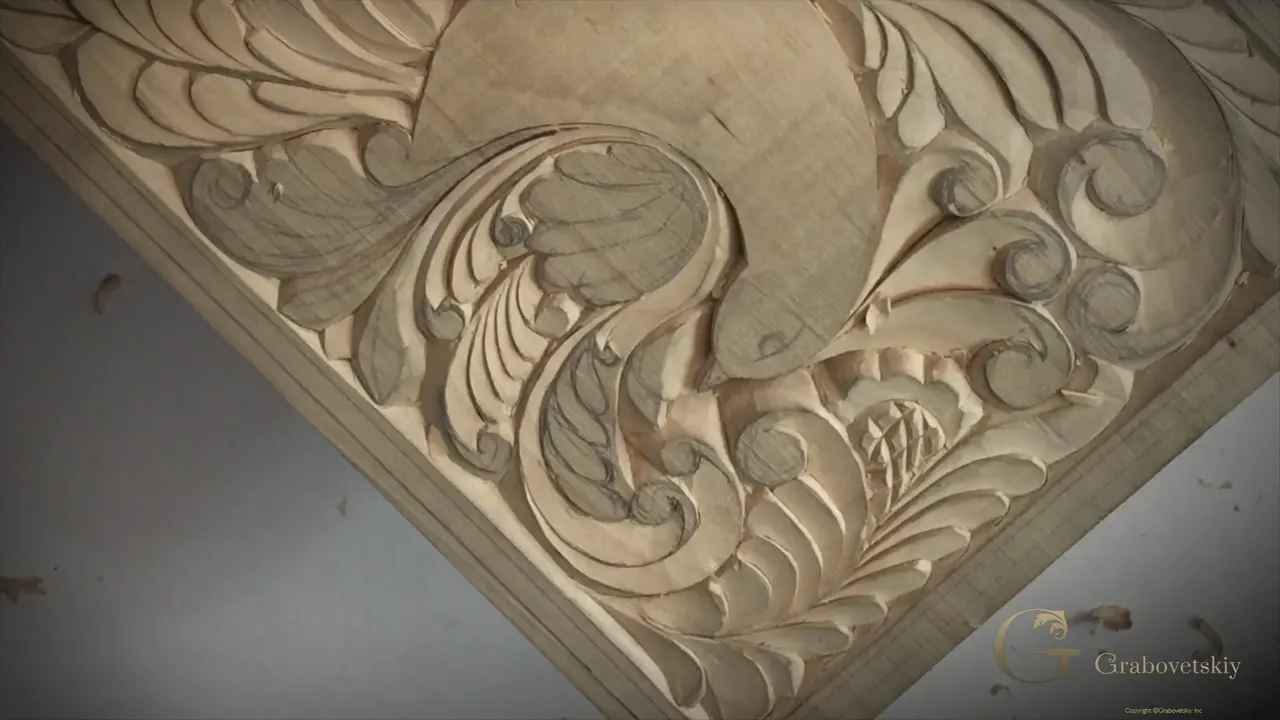
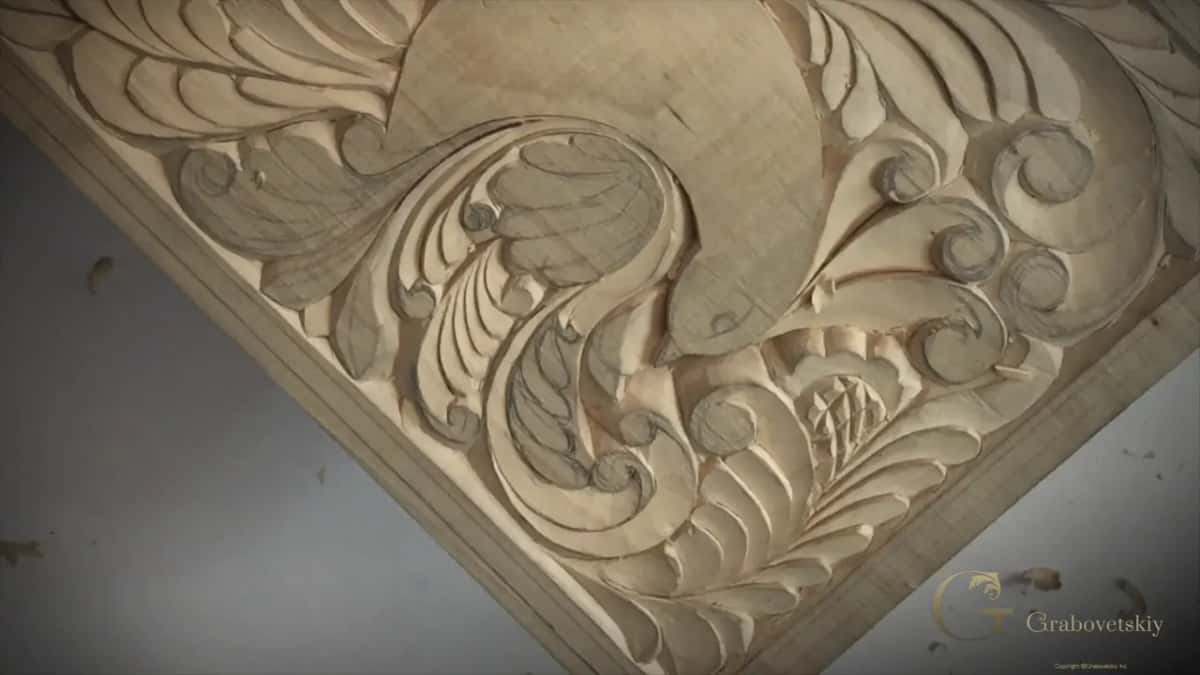
| This bird wing | one sixteenth and no more than that | roughly 1.5 | the shape has to read as raised |
| The tail curls | a quarter inch where it goes deepest | near 6 | a strong shadow along every single curl |
| A Chippendale door panel | a quarter inch for the entire panel | about 6 | the full three dimensional illusion, somehow |
| The French and Belgian panels | three sixteenths | five, or a little under | all of the above, in half the wood |
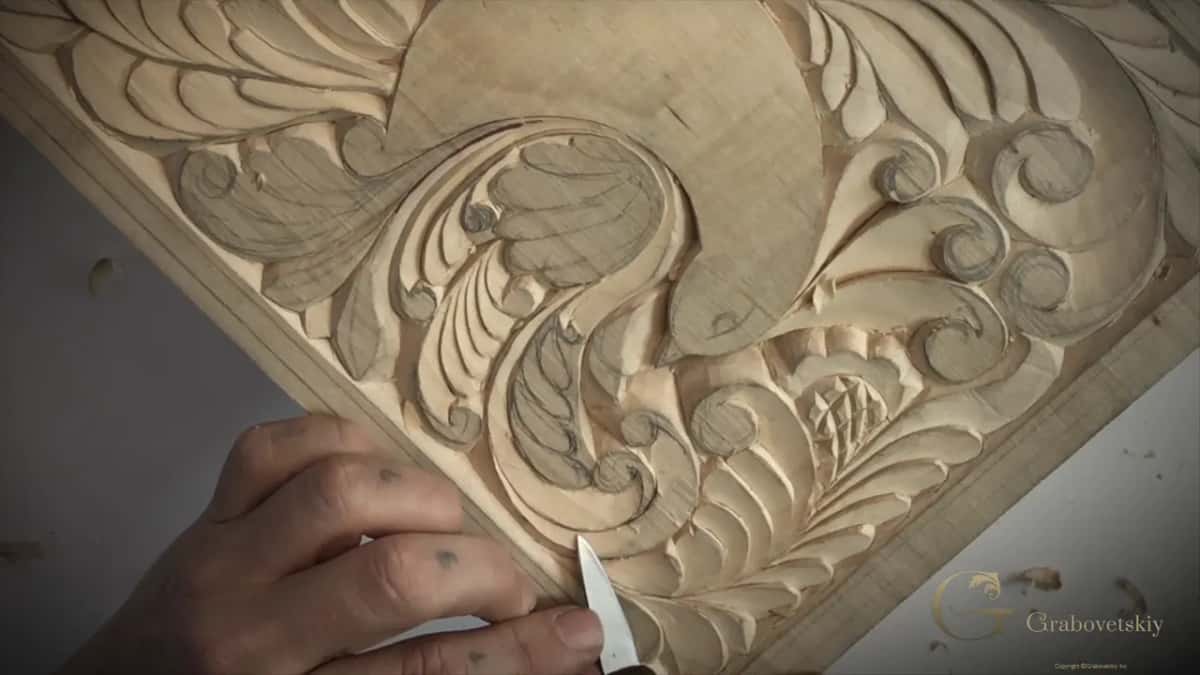
That table is the real reason we are working this shallow. Plenty of my students want to carve furniture eventually, in the Chippendale style or the French and Belgian styles, and a door panel in that work is a quarter of an inch thick in total. You cannot dig. You still have to deliver a shape that reads as fully three dimensional from across a room.
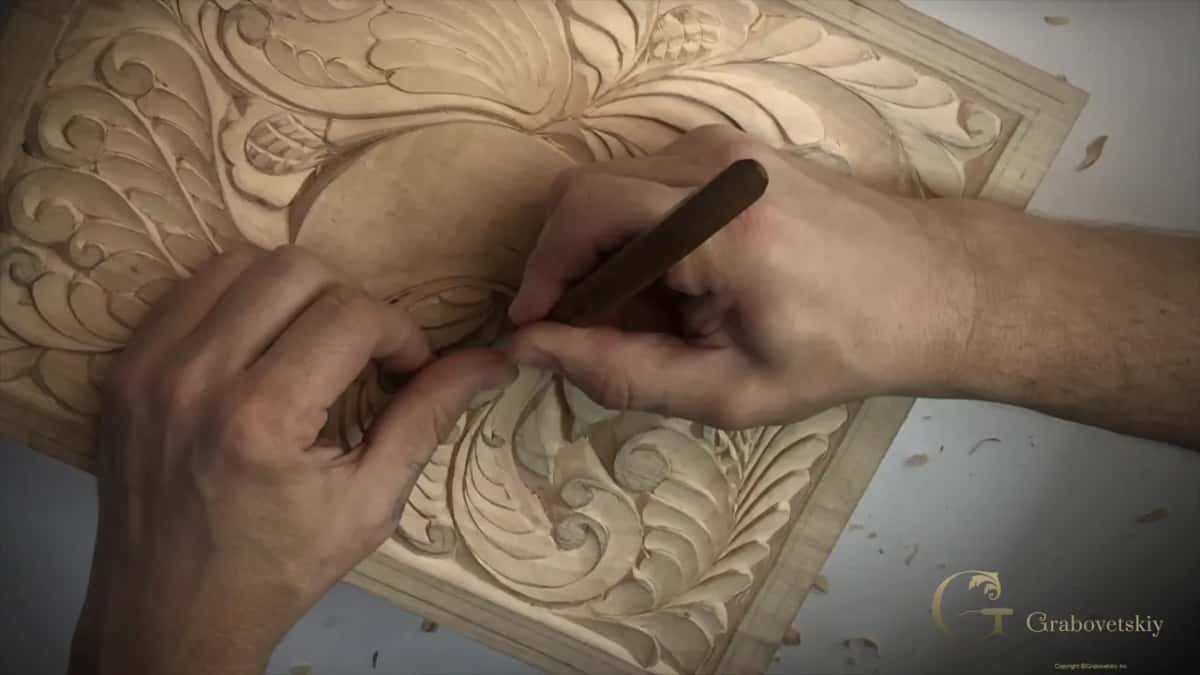
Training your hand this shallow now means that panel will not frighten you later. In places on this wing I go down to a single millimeter and the detail still holds, which nobody believes until they see the finished board under a lamp.
Does the finish make carving look deeper?
Considerably, and that is worth knowing before you panic about depth. Once colour goes on, the low ground holds more of it than the high surfaces, so every hollow darkens and every raised edge stays light. Finishing hands you contrast you did not carve.
Which means one sixteenth, once stained and oiled, reads as a good deal more. Workshop 17 makes the colour out of kitchen waste, and the difference it makes to this panel is the best argument for shallow carving I can offer.
Which knife does all of this work?
One. That number 12 handles nearly every pass you have watched across this whole course. I own plenty of others and most of them sit in the rack untouched for months at a time.
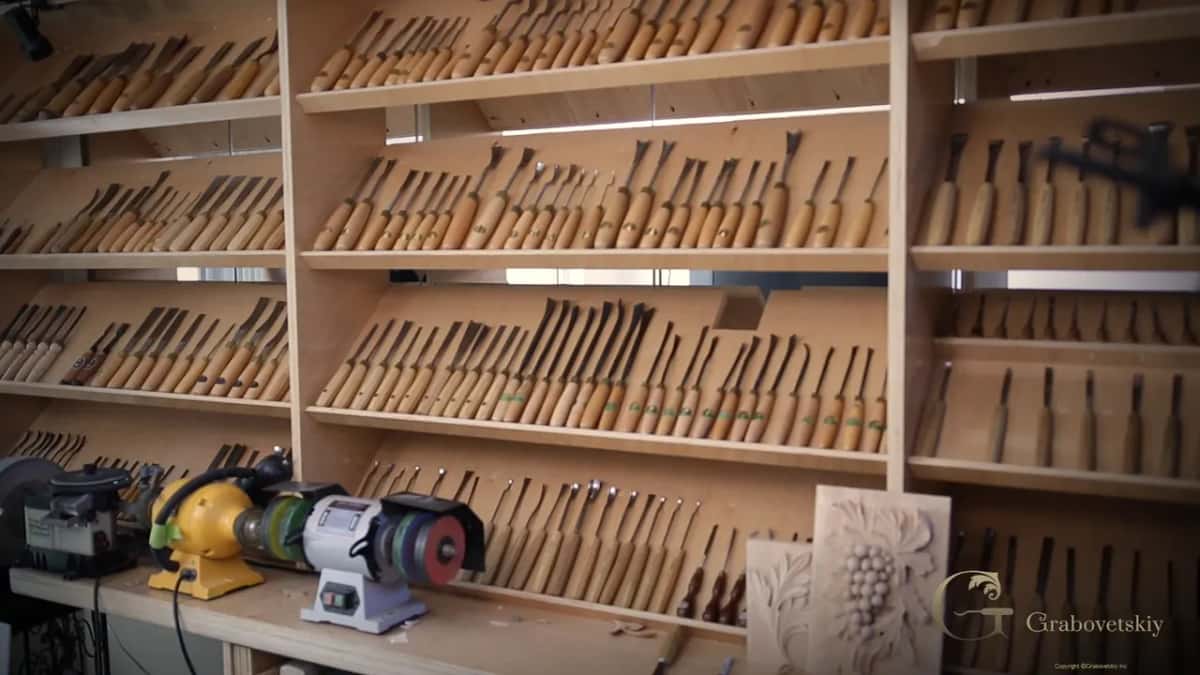
A smaller blade lives on the bench for tight spots, and comparing the two teaches something about steel. The little one is thicker through the body, so it does not flex at all, while my number 12 has a bend in it under pressure. Thick and rigid sounds stronger and is actually easier to snap, because nothing in it gives. That little blade snaps far more easily than the one that bends.
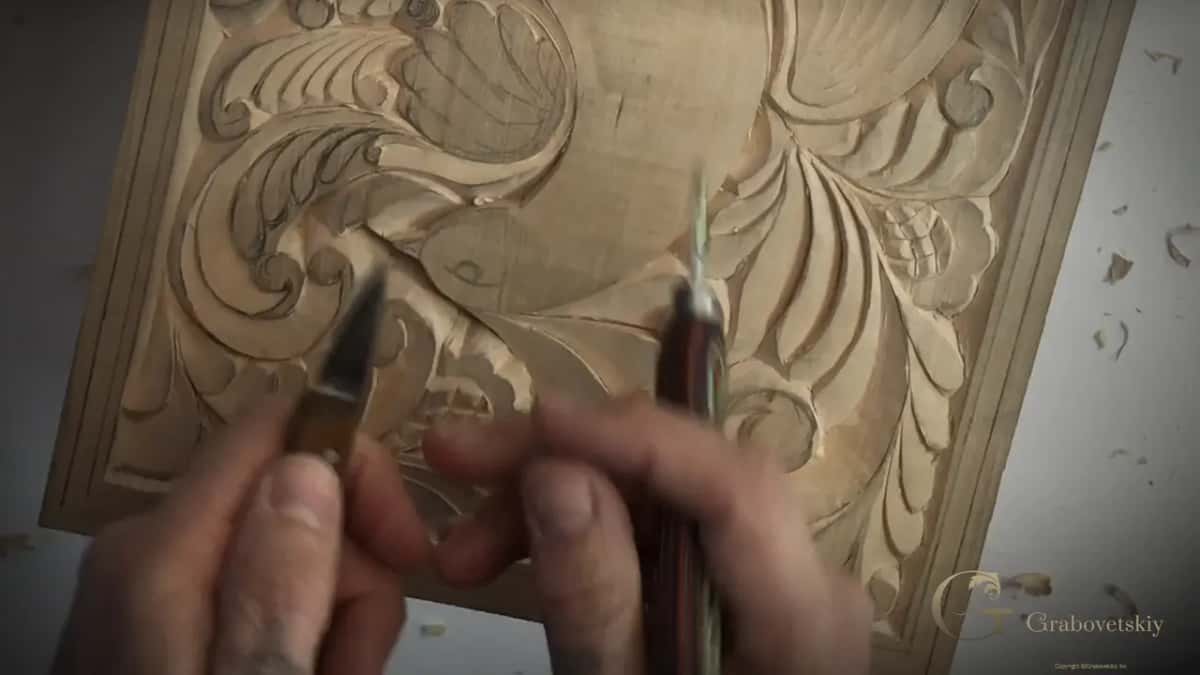
For a tiny volute the small blade reaches where the big one cannot, and that is the only reason it exists on my bench. The tools course goes through the whole family properly, and the Swiss makers publish their profile numbers if you want to match what you see here.
What decides whether the spacing looks right?
Relationships between the gaps, not the gaps themselves. Looking along this wing I could see one distance much wider than its neighbour, and a third almost matching the first, and the whole group read as an accident rather than a decision.
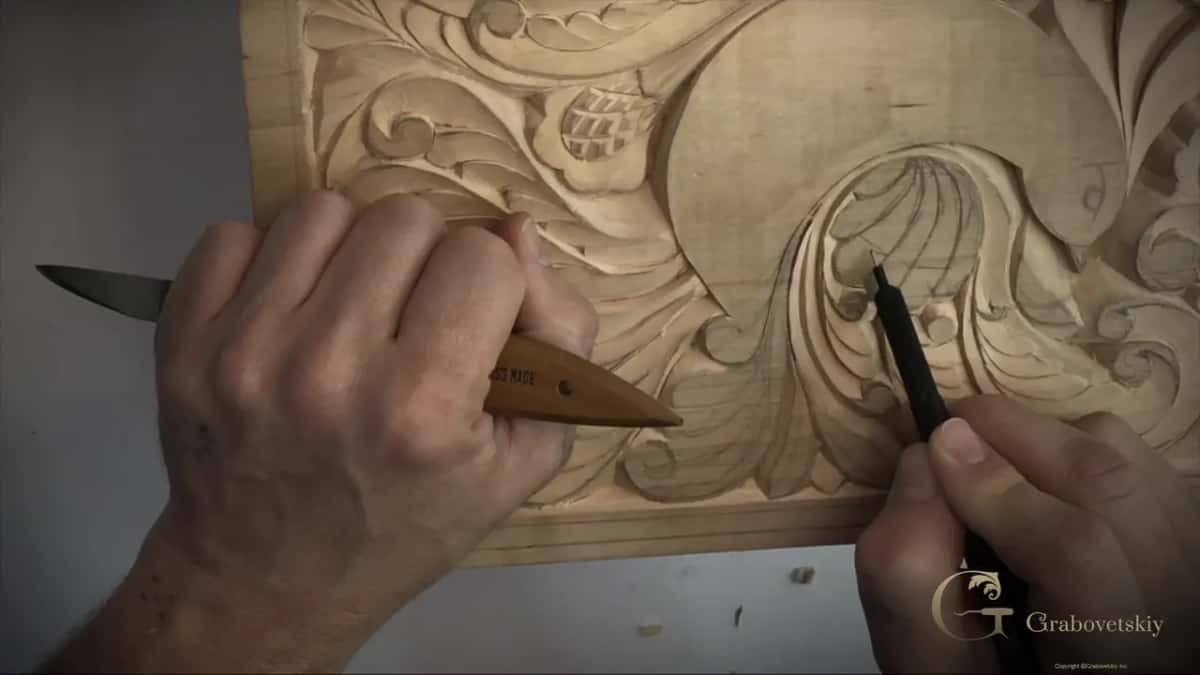
Moving one line closer fixed it. The gaps do not have to be identical, and identical would look mechanical, but they have to look related, and ideally the central one is the widest of them. Every bit of that judgement is design rather than carving, which is why design comes first in this school.
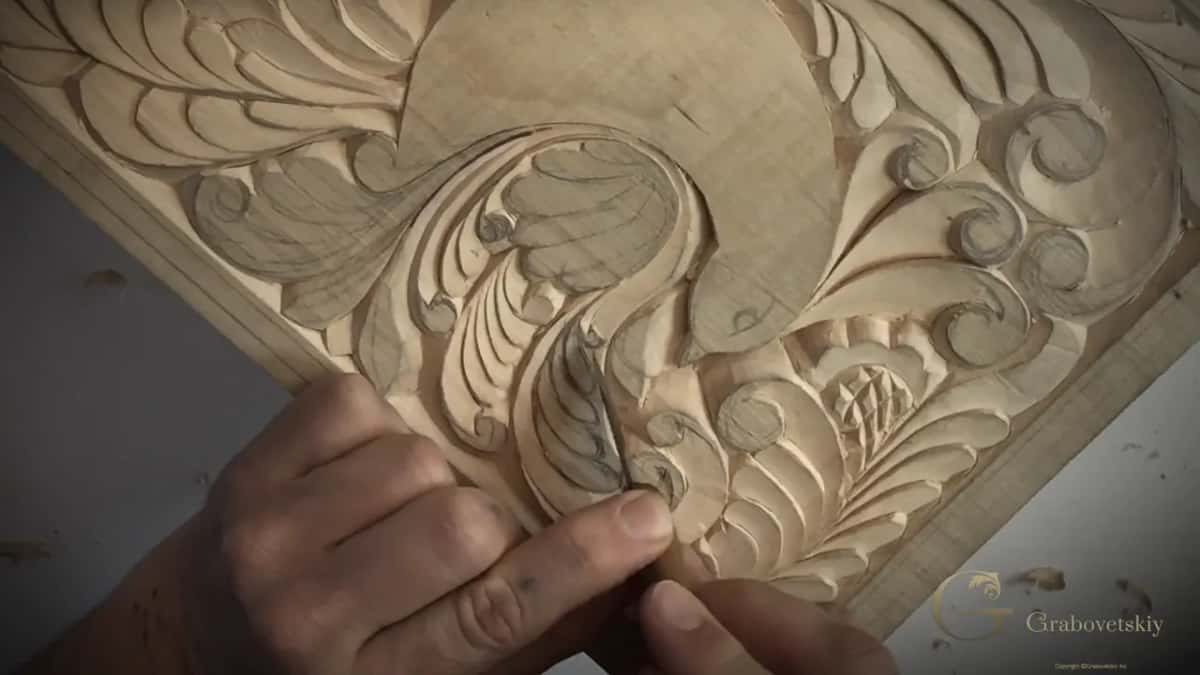
Take the triangles out first wherever a shape allows it. That habit is from Workshop 13, and it works just as well here, on details a quarter the size.
Is shallow work really carving at all?
People tell me it is not. The comment turns up every few months, usually phrased as a question and meant as a verdict: that style is not really carving, it is just decoration on a flat surface. I disagree with that completely, and I have thought about it for a long time.
Look at what your hands are actually doing. You are reading grain direction, judging bevels, setting depths by eye, removing wood with an edge and controlling exactly how much leaves the board. Every one of those is carving. The only thing missing is the distance the blade travels down into the wood, and depth was never what made this craft difficult.
Whether a shape sits a quarter inch proud or a millimeter proud, the decisions are identical. Shallow work is harder in one respect. At a millimeter you have very little wood left to correct into, so a slip costs you the surrounding area as well.
Why does the lamp matter more than you think?
Light shows faults that daylight hides. As a session nears its end I pull a lamp in close to the panel and move it around, and ridges I could not see all afternoon appear immediately, throwing little shadows that give them away.
It is in the way of my camera, which is a nuisance for filming and worth it anyway. A raking light along the surface is the cheapest inspection tool in the shop, and you already own one.
So before you call a piece done, take a lamp to it. Any lamp you can move around will do the job perfectly well, and a phone torch held low across the surface is nearly as good. Turn the board, turn the lamp, and look along the surface rather than down at it. Whatever appears was always there and your eye had simply stopped reporting it.
When should you stop planning and work detail by detail?
Where many lines converge in a small area. Most of this course establishes the straight down passes across a whole shape first and then comes back to shape it, which is the orderly way and the right way nearly always.
Around this last section I abandoned that. Too many lines meet in too little room, and the upright pass on one of them would have removed the wood I needed for its neighbour. So each detail got outlined, shaped and finished on its own before I looked at the next.
Both methods are correct. Knowing which one a piece of wood is asking for is judgement rather than rule, and it arrives after a few hundred details rather than from a book. One small trick is coming for the corners nobody can reach into, using a shaped block of wood rather than a blade, and the next session puts it to work.
What keeps a shallow pass steady?
Put your hand under the work. My palm goes beneath the blade, two fingers steer it, and one finger sits there purely to stop the blade travelling further than I intended. Nothing hangs in the air, so nothing wanders.
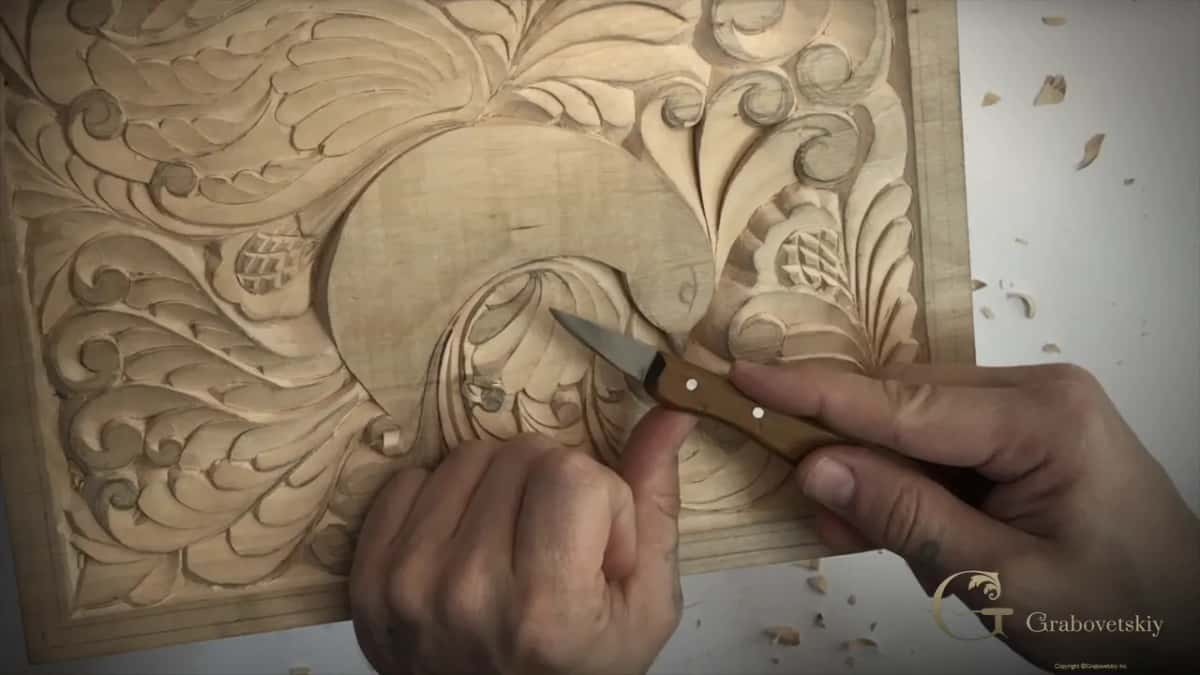
Near the outside edge, remember which side of your line has fewer fibers holding it. On the left of the blade here there is almost nothing, so the pressure comes out of my hand entirely and the sharpness does the work. The sharpening course is what makes that possible.
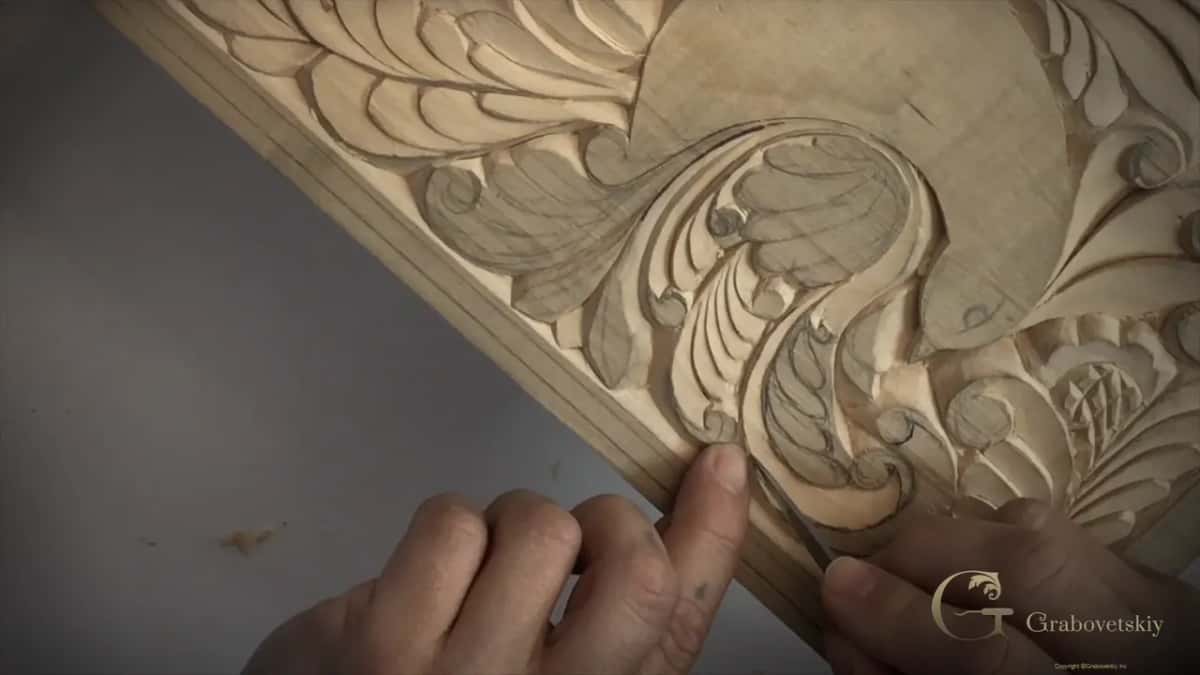
Around the bird itself I go deeper on purpose. The outline of the creature needs to sit above everything else, because it is the subject and the ornament around it is the setting, exactly as it works in relief of any scale. Lose that difference and the whole panel turns into wallpaper, pretty and saying nothing.
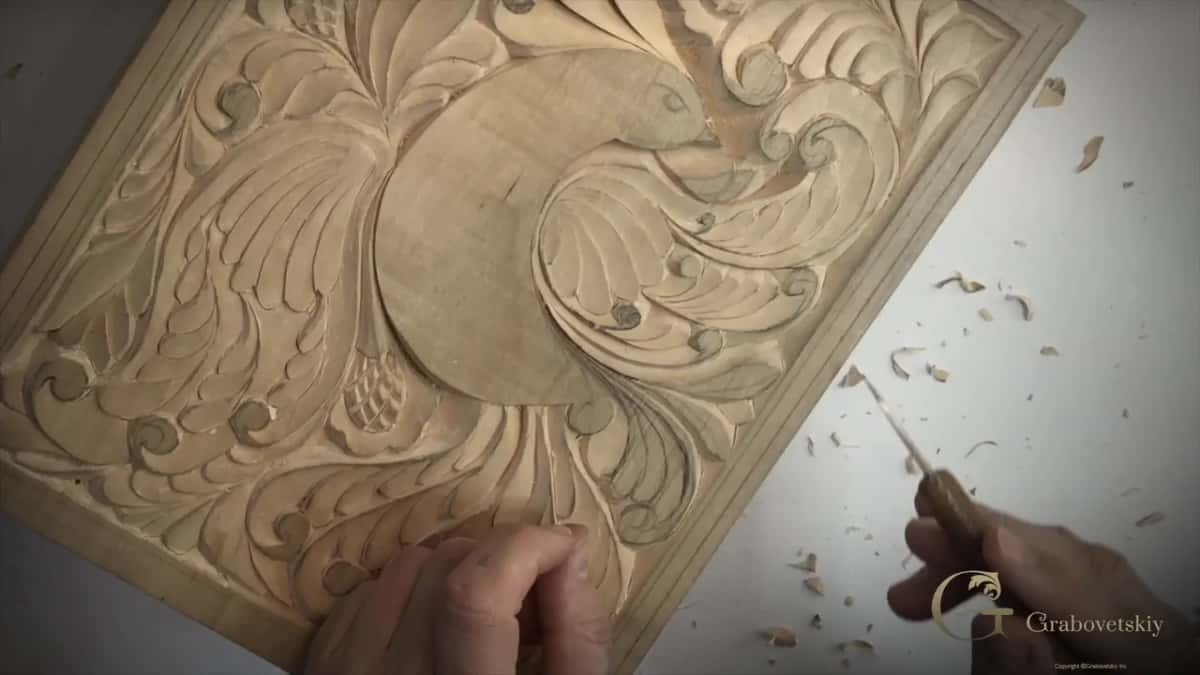
What happens when you make a mistake this late?
Fix it and carry on, out loud if you are teaching. I made one in this session, said so, and left it in the video, because watching a recovery is worth more to you than watching a clean pass.
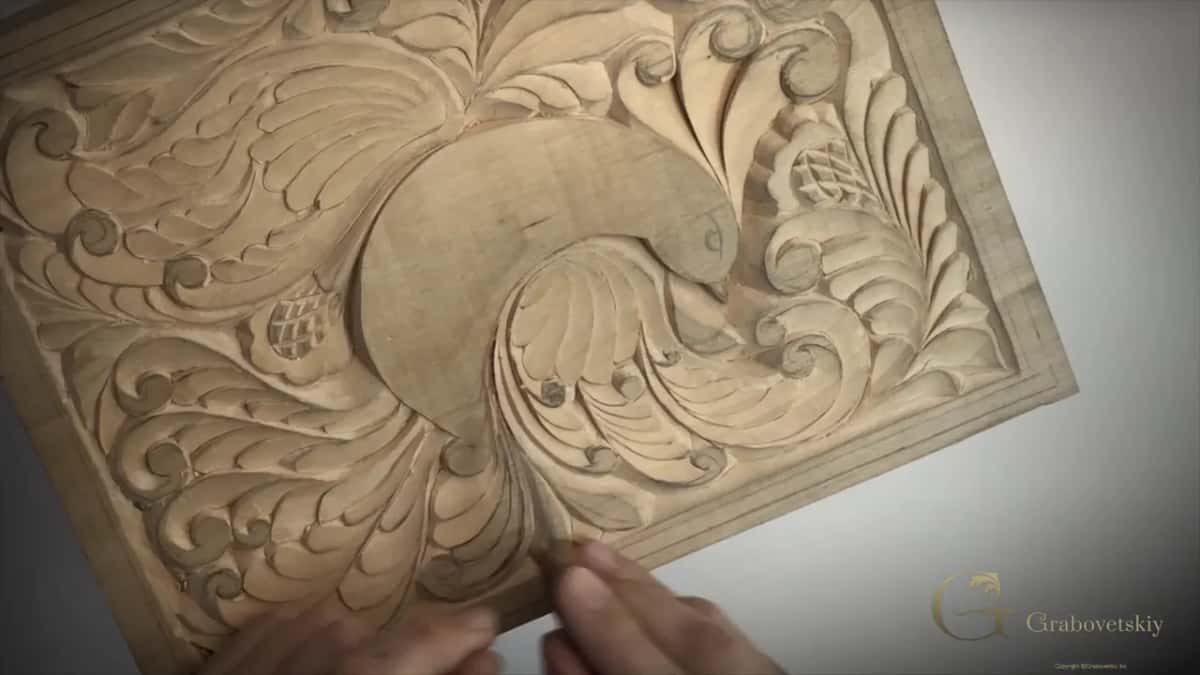
Most late mistakes come from pressing too hard near an edge, or from hurrying a volute where several lines converge. Lower the surrounding wood slightly, recarve the line, and the repair disappears. Workshop 14 shows the same recovery on a bevel that went too steep.
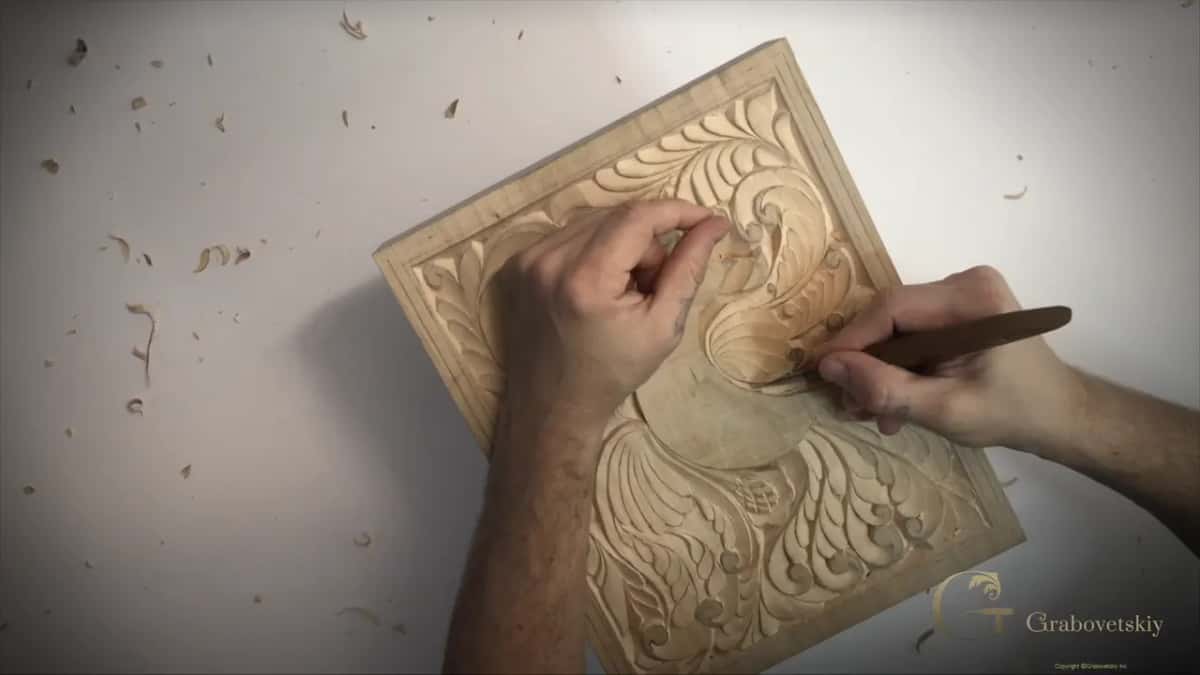
Red pencil marks go last. Carve it away rather than sanding it, because abrasive presses fibers flat and a scraper or a blade does not. Workshop 8 argued that at length, and by now your board is the proof.
Next session the knife goes down and a gouge comes out for the first time in this course. Workshop 16 explains the numbering, the sweeps, and why a border changes how the whole panel reads. Everything your hand learned on one blade transfers straight across.
You have a board that is nearly carved, an eye that needs three days away from it, and a teacher telling you the work will never be finished anyway. The rest of this bird is waiting, along with three thousand other lessons. Shall we carve?
How it's done
- Put the piece down. Three days, four, sometimes a week. Carve something else meanwhile, because your eye has to lose its familiarity with the surface before it can judge it.
- Come back with a lamp. Pull a light in close, then move it around while you turn the board. Ridges that hid all afternoon throw shadows the moment the light comes across them.
- Mark, do not chase. Note every fault you find before repairing any of them. Chasing each one as it appears costs an evening and finishes nothing.
- Work to a sixteenth. Judge that depth by eye rather than measuring anything. Furniture panels give you a quarter inch of material in total, so the habit pays off long after this board.
- Relate the gaps. Look at the distances between lines as a group. They need not match, and they do need to look related, with the middle one widest when the design allows.
- Decide, then stop. Nothing in the wood announces completion. Pick the moment yourself, put the knife on the bench, and let the piece be what it is.
Frequently asked questions
When is a wood carving actually done?
Your own judgement closes it, because the piece will never announce anything. More refinement stays available forever. Experienced carvers stop once further work risks more than it adds, and beginners tend to stop far too late.
Why can I not see mistakes in my own carving?
Familiarity blinds you. A crack in a mirror disappears from your attention within days, and a ridge on your own panel behaves the same way. Days away from the bench give your eye back its honesty.
How deep should relief carving on a board be?
Depth here runs to one sixteenth over most of the panel, close to 1.5 mm. Distance into the board is not what makes a shape read as raised. Shadow does that. Colour sitting in the hollows afterwards doubles the effect again.
What to carve next