

Alexander Grabovetskiy, woodcarver, School of Woodcarving · Published 2020
What does a wood carver mean by "still able"?
Quick answer: In Venice Room 59, part 4, I said a back bend was a big help with a molding in the way, and again when I was almost parallel to the ceiling. Those words also sit in my Hashemi, Furniture Panel, Roman Acanthus, Lily Box and Venice Room lessons.
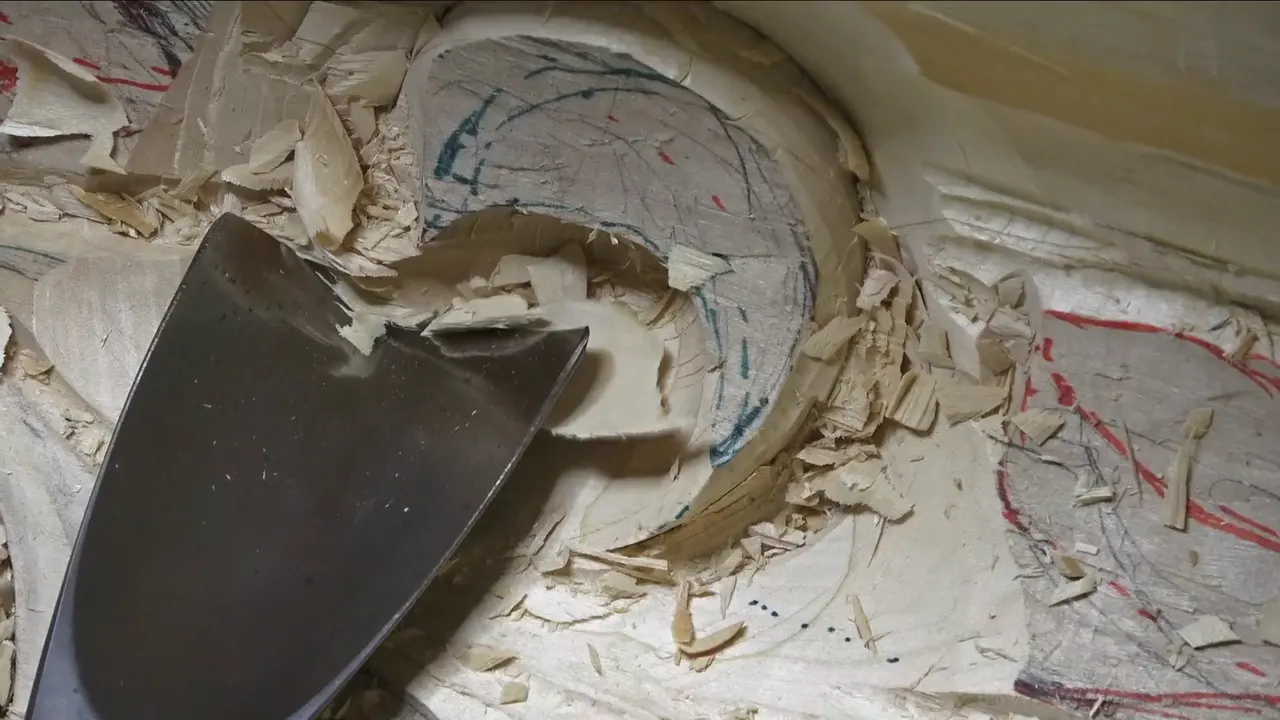

"Even if I have that molding in the way, I'm still able to actually use that." I said it in Venice Room 59, part 4, about a back bend, while I worked on the transition to the ceiling part. My Hashemi, Furniture Panel, Roman Acanthus and Lily Box lessons carry the same words. So do more Venice Room workshops.
Part 4 opens with a plan. It names a number seven gouge of three and one-eighth of an inch (about 79 millimeters), "like 80 millimeters" (3.15 in). The plan is to "try to clean a little bit, create for myself some canvas, some surface I can draw on and develop a little better."
What did I say before I reached for the back bend?
"I think it's a really nice development." The wood "just flows naturally, goes in, and then goes on the ceiling." My need, in my words: "somehow create that illusion of flipping from an opposite direction and go up." And "First of all, I need to knock down this area just to create some roundness."

"It doesn't look like I'm able to do it this way." My plan was to "at least hit some of it," in this direction and that one. "That is enough." And: "Otherwise, I'm going to create some marks that is going to be hard to get rid of, and I really don't want to do that."
"So it's time to switch to smaller tools and continue my development."
"And let me think, what tool should I use?" For the section that "has to go from underneath," I said, "I would probably still use the same number three and seven millimeters because I really need to get gradual movement." In inches, seven millimeters is 0.28. "Even with my gouge, I can gradually just check."

"Maybe I can just clean a little bit this section with the number 11." "I'm using number 11 and 12 millimeters, half an inch." "And now I can probably start putting some details." I also said "I still want to develop some of it," and "somehow I need to round up. I mean, just to fill it this side."
Why did I reach for a back bend at the transition?

"It is a little challenging because transition to the ceiling part," I said, "but it doesn't mean it's impossible." "I'll just use a back bend." "And see, back bend helps me a lot," I said. "I'm still able to use it."
"Let me chop a little bit this direction, too, though I need to change the direction because it is against the grain, and I need to change it and work with the grain."

Almost parallel to the ceiling, I could make my cut anyway. My words: "that is excellent tool, actually, to have." And my advice about buying one: "I think if you're really serious about wood carving, you should at least consider to buy it. I'm talking about backbends."
"I'm not going to create the finished line, but at least that just gives me a really good idea what I want to develop." "Now I'm ready to put some more line work."
Where should the middle line go?

There are "a few different ways" to develop it. Continue this middle line, and "I will lose this section, which is okay." Or "go a little farther." "Maybe it also not that bad." "I also have to look in overall how it looks in overall picture." "Probably it's going to look much better" if my middle line moves a little to the left. "That's exactly what I'm going to do."
I named a main leaf and a division, and "of course, logically, I supposed to have an eye."

In part 5 of the same lesson, the eye is "my main cut right now," with a number 11 at "probably around four millimeters, three millimeters will work also" (0.16 in and 0.12 in). Of a straight tool: "I'm not sure if even a straight tool will be sufficient for me. Maybe not." And later: "It's impossible for me to use the mallet right now with this tool. Just have to push it."
A line about the screen is in part 5 too. "It looks easy on the screen, but this area is challenging." "The challenging part is not to carve, the challenging part not to mess up its overall feel." For the second concave, "a little bigger tool," 10 millimeters (about 0.4 in).
Before the concave beside the eye I said, "I think I'll use seven millimeters" (0.28 in), "but I will need to sharpen it. Not to sharpen it, but buff it."
One pipe was done, and another was still to come. "Yes, I will excavate a little deeper later, but for now just indication of the movements." On the whole design: "Don't pay attention to overall design. I will fix it. All I need right now is just a concave-convex movement."
"Let me use back bent again," I said, with blending to do. And at the end of part 5: "I'm able actually to put some kind of little S movement." "I'm able to do another subdivision going like that."
Does a back bend help elsewhere?

The gooseneck, in Hashemi Flowers 10, part 9. Moving the tool on the inside, "I'm not prying anything against the material." Barely touching that side, a cut stayed within reach. "That's why I love those back bends." "I can achieve the same results with other tools, probably." Safer, I said: "It's nice to have a back bend, and that makes it, like I said, safer." A plan follows: "Let me take again big number nine," at "3/4 of an inch or 20 millimeters."

Roman Acanthus 16 has a straight tool, "a fishtail, but it's still straight." Even "just a straight" reached "those areas."
What did I do when a tool was not a close match?

Back in that lesson, part 1, a tool was "just slightly too big." "That's okay." It looked like the cut could go on. A number seven was my plan, "maybe," about one-inch (25 millimeters), to "gradually try to make it rounded, for it looks like it really curls out."

Lesson 16 of the Hashemi course, part 2, has a number seven of "about 10 millimeters" (0.39 in) and a plan to start undercutting this direction. "I took smaller tool because smaller material I can take right now, less fight I have with the wood." "Sometimes it's better to have big tools, sometimes it's better to have small tools." At the end grain, "it's not that easy sometimes," yet the small tools did it "with no problem."

A closer match is the topic in Furniture Panel 15, part 8. My main idea was within reach, "although it's probably better to use a closer match." Maybe a number seven. The size I named was 14 millimeters (0.55 in), and depth was not the point yet: "I'm not going really deep."

Angling a tool is the move in Furniture Panel 16, part 7. "It's not really slicing, but still it feels like it's going a lot easier, smoother inside." "You can control also the curvature itself." The radius of one section differs from the next, yet the same tool still worked "because I'm using only pretty much corner of it." "Part of a tool."
| Lesson | The tool and the size I named | For |
|---|---|---|
| Hashemi, lesson 10 | number seven, about one-inch (25 mm) | a rounded shape |
| Hashemi, lesson 16 | number seven, about 10 millimeters (0.39 in) | smaller material and less fight with the wood |
| Lily Box 8 | maybe number seven and six millimeters (0.24 in) | getting underneath |
| Workshop 59, part 7 | one quarter of an inch (6.4 mm) | a plug cut |
Can a straight tool get underneath?

A plan from Lily Box 8, part 12: "Let me see if I'll be able to use a straight tool yet. Maybe number seven and six millimeters." The answer: "yes," underneath was in reach. "I'll wiggle it," and "try to remove all the way to the first floor."
Wiggling the tool "helps me to create nicer cut," I said in Furniture Panel 20, part 4. A mallet is an option: "That's going to give me even better control." Deep undercuts were possible too, and "I probably should use it earlier." "Let's see. Still cuts." Getting underneath was in reach, "which is a good thing." And: "that's almost a mistake."

"This is a tricky spot," I said in Hashemi Flowers 31, part 2. My straight tools could still get it. Most of it will be covered anyway, and "a kind of spoon gouge" was an option "to refine that."
Straight tools are the question in Venice Room 32, part 10. They still work for me there, "but logically, this case, I should use probably long bent or short bent."
Notches are the topic in Venice Room 14, part 5, naming a number five at 5/8 of an inch (16 millimeters) and a smaller tool. "I could use probably a small 3 millimeters gouge for those sections because it doesn't create too much stress on the wood" (close to 1/8 in). The notches were still in reach. "Sometimes that small tool is actually the quickest way to create a clean notch without creating too much mess."

One side of a piece in Lily Box 11, part 13, had a limit. Too close, and I would lose "the effect of separation on this side," which "is also important." "I can't do any more." A little of that side was still within reach. "It's almost impossible to reach it." "Maybe I can clean just like that, just by twisting it and slicing underneath."
When was the tool not the best one for the job?

A sound to point at is in Venice Room 54, part 6: "That's my tool struggling because I've got a really low bevel." It was "not the best tool right now to use for this operation," yet some of the material came away. "I have to be careful how I do that because I can break my tool." My plan: change the position and go toward "that hole on inside."
"Now it's a little more challenging." So went Venice Room 20, part 11, but "it's still doable," and the cut was there. "I can actually get a little closer to the edge right here." The grain ran against me: "if I got my tools really sharp, it should not be a problem."
Plugs again, this time in Venice Room 51, part 5, using a number nine of a quarter inch (6.35 mm), "by the way." The plugs still lifted out. A smaller number nine was possible sometimes: "like three millimeters, one-eighth of an inch."

In workshop 59, part 7, the test was whether one quarter of an inch (6.4 mm) would fit for a plug cut. A full turn was not possible: "I'm not able to make complete rotation, like attacking from two sides." Some plugs came out. "It gives me really deep shadow." "Anyway, I still have to undercut later on and create really beautiful movement on inside." The plugs give "an idea how deep I should go."

"Quick material removal" is what a plug cut gives me, I said in Venice Room 70, part 3, but "I still have to be mindful how deep I want to do it, because later on, on inside, I have to clean it." In that case it looked like I could still get "pretty deep," open up "a little more" and give the area "more shadow."

A marker is the topic in Venice Room 72, part 3: "I have a blue marker, which is okay in this case because it's going to be painted. But in other cases, that would be a huge mistake." "Not huge, huge," and the clean-up was within reach, but it was a lesson, in my words: "not to use that color." That one "looked like it penetrated much deeper."

An eye is named in Venice Room 69, part 7, along with "another piece sticking right there." A couple more were still in reach. It did not make sense yet, I said, "because you really don't see what I see."
"This piece is solid, this side is solid, and now I can actually attack this area, okay, with no problem." That is Hashemi Flowers 15, part 1. Rotating was open to me "if I need to," I said, "though I'm not quite happy with the location."

Furniture Panel 18, part 2, ends on a small area. "Perfect. Even on a small area like that," I could still use it. "Final depth, I should say." The rest, "I can clean with just the gouges."
The whole Venice Room workshop 59 and the Venice Room Part 5 course are inside the school. Start here to watch the wood carving videos.
How it's done
- Stop when marks would be hard to remove. I stopped there in part 4, with marks as the "otherwise."
- Go to smaller tools. "It's time to switch to smaller tools and continue my development."
- Reach for a back bend at the transition. A back bend was my pick at the ceiling part.
- Change direction against the grain. I said the direction has to change, to work with the grain.
- Move on to line work. "Now I'm ready to put some more line work," I said.
- Decide where the middle line goes. I looked at the overall picture. Probably better, I said, to move my middle line a little to the left.
Frequently asked questions
Should a carver buy a back bend?
In part 4 of workshop 59, I said, "I think if you're really serious about wood carving, you should at least consider to buy it. I'm talking about backbends." In Hashemi lesson 10 I called it "nice to have," and "safer."
What came after "That is enough" in part 4?
Marks. The "otherwise" in my words was marks that are hard to remove, and my next sentence moved on to smaller tools.
Can a straight gouge reach a tricky spot?
My straight fishtail in Roman Acanthus 16 reached "those areas." In Hashemi lesson 31 I said "This is a tricky spot," and my straight tools got into it.
What to carve next