
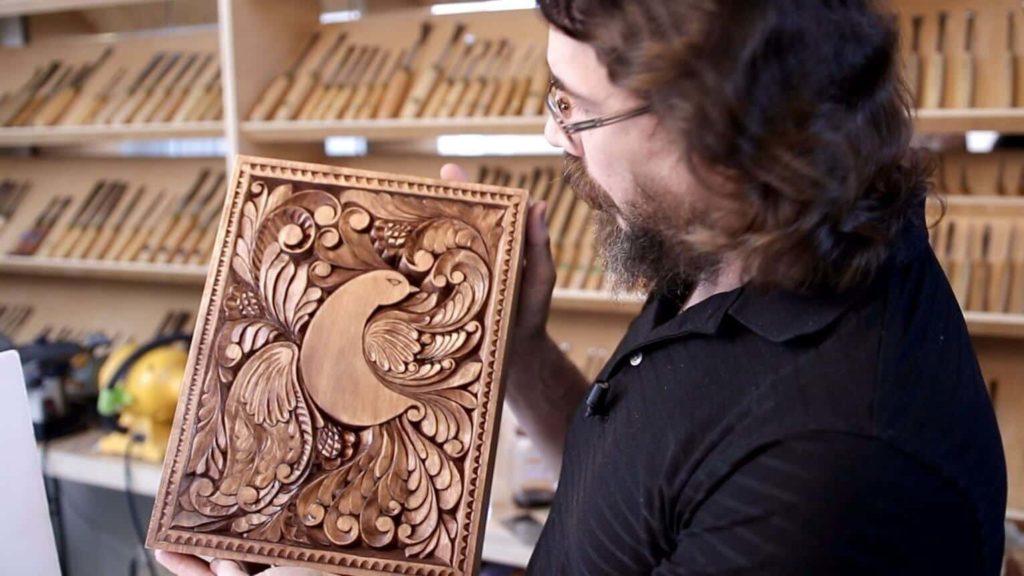
Alexander Grabovetskiy, woodcarver, School of Woodcarving · Published 2018
What finish is safe for food on a carved board?
Quick answer: One bottle of mineral oil, the food grade sort, finishes a carved board completely. Three coats soak in, four on a thick one, the excess gets wiped away twenty minutes later, and about a week after that it will take food. Beeswax does no harm either and will not survive a wash.
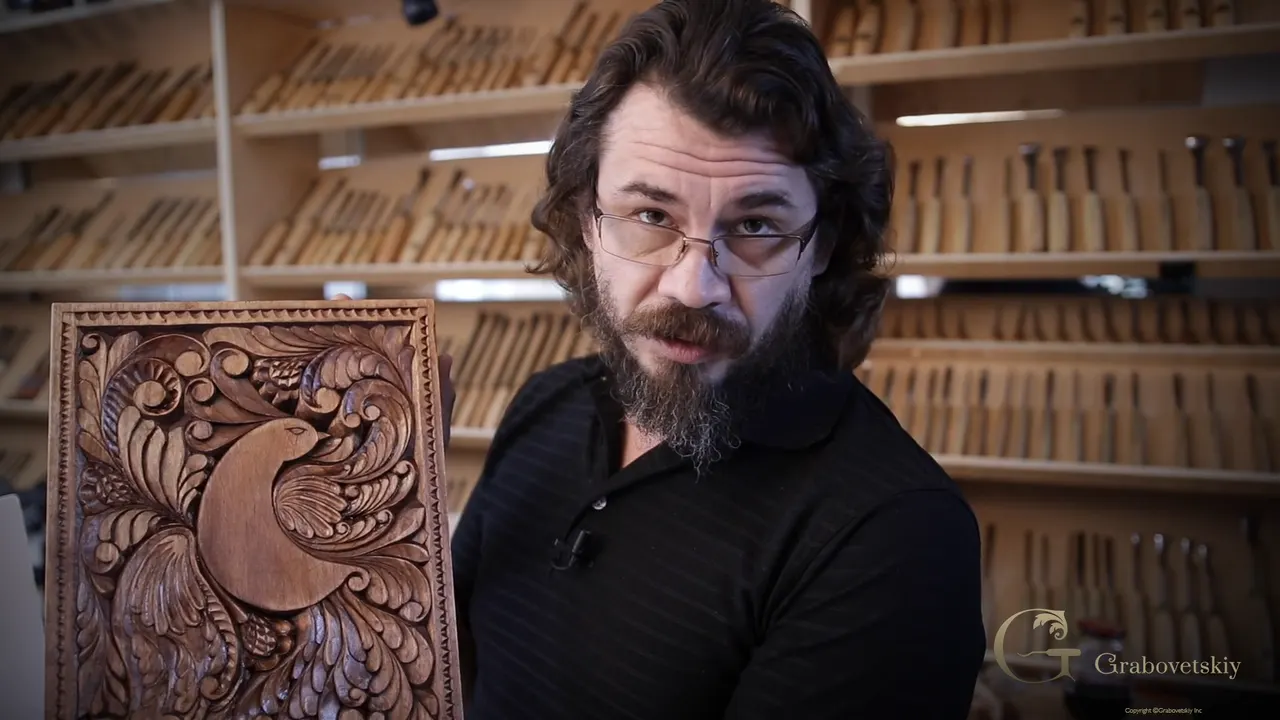
One bottle of mineral oil finishes a carved board, and three coats is the whole recipe. Sold as butcher block oil, about eight dollars in an American hardware shop, and one bottle lasts years. Pour it on, let the wood drink, wipe the excess, repeat. Give it a week before anything touches food.
Would you eat off a finish whose ingredients you could not name? Do you know which of the old ones survive a wash? This session answers both.
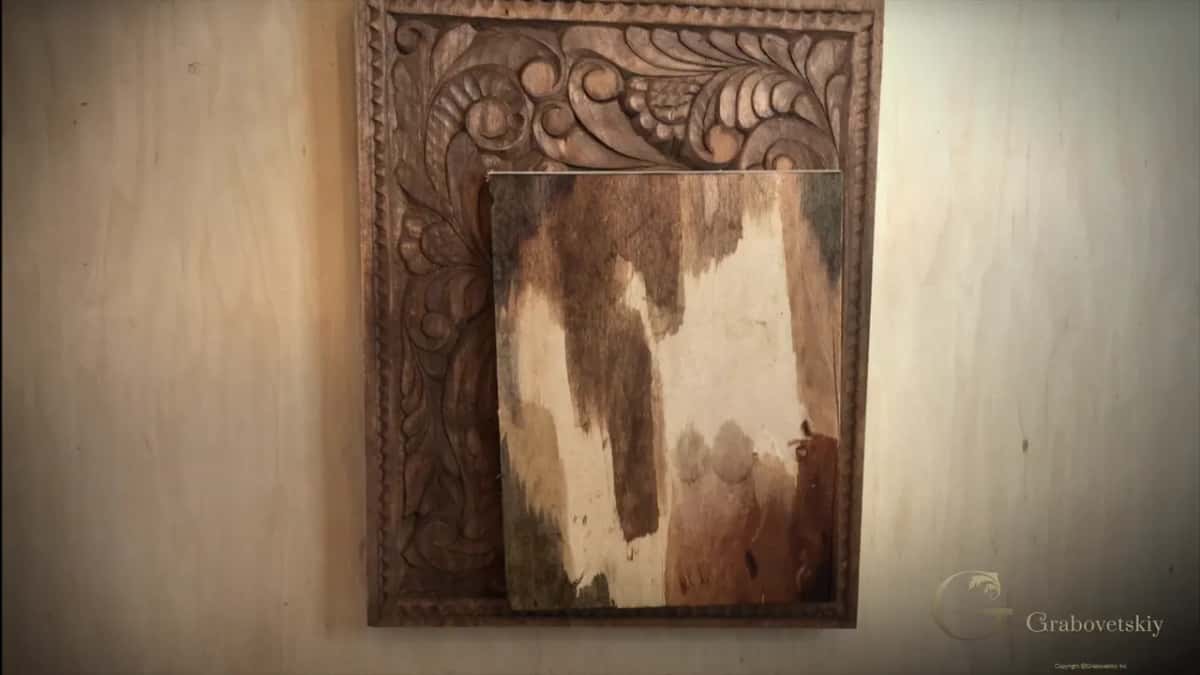
Overnight the walnut shell colour dried, and I wanted to know how honest it was. So I fetched an offcut of real walnut out of the shop and laid it straight on the stained limewood. I had been practising a crackle finish on one face of that offcut, which has nothing to do with anything, and the other face was clean. Close enough that you would have to be told.
What this last session covers
- Mineral oil of the food grade sort, sold for butcher blocks. Nothing more complicated.
- Three coats, four on a thick board, then a week before food arrives.
- Wax is safe to eat off and will not survive water, so it stays off a working board.
- Iron in vinegar ages a stained surface to near black, for anybody who wants that.
- Lift the high surfaces first with reed, scraper or 400 grit, very lightly.
What finish is safe on a carved cutting board?
Plain mineral oil, the food grade kind, which America shelves under the butcher block label. Mine cost around eight dollars and I have no idea when I will need another bottle.

Any hardware shop carries it. Home Depot and Lowe's if you are in the United States, Menards further north, any decent lumber yard, or order it and wait two days. Your entire shopping list for finishing this board ends there.
| What you could use on it | Washable | Where it belongs |
|---|---|---|
| Mineral oil, food grade | after three or four coats it does, and it is safe to eat off from the first one | any board that will meet food |
| Beeswax | no | decorative panels and anything hanging on a wall, where nothing will ever be washed off it |
| Boiled linseed oil | yes, though read the tin before you buy | furniture, window frames, outdoor joinery |
| Iron sitting in vinegar | this one is colour, not a coat at all | ageing a stained surface before the real finish goes over it |
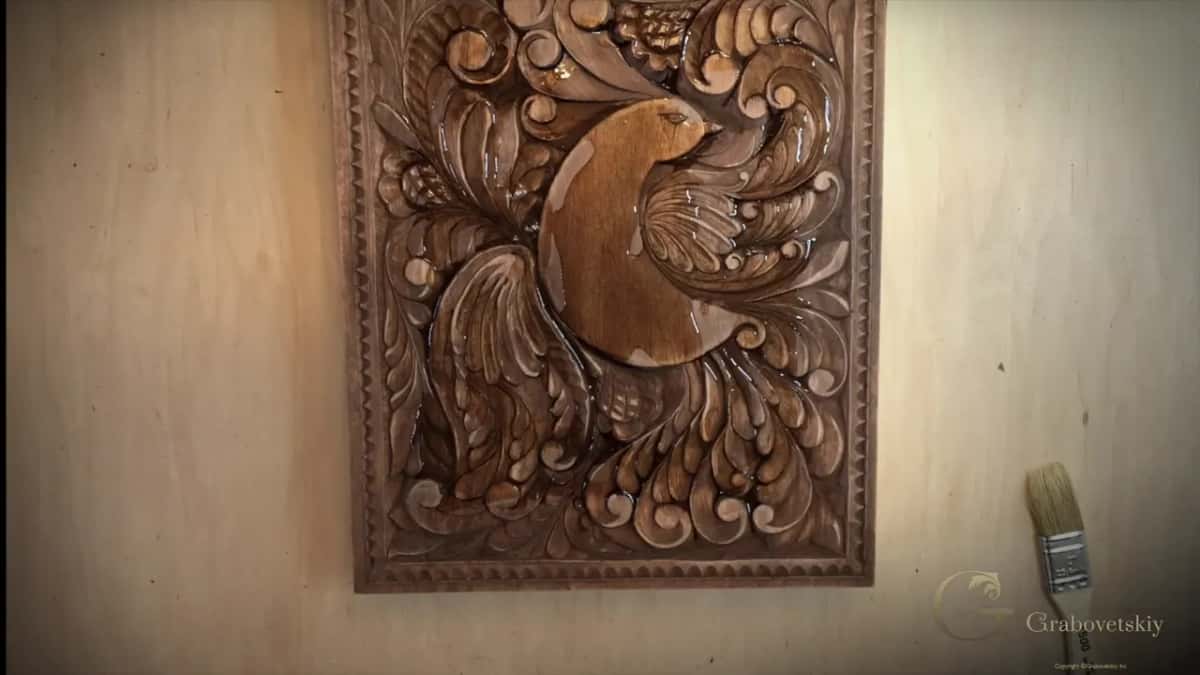
Do not be careful with it. I pour it on, because this board is thick and the oil belongs deep inside rather than sitting on the surface, and a mean first coat only means more coats later.
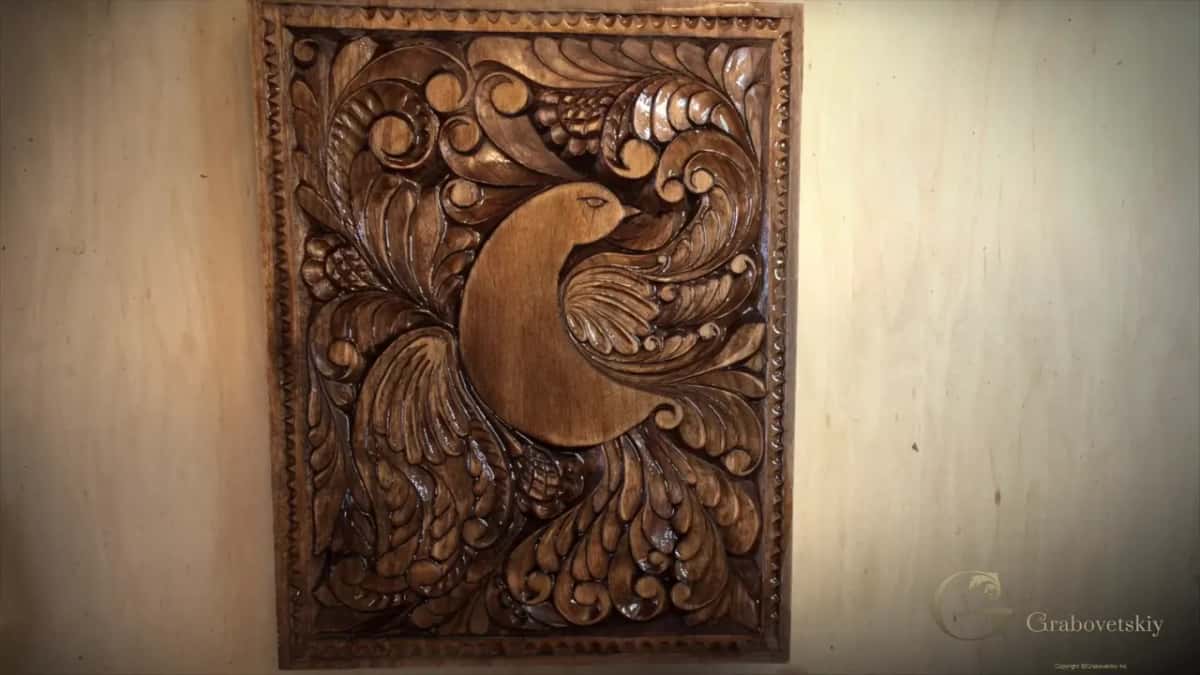
Do not economise here, of all places. You have spent months on this panel and the bottle costs less than a decent lunch, so a first coat that looks wasteful is exactly the right amount.
Watch one side while you work and you can see the wood drinking. Areas soak away to nothing within a minute, hollows hold more, and the colour deepens everywhere it lands. Twenty minutes later, take a rag and wipe the excess away.
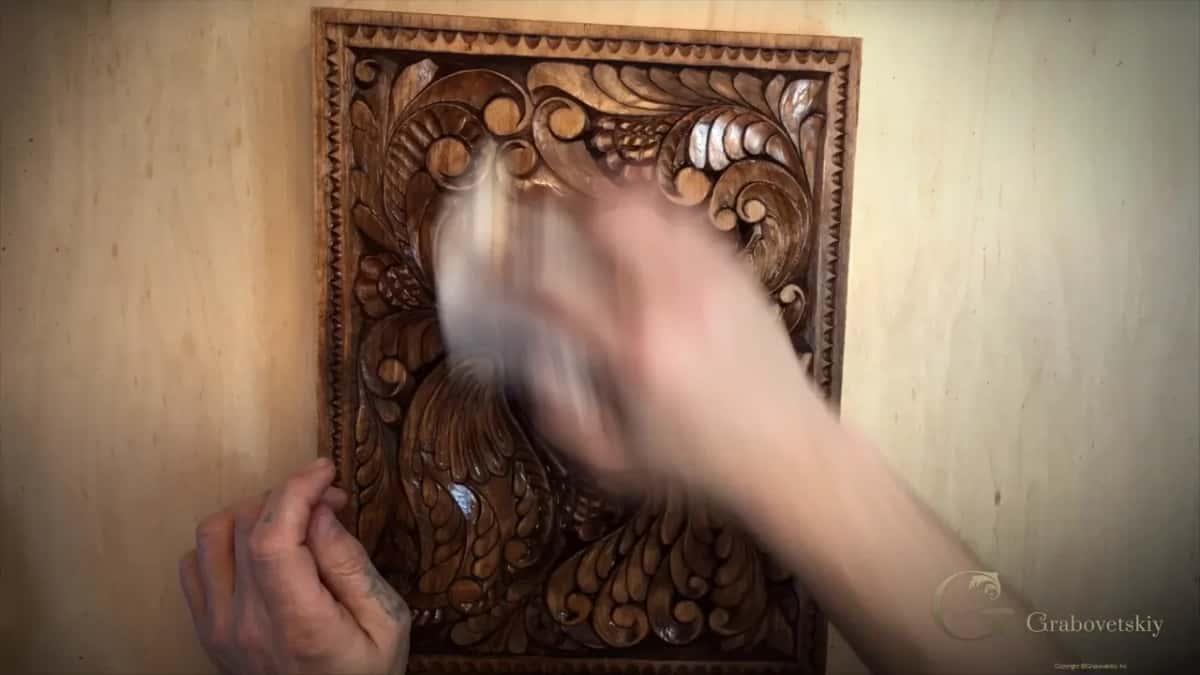
By the third or fourth coat the surface carries a quiet sheen and takes water without complaint. Then a week of patience while everything cures, which is the hardest part of the whole course.
Why not finish a board with wax?
Water. Beeswax will do no harm to anybody and has been used on wood for as long as anybody has kept bees, and a waxed board cannot go under a tap. One wash and the finish is gone.
Which makes it the right answer for a panel that hangs on a wall and the wrong answer for a board in a kitchen. I would have used wax on this piece happily if I had been aiming it at a wall, and I promised a finish that could take food.
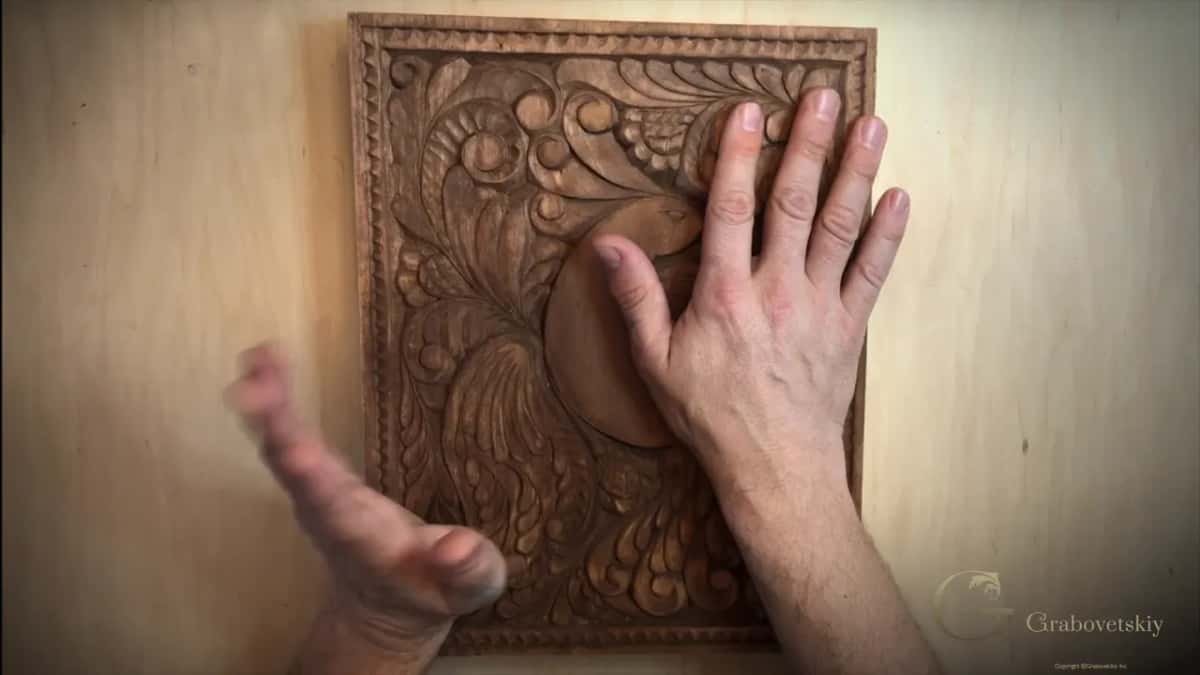
Somebody online asked me how you are supposed to cut on a board covered in carving. You do not. The carved face is decoration and the plain back is where onions get chopped, as Workshop 13 went through at length. Mine will never see food at all, so its edges stay bare.
How do you make new carving look old?
Iron and vinegar, left to sit. Drop scrap iron into vinegar and after a while you have a dark brown liquid that looks unremarkable in the jar.
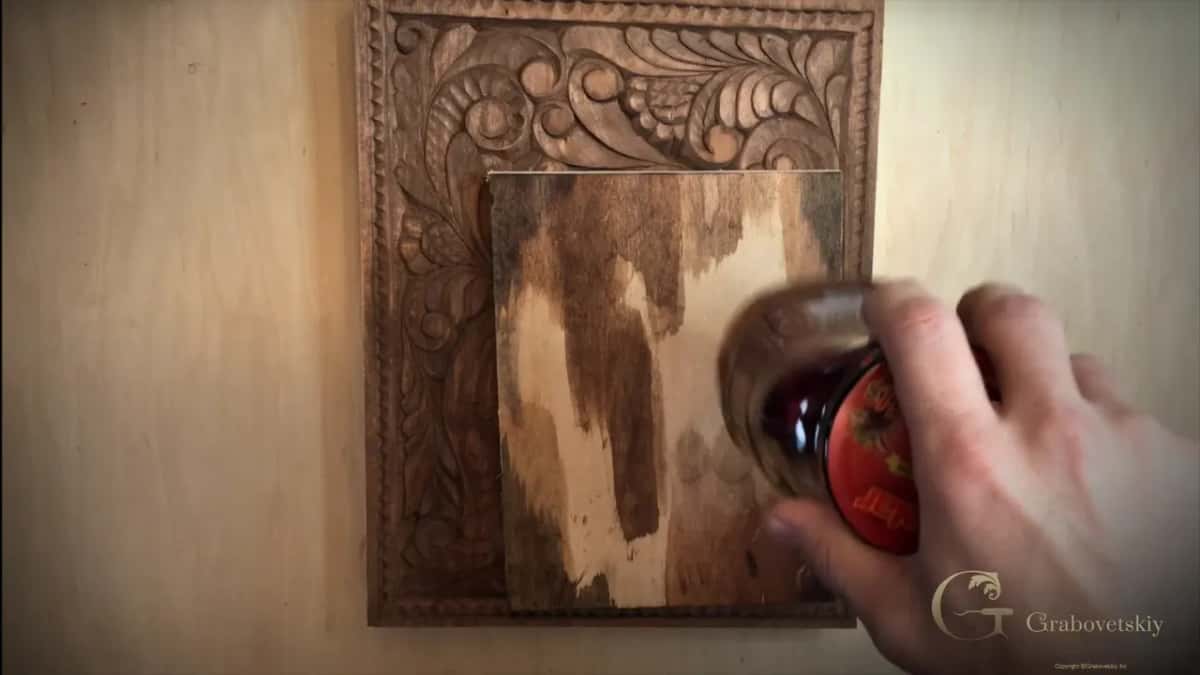
Brush it onto raw pale wood and very little happens. Brush it over a surface already carrying natural stain and it turns black, because the tannin already in the wood is what the iron reacts with. Age on demand, in other words, and the reaction happens in front of you rather than over years.
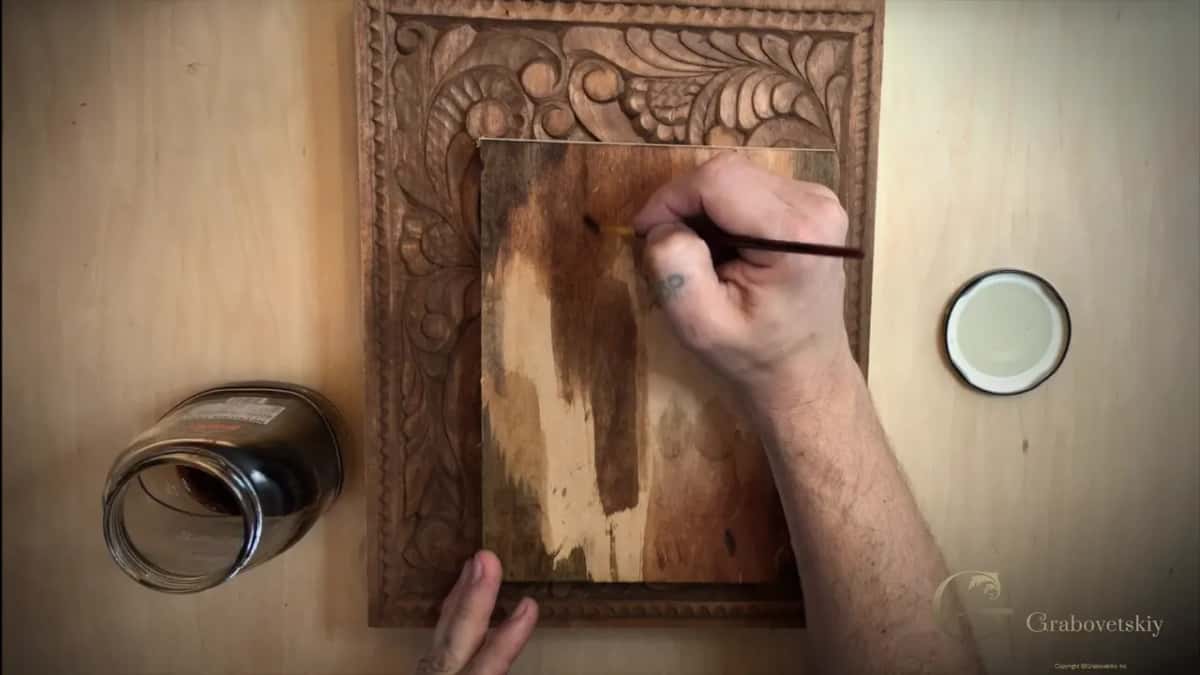
You saw it on the corners of my test piece. Down in the hollows of a carving it reads as centuries of dirt nobody could ever quite reach, beautiful and a little dishonest at once, so use it knowingly.
People do call it food safe on the grounds that vinegar and iron are both harmless. I would still pair it with wax and keep that board off the dinner table, because what I promised here was a finish nobody has to think about.
What happens before the oil goes on?
The high surfaces get lifted. Stain sits evenly across a carving, which means the raised parts and the hollows arrive at the same darkness, and one gentle touch across the top surfaces alone puts the contrast back.
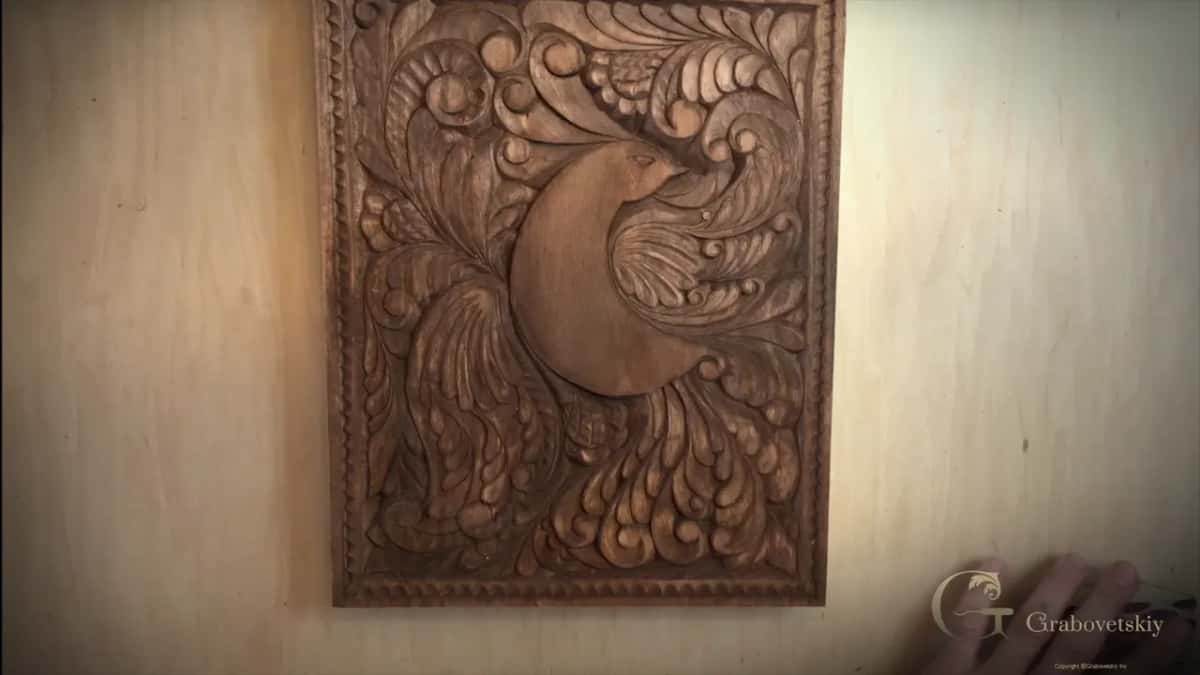
Three tools do this. A scraper is quickest, 400 grit paper or a sanding block works, and if you want to be properly old fashioned there is Dutch reed, the plant carvers used before sandpaper existed. I reached for the reed first because I like what it does, then finished with the block.
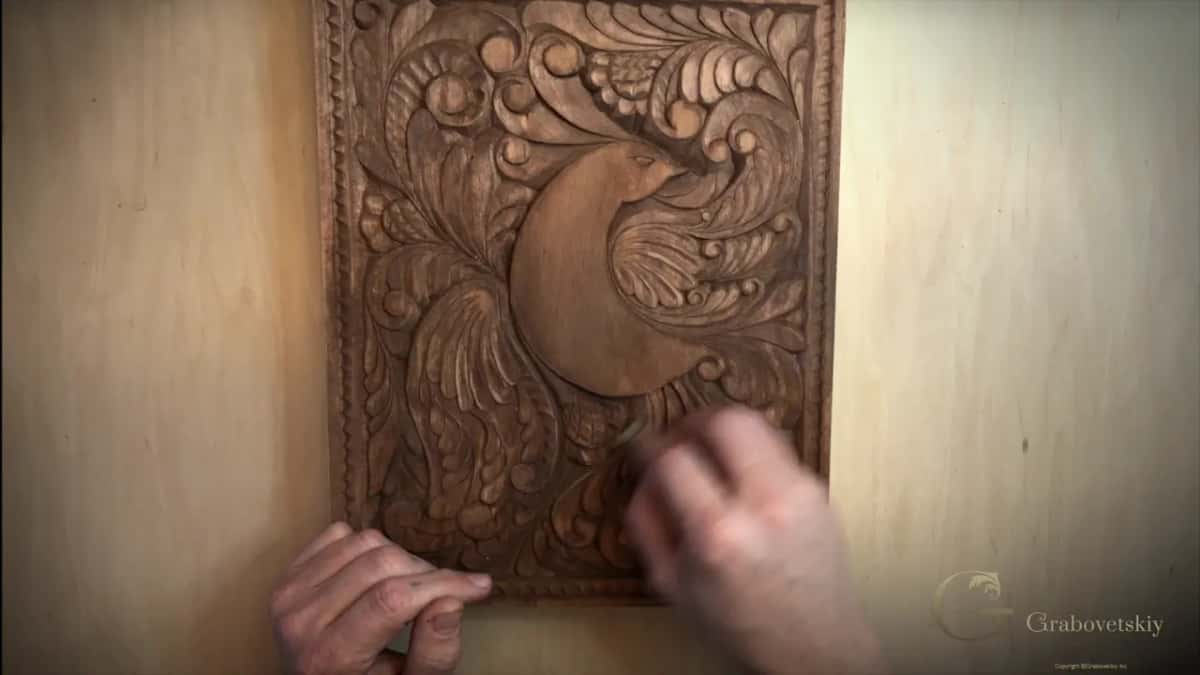
Go round the edges of the raised shapes and nowhere else. Light pressure, one pass, and stop. The point is to make the upper level read as upper, not to clean anything.
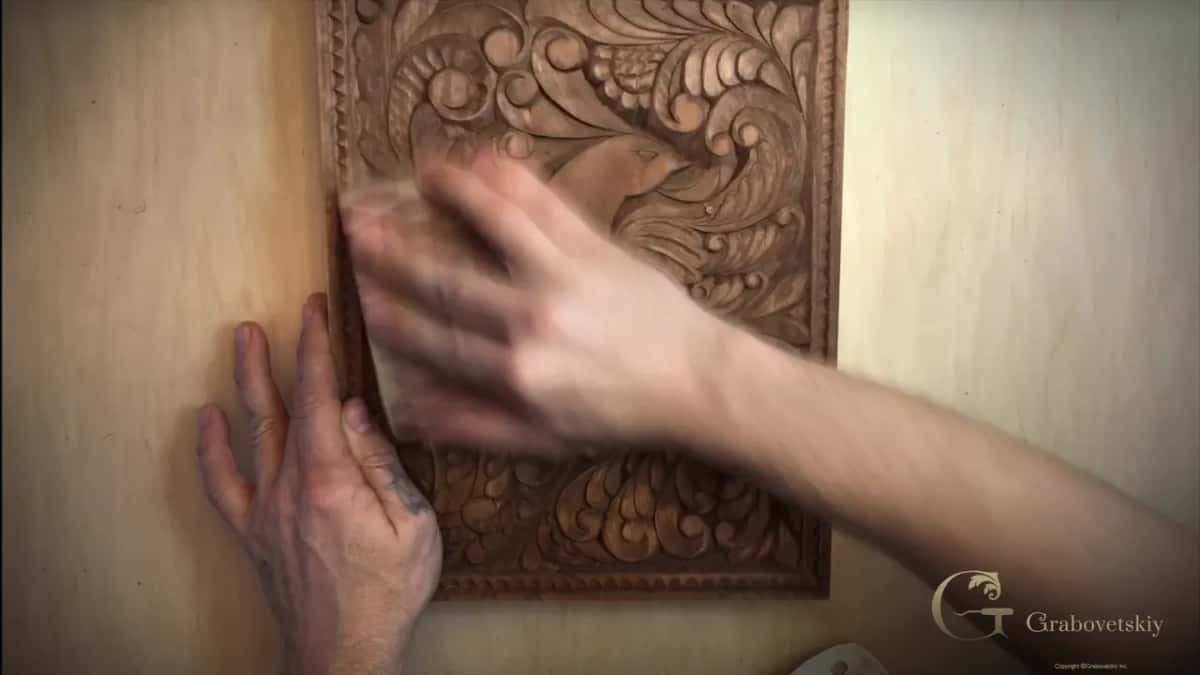
Over do this and the detail you spent seventeen sessions carving quietly rounds over and disappears. This is the one place in the whole finishing stage where you can still ruin a board, and it takes about thirty seconds of enthusiasm.
Workshop 10 covers the reed properly, and Workshop 8 explains why abrasive stayed off this board for seventeen sessions and is allowed here, briefly, for one specific job.
Does a homemade stain really pass for walnut?
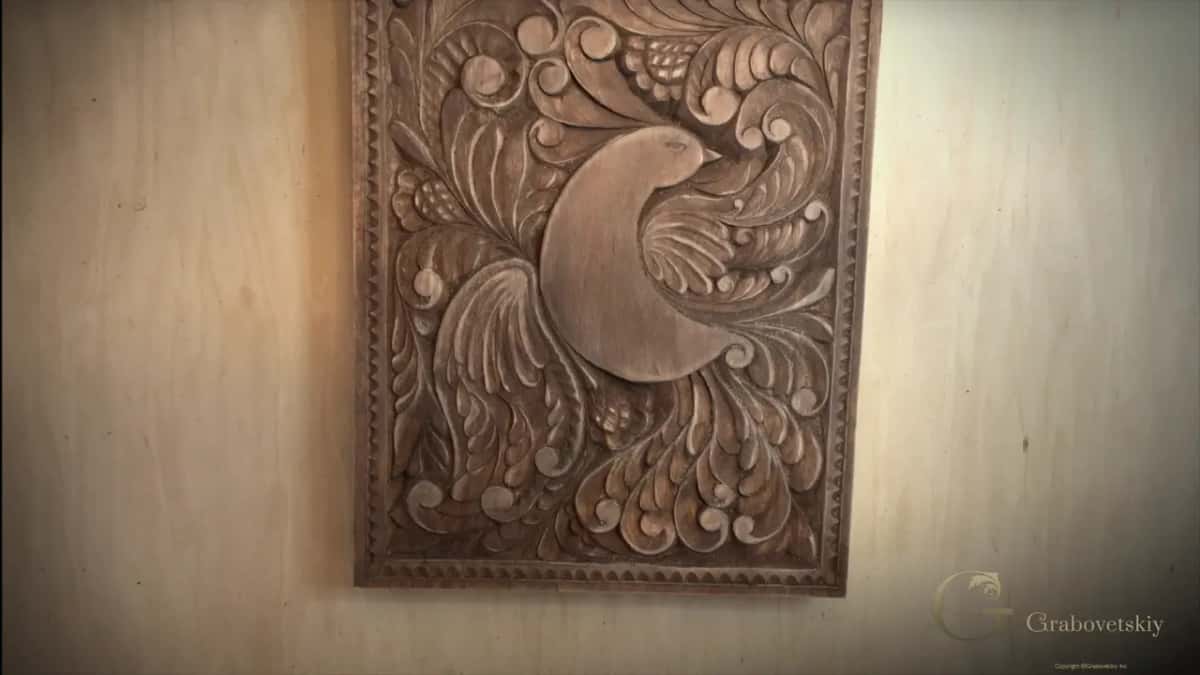
Judge it yourself against the real thing. That is why I put an offcut of walnut straight onto the stained limewood rather than describing the colour to you, and the two sit within a shade of each other.
Walnut varies enormously, of course. The piece I grabbed runs yellowish and another board would read darker or greyer, so matching is never absolute. What matters is that boiled shells put honest walnut colour into a pale timber, which was the claim.
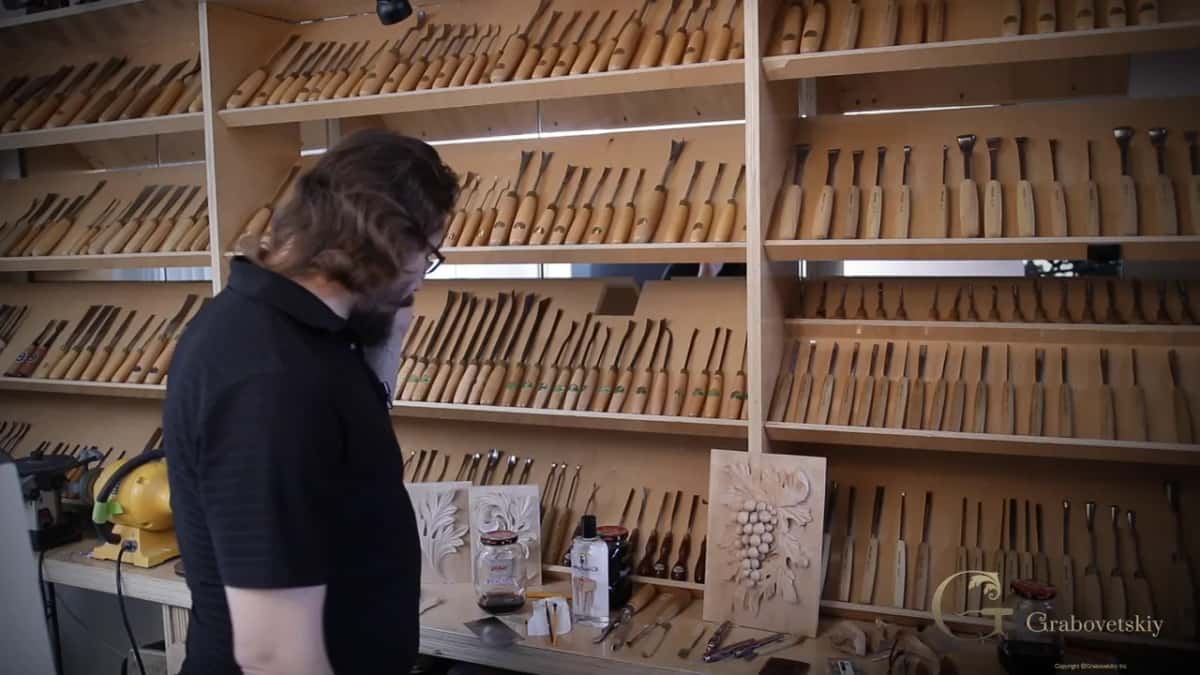
One more honest note about matching. The stain reads red while wet and settles toward brown as it dries, so any comparison you make in the first hour will mislead you. Wait overnight, then hold your offcut against the work in daylight rather than under a lamp, because artificial light flatters almost everything.
Clean the dust off before any oil goes near it. Sanding dust mixed into the first coat makes a grey paste that settles in exactly the hollows you want dark, and getting it out afterwards is miserable work.
Why does oil deepen the colour?
Wet wood is dark wood. Oil fills the spaces between fibers, light stops scattering at the surface and travels into the timber instead, and everything reads richer the moment the first coat lands.
On a carved panel that matters more than it would on a tabletop. Your hollows hold marginally more oil than the flat surfaces beside them, so they darken further, and the shallow work you laboured over gains contrast it did not have an hour ago.
Which is the argument I made back when we were carving a sixteenth of an inch deep and it looked like nothing. Depth was never what made those shapes read. Shadow did, stain doubled it, and the oil is doing the last of the work now.
When does a finish look right?
Move, and change the light. I pick the board up, turn it, carry it to another part of the shop, and look again, because a finish that seems even under one lamp will show its gaps under a different one.
A quiet sheen is the target. Never a shine. Gloss on a hand carved surface looks like plastic and fights everything the tool marks are trying to say, while a low sheen tells you the wood has taken enough oil to be protected.
Most boards get there by the third coat, and a thick one wants a fourth. Past that you are feeding a surface that has stopped being hungry.
Does the back of the board need finishing too?
Whatever you intend to do with it decides. Stain the whole thing, sides and back included, and you get a unified object that looks intentional from any angle.
Mine keeps bare sides, because this board was carved for a class rather than for my kitchen and I already know it is never going near an onion. A board that will genuinely be used deserves the full treatment, front, back, edges and all, since water gets into whatever you leave open.
That decision is yours and it is worth making deliberately rather than stumbling into later. Design covers the object as well as the ornament on it.
What if you cannot find butcher block oil?
A pharmacy sells the same thing. Plain mineral oil on a chemist's shelf is the identical material, usually cheaper, and there is nothing in a bottle labelled for cutting boards that is not in the one labelled for people.
Check the label for the words food grade. That phrase is the only part of it that matters, and everything else on the front of the bottle is aimed at somebody who has never finished a board before in their life.
Boiled linseed oil is the other traditional route and belongs on furniture rather than on something that holds bread. Read that tin carefully too, since the boiled version usually carries driers in it that the raw version does not.
How long until the board can be used?
About a week after the last coat. The oil has to work its way in and stop being wet, and a thick board takes longer than a thin one because there is more timber for it to travel through.
Feed it again whenever it looks dry, which on a board in daily use will be often at first and less often as time goes on. A surface that has stopped drinking is protected, and yours will tell you plainly which state it is in. Oil finishes are not permanent and that is their great virtue, because a scratched board takes another coat instead of a stripping job.

What did seventeen sessions actually teach?
One edge, used properly. Everything on this panel except the border came off a single knife, and the gouge that finally appeared in session sixteen felt easy precisely because the knife had already taught the hand what wood does.
Grain direction, bevel angle, how much pressure a thin wall accepts, where a line should end, when to stop. None of those are knife skills. They are carving skills, and they transfer to every tool you will ever buy, which is why the sequence in this course runs the way it does.
The board itself is almost beside the point. What you have really been building is a pair of hands that can read wood, and those come with you to the next piece, and to the piece after that.
Seventeen sessions ago this was a rectangle of pale wood with a pencil drawing on it. The carving is finished now, the colour came out of a pan on a stove, and the finish came out of an eight dollar bottle. None of it was difficult, and all of it was slow.
The assessment closes this course out. After that comes the tools course for the rack you are going to build, the sharpening course for keeping it honest, and the design course for deciding what to carve next.
You have a finished board, a knife you can sharpen, and a gouge you have used once. Everything after this bird is waiting, along with three thousand other lessons. Shall we carve?
How it's done
- Lift the high surfaces. A single light stroke across the raised shapes with a scraper, 400 grit or Dutch reed. Stop immediately, because thirty seconds too long rounds the detail over.
- Clear the dust. Brush everything off before oil arrives. Dust caught in the first coat turns to grey paste and settles in the hollows you wanted darkest.
- Pour, do not dab. Put it on generously and let the timber take what it wants. A thick board needs far more than looks reasonable.
- Wipe after twenty minutes. Once it has had twenty minutes, take a rag to whatever failed to soak in. Leave it sitting there and you get a sticky film.
- Repeat until it stops drinking. Third coat usually gets there and a thick board takes a fourth. Once the wood absorbs slowly, a quiet sheen is what you are looking at.
- Wait a week. Curing takes roughly seven days from the last coat. Heavy timber wants longer. Then the board can meet food and water without any concern at all.
Frequently asked questions
What oil is safe on a board that meets food?
Cutting board oil, food grade, at around eight dollars a bottle in an American hardware shop. A pharmacy sells the identical material under its own name and often charges less for it.
How many coats does a board need?
Third coat usually gets there, and a thick board wants a fourth. Stop once the wood absorbs slowly and a quiet sheen appears. Feeding it again every month or two keeps a board in daily use healthy.
Can you use beeswax on a cutting board?
Eating off wax does nobody any harm, and washing it is not possible, because water takes the finish straight off. Keep wax for decorative panels on a wall rather than boards that go near a sink.
What to carve next