

Alexander Grabovetskiy, woodcarver, School of Woodcarving · Published 2024
How do you carve small details in wood without breaking them?
Quick answer: Keeping a tiny carved part whole is, on my grape onlay, mostly about where the tool comes in. One thin piece moved and broke when I came at it from the wrong side. On another section I turned the board a little, took a slightly bigger veiner, and my passes got really small and really short.
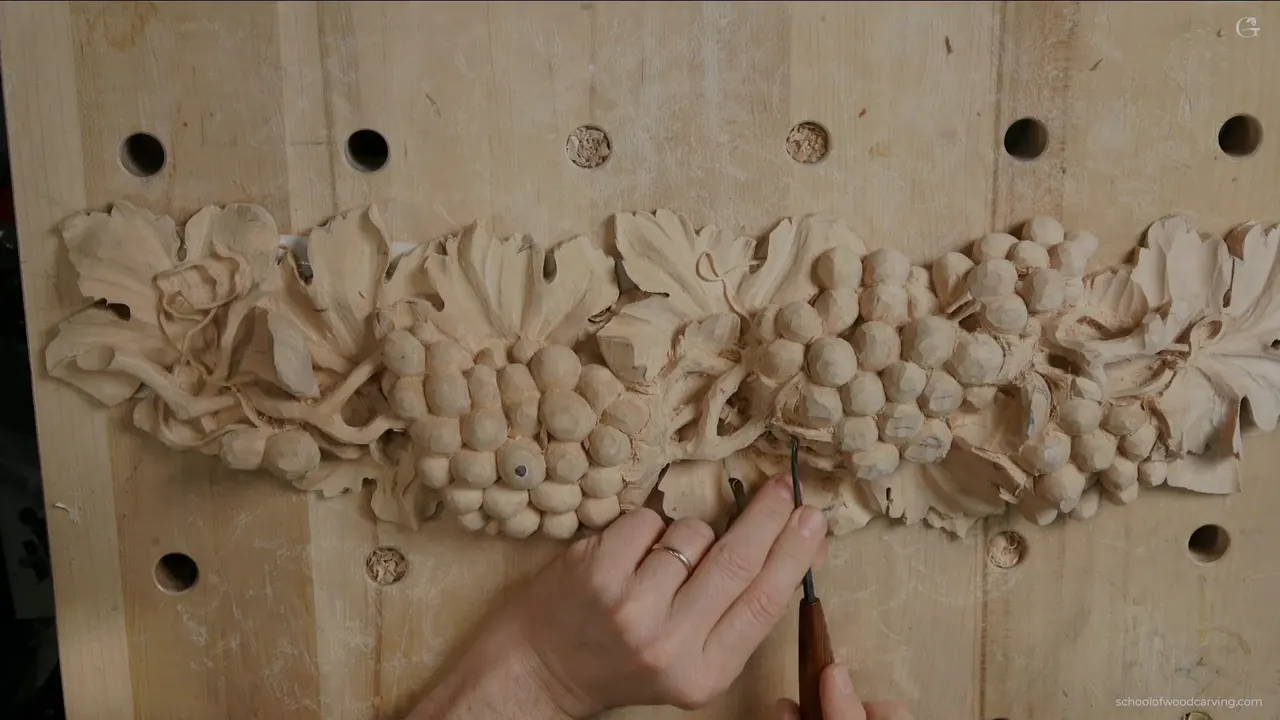
Keeping a small carved detail in one piece is mostly about the side your tool comes from. In part 2 of lesson 10 of my grape onlay course, one thin piece broke because I worked it the awkward way. The next one, taken with more care, held.
Do you want the small parts of your wood carving to stay on the board? Would you rather turn the board than lose a piece of your design? Then turn it. I didn't, that one time.
How to carve small details in wood and keep them whole
- A thin part moved when I came at it from the wrong side, and my half millimeter veiner (about 0.02 in) was in it when it broke.
- Without the cameras, I would have turned the board and come in the other way.
- Later, on a second thin spot, I angled the board, took a bigger #11, and talked about going smaller still.
- Once I was through, that part was really fragile, and the reason I gave was the grain direction.
- As the wood got thinner, each pass got smaller and shorter.
- None of it is a must. I like these details, and how far you push them is your call.

What went wrong on the first thin piece?
The wrong side. The words came out on camera a few seconds after it happened.
It started beside one grape. There was some meat in that grape, so I could go a little deeper there, and maybe even make that side airborne. I made one part thinner, down to about three millimeters (about 1/8 in), and said I don't want to go too deep. One side dropped slightly too, since it wasn't good.
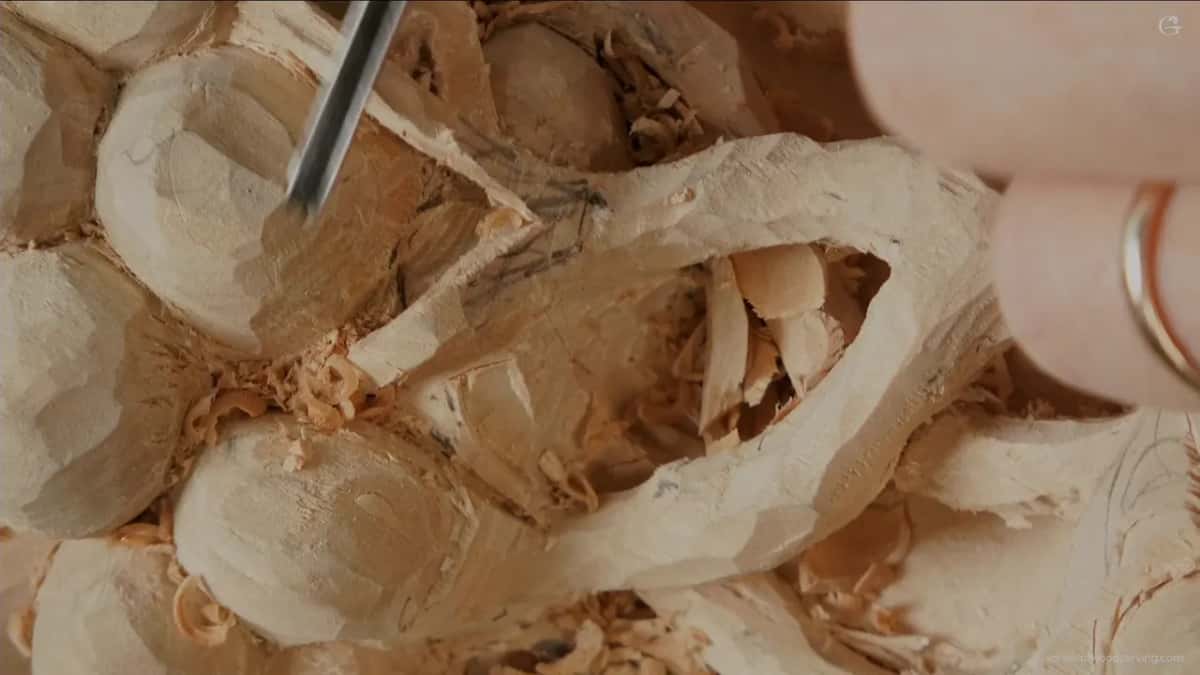
Next I started undercutting under a part there with a 2 mm (about 5/64 in) number 11, a gouge shaped like a deep U, and the shadow under it came out deep. That's what I'm talking about, I said. Next came the far side, and I wasn't sure the same tool would reach.

From where I sat, the angle was awkward. I went in anyway and said it was okay. You could see the piece moving. Fragile. I apologized to the camera for covering the spot with my head, and then my 0.5 mm #11 (0.02 in) went in. Seconds later, oops, the piece was off.
I didn't move the work, and the reason was the cameras. My bench would have had to move, and I didn't want to move it just for the filming. When I work without the cameras, I just rotate the piece and attack that way. Obviously.

So the design changed. I lowered that part slightly, the part beside it went a little deeper, and a proper airborne spot there was gone. Airborne is my word for a part undercut right through, so it floats, a kind of openwork. It came up back in lesson 5 too. Not the end of the world. I still wanted the same thing, the idea stayed, and you are the only one who knows.
With the same tiny veiner again, I kept the other side at about three millimeters, or two, so roughly 1/8 inch or a bit less.
Which side should the gouge come from on a fragile part?
From each direction, with the board turned a little. Later in the same video, on another thin section, I put it in plain words. It's better to attack from two sides, rotate slightly.
Before that, I zoomed the camera in on the movement that runs right under the grape. Same spot as before, I said, now seen the other way around, and still the same idea. I hoped you could see it better that way. With this one, I said, I just have to be really careful how I attack it.
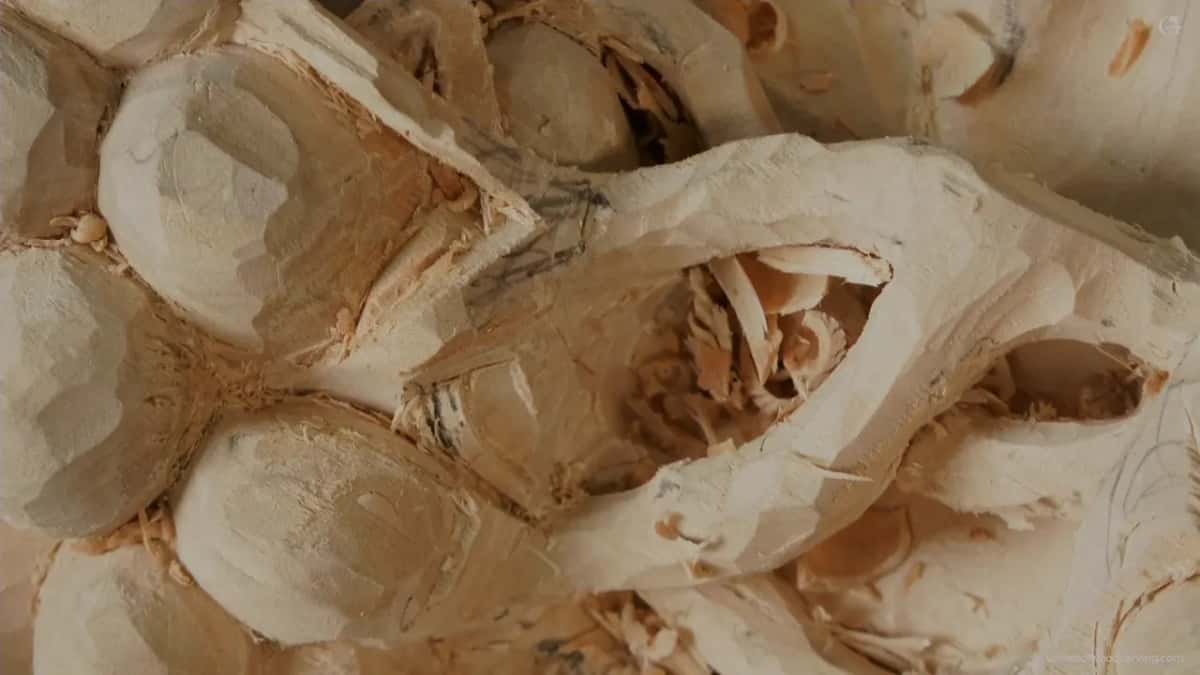
I decided right there. Yes, I can make it airborne right here in that section.
First I went after just the side of that movement, and started undercutting without changing tools. I alternated my passes, flute turned the same way each time, to about three o'clock. You can alternate too, I said, and it helps. How far in you go depends on how extreme you want it. Be careful.

Then the second approach. I came in from this side with a #11 of two and a half millimeters (close to 3/32 inch). I don't want to break it again, I said, so maybe smaller, maybe 2 mm (roughly 5/64 inch). And I was all the way through. Right away I said that part was really fragile now, because of the grain direction.

How small should the passes get on a part that thin?
Smaller and shorter, pass after pass. Once the part was completely airborne, how extreme I made it was up to me, but my passes were getting really small and really short. No pressure, just the sharpness of the tool.
At the very start of this video I was slicing, not pushing. Look at the handle and you see how much it moves, and that movement is what gives me a slicing motion. If you carved before, you know what I mean. You present the tool at an angle, you slice it, and that's enough.

The opening I got there was about one sixteenth of an inch, a millimeter and a half or a little bigger. Small. One sixteenth comes to about 1.6 mm, since an inch holds 25.4 millimeters, and it was enough.
Which gouges did I use on that thin movement?
Mostly the U shaped number 11, which carvers call a veiner, in three widths, plus one flatter gouge for details. In the order they came out, they were these.
| Tool | Job | Size |
|---|---|---|
| Two millimeter veiner | went under the thin part, deep shadow | about 5/64 inch wide |
| Half millimeter #11 | came from the awkward side and broke | roughly 0.02 inch across |
| Number 3 gouge | one eighth of an inch, for details | close to 3 mm |
| Veiner, 2.5 mm | two sides advised, board turned a bit | near 3/32 inch wide |
| Maybe 2 mm | smaller, so I would not break it | a plan, 5/64 in |
| Small, short passes | once the part was completely airborne there | no pressure, just sharpness |
A note on the tiniest one. The side I came from broke that piece, and the same half millimeter tool went right back to work after.

How does a thin movement tie in under a grape?
It runs right underneath, and I wanted it to go all the way to the inside of the grape. With a number 11 I showed how it ties in, kind of uneven.
There was something else I could do at that moment. The movement you saw before goes right here, then right underneath this one, then over to the next spot. What I had planned was one overall movement inside here, just going downhill. If you want to challenge yourself, I said, at least try something like that.
To get there I took some wood out right in that spot and picked up a number 3, one eighth of an inch (about 3 mm). That is an excellent tool for getting some of the details in.
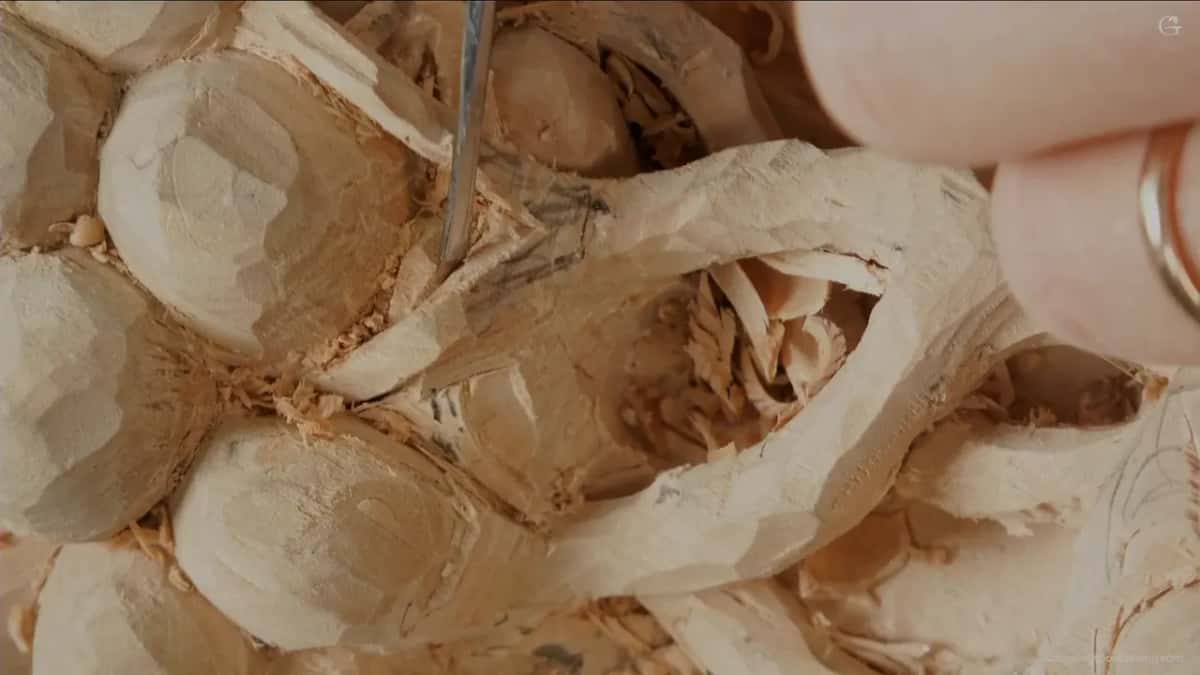
Going through had a reason. I wanted to connect the movement, and my goal was to bring it to the same level, so it looks like one and the same movement. After that came a twist, up and down, down, down, and I wasn't sure you could catch that on camera. It goes like that, like that, like that. The grape sits so close there that I wanted no really deep excavation beside it later on.
That grape mattered from the start. Early on I said I had to keep an eye on it, since if I wander too far from it, I create the problem for myself. You still have to use some logic, I said, about how you work around it.
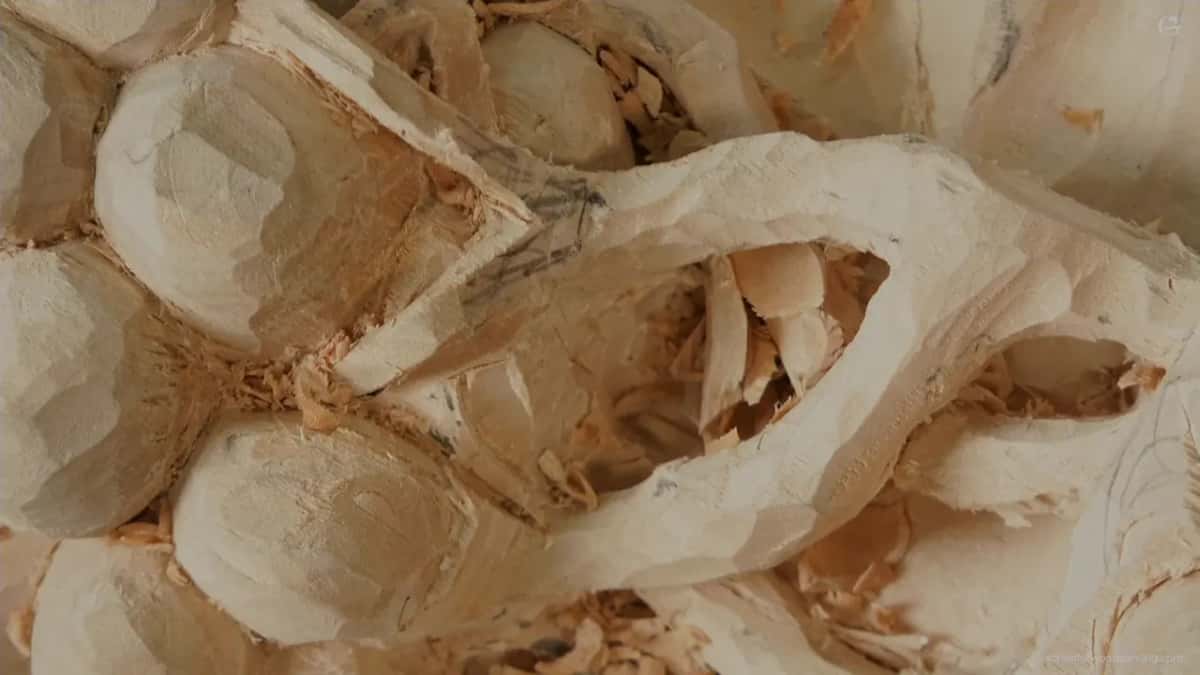
How far should you take a detail this small?
As far as you like. Those details, I said near the start, you don't have to do. It's just me. I like them.
One part needed to go a little lower to make space, and I said I don't need it, really. But why not? I don't like those straight lines either, and another part I wanted a little wavy.
How extreme you go is up to you. Twice in this video I said so, once while I alternated my passes and once when the part floated free.

What do my other courses say about turning the piece?
With a class carving along on the Byzantine acanthus, lesson 2, I asked everyone to feel what the grain does, and when it works against you, to change position, turn the work and go the opposite direction. About a minute later I said it again. If the grain bites on that acanthus, just rotate it and work it from the better side. Every pass, I told them, is called a woodcarver's cut. A slicing cut.
A bit later came the stronger version. Don't be lazy to rotate the piece, I said, it's really important. We do have a tendency not to want to, but it is a good idea to rotate and attack from different directions, especially on the small pieces.

In Acanthus over Moldings, lesson 2 I had my own camera excuse. I was using the tool a way I told you not to copy, only because my camera sat where it did, and I really don't like to reposition all the time. After that I said be wise, turn it, change the angle you attack from, which I said I would probably do next.
In workshop 57 of the Venice Room I said the same about smaller scale carving. Turn it or walk around and attack from the opposite direction. That would be smarter. Safer, I should say. On huge pieces I just can't walk around, I would spend too much time, and I have a kind of deadline of my own. If I can save a minute by not walking around, I'd rather save it, but only if it's still safe. When safety is the question, I am not saving that minute.
The Corinthian acanthus has it too. Turning that piece again would probably be the best idea, I said. But sometimes you just can't, if you're working on a huge piece and there is absolutely no way. That one was about safety, passes that head toward your own body.
The Tray of Blessing, lesson 6 had a plainer reason. My position there just wasn't really comfortable, so I turned the tray around and kept carving.
On the Hashemi flowers, lesson 12, a part got fragile under the tool. I attacked from one side but could not make really heavy passes there, since the piece was getting more fragile and easy to break. Even with the big tools I still had to go carefully. The opposite side came next, with sweeping passes, the tool rotating as it went and not forced. Bigger tools, I repeated there, leave a cleaner surface, so much less to clean later.

Lesson 22 of that course had a part with no support under it, and a one inch (25 mm) number 7 in my hand. I warned against pressing too hard there, since it can easily break. Many passes are much safer. Any big tool will work there, I said, even a 20 mm one (about 3/4 in).
In lesson 49 of that same course I said sometimes you have to attack from two sides. One side, then the other, and that way you can go really deep. Keep an eye on the movement inside, though. Too deep makes a hole, which is okay, and that flower has a couple. Still, try not to, if it's possible.
On the Chamomile and Bow Rosette, lesson 2 a stem got the small number 11 and a little deeper excavation. Attack from both sides, I said, and soon after I took a half millimeter tool.
In Venice Room, workshop 84 I outlined one shape carefully first, to keep from messing it up. The grain was the danger there. Because of it I had to go really carefully, I could easily break that part, and I really did not want that. Once I could see better, I said it again. See? Just because of the grain, got to be super careful. Will it be strong once it's done? It will, I said, because the grain goes that direction, so it will hold. It was just inconvenient to carve.
Small detail has other problems too. End grain is one, and lesson 23 of the Hashemi flowers is where I carve detail in it. Keeping the shape of an acanthus leaf while you add little details is a job for workshop 9 of the Venice Room. In oak, my table apron course does fine work too, and weighs a knife against a small chisel.

Want to watch the tiny veiner go in, and the bigger one come in from the second side? All three videos of lesson 10 are in the school. So is lesson 11. Tuition and access sit on one page.
How it's done
- Undercut with a small veiner. I went under the thin part with my 2 mm #11 (5/64 of an inch), and the shadow came out deep.
- Spin the work instead. Off camera I turn the work around. Working that spot the awkward way, my smallest #11 broke one off.
- Work the side of the movement. Next I worked just its side first, undercutting with the same tool, alternating my passes with the flute near three o'clock.
- Go in both ways. Two ways in beat one, with the work turned slightly. The bigger veiner went in first, and a smaller one was my next thought, so I would not break it again.
- Shrink every pass. As it went airborne, every pass shrank, with no pressure on the tool, only its sharpness.
Frequently asked questions
What size gouge do you use for the tiniest details?
On this onlay the smallest was a number 11 half a millimeter wide, about 0.02 inch. Two others, 2 mm and 2.5 mm (5/64 and 3/32 of an inch), did my undercutting there, and a number 3 of 1/8 inch, about 3 mm, got some of the details in.
Should you rotate the work or reach around a fragile spot?
Turn it if you can. Working without cameras, I just rotate it and come in the other way. On camera I didn't want to move my bench, I came in on the wrong side with my tiniest veiner, and the piece broke.
Does a fragile part have to be carved from both sides?
Better when you can, I said in this video, with the piece rotated slightly. On one thin section I came in with the biggest veiner of the three, thought of going smaller, and went right through until it floated.
What to carve next