
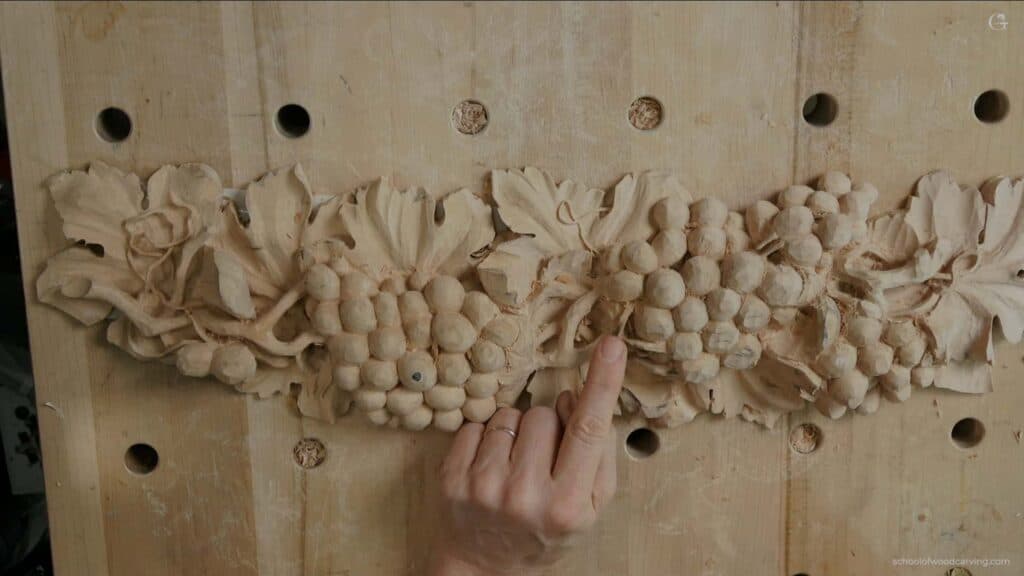
Alexander Grabovetskiy, woodcarver, School of Woodcarving · Published 2024
How long will a wood carving with fragile parts last?
Quick answer: The lifespan of a fragile wood carving is, in my words on this grape onlay, as long as you wish, hundreds of years. It's gonna be placed somewhere, hopefully, where people won't touch it. Deep penetrating epoxy on the thin parts gets them stabilized, and then it stays forever, I guess.
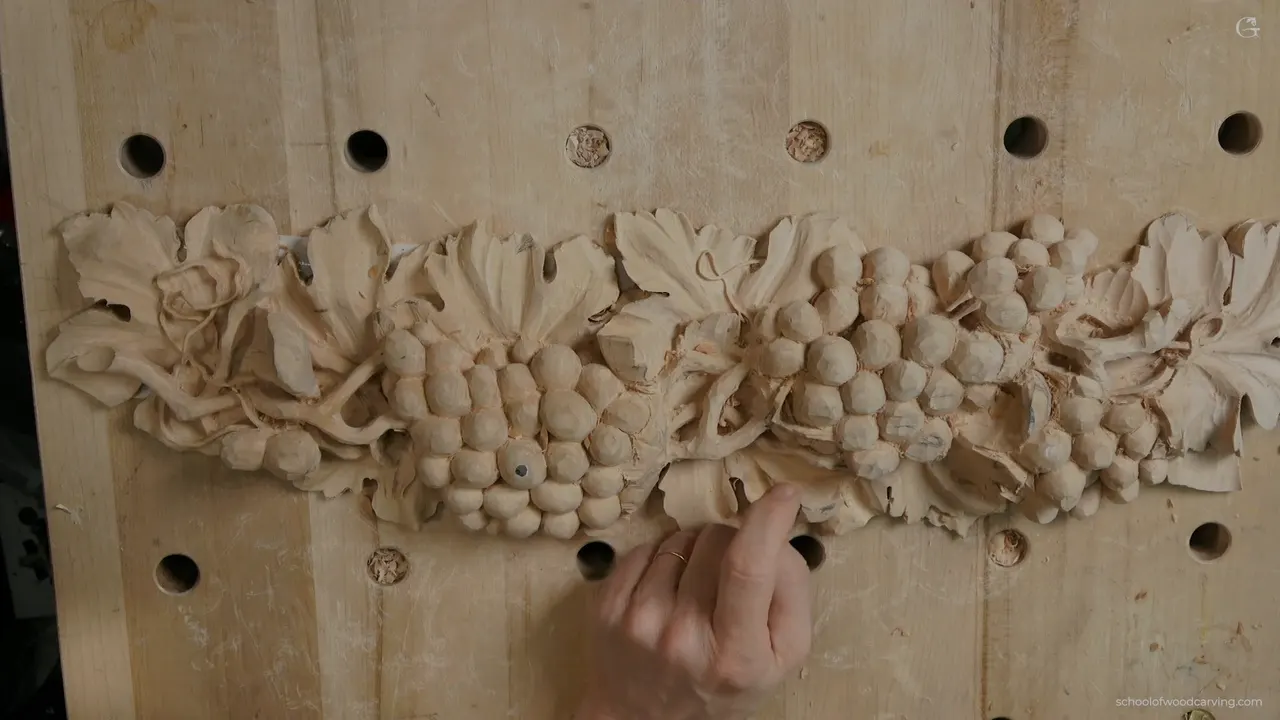
The life of a carving with fragile parts is hundreds of years, as long as you wish. I said that in part 3 of lesson 10 of my grape onlay course, while a tool lay on my finger beside a part so thin it was airborne. One thing comes with it, though. It's gonna be placed somewhere, hopefully, where people won't touch it. So if you typed how long do wood carvings last, my answer starts with where the piece will hang.
Would you like the thin parts you carve to stay in one piece? And would you like to know what decides that before the first one goes in? Here is what I said about it on camera, in this video and in five other courses, with the condition each lifespan came with.

What decides it, in six lines
- On this onlay the figure was centuries, with a hope that nobody would handle the piece.
- Grain running long held up in one spot, and where it ran across, the same kind of part was super fragile, I said.
- Penetrating epoxy in the fragile parts makes them stable, I said.
- For a tray headed to a table I'd probably use that epoxy, and on the surface only.
- Shipping worried me more than time did on one panel in the Venice Room, and my class panel lost a piece on an airplane.
- Bare lime wood can stay 300 years.
How long do wood carvings last?
Centuries is the scale I gave in more than one course. Here on the onlay I said it with a tool in hand. Over in the Venice Room, workshop 100, I was checking how strong I left some undercut sections on a panel. I had about a quarter-inch (about 6 mm) of thickness there. So it should be strong enough, I said. Once it's installed, I know nobody's going to touch it, and it will stay there for centuries with no problem. One more line came after that.
If we're going to live on this planet that long.

Workshop 52 got a number. Finish or no finish, I said, lime wood is going to stay for 300 years with no problem.
Rot needs water. The wood-decay fungus page notes that these fungi need moisture in the wood above the fiber saturation point before they can take hold, so a dry wall indoors is a poor home for them.
Why are the thin parts of this onlay so fragile?
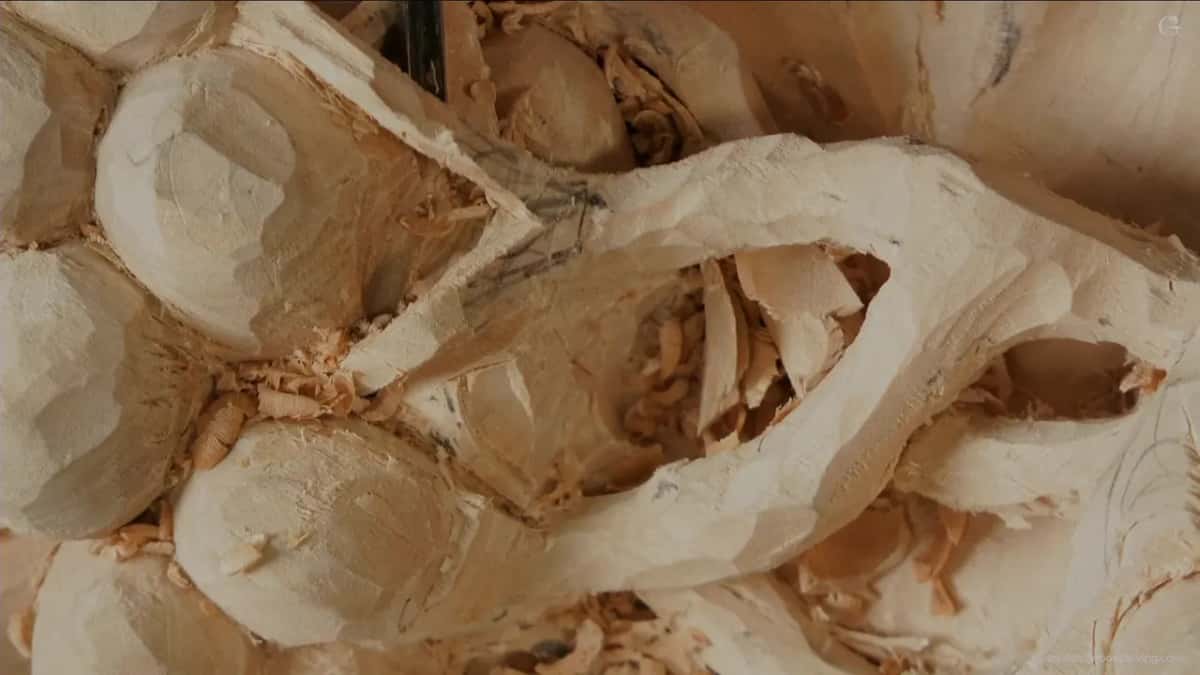
Grain. In this video I came at one thin part from both sides, and I laid the tool right on my finger. I didn't want to crank on that part, because it's airborne and kind of fragile.
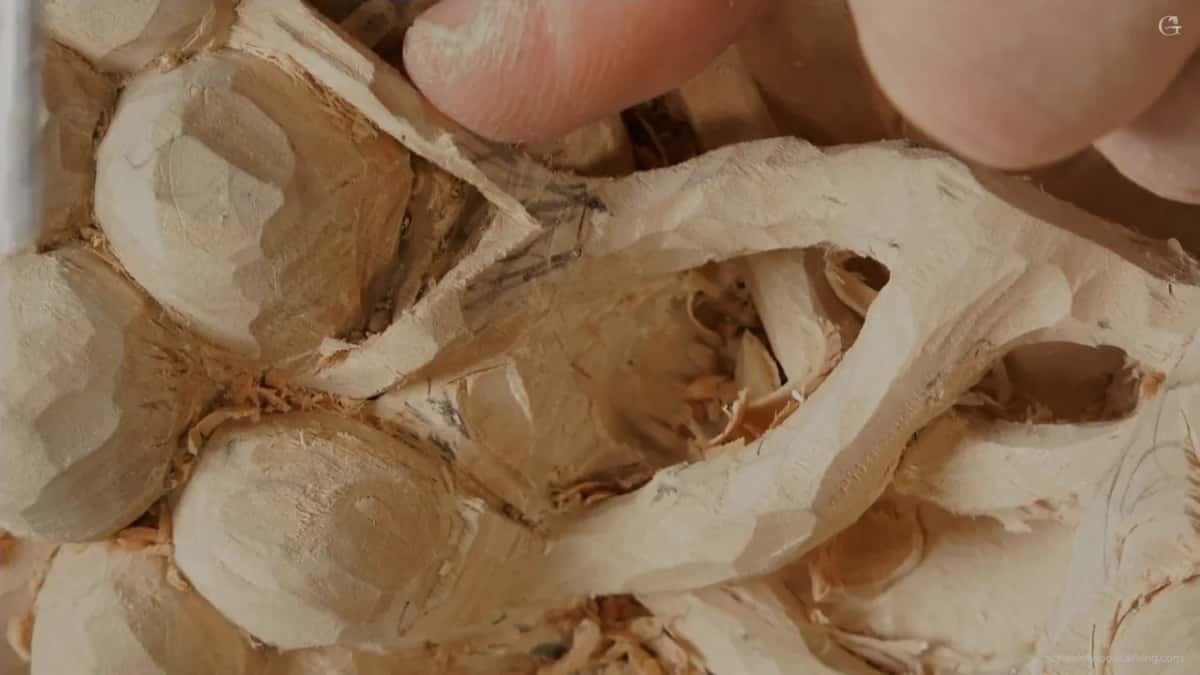
Right there it was okay, since the grain runs long through it. About another spot I said that one would be a big mistake, because the grain runs that direction, and it's super fragile. You can easily break it.
Later in the video I went along another thin movement and said I gotta be really careful not to dig too deep, because I don't wanna create a problem. The grape below it is kind of low, so I could make that part airborne too.
Later on I said I'm not sure if I'm gonna be able to take a plug out or not. Maybe I'm doing a mistake.
One video earlier, a thin piece did snap off my panel. I came at it from an awkward side, and I called it a change of design.
Lesson 12 is where I asked you to picture grain as small pipes, like drinking straws carrying all the juice. That picture fits what I said here, long grain held and grain across was super fragile.

Why carve parts that thin at all?
For the sake of art, I said. Inside the hole I took a number 3 spoon gouge and cleaned a little above, and that excavation, I said, gives an even more dramatic effect, like a 3D effect.
Earlier in the same video I said I almost don't remove any material, but you can see how deep a shadow I'm creating, and that is what I'm after. Near the end I looked at the whole thing and said most of the people are not even going to see the difference. I took the last bit out after that, with lots of chips.
I just noticed this movement goes right underneath, I said, and I decided to go right there, the same motion you see on the other side. I think it's a really nice motion, like the long one.
On my Cabernet Sauvignon tray I offered one more embellishment, a curl one way and then slightly backward. There is no end to what you can do, I said. The only limitation is a lack of creativity in your brain. Curling one way and then backward is a gothic approach, the way the 14th and 15th century guys did it.

Is a carving like this meant to be handled?
A utensil gets used every day, and this onlay is not like a utensil, I said. The piece will sit somewhere, and the hope I said out loud was that people would leave it alone.
Hands do slow harm too. Back in lesson 1 I said that is why I don't really worry about the final look until the end. You're gonna touch the piece while you work on other details, and it's gonna become black. Oxidation is gonna happen, a patina, which is sometimes good and sometimes not good, especially if your hands are not too clean.

A piece that will be handled gets more help. That Cabernet Sauvignon tray had a curl I was carving, and I said I gotta be careful, I don't know how much material I've got, I don't wanna break it. Then someone asked if I would put a stabilizing epoxy on it. Yes, I said, unless it is just kept away somewhere. If it's going to be used on the table and stuff like this, I would probably use a deep penetrating epoxy, because it really goes in.

What breaks a carving sooner, the years or the trip?
On that Venice Room panel the years did not worry me. I had to be careful, I said, although it's safe, and the only concern I had was shipping.
This grape onlay already has a trip behind it. It started as the class panel I taught, and you saw a couple of open spots with connecting points in lesson 1. Yes, I broke one, I said, because I took it on an airplane after teaching the class. The people who check stuff are not too careful. But it's okay.

Does epoxy make thin carved parts stay forever?
On this onlay I gave epoxy one sentence, with a hedge at the end. If you can penetrate those fragile parts with the epoxy, they're gonna be stabilized, and it's gonna stay forever, I guess, because it's a plastic and an epoxy.
Epoxy is a resin that hardens once its two parts are mixed.

On the tray I said more. That epoxy really goes in, and the wood becomes like a plastic, pretty much, so it's gonna stay forever, pretty much. You don't need to take it all the way, either, since all you need is the stabilization of the surface.
Someone asked if it is like a wood hardener. No, it's different, I said. Wood hardener, it's nothing, it's not gonna really do anything. The penetrating epoxy I use is by TotalBoat, and the reason I like it is that it's not yellowing with time. Most of the brands become yellow, and that is what I don't like about epoxy.
There is a catch. It will make it shiny, and it's gonna look plasticky, unless you put lacquer on top, like a satin. Then it looks like you finished it normally. The first time I used that penetrating epoxy, I was afraid it would look really plastic, until I sprayed the lacquer.

My lesson on stabilizing a fragile woodcarving with epoxy goes through it on its own. For a thin edge on my Roman acanthus leaf, lesson 11, I said you can dilute some glue, even a carpenter's glue, more water than glue.
Does a finish decide how long the wood lasts?
Finish is up to you, the way I see it. In workshop 52 of the Venice Room I talked about the lime wood carvers of 15th and 16th century Germany, and one famous name from a book I have, Tilman Riemenschneider. Then I came to Grinling Gibbons. As I told it, he did not apply any type of finish, not even wax or shellac. He left just the bare wood. Carvers working in oak mostly put on beeswax to preserve it, or shellac later on.
Wikipedia has Riemenschneider in Würzburg from 1483. It calls him a master in limewood. His Holy Blood Altar in Rothenburg ob der Tauber is dated 1501 to 1505. The same site says most of Gibbons' work is in lime, Tilia, and lists it at Windsor Castle, Hampton Court Palace, St Paul's Cathedral and Petworth House.
Go look at their work today, I said, and you will be surprised. Without any finish, 300 years later, his still looks beautiful. You can see a lot more aging on oak than on lime wood, and I said that is my own opinion, a controversial one. I have worked in his style for a long time and have some pieces done in it, but I still can't say his name correctly, because of my accent. It's okay.
My own pieces came up next. Some I carved a long time ago, 10 years ago or so, did not get any finish, and they are just beautiful, naturally developing colors. That panel was going to get an authentic 15th century paint, which sounds complicated, but it's just a chalk paint.

My kitchen cutting board lesson has the other half. As far as we know, ancient people used two final coats, beeswax and oil, mostly boiled linseed oil. I'm from Russia, and in Saint Petersburg some of the buildings are like 300 years old, though the city is not that old by Russian standards. Peter the Great built it. Window jambs, sashes and doors there were wood with that oil on them, and that wood looks really fresh even today. Nothing has rotted 300 years later, and I said there are no wormholes. That's how you preserve your work.
The city was founded in 1703. If you are still deciding on a finish, my March 2020 livestream page takes up that question.

Will the glue hold up for that long?
In Hashemi flowers, lesson 28, I explained how a carved piece would join the first layer. I'm going to use my glue, I said, but glue in a few years is going to fail. If I glue a dowel inside, even if the glue fails in 100 years, the dowel is going to hold that piece together.

I called the class panel solid in lesson 1, with a couple of open spots held by connecting points, and lesson 6 is where carving pierced work from the solid comes up.
Will a thick carving crack as the seasons change?
It can move, and that is the slow danger. Back in lesson 12 I told you this is a really thick piece of wood, and there is such a thing as a seasonal movement. Wood expands, contracts and shrinks with it, I said, depending of course on where you live. So you have to understand how that will affect the piece itself, and how to keep it from cracking.
I excavated the back slightly inward there. In certain spots it went almost all the way through. Break that force in those continuous pipes, I said, and you eliminate some of the movement. That is why I'm for more undercutting than less, so there is less chance to see a crack later. There was a second advantage too. The piece gets much lighter, so you are not afraid to place it, or even glue it on something.
In the next video I said it again and corrected myself on the spot. The point is to break those pipes, to prevent, or not to prevent, but to make the seasonal movement as little as possible.

Lifespans I gave on camera, side by side
Here they sit in one place, with the condition each one came with.
| Video | Lifespan | Condition |
|---|---|---|
| Grape onlay 10 | centuries, stabilized by epoxy in the thin parts | hopefully nobody touches it |
| Venice Room 100 | stays once installed, if we live that long | the only concern, shipping |
| Venice Room 52 | 300 years, finish or no finish at all | Gibbons left it bare |
| Cabernet tray 6 | forever, pretty much, once the epoxy goes in | used on a table |
| Kitchen board 17 | 300 years of window wood, still really fresh | under boiled linseed oil |
| Hashemi flowers 28 | glue fails in a few years; dowels hold | dowel glued inside it |

Want to see the thin parts on this onlay go in, and hear that epoxy line where I said it? All three videos of lesson 10 are inside Tuition and Access, along with the rest of the course.
How it's done
- Plan the wall before the thin parts. My onlay is not a utensil for every day, and it's going somewhere, I hoped, out of people's reach.
- Check which way the grain runs. Where it ran long, a thin part was okay. Across, it was a big mistake, I said.
- Stabilize the fragile parts. Soak them with epoxy and they're gonna be stabilized, I said. On a table piece I'd probably use it too.
- Treat only the surface. You don't need to soak it through, I told someone asking about my tray. The surface is what needs it.
- Spray lacquer over the epoxy. A satin lacquer on top keeps it from looking like plastic. That was my worry the first time I used it.
- Pin glued joints with a dowel. Glue lets go with time, I said, while a dowel inside keeps holding the piece together.
Frequently asked questions
Do carved wood pieces rot over time?
Wood can go 300 years and still look fresh. In my beginner course I talked about window jambs and doors in Saint Petersburg with linseed oil on them, still nice today, with nothing rotten. As far as we know, ancient people finished with beeswax or oil, and that's how you preserve your work.
Should you put epoxy on a fragile carving?
For my Cabernet tray I said I would probably use a penetrating epoxy if the piece is going to be used on a table and not kept away. Only the surface needs it. Put a satin lacquer over it, or the shine will look plasticky.
Does a carving last without any finish?
Lime wood can, by my account in the Venice Room. Grinling Gibbons put no finish on the lime wood, as I told it, and after 300 years it still looks beautiful. A few pieces of mine carved 10 years ago or so have no finish either, and their color keeps developing on its own.
What to carve next