

Alexander Grabovetskiy, woodcarver, School of Woodcarving · Published 2024
How do you connect carved grapes to the vine?
Quick answer: Connecting carved grapes to a vine is carving an opening off the branch into one grape, so the line can run on to the next grape. On my grape onlay a small number 11 veiner, upside down, took the waste out first. Underneath you connect other spots too, but not too much.
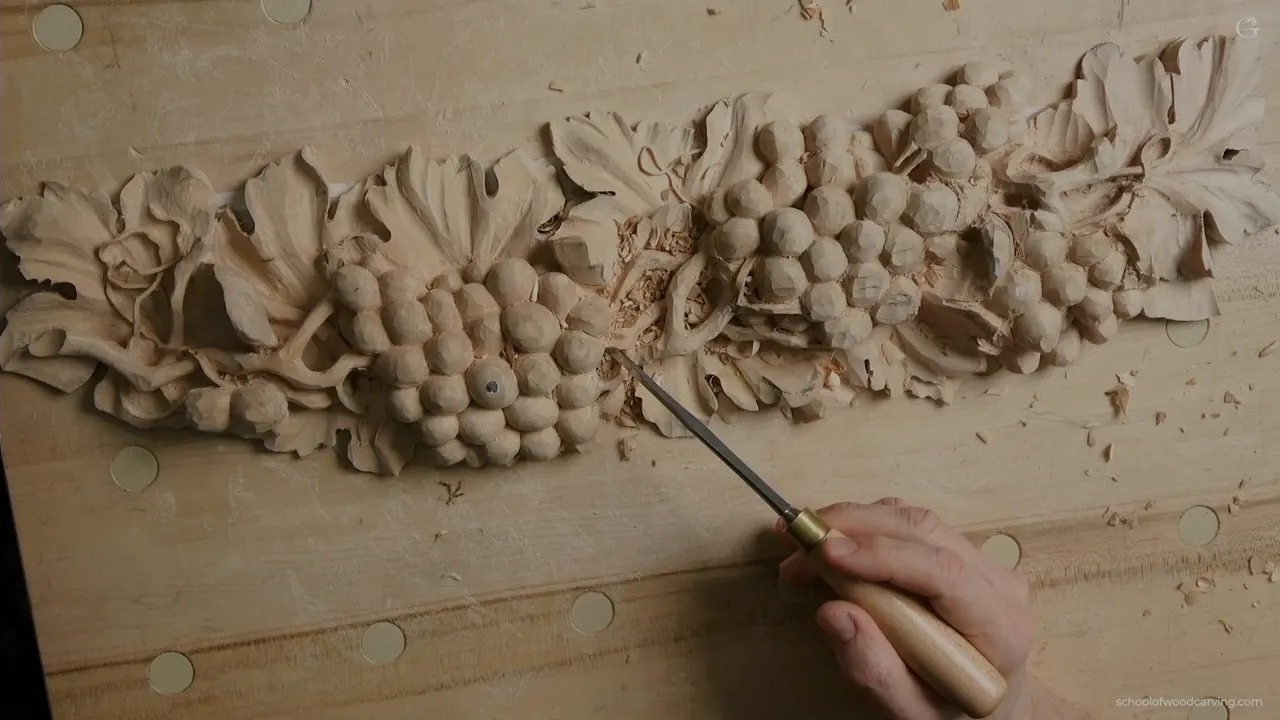
Joining grapes to the vine in a carving is opening a way off the branch and down into one grape, and then letting that spot lead on to the next grape. I made one in part 3 of lesson 11 of my grape onlay, with a number 11 veiner of 2.5 mm (about 3/32 in) turned upside down. On wood carved grape vines like mine, you've got to connect to other spots underneath as well, and I set a limit on that.
Look at a real bunch of grapes for a minute. Does every grape hang from something? And does that something run back to the vine? A carving needs the same joins, and in this video I carved one, down into a grape, and showed where it goes on from there. You'll see where I kept wood for it and why. Then come my tools in the order I used them, the limit I gave myself on how many joins, and what I did with the grape sitting just below it.
The branch and grape join on my onlay, briefly
I kept some wood on one side on purpose, since I still wanted connections there.
From that branch I connected a grape by making an opening.
A small veiner went in first, upside down.
The line runs on from that grape to another one, and other spots below it connect too, so I told you to be wise.
The grape below got blocked in only.

Where do wood carved grape vines meet the bunch?
It was a spot beside a branch on my onlay, on a side where I chose to keep wood. I had just attacked a little more from that side. Right then I said I didn't want to remove too much material there, because I still wanted to make sure I had some connections, and that was actually a wonderful spot.
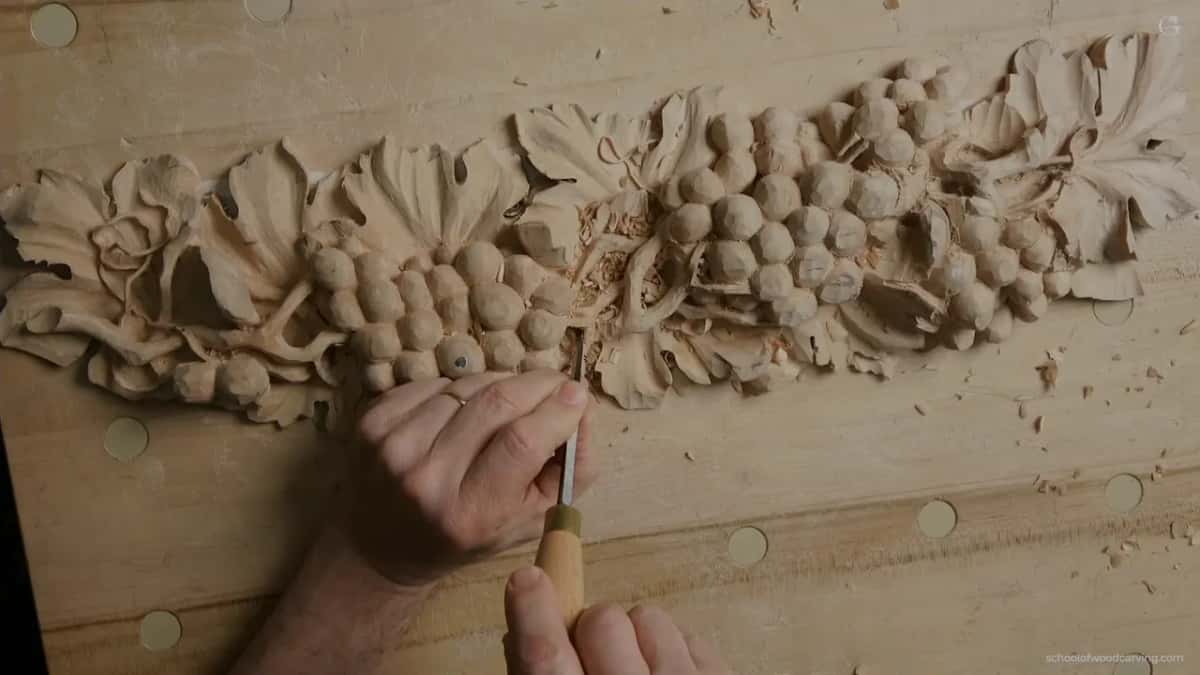
I showed it to the camera next. See this grape? I can connect it from the same branch, I said, by making an opening right here.

The idea goes back to lesson 3. One shape there had to carry on in one direction, because it had to come off the same branch, off those stems, whatever you call them. One of those stems was going right underneath, so I kept some material for those movements. I don't want to carve what I don't have to carve.
Back in lesson 1 I called them the connecting things, whatever you call them, and said it's a good idea to put one in a spot like that. Where grapes meet each other is a different job, with its own triangles, and that lesson covers it.
What did I dig out before the join?
Wood on the inside, near a branch, and I came at it from above. Take your time, I said, take your time. From above you probably don't see that much, but that branch could go slightly to the right, so I made a little deeper excavation to take some material out of the inside.
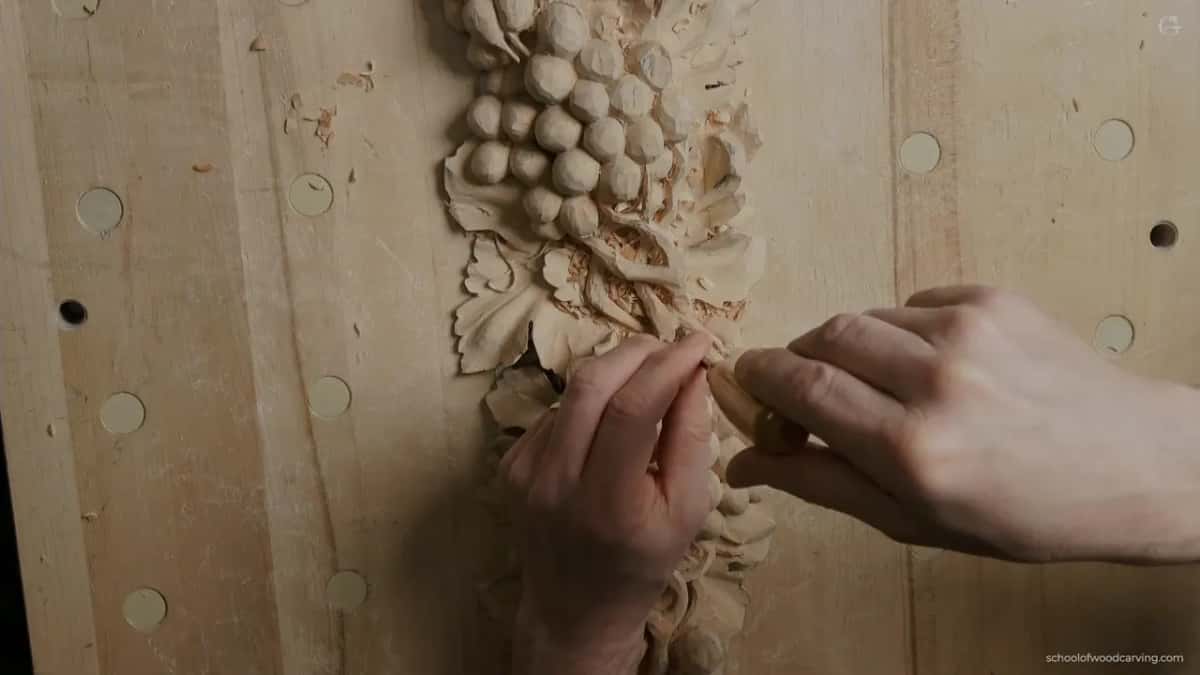
My number 9 of three millimeters (about 1/8 in) did it, placed straight down. Same idea as the plug cut we did before. I took the plug out little by little, without forcing, and maybe just slightly made an angle.
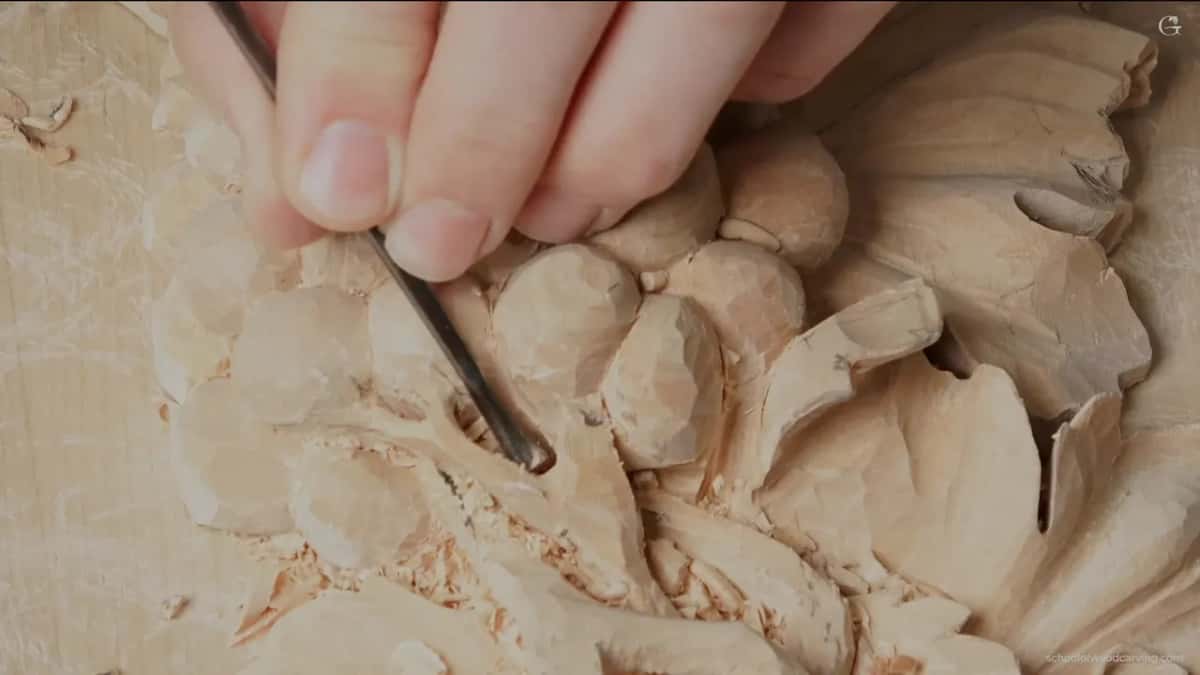
Past that point, nothing fit. I do have the tool for it, but most of you probably don't have that special tool, and you won't be able to find it, because nobody sells those really tiny spoon gouges. With one of them you can get right in on the side and excavate all day long.
So I took a back bent instead, a really nice small one, an antique, and I had to be really careful at that point. The back bend lets me go above what's in the way and excavate. No force at all, only slicing. You have to feel what the grain does, and if it fights you, don't force it. I can try different ones, different angles, I said, and this one looked much better there. You can be really crazy with that, and I could hear by the sound that the inside wasn't left rough.

Which tools carve the opening at the branch?
A number 11 started it. I tried the same size as earlier in this part, because if I can fit the bigger tool, I'll try it first, before I switch to a smaller one. It went in upside down and took out some of the waste. It sounds like a bigger tool, I said, but it's only two and a half millimeters.
Excellent spot. I said it twice.
After that I worked with the side of that small veiner, the way you'd use a number 3, even though it's a tiny one. On a carving gouge, a number 3 is one of the flatter sweeps. The skew came next, about a quarter inch, about six millimeters, to get a little better shape.
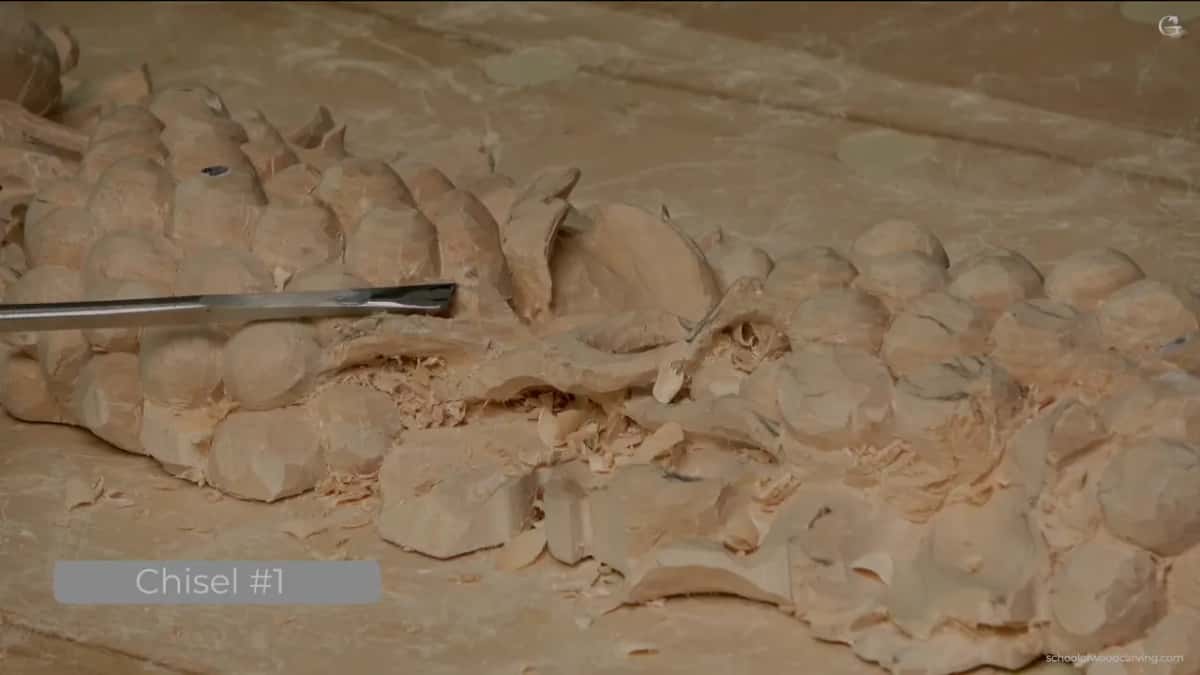
One more step made it wider. We still had to connect somehow with those grapes, and one grape there was kind of big, but it was all right. So I excavated a little wider right there to move the waste and connect that spot.
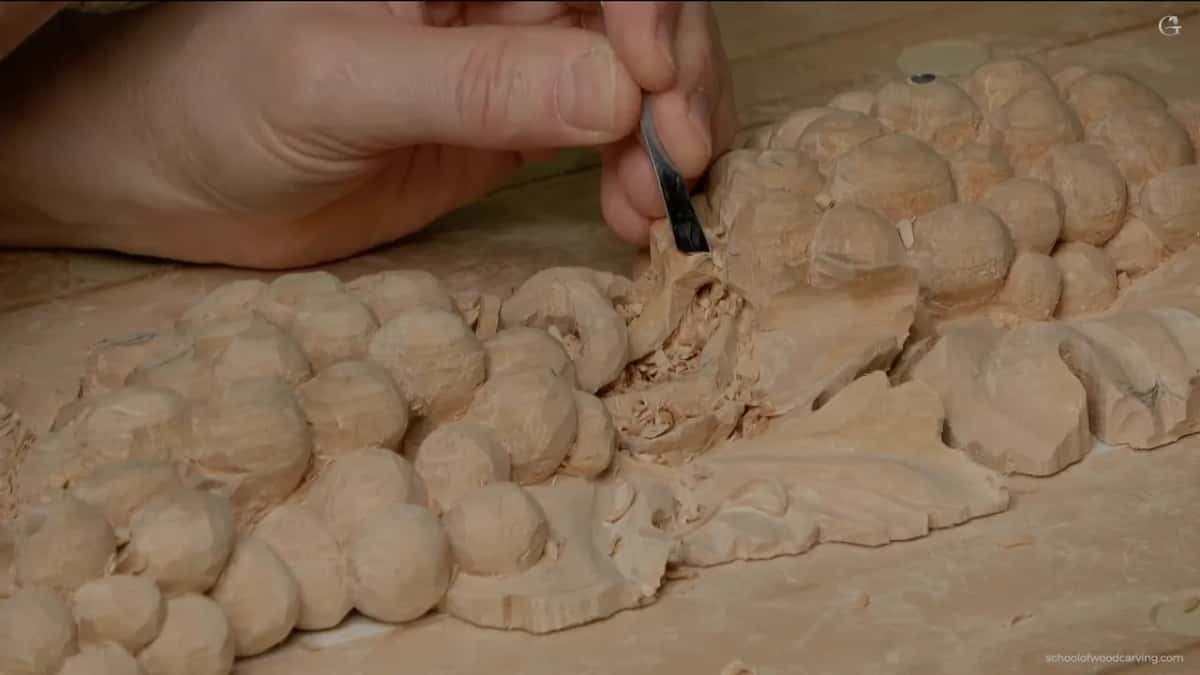
How does the connection point carry on to the next grape?
It goes to one grape first, then on to another. I wasn't sure you would understand what I meant, so I showed it from above. There's the branch, and there's the connection point. That point leads on to a first grape, and then into another.
Real grapes are built along those lines. Wikipedia's botany pages call the stalk that carries a whole cluster the peduncle. Above it runs the rachis, the main axis that holds the flowers, and each flower gets its own pedicel. On the common grapevine those flowers turn into the berries.
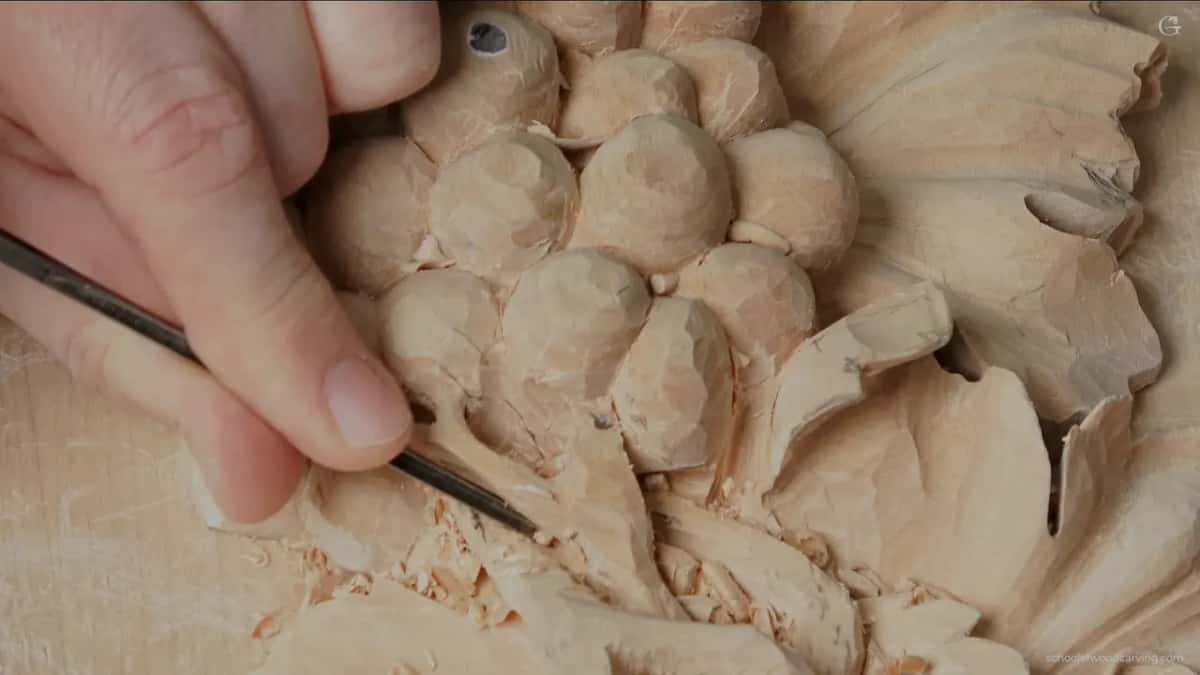
I made the same point about real grapes in lesson 13. When you look at them, there's a grape and a connection point, and it connects to the grape itself. In part 2 of this lesson I saw a chance for another separation, to connect to the grapes, and said I'd refine the connecting points later on.
Should every grape connect to the vine?
Underneath, other spots need connecting too, and in the same breath I put a limit on it. "Also, not too much though." And I went on, "You don't wanna overwhelm my composition, so be wise."
Composition is the word artists use for how the parts of a picture are placed.
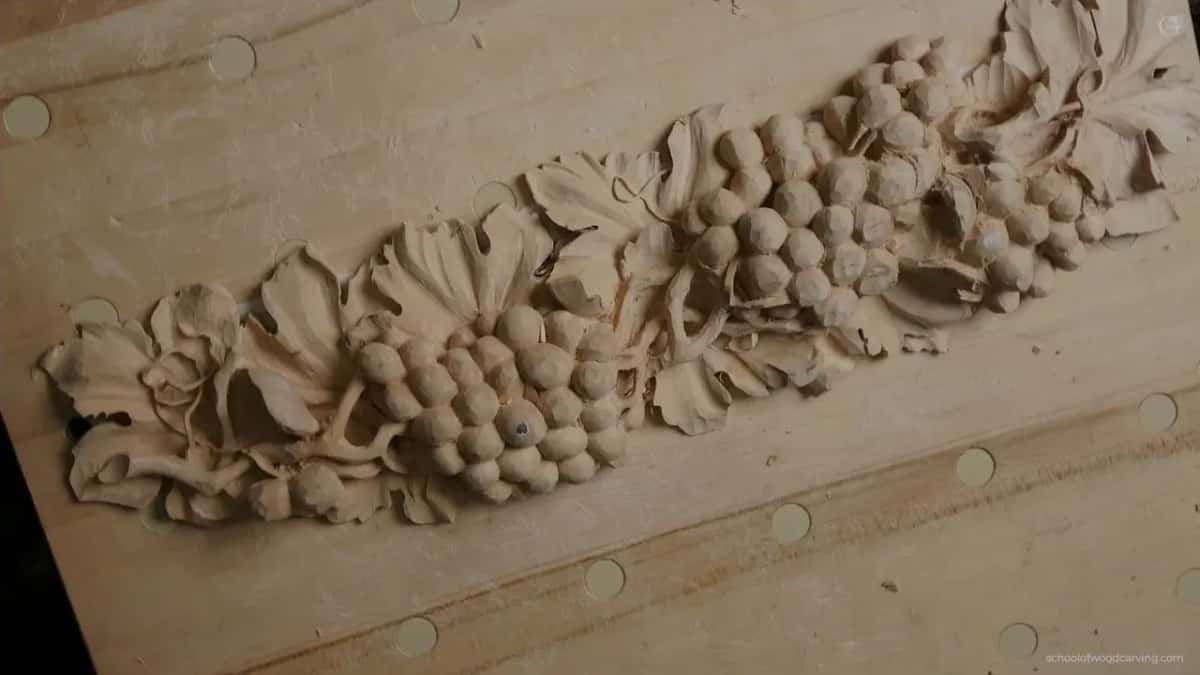
I asked myself the same thing in lesson 2. Do I want to do them or not? Maybe not at all, I said, because it could be coming from pretty much underneath and go up. Overall it looked good, so those could wait for next time.
Before any stems were carved, in lesson 8, I talked about small stems and a little nicer motion. You don't have to, I said, and you can leave it like so. But I think it's going to look better.
Someone at my Cabernet tray class asked about bringing something around from the bottom, along a line. If it were a vine, absolutely you can do that, I said. If it's not the vine, it does not connect. Where is it coming from, I asked, since it's got to be connected to something. Like I said, if it's going to become a vine, it's not a problem at all.
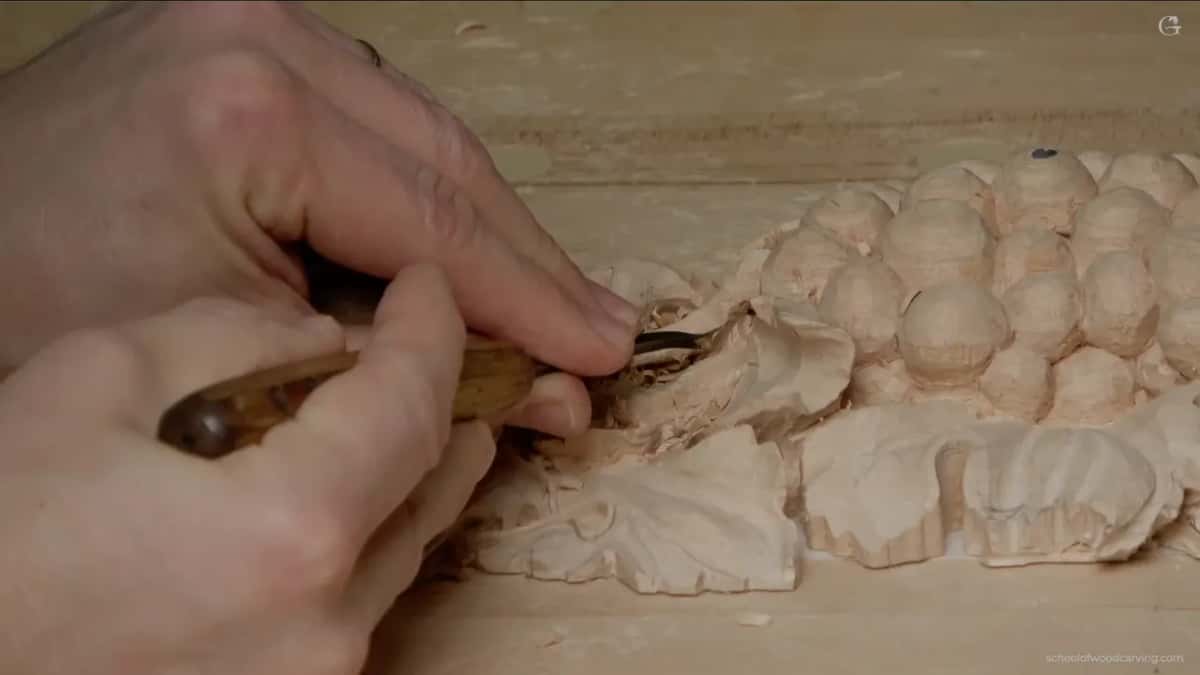
What did I do with the grape right under the join?
I blocked it in. Once the opening was there, I said that is good, I think it's good, and moved to the grape. Right underneath that connection point I roughed in the shape of the grape, just preliminarily. Don't pay attention to the detail yet, I told you, since we hadn't put any details in. We'd do that a little later. All I was after was blocking in, roughing in, even if it doesn't look too good.
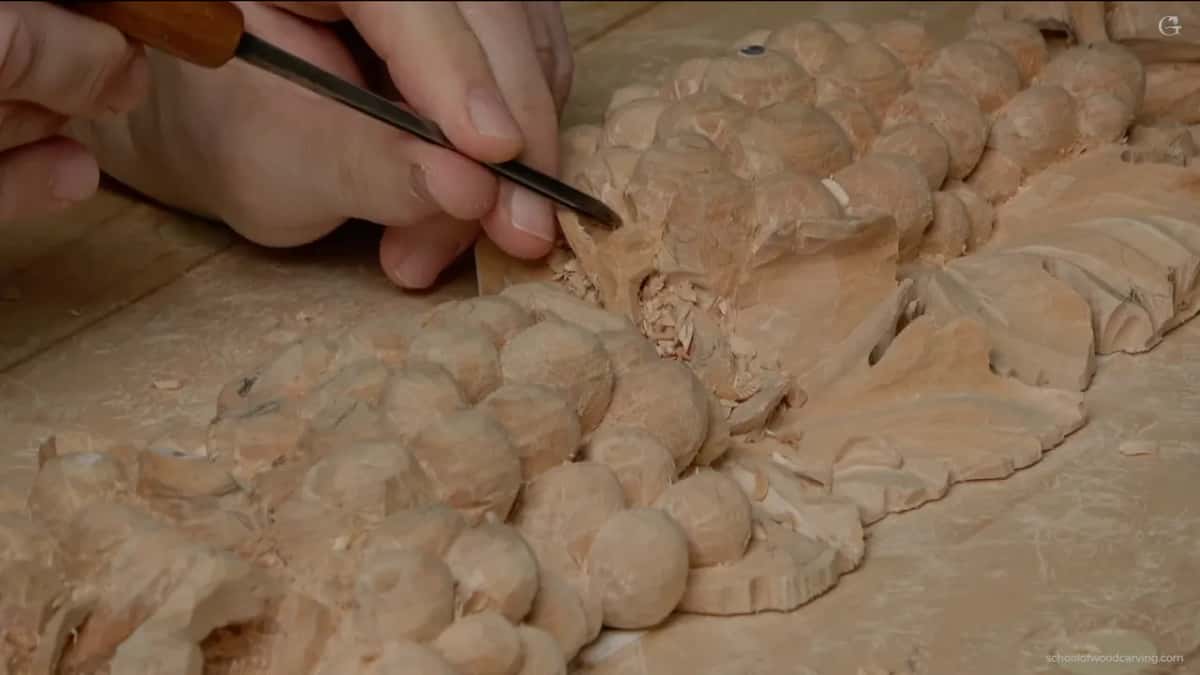
Then the same small veiner came back, and I excavated slightly right underneath. While I did it, I was really painting with the shadow. Look from above and you can see how dark a spot I got there.
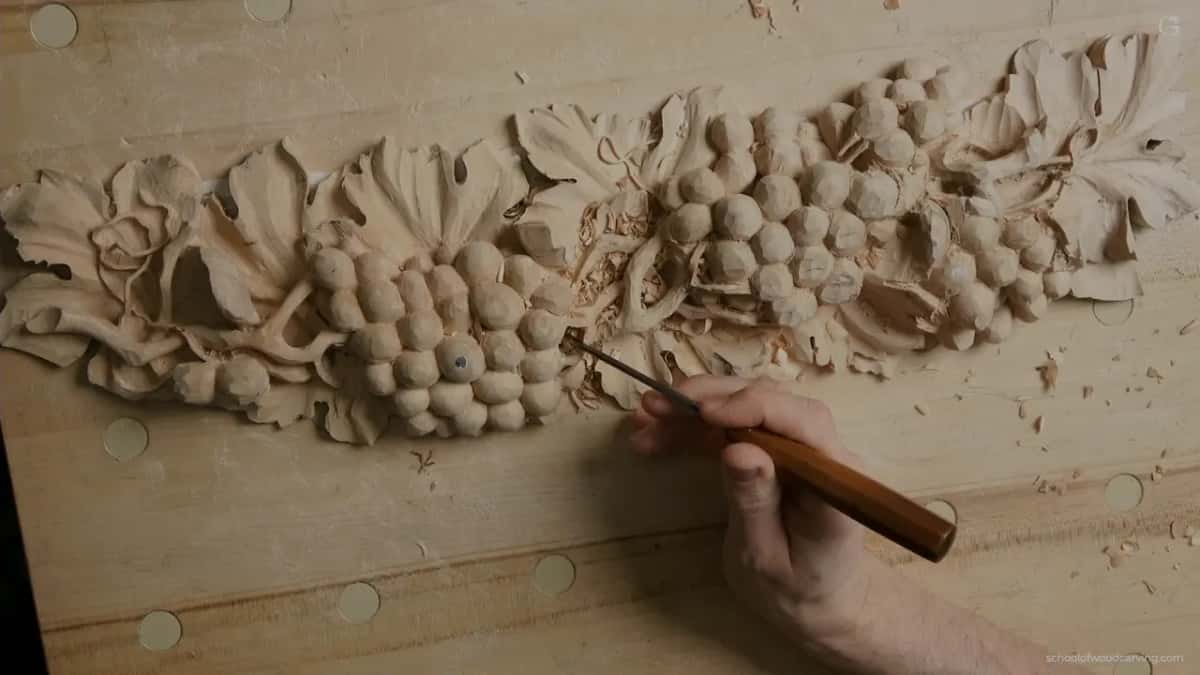
Painters have a name for working in light and dark, chiaroscuro. In wood the dark comes from depth. That's good, I said about mine. That's wonderful.
Another branch can go on the side right there. You don't see that on camera, unfortunately, but I've got a really good spot for it.
When do the little grape stems get carved?
Later in the course, on my onlay. During lesson 2 I pointed at some connecting stems and said I'd do them a little later. By lesson 13 the time had come. I broke one small stem like that before, and it did not survive a trip. Multiple spots like that would be a wonderful idea, I said, but when you bring those stems in, make sure you just follow the overall flow.
One grape would get a little smaller because of the motion I was about to bring in, which is okay. Not all the grapes are supposed to be the same. I placed a couple of lights and outlined with a 2.5 mm number 11. A grape there also had to come out from underneath its neighbour, so I dug much deeper close to the grape before it. A micro stem, I said in that lesson, has to fall right into the center of the grape itself.

In the next part of lesson 13 the stem was about a 16th of an inch (about 1.6 mm). I carved the connection point with my flute toward the grape, on a number 2 of 2 mm, a little bigger than a 16th of an inch. Small, tiny chamfers came after it. Hope it makes sense, I said, at least some of the sense. A chamfer is a small sloped face that takes off a sharp edge.
What about stems on olives and tulips?
Each one got its own connecting point. I carved olives on my lily box, and the thing I had to show you was the connection between the stem and the olive itself. They don't just grow into it, so there should be some kind of separation.
First I set the stems and put a fillet on both sides, to make them rounder. For the connection, just preliminary, I made a V groove that goes around, because I really wanted a visual separation there. I took the form all the way down, so it would blend with the overall design, and some of it I could always do right in place once the piece was glued, I said. With a knife I could take a chamfer.

In my Grinling Gibbons class in Maine a tulip needed a stem. I dropped one area about half an inch (about 13 mm), and that was going to be the connecting point for my stem. The tulip itself might go a little deeper later on. It was about an inch and a half wide (about 38 mm), so the final connecting point would be about three quarters of an inch (about 19 mm). The whole class was built around Grinling Gibbons, whose garlands are mostly carved in lime wood.
How clean should the join look at this stage?
Rough is fine here. Before I showed it I cleaned up a little more with the same tool upside down, then got rid of the chips. Lots of chips. That is how it looks as of now, I said. Without the chips it shows much better, and if you rotate it a bit you see it better still. I liked how it developed. It wasn't so clean, which was absolutely fine.
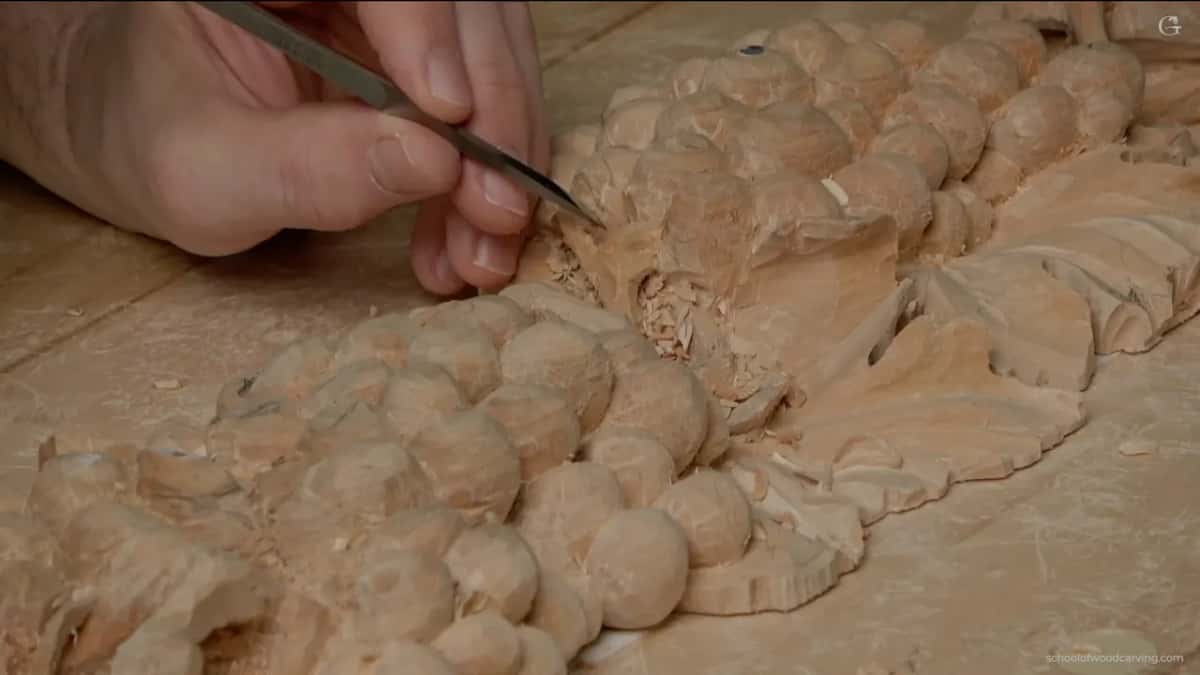
Later I can always clean it with the skew, or any other gouge, you get the point. Cleaning it now would be a little too early for me. Say I change something, or break something, after all that time spent cleaning. That's not going to make me happy.
Every stem and grape join named in these videos
| Join | Work | Source |
|---|---|---|
| Branch to grape | an opening off that branch, veiner upside down | lesson 11, part 3 |
| Grape to grape | the connection point went on to another grape | same video, minute eleven |
| Under the bunch | more spots to connect underneath, with a limit | right after that, underneath |
| Stem to grape | my flute toward the grape, then tiny chamfers | lesson 13, part 2 |
| Olive and stem | a fillet each side, then a V groove | the lily box olives |
| Tulip stem point | dropped about half an inch (13 mm) there | Maine class, lesson 7 |
Each row is something I did or said on camera. Branch thickness is on the lesson 11 page, and in lesson 12 the panel turns over for the back.
Want to watch the opening go in, pass by pass? The full video sits behind Access, with the rest of the onlay.
How it's done
- Keep wood where the connection will go. I held back from taking too much on that side. I still wanted connections there.
- Open the way to the grape. The small veiner went in upside down and removed the waste. If the bigger tool fits, I try it before I go smaller.
- Shape the opening. Side of the same little veiner, like a number 3. Then the skew, a quarter inch or so (about 6 mm).
- Widen it a little. I excavated a bit wider to move the waste so the spot could connect.
- Connect other spots underneath. I said to connect those too, but keep it from overwhelming the composition.
- Block in the grape below. Only its rough shape for now, plus a slight dig right under it for a dark spot.
Frequently asked questions
Which veiner makes the first opening?
My number 11 at two and a half millimeters, about 3/32 inch, turned upside down to take the waste out. I tried that size before anything smaller. After it I worked with the side of the same little tool like a number 3, and then a skew about a quarter inch wide, about six millimeters, for a better shape.
How many connections should a carved bunch get?
Other spots need connecting underneath as well, I said, but with a limit, because you don't want to overwhelm the composition. Be wise about it. Back in lesson 2 I even asked whether I wanted those connections at all, since it could come from underneath and go up.
Do you carve the grape stems right away?
Later, on my onlay. Some connecting stems were left for a little later in lesson 2, and in lesson 13 I carved one where a stem about a sixteenth of an inch, about 1.6 mm, met its grape. My flute faced the grape, on a 2 mm (about 5/64 in) number 2, and small chamfers followed.
What to carve next