

Alexander Grabovetskiy, woodcarver, School of Woodcarving · Published 2024
How do you keep a carved leaf from getting lost behind a branch?
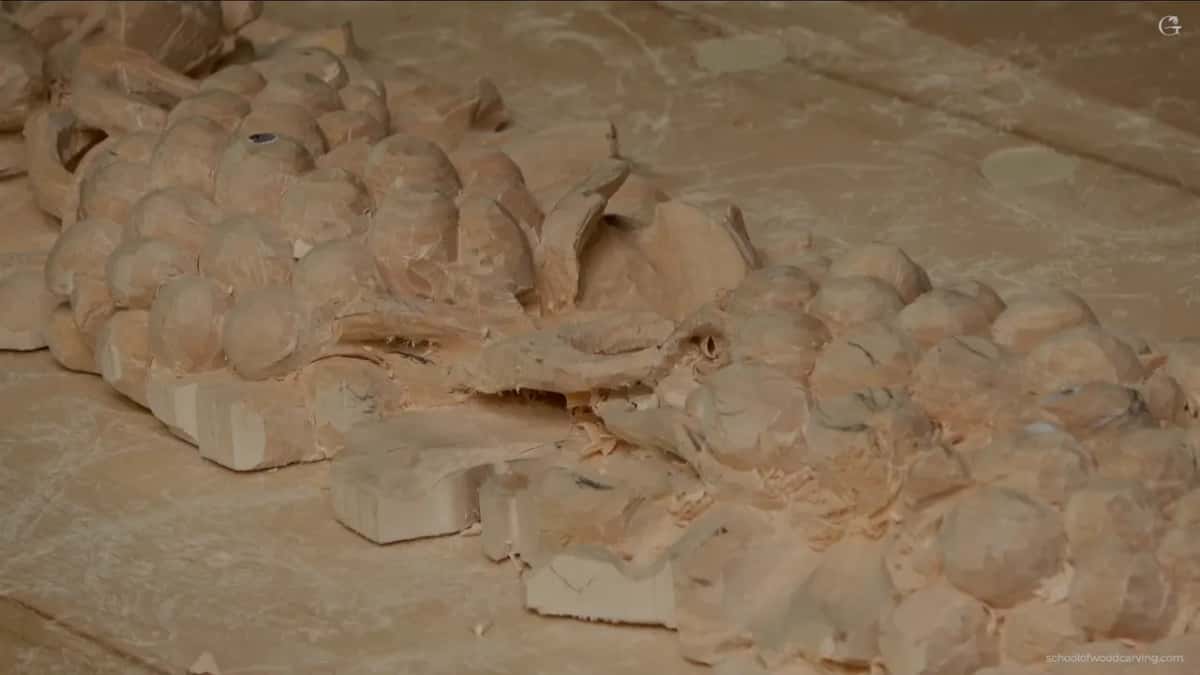
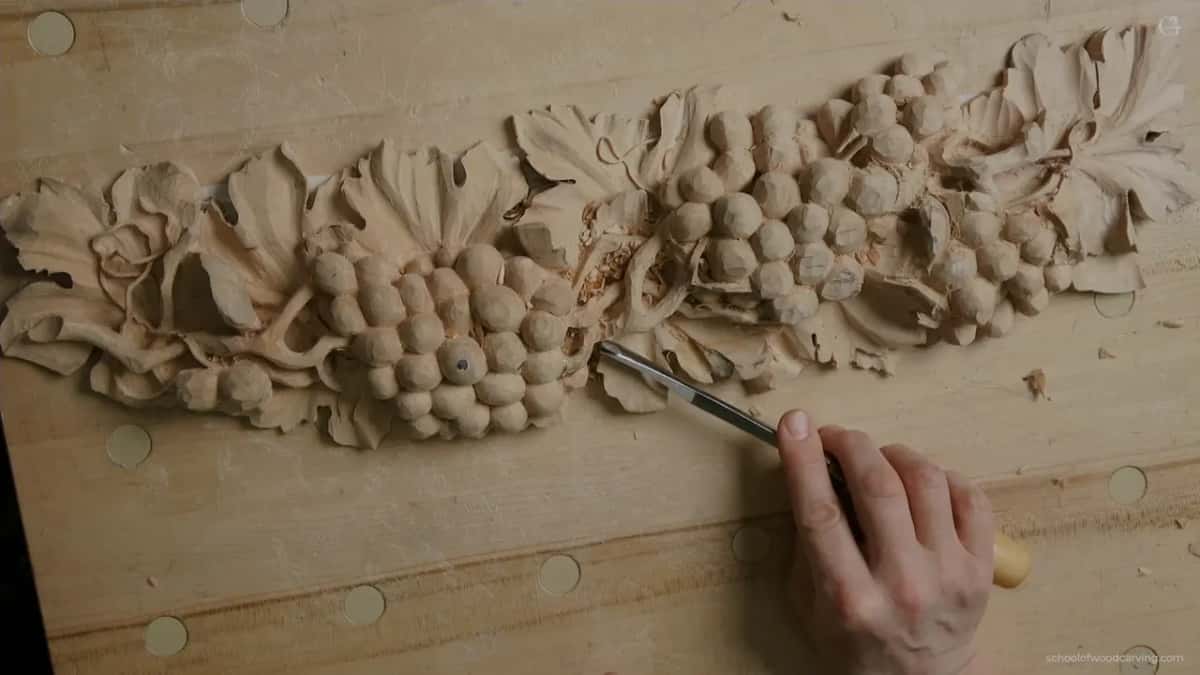
Quick answer: A leaf that gets lost beside a carved branch is one whose leftover piece no longer reads as that leaf. On my grape onlay a small section with an eye sat next to the branch. I wanted where the eye starts and the ridge kept raised, let the rest drop, and dug in underneath.
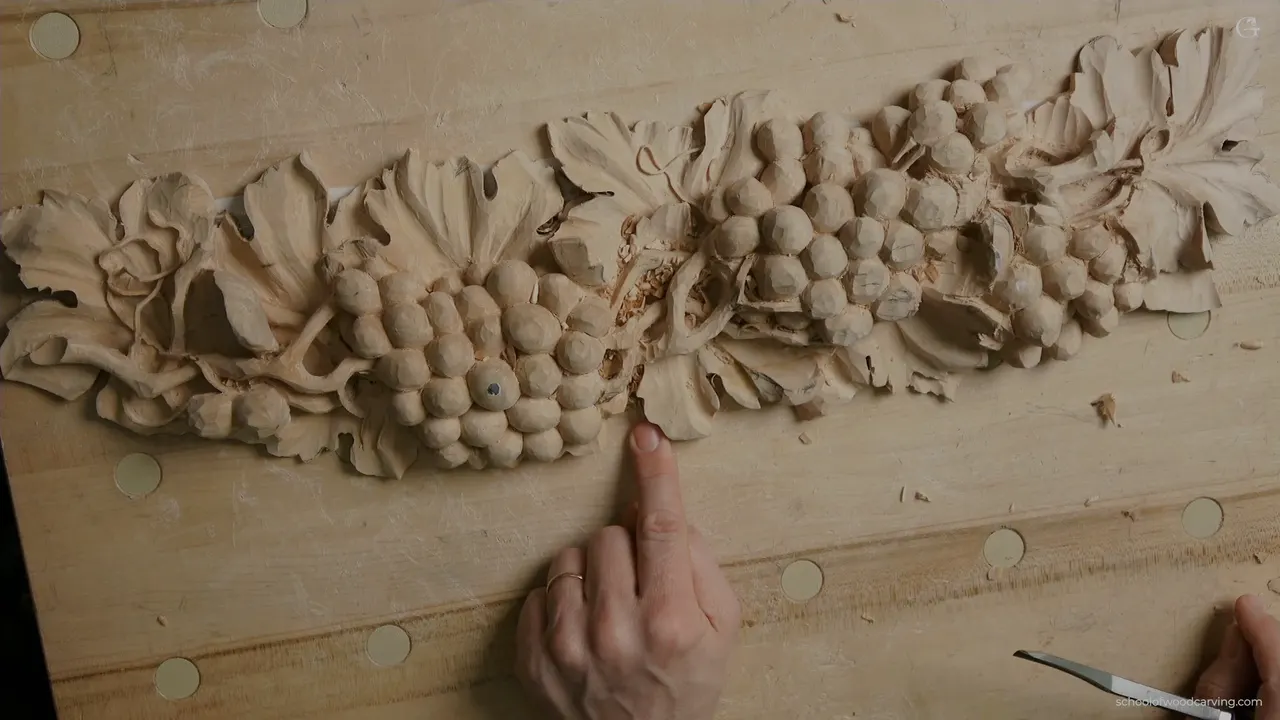
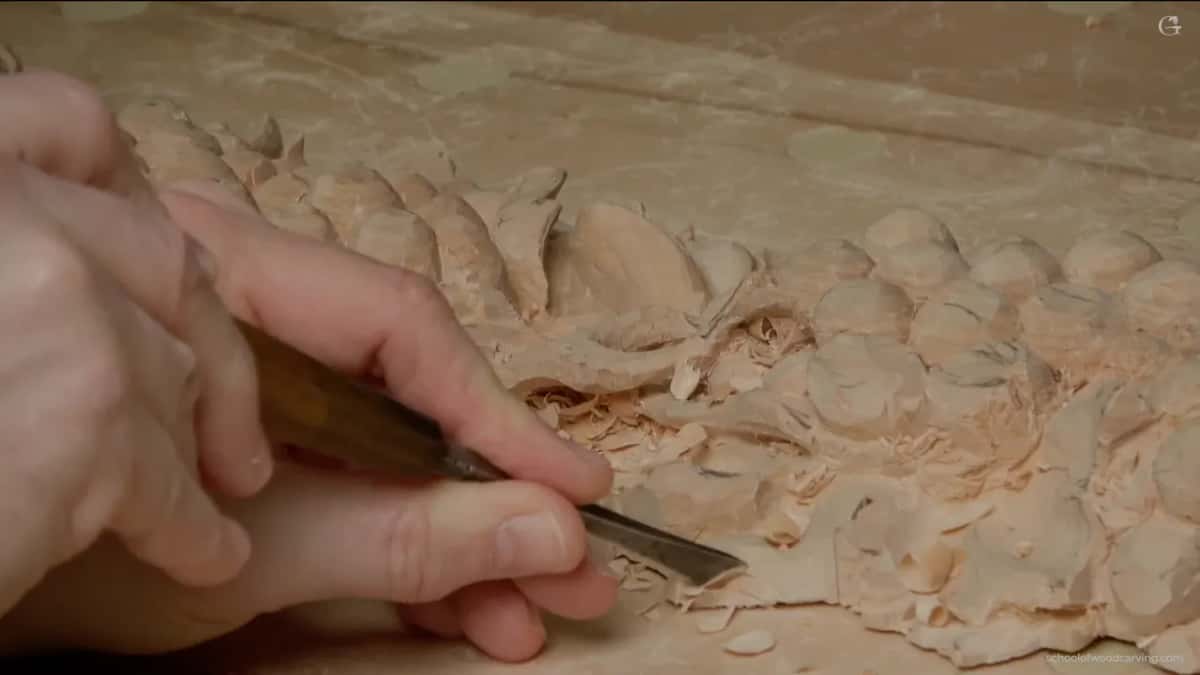
Keeping a carved leaf from getting lost behind a branch is a matter of keeping the leaf readable when only a small piece of it still shows. On my grape onlay, in the second part of lesson 11, a branch came right past one leaf, and I said, "I'm not losing the idea of the leaf." This page is about wood carving leaves in that tight spot. This one had a branch in the way and an eye right beside it, on a relief carved on its own board.
Have you carved a leaf and then watched a branch eat half of it? Did the bit that was left look like a stray chip? A small piece can still read as one leaf if a few spots stay where they belong. Below is what stayed high, what went down, and the tools that got underneath, with what I said about the same problem on other pieces.
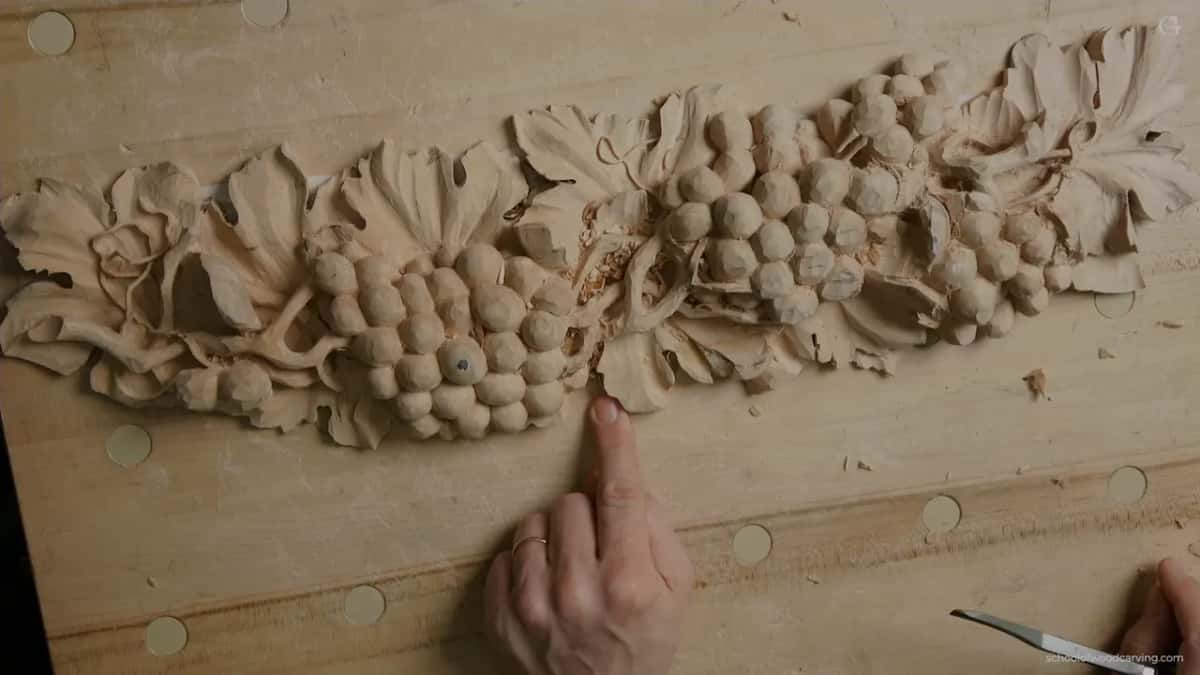
Wood carving leaves next to a branch, in brief
- My plan kept the eye and its ridge raised.
- One side could roll down slightly, and the rest of that piece could drop much lower.
- A V tool or a tiny spoon eleven gets in under the leaf.
- My number 6 took off the extra wood, outside inward.
- People won't see that bit, and I care about it anyway.
- Messy for now is fine.
What does it mean to lose the idea of a leaf?
This part opens on another side, with exactly the same operation I did before with all of those grapes. One piece sat on double-sided tape, more on that in lesson 10, and I said I don't think I did a really good job of fastening it, but it's all right. I was kind of happy with the result.
Here it meant one small section beside the branch had to keep reading as a piece of its leaf. Looking from the side, I had a really good spot, and pretty much I could just chop a little off the side of that branch. But I also didn't want to lose the movement of the leaf. I wasn't sure you could even see that leaf from above.
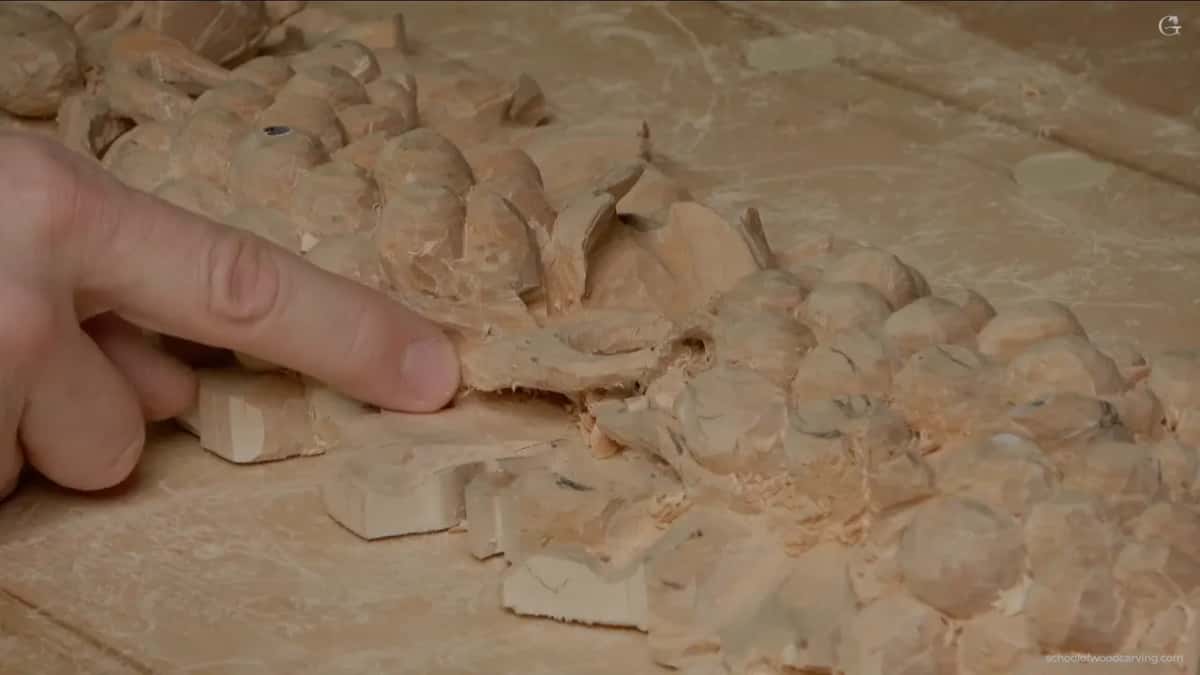
I've got the movement going this way, that way, and it is a continuation of the leaf, coming from this side. There is an eye right there, too. Which means this small, small, small section belongs to the leaf. That leaf couldn't go all the way down. I didn't want to lose it.
Psychologists have a name for the way the eye joins pieces like these. When two shapes cross, people tend to see each one as a single shape that keeps going, a habit the principles of grouping call good continuation. A related idea, amodal perception, is why a dog behind a picket fence still looks like one dog. So is a leaf crossed by a branch, in its own small way.
Why keep a piece of leaf people won't see?
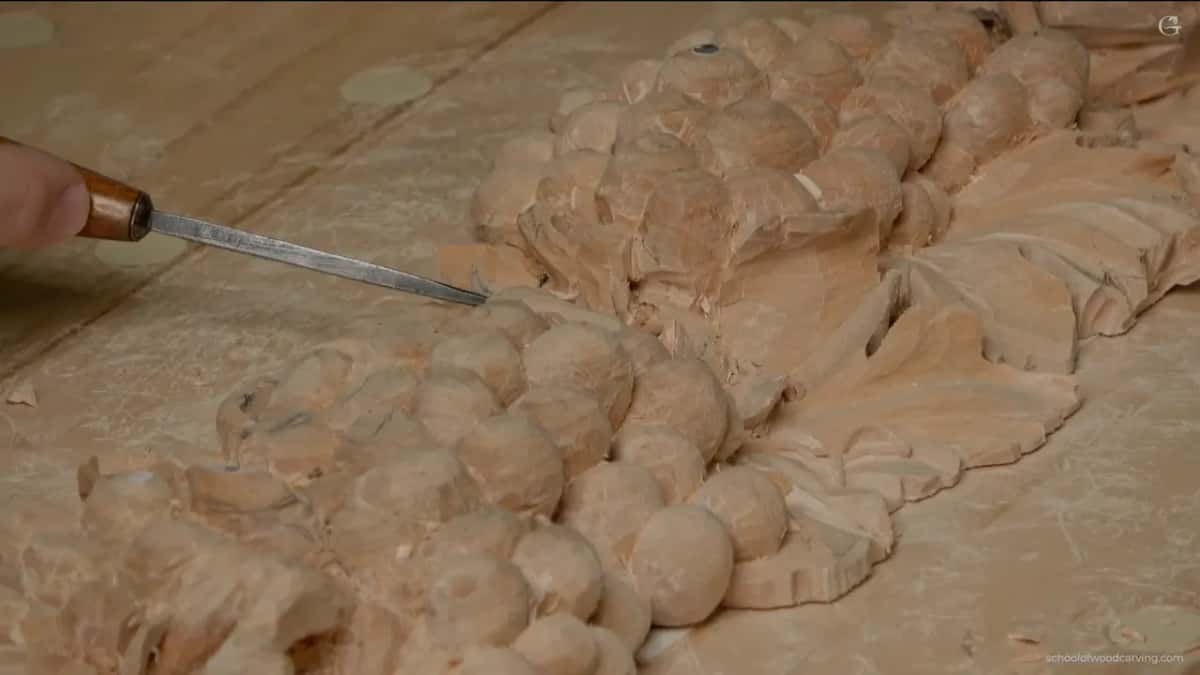
People may not detect that section, I said on camera, "but it matters to me." Seconds later I put it shorter, "People not gonna see it." Right after that, I said now I had to excavate underneath it.
The same thought came back a few minutes later. I had extra wood in one spot and raised a part up slightly, and I said most of the people are not even going to see that.
Workshop 43 of my Venice Room heard the same from me. One spot could get a little concave toward the center, I said, and most of the people don't even know the difference, but it makes a big difference for me.
Leaves are one case. In my Grinling Gibbons class in Maine the talk turned to how many filler flowers there would be, and I said that once we carve, I want it to be by Fibonacci number. "Even if you're not gonna see it, it's gonna bug me if it's not," I told them. The class is named for Grinling Gibbons.
Which part of a carved leaf has to stay high?
The eye and its ridge. With the leaf in place I could start developing something. I could drop one side down and kind of roll it slightly this way, not much. I still wanted the spot where the eye starts, and the ridge, raised up. This other part could go all the way pretty much down. I think it's going to look really good, I said.
That is the same law I give on the course page, where every eye must have a raised part running out of it. Botanists call the main vein down the center of many leaves the midrib.
On the vase with grape leaves I blended to the line with the tool upside down, so the ridge would be more pronounced. We really need to see that middle ridge, I said. Otherwise, we're going to lose the movement. Number 3 or number 5 will work there, and I wanted that ridge on every one of them.
Venice Room workshop 30 had the same worry. One side came out with a much deeper ridge, and I said I wanted the movement of this pipe kept. Just before, I had laid the number 11 on its side for the same trick, a more pronounced cut closer to the pipe and less toward the ridge.
Then in workshop 39 I put it this way: for me, it's important to keep this middle ridge. Every gouge has one side that cuts clean and another that comes out rough, so I could get close to the ridge, but not right to it. My floral and molding panel has a middle ridge that slopes both directions, convex on one side and somewhat concave on the other. I just eyeballed it, since I don't really need to be super perfect on that. I know approximately how it's supposed to go.
What tool reaches under a leaf this low?
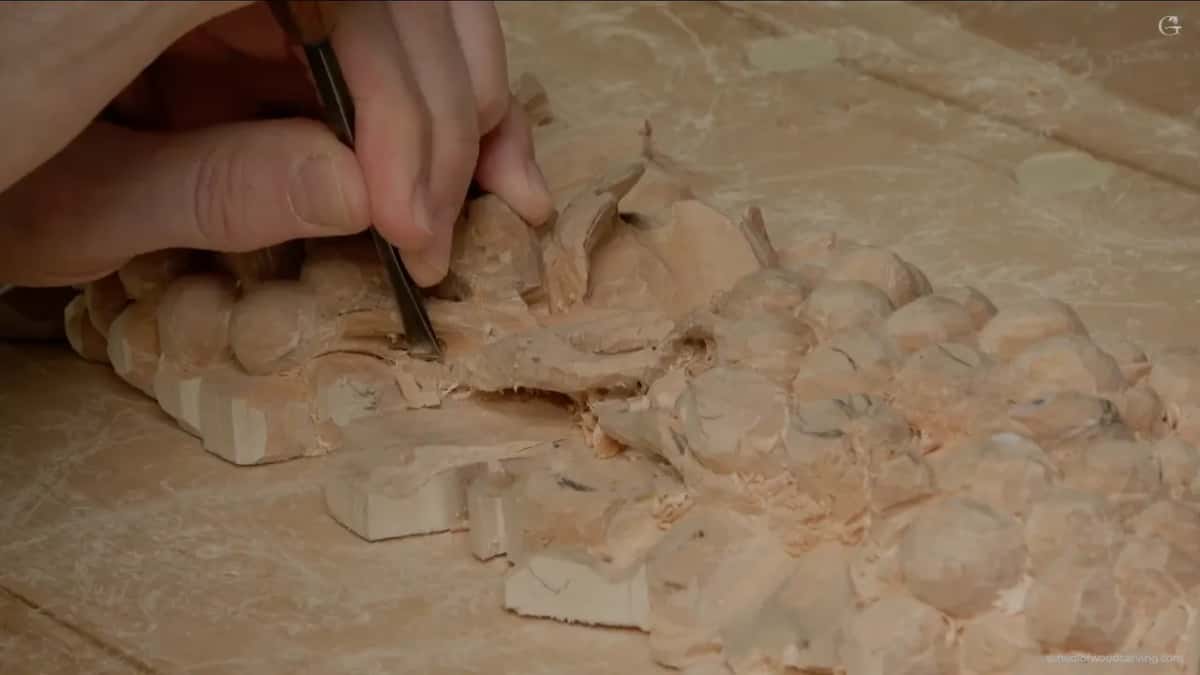
Since no period style binds this panel, more modern tools are probably fair game, I said, and a V tool was my pick. Mine has a 35 degree angle, the same as a number 16 when you buy Swiss made tools. I really like it, I said. I don't use it much, but I like the way it handles.
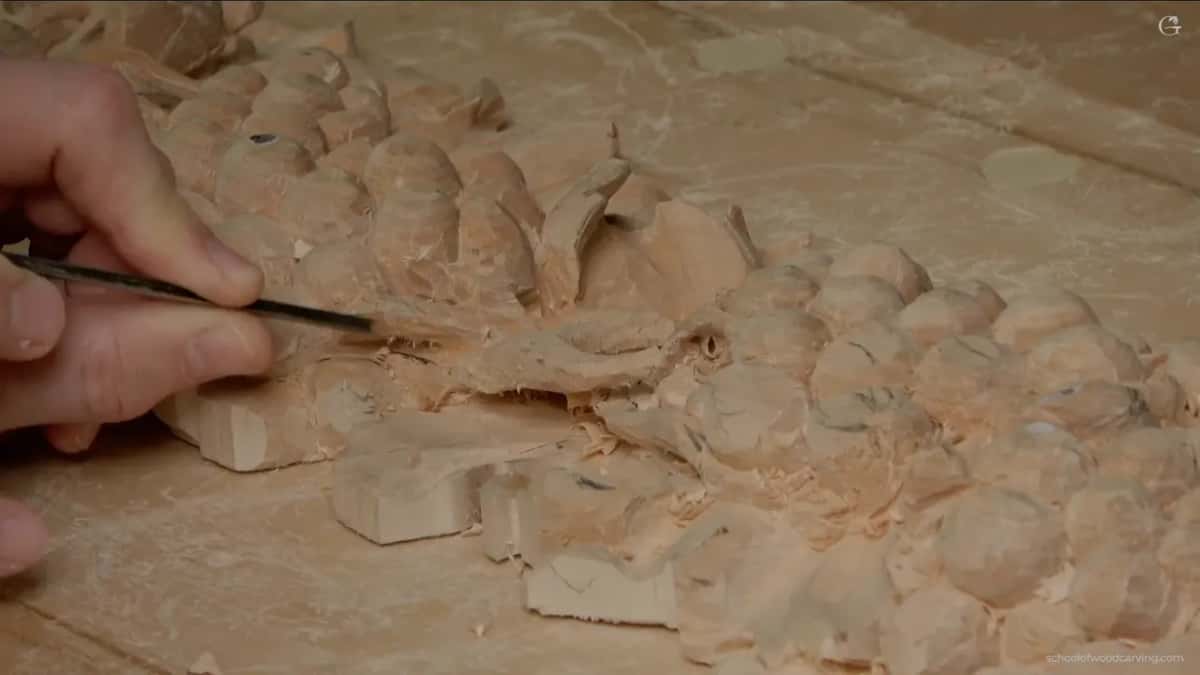
Sixteen is not a must. An eleven still works. Or another one, in this case a number 12, three millimeters wide, so like 1/8 inch, and that one is a spoon version of the V tool. Sometimes it's really good just to get in with. In the end I said an eleven probably makes more sense, a smaller gouge of about one millimeter (0.04 in), and in this case a spoon one.
Yes, it takes time. But you can really get deep and, carefully, excavate right underneath.
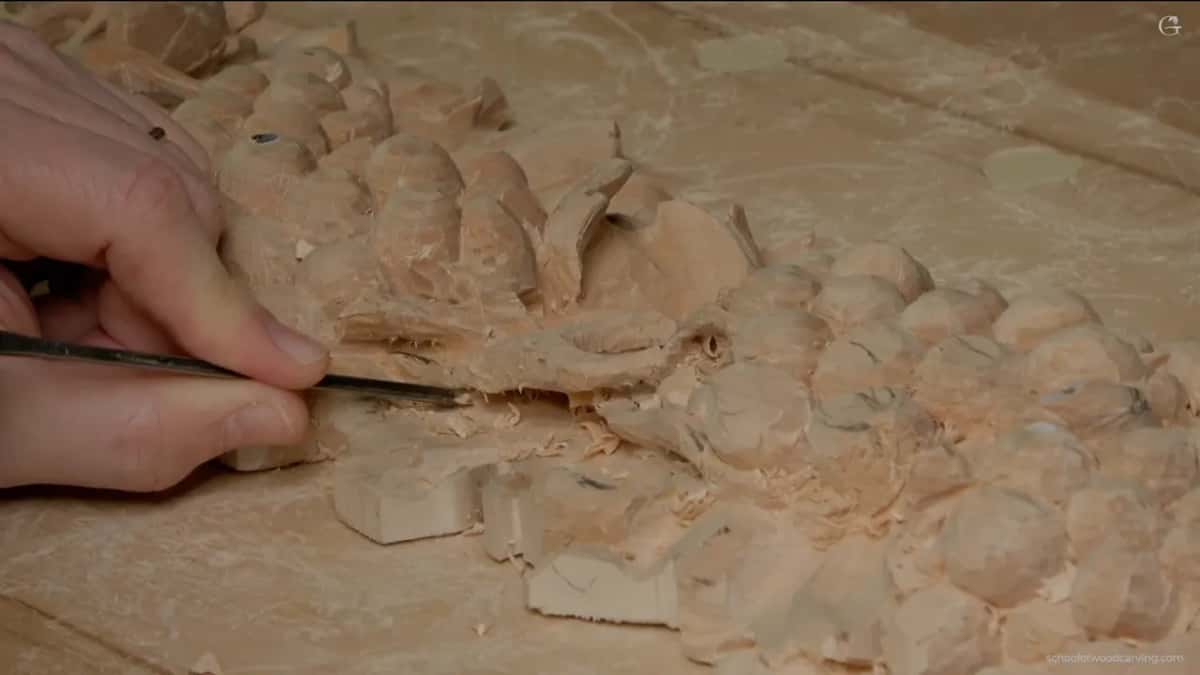
Which way should the gouge travel on the extra wood?
Outside inward, sometimes. My next tool was a number 6 by Ashley Iles, about 12 millimeters (just under 1/2 inch), to start removing some of the extra material. The whole point could come down without grabbing too much at once.
Going from the inside out is okay, absolutely fine, I said, but coming from the outside inward is sometimes better. I dropped it pretty much almost to the surface, and this one, I said, doesn't make sense too high. This side could maybe drop too. With the same tool I refined it a little better, and I called it kind of messy, but all right.
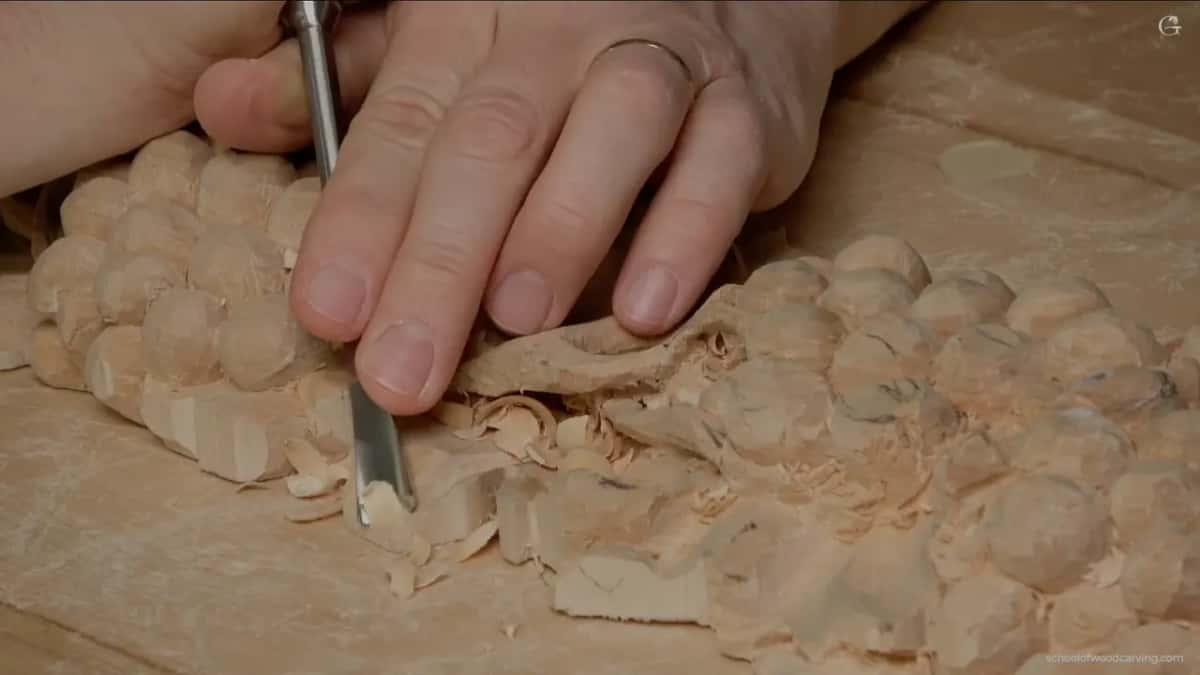
How far down can the rest of the leaf go?
Down near the surface, except at those two spots. Looking again, I could see too much material in one spot, so I raised that part up slightly. Now I had good five eighths of an inch (about 16 mm) of space. Then I wanted my concave cut a little closer to the center, since without it I couldn't see the motion.

My number 3 went in upside down next, to clean up the ridge a little. Later in this video I said it was all still pretty much blocking in, with the details yet to come. Right after the ridge I cleaned this side, removed one little bit more to see much better what was going on, and said that is really good.
That number 3 is an antique with a beautiful steel. Built plain, too, with no ferrule at all, only a handle and the blade. Looks come second for me there. The quality of the steel is what I'm after.
Depth is the risk here. On Roman acanthus lesson 5 I told you to be careful and not go too deep, because in the original design this section of the leaf goes underneath of that section, and we still have to make sure there will be the right movement. I stopped at deep enough in workshop 41 of the Venice Room for the same reason. I can't go too deep, I said, otherwise I'm going to lose overall movement again.
Back on that acanthus I went from the other side with a number 3 to make it flowing, and warned you to be careful there. The grain goes a long way, so it's easy to break it.

How do my other carvings keep one leaf going under another?
By keeping both parts in one movement. In that Venice Room workshop one leaf goes underneath of another one, and it gives me the effect that both are part of a same movement. Even if one is growing upward and the other downhill, you still get that feel. Just before that I said that design-wise that part had to stay, so it went down under the other one, really gradually.
On Roman acanthus lesson 10 I liked how one movement interweaves. One leaf dips under and continues on the other side, and the same leaf passes below a section of another one. The whole idea of {WK('Acanthus_(ornament)', 'acanthus')} is an interweaving, I said. Medieval art has its own word for bands that loop over and under, interlace. The next part went little by little, and I said if I force it, it's not going to look as nice. Then I pointed out that just because this leaf passes under, it is already casting some shadow, the light and dark that painters call chiaroscuro.
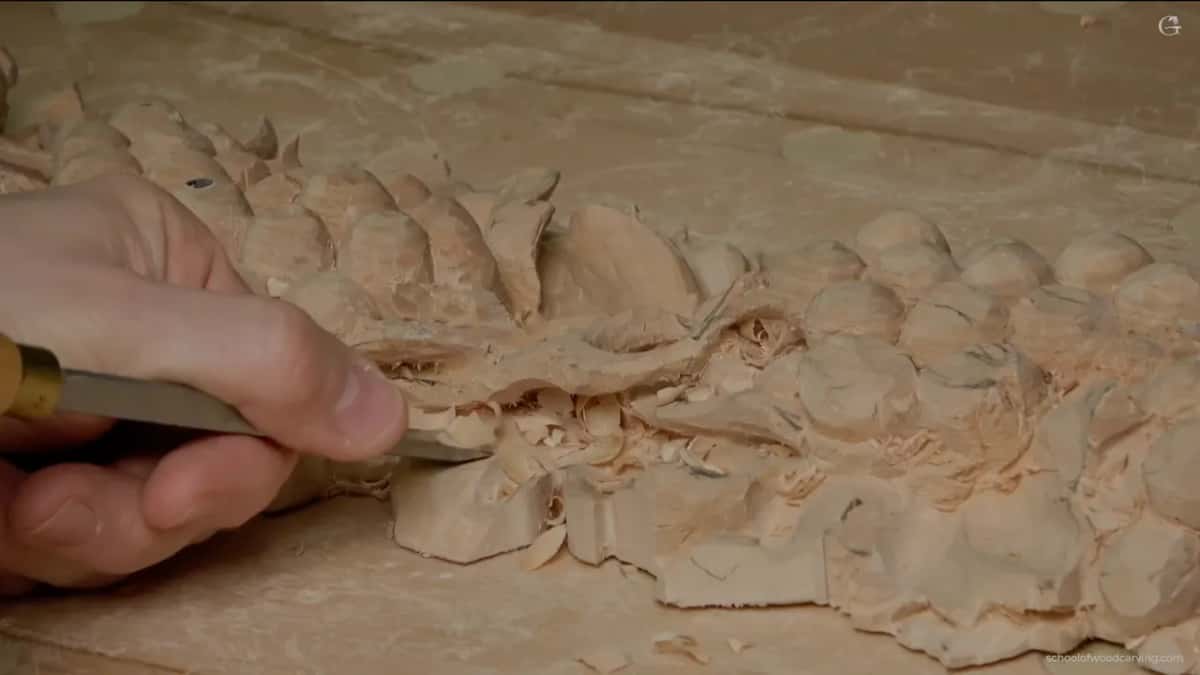
Sometimes the only way is depth. In workshop 27 I didn't like the distance in one spot and said it would look awkward otherwise. One division looked a lot smaller, so that leaf had to tuck in under the upper part, and the only way to do that was to excavate a really deep undercut. Over on my furniture panel I said I could get the paper out with a number 3 so you see much better, and that leaf runs beneath the other. On the lily box, lesson 2 a leaf went under a wavy line. A number 11 of 1 millimeter (about 1/25 inch) could go in right away to follow my line, I said, then I would blend the leaf, and a number 4 of 10 millimeters (about 3/8 in) did the blending.
Back on this onlay, in lesson 7 I wanted to create a slope. Those two were not to come down, and that leaf had to stay, the idea of the leaf right there. Taking advantage of the material there was the idea, and I excavated about three quarters of an inch (about 19 mm) for the time being. A minute later I said that part was going to be hidden. In lesson 8 I said whatever you have overlapping, like two leaves, you also have to undercut.
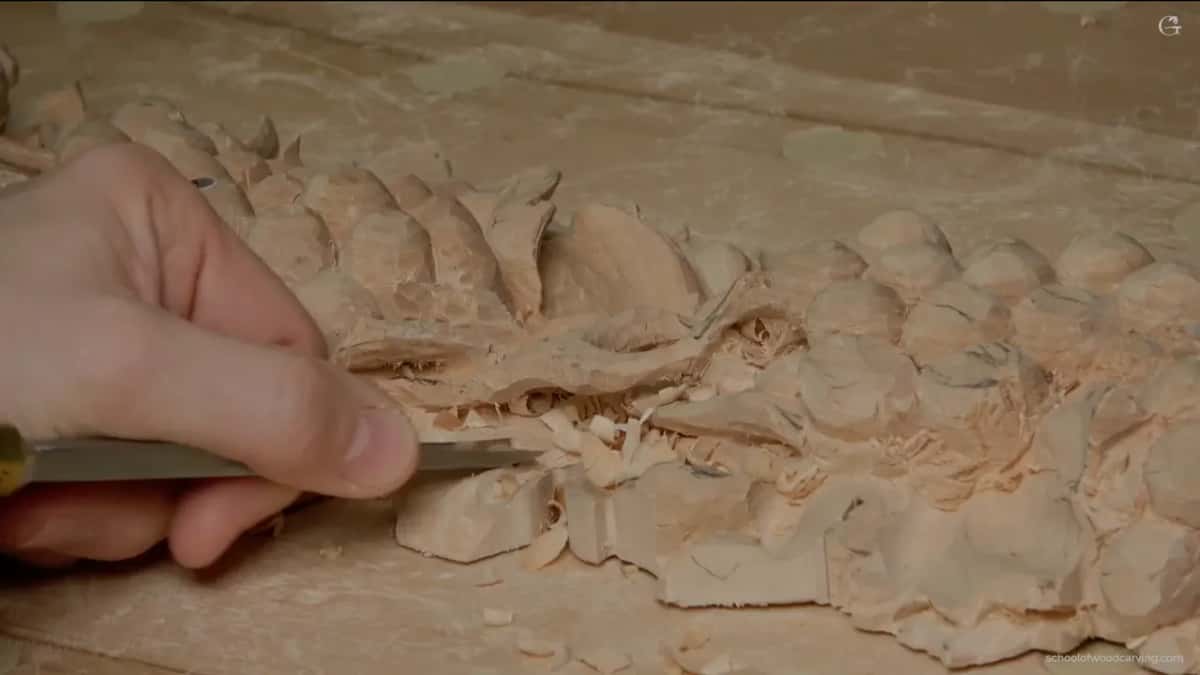
Your piece does not have to match mine exactly, I said a little later in this video. You can be a little off, and just create something.
Leaves that pass under something, piece by piece
| Piece | Problem | Kept |
|---|---|---|
| Grape onlay, 11 | leaf section with an eye by the branch | eye and ridge raised |
| Same course, 7 | excavated about 3/4 inch (19 mm) for now | kept that leaf there |
| Venice Room 41 | one leaf under another, still a single movement | called it deep enough |
| Roman acanthus, 10 | leaf goes under, then continues on this side | interweaving that casts shadow |
| Lily box, 2 | a wavy line over a leaf, outlined first | then blended the leaf |
| Vase, grape leaves | ridge made more pronounced, my tool upside down | else movement is lost |

Have you got a leaf on your bench right now with a branch crossing it? Is there an eye on the far side? Find the eye and the ridge first, then let everything else on that grape leaf go down. The full video of this part, with lesson 11 and the rest of the course, sits behind Tuition and Access.
How it's done
- Look from the side. From there I had a really good spot to chop a little off the side of the branch, but I wanted to keep the leaf's movement.
- Find what belongs to the leaf. An eye sat right there, so that small section was part of the leaf.
- Get underneath. A 35 degree V tool, or a tiny veiner. Slow and careful.
- Keep the eye and ridge up. Rolling one side a bit was fine, as long as the high spots stayed high.
- Take off the extra wood. The Ashley Iles gouge, a number 6, dropped the whole point down, close to the surface where that part made no sense sitting high.
- Leave it rough for now. Messy at this point is all right with me. Details wait.
Frequently asked questions
What did you keep raised on the leaf by the branch?
Two spots stayed high in my plan, the eye and the ridge running out of it. Rolling one side of the leaf down slightly, not much, was fine, and the rest of that small piece could go almost to the surface. I thought it would look really good.
Why bother with a leaf section nobody will notice?
People won't detect it, I said on camera, but it matters to me, and I wanted to keep that small piece of the leaf. Later I raised one spot slightly and said most people are not even going to see that either.
Which tool fits under a leaf that low?
A V tool of 35 degrees, equal to a number 16 in Swiss made tools, is what I picked up. I also said a little veiner, an eleven around one millimeter (about 0.04 inch), probably makes more sense. Either way it takes time, but you can get deep and excavate underneath.
What to carve next