

Alexander Grabovetskiy, woodcarver, School of Woodcarving · Published 2025
How do you hold a wood carving face down to carve the back?
Quick answer: Turning a carving over onto its face is a matter of the legs you saved for it, a few high spots left uncarved with their paper left on. On my grape onlay those spots carried the piece, so I could clamp it really tight. The clamp brand did not matter, and a second one went on against the wiggle.
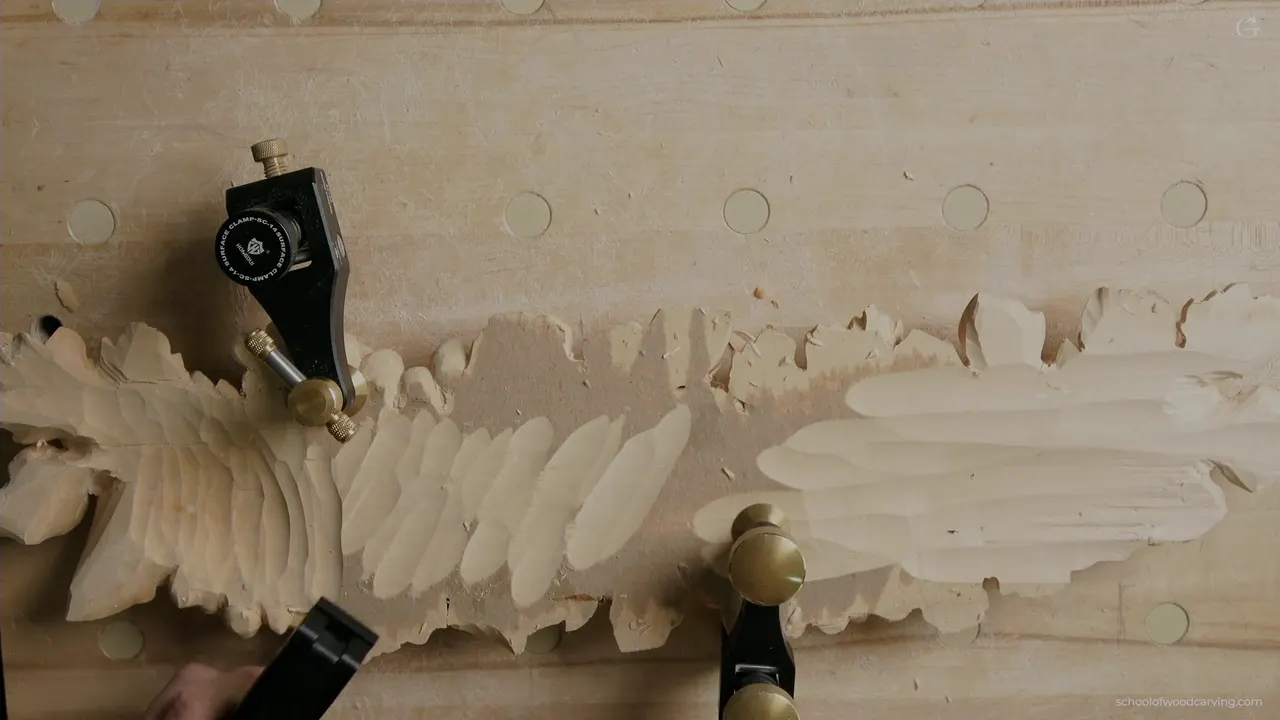
Holding a carving face down is a job that starts before you flip it. On my grape onlay a couple of high spots on the face stayed untouched, the paper still on them, so the piece can rest on them like legs. Then a couple of wood carving clamps go over it, and the brand of the clamp doesn't matter.
Have you turned a carving over to get at its back? Would you like it to sit still while the gouge works there? Then leave it legs before you turn it.
This part of lesson 12 is the setup before the digging. Part of the back was already started, and in this lesson I do a little bit on the other side. What I wanted to show today is how I approach undercutting from the back side, and how I finish and take care of the facets. First comes the paper I left on purpose, then the clamps, then plugs for the empty holes in my bench. Below is how each piece of that works, with the same idea from five other courses where I left a leg for the same job.
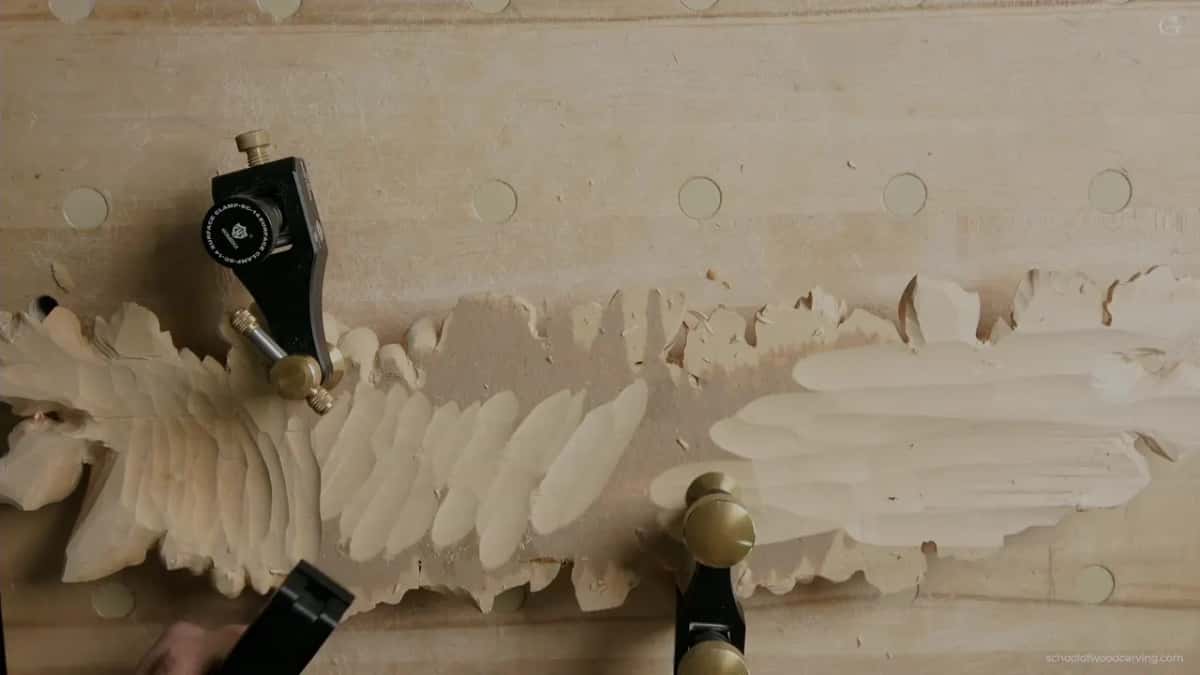
What held the onlay still, in six lines
- A few high spots keep their paper and stay uncarved.
- The flipped onlay rests on those spots.
- Two clamps, as tight as I want, since the legs carry it.
- Any brand of clamp works, spring clamps too.
- Magnetic plugs keep the chips out of the bench holes.
- The legs stay to the end, in case the piece goes over again.
What are the legs on a carving?
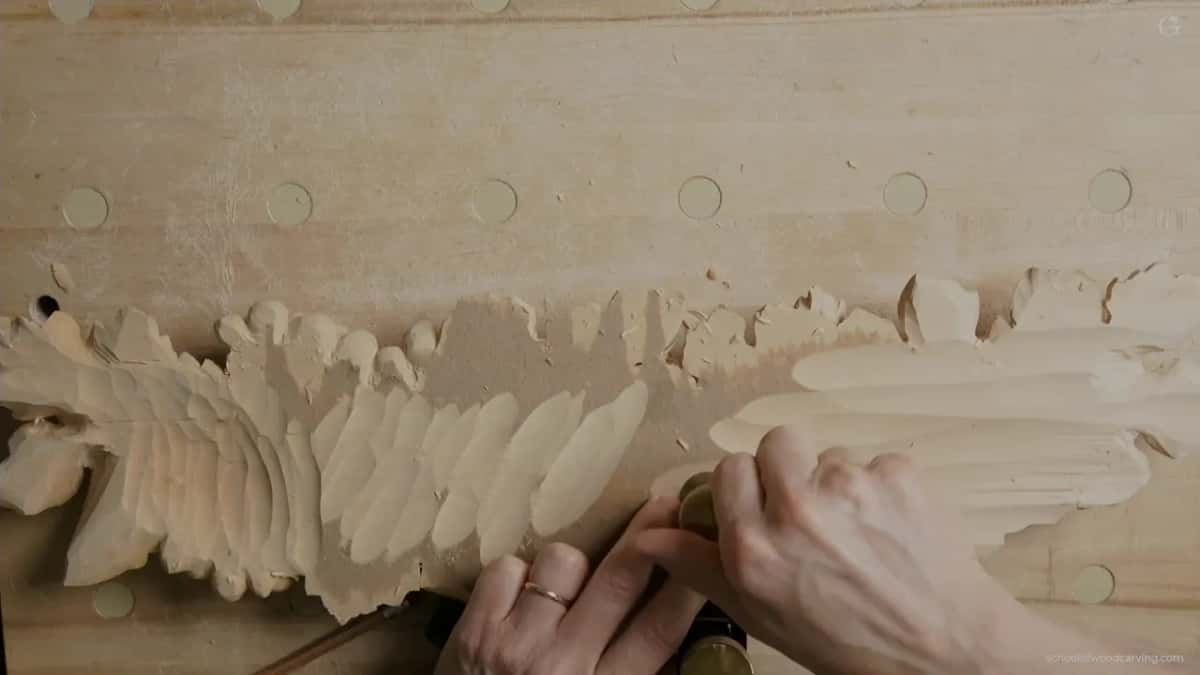
High spots you leave alone on purpose. Before I flip it, look at the face of my onlay and you can see a piece of paper here, another one there, and one more right there. That means I've got at least a couple of spots I did not touch.
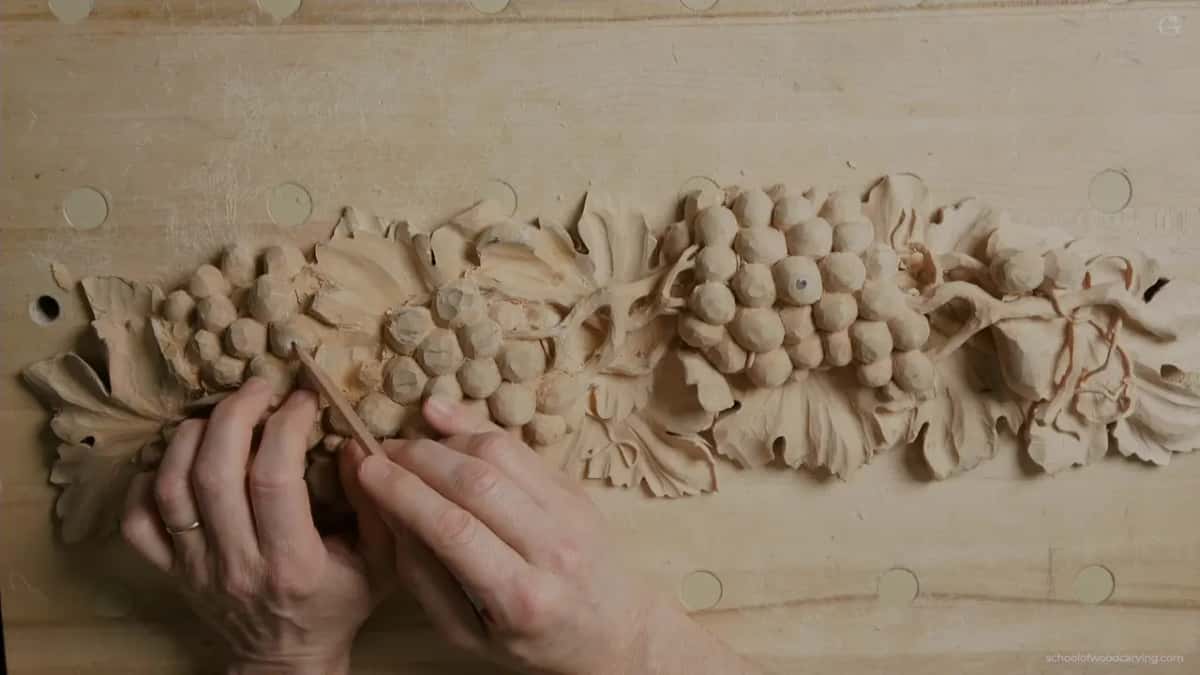
Maybe it bugs some of you. Why in the world didn't he clean that? The reality is, I need to keep those high spots, because at some point I will have to flip it, and it's going to rest on them and be pretty solid. Once I find those spots, they serve me like legs.
Since I'm going to work on this section, I need to get my clamps somewhere.
How tight should wood carving clamps go?
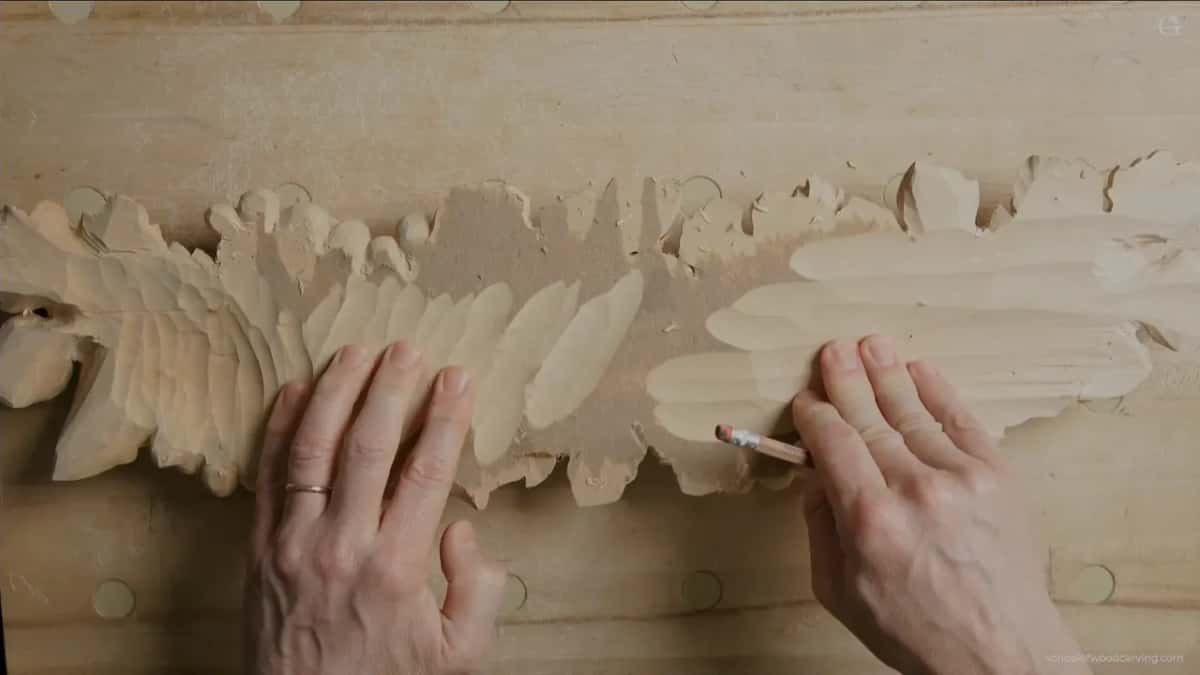
On this onlay I can make them really tight, if I want to, because I know I do have legs under it.
With the Grinling Gibbons panel from my class in Maine, my advice went the other way. That piece was going into a vise, and I asked everybody please not to squeeze it too hard. It's not going to jump, and it won't walk away. Just enough pressure, and don't overdo it, because you can actually break some of the legs if you press too hard and they are not supportive.
Both lines are true, each on its own piece. The Maine version is in class 1 of the Gibbons course.

Does the brand of a clamp matter?
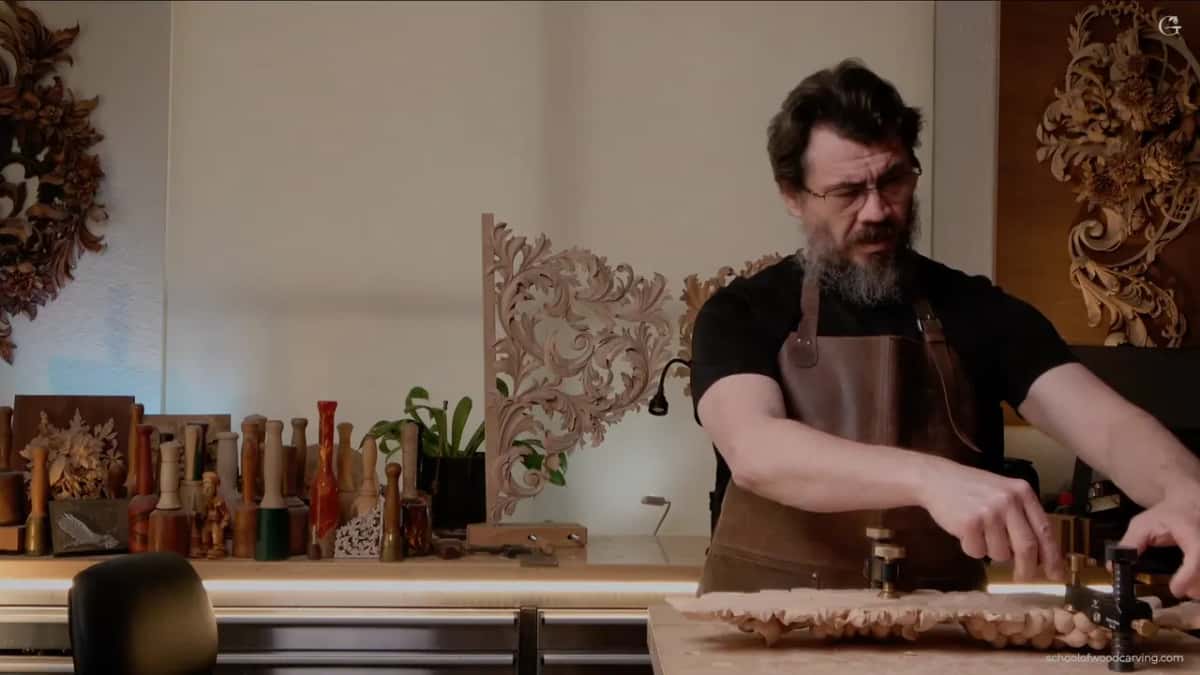
It doesn't matter what brand you're using, I said, before the first clamp went on. Of the two on the onlay, one is cheap Chinese stuff, and I have no idea what the brand is. I don't even remember where I got it, some cheap tool site. The other one is a Veritas, from Canada, and I like Veritas better. On Wikipedia that brand sits under Lee Valley Tools.
But you can actually get by with other stuff. You can also just use spring clamps, and I showed those too.

I have said it on another course too. In the Venice Room, workshop 77, I had just said I didn't have to be too aggressive with the tool on that piece, because it is not a good idea. I was about to put it in the vise and then decided to just put a clamp on it and attack that side. Any clamp will work, I said. It doesn't really matter what kind of clamp you're going to use, just whatever I found, whatever I had close by, and once it was on, it was pretty solid.
Why put on a second clamp?
One clamp might have done it. Maybe even one should be enough in this case, I said, with the legs under the onlay. But no. I don't like that wiggle, so I put another one right next to the first.
The one that went on second came from that cheap tool site. In lesson 5 of the Byzantine acanthus the class put their pieces upside down to undercut them, taking the material out all the way to the edge, and a clamp came up there too. Probably a good idea not to hold it by hand, I said, though with the paper glued under it you could hold it and carve, or maybe clamp it. Why don't we use a clamp, just to be safe?
What do magnetic bench dog hole plugs do?
Chips are the reason. At some point it just bugs you how many chips go into those holes. Before the clamps went on, I showed you the plugs sitting in the empty dog holes of my bench.
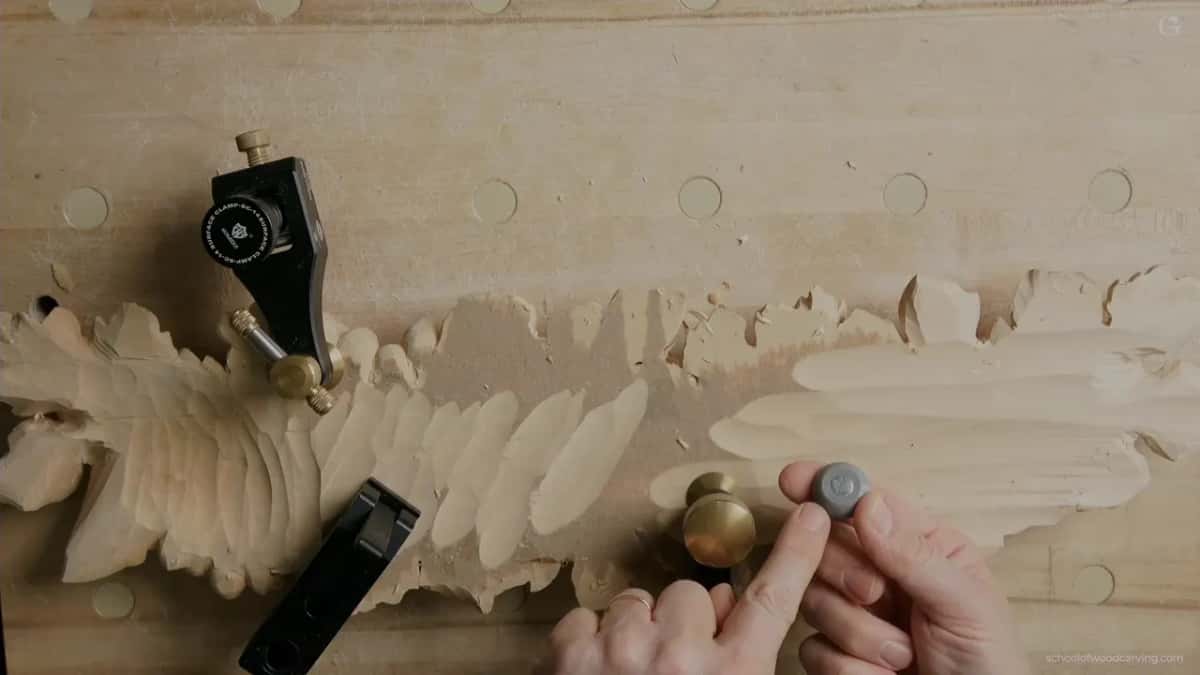
Someone made them for me. Each one is a 3D print with a magnet on the inside, and I think there's probably just a metal washer in there too, so it pops in and pops out, and I can pop whatever I need to. I usually keep a few of them around, and I've got the same little poppers on the back side as well.
My stop block lesson shows the same kind of holes holding stops instead of plugs.
Six pieces and what held them
| Piece | Held | Where |
|---|---|---|
| The grape onlay | Face down on paper legs, two clamps | Grape Onlay, lesson 12 |
| Gibbons panel, Maine | In a vise, legs untouched, enough pressure | Maine class, lesson 1 |
| Small lily flowers | Sawn out, a stub left to clamp | Lily box, lesson 12 |
| Venice Room detail | Clamped by its leg extension, any clamp | Venice Room, workshop 77 |
| Cabernet grape tray | Laid upside down on legs, removed last | Cabernet tray, lesson 6 |
| Two olive pieces | No leg kept, a block behind instead | Lily box, lesson 13 |
Five of those six had a leg of some kind. The odd one out is the last row, and I will come back to it.

When do the legs come off?
Late. Back on the Gibbons panel, I told the class we would leave those parts alone until the end. That is untouchable, I said, and that handle is untouchable too, and exactly the same goes for the upper layer. If you want to write that down, write untouchable. Those legs let us work from both sides. Once the upper part was carved and we got ready for the undercutting, we would flip the piece, it would stay on those legs, and we would attack from the back side. Some of you who took the class already know those legs are really important, and you can just clamp it like this.
In the Cabernet tray, lesson 6, I put it another way. One area had to be cleaned with a number nine, 10 millimeters (about 3/8 in), and I asked you to be really careful there, because you were working on the end grain. Work that detail before you take the legs off, because once they are gone, you can't lay it upside down anymore. While you still have them, you can attack from whatever angle suits you, and that is why the legs stay until you are completely happy with the shape of the vine. Way back in lesson 1 of the tray the rule was even shorter. Don't remove your legs. They stay.
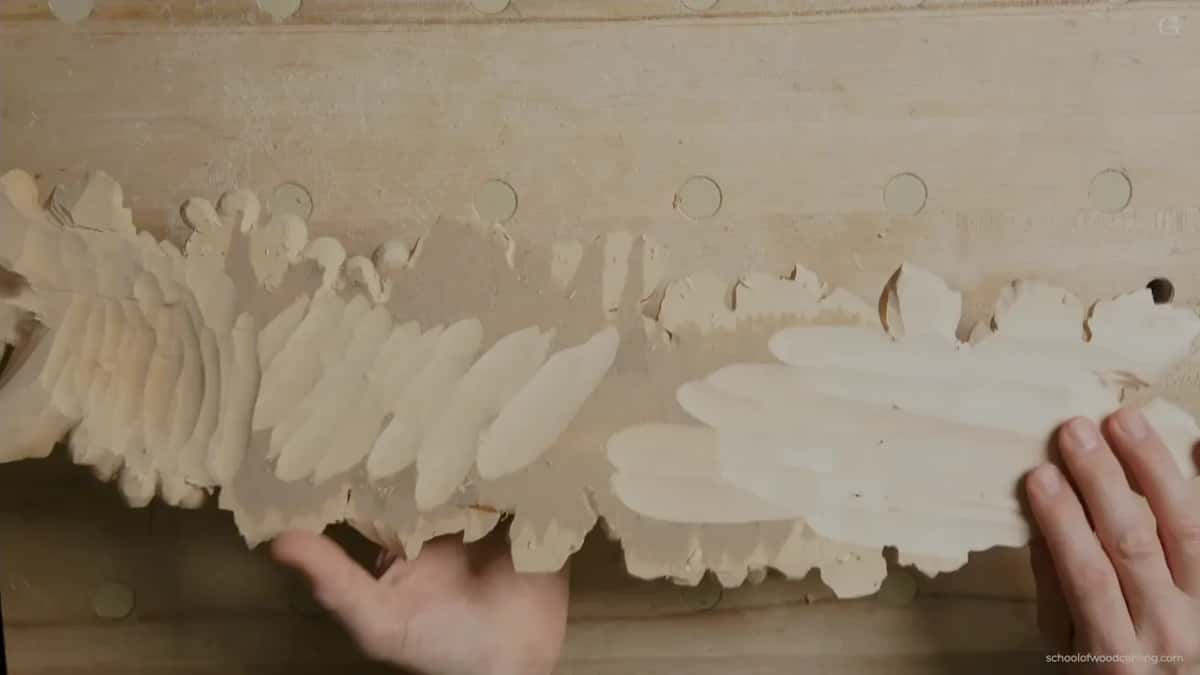
Even here on the grape onlay, when I turned it face up again to clean the facets, I still kept that high spot, because I might be flipping it again. I was not doing the final, final look there, only showing how to take care of those facets.
Where else have I left a leg to hold on to?
For the Lily box course, lesson 12, a leg meant a little different thing. A small flower came off the scroll saw with some leg left on it. Just because I left that leg, I was able to clamp it, and it was kind of solid. Only about 5 millimeters, 3/16 of an inch, of thickness was left on that flower, so the leg was what the clamp could grab. On another flower I left a little longer leg, because I needed to raise it pretty high sometimes, and I could still clamp it to work from the side.

With one of the olive pieces on that same lily box, the leg gave me a choice. I did not want to risk it, so I just used a knife. I could fasten it in a vise or in clamps, but I could also hold it just by my fingers and work on that piece more safely. That's the idea behind those legs.
Lesson 1 of Carving Modern Acanthus is where I said don't touch that handle. That leg stays. Do not touch that surface whatsoever. Another side was also a high spot as of now, but I was safe to take wood from the side of it, and that stem would go all the way down a little later. When you attack tiny parts like that, make sure you don't break them. Please don't push it. Let the tool do the work, that's why we slice. And in the Venice Room I showed what a little leg extension buys you. It lets you fasten it multiple ways, put it in a vise, clamp it to a surface, or butt that side against pretty much any surface. That's really safe.

What if the piece has no legs at all?
Then give it support. Those were olives too, the last row of the table. For two other pieces in lesson 13 of that box course, I did not keep the leg, and you need to support it and bump it against something. I had used a clamp before, but sometimes I don't like the idea of my tool running on into the clamp. So if the tool goes past the piece, it goes into a block instead, in my case a white oak block, but it can be any block of wood.
In lesson 14 of this course, carving with my tool upside down in little chunks, I said you could put some kind of support right underneath if you feel it's not safe. Sometimes I can hold it by hand, with a finger. If it's a little too thin, you can actually break it. It's wise to put some kind of wedge right underneath, I said, though on that piece I didn't worry about it.

There are other ways to hold a piece that is really fragile. My lesson on back cutting lays it on foam. Lesson 10 of this course holds the onlay down with tape, and lesson 3 is about why a carving can break on its second side.
Why does the flipping wait until the end?
The back is the last big job on this onlay. One of the main reasons I don't create the finished look from the beginning is that at the end I usually flip the piece over and start undercutting. I know I repeat myself, and it's redundant, but it looks rough, and I am not taking care of the roughness until everything is done. Then I clean all the facets.
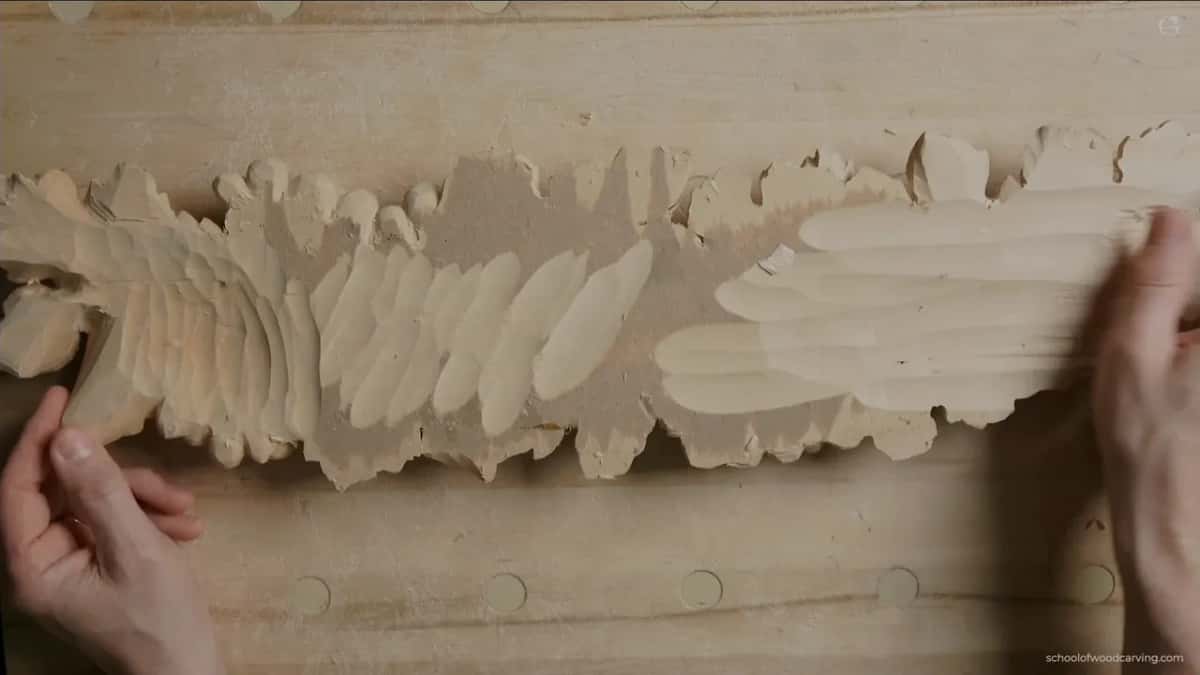
From the beginning of this project I told you it is more advanced than anything else, and as of now it is still pretty rough. A lot of work needs to be done, and I personally don't want to spend too much time on it. This will probably be the last session of the project before I take a picture and do some drawings for you, and I would like to see what you come up with. There's no end to a piece like this. I could go on and on.
The paper on those spots belongs to the same plan. Why I take so much wood off the back once it is down is the subject of the lesson 12 page, and the whole panel is on the Carving Grape Onlay course page.

With the onlay locked down on its legs, I pointed at the areas where you see those eyes. That was going to be my first excavation, and the digging itself is in the next two videos of lesson 12, inside Access. Access covers the whole library, the acanthus and Gibbons courses I linked above included.
How it's done
- Pick the legs early. While I carve the face, I leave a couple of high spots alone, paper on, where the piece will rest after the flip.
- Turn it face down. The onlay goes over onto those spots and sits pretty solid.
- Clamp it. A couple of clamps go on, any brand I have. Because the legs carry it, the clamps can go on really tight.
- Add a second clamp. One might be enough, but I don't like that wiggle, so another one goes on right next to it.
- Plug the bench holes. Magnetic plugs drop into the empty dog holes, and the chips stay out of them while I dig.
Frequently asked questions
Can one clamp hold a carving upside down?
Maybe one would have been enough on my onlay in this case. I did not like the wiggle, though, so a second clamp went on right beside the first. With solid legs underneath, I could clamp both really tight.
Do I need expensive clamps for wood carving?
Mine include a cheap one, and I have no idea what brand it is. Another I like better. You can still get by with other stuff, spring clamps included, and on a Venice Room piece I simply took the clamp I had close by.
Which spots should stay uncarved before flipping?
High spots, the ones the piece will sit on once it is face down. A couple of them kept their paper on the onlay in this lesson, and I did not clean them at all. Even after turning it face up again, I kept one, in case I flipped it once more.
What to carve next