
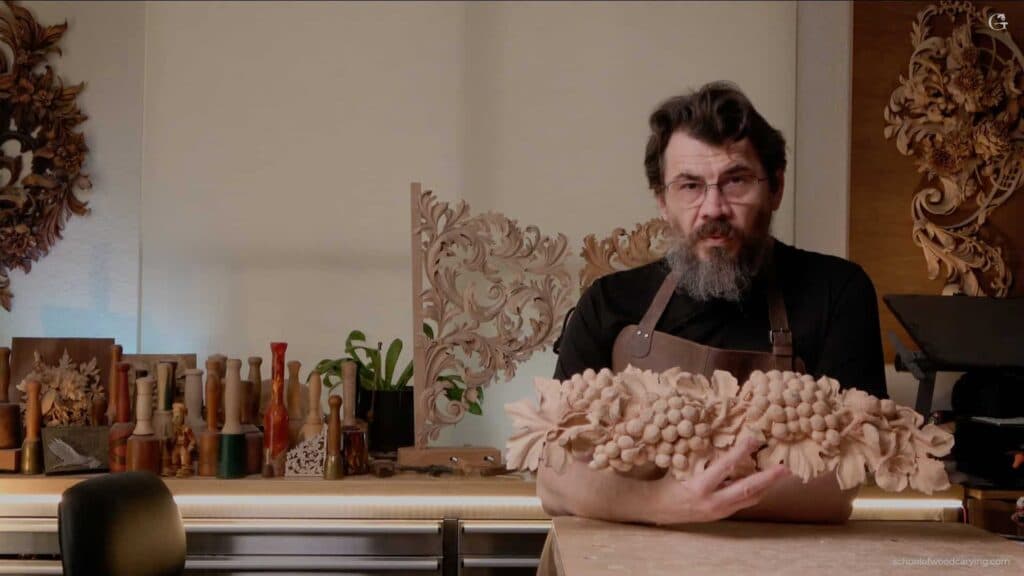
Alexander Grabovetskiy, woodcarver, School of Woodcarving · Published 2025
How do you make a wood carving smooth with just a gouge?
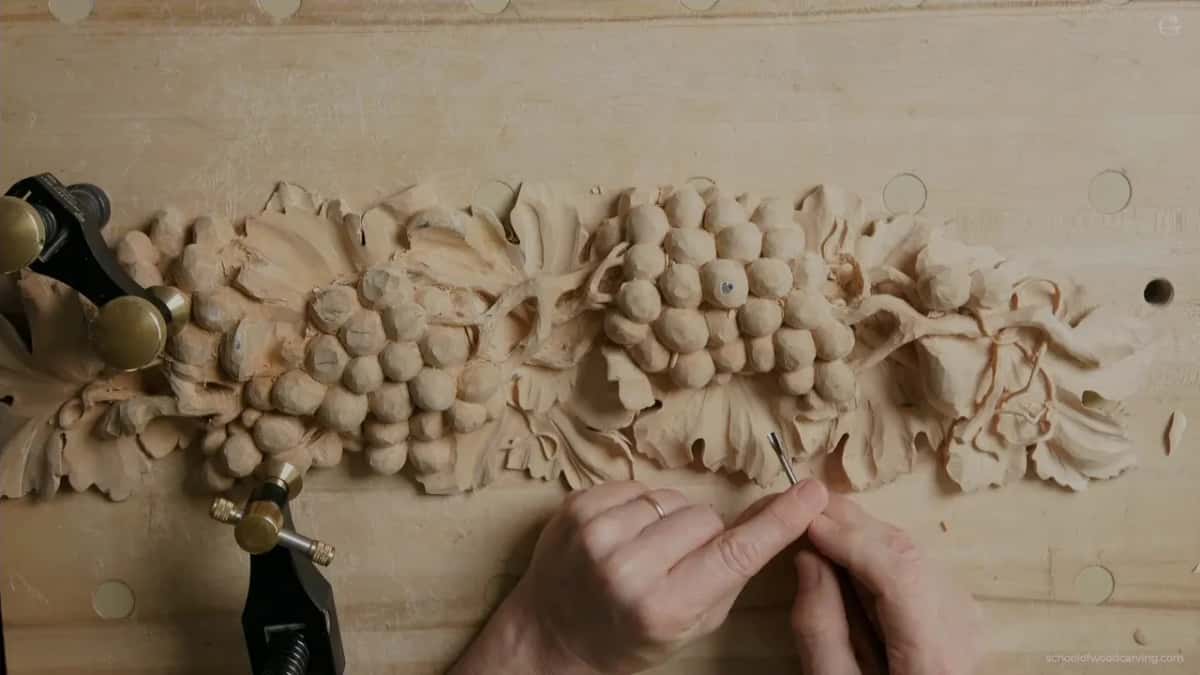
Quick answer: Smoothing a carving with only a gouge is riding a sharp gouge, turned upside down, over each facet in a small circle. On my grape onlay a first pass took the facets down, and a pass of micro movements after it left zero facets, so a grape can look sanded. A really sharp knife point cleaned the triangles between them.
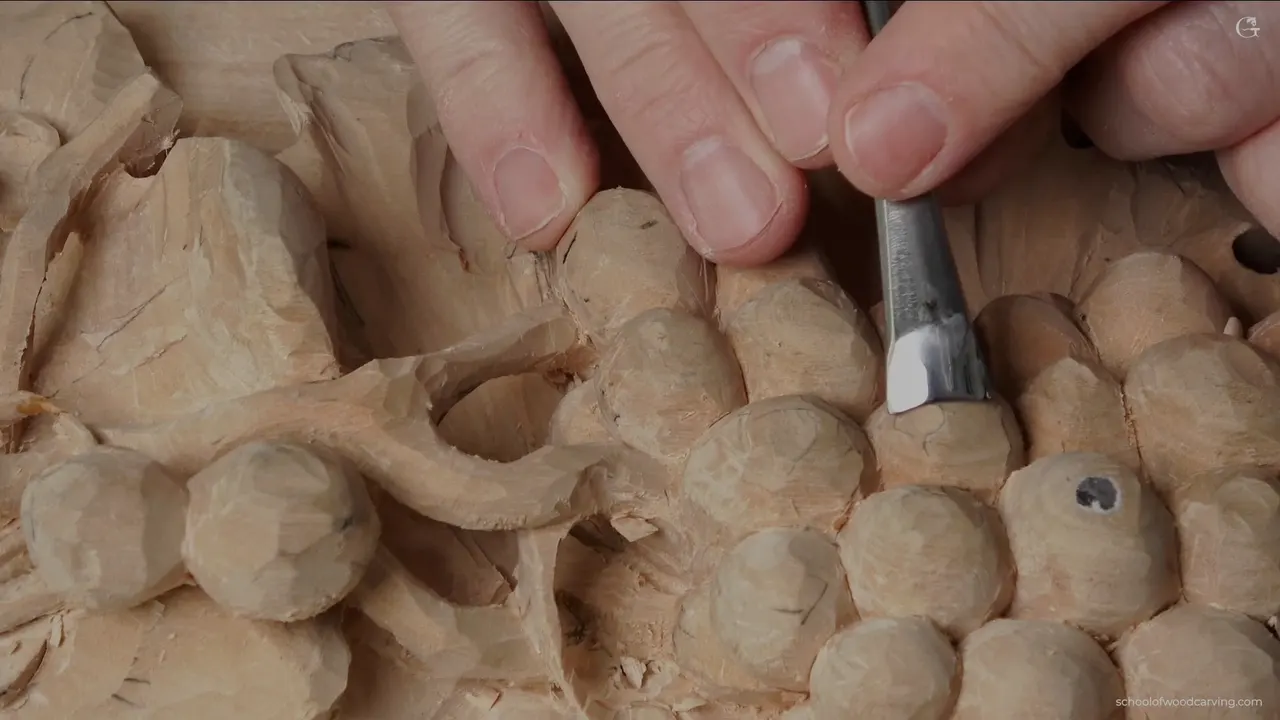
Making a wood carving smooth with a gouge is a matter of turning the tool upside down and riding it in small circles over each facet, without digging in. That is how I took the facets off the grapes of my onlay in the last part of lesson 12. One facet goes away, then I do another one. After that come micro, micro movements that take almost nothing, and by that technique you can make the grapes look like they were completely sanded.
Have you ever looked at a wood carving you thought was done and seen little flat spots all over it, one for every pass of the tool? Did they jump out the moment the light came from the side? Those are facets. Sharp gouges can take them off right where they sit. The work is slow, though, and I will be honest with you about how slow.

The clean-up on my grapes in five lines
- The gouge goes on upside down.
- It moves in a small circle and rides on the facet without digging too deep, so one facet at a time goes away.
- A second, tiny pass barely takes any wood.
- A sharp knife cleans the triangles.
- For me it is slow, tedious work, and I said so on camera.
How do you smooth wood carvings with the gouge upside down?
You place the tool upside down on the grape and make a circular motion. That's it. I showed it slowly, in slow motion, to let you follow the edge of the gouge while it travels.

The edge rises right on top of the facet. It does not dig too deep. I am just riding over the high part, and that one facet is gone. Then another.
The facets on that onlay were big on purpose. I had exaggerated them, so each one was easy to see before it went away under the edge.

Turning a gouge over is not something I keep for grapes. In lesson 10 of my Byzantine acanthus course the question was what to do about the facets. Having some is okay, I said, but what about if you want it a little smoother? And the technique is easy, pretty much. You take a flatter gouge. My pick was a number three, and I said you could use a number two as well.
Can you see that right there? Really strong facets, on that leaf. I went at them at an angle, in slow motion first, and the way you take care of a facet there is just like almost shaving. Because of that rotation motion it disappears, and I mean completely.
What does the second pass do?
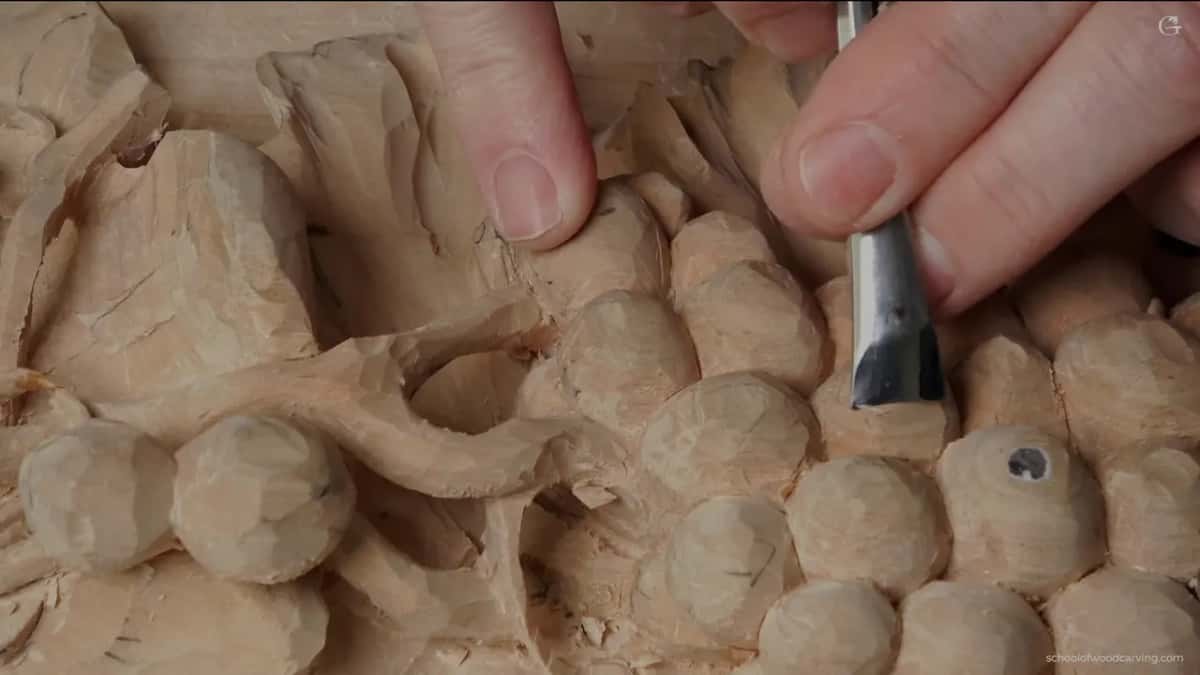
The first pass takes the facets down, and after it comes a second pass with micro, micro movements over the same grape. See what I'm doing? I'm barely removing any material at all.
By that technique you can make a grape look like it is completely sanded, without any paper. I switched to a different camera so you could see it a little better, and right there, zero facets left.
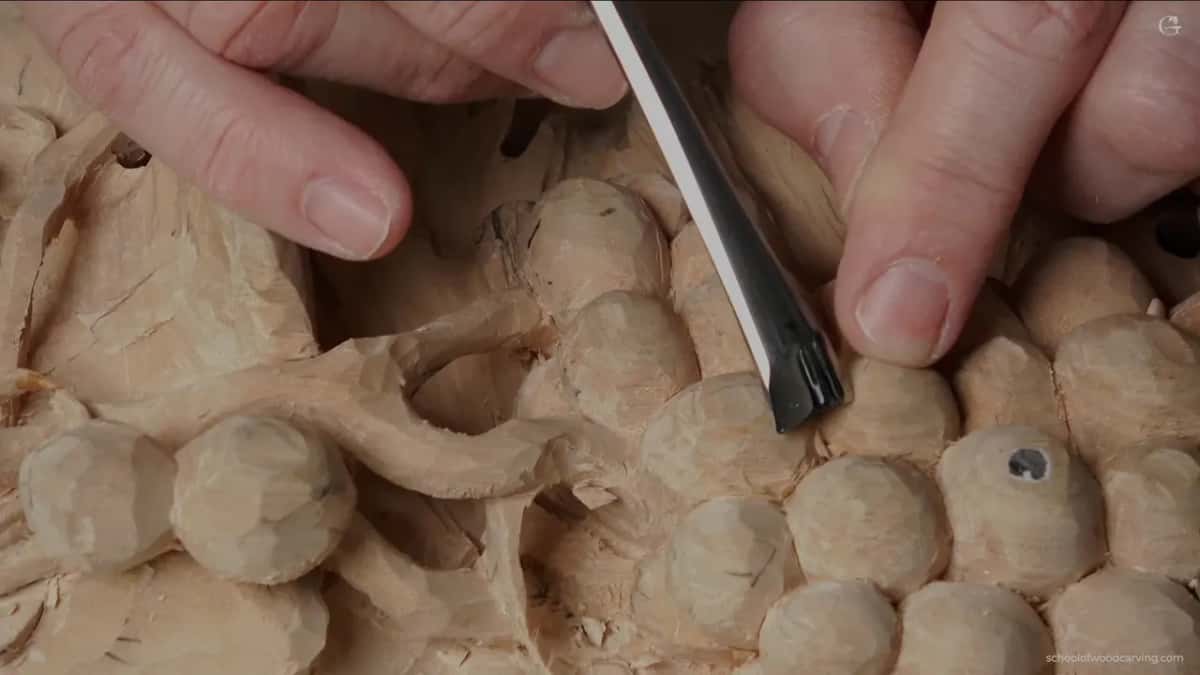
Little by little, okay? Barely taking anything off. Inside, you can keep going with the same tool, or you can go into those triangles with a knife, and the knife gets its own part below.
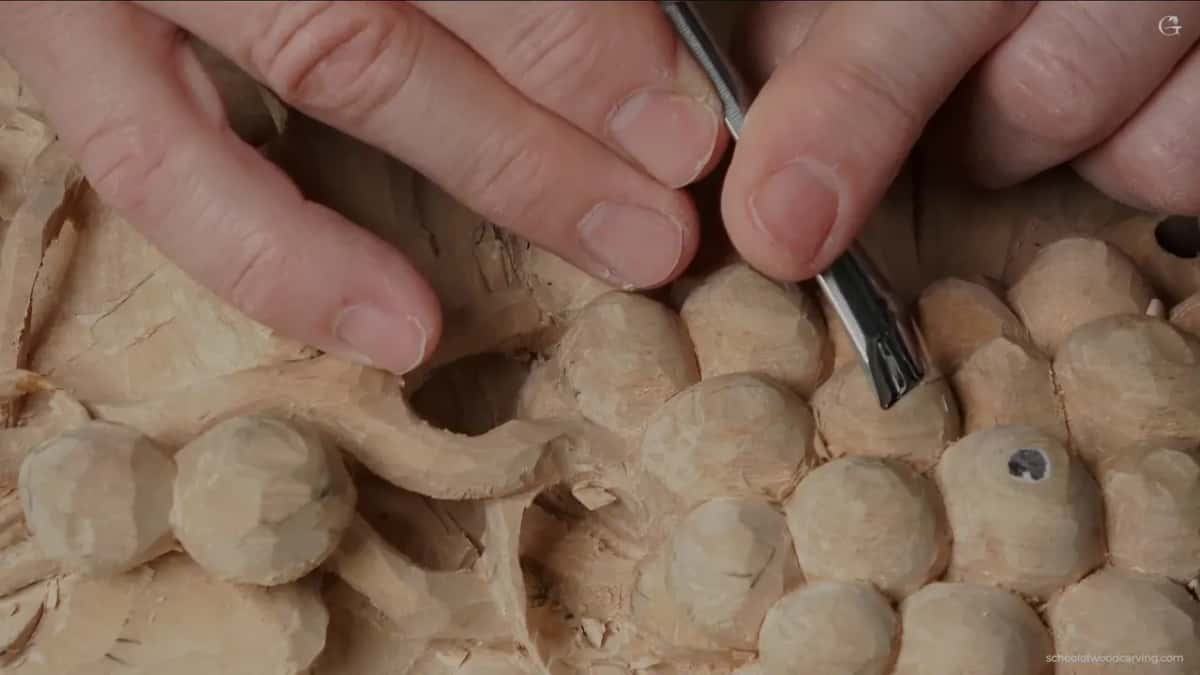
Which gouge went over the grapes?
Right before this part, I said I would take probably a number 7, 14 millimeters (about 9/16 in), and that my tool has to be super sharp.
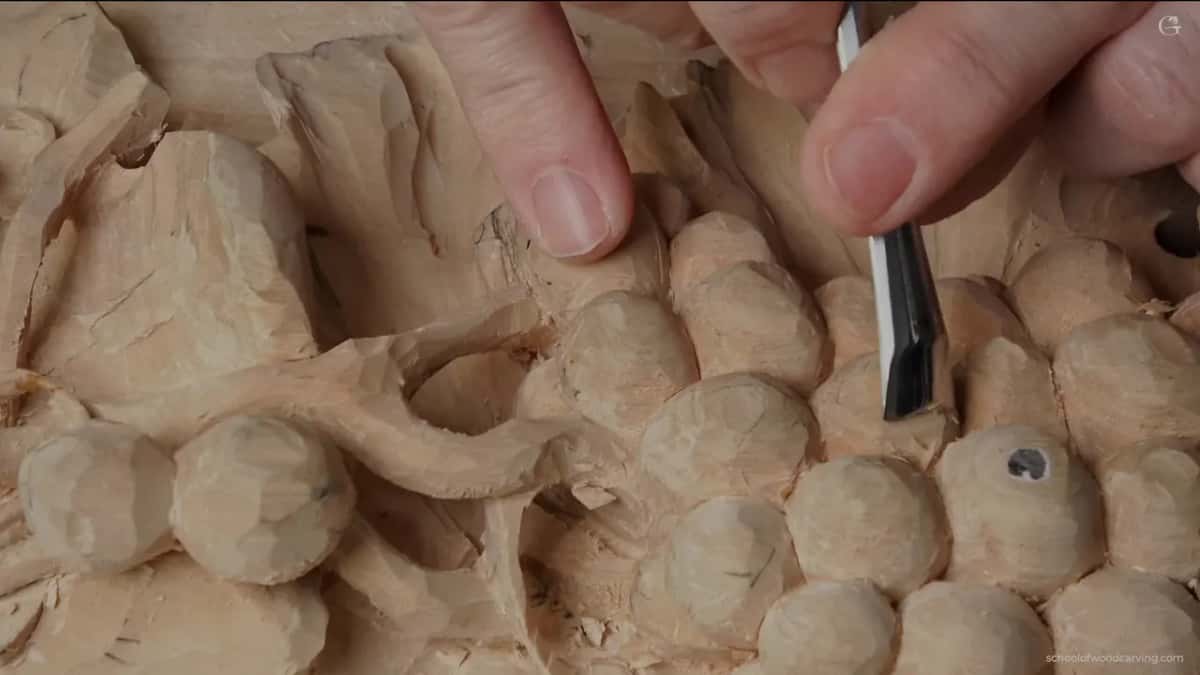
Back in lesson 3 I called that same number 7 at 14 millimeters a really good tool to clean up. One grape there looked a little choppy to me, and I said I could get a better shape on it. Not just to clean up, but to give a proper shape, and to take out some of the really weird facets, big ones. I was slicing all around the grape there, trying to get rid of those facets.
There is no end, actually, to how much you can refine. With that tool I can get to the perfect shape if I want to, until I don't see any facets left. You are still going to have a few.
Lesson 13 sent me back to the same 14 millimeter number 7, to make one spot kind of really smooth. Carefully, carefully. Slice by slice, I set out to get rid of those facets. The board under all of these grapes is basswood, which lesson 1 names, a linden wood that Europe sells as lime.
How long does the clean-up take with the tool alone?
It takes time. By the way, if you think it is a quick process to clean the whole thing, no, it's not. At least for me. Maybe I'm doing it wrong.
At least for me, it just takes a long time. It's tedious and kind of annoying work, somewhat. But that is what I do, and it is what I showed on the grapes, one facet after another.

In the Byzantine acanthus course I said it my own way. And if you spend another month, it can look like sanded. On that leaf I was not going to be too crazy, but you could see how it becomes really smooth, and when another facet showed up, I could just attack it right there.
Over there I also showed another technique for small facets. I took a burnisher made from the same piece of wood and pushed down on the fibers, and the surface went really shiny, almost like a finish was on it. Some small facets will disappear on their own that way. A big one won't, so I went back to the rotation and rode on top again. Burnishing has its own lesson.
Which tool cleans inside the triangles between grapes?
Get a knife. Inside of those triangles you can get a knife, and any knife will do. It doesn't matter what shape of blade you are going to use. It's not a big deal at all which one.
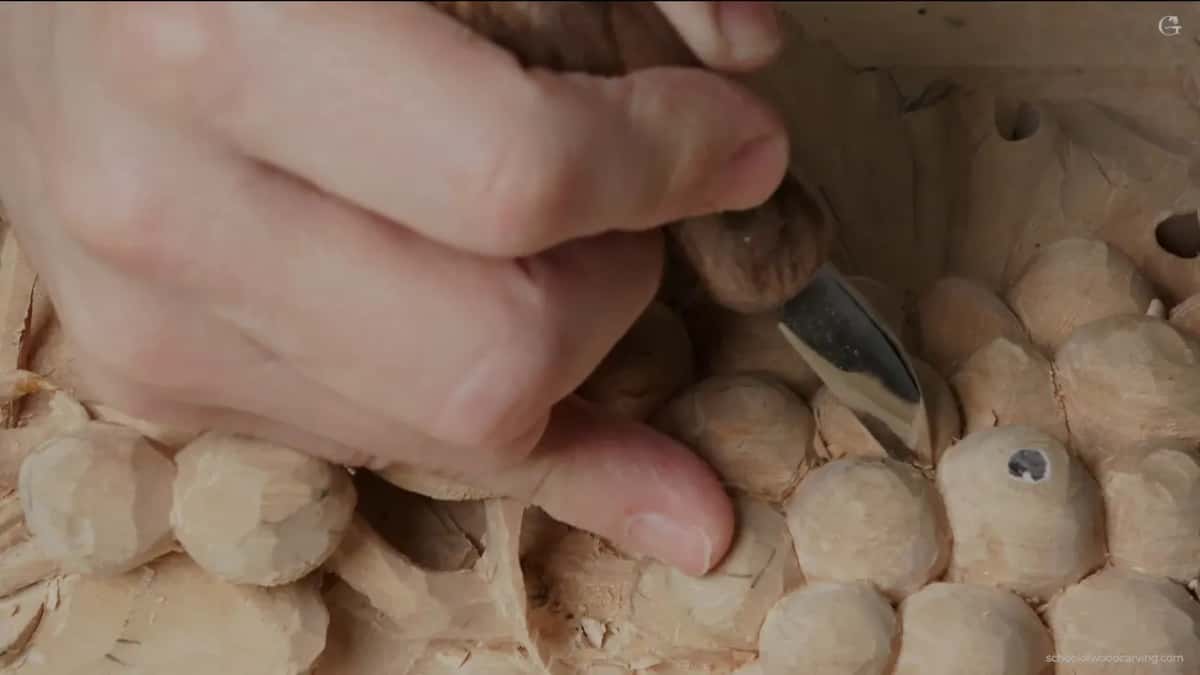
Find a better position first. Then you excavate on the side and inside of the triangle with the point of the knife. It is like you would do in chip carving. But again, your knife has to be really, really sharp. And that's it, pretty much.
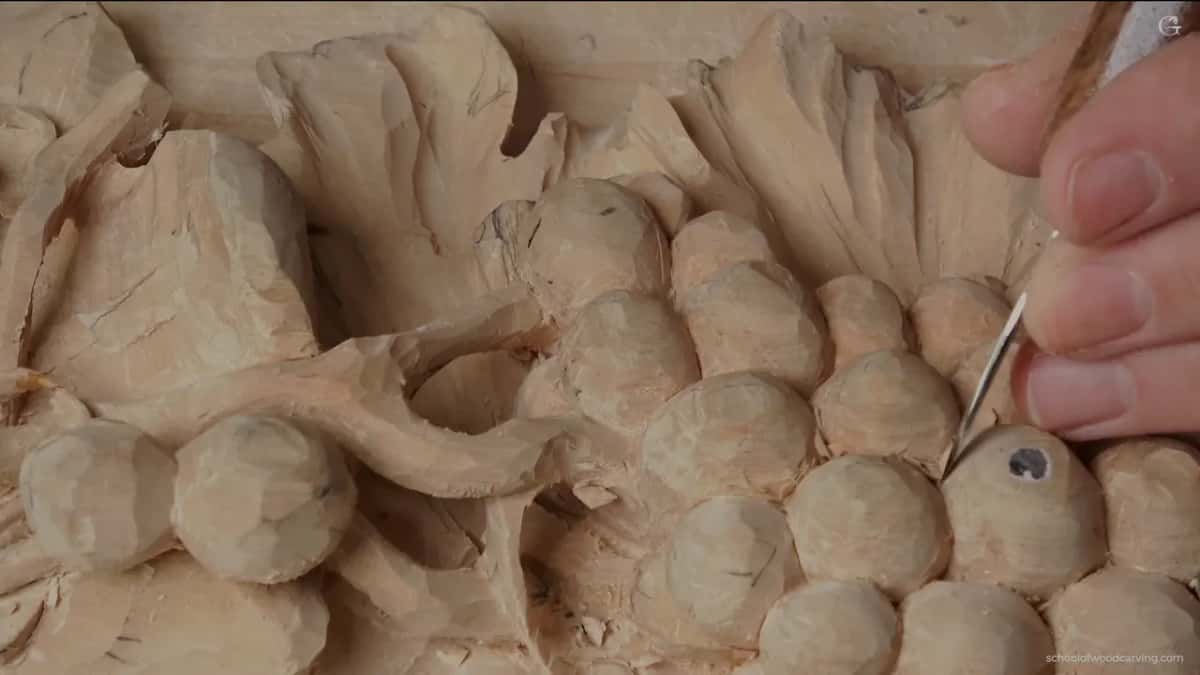
The triangles come from how the grapes sit. Where three of them press together you get a small three cornered hollow, and the course page explains why I aim for triangles and not squares.
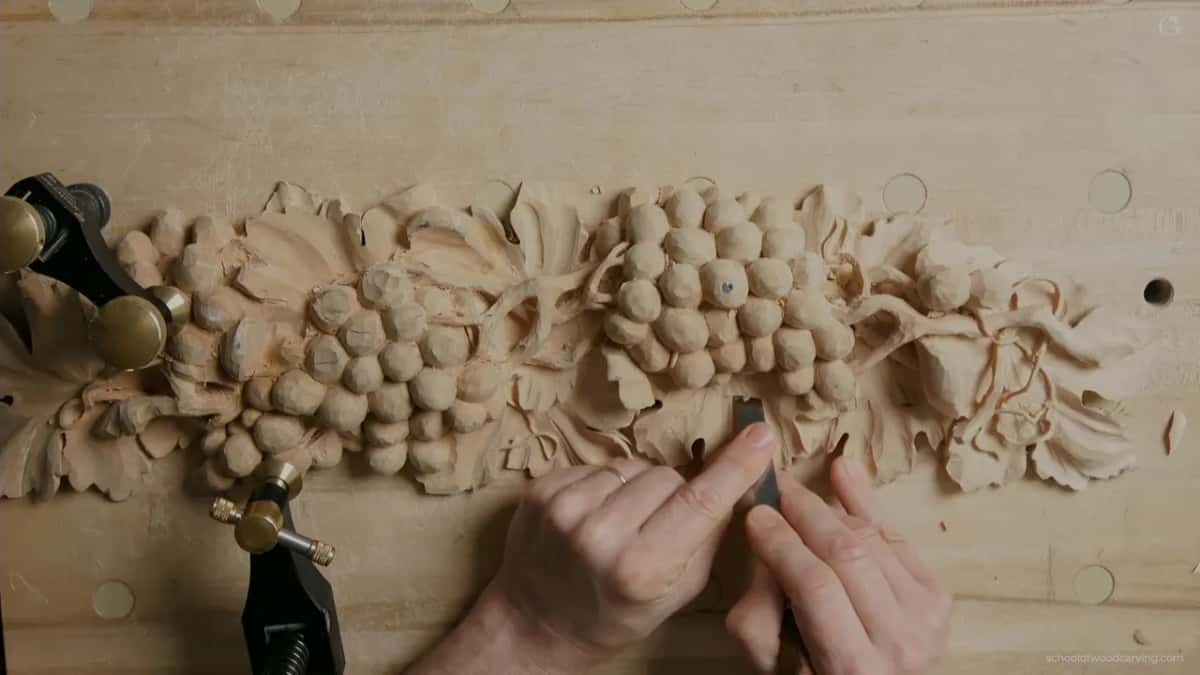
During lesson 8 I showed one more way to use a knife on facets. Take any carving knife and scrape them out slightly, without damaging the finish, and keep the scraping somewhat with the grain. See how much softer it looks? A card scraper is a tool of its own, and my tools course has a video on scrapers if you want to try one.
What about the leaves and the hollows?
On the leaves, first of all, I kind of like those facets. But if they bug you, take a flatter gouge, or in this case a skew chisel, number one, over some of them. Same idea. Almost no material comes out, just a circular motion, and you can get really great results with that technique.
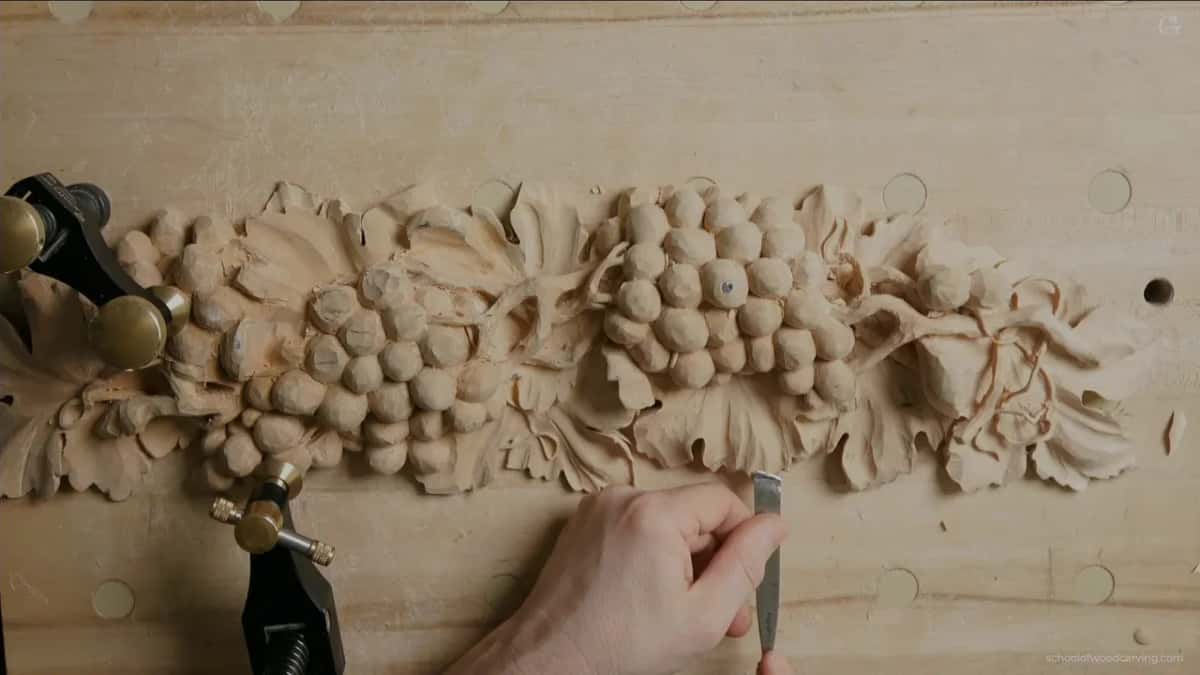
Some of you would ask me how to approach the inside of a concave area. Wonderful question. Same idea. You can go in with small tools and get inside, and the technique is exactly the same, only on a micro level.
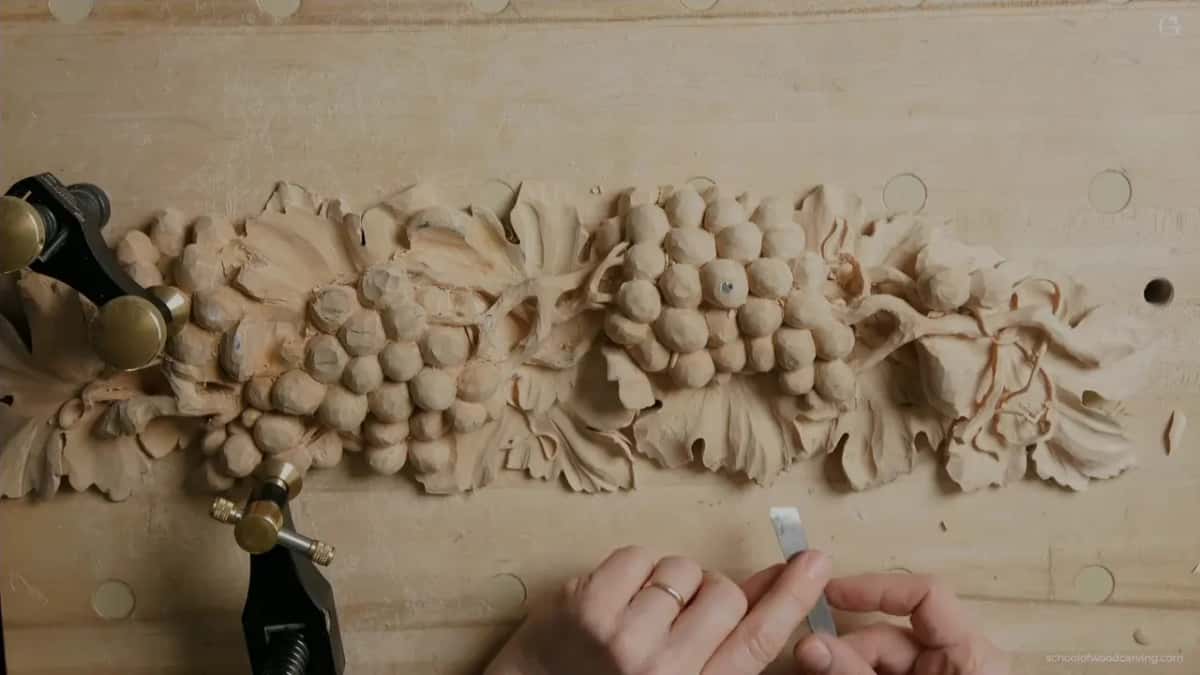
For a concave on the acanthus leaf in the Byzantine course, I like a number 11. It is still the same idea with a different tool, and little by little the facets go. I like that tool because you can use just the side of it, or the bottom if you wish, so you get several tools in one. The fourth lesson of that course has the tool turned over in the middle of every leaf.
What if the grain fights back?
Change the direction you come from. With the Byzantine acanthus, I checked which direction does not fight back, and attacked from there, either left to right or right to left. So you just work your way in. Once I caught the grain right on camera, and then I attacked it from a different side and kept trying to ride on top of the fibers.
Sharpness covers a lot of it. In lesson 14 I had to work some areas against the grain, and I said that if the tool is sharp, it should not be a problem. Then I caught myself. I shouldn't say if, because it is sharp. Earlier in that lesson, partway through the work, it had looked like I needed to strop it slightly.
Why slice instead of pushing the gouge?
Slicing is the key. If you took my class in person, you know that it just bugs me when people push the whole thing in without that rotation motion, without the slicing.
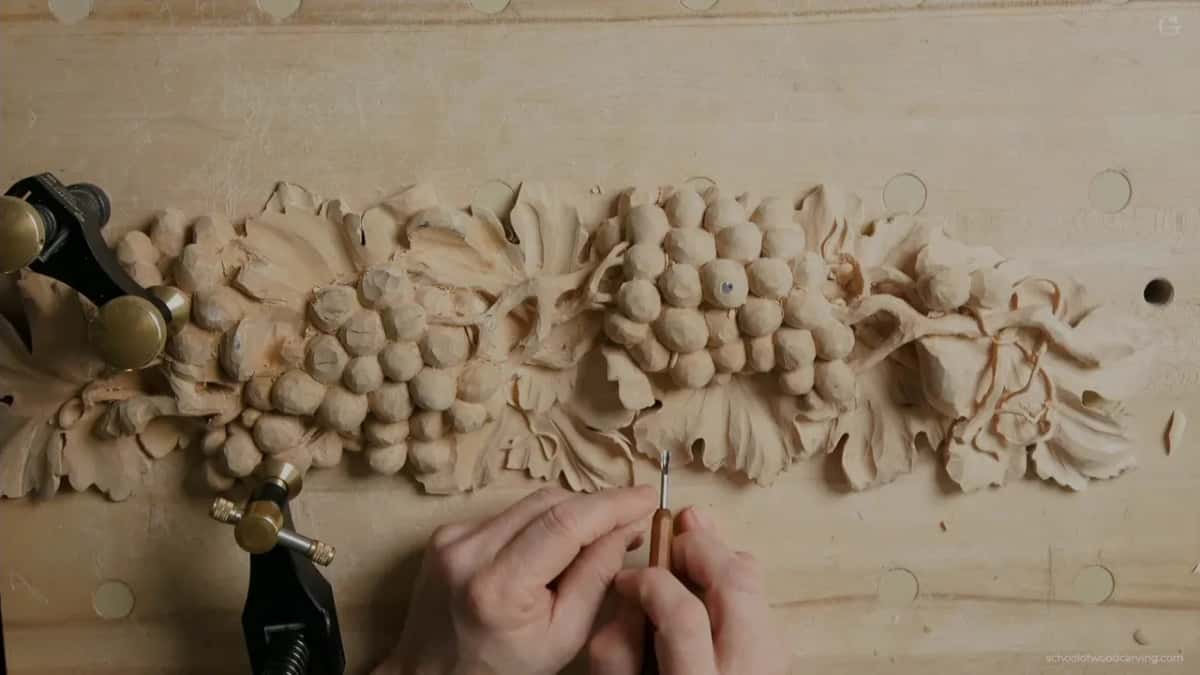
There I took a number three, which is about equal to a number two, about half an inch, about 12 or 13 millimeters, and used it upside down. I wanted a roundness there, and I wanted that ridge gone. I had to be really careful how I attacked, because the more passes you make, the more fragile it becomes. Earlier on that curl I was aiming for about one-eighth of an inch, about three millimeters, and not less, because the grain runs one way and I wanted to make sure it would not break later. So carefully, carefully, slice by slice, and blend at the end.
After that I looked from different points of view, just to see if I needed to fix something.
| Spot | Move | Lesson |
|---|---|---|
| Tops of grapes | Gouge turned over, riding in small circles | Grape Onlay lesson 12 |
| Triangles between grapes | A really sharp knife point, chip style | Same lesson, knife part |
| Leaf facets, optional | Skew chisel, number one, same circles again | Same lesson, the leaves |
| A leaf hollow | My number 11, its side or bottom | Byzantine acanthus lesson 10 |
| Big, weird facets | The 14 mm #7, slicing all around | Grape Onlay lesson 3 |
Should every facet come off?
Obviously not everywhere, and in some spots one clean pass of the tool, left on its own, already gives a finished look. Back on that Byzantine leaf, I said it is okay to have some facets. Taking them off is the last step. If you can, and if you wish.
In the final assessment of this course I said it is better to take care of the surface with the tool itself, but that even the sandpaper will do the job in that case. Which grit I took, and where it went on a grape, is all on that page.
There are other roads too. In workshop 105 of the Venice Room I used a number one chisel, three inches (about 76 mm) wide. It rides on the high spots. It shaves them off almost like planing, if you like woodworking planes. It was not the final, final finish yet, only almost final, because the final comes once all the details are done. Afterwards I put my hand on it and did not feel any waviness. I just keep my bevel on the wood with almost no pressure, and a sharp tool is what that needs. You can get really beautiful results that way, and quickly.
I bought rasps once and still don't use them. They don't save me time, because I have to make the surface a lot smoother after the rasps, so it takes me twice as long. On some Venetian spots I tried one anyway, and with paint brushed on, I'm okay with that rough surface. Workshop 10 has more on rasps. Still, I love a finish that comes straight off the chisel.
When in a project do the facets come off?
At the very end. Through most of lesson 12 the face of the onlay looked rough, and I was not taking care of the roughness until everything was done. Once that is done, I usually flip the piece over and undercut, and that is one of the main reasons I don't make the finished look from the beginning. Only then did I clean the facets. The timing of clean-up from the very first grape is what lesson 1 covers.
At the start of lesson 12 I said a lot of work still needed to be done, and that personally I did not want to spend too much time on it. When this part closed, I showed how it looks as of now and said I would leave it like that. That is the end result, even if it's not finished. I also said you don't really have to follow my movements. In fact, it's better to develop your own, and it's going to be a lot easier for you. I am planning other projects for the school too, so tell me in the comments what you would like me to carve.
The whole onlay, with every grape and the back side too, is on the Carving Grape Onlay page, and every part video, this one included, is inside Access.
How it's done
- Turn the gouge over. I place my gouge on the grape upside down. Before this part I named probably a number 7 at 14 millimeters, super sharp.
- Ride in a small circle. A circular motion, rising right over the facet, and I don't dig too deep. One facet goes, then the next.
- Make a micro pass. Then a second pass with micro movements, barely removing any material, and that is how a grape can end up looking sanded.
- Clean the triangles. Knife point, any knife that is really sharp, into each triangle between grapes, like chip carving.
- Look from another angle. I look again from another point of view, just to see if I need to fix something.
Frequently asked questions
Can a gouge leave a carving looking sanded?
A sharp gouge can get you there. On my grape onlay I turned it upside down, made small circles on the facets, then went over it again with micro movements that barely removed any wood. From the other camera you could see zero facets left on that grape.
Which gouge do you smooth carved grapes with?
Probably a 14 millimeter number 7, I said just before the clean-up began, and super sharp. Lesson 3 of the course called the same tool really good to clean up and to take out big, weird facets, and lesson 13 used it again to make a spot really smooth.
Is gouge smoothing slow work?
Slower than you might think. To clean the whole onlay is not a quick process for me, and maybe I'm doing it wrong. I called it tedious and kind of annoying work. I still do it.
What to carve next