

Alexander Grabovetskiy, woodcarver, School of Woodcarving · Published 2025
Is a tiny detail worth carving if almost nobody will see it?
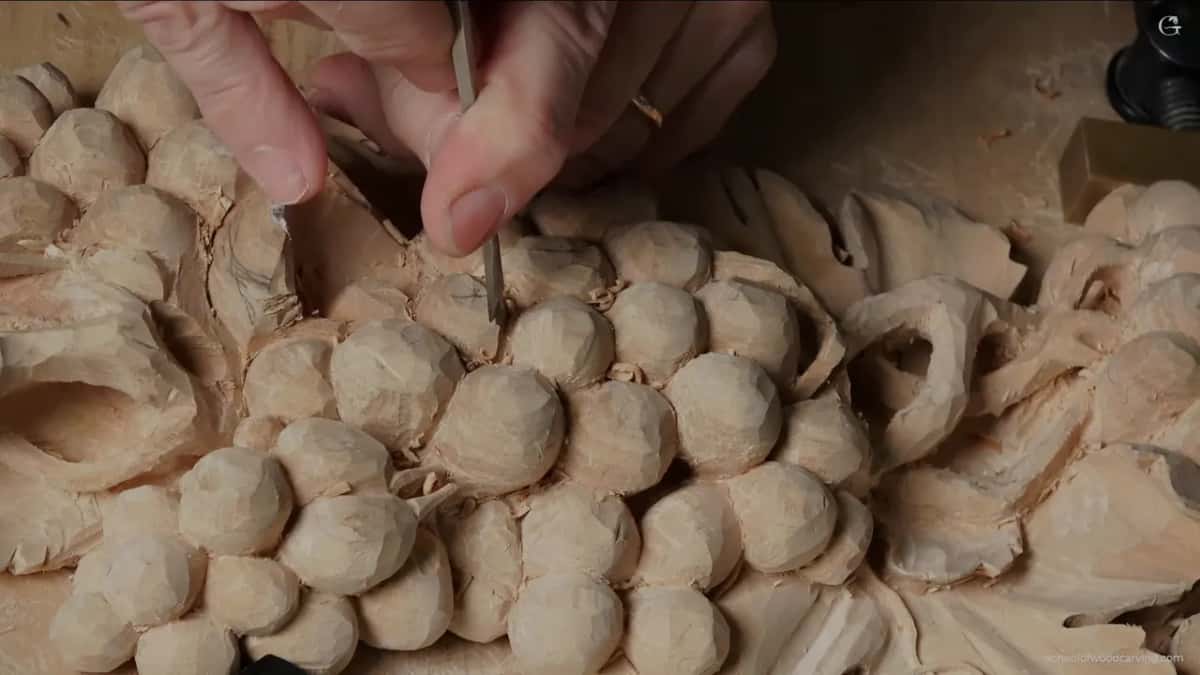
Quick answer: A tiny detail that hardly anyone will see is, on my onlay, a micro stem carved between two grapes. Even on camera you could hardly find it. I carved it anyway, and let the spot beside it go a little deeper, because it changes how the bunch looks and gives a bit more shadow.
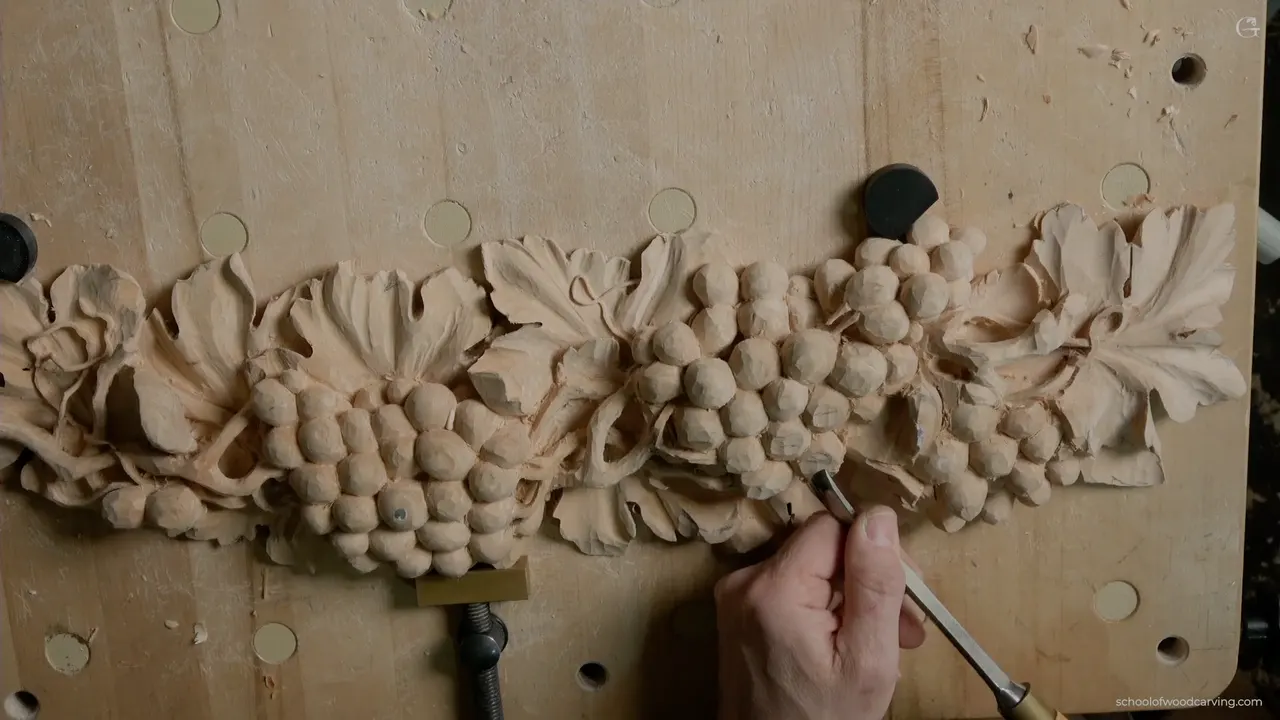
Wood carving fine details that almost nobody will see are, on my grape onlay, one micro stem between two grapes. My camera could barely show it. I carved it anyway, because to me it changes the look a lot.
Would you like a bunch of grapes that looks full and alive, even from across a room? Do you also want to know when one more tiny part is too much? Then read how I weighed that one stem in part 1 of lesson 13, what it cost, and what I said about the same choice on other pieces, like a lily box and a Roman acanthus leaf.
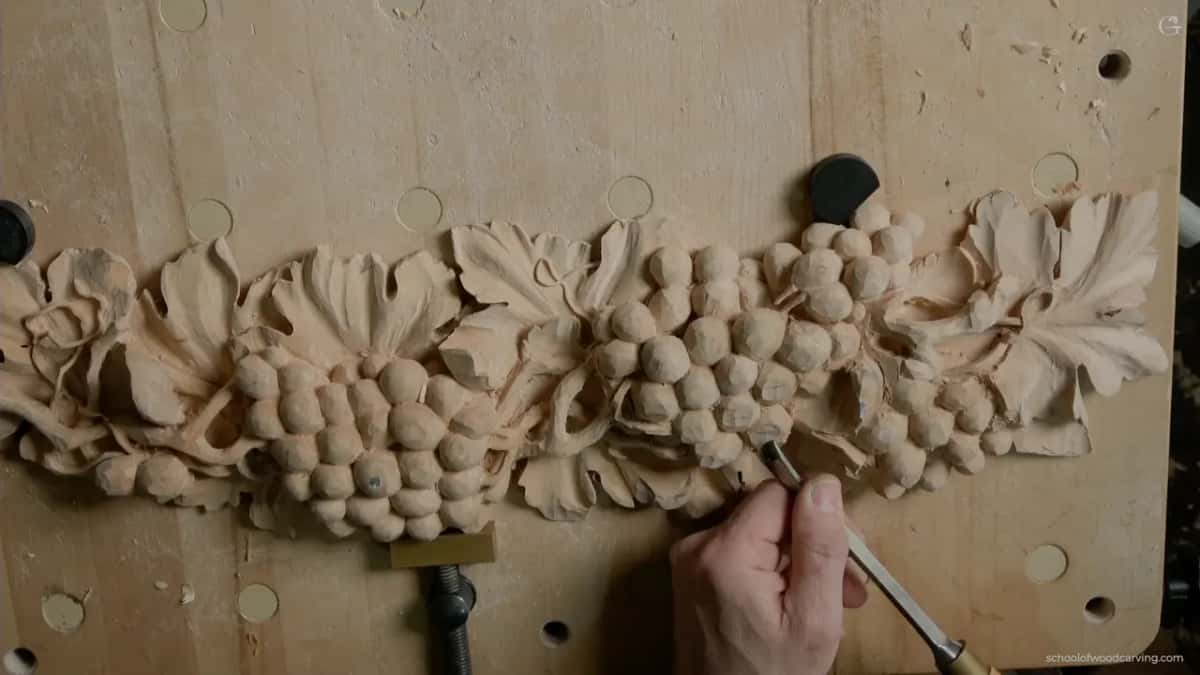
A micro stem, weighed in six lines
- On this onlay I wondered aloud whether to take this one to the extreme, and my answer was maybe, probably.
- A stem like this one broke on me once.
- Even on camera the stem barely showed.
- A small box got more subdivisions from me than a big carving would.
- A customer, the time and the price can stop me short of the extreme.
- The same choice came up on a lily box, a furniture panel and a class in Maine.
Should you take a carving to the extreme?
Up to you, and I said that on this same grape onlay. Early in part 1 of lesson 13 I reminded you of something I had said before, that we could take this piece to the extreme. Then I asked myself, out loud. I don't know, should I or should not? Maybe, probably.
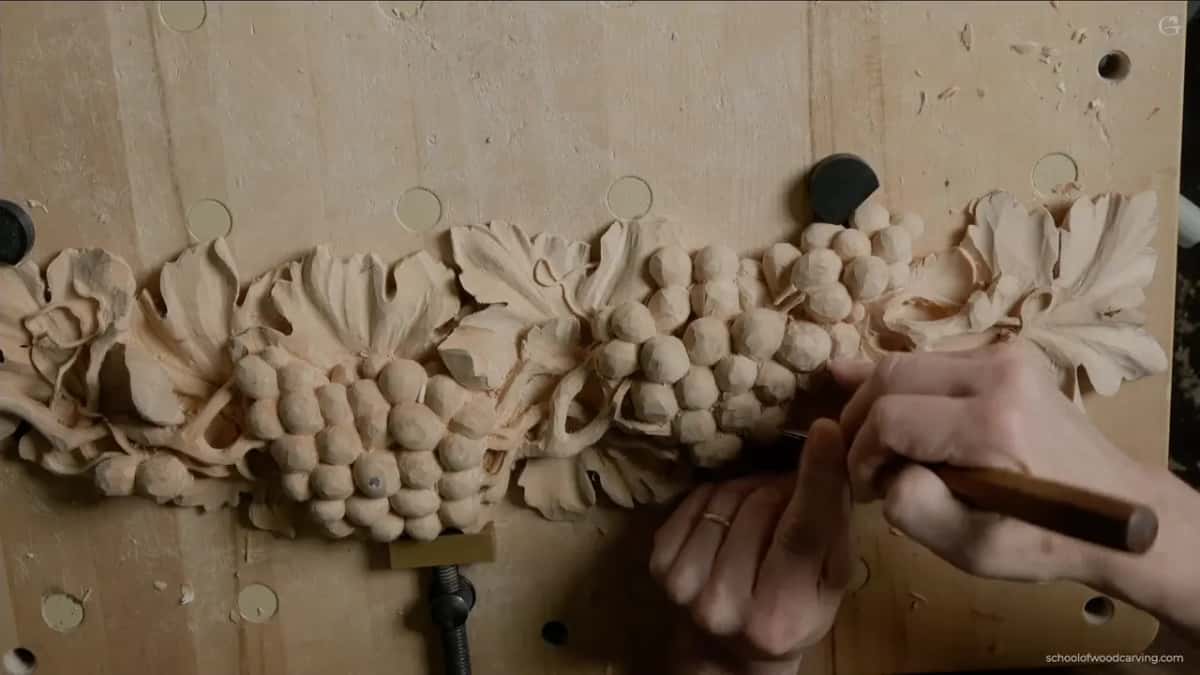
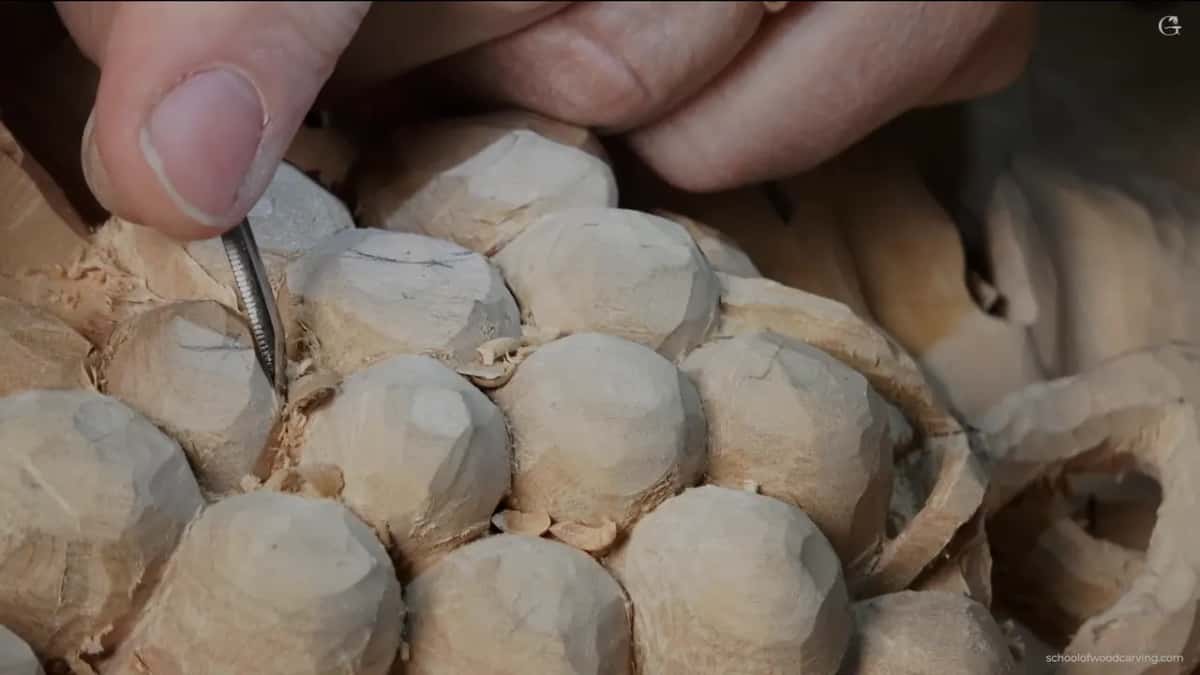
The stems didn't come first. Early in that video the grapes still looked choppy, with a lot of rough areas, and I said that's okay. My main tool for them was a number five, about 15 or 16 millimeters, about five eighths of an inch, and I sliced, because the trick is to make a rough side really nice and shiny. The talk of stems came after that.
The extreme I had in mind was a few small stems, the little connecting things that run between the grapes. One of those had broken on me before. I was traveling from the Marc Adams School, and the stem didn't make it. Even so, I could probably get several spots like that on this onlay, I said, and that would be a wonderful idea.

Real grapes hang from short stalks, and botanists call each one a pedicel. Mine was carved, so I had choices to make. I went back and forth between two spots. One would look better, but the motion I was about to bring in meant one grape would become a little smaller. That was okay with me. I told you to make sure an added stem goes with the overall flow, and the grapes in a bunch aren't meant to match anyway.
In part 3 of the same lesson I found another place close by where a stem like this one could go. It's up to you, I said, whether you take it to the extreme or not. To me it looked like a really good area for some crazy idea, though I didn't know yet if I would do it.
A little earlier in that part I had said the same thing about the small grapes, those little guys. I could take them to the extreme a little later, probably.
The same words come up in my other courses. For a small flower on the Venetian flowers rosette, a kind of rosette, I said you could work on those details to the extreme if you wish, but you should get an idea. And in the final assessment of my Maine class I said you can take it to the extreme and keep making improvements, but overall, I think, it looks really good.
What does almost impossible to see mean on a grape onlay?
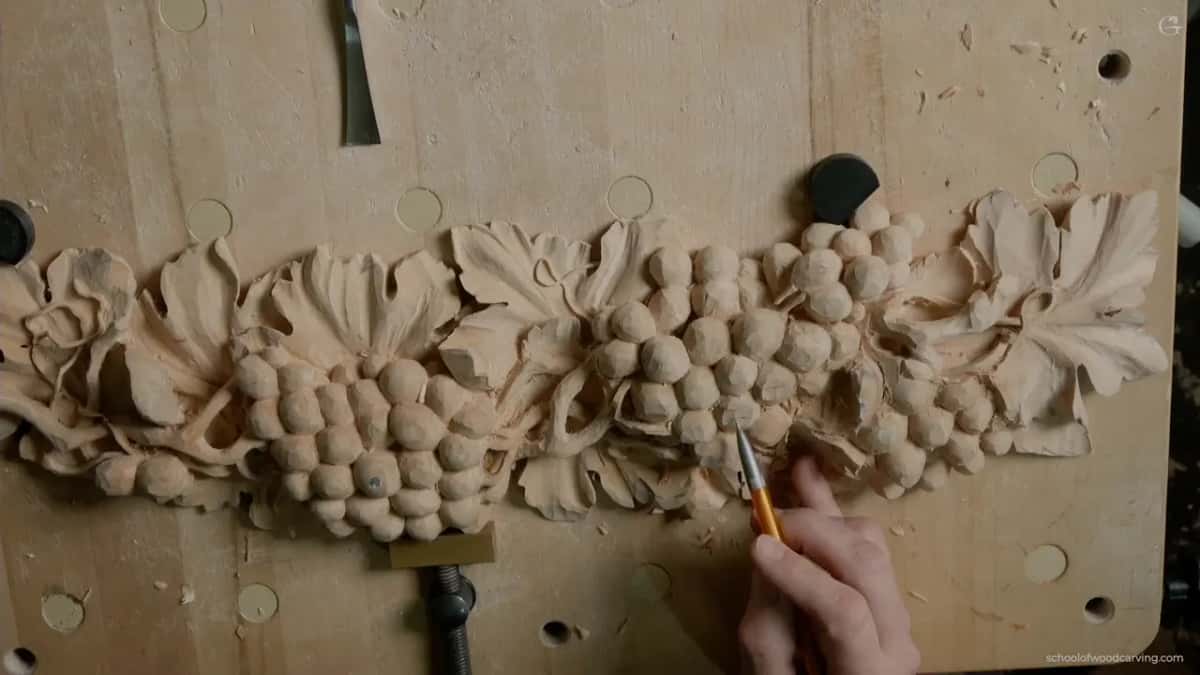
A stem so small the camera could barely show it. More than once in that video I said you don't really see it. I changed the camera and hoped you could see it better. I tried to get some light in there, and I wasn't sure it would even help.
Next I showed you the spot. That little thing goes between those two grapes, I said, and I wasn't sure you could detect it. Almost impossible to see. I know. But it's going to make a huge difference in how it looks. Your eye has a limit for small things, which doctors call visual acuity.
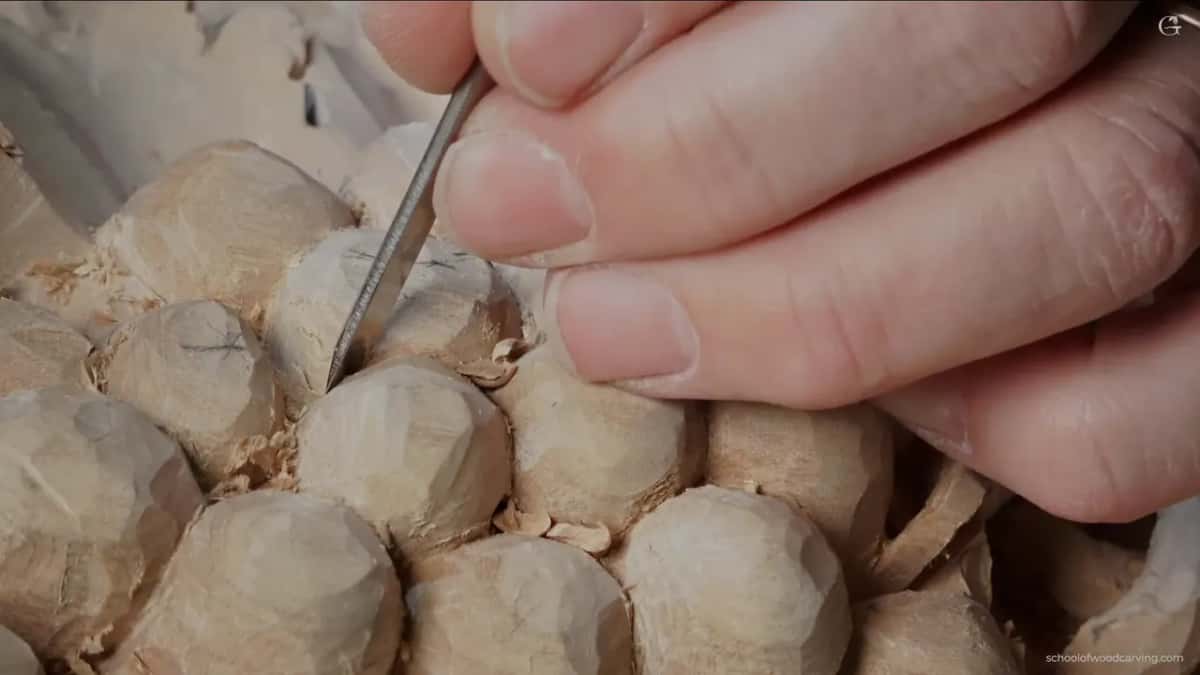
My own eyes needed help too. Later in that video I set aside the tools of up to half an inch (about 13 mm), switched to a smaller one, and put on magnifying glasses, because I couldn't see anything anymore. A couple of lights had gone in even before that.
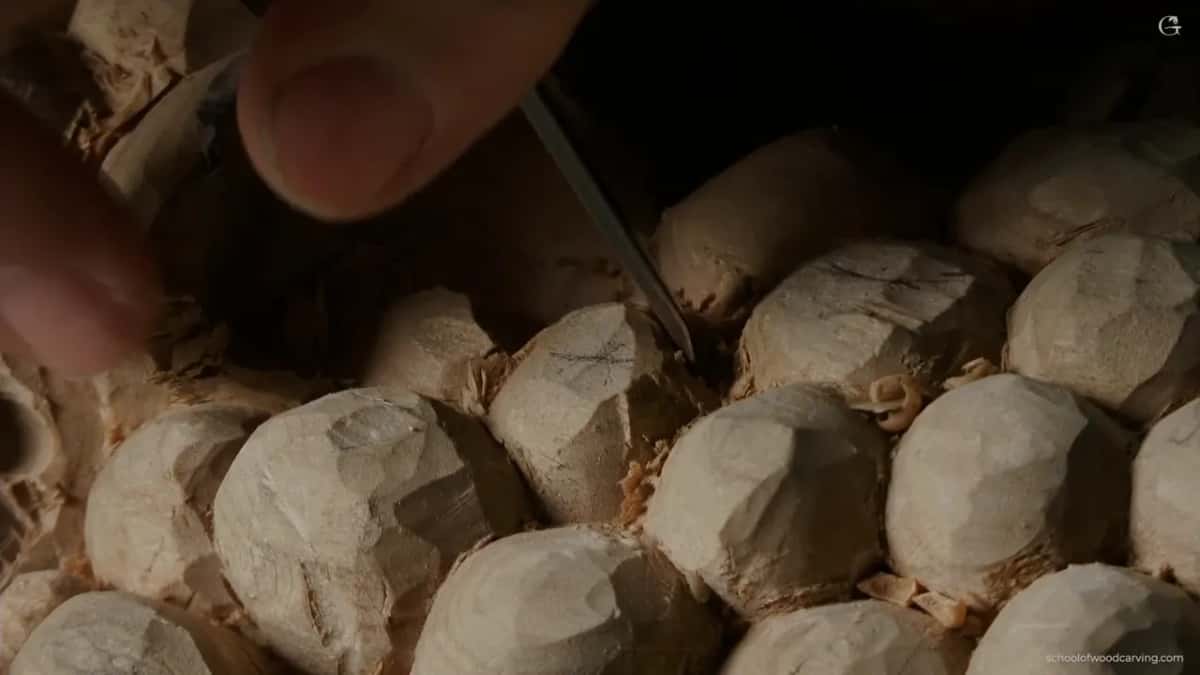
How deep do you dig beside a detail that small?
Slightly lower, and no super excavation. First I outlined the spot with a number 11 gouge of two and a half millimeters (about 3/32 in). Close to the grape before it I needed a much deeper pass, because, as I said, it's supposed to go from underneath. I took out some of the excess and went back in with my previous tool. The pass I was making there was probably two millimeters (about 5/64 in).
Since I was changing the size of that grape completely, I outlined its approximate shape with the tool already in my hand. I didn't really have to do it that way, I said, but I had that tool in my hand, so why not?
For the two tiny spots I went smaller again. A number five of six millimeters (about 1/4 in) didn't look like a number five to me, more like a number three, so I took a number two of five millimeters, three sixteenths of an inch. It is not a fishtail, I said, but it's okay. With it I poked from above, down, on both sides.
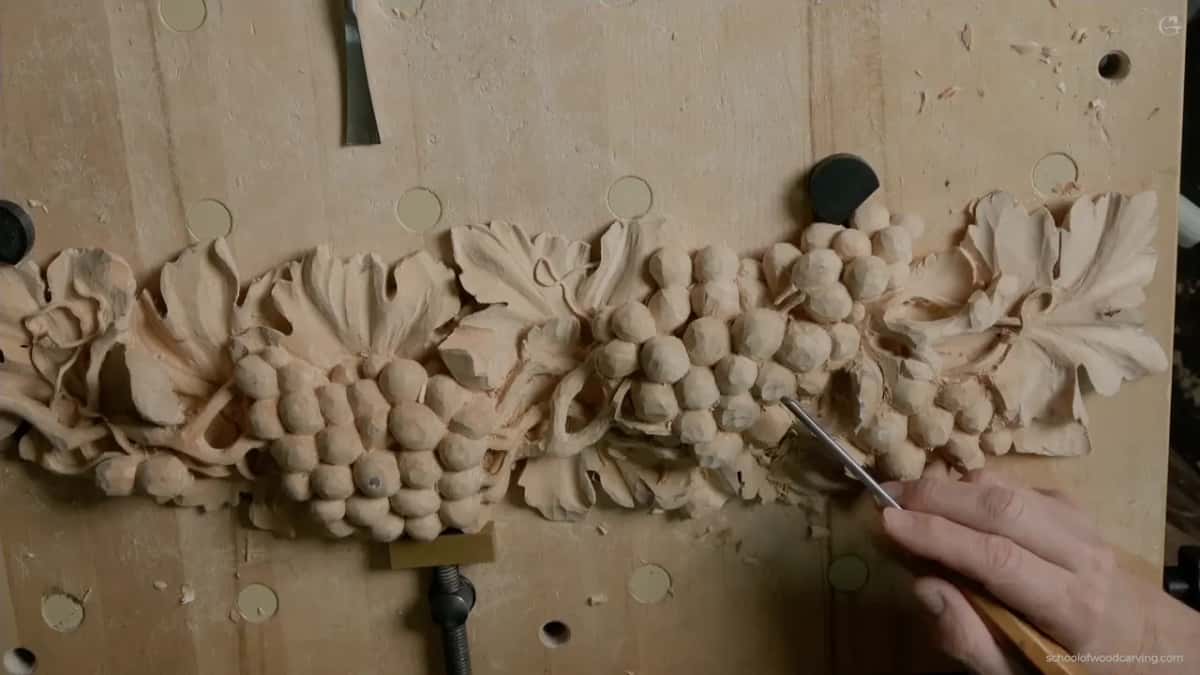
I dropped one side down, too, so the micro stem would land in the middle of its grape. After that I took some wood from the neighboring grape. But I didn't want to excavate too much, because it's going to be hard to clean up. I don't want a super excavation, I said. On another hand, why not? That area would cast a little more shadow, so I let it drop slightly lower, and a moment later I dropped it a little more.
That warning goes back to the start of this course. Back in lesson 2 I said to try not to go too deep into the neighboring grape, because if you damage its wall, it would be really hard to clean up. In lesson 3 I put it another way, and told you to try to stop before your sharp edge hits the neighboring element.
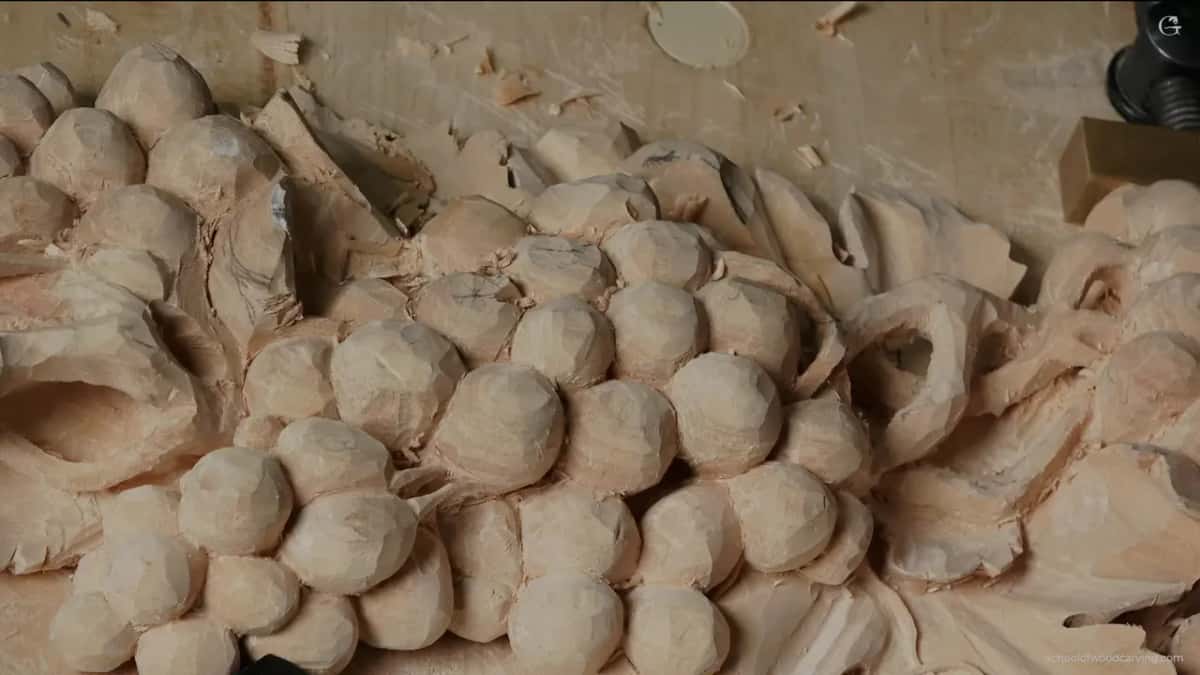
Does the size of the carving change the answer?
On a small piece, I think it does. My lily box is a small box for the Bible, made of olive wood and acacia. There, in lesson 5, I put a relief cut right at a subdivision, because the wood is really crunchy, and without that relief cut I can lose the detail. Those small details make a huge difference, I said. Again, that is just my opinion.
Scale was the reason. The box is small, so its little details count for a lot. On a bigger carving I wouldn't do so many subdivisions, but on this one I thought it was a good idea.

Later on the same box, in lesson 11, I rounded one part of the lily, and it was fragile. Really fragile. On screen it looks huge, I said. Set it next to my finger and that whole bunch sits barely on the tip. And still, I said, the difference would be huge.

What do wood carving fine details add to a piece?
Shadow, mostly. And the step between good and excellent. The small filler flowers in lesson 12 of the lily box were one place where I could cast an even deeper shadow, a really good shadow spot, and I said maybe a smaller tool would do it. Every little thing helps.
If you don't feel like doing it, I said, just don't do it. It's still going to look good. "But there is a huge difference between look good and look excellent or look great." Painters have a word for that play of light and dark, chiaroscuro. A carver gets the dark by going deeper.
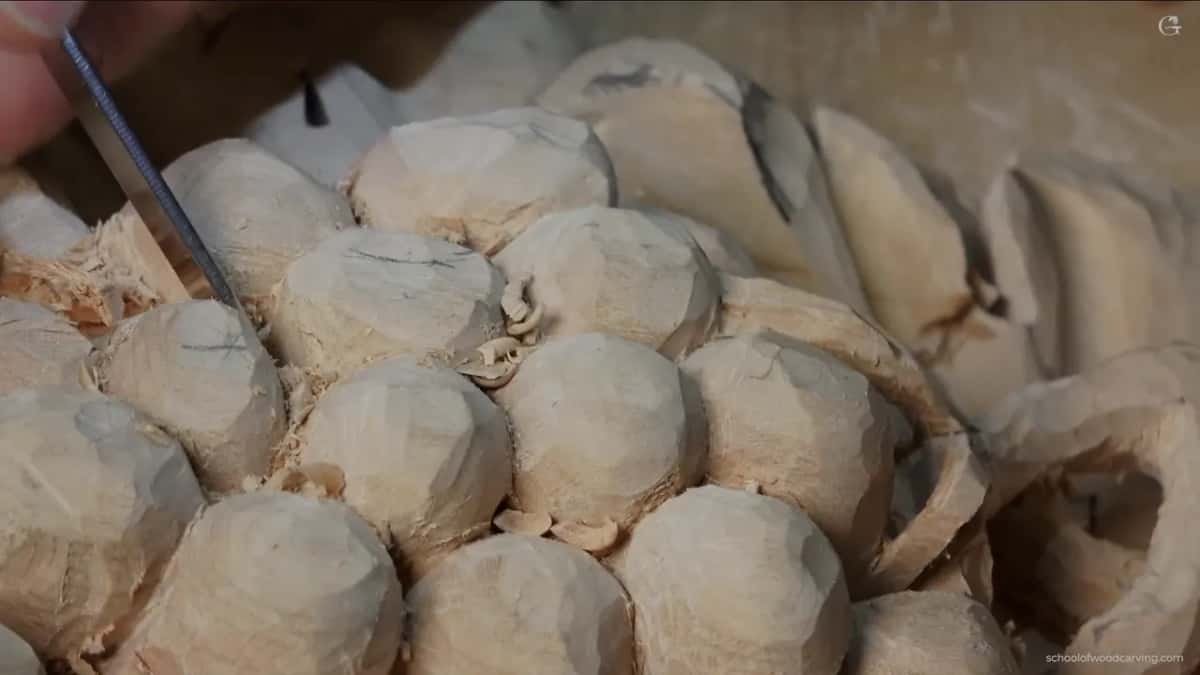
On the furniture panel, lesson 18, I came to a really tiny spot next to a couple of triangles. I really don't want to mess up this detail, I said, because "the small details, they make the whole of the world difference." It's huge. Then I said I'd take the same number five of eight millimeters (about 5/16 in) and chop a little deeper around it.
A few lessons later, in lesson 24, I made a few small passes toward myself, a little off center, just to get extra shadow. Each one was only 1 mm (about 0.04 in). To me every one of those matters a lot, and that's just my personal opinion, of course.
During lesson 15 of my Maine class on carving in the style of Grinling Gibbons, I wanted one small hole to go the whole way through, with a tool close to one millimeter (about 0.04 in). That doesn't matter, I said. Yes, it does. "I think every little opening every little detail gonna make huge difference later on."
We were also going to work on the leaves there and open up some more spots in that area, and I said that would be really beautiful. Right then, though, I needed that hole, and a plug cut came next.
And on the first layer of the lily box, in lesson 2, I was undercutting with a 0.5 mm (about 0.02 in) tool. You don't really have to do that undercutting, I said, especially if you don't have those tiny tools. But if you really want to carve for furniture, it makes a big difference. The shadow and light, how it casts.
Who decides how far a carving should go?
The customer, sometimes. On my Hashemi flowers I said you can take that piece to the extreme, but there are certain rules I have to apply to different types of projects. We agreed with the customer that I wouldn't go all the way into the details. The time I have to spend counts, and what they expect, and the price, of course.
So I'm going to leave a semi-rough look, I said. Not rough-rough. I kind of like it, actually, and I think I had already added a lot of details. I did go to the extreme on similar pieces before, and it took a lot of time.
Still, I had plenty of material in one spot, so right after that I wanted to add a couple more leaves there. Some kind of interesting details, I said, a more 3D look.

Use decides too. With the lily flower in lesson 11 of my box, I said I could go to the extreme and make it really weak. But that piece is going to be used daily, and people are going to probably touch it, so I wanted it at least solid to touch. Look fragile, but still stable. That was the goal.
And sometimes I go there because I like it. My Roman acanthus leaf got a warning first, in lesson 10 of that course. Be really careful how you undercut, I said, because the piece becomes more fragile and it's much easier to break. A moment later I said I really like to go all the way to the extreme. Sometimes that means leaves almost like paper-thin. It gives a really unique look, almost, as someone said, airy.

Which of my pieces went to the extreme?
Some did, some stopped short, and each row here is something I said or did on camera.
| Piece | Choice | Source |
|---|---|---|
| My grape onlay | asked it out loud, then said maybe, probably | lesson 13, part 1 |
| Same grape onlay | another stem spot, extreme or not, your call | same lesson, part 3 |
| Lily Bible box | more subdivisions than I'd do on bigger carvings | lily box, lesson 5 |
| Small filler flowers | skipping it still looks good, but not excellent | the box, lesson 12 |
| Hashemi flowers piece | semi-rough by agreement, time and price counted too | Hashemi Flowers, lesson 40 |
| Acanthus, Roman style | I really like the extreme, leaves almost paper-thin | Roman Acanthus, lesson 10 |
Not every small detail has to be finished, and a hint of it can be enough. That question has its own page, from Venice Room workshop 110. The backs of carvings that nobody looks at are on the Byzantine acanthus, lesson 5. Carving like this is relief work, and the whole onlay is on the grape onlay course page, with every lesson of this wood carving project.
Would you like to see that micro stem go in, pass by pass, with the lights and the magnifying glasses? The full video sits behind Access, with the rest of the onlay.
How it's done
- Ask if the spot needs it. Should I or should not? Maybe, probably. I said that out loud before I went ahead with the first stem.
- Pick a spot with the flow. I chose between two places and kept the stem with the overall flow, even though one grape had to get a little smaller.
- Outline before digging. A number 11 of two and a half millimeters, about 3/32 inch, outlined the spot first.
- Light it up. I placed a couple of lights. Later I put on magnifying glasses, once I couldn't see anything anymore.
- Drop the area beside it. Some wood came off the neighboring grape, and that area went slightly lower, so it could cast a touch more shadow.
- Stop short of a super excavation. I took out only a little there and didn't want more, because cleaning up after that much digging is hard.
Frequently asked questions
Do small details matter on a small carving?
For a small carving, I think they do. My lily box is a small box for the Bible, and there I said those small details make a big difference because the scale is small. A bigger carving wouldn't get so many subdivisions from me, and that is just my opinion.
Can you skip a tiny detail and still have a good carving?
Skipping a detail you don't feel like doing is fine. The piece is still going to look good, and I said so while carving filler flowers for a Bible box of olive wood and acacia. What you give up is excellent, or great.
How thin should a carved detail be on a piece people will handle?
Thin enough to look fragile, but still stable. I could have made a lily box of mine really weak, but that box will be used daily and people are going to probably touch it. I wanted it solid to touch, at least.
What to carve next