

Alexander Grabovetskiy, woodcarver, School of Woodcarving · Published 2025
How far should the leaf drop below a carved grape?
Quick answer: The leaf's drop below a carved grape is, on my grape onlay, the depth one grape needed to read with a full body. Around that grape the wood had to go down at least 10 millimeters or so (about 3/8 in), and the leaf beside it had room to go much lower.
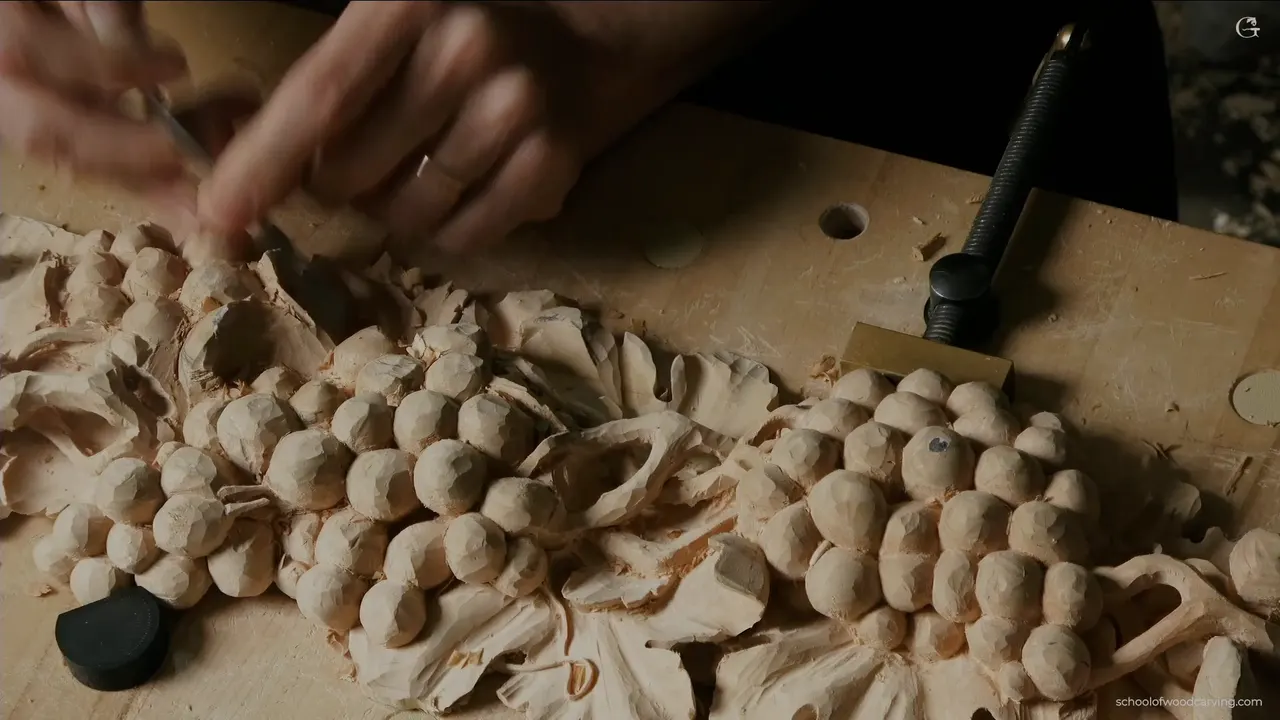
The drop between a grape and the leaf next to it is the room that grape needs to show its round sides. On my grape onlay I wanted one grape to look like it had the full body. So the wood around it had to go down at least 10 millimeters or so, about three eighths of an inch, and the leaf right there could go much deeper. That moment sits in the last video of lesson 13, and it matters in any grape wood carving, because on my tray I said a deeper carving looks more 3D.

Have you carved a grape that looked fine from the front and flat from the side? Would you like it to stand up off the leaf like real fruit? Then give the grape room by dropping the leaf beside it.
This part comes at the end of lesson 13, and the lesson page tells the same moment in a few lines of its own. Here I slow it down. First what I said about the drop, in order, then what I said about depth under fruit and leaves on other pieces, earlier lessons of this course, my tray, my hazelnuts and the Hashemi flowers.
Six lines on leaf, grape and depth
- The drop around one grape had a floor, and I named it in both units.
- The leaf beside that grape could drop much further.
- Some of that spot belonged to the leaf, so it could safely go a little deeper too.
- My plan for one section was a slight undercut, not a big one.
- My tray lesson ties a 3D look to depth.
- Deeper gives more shadow, and it also gets more fragile, with more to clean.
How far did the leaf go down beside this grape?
Ten or so millimeters at the least, and in the same breath I called it three eighths. Both numbers are mine from the video, and they sit close together, since an inch is 25.4 mm. I wanted to make sure that grape looked like it had the full body. For that, I said, it had to drop at least that far.
I was talking about the leaf there. Leaf can go much deeper, I said. That spot is hard to read on screen, and I told you so, because it's kind of confusing when the camera is zoomed in that close. So I went down beside the grape and excavated much deeper there.

A little later I was approximately at the depth I was after. We gave the full depth to that one. Meanwhile a number three gouge did the work, and I liked it better there than a straight tool, because it got me closer to the corners.
Just before that drop, I had another opening to fill somehow. I took a number three, a quarter inch (about 6 mm), and reminded you of the rule from when we did those grapes. We aim for the triangles where grapes meet, and try not to get quads. One part of that area would be leaf, safely, so I could take it in a little deeper.

What does a full body mean on a carved grape?
Full body was my phrase on camera for a grape that shows its whole body, not just a top. Relief carving keeps every shape attached to its background, so whatever roundness a grape shows has to come out of the wood you take away around it.

Near the end of this video I used the same two words for the wood itself. I still had paper on top, and I was happy about it, since it meant I was still using the full body of the material. Our eyes read depth partly from light and shadow.
Grapes grow in clusters. My course page sets the berries at different heights, and even a small one has to be full 3D, or the bunch starts to look like fish scales. The board for this onlay is basswood, as that page says.

Where does the leaf sit in grape wood carving?
Below the grapes, mostly. Back in lesson 6 I had a leaf, then part of another leaf sticking out from that area, and a third leaf that would sit on a lower level, laying right on top of the first one. There was plenty of material there. Approximately maybe about seven eighths of an inch (about 22 mm), if you look from the background. And I said this leaf would be somewhat low, because I really want to see those grapes, this bunch, more 3D. Next came the excavation, with what I usually use for it, a number 11. First I picked up the wrong tool and said so, then took a 10 mm one (under half an inch) to get some stuff out. The grain direction runs one way there, and I like to come at it from outside inward.
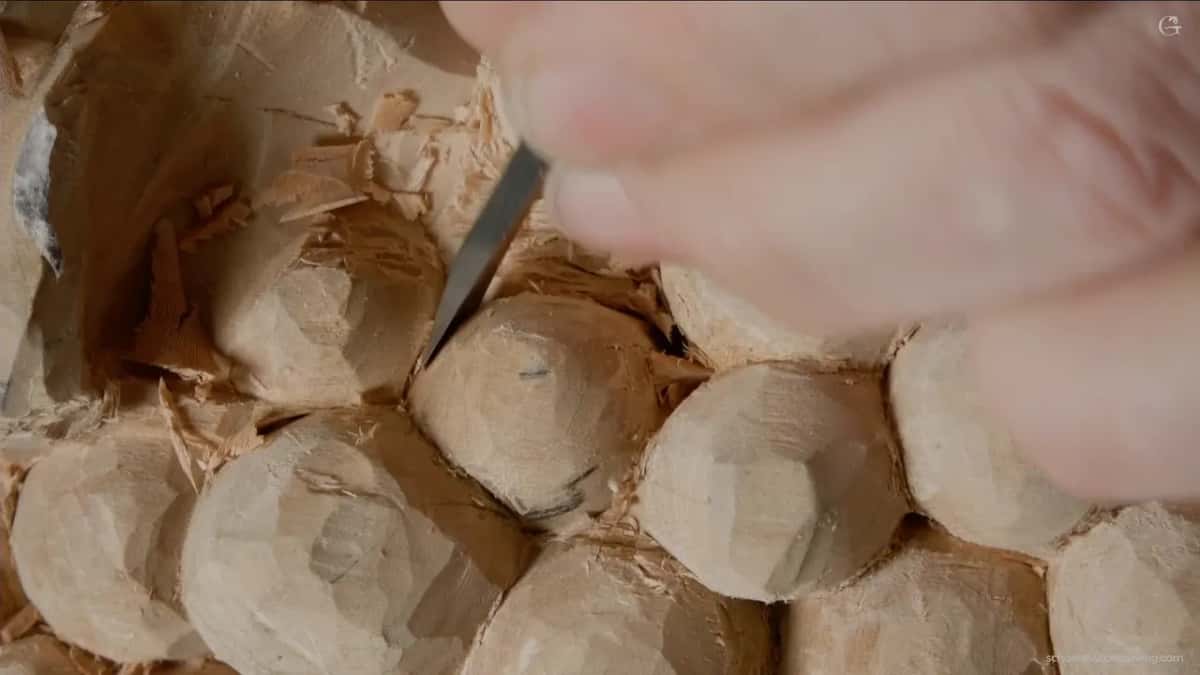
Back at the start, in lesson 1, the leaf gave way to the fruit for a moment. I was still on the number five, and one spot looked like a really good spot for a small grape. Losing some of my leaf there was absolutely fine, I said. I'd still probably put that small grape right there. The part of lesson 1 where a grape lies on a leaf goes into that in detail.

Over in lesson 7, two grapes were kind of high, and part of a leaf stuck out from underneath a big leaf, a little too high. I could keep one part a little higher, I said, and that way lower down this part of the leaf, kind of slope it, and take advantage of the material I had. I'd do it a little later. Treat that one as a plan, said out loud.

Which depths did I name, piece by piece?
Here they are side by side, each in the words I used that day. The second column is the depth I named, and the third is where I said it.
| Piece | Depth I named | Where |
|---|---|---|
| Grape onlay grape | Ten or so millimeters, three eighths inch | Lesson 13, here |
| Grape onlay leaf | About seven eighths inch (about 22 mm) | Onlay, lesson 6 |
| Hazelnut relief, leaf | Inch and a half (about 38 mm) | Hazelnuts, lesson 4 |
| Hazelnut relief, nut | About three quarters inch, about 19 millimeters | Same hazelnut video |
| Raised onlay section | Approximately five millimeters for now (3/16 in) | End of video |
Two of those rows come from my hazelnut course and one from lesson 6 here, and none of them is a rule for your board. They are what I had in my hands on those pieces, on those days.
Should you undercut the grape while you are down there?
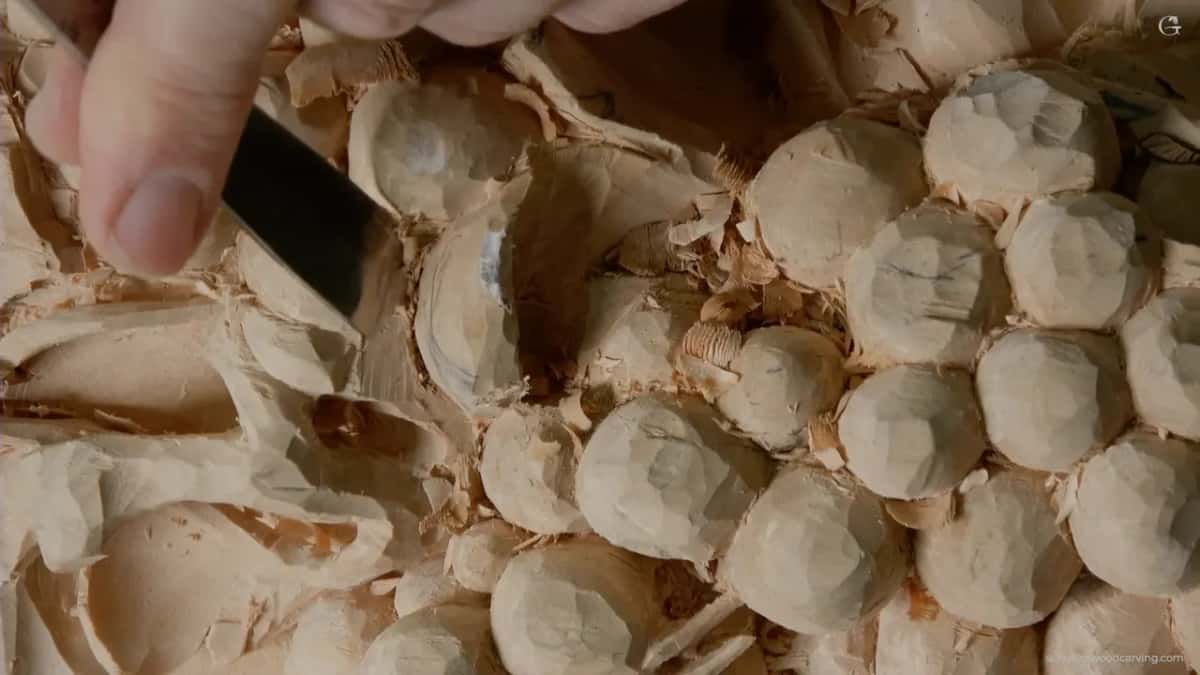
Only a little, for now. Early on I said I could probably go with a slight undercut in one section, not big, since I'd put a little more there. I would like to probably stick another grape in. And there was another grape, also kind of small, that I could probably clean in.
Those little guys, I said, I can take to the extreme a little later probably. Every one of those lines has a probably in it, so read them as what I was thinking at the bench. The big undercutting on this onlay happens from the back, and the course page tells that part.
There was one more spot with a higher part on each side of it. I said I'd have to use back bends to get in that area, a number three back bend, a quarter of an inch, about six millimeters. With it I could easily get inside those corners.
Why not take it as deep as the wood allows?
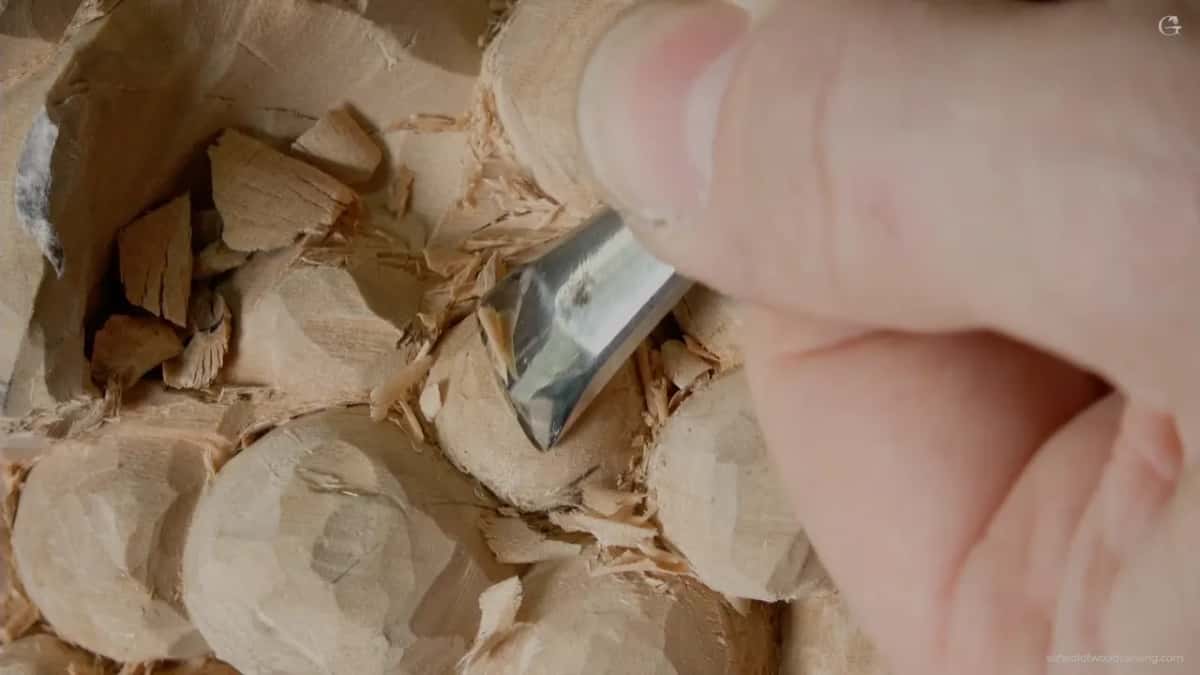
Deeper has a price. I have said so more than once. With the Hashemi flowers, in lesson 12, I said I know it's kind of deep, but it's going to look really good. The deeper you go, the more shadow you create. And on the other hand, it becomes more fragile the deeper it goes.
Much later in that course, in lesson 49, I could have gone even deeper on a petal if I wished. I didn't want to go too extreme, because going deeper makes it more complicated, and harder to clean.

Lesson 13 says the same thing twice before this video. Part one had me holding back, since it would be hard to clean up. By part two I wasn't too happy with how deep I had gone and wanted a little more, but I had to keep an eye on how tall the detail was. I don't want to excavate too much and then regret.
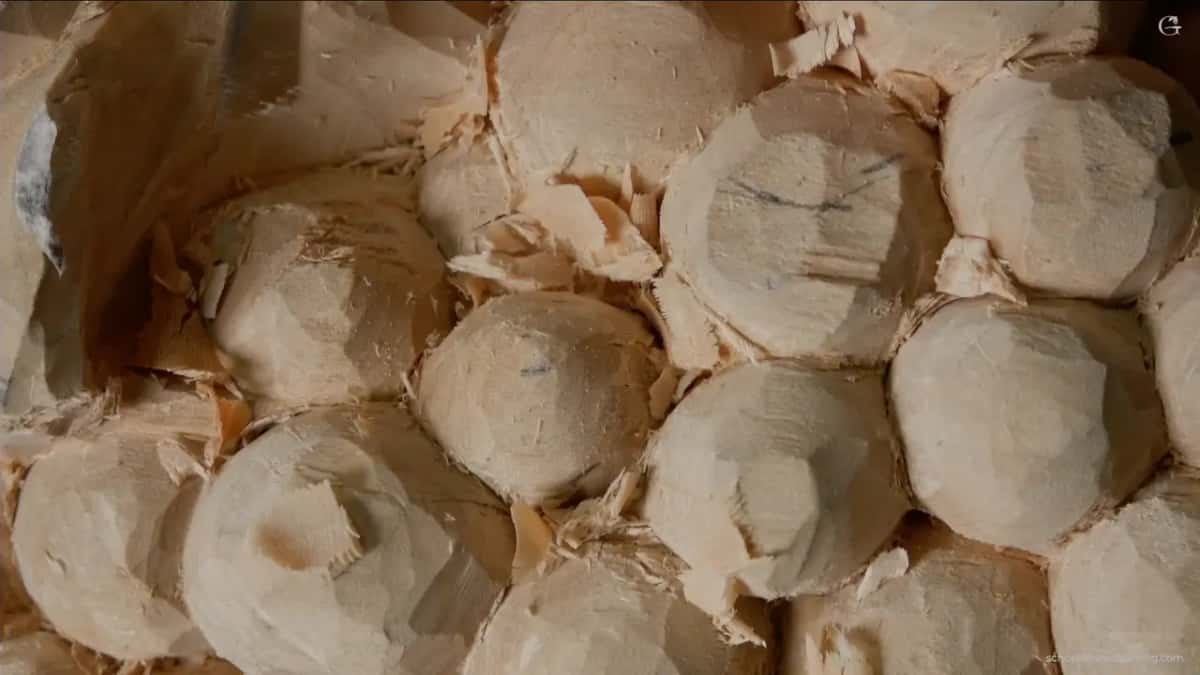
And at the end of this video one raised section waited. Much deeper there would give a much better shadow, and probably the best tool for it would be half a millimeter (about 1/50 in). But it was probably too early to excavate too much. I didn't know yet what I'd do with that section. It's raised up, and I like it. A big skew took some material off the side, because it's the quickest, and I left approximately five millimeters (about 3/16 in) of thickness. Later on I want it almost paper thin.
How much wood do you need under the fruit?
Enough for the depth you want, and I check it spot by spot. On lesson 8 of my Cabernet tray I told you to keep an eye on how much thickness you have. Right here I don't have too much, so I have to be careful how much I'm going to excavate. Here I'm okay, and right there I'm okay. That's how I positioned the grapes. For those grapes I usually use just the number seven, and in one spot I said we're going to just drop that slightly. When you dig, I said, make sure it's solidly placed. My first excavating point was again the triangle, a number seven of 14 millimeters (about 9/16 in) digging toward my connecting spot.

Later in that video I started removing some of the excess, little by little, and I said I can always make it deeper a little later. At the start of the next video I had a lot of material, so I knew I could dig and excavate deeper. After that I changed the angle of the tool and kept working with only its corner.
That next video also had the people carving with me at different depths. Some of you got a little deeper excavation, I said, some of you shallower, and whether a small indication fit in there depended on how deep you got. Then came the line I keep coming back to. The deeper you go, the more 3D it's going to look. My own board allowed full 3D in that spot, because I had plenty of the material. The tray course puts those grapes on the back of the tray.
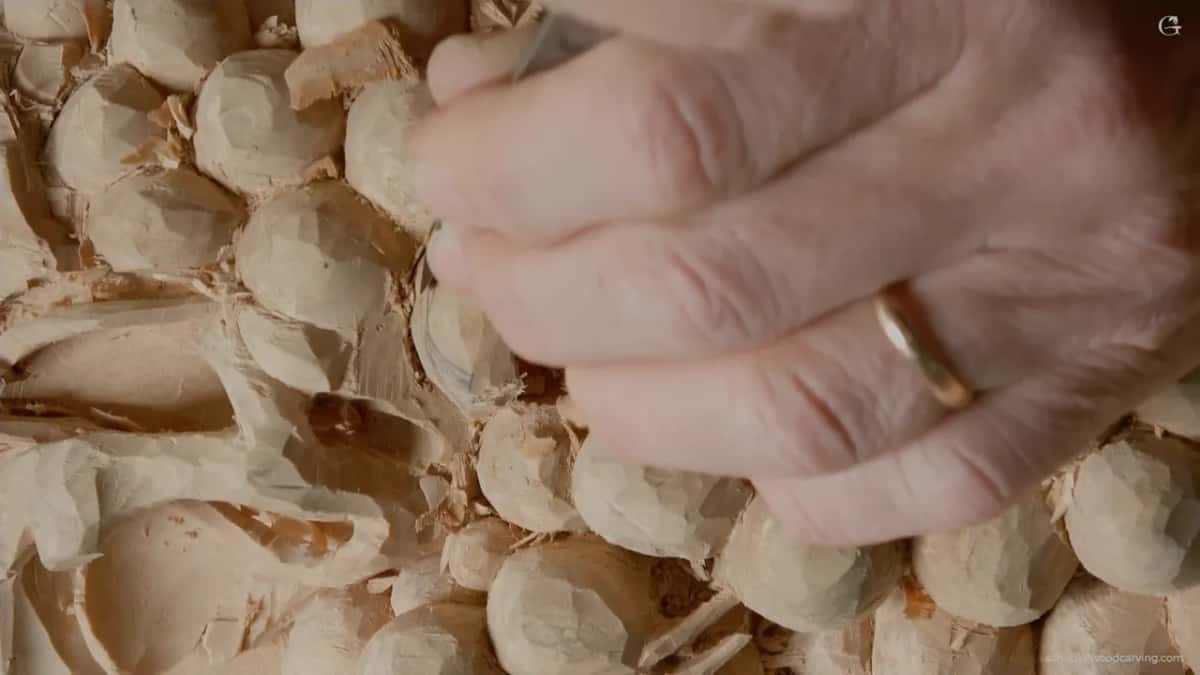
Does the same order hold on hazelnuts?
Leaf at the bottom, there too. On my hazelnut relief, lesson 4, the material was plenty, because the leaves there go all the way down. One leaf lies right on top of the background, and the husk sits on top of that leaf. From one point all the way down I already had about an inch and a half (about 38 mm), and maybe I could go even more. Earlier in that video I knew exactly where the husk would end. It wraps all around, so I needed maybe about half an inch (about 13 mm) for it, and then comes the nut itself. Which means I could safely chop around in that area.
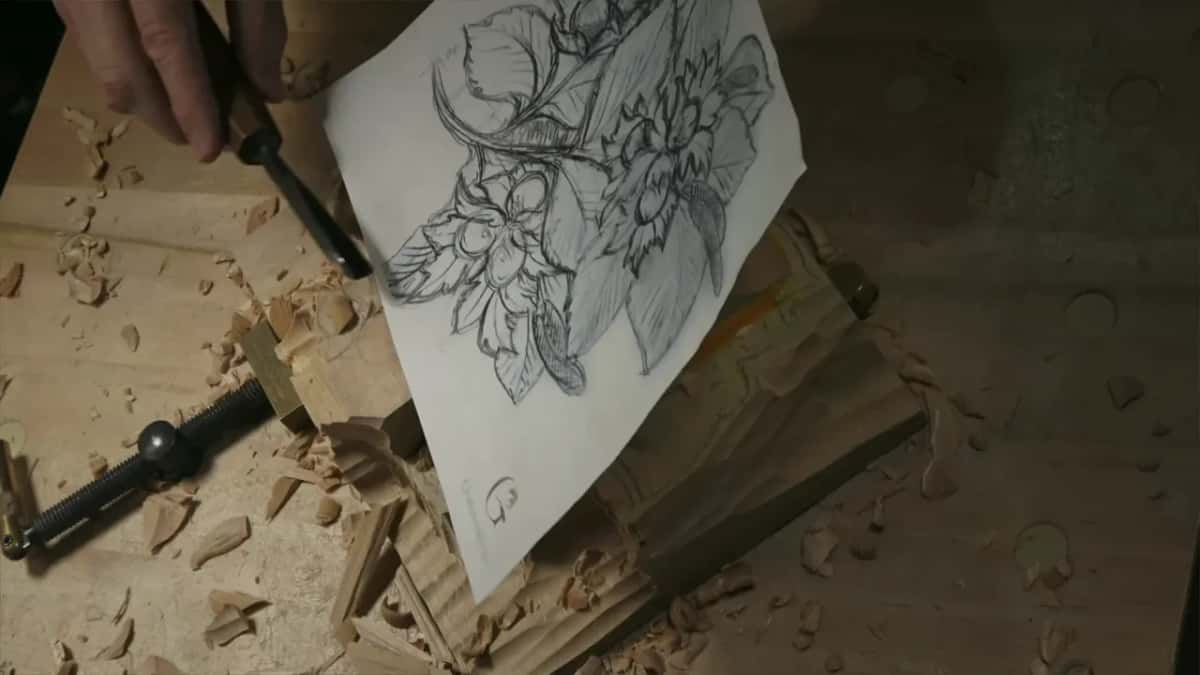
That mattered to me because the nut itself was going to be lower. Then I said a good position for one nut would probably be about maybe three quarters of an inch from one point down, about 19 millimeters, something like that. But it still has to be logical, I said. During lesson 3 of that course I had to fix a mistake from the beginning stage. I lowered one part, shaving slightly, down to about one eighth of an inch, about three millimeters, because a nut would sit there. And hopefully nobody would notice it.
What came after the depth on this onlay?
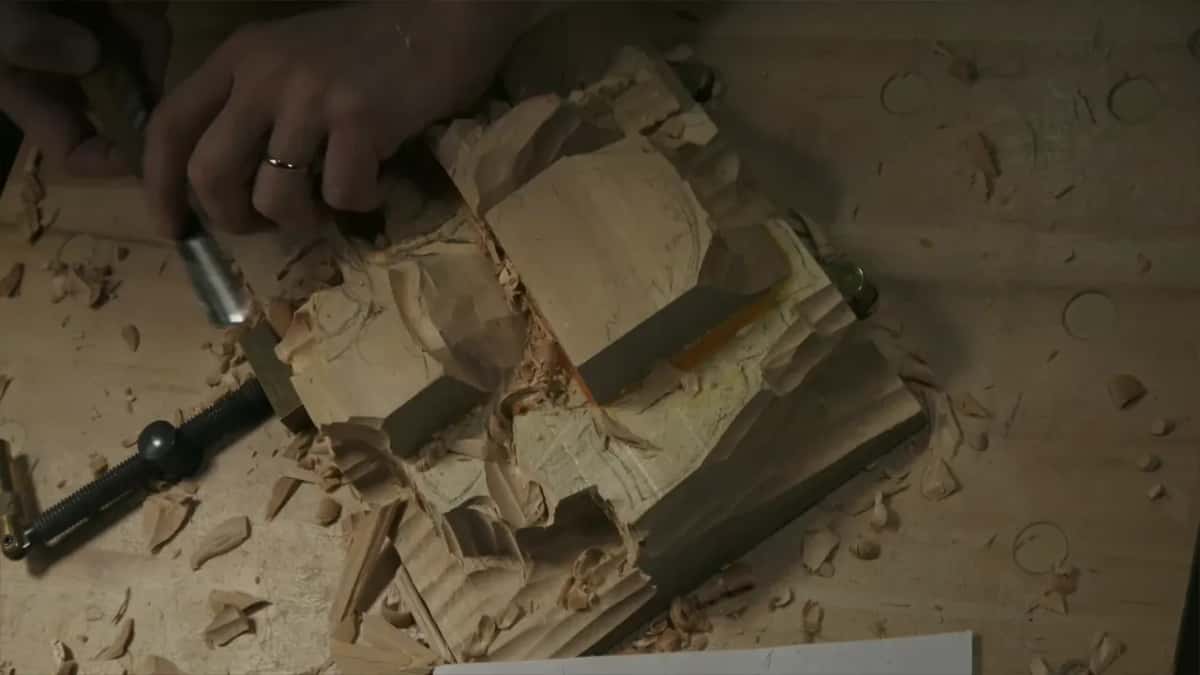
Shape, and later. Near the end of the video I said that later on I'm going to create a shape for a grape there, and first I cleaned a little bit inside a triangle. Earlier in the video I had also seen a tool mark from my previous passes and wanted to get rid of it.

The video opened on a grape, with a number seven of 14 millimeters (about 9/16 in) to make it really smooth. Carefully, carefully, slice by slice, I got rid of the facets. By the last minute I had done enough, and I said so. It's enough for today.
Would you like to watch that leaf go down next to the grape, at the bench, pass after pass? The whole onlay is in the full course, fourteen lessons and a final session, with lesson 13 in full.
How it's done
- Fill the next opening. I had another opening to fill, so I took a number three, a quarter inch (about 6 mm), aiming for triangles and trying not to get quads.
- Give that part to the leaf. Part of the area belongs to the leaf, safely, so I take it in a little deeper.
- Drop the leaf. The leaf can sit a lot lower, so I go down next to the grape and excavate there.
- Check for the full body. I want the grape to look like it has its full body, so the wood around it comes down by my ten millimeters, give or take (3/8 in).
- Stop at your depth. Once I'm close to the depth I'm after, that one has its full depth and I move on.
- Leave the shape for later. The grape's shape comes later. First I clean a little inside the triangle next to it.
Frequently asked questions
How deep should the wood go around a carved grape?
For one grape on my onlay I asked for no less than 10 mm or so of drop (0.4 in), so it would read with a full body. Part of that spot belonged to the leaf, which could drop further. Before placing the grapes on my tray, I checked the thickness spot by spot.
Why carve the leaf lower than the grapes?
In lesson 6 I kept one leaf somewhat low because I really wanted to see those grapes, the bunch, more 3D. Roughly 7/8 of an inch of wood stood there above the background, close to 22 mm. The tray lesson says the same about depth and 3D.
Can you take wood from a leaf to fit in a grape?
Lesson 1 shows me doing just that. A spot looked right for a small grape, and losing a bit of the leaf there was absolutely fine with me. I said I'd still probably set the small grape in that place, still on the number five I was using.
What to carve next