
Alexander Grabovetskiy, woodcarver, School of Woodcarving · Published 2025
Should the underside of a carved leaf be concave or round?
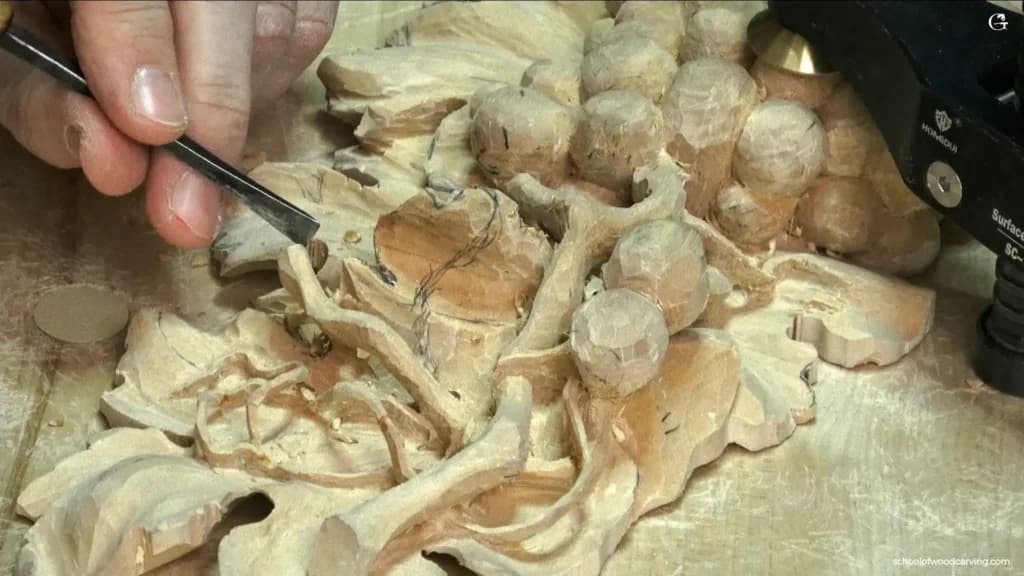
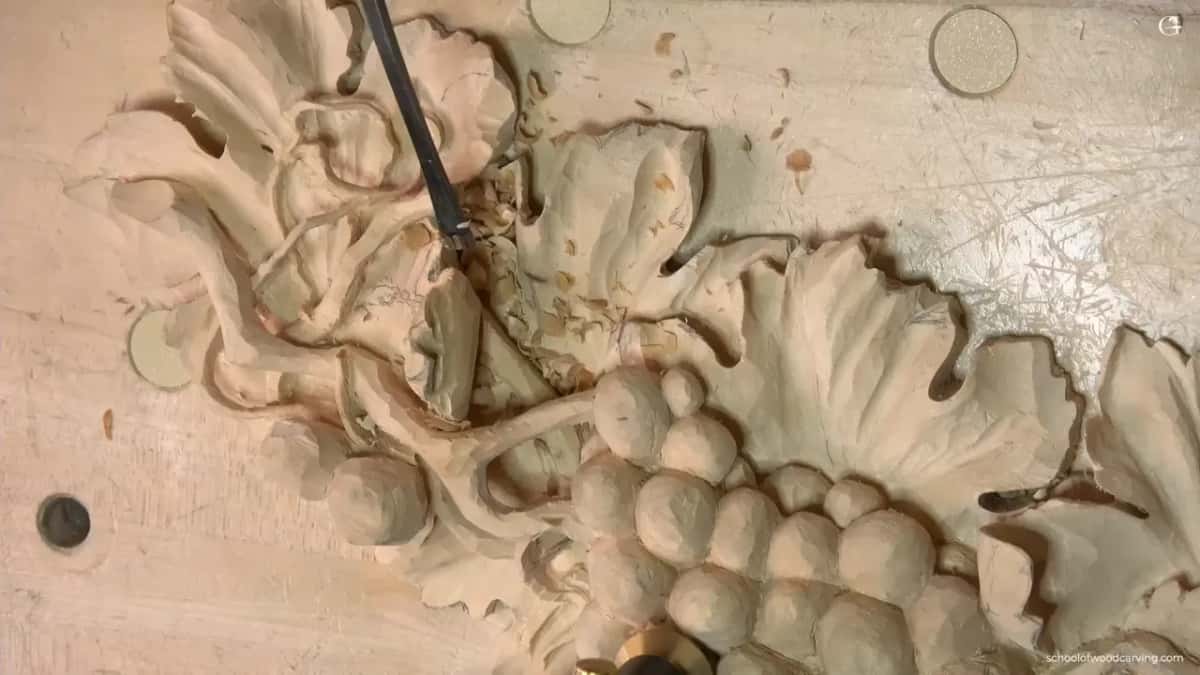
Quick answer: The underside of a carved leaf is, on the curl of my grape onlay, the spot where I wanted a concave. Too much roundness under there is not how it is supposed to look. Quite the opposite, I said. So an antique number 3 went in upside down, flute at six o'clock, until the curl cast its shadow.
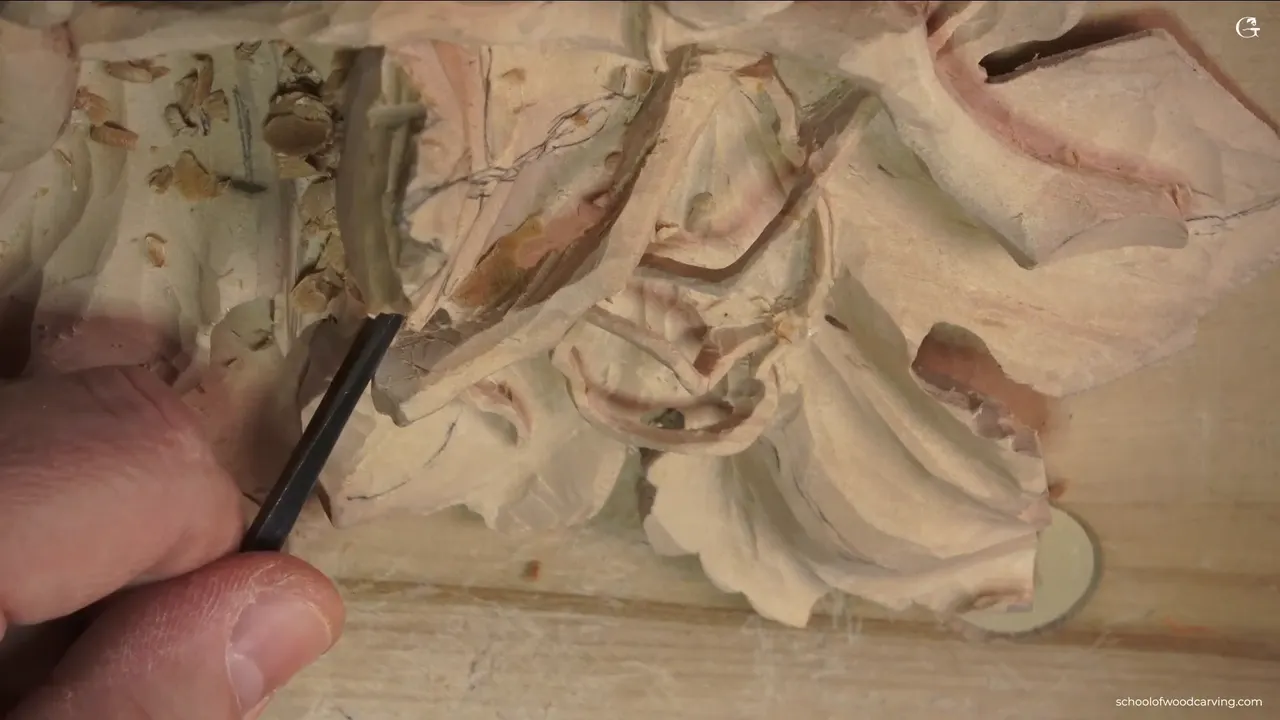
A hollow under a leaf curl is what I went for on my grape onlay, a concave and not roundness. In the second video of lesson 14 I turned an old number 3 over, pointed its flute down, and dug beneath the edge until I could see the shadow. A round belly there wasn't what I wanted.
Have you carved a leaf that curls up nicely on top? And did you tip the board and wonder what belongs under that curl? Then start with what I carved below this one.
Here is what I did under one curl, which tools went in and in what order, and other carvings where I made the same choice. I'll show you the spots where I held off, too.
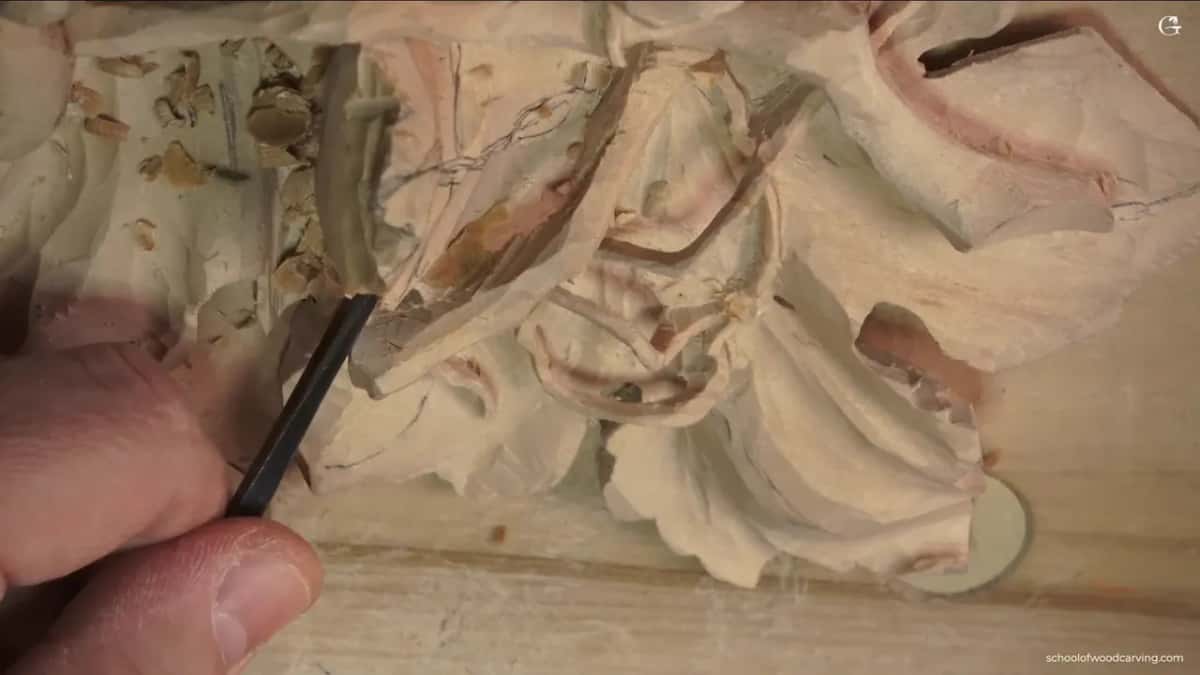
Five things I did and said below this curl
- A concave there, not a round shape, was what I wanted below the edge.
- Shadow was the reason I gave on camera.
- One gouge did the separation and then the hollow, turned upside down.
- My movement slowed right down, with no pushing.
- Other pieces got the same hollow later, or I said you don't really need it.
Why did I want a concave under this curl?
For the shadow. That is the whole reason I gave in the video, and I said it twice in under a minute. Once the separation was in, I flipped my tool and started to work underneath, and I stopped to explain why I was not rounding it.
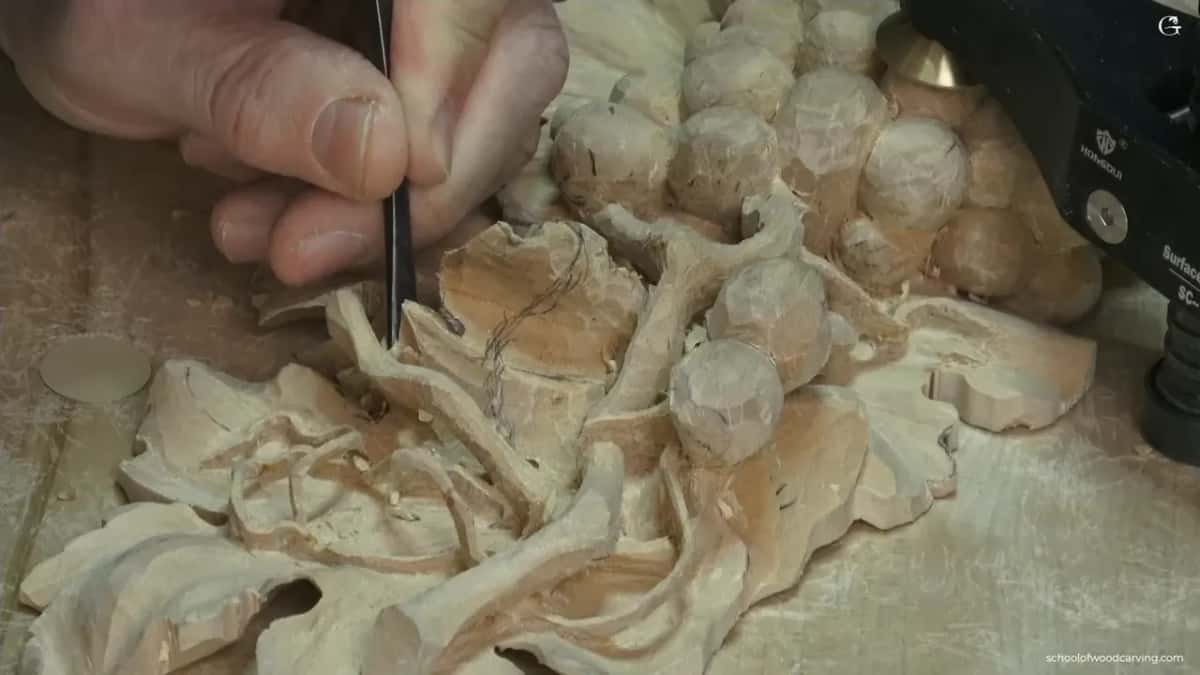
Too much roundness underneath was not an effect I wanted to leave, because it's not like it's supposed to look. Matter of fact, quite the opposite. What I was after was like a concave on the inside, a hollow carved up into the bottom of the curl. That way it casts much better shadow.
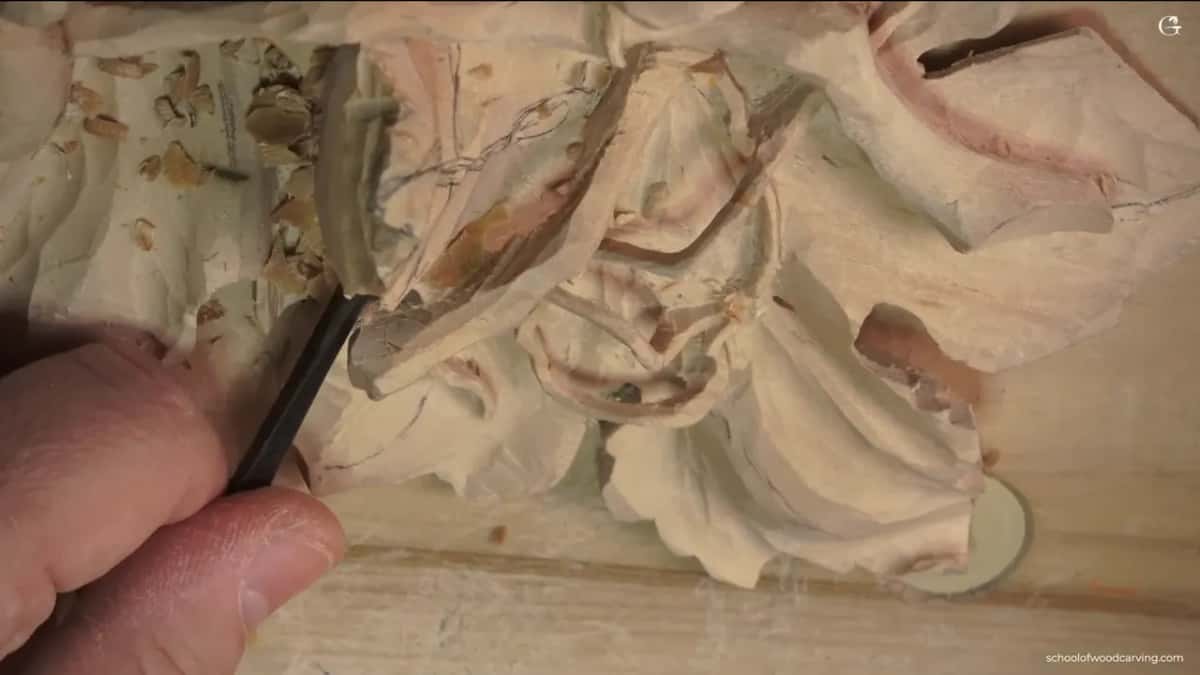
I'm going to be honest with you, I wasn't sure it came across. Right on camera I admitted I didn't know if you understood what I meant by that. My next words were plain. I really need to see that shadow right here. My lesson 14 page has the short version of this in one FAQ answer, and this page stays down there with the curl for the whole length.
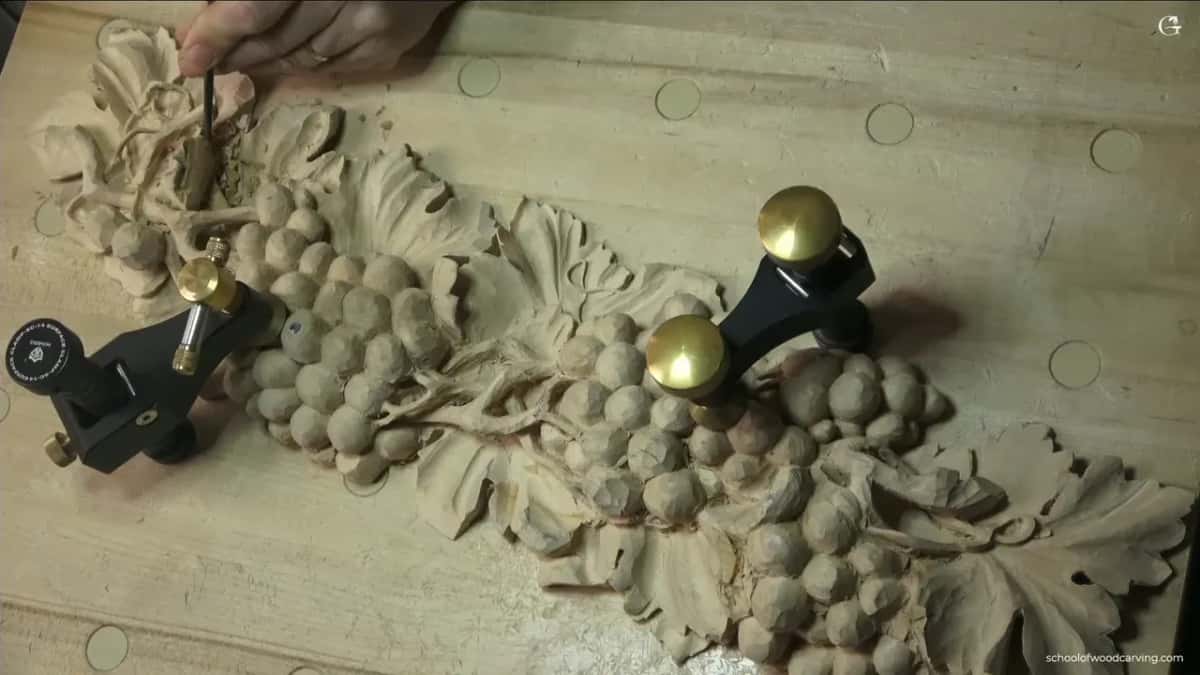
A carving like this is a relief, shapes that stay attached to a solid back, and the onlay goes onto something else when it's done. Painters call the play of light and dark chiaroscuro. Here I wanted a shadow right where the edge of the curl lifts off the leaf.
What was I planning before the first relief cut?
The motion of the whole leaf. At the start of the video I stopped to think about the logic of how this grape leaf is supposed to curl. The stem, or the root, goes in from inside somewhere, and that is the central motion. Separations come out of what I call the golden spot.
I took one point, then another, and used the golden ratio again, the 60-40 rule, to move that central motion over. That way, from any angle you look, it still looks good. After that I drew the separations, like three main ones, and said, so that is my motion.
How did the work under the curl begin?
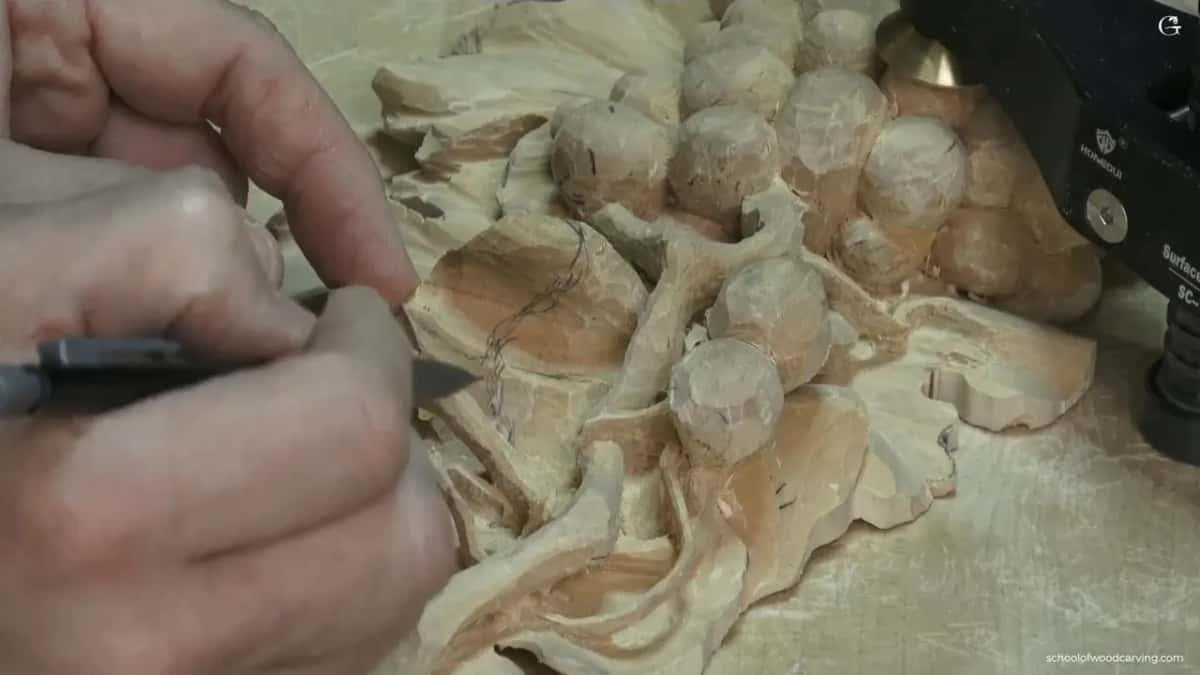
With small relief cuts, from more than one side. Before any hollow, I took a number 11 veiner, three millimeters, one-eighth of an inch, and went in at different angles. Multi-direction, I called it. I knew that in the end I needed some excavation right underneath of this curl, even more than what I had done before.
Next I started, just kind of, undercutting. Don't get too excited about it, I told you. A second spot got the same, and that is when I named what I was after, which was really good shadow. After a relief cut from the other side, I blended it in from both directions.
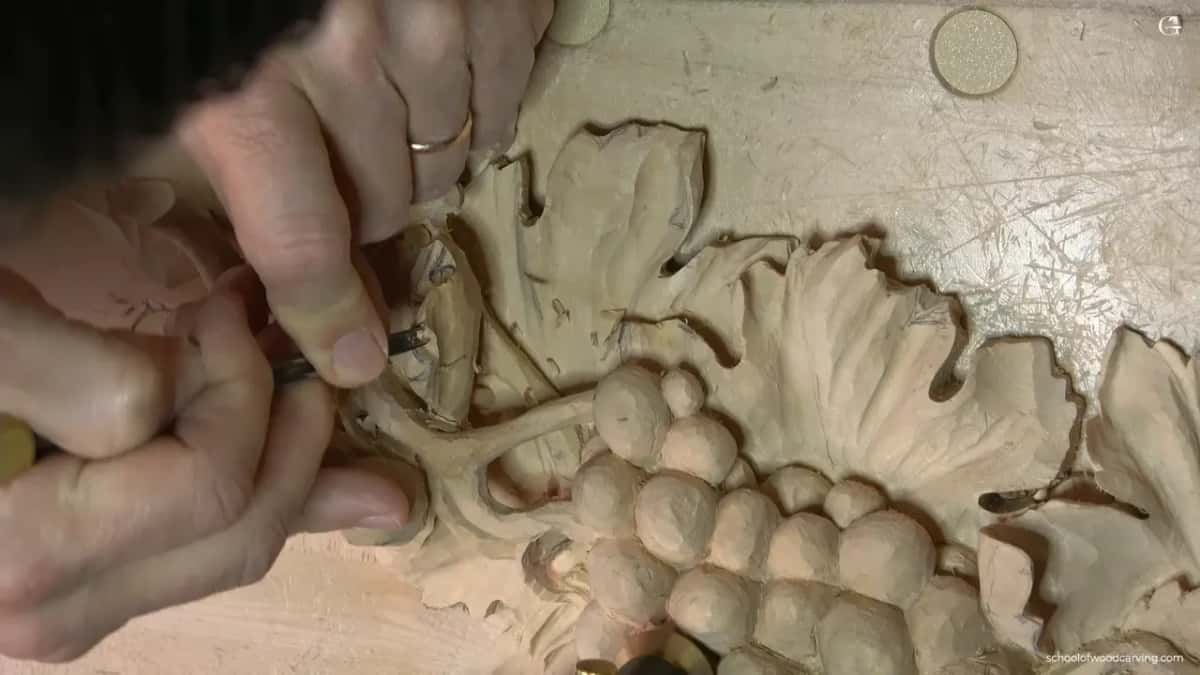
Even with a tool as small as the number 11, small, small passes. And I still slice. That part is really important, I said, and I'll repeat it here, since everything on this page sits beneath one thin edge.
The undercut you see on this curl is the first, careful kind. Lesson 12 is where I flip the whole panel to work the back, which is a different job. That lesson is the place for undercutting wood carving from the back. This one stays on the face.
Was there a concave on top of the leaf, too?
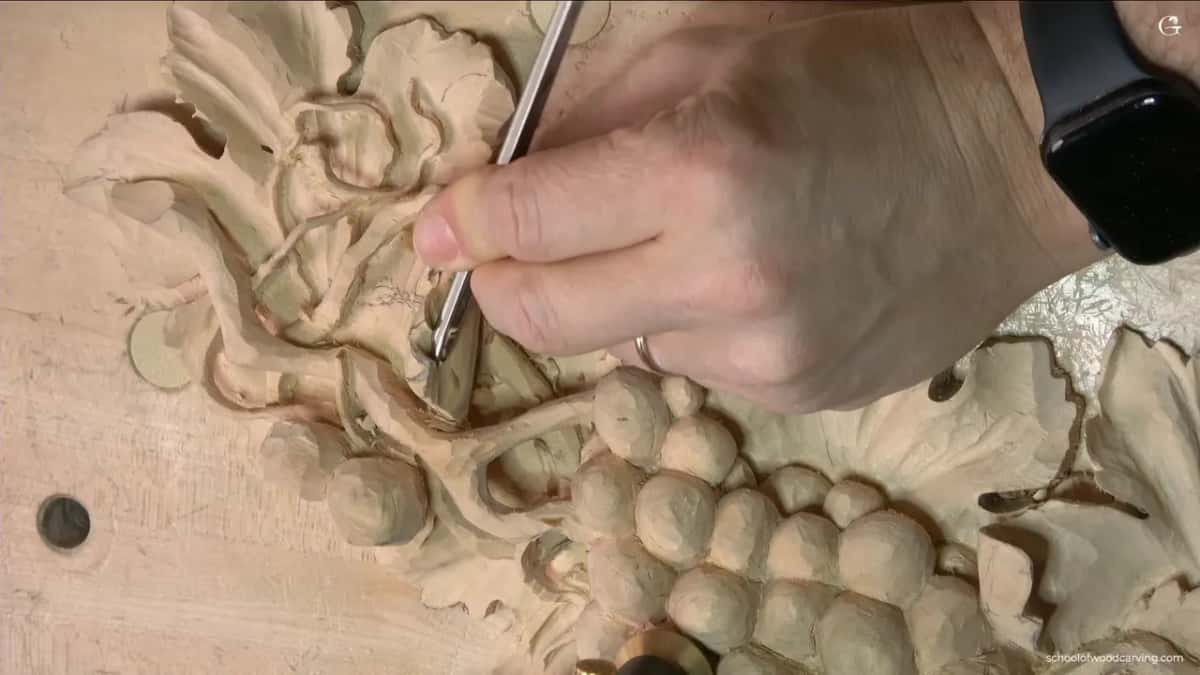
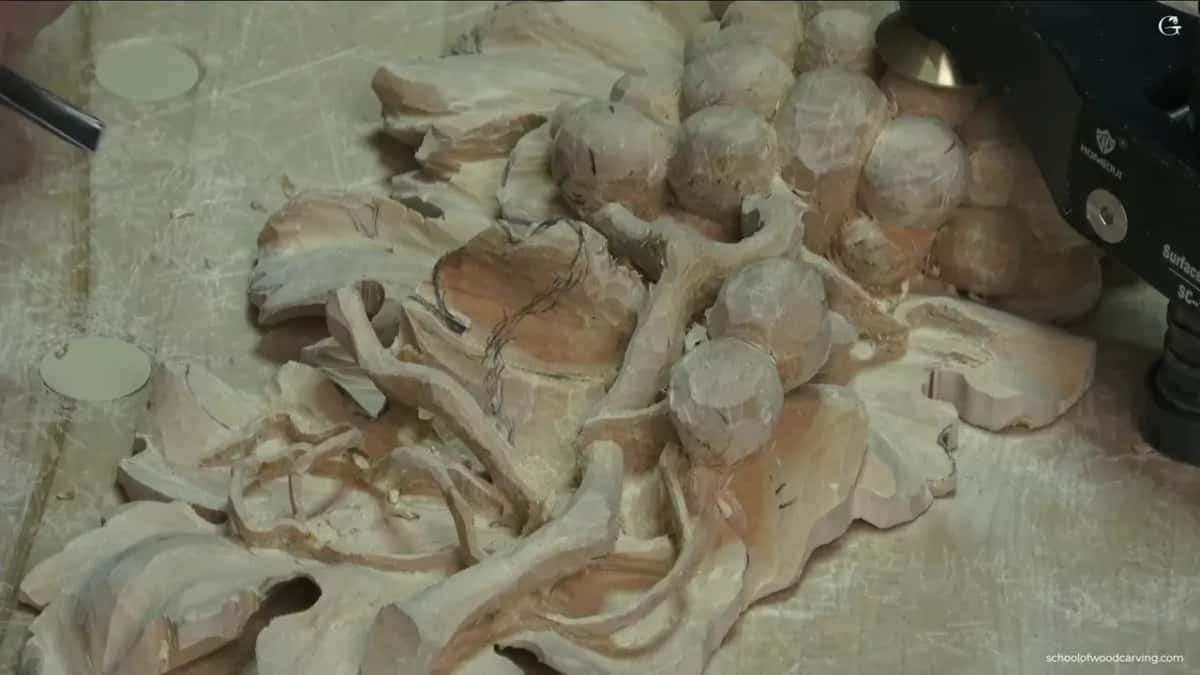
A shallow one, yes. It came before the hollow underneath. With the pencil mark there, you can see the curvature well. Take the pencil away and you don't really see that movement without any carving. So I picked up a number 7, a small one, 3/16 of an inch (about 5 mm), and made a preliminary concave on top. Not the finished one.
It doesn't have to be too deep, I said. Without that concave, you're not going to catch the motion, and I needed it to catch that shadow. Machinists have their own meaning for an undercut, a recess that a straight tool can't reach from above.
Which gouge carved the hollow, and which way did it face?
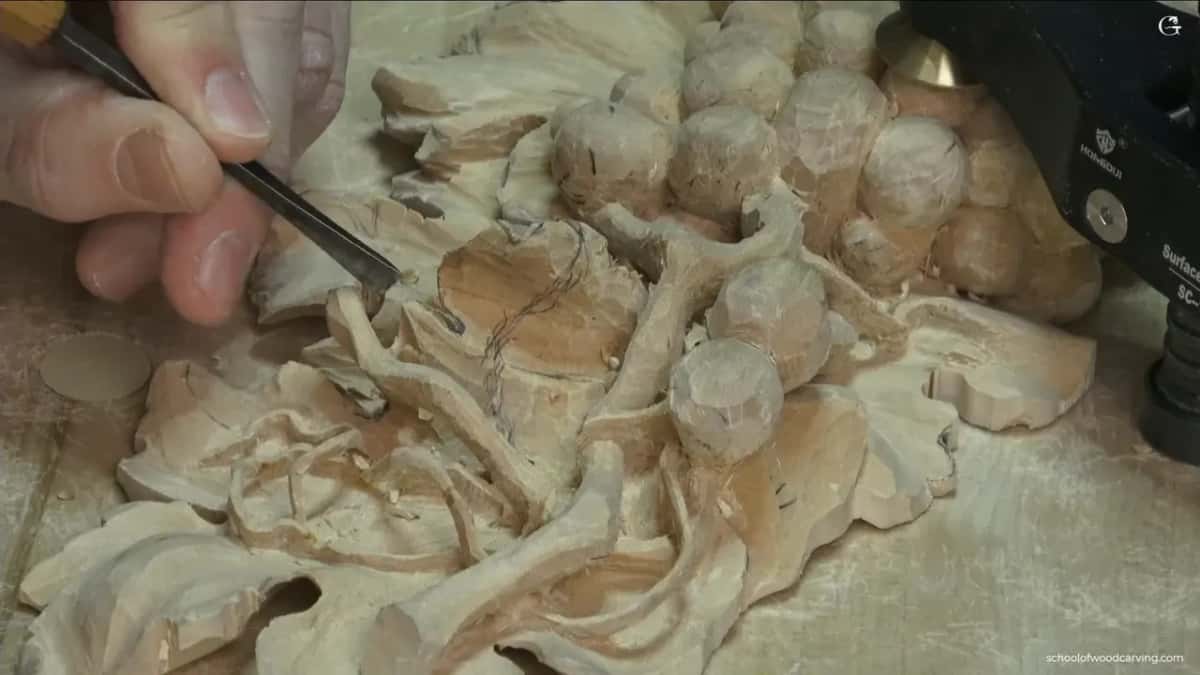
The same gouge that carved the separation. In that spot I thought the wood was strong enough for a number 3, and I used one a quarter of an inch, about six millimeters. It's an antique, a really good one, an American brand.
Because a preliminary relief cut was already in, the separation went a lot easier. Separation, subdivision, I call it both. I was slicing, not pushing, even if the camera couldn't catch it. Then, without changing tools, I turned that gouge upside down and began somewhat like undercutting. My flute was at six o'clock. If the clock idea is new, I talk about where the flute points beneath a thin stem in lesson 13.
| Tool | What it did | Where |
|---|---|---|
| Small veiner, 3 mm, 1/8 in | Relief cuts, several angles, then undercutting starts | This grape curl |
| Antique 3, 1/4 in (6 mm) | Turned upside down, flute pointing straight down | Later, same curl |
| Number 9 first, then a 7 | Convex on top, concave undercut right underneath | Modern Acanthus 4 |
| Big 11, 30 mm (1.2 in) | Concave look with undercut beneath that line | Venice Room 142 |
| Number 11, 3 mm (0.12 in) | Undercut the wall, a concave pass too | Lily Box 4 |
The first two rows are this curl. The other three come from other courses where I carved a hollow below a shape, and I'll walk you through them further down. A gouge turned over still carves; only the shape it leaves changes.
How slow should you go under a thin curl?
Slower than you think. My words were that I have to be careful just to slow the movement, and then I carved the same idea, a concave, right beside the first one.
Pushing there would be a big mistake. I said that too, tool still upside down.
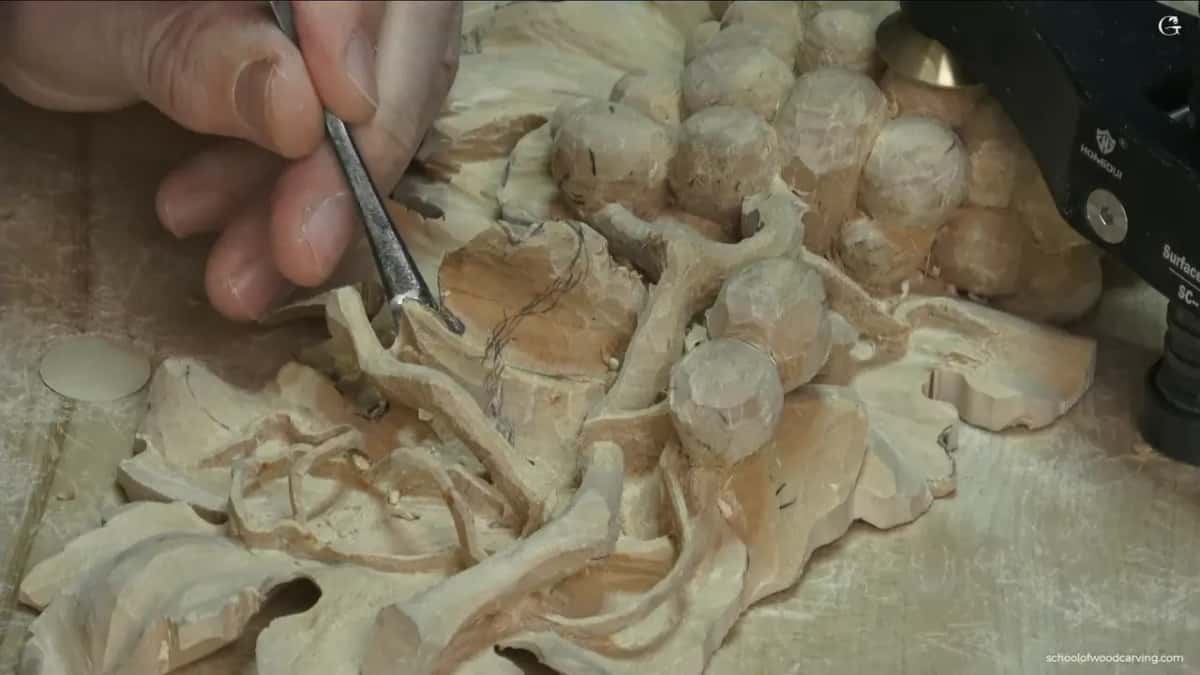
Before that, while the separation was going in, I attacked from multiple points of view and didn't force the chips out. Some of you have a tendency to hook a chip and pull it out. I do it too. Little by little is better, especially with crazy grain, and the grain here runs all over.
Down there I kept checking from different sides.
And near the end of that video, still working upside down, I could finally say it. Now I do see that shadow.
Where else did I carve a concave under a shape?
On the Modern Acanthus leaf, lesson 4. The acanthus there has a pipe on top that stays convex, a raised ridge. Right underneath it, I said, we're going to create the concave undercut, and that part is going to roll backward. In the next video I started undercutting with a number 9 and asked you, please, do not destroy the high spot. Convex, and then it goes to the concave underneath.
A number 7 came next, 14 millimeters, a little bigger than half an inch, for the rolling motion. It's better to attack that from the right position, I added. Round top, hollow bottom. Same idea as the grape curl, on a different leaf.
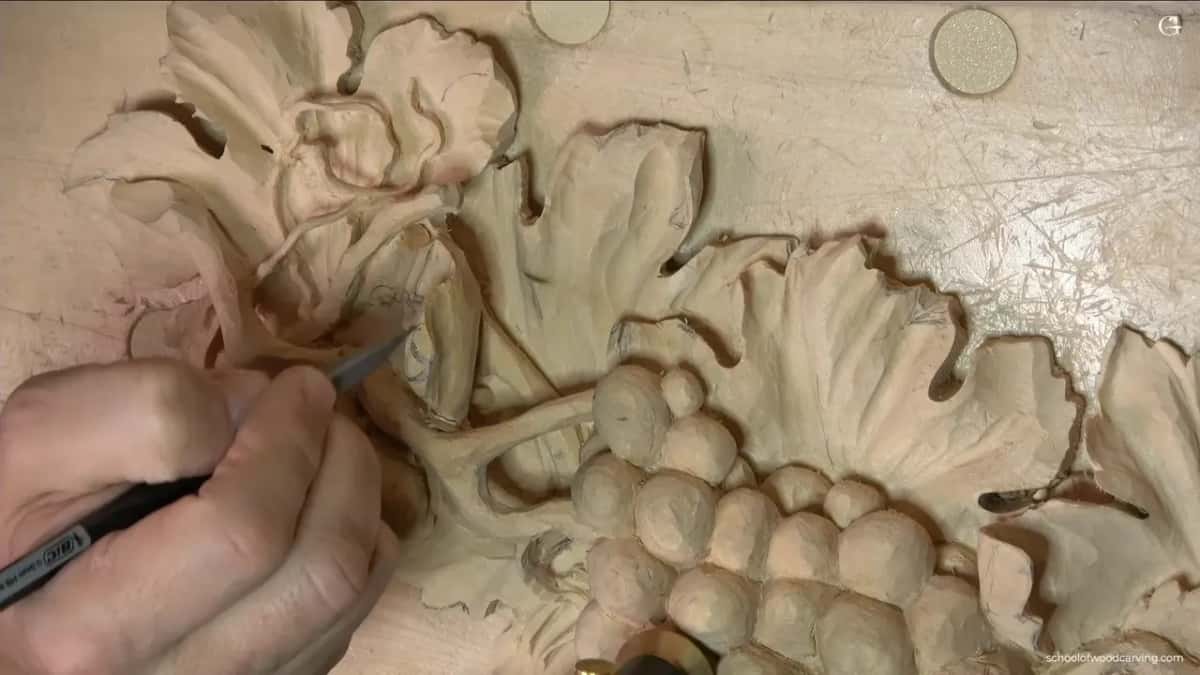
For workshop 142 of the Venice Room, I decided to lower one part and make a concave look with undercut underneath of that line. I picked up a big number 11, 30 millimeters (about 1 3/16 in), to start that concave. That part was also getting subdivisions, and the lower leaf would lie on top of a shell I hadn't carved yet, an easier one than in other areas. My hope was a lighter, more open upper part. First I said I'd get a much better result, and then, I hope.
Over on the Lily Box, lesson 4, I took a number 11, 3 millimeters (about 1/8 in), to undercut a wall, and called it a concave cut also. Later on that box, in lesson 7, I wanted a full undercut beneath one part and none at another, blending with the concave, a really nice and smooth transition between this concave and undercut. I used my tool in a really small motion there, because I didn't want to catch any of the grain. Cutting, I said, not chopping. There was a marriage line in there too, so I came at it from one side and blended.
Is a round underside ever the right call?
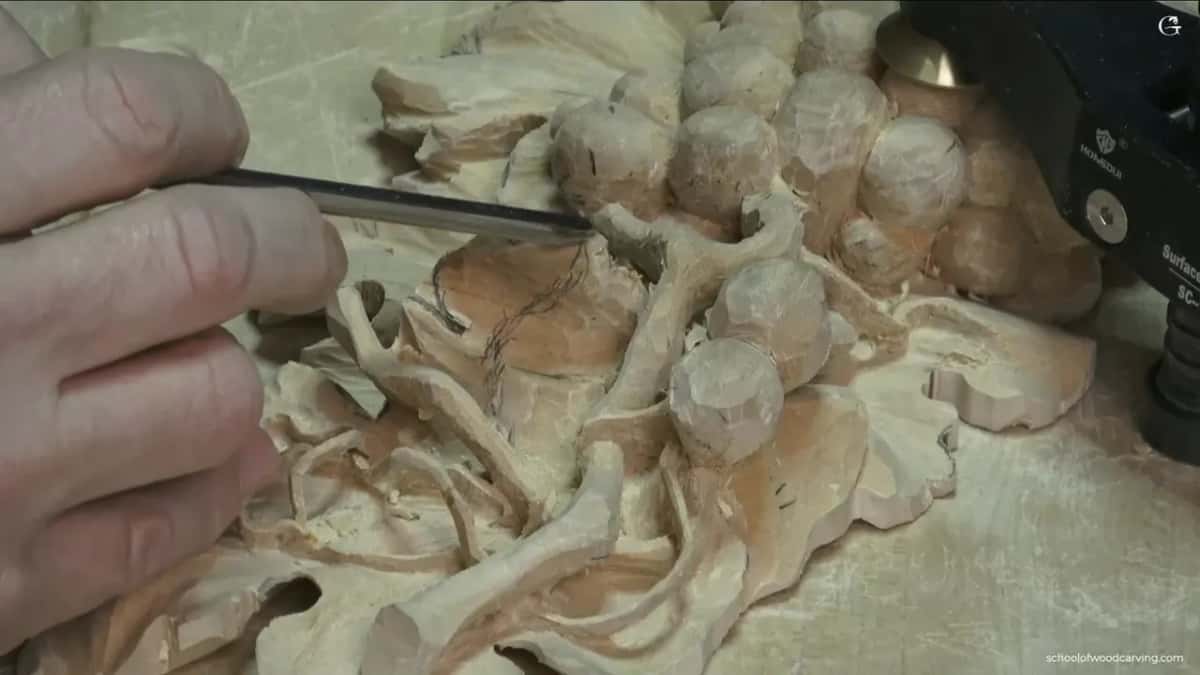
Sometimes I waited, and sometimes I called it optional. In Venice Room workshop 12, one shape didn't look good to me. I could flip it backward and undercut a little bit on the inside with the concave, but then I was afraid I would lose the overall feel. Maybe I shouldn't do that, I said. Then I changed my mind, because the flip would repeat the shell movements. Let me try to create that concave, I said, and it was going to come almost from nothing.
By workshop 73 a part was already casting beautiful shadow, and I still held off. Undercutting right then was not my plan. I still had to establish movements on that piece, so those came first.
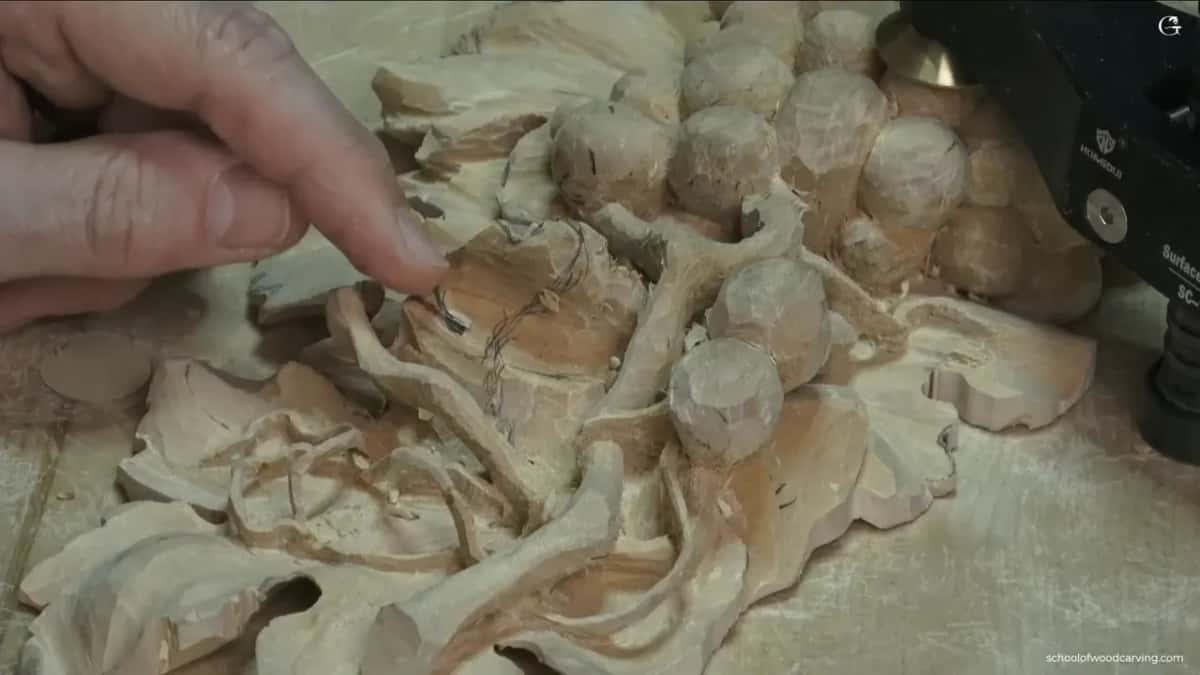
Carving the Roman acanthus, lesson 16, I said I could undercut a little bit underneath, and that I'd decide later. If I did, it was going to cast even more shadow from underneath. Light travels on its side, I explained, and the shadow gives one more three-dimensional look. Better not to rush.
And back on this grape onlay, in lesson 12, I asked you straight out, do you have to do that? Well, not necessarily. But see what I did, I made kind of a dome, so it casts a lot more shadow. You don't really have to do it, but wood carving is all about light and the shadow.
Does anyone see the hollow beneath a leaf?
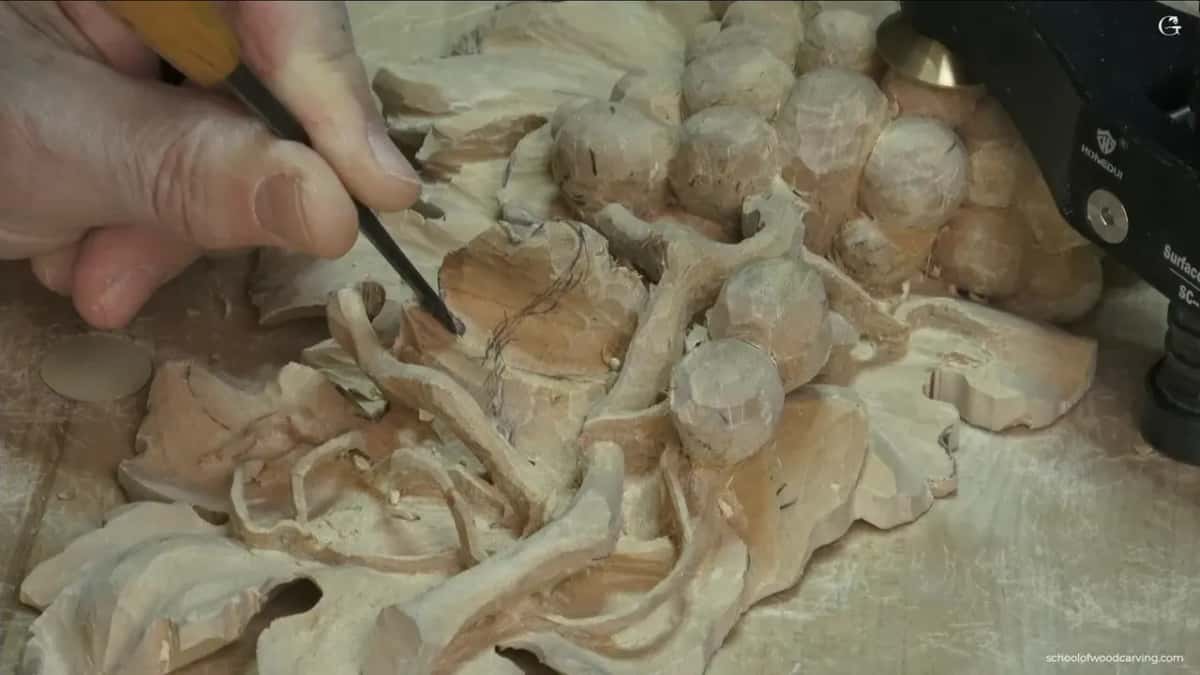
Not the one I carved on a Lily Box flower, lesson 12. It had a spot a little too thick, so I took advantage of it and made a dome underneath. That's just for the shadow's sake, I said, never going to be visible. But the shadow will be beautiful. I called it just a shadow spot and cleaned it up a little, though I said I didn't have to.
Then I added why it matters more on some boards. On darker woods it is harder to see those shadows, and the more you exaggerate them, the more separation you get.
My furniture panel, lesson 24, got a little deeper digging, not deeper in the background, but deeper inside, underneath of the leaf, to make that shadow line again. Earlier on that panel, in lesson 21, I wasn't happy with a concave yet and thought, maybe I can bring that concave underneath of that detail. I'm not going to force it, I said. You can see all that fuzz underneath. I can undercut it with the number 11 again later.
A hollow like a dome also went inside a keel of a boat cut, in Venice Room workshop 58, so it would cast beautiful shadow on both sides. Even the keel shape alone was still going to cast some shadow, I said. I didn't want to overdo it there either. Plenty of material, little by little.
What will you see in this part of the course?
About ten and a half minutes on one curl of one grape leaf. The relief cuts go in from several angles, my number 3 carves the separation, and then the same tool flips over and goes under. You also hear me say more than once that I'm not sure it makes sense, and then the shadow shows up and you can judge it yourself.
There is a new bench blower at the start, too. The lessons are open on the access page, starting from lesson 1 of the grape onlay if you like, or right at this curl.
How it's done
- Take the relief cuts. My number 11 veiner, 3 mm, an eighth of an inch, went in at several angles around the curl first, small passes, still slicing.
- Start beneath it lightly. I began to undercut in two spots, without getting excited about it, because I was after really good shadow.
- Carve the separation. My number 3 sliced the separation from more than one side, since the grain ran all over.
- Turn that gouge over. Without changing tools I flipped it and went underneath.
- Hollow it, slowly. I made a concave down there instead of roundness, slowed my movement, and did the same right beside it. No pushing.
- Check from the side. Looking from several angles, I kept going until the dark line showed.
Frequently asked questions
Why hollow the bottom of a carved leaf curl?
For shadow. Here on the onlay I said a concave beneath the curl would cast much better shadow than a rounded bottom. I kept digging slowly, looking from a few angles, until the dark line finally showed, and I told you so on camera.
What gouge did you turn upside down below the grape leaf?
In that spot I thought the wood was strong enough for an old American number 3, a quarter of an inch, about 6 mm. It had just carved the separation. I flipped it over, flute pointing straight down, and began undercutting right there without swapping tools.
Should you push the gouge when you undercut a thin curl?
Pushing there would be a big mistake, as I said on this leaf. I slowed down and sliced. Even the small veiner I used earlier took small, small passes from me, and I kept looking from different sides as the hollow went deeper.
What to carve next