
Alexander Grabovetskiy, woodcarver, School of Woodcarving · Published 2025
How do you carve a curled leaf in wood?
Quick answer: Carving a curled leaf is digging the wood out under its edge so it turns in on one side and out on the other. On this grape panel I took that wood sideways as well as from inside, sloped the hollow downhill, and rolled the edge with a flat gouge turned over until it read like an S.
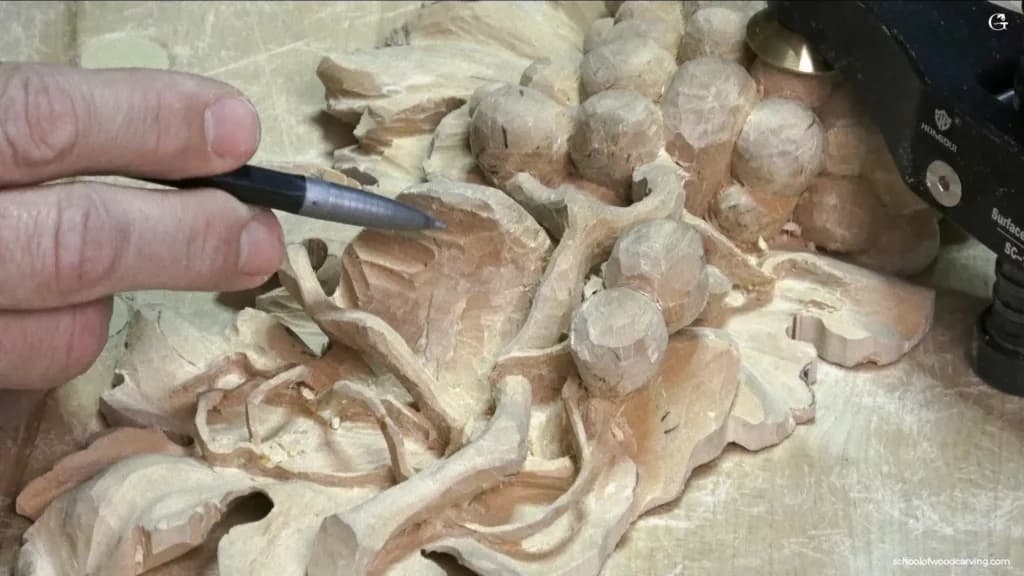
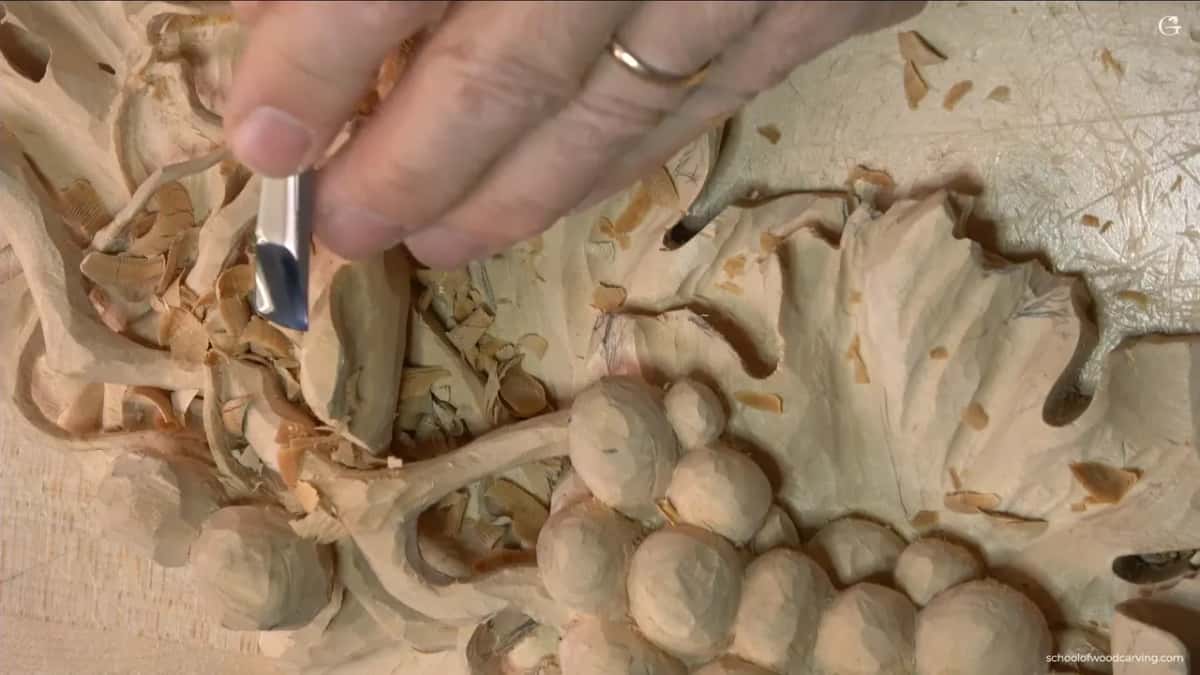
A curled leaf is an edge that turns in on one side and out on the other, with the wood under it dug from the side as well as from inside. On my grape onlay that leaf was almost done when lesson 14 began. Its curl went up. Underneath it, I had not excavated yet.

Do you want a leaf edge that seems to roll over? Would you like the hollow under it to look natural, and not scooped out like a spoon? Then start with where the wood comes out.
How to carve a leaf in wood with a curl like this one
- The wood under it came out at the side and from inside.
- One side curls in. The second side got a curl outward.
- My hollow slopes slightly downhill and doesn't follow the bench.
- Where the number 9 would hit the vine, I stopped and kept that tool for the curl's far side.
- Roughly 3 mm (1/8 in) stayed at the rim.
- The ridge came off with my number 3 turned over, and the curl rolled round.
- Checked from a few sides, the line should read as an S.
Some of you probably wonder how to take care of a curl like this and get its true look. That is the order from the first video of lesson 14. Further down are a few lines from other lessons where I did the same kind of thing.
Where does the wood come out under a curl?
Sideways first, and then from inside. Taking it only from the inside is one of the mistakes I see very often.
When people dig the whole hollow from inside, it comes out shaped like the bowl of a spoon, and to me that does not look natural. Lesson 9 is where I talk about spooning, if that word is new to you.
First came a preliminary excavation at the side, just to take out some of the material. Then the curl could go backward. I think that's a really interesting movement, and that part becomes the curling effect from the inside out, with the digging done inside.
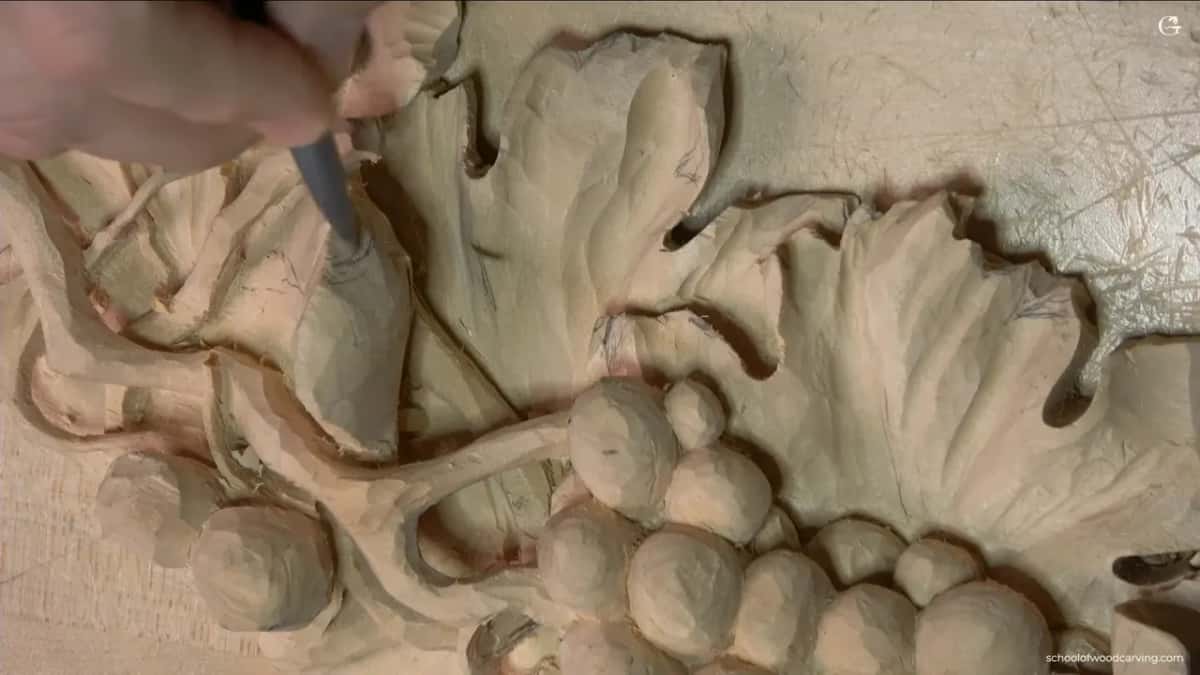
For the hollow, any gouge like a number 8 or a number 9 will work. I grabbed a number 9, 10 millimeters, three-eighths of an inch, and the brand you use doesn't matter. How big a tool you take there depends on how much you dug out before.
Some excavation right underneath was already done, though. That made the part a little fragile, and if you lean on it too hard it ends up too thin and you can break it. I slice.

And when the wood gives you too much resistance, change the tool for a smaller one and take smaller chunks. A push would put too much stress in there, so I don't push. I just feel the tool itself.
What does a curl that turns both ways look like?
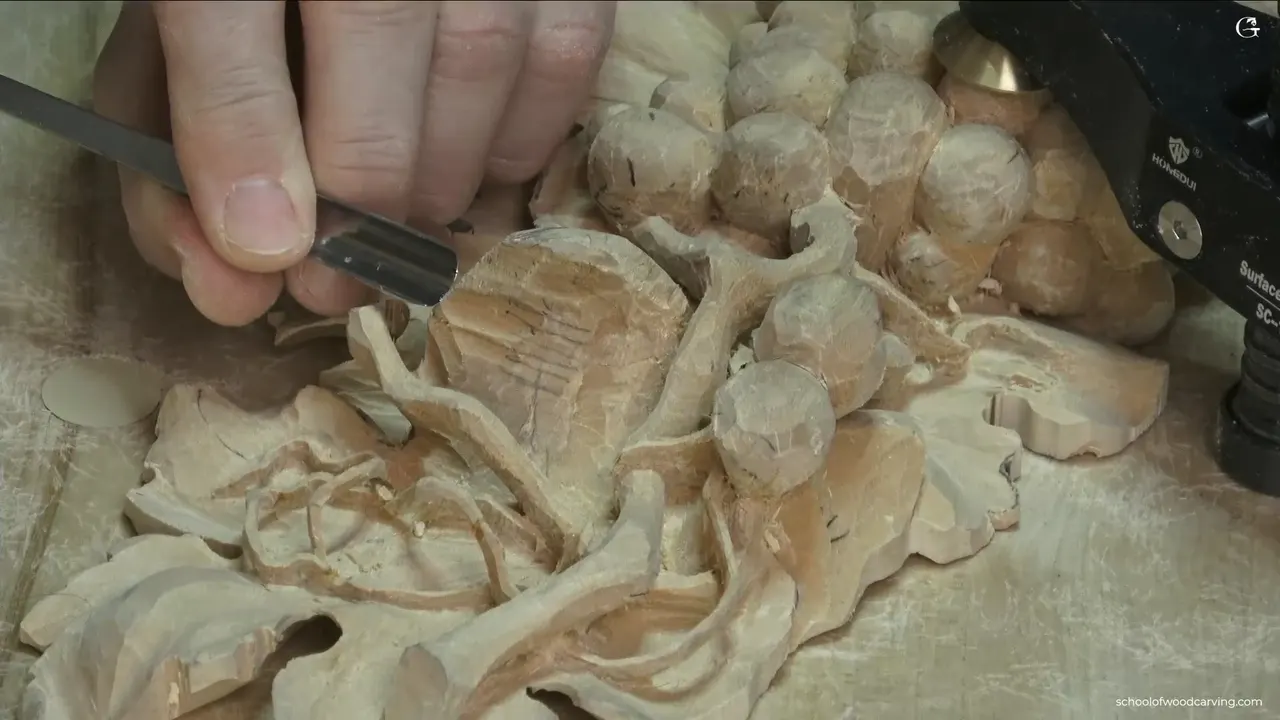
Side-on, mine curled in, and I wanted it to go in and then come back out.

I kept some material for the curl going up. Then, slice by slice, I dug about half an inch (about 13 mm) from the upper point downhill, and changed my position a little to dig from another direction.

That same curl had to happen on the second side, and here it got tricky. On camera I first called a number 9 a full circle, then took it back. Half a circle. On that side the edge of my tool was going to butt against the vine, so it wasn't suitable there.
I stopped right there, and I kept the same tool. Instead I went to work on the other side of the curl with the same idea. Where the first side curled inward, this one got a curl outward.

I kind of like the curliness. I don't really have to carve it, and the leaf already looks really nice without it, but I think it gives some extra movement and some extra detail. Little by little, without overdoing it. Slicing matters most.
Should the hollow run parallel to the bench?
Mine slopes. I want you to understand that I didn't carve it parallel to my workbench, and it goes slightly downhill.
Whatever I had on the first side, I repeated on the second, and on that side it doesn't run level with the bench either. It goes somewhat down.

What thickness did I leave at the rim?
About an eighth of an inch, about 3 millimeters, is what I aimed for. It doesn't have to be one millimeter (about 1/25 in) thin.
Below that it gets kind of fragile, because the grain runs this direction, and I want it to stay in one piece later. Earlier in the same video I had no more than 3 millimeters left at one point, 1/8 inch only, so I had to be mindful not to dig too much.
On details like this, sometimes it's a good idea to pick somewhat smaller tools. You remove a lot less material with them, and I would say they are kind of safer. Lesson 13 shows how I hold a gouge for fine detail.
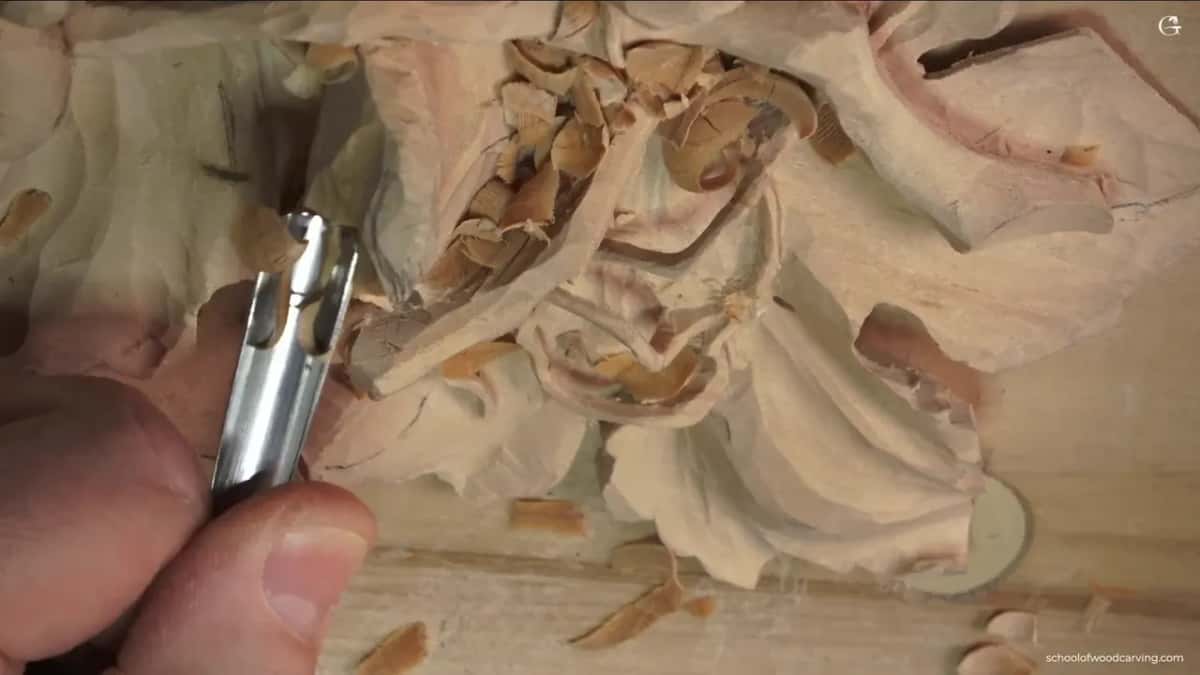
Be careful not to damage what you already carved. All of those thin parts are fragile, and some of them broke on me just because I set the piece down in the wrong spot while I was busy with something else.
Rolling the curl round with a flat gouge
When I thought the curl had enough, I needed something flatter. Maybe a number 7, or even a number 3, would probably work, and I took the number 3.
Mine is actually equal to a number 2. About half an inch, 12 or 13 millimeters. Upside down, it makes a roundness and gets rid of the ridge.
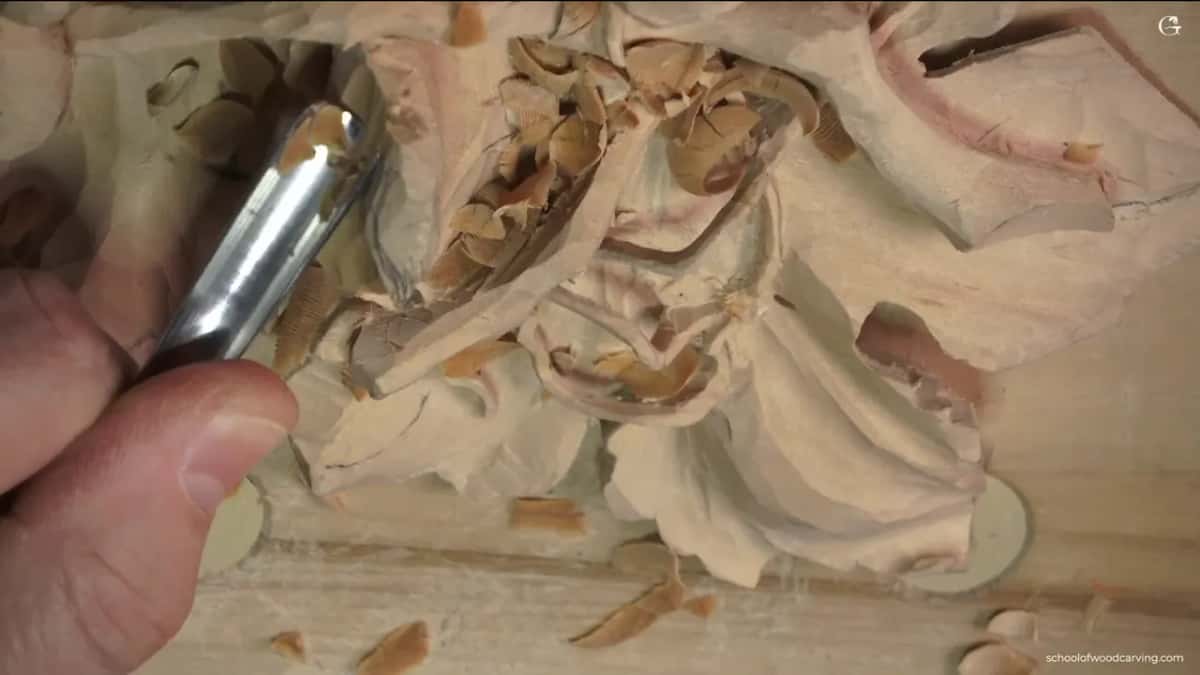
Be careful how you attack there, because every extra pass makes that edge more fragile. It looked like the tool needed the strop slightly, and then, a slice at a time, I rolled it, shaped all the sides and blended them at the end.
For a moment I thought one spot needed a smaller tool. Maybe I'm okay, I said. Then I went after some of the facets, without pushing too much.
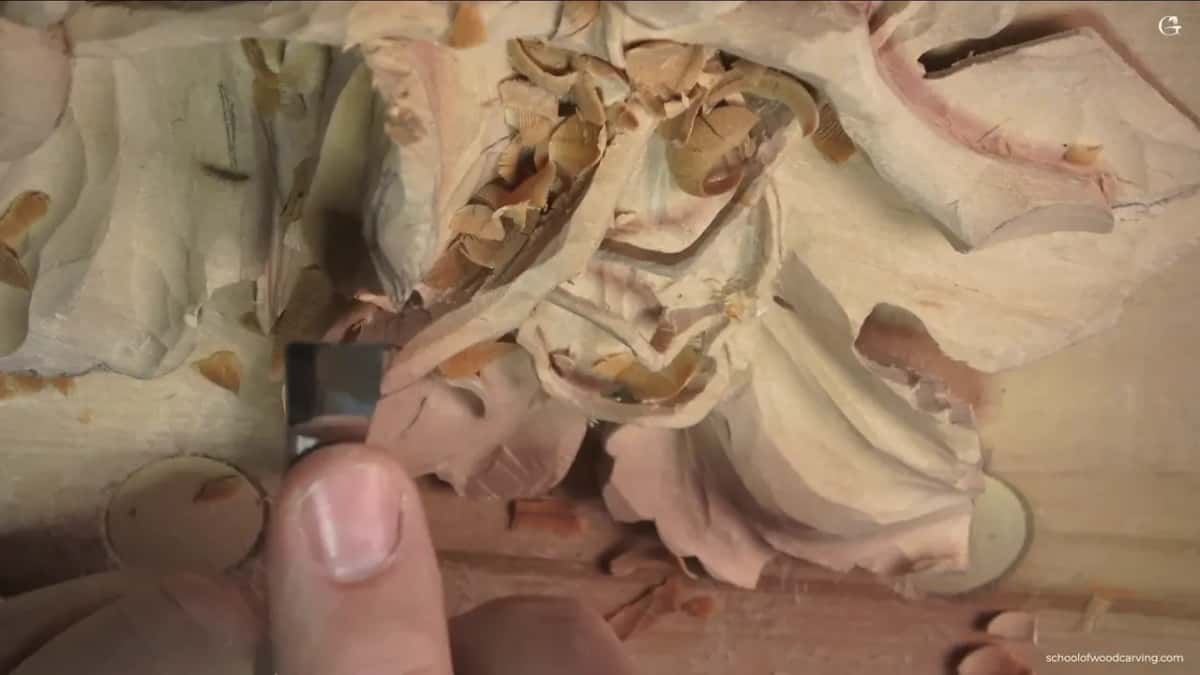
With the outside done and looking right to me, I moved over and rolled it from inside outward, the same idea.

I could have rolled it even more uphill. I think that would be too much, so I just blended it. A few areas meant working against the grain, and with a sharp tool that isn't a problem. Mine was really sharp.
What did I do near curls in earlier lessons?
Mostly I held back. In lesson 1 I didn't take too much material in one spot, because a leaf there was curling upward and I wanted room left for the grapes. Lesson 5 had one part I kept slightly raised, since it would curl up, and I was really careful there.
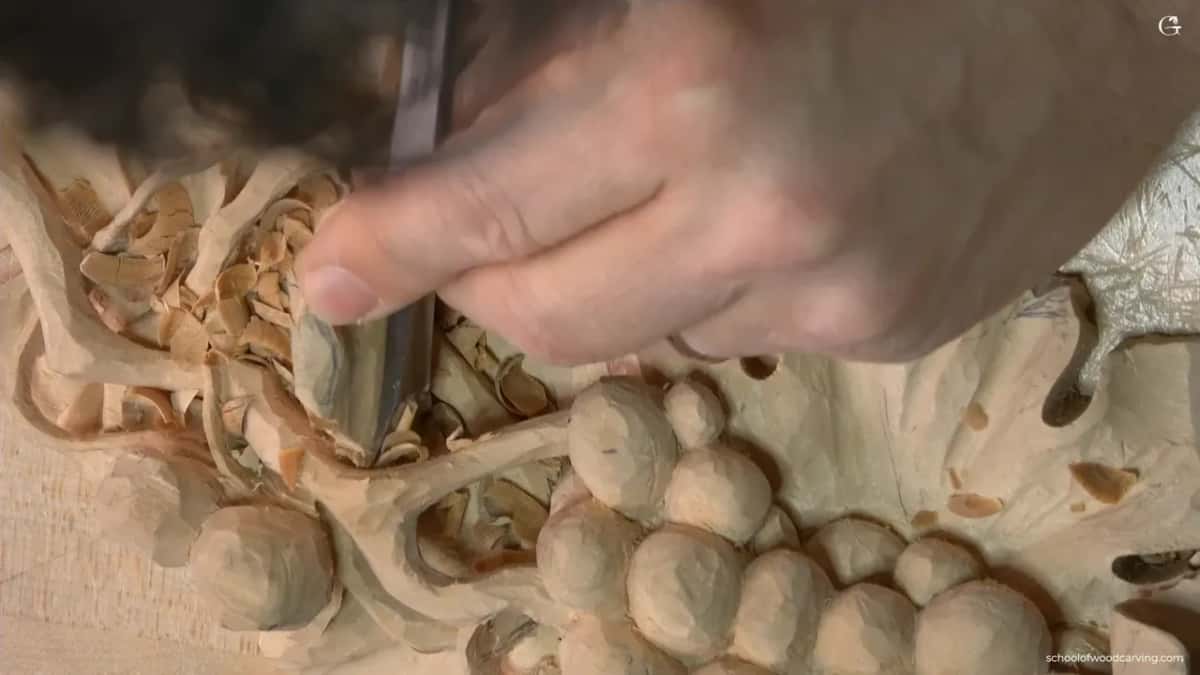
Lesson 3 is where a line on the board marked a leaf curl with grapes right underneath it, and I didn't dig there right away. That leaf was going uphill, and some material was already gone from one side. Digging on the side then would have made too much stress, and I could break it off.
I got a little smarter, then, and outlined it with a number 11, 4 millimeters (about 5/32 in), to relieve the stress.
A wall stayed beside my left-hand leaf in lesson 6, because I didn't know yet what shape it would get. A leaf there, not finished yet, already had a curl that just curls back, and I said I would introduce those curls all around.

Do other carvings curl back the same way?
A V tool went in first on my acanthus leaf in lesson 8 of the Roman acanthus course, to relieve the stress. Two ridges had to go after that. The number 5 took them lower, and that wood became part of the curl back.
Once the undercutting starts, I said there, you see much more shadow, and what we're doing makes much more sense than it does at that stage. A couple of light cleaning passes along the edge followed. Don't overdo it.

My Chamomile and Bow Rosette had certain sections I kept on purpose, because each one would curl back, the same as the one before it. Next came a slightly smaller number 11, 3 millimeters (roughly 0.12 in).
On my Hashemi flowers panel, in lesson 12, one part goes from underneath, grows uphill, and then curls backward. I know it's kind of confusing at first. Right then I can't take really heavy passes there, because the piece becomes more fragile and I can easily break it. Later in that lesson one curl back was going to be a high point, so an acanthus movement had to stay lower than it and go downhill a little more.
In lesson 47 of the same course I said you can call that part a curl backward, and it's still accurate, because it does curl backward. Its ridges I blended a little, though I don't have to. Leave them if you wish, it's up to you, because those ridges create a beautiful movement too.
A small flower on my Floral and Molding panel got a number 9 of 1/8 inch (roughly 3 mm) on the inside, and then an even smaller tool. That one says 1.5, in millimeters (close to 1/16 in), but it's not 1.5. It's much smaller, one millimeter (about 1/25 in). Then the curl. It just curls backward and goes all the way underneath, and one more small concave went into that section, really small but still beautiful.
A small curl on the Cabernet tray wasn't comfortable from my position, so I rotated the piece. My plan was a bigger tool for now and a smaller one after. With the number 9 I started on the right-hand side of the tool and finished almost upside down, really slowly, almost like dancing with your body.
That curl repeated a bigger movement on a much smaller scale. Again I used the golden ratio, 60 and 40. You don't have to explain to people why you did it that way, and it is a lot more pleasing to the human eye.
Later in that video another small tiny curl took just a number 11, 3 millimeters (about 1/8 in), with tiny passes. On one side I used it pretty much like a number 3, because the number 11 is a wonderful tool, and that small curl was already giving it a little different twist.
Whether to carve a curl at all is its own question, and in workshop 73 of the Venice room I made that call four times. A petal can curl backward too, and lesson 8 of Acanthus over Moldings has one.
Which gouges did the curl take?
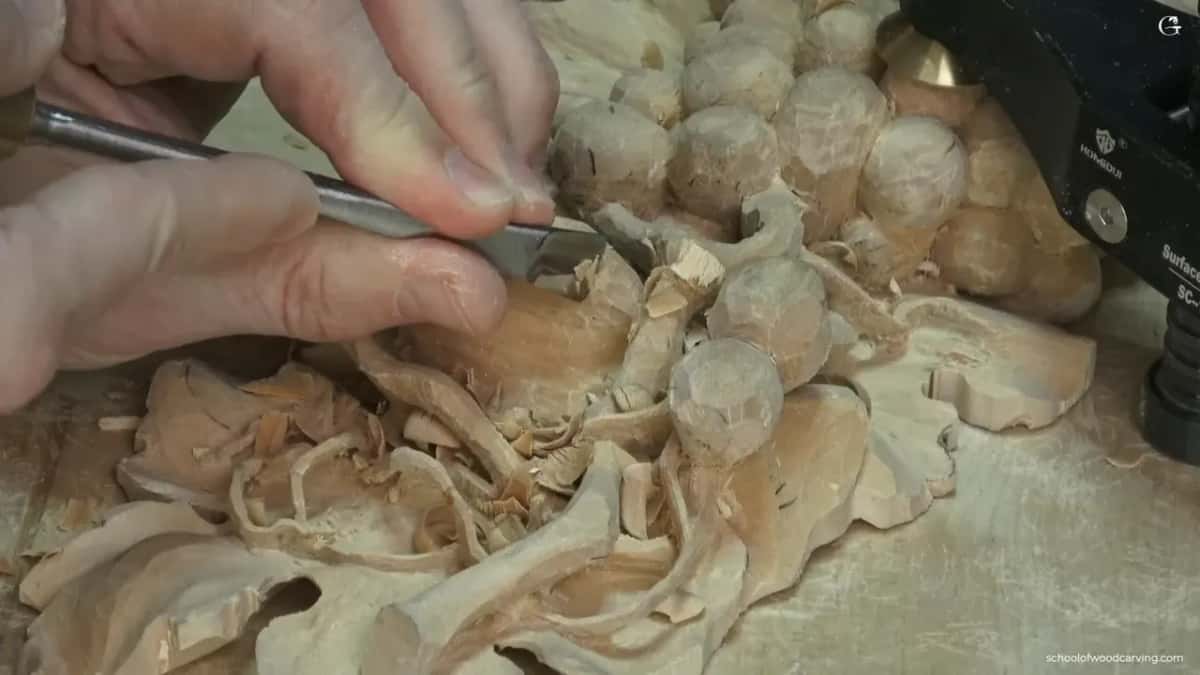
Here they are in the order they came out on this grape onlay, which is relief carving on its own board.
| Tool | What it did | When |
|---|---|---|
| Number 9 gouge | 10 mm (3/8 in), sideways, then inside | Start, this side |
| Same number 9 | Edge would butt the vine, so stopped | Then, far side |
| Shallow number 3 | Turned over, it rolled the ridge round | After the hollow |
| A strop, briefly | It needed stropping slightly before more rolling | Middle of rolling |
| Smaller tools, sometimes | Remove a lot less material, so safer | For fine details |
Does the curl read right from every side?
Look from different points of view and see if something needs a fix. My curvature wasn't that nice at first, and I fixed it.
Like a letter S, that's what I'm after. The English painter William Hogarth called that kind of S-shaped curve the line of beauty.
On the Cabernet tray I looked at a leaf curl late, around 11 o'clock. All day long it had made sense to me. After I walked away for a while and came back, that part of the leaf didn't really show its curl, and from above it didn't make too much sense.
My idea was to chop a section of it away and expose that curl a little more. The plan was a number 9, though a number 11 could probably work too, in small bites. And no in-cut with a number 2 right away, the way most people try it, because you will damage it. Relief first.
Next come the subdivisions, all those notches. They matter on this leaf too, and lesson 8 shows how I subdivide a grape leaf.
If you took my class in person, you know it bugs me to see someone shove the whole tool in, without turning it and without slicing. A leaf like this has no end, really, in wood carving. You can keep adding detail for as long as you wish.
Would you like to watch that half circle stop short of the vine, and the S come up on the other side? The full lessons cover the whole grape onlay, first video through the last, a piece of ornament you carve with me.
How it's done
- Open the side first. I start with a preliminary excavation along the side, then go inside, so the hollow doesn't come out like a spoon.
- Leave wood for the curl. I keep some material for the curl going up and dig from the upper point downhill.
- Slope the second side. The other side gets the same curl, sloped somewhat down, not parallel to my bench.
- Switch to the other side. Where my number 9 can't clear the vine, I stop and come at the curl from its other side, same gouge.
- Roll the ridge. Turned over, my number 3 makes a roundness and takes off the ridge. After that I roll from inside outward and blend.
- Check the S. I look at it from several sides and fix the curvature.
Frequently asked questions
What makes a carved curl look scooped?
Digging the whole hollow from inside. I see that mistake very often, and it leaves a spoon effect that doesn't look natural to me. For this leaf I went in along the side first, slice by slice, and only after that inside.
Which gouge digs the hollow under a leaf curl?
A number 8 or a number 9 will work, and on this panel I took a number 9 of 10 millimeters, three-eighths of an inch. The brand doesn't matter. How much you dug out there before decides the size, and when the wood resists too much I go smaller.
Why did your number 9 stop partway around the curl?
My number 9 is half a circle, and on one side its edge would run into the vine. So I stopped right there and kept the tool. I worked the curl from its far side instead and gave that side a curl outward.
What to carve next