

Alexander Grabovetskiy, woodcarver, School of Woodcarving · Published 2024
Should you carve a grape too big or too small at first?
Quick answer: Starting size for a carved grape is best kept a little on the big side. On my grape onlay I said a slightly big grape is no problem at first, while one made too small looks like a berry after cleanup. A small grape goes where a tight spot or an open area asks for one.
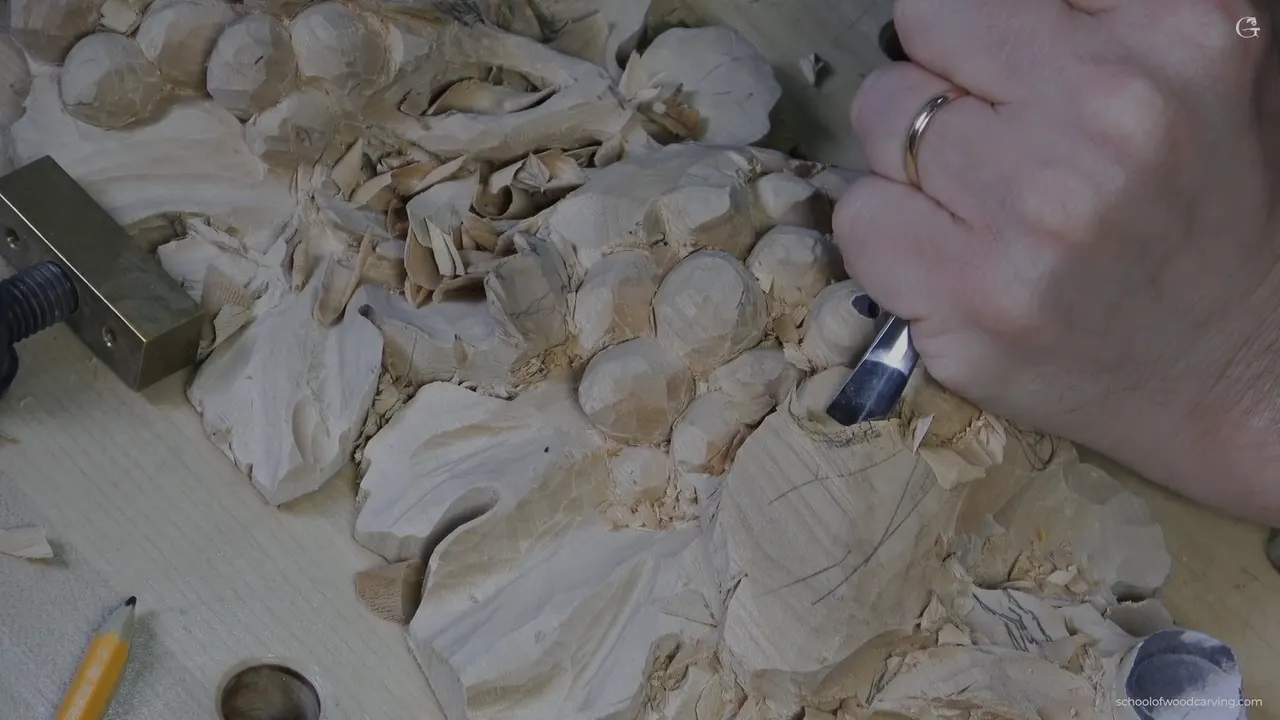
The right first size for a carved grape is a little too big, rather than a little too small. If a grape comes out a bit big early on, that is no problem, since you can still take more off. Small is another story. After the cleanup it passes for a berry, and the wood you took off does not go back on.
That is my answer on wood carving grapes. This part of lesson 2 of my grape onlay, a relief carved on its own board, is where you watch it happen, one spot at a time.
Does a real bunch of grapes come in more than one size? Is it easier to take wood off than to put it back on? Then start each grape a little fat, and save the small ones for the spots that ask for them.
This part runs about fifteen minutes, and most of it is blocking in. Four times the wood shows me a spot, and I say out loud what size goes there. You get the sizes I aim for, where the small grapes went, and the two warnings I gave about the room around a grape.
Grape size on one bunch, in five lines
- If it starts too big, you can trim it later.
- Made too small, it turns into a berry once everything is cleaned up.
- Leave some space for the cleanup.
- Small grapes belong where the space asks for them, in a tight corner or an open patch.
- Stop short of the next grape's wall.
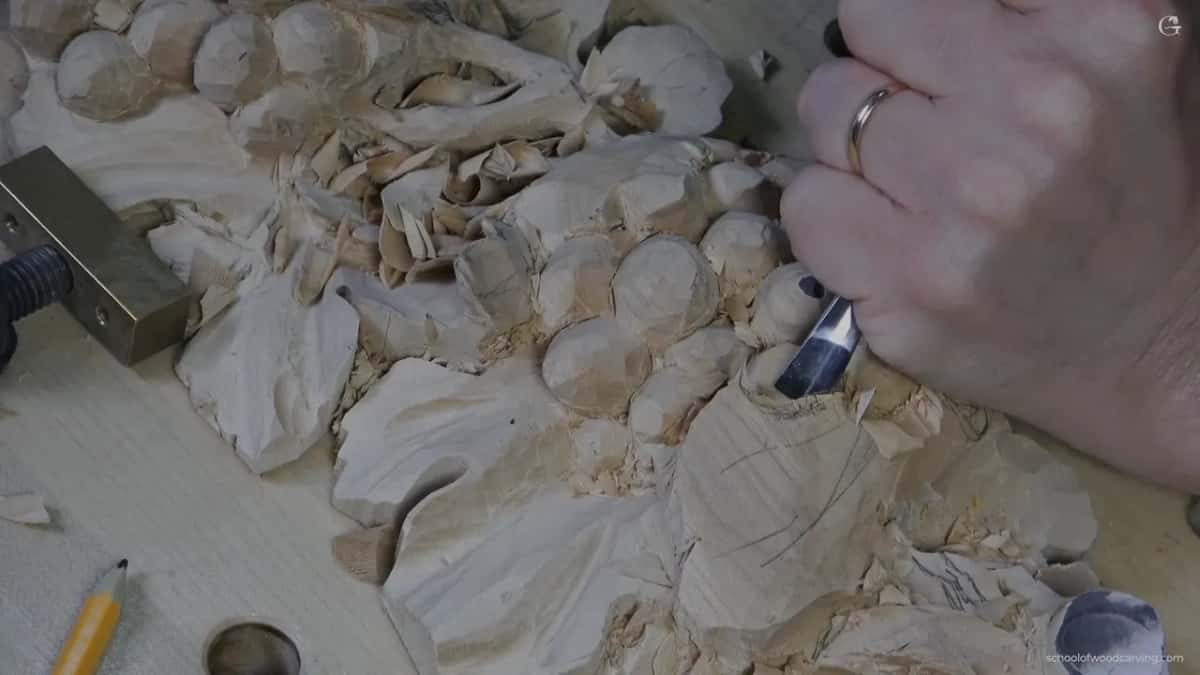
Why does a grape carved too small look like a berry?
Too small, and a grape has nothing left to give when the cleanup comes. Early in this part I told you straight: don't make those grapes too small, because once you clean up everything they'll look like berries. I said it twice, just to make sure you don't make them too small. You really need to leave some space, some room, for the cleaning up.
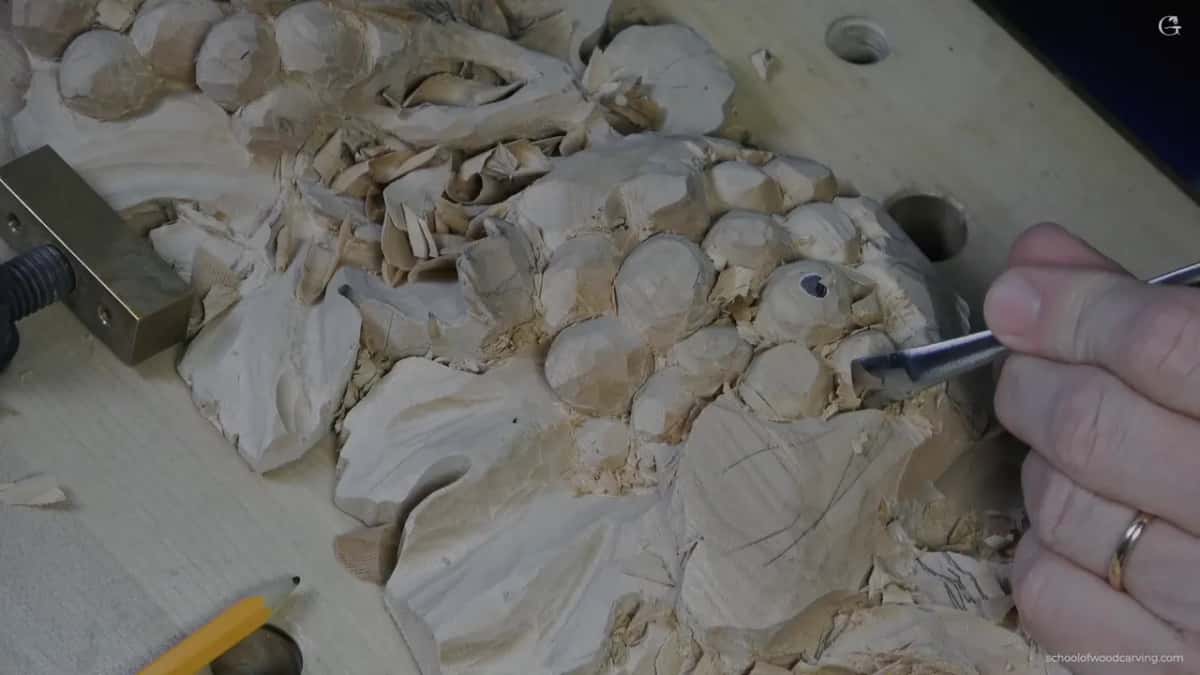
Botanists call the fruit of the grapevine a berry anyway, as the Wikipedia page on the berry explains. On a carving the word means a dot too small to read as a grape.
It came up again in lesson 3 of the onlay. Don't make those too small, by the way. It is a common mistake, when people get too excited and just chop too much, too quickly.
I put it a third way on the Cabernet Sauvignon tray. As far as size goes, I am looking at the overall composition, and I try not to make small berries, because they won't look like grapes. The tray is named for a wine grape, Cabernet Sauvignon.
Is a grape that comes out too big a problem?
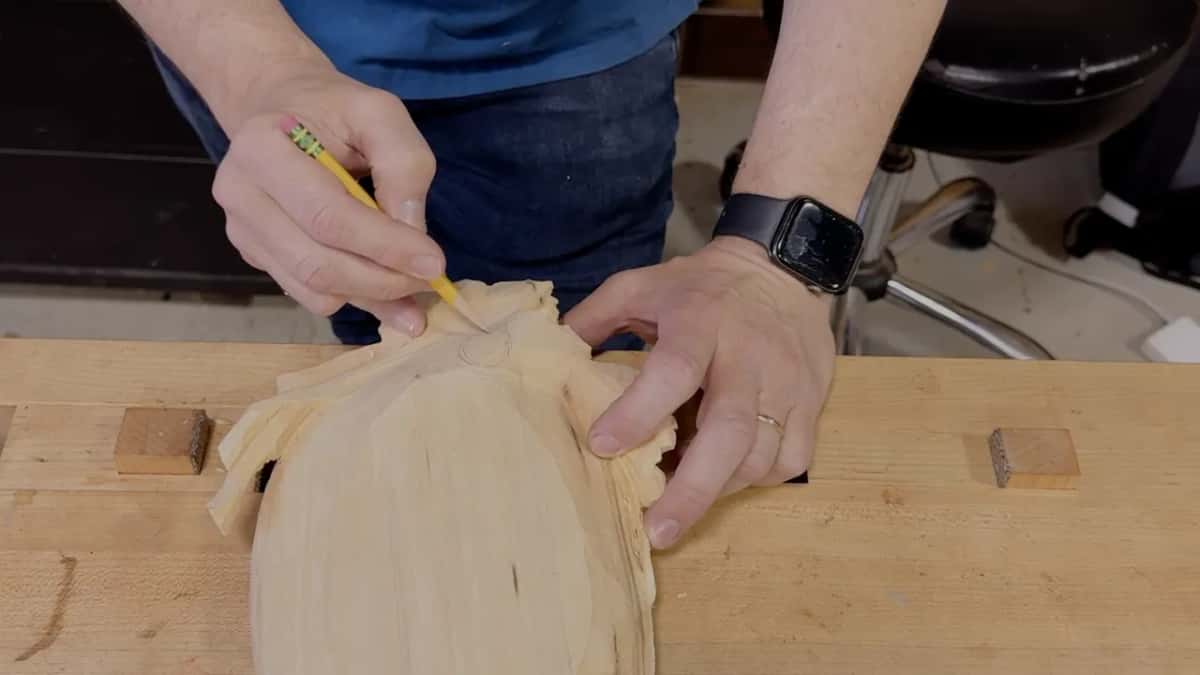
A grape a little too big at the beginning shouldn't be a problem. That is lesson 3 again, later in the same video. You can always chop a little more and clean, so it does better to leave it bigger than smaller in the first carving step.
Big can be fixed with one more pass. Small asks you to add wood back, and that is the hard part.
The Cabernet tray had it from the other side. When I set a grape there, I wanted an extra large one for now, because I can always make it smaller later. All of my hazelnuts on the hazelnut panel stayed a little bigger, too, and I said that if I messed something up, I could always go back and refine it.
Working on the floral and molding panel, I said I didn't want to rush it. There is no reason to, and even with a deadline, rushing is not really a good thing. Then came the line that holds all of this. Woodcarving is an art of subtraction, and once you take too much, you can't put it back.
The Wikipedia article on sculpture files carving under subtractive techniques, the ones that remove material from a block of stone or wood.
How big should a carved grape be at first?
On my Cabernet tray I aim for near an inch (25 mm) at the start and about three quarters (19 mm) at the end. Nothing in this part of the onlay gives a number for a grape, so the figures here come from two other pieces.
There I try to get them "at least like an inch at the beginning, little less, maybe seven eighths to three quarters of an inch." By the end they come down to three quarters (roughly 19 mm), and once they are cleaned, that size looks good in carving.
Thickness came into it, too. Before I set that extra large grape on the tray, I checked how much thickness I had, and up to that point I had plenty. Right after giving the sizes I added, keep an eye on how much thickness you have.
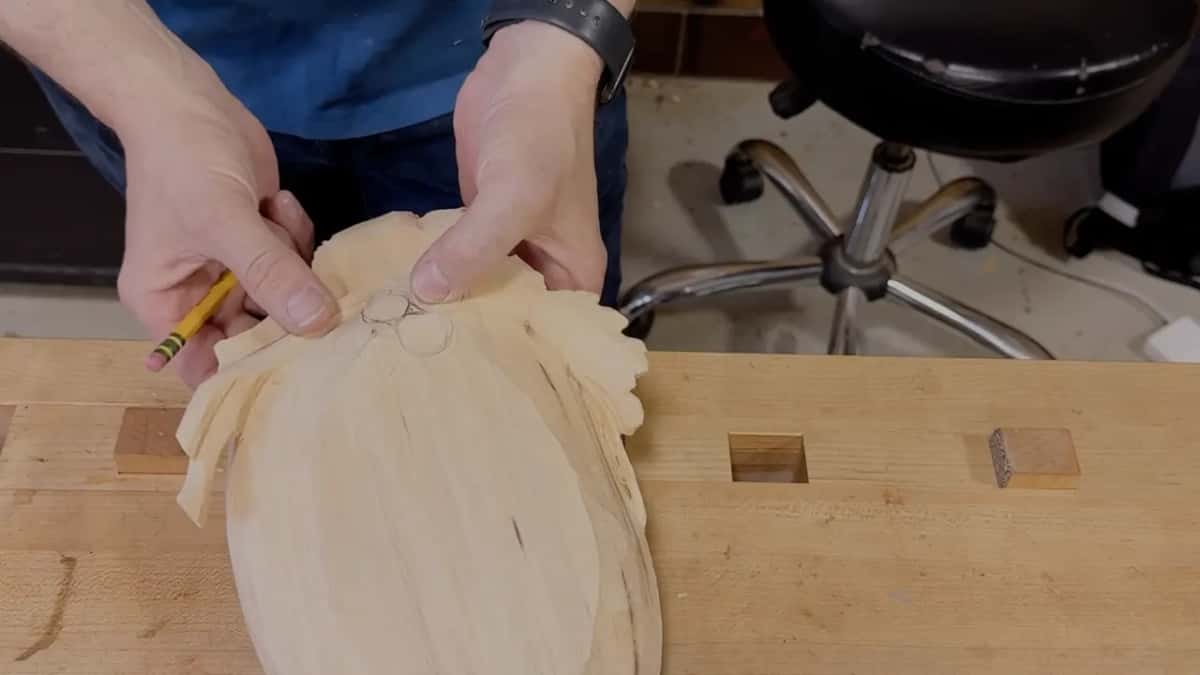
The hazelnuts tell the same story. Their final width was set at 3/4 of an inch, about 19 millimeters or so. Still, I wanted to keep as much wood as I could right then. From either side I looked, I needed at least 3/4, and one inch, about 25 millimeters, was better. You can always make it smaller, I said, but it is going to be hard to add on.
Two pieces, one finished size. A hazelnut is no grape, yet on both I wanted it big while it was rough.
How does a triangle tell you where a grape goes?
A triangle marks the point where grapes meet. Once one is in, I can easily set the grape around it. About fifty seconds in I could see a really good spot for the triangle, so I put that in. Later I found another one and said it meant I could easily set that grape.
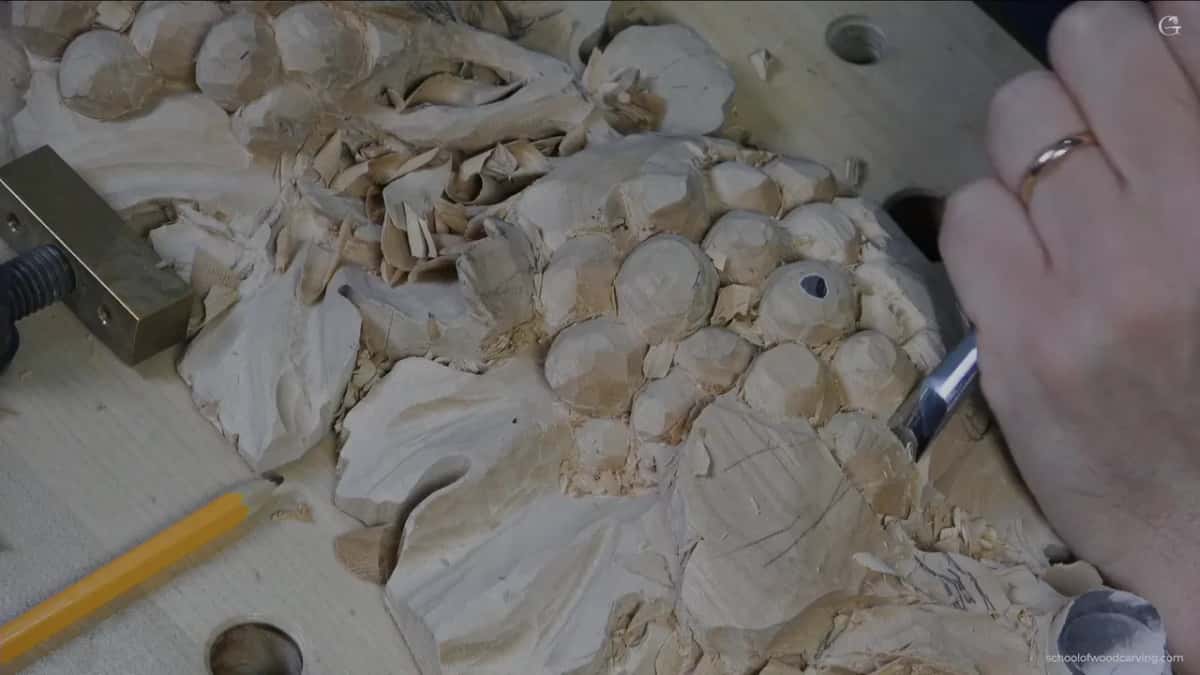
A junction does not always cooperate. At one spot I thought I would get my triangle, and it turned out to be a square, which I have said many times to try to avoid. It's all right, I said, and I would put that connecting point closer to this grape.
Early in one part of lesson 3 I pointed out three triangles in a row.
Where does a small grape go in a carved bunch?
A small grape goes where the space asks for one, and in this part the space asked four times.
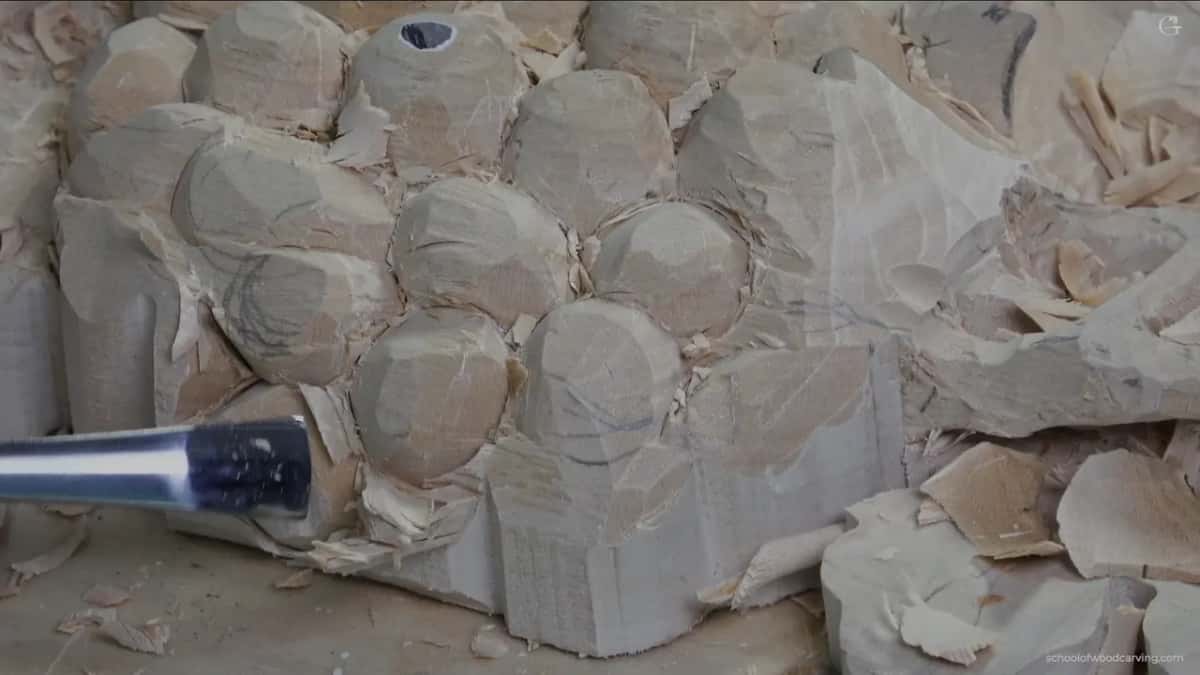
About five minutes in I found a troubling area. Just before it I turned things around so you could see better, and told you I was still in that same spot, so you would not get lost. I could still fit my triangle section there, and that meant a smaller version of the grape. A few minutes later I saw a good place for a small grape, and said one could go right there.
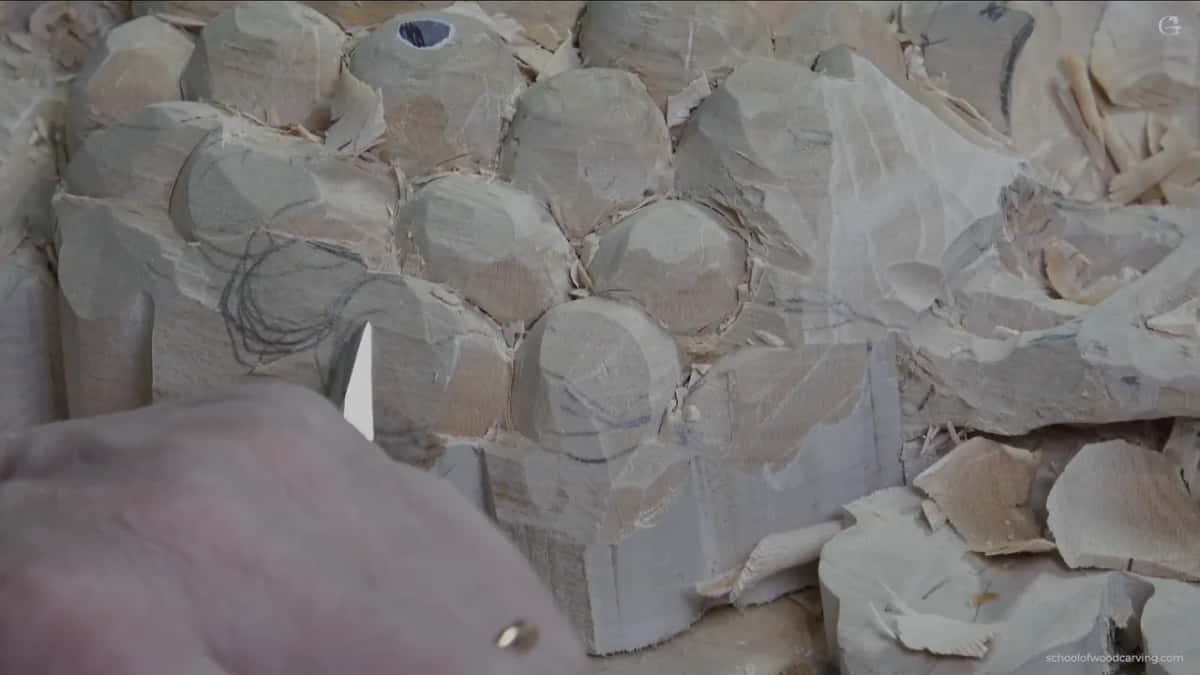
After I moved the camera to the other side, I kept the direction of the bunch in mind and set a grape that way. Beside it a smaller grape would go.
Near the end I saw a big area and said I could probably put a couple of grapes there. Then I said I would probably just do a small one in that section, a really good area for the small one.
| Moment | What the spot looked like | Result |
|---|---|---|
| Five minutes | troubling area, yet room for my triangle | a smaller grape there |
| Eight minutes | another good spot, right for something small | one fits, I said |
| Eleven minutes | direction of the bunch kept in mind | smaller grape beside it |
| Twelve minutes | vines going under the grapes, same bunch | some came down then |
| Fifteen minutes | big area with room for a couple | probably one small grape |
In lesson 1 I saw a place for a small one too. It was a really good spot for the small, and I said that even if I lost some of my leaf, which is absolutely fine, I would still probably put that small grape right there.

The wood itself does the deciding, I said in lesson 3. Those big passes from the blocking in dictate the position of the grapes.
Leaves follow the same rule. One side of the vase with grape leaves was filled and a space was left on the other. I had big, small and medium size leaves to fill it with, and I went with a medium one to tie everything together.
Does a small grape sit lower in the bunch?
On the bunch in lesson 3 it did. A smaller grape would go there, I said, and like in real life it has to be a full, three dimensional bunch of grapes.
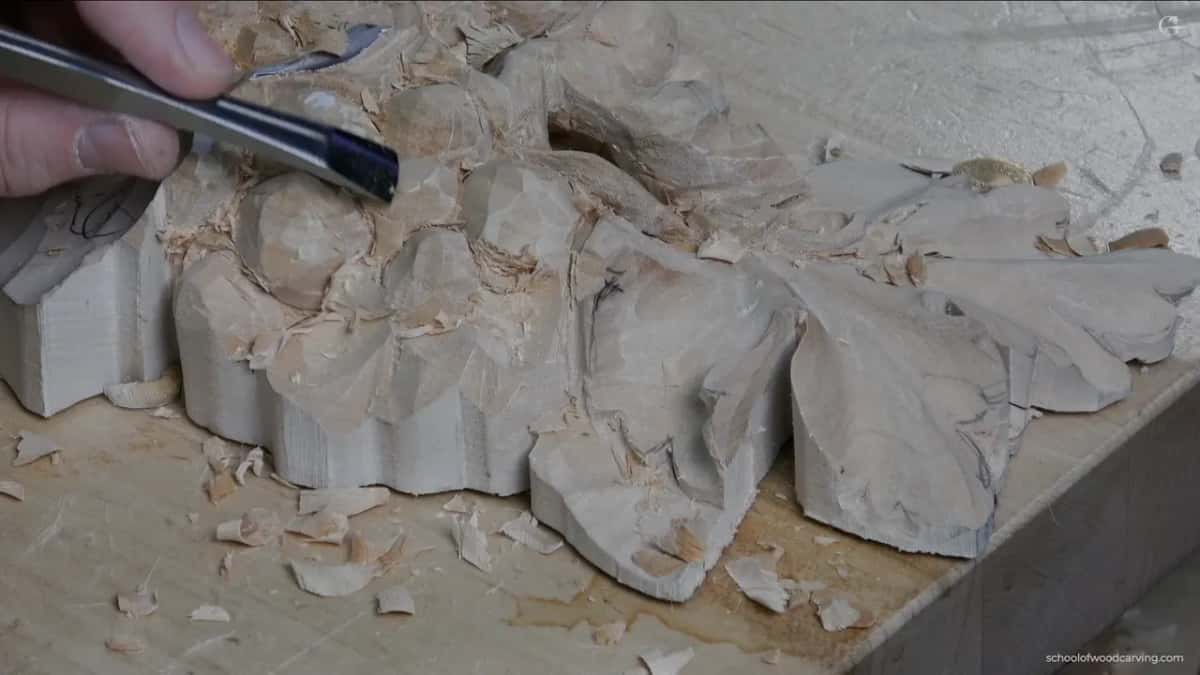
Then I looked at how much material I had, and how little was left for one grape. That one could probably come down a little lower, I said, so it looks like it goes all the way. A minute later there was space for a lower one, the small grape, and I counted the layers. One, two, three, almost.
What do you do when a grape is getting too big?
On lesson 3's bunch I took wood from its side. I didn't want one grape to get too big, so I undercut it slightly in both directions and excavated right on its side, maybe with a number 9 there, a quarter inch (6 mm).
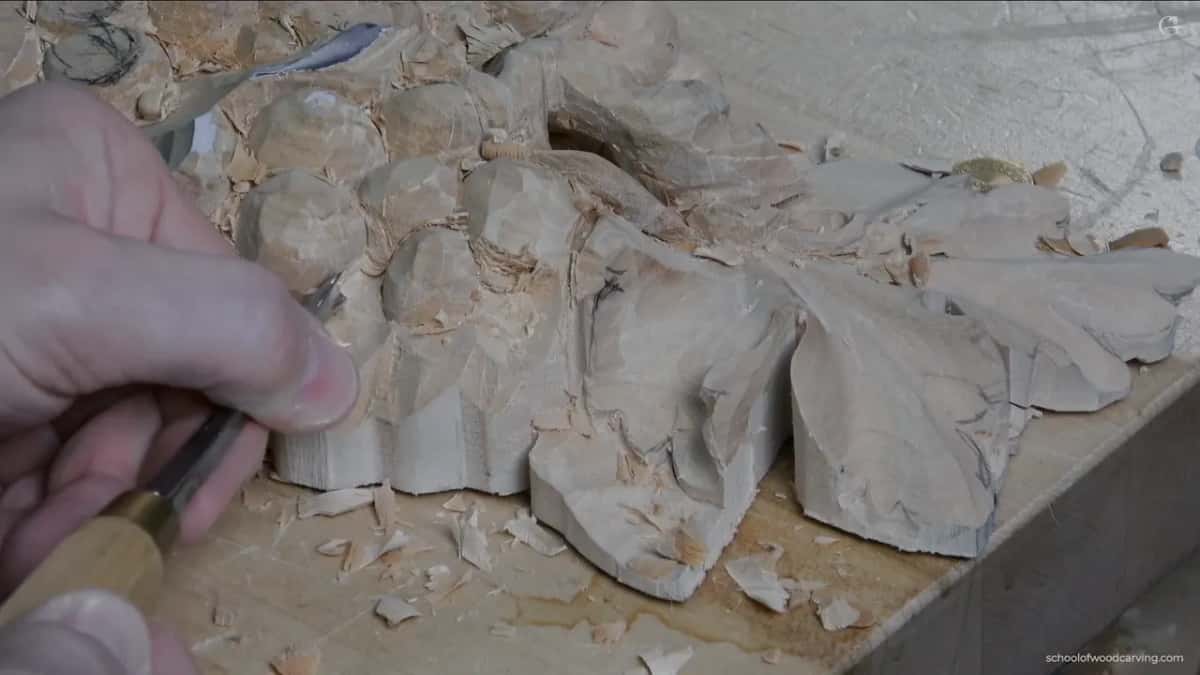
That spot was a really good area to make shadow, even if you don't see it. The grape goes all the way and wraps on the inside, so it should give me really good depth.
There is an undercut in this part too, at about nine minutes. I undercut one spot because I wanted it deeper, and said another grape there would be undercut too. That was one spot at one moment.
Why stop short of the grape next door?
Going too deep damages the wall of the grape beside it, and that is really hard to clean up. Near the end I told you one more time. Once you dig in, even if you are slicing, try not to go too deep into the neighboring grape. That would be a big mistake.
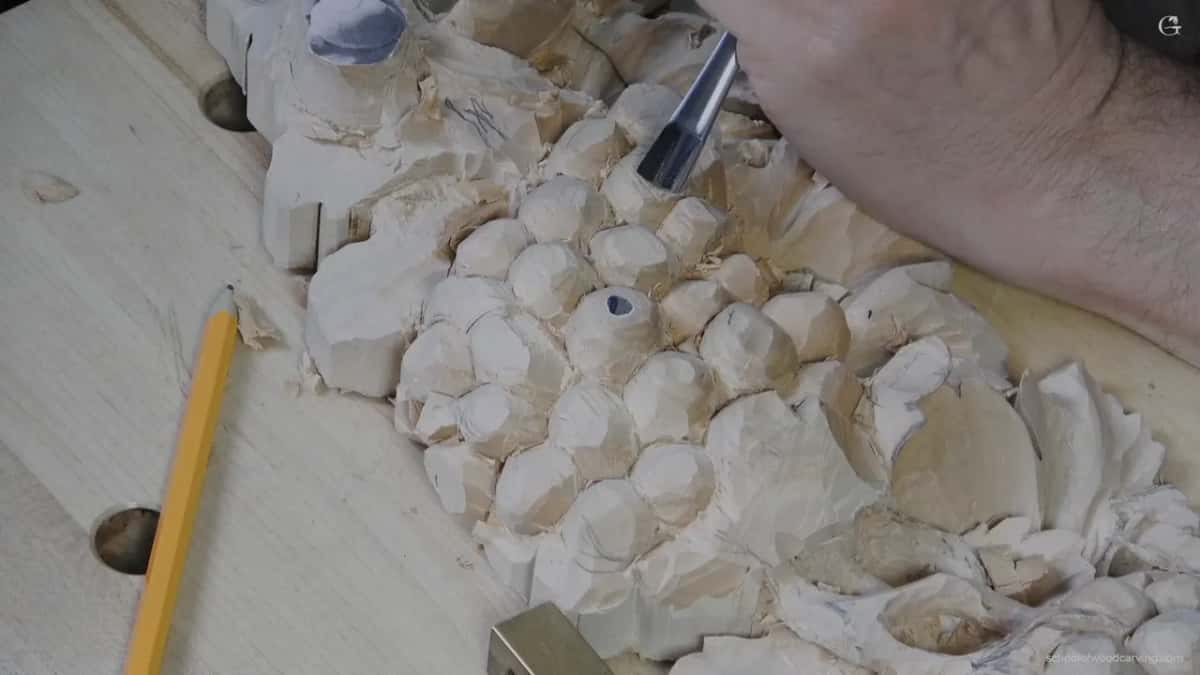
In lesson 3 I added what it costs. Dig too deep and you damage the neighboring grape, and then you have to spend a lot more time cleaning up. So when you make the pass, stop before you hit the neighboring element too hard. It goes for pretty much any carving, I said, grapes or not.
Both warnings in this part are about the same thing, the room around each grape. Leave it for the cleanup, and keep your tool out of the wall next door.
Which gouge sets the grapes in a bunch?
A number 5 did it here. After the camera moved I said I was still using the same number five, exactly the same tool. You could use a number seven if you want to. A number six still works, and even a number four or three will do the job.
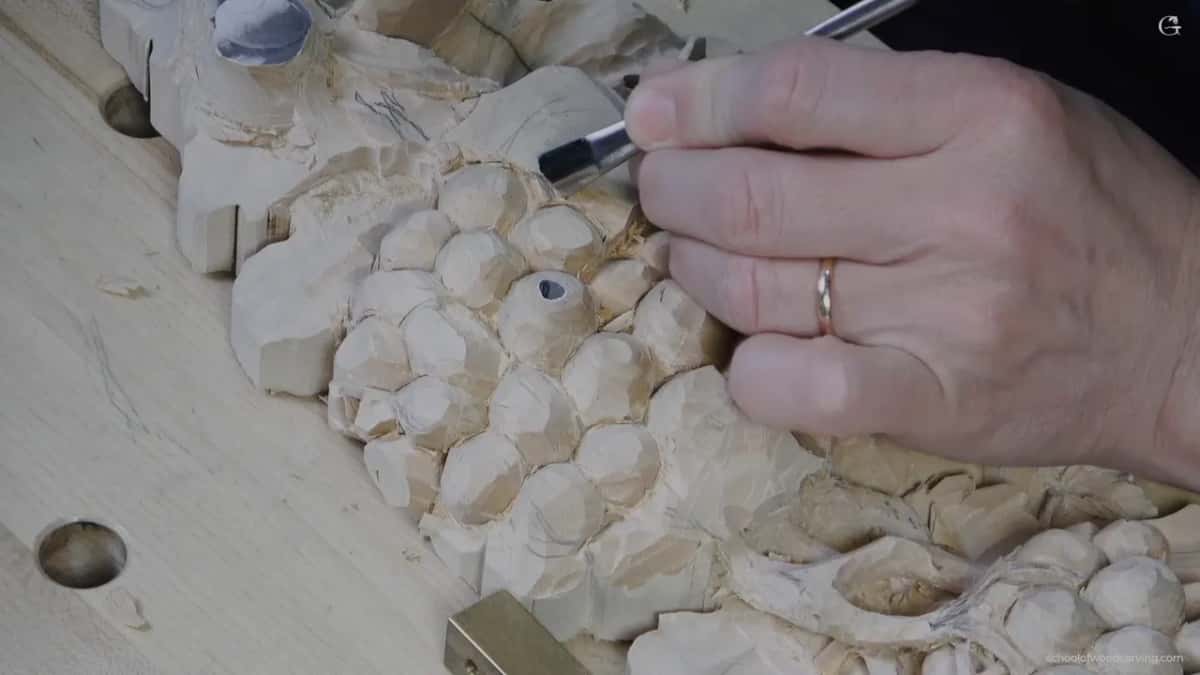
In the part before this one I said that gouge, my number 5, was about half an inch (13 mm) wide.
When does a grape reach its final size?
At the end, after the cleanup. Here I said I was not concentrating on detailing, just blocking in, and at about nine minutes I said it is all about the roughing in, the overall idea, so you don't have to concentrate on the details right away.
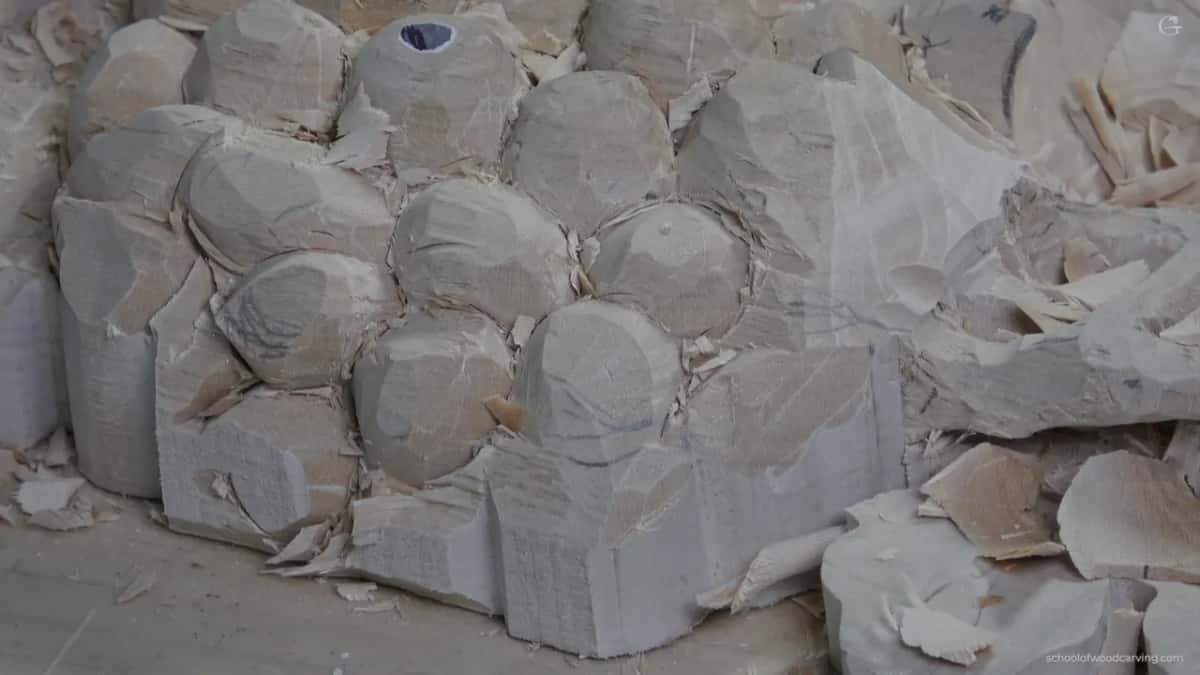
The part opens with me making one spot more roundy, just to give it that shape, and then going back to blocking in. By nine and a half minutes some of the spots were opened up.
Lesson 3 had one grape I called just a preliminary shape, though it did look like a grape, with the cleaning left for later on. With the hazelnuts it was lesson 6 when I started the somewhat finalized shape, and all of them were still a little bigger, as I reminded you.
Does every open spot get a grape?
A few spots belong to something else. About two and a half minutes in I said a leaf would probably stick out of one area. Later came the vines. The motion going underneath was the same bunch of vines, running right under the grapes. That area had to come down a little later, and then I decided I could lower some of it right then.
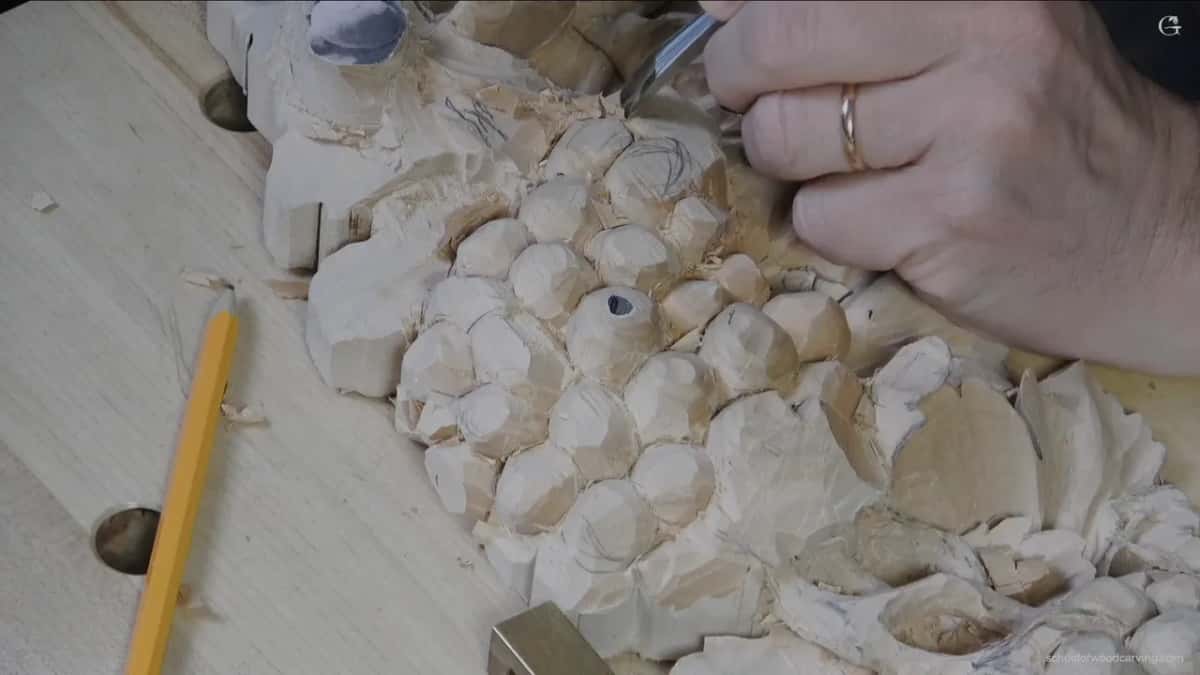
The last thing I said in this part was about that small grape in the big area. I went to put the triangle in at the meeting point, and said maybe it's not going to be a triangle in this case. The video stops right there.
Would you like to see all four of those spots on the bunch? Would a grape you can still trim beat one you'd have to add wood to? Then carve this onlay with me. The whole lesson waits inside the school, next to the tray course, and tuition to the school is on one page.
How it's done
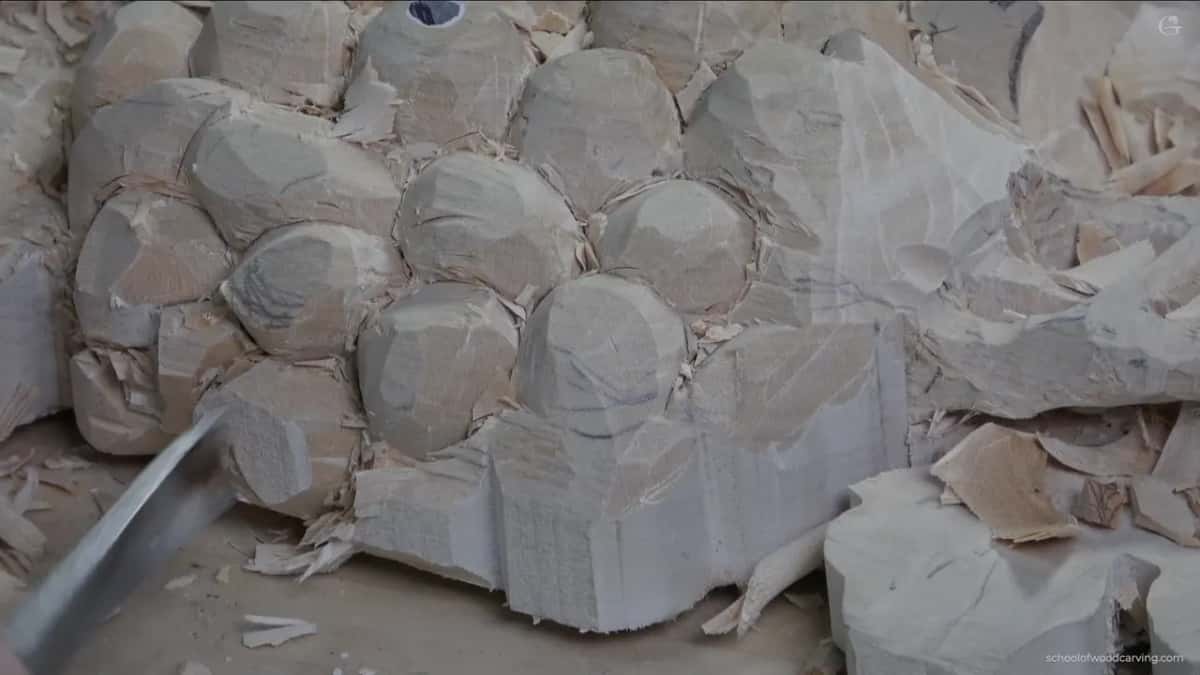
- Find the meeting point. I look for the place where grapes will meet and put a triangle there before shaping that grape.
- Leave the grape big. Each grape stays a little bigger than it will end up, so the cleaning up has room. Too small, and it ends up a berry once the cleanup is done.
- Let the space pick the size. A tight spot gets a smaller grape. An open area may take a couple, or one small grape.
- Stop before the next wall. Even while slicing, I don't go too deep into the neighboring grape, because a damaged wall is really hard to clean up.
- Lower what runs underneath. Where vines pass under the bunch, I lower that area, some of it right then.
- Bring it to size last. Final size comes last, with the cleanup, and on the tray I plan on about three quarters of an inch (about 19 mm).
Frequently asked questions
How big should you carve a grape at the start?
At least like an inch (25 mm) when I start, a little less, maybe seven eighths to three quarters. I aim for that on the Cabernet tray. By the end they come to about 3/4 inch (19 mm), and once cleaned, that size looks good in carving.
What makes carved grapes look like berries?
Making them too small. Once you clean everything up, a small grape reads as a berry, so I leave space to clean. I called it a common mistake in lesson 3, when people get too excited and chop away too fast.
Is a carved grape that starts too big a mistake?
Starting a bit big shouldn't be a problem. You still have room to trim it and clean, and I said it does better to leave it bigger than smaller in the first carving step. Wood is hard to add on, as I told you on the hazelnuts.
What to carve next