

Alexander Grabovetskiy, woodcarver, School of Woodcarving · Published 2024
How do you round carved grapes without overdoing it?
Quick answer: Rounding carved grapes is giving each blocked grape its curve with a gouge that matches it, in thin slices, and stopping before the last shape. In this video a number 5 did the blocking in, and a number 7 at 14 millimeters (9/16 in) gave better roundness. Overdone, the roundness makes junctions a real job to clean.
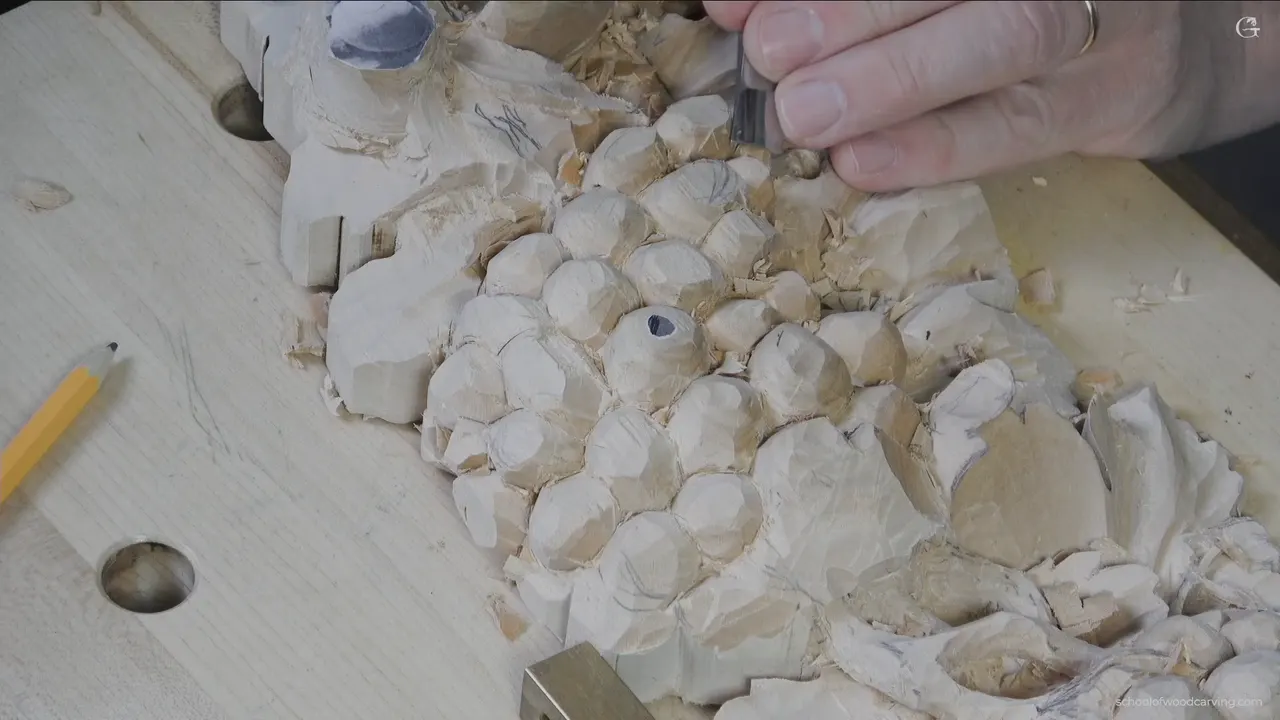
Rounding carved grapes is giving each grape its curve with a gouge that matches that curve, a thin slice at a time, and then stopping before the final shape. That is what I did in the third video of lesson 2 of my grape onlay. In wood carving grapes like these, my number 5 did the blocking in. Then I went looking for a tool to match their curve, tried a 14 millimeter (9/16 in) number 7, and it gave even better roundness.
Have you ever looked at a carved grape and seen flat little facets all over it? Do you want it round from every side? Pick the tool whose curve sits closest to the grape, take thin layers, and leave the last shape for another day.
On this page you get the two gouges I used, how thin I sliced, where I held back, and what I left rough. The whole bunch belongs to my grape onlay course, a cluster of grapes carved as relief work.

What I did to these grapes, in six lines
The 5 blocked in the grapes, and the 14 mm number 7 gave them better roundness.
I took the wood off in thin layers and called it onion skin.
I was not chasing a finished grape yet.
At a square junction, too much roundness would have been hard to clean.
No undercut at this stage.
Stems and connections waited.
What do you look at before you round the grapes?
At that point the bunch was obviously not clean at all. I could just go over it with my skew or my knife and clean everything, but not yet. This is the stage when I'm looking back and changing some shapes, sometimes the position, or the motion, how the bunch is supposed to fall down. Sometimes I even have to add grapes.
By then I was pretty much done with the blocking on this bunch, and you could already see it. After that I said I could probably give a little more shape to one of them, and the rounding started there.
Which gouge rounds a carved grape?
The one that matches the grape. You could actually find the tool which is going to match the curvature, I said on camera. So I picked up the 7 to see how it would work, and the roundness came out even better. Five for blocking in, seven for the roundness.
Up to that moment I had done pretty much all of the grapes with the same tool. Shortly before the switch I was still asking that number 5 for some more roundness in one section. By now, I said, you should understand exactly how those grapes are done.

What do those numbers mean? A gouge is a chisel with a curved edge, and the number tells you how curved it is. In the first lesson of my Cabernet tray I named them by their smiles. Half a circle, the number 9, is the pure American smile. Seven is the German smile, and a 2 has almost no curvature that way. Turn a back bend upside down and I would call it the pure Russian smile.
The marking on the steel works the same. Nine 20 means the sweep is a number 9 and the width is 20 millimeters, or three quarters of an inch. So when I say number 7, 14 millimeters, the first part is the curve and the second part is how wide it is.
| Tool | What it did | Stage |
|---|---|---|
| Number 5 gouge | pretty much did all of these grapes first | to block them in |
| Number 7 gouge | at 14 mm (about 0.55 in), matched the curve, better roundness | second, for the roundness |
| A plain skew | gave a better feel for the overall shape | on one spot here |
| Knife, heel, edge | dug into the meeting points between the grapes | before any deeper excavation |
| A cheap knife | can always just clean that very same area | the same stage, too |
Still building a set of tools? My course on tools for wood carving goes through them one by one.

How do you carve a sphere in wood without making it too round?
In thin layers. If you want to clean up a little bit, I said, do it by taking off thin bits, almost like an onion skin. You can see how it shapes, little by little.
With the 7 it is the same thing, you are just slicing, in very small bites. Even with the flat tool in the first video I was not pushing, I was slicing. The slicing pass has a short lesson of its own.
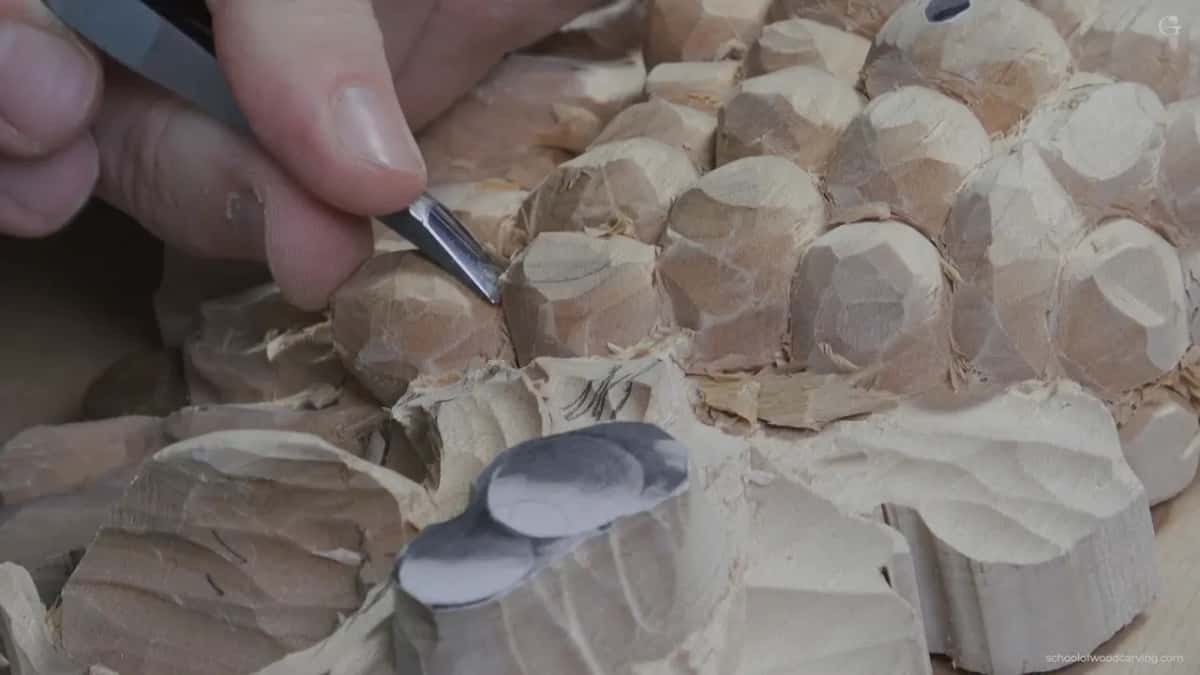
A sphere is the same curve all the way around. In lesson 3 I was still blocking in grapes, they were not finalized, and I gave the highest one a little better shape. Small slices, attacks from different positions and different angles, and then just more slicing, until it was somewhat like a full sphere. It's going to look much better, I said.
That same lesson, I was happy with the shape, with the roundness of it. My gouge went inside the intersection from all of the positions, and another grape got more roundness.
Back in this video, halfway through the rounding, I changed the camera to attack from the other way. Sorry, I said, if I'm covering it and you can't understand what I'm doing. In the second video my shoulder got in the way too, because the camera put me in an awkward position.
Lesson 3 had the same trouble with my hands over the work. Sometimes it's just impossible, I said. And then I took it back, because I shouldn't say okay when it's not okay.
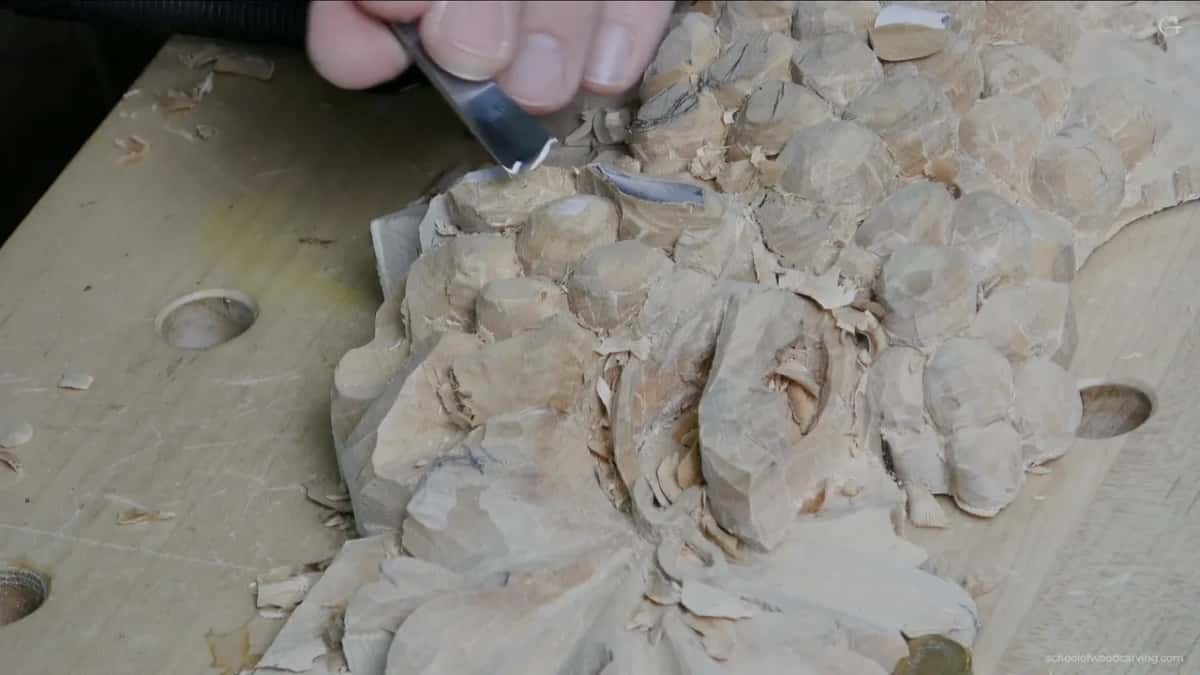
Even late in the course, in lesson 14, I said the same thing. Some of you have a tendency to hook a chip and just pull it out, and I have it too. It is better to take your time and excavate slowly, especially when the grain runs all over the place.
Why stop short of the final shape?
In lesson 3 I said I didn't want to make one part too weak. Later on, once the motion is set, I can get to the final detail, but for now it was just blocking in those grapes.
You are not trying to reach the final, final shape of it. That's what I said here, and then I had to admit the grape already looked like a somewhat finalized shape.
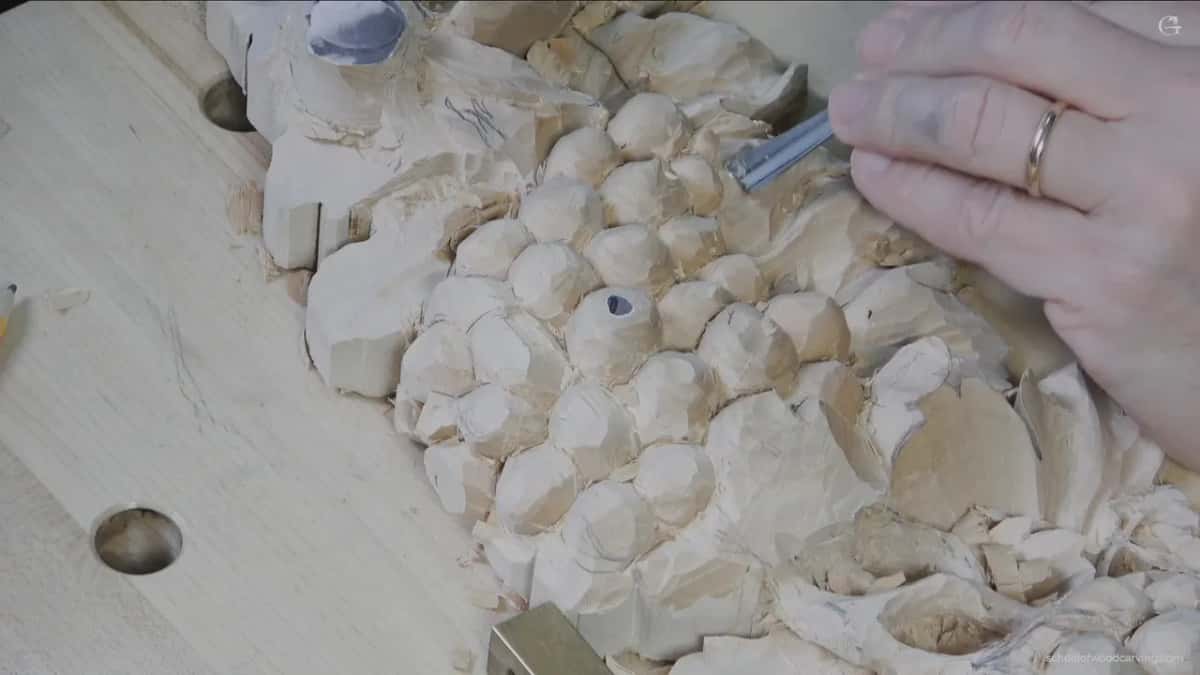
The 7 also let me make the connecting points a little deeper. I did it without being too crazy about it, because I still have to work on that section.
There is no end, actually, to how much you can refine. Those were my words in the third lesson, looking at one grape that was a little choppy. This time, I said, I could probably just use my number 7, 14 millimeters, and pre-establish a better shape. Earlier in that video, a smaller tool reached where the bigger one could not. Big tools and small ones have a short lesson too.
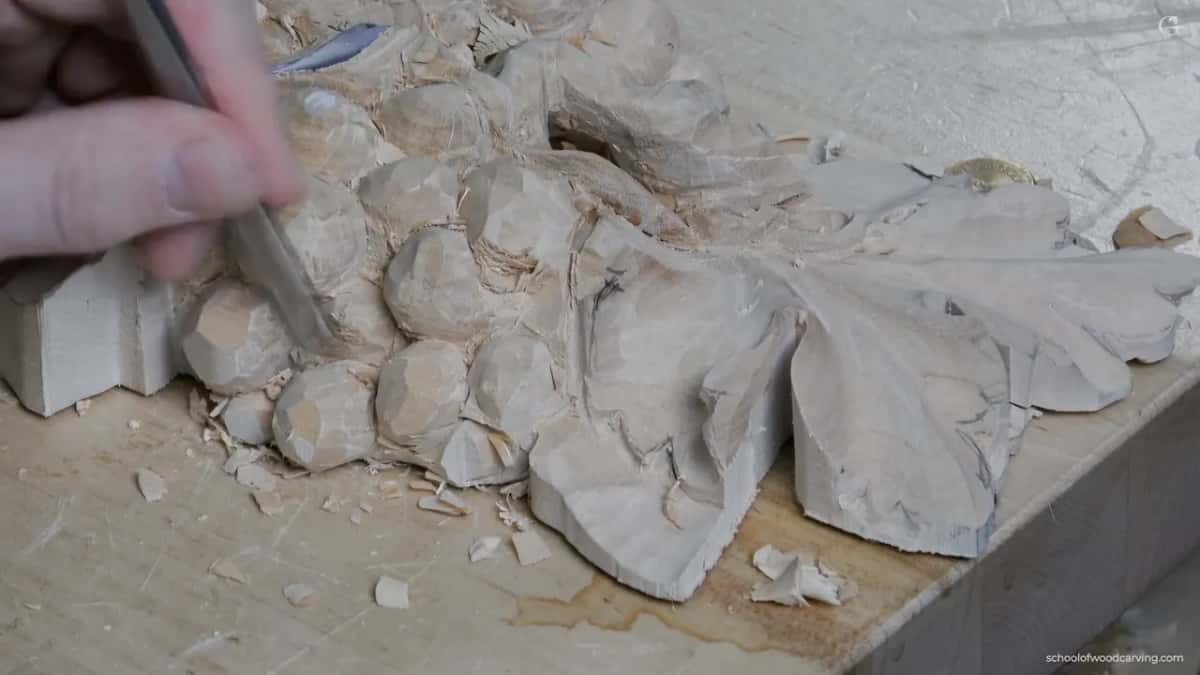
Back in lesson 1 I worked on just the general shape of a grape, without worrying about the final result. You could see how choppy that one was. If you wish, I said, you could start creating some finalized shape right then.
Earlier in that first lesson I put it plainly. I'm not trying to do the whole shape right away. Bit by bit I go around the grape, and only once the triangles are in place do I go from the outside inward toward a true sphere.
At one spot in lesson 5 I held back for another reason. I had plenty of shadow and light there already, so I didn't really have to overdo it.
Refining came much later. I went back to one section of grapes in lesson 13 to refine them, and right then they looked choppy, with a lot of rough areas. I said that's okay. My main tool for that job was the number 5 again, about 15 or 16 millimeters, about five eighths of an inch.
What happens if you make a grape too round?
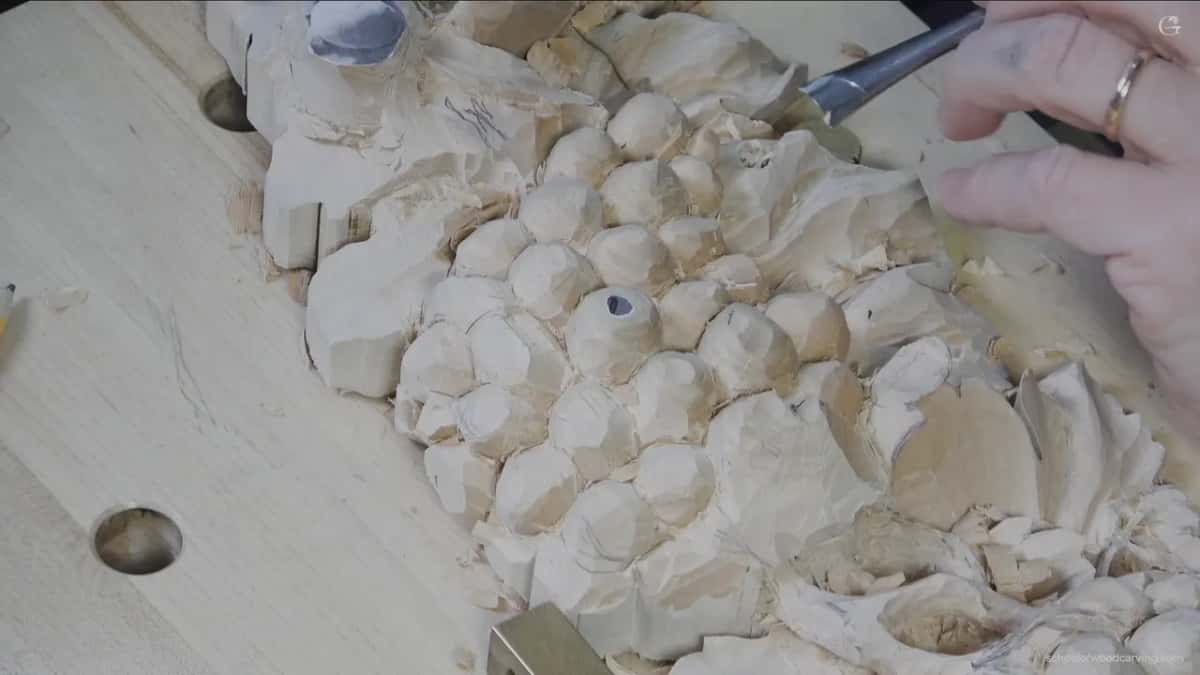
Don't overdo it. Overdo it, and it's going to be really hard to get into some of the spots and clean them. At one junction here the grapes met in a square, which I try to avoid. It's all right. But with too much roundness there, it would become really hard to clean.
A moment later I found another square. Grapes meeting in a triangle are what I aim for, though it is not always possible, and I said so in the first video of this lesson. Where it is a square, I keep the roundness down.
On a curl in lesson 14, near the end of the course, I said it again. There's no end, really, to what you could do. Again, little by little, and don't overdo it. Slicing is the key.
Even at the very end, in the final assessment, I knocked the facets down on the tops of the grapes, starting with 240 paper. Not much, I said, I wouldn't do too much. It's better to take care of a rough spot with the tool itself, and I like a few rough spots anyway, because they show you did that by hand with the chisels.
Should the gouge go under a grape yet?
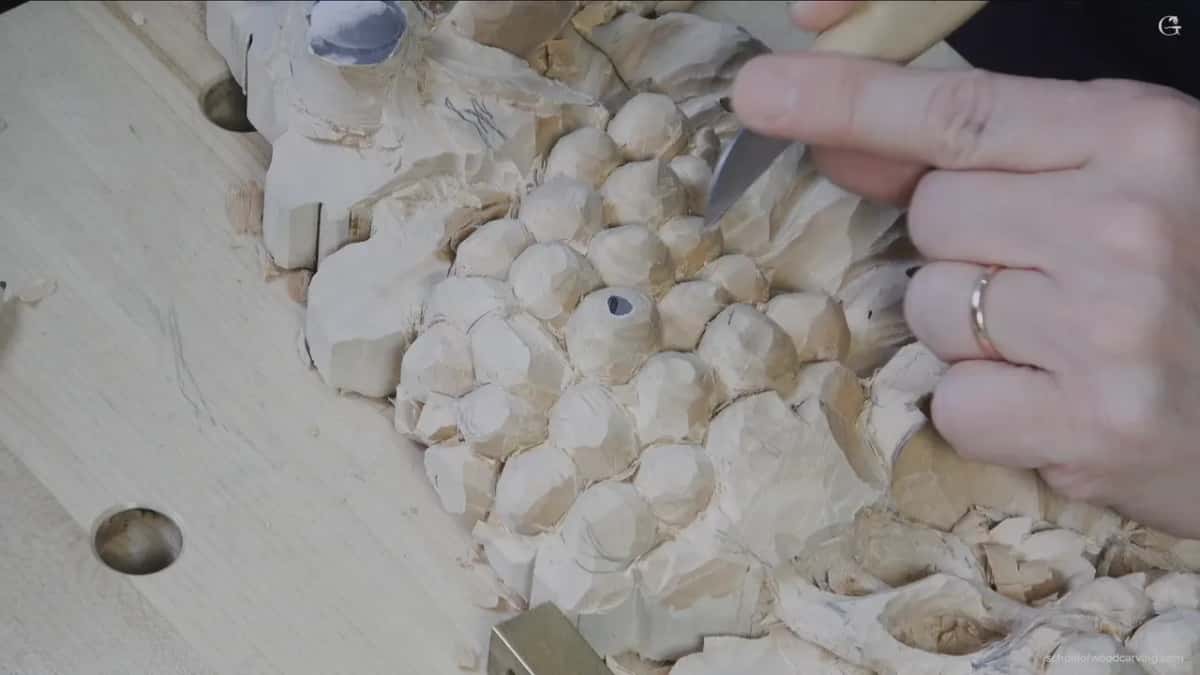
Try not to undercut. Those areas, it's not going to be a really good idea. Twice in this video I said it, and the second time I gave the reason, which is that areas like that are tough to clean.
I did undercut one place in the second video of this lesson, because I wanted it deeper. Both are true, each at its own moment.
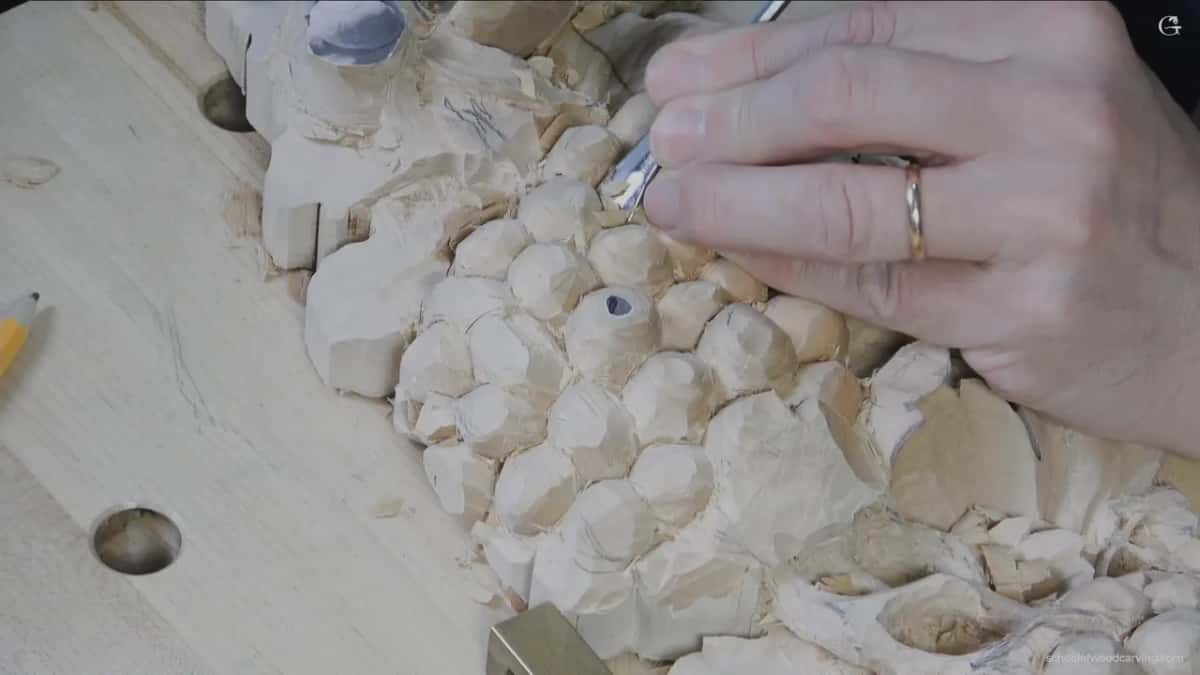
The undercut does come, later. One lesson on, in the next lesson, I was slicing and starting to undercut a little bit.
Where do the meeting points get cleaned?
Before the number 7 came out, I had already started on some of those meeting points, the marriage points, to get the junk out. Any type of knife will do. Mine can work with the heel, or with just the edge, and dig into those areas. A normal cheap carving knife can always clean that area too.
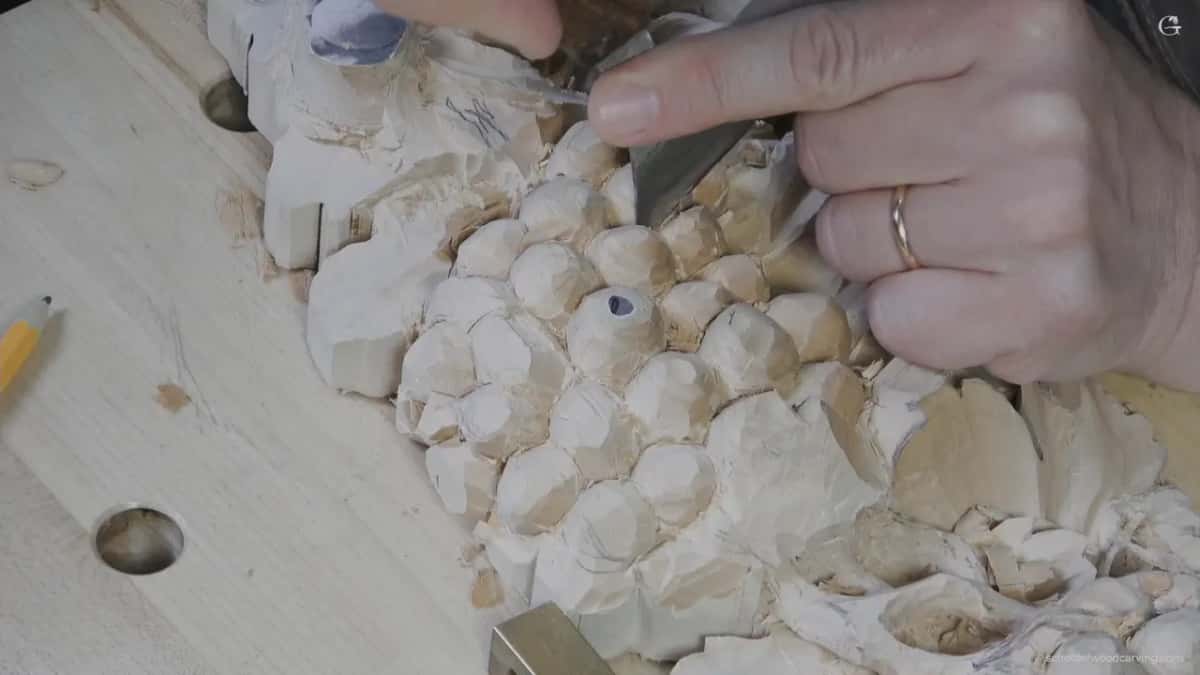
Take your time. Once you are happy with the overall shape, start the cleaning up process and make some deeper excavation. Further on, at one spot, I took just a skew. A skew gave me a better understanding of the overall shape right there.
On my Cabernet tray I worked the grapes all around with the corner of the tool, not one grape at a time, and removed the waste in small amounts. I can always make it deeper a little later, I said. Cabernet Sauvignon, the name on that tray, is a wine grape, and like every grape it grows on a grapevine.
A knife inside a triangle can clean it out, I said in lesson 1. You don't have to do it right away. But you can do it right then, if you want to.

What did I leave rough for later?
Near the end I found a couple more spots on the bunch. There could be another grape right there, so I started to outline it. Then I said hold on. There are some connecting stems I do a little later, so for that day I shaped only one grape in that spot.
Another spot was kind of funny. A leaf I don't want to lose was bumping against those grapes. As far as the roughing in goes, the bunch was done.
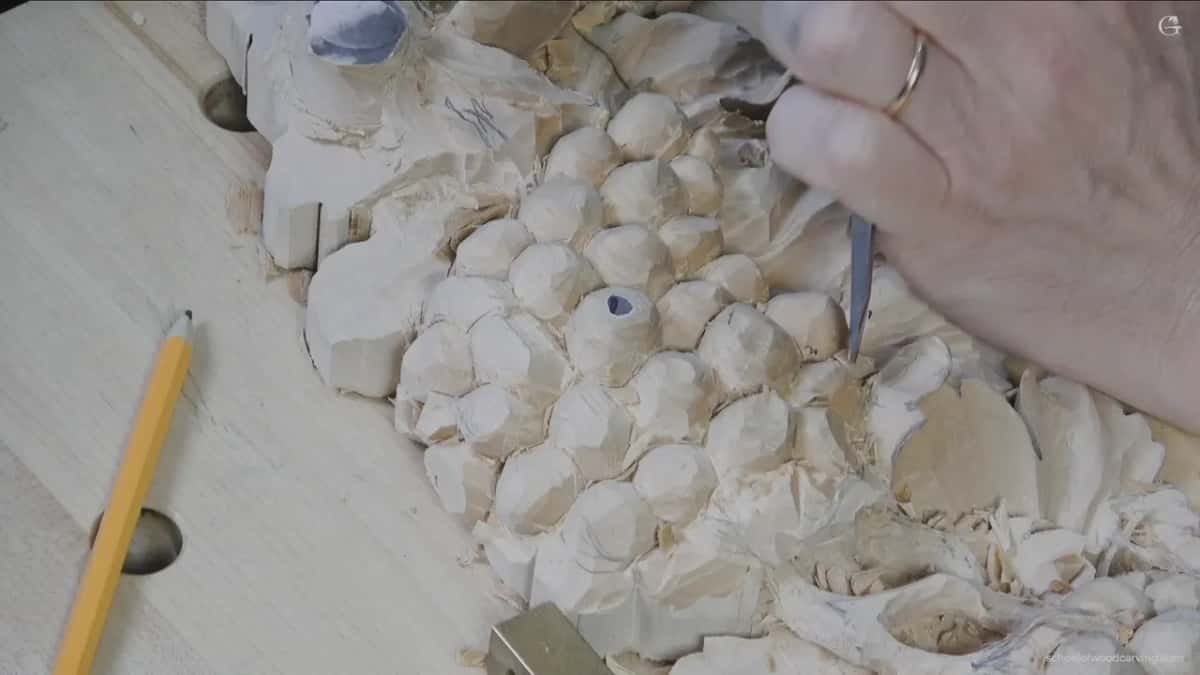
Next came the connections. Do I want them at all? Maybe not, because they could come from pretty much underneath and go up. Overall it looked good, so I could work on those next time.
The stems came up again in lesson 3. One of them goes right underneath, I said, and I don't want to carve what I don't have to carve. So I keep some material for those movements, for later.
Right at the close I wanted you to see it one more time, so I showed it a little better. Not done yet, I told you. Once I rough in everything I'll take a picture of it for the pattern, and then you'll be able to carve it.

That is a lot of holding back for one video of wood carving. At the start of it I told you again, and asked you to forgive me for telling you too much. I have just seen so many people make the same mistake over and over. Concentrating too much on detail. It's too early. It looks really easy on the screen, I know. I tried to teach grapes in person multiple times, and for some reason they give carvers a lot more trouble than an acanthus leaf or anything else.
Did a grape of yours ever look choppy halfway through? Mine did, in lesson 13. Want to see every slice of the 7 here, start to finish? The whole lesson is waiting inside the school.
How it's done
- Block in with one number 5. Pretty much all of these grapes got the same number 5 first, and I asked it for a bit more roundness in one section.
- Find the tool that matches the curve. My next move was the 7, which is 14 millimeters wide, as a test, and the grapes came out rounder.
- Slice thin layers. I take the wood off in thin layers, onion skin layers, and watch the shape come.
- Deepen the meeting points a bit. Using the 7 I made the connecting points a little deeper, without being too crazy about it, because that section still needed work.
- Keep from going under. At this stage I try not to undercut, since areas like that are tough to clean later.
- Stop before it gets too round. Where grapes meet in a square I keep the roundness down, and I leave the stems and connections for another day.
Frequently asked questions
What number gouge gives a carved grape its roundness?
My pick was the number 7 at 14 millimeters (a little over half an inch). I blocked in with the 5 first, went looking for a tool to match the curvature of the grapes, and the 7 rounded them better. Later, when I refined grapes in lesson 13, my main tool was the 5 again.
How thin should each pass be on a grape?
Thin, almost like an onion skin. I watch the shape come slowly and keep slicing instead of pushing. With the 7 the passes stay very small, and at that stage the final, final shape is not what I am after.
Why is a square junction a problem when you round grapes?
One junction here was a square, which I try to avoid, and it was still all right. I kept the roundness down there, since too much of it would have made the spot a pain to clean. Overdoing it anywhere makes some spots tough to get into.
What to carve next