

Alexander Grabovetskiy, woodcarver, School of Woodcarving · Published 2024
How do you carve the lowest grapes in a bunch?
Quick answer: Carving the lowest grapes in a bunch is, on my grape onlay, a matter of the wood still left under them. Here I saw how little material was left for one grape, chopped it a little lower so it looks like it goes all the way down, and started the undercut right then.
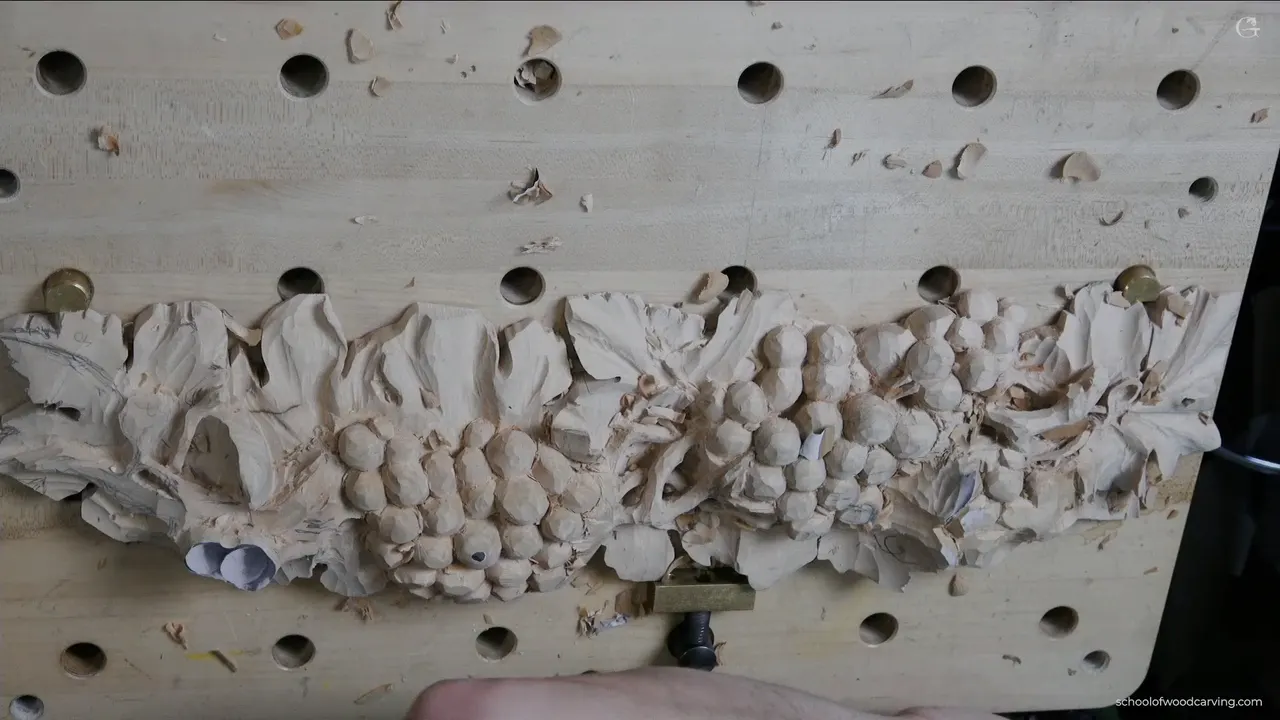
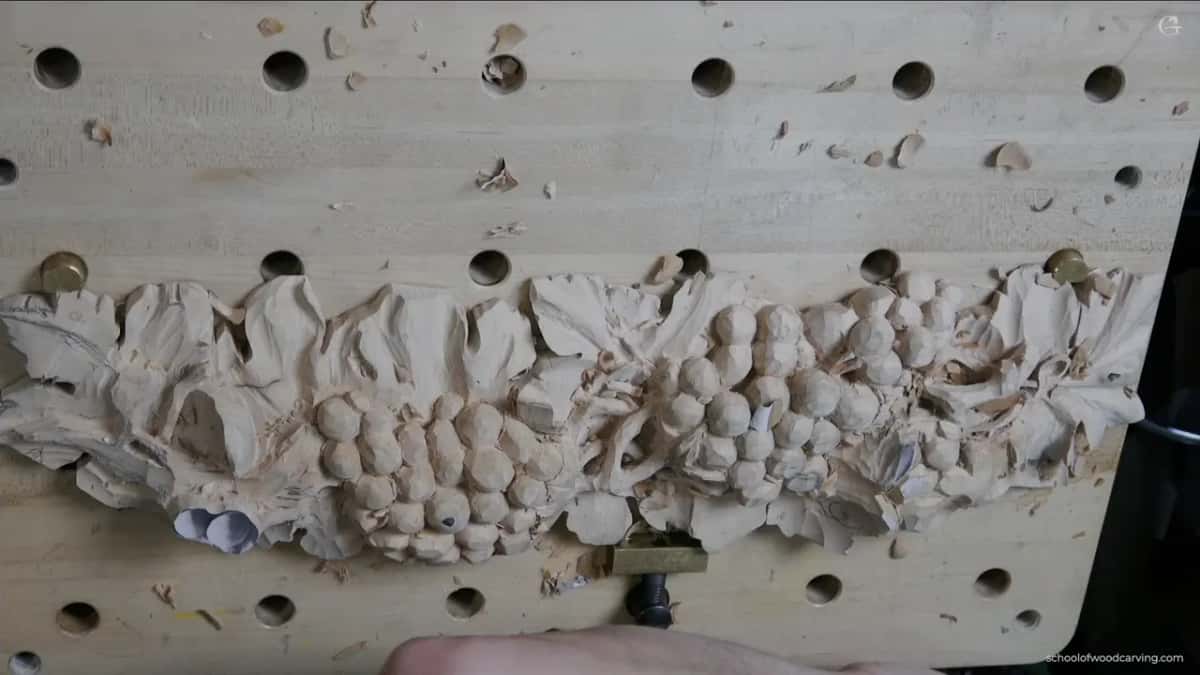
Carving the bottom grapes of a bunch is, on this onlay, a question of how much wood the high grapes have left. Near the end of the video I looked at one spot, found little wood left for the grape going there, and took it a little lower, so it would seem to keep going down. Then I started undercutting it right away.
This video belongs to lesson 3 of my grape onlay, a relief carved on its own board. The low layer of one bunch is where it ends up, and that is the side of wood carving grapes I want to show you here.
Does a real bunch of grapes hang in more than one layer? Do the grapes at the back sit lower than the ones in front? Then the bottom layer has to go down into the wood, and you carve it from whatever is left.
The video runs a little over seventeen minutes. I block in one bunch, make shadow where it is too flat, clean a meeting point with my knife, and at the very end I set a lower grape with a small one below it. Here is what I did at each spot, and with which tool.
The low layer of one bunch, in six lines
- Check the wood left under a spot before you set the lowest grape there.
- Chop that grape a little lower than its neighbor.
- Start that undercut straight away, and stay out of your workbench.
- Where the bunch looks flat, a few deep hollows for shadow come before more grapes.
- Clean each meeting point with a knife that is not held upright.
- Try to avoid four grapes meeting at one spot, though I still got one.
Where does the downhill toward the low grapes start?
Right at the top of the bunch, with the highest grape. About eight minutes in I said which grape was the highest, and I left some of the paper on it for now, so I could see it is the highest one.
My first minute has the same idea at a bigger scale. I gave the bunch a little better overall shape, and then said maybe I could drop it slightly more to get a more gradual downhill motion. A bit of waviness in the shape is an approach too, just to block in the overall motion. Then you will see how it all blends together.

A slope like that shows up in lesson 14 too. Carving a curl there, I made sure you understood that I did not go parallel to my workbench. I sloped it slightly downhill, toward two grapes, and it had to come out the same way on the other side.
How low does the lowest grape go?
Lower than the grape beside it, and on this bunch there was not much wood left to go lower with. At fifteen minutes or so I turned to a lower grape, a smaller one, and said the bunch has to be a full three dimensional bunch, like in real life. Half a minute later I pointed out how much material I had in that spot, and how little was left for that one grape.
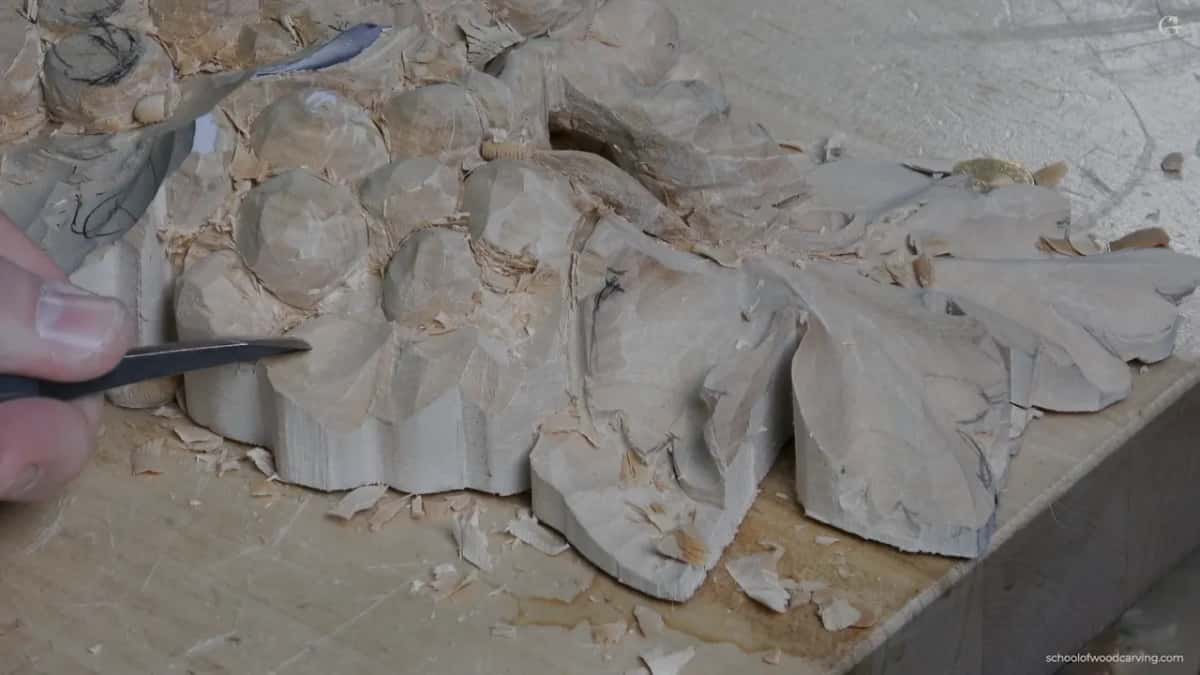
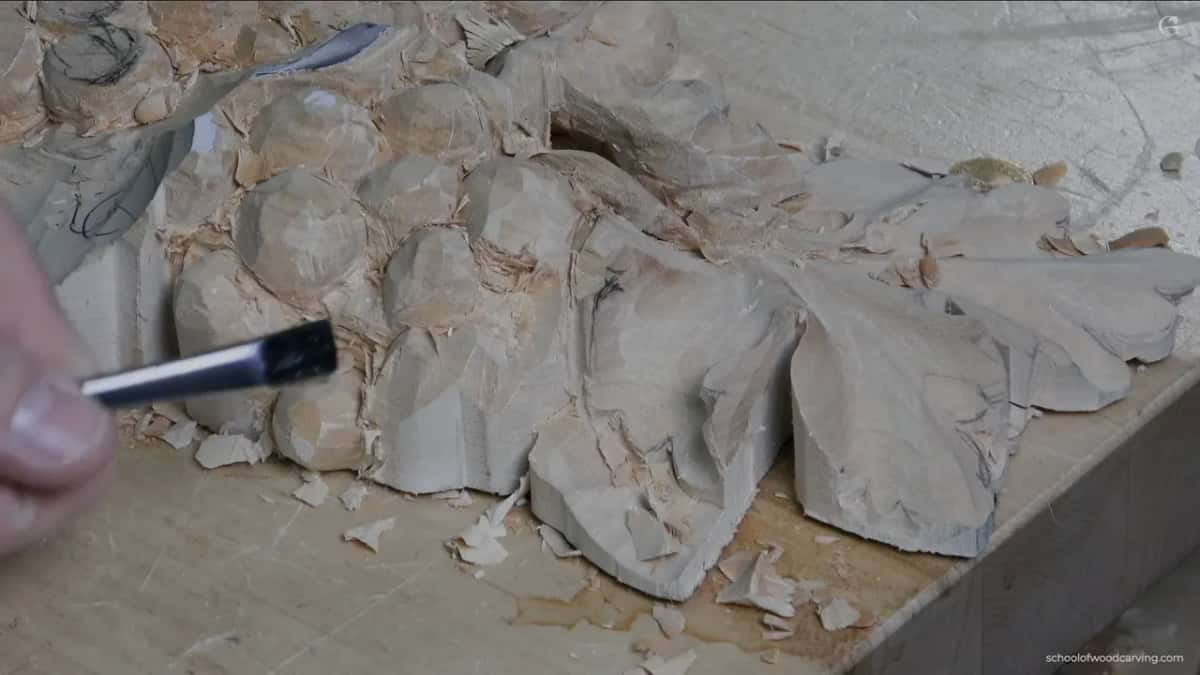
So I could chop it a little lower, I said, and make it look like it goes on down. A minute before, beside another grape, I had said nearly the same thing: that grape would go all the way and kind of wrap on the inside, which should give me really good depth.
What came out was a first shape only. Later on I would clean it, I said, and yet you could already see a grape in it. Under it there was still room for something lower, a small grape, so that one spot ended up close to three layers deep.
Depth like that has to be planned with the rest of the panel. Back in lesson 4 I took one section down about 10 millimeters (about 3/8 in) so that whole section could pass underneath, and said the same depth on both sides was the important part. I also said I have to be mindful of how much I left for the leaf itself.
While I worked on the low one I repeated a warning from earlier in the video. Before the sharp edge hits the neighboring element, try to stop, because that is kind of hard to clean up.
When do you undercut the low grape?
Right away, on this one. As soon as I chopped that grape lower, I said I would start undercutting right away, pretty much, and not carve into my workbench. I went this way, this way, and this way, with the tool held in an awkward position, only because of the camera.
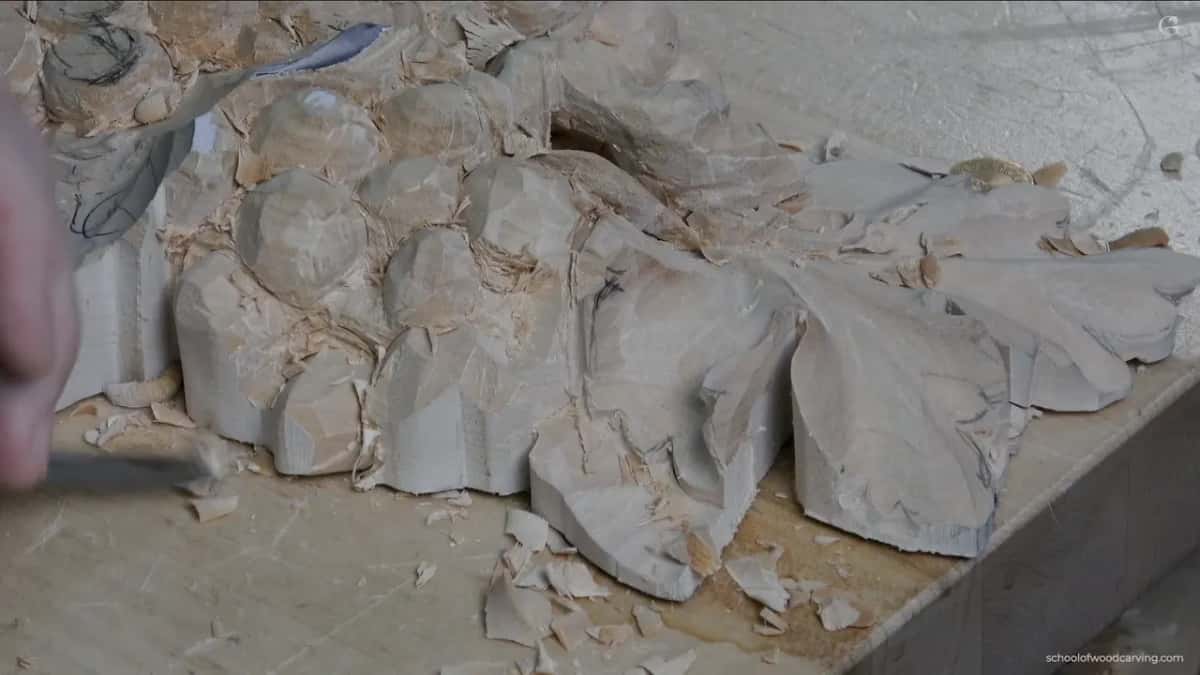
Some low grapes wait. In the next video of this lesson I came to one more grape that belongs underneath, and that time I only gave it an indication, a mark of where it will be later on. I did not want to hit the bench right then. I just know it is there.
There is a second way in. Working under the lip of a leaf in lesson 8, I reminded you that you can always get to a spot from the backside, so you don't break a tool, which can happen when you undercut. If you can get it from the other side, I said, it is probably much safer.
That back side is planned for. In lesson 12 I said one of the main reasons I don't make a finished look early on is that at the end I usually flip the panel over and start undercutting from behind.
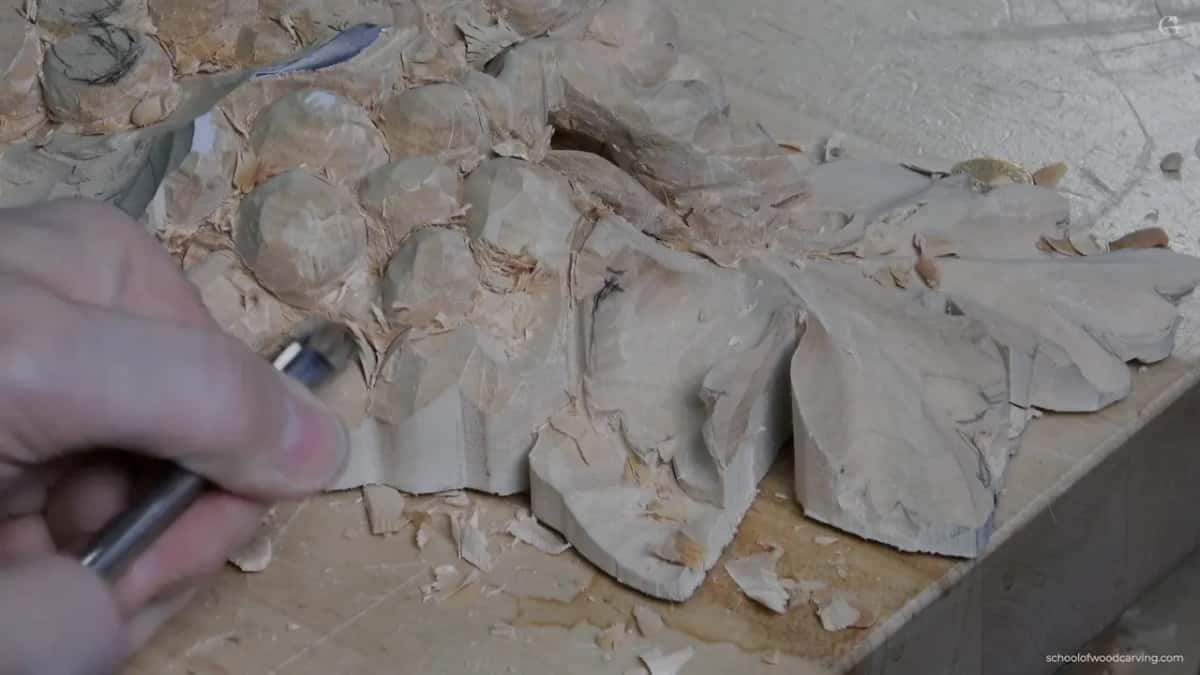
On the Cabernet tray I gave the same caution another way. Once you go underneath, try not to push it too hard. Take small bites, because that is the spot where you break your tools, especially right underneath. If it fights, try to attack from another side, and you will find it is much easier from there.
Why can't you carve the gaps you see under real grapes?
Look at real grapes and you see those voids. About six and a half minutes in, I asked you to think about how you would carve that. Do you really have the tools to get right underneath? I doubt you do.
The angle came right before that. I warned you not to cut straight down at 90 degrees, which would be a huge mistake. Keep an angle where the grapes connect, or you will not be able to clean underneath.
Where does the shadow under a bunch come from?
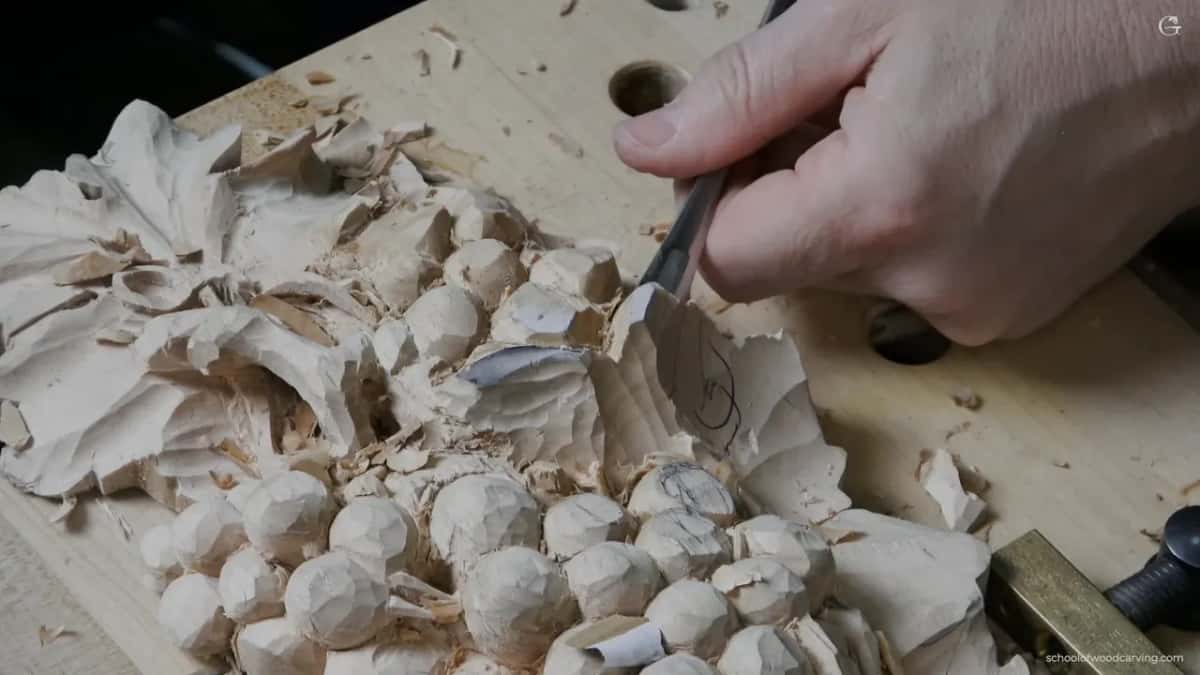
In this video, from cuts made before the grapes in that area were set. Three minutes into the video I wanted to see a little more shadow, because right then that area was just too flat to make any. So first came some big cuts, in the overall shape only.
For those I took a bigger tool. Any tool will work, I said, and in this case it was a number 11. I wanted a shadow spot there, or the bunch would not look nice. It would look dull. A couple of spots went in, and I said they don't have to be on the same level, like in real life. That gave me some variation in the motion.
I only said I hoped it would give me a better result. Then the wood took over. Those big cuts started to dictate where the grapes went: a grape, then a triangle, then another grape, then another triangle.
Later, at about fourteen minutes, I found a really interesting area, a place for really deep shadow. I didn't want that grape too big, so I undercut it slightly in both directions, took a smaller tool, maybe a number 9, a quarter inch (about 6 mm), and excavated right along its side. Even if you don't see it, I said, that is a really good area for shadow.
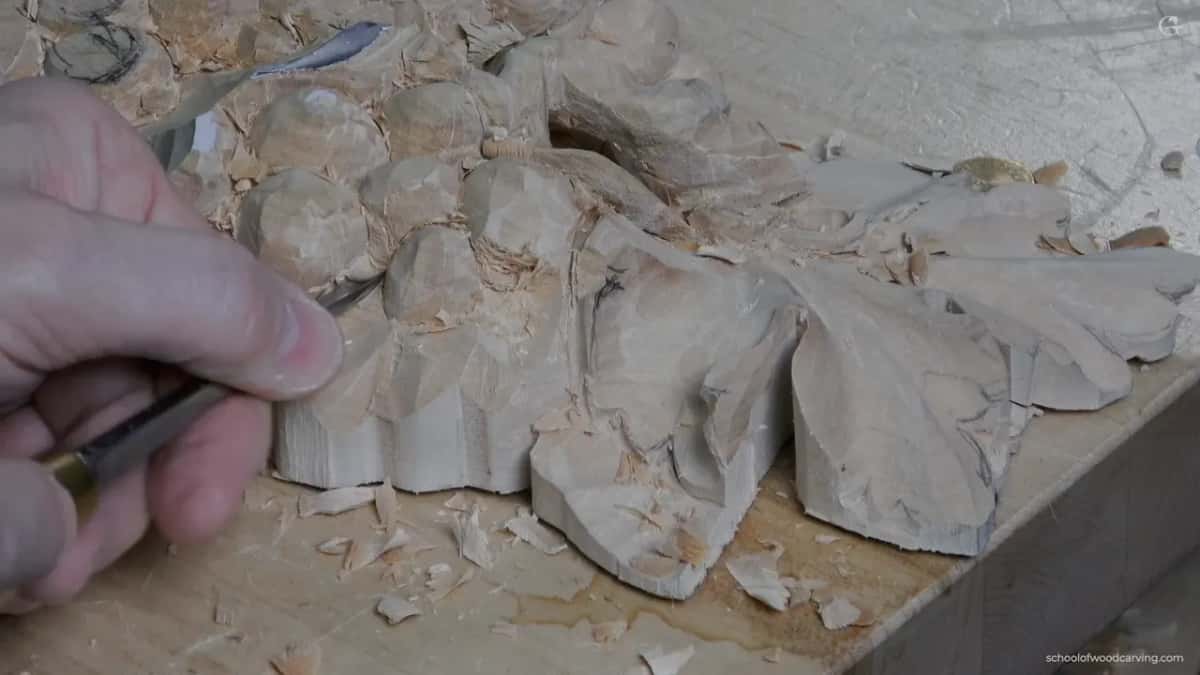
I put it plainly on the tray. Even with a smaller tool you can still get in, not as forcefully, just really tiny cuts, and you create a shadow. That is what you are after. Painters call that play of light against dark chiaroscuro.
Which tools did the blocking in this video?
Flatter ones, plus a number 11 on the big shadow cuts. Early on I said that for blocking in you can use pretty much any flatter tool. To prove the point I picked up a bigger one, a number 3, approximately 19 millimeters or so, three quarters of an inch.
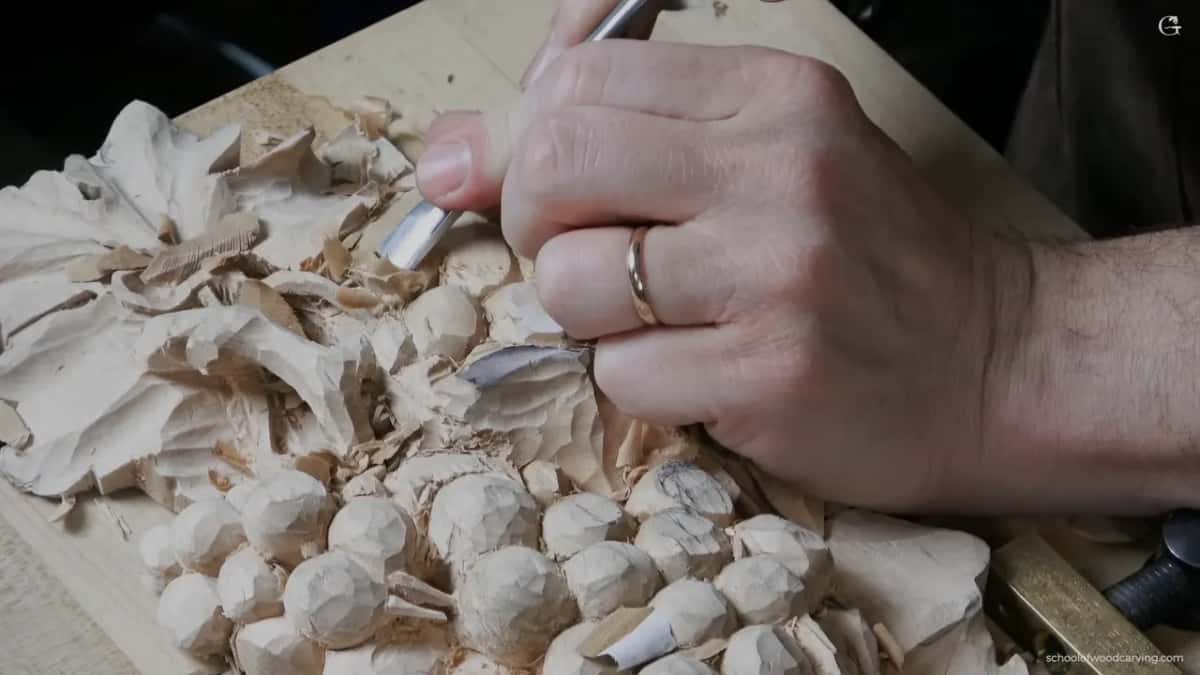
Even with that gouge, I said, it is not really about the tool matching the exact profile you are trying to get. Use just a corner of it and you can get pretty much any profile. After it I went back to the smaller tool from before, a number 5. Around seven minutes I told you it may look like I am pushing, but I am not. In slow motion you would see I am still slicing.
| Moment | What the spot looked like | Result |
|---|---|---|
| Two minutes | blocking the overall motion with one corner | a number 3, about 19 mm |
| Three minutes | big hollows where it looked too flat | number 11, and any tool works |
| Eleven minutes | meeting point worked until it looked clean | my knife, held at an angle |
| Fourteen minutes | slight undercut both ways for deep shadow | maybe a number 9, quarter inch |
| Sixteen minutes | low grape taken lower, undercut right away | unnamed, held awkwardly for the camera |
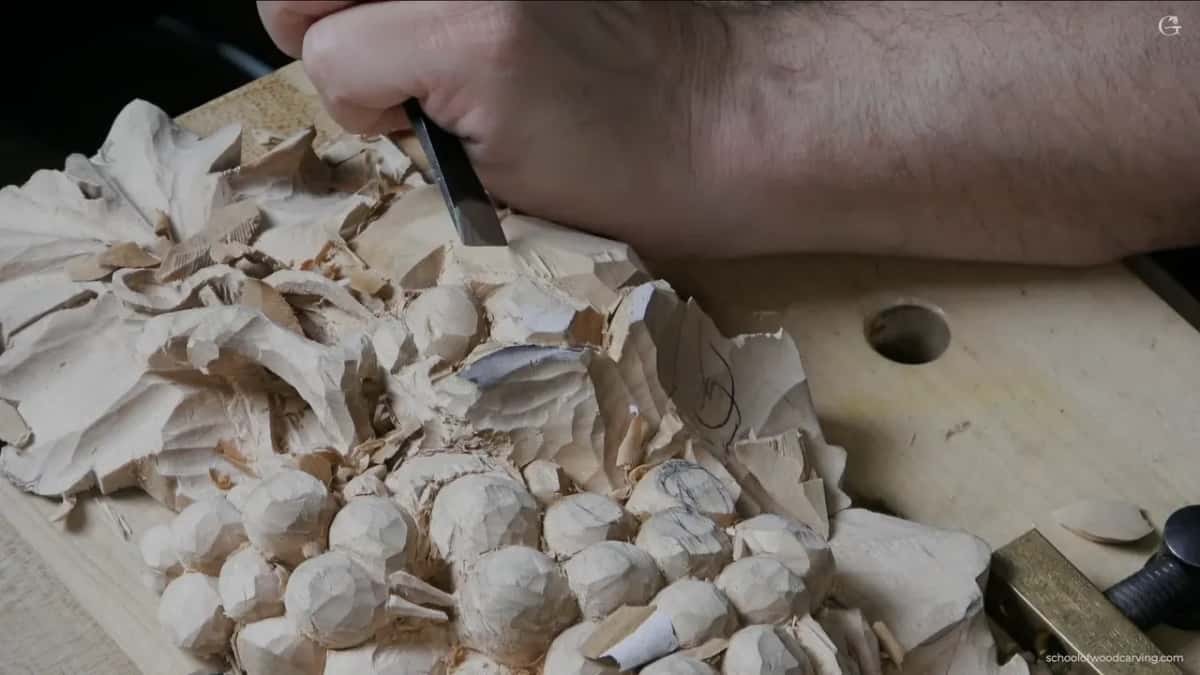
This whole video, knife work included, is still the blocking stage. Rounding comes later. Once a grape needed its roundness in lesson 2, I tried a number 7 at 14 mm (about 9/16 in), a tool that matches that curvature, after the number 5 had done the blocking. The antique style rosette lessons go into how a sweep is matched to a carved curve.
What happens where the low grapes meet?
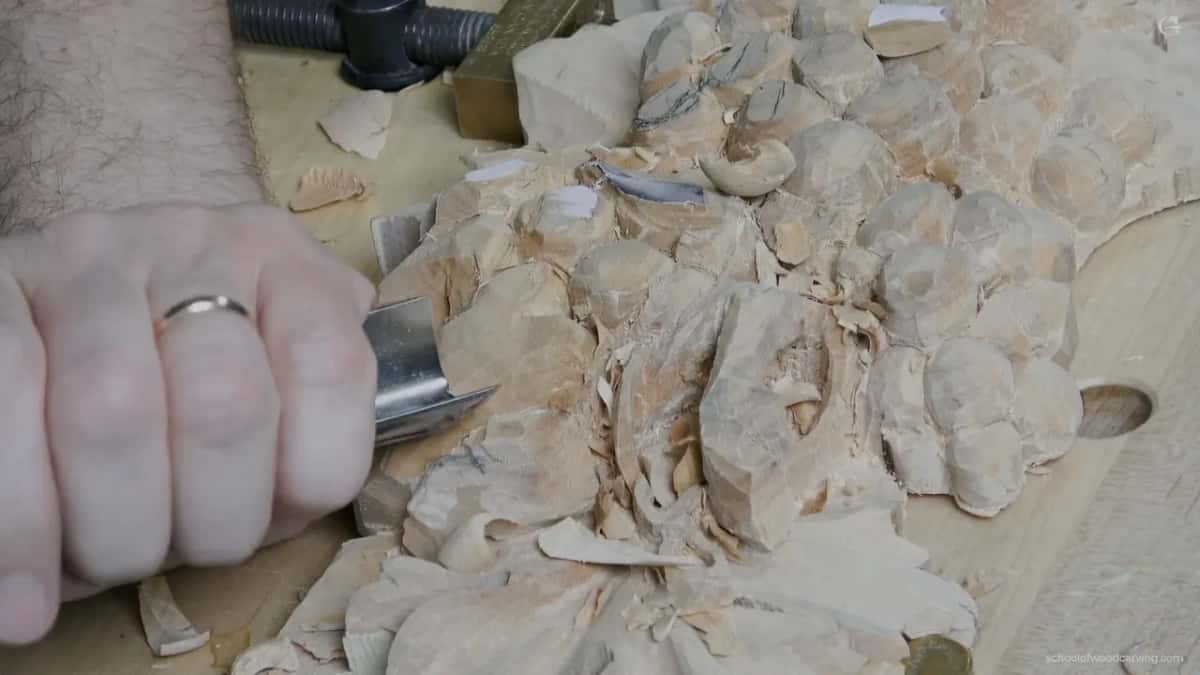
They meet in tight corners, and those corners need cleaning. At about eleven minutes, after giving one grape some roundness, I went inside with the knife. Like I said many times, you could use just the knife there. Get that intersection right down to a sharp point, and don't hold the knife at 90 degrees. You want that point really sharp and inside. I kept at it until it looked clean.
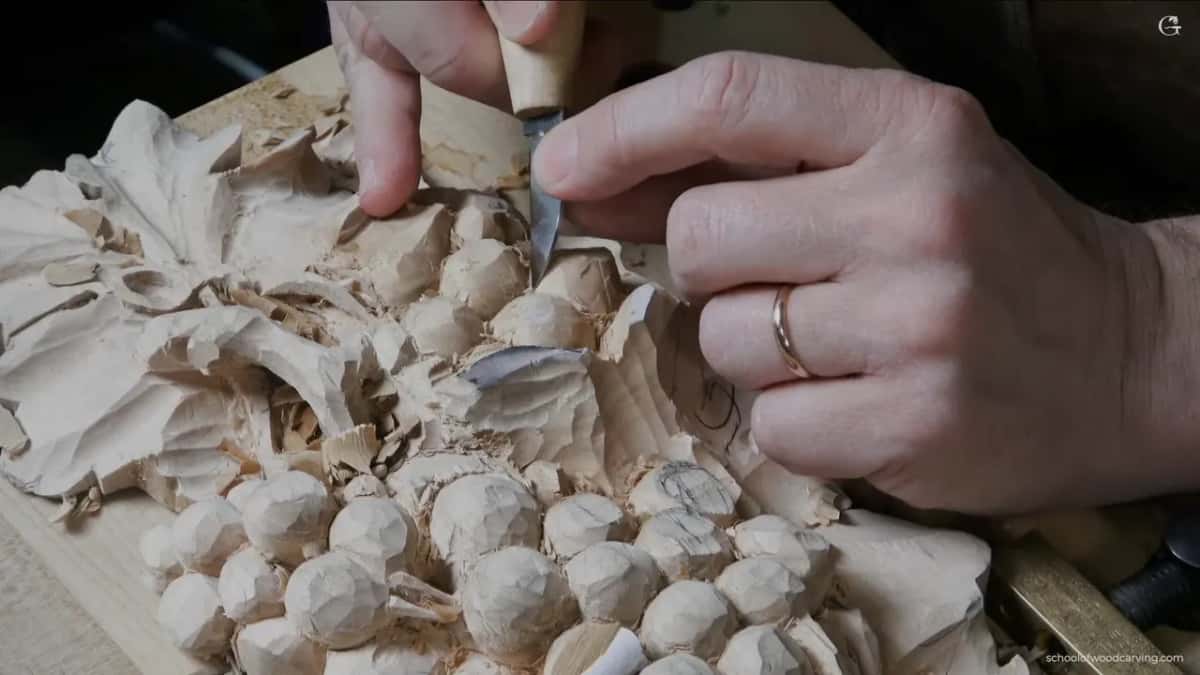
A minute before that I told you to get inside that intersection from all of the positions. Later I said sorry, more than once, in case my elbow was covering the camera.
The last line is about a meeting I did not want. Unfortunately, I said, I have a quad intersection in this area. Four grapes at one point leave a square instead of a triangle, and in lesson 1 I showed that as one of the mistakes people make with grapes. Try to avoid the quad, I said there, and aim for the triangles.
The recording stops right there, on that square. How I clean a square when one can't be avoided is on the course page.
How do you see the low grapes while you carve?
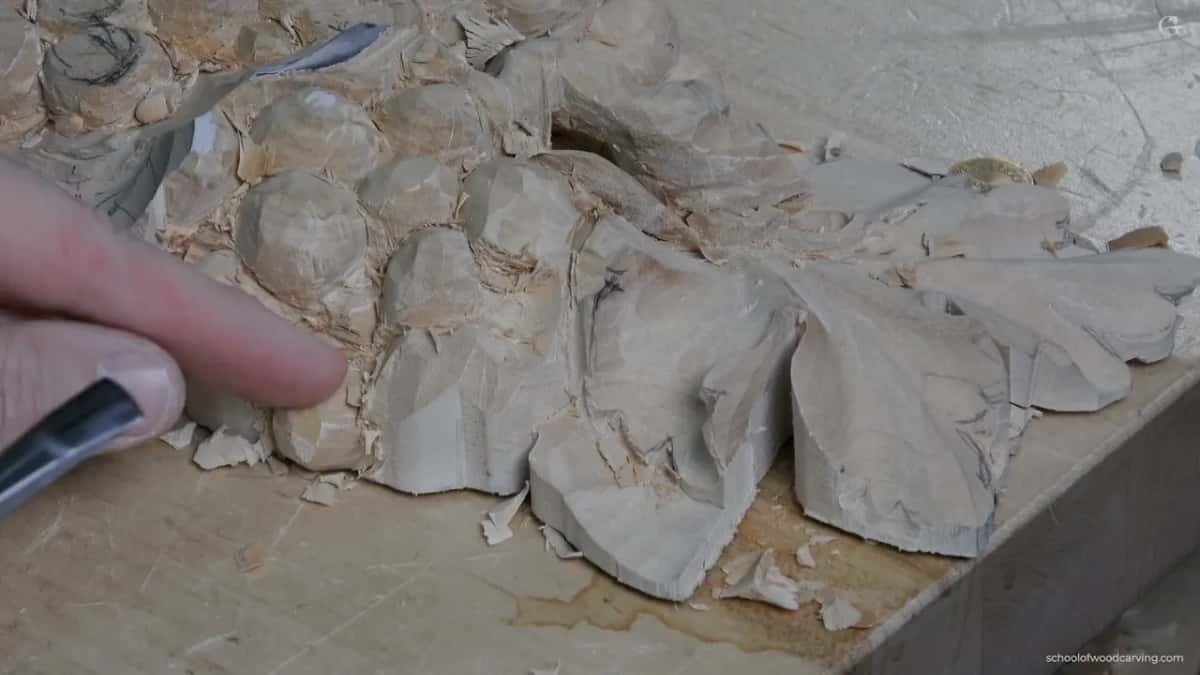
From the side. At about twelve and a half minutes I changed the camera angle so you could see the bunch from the side, still at the same spot. From there you can see a leaf going right on top, a part that belongs to the same leaf, and the grapes forming under it.
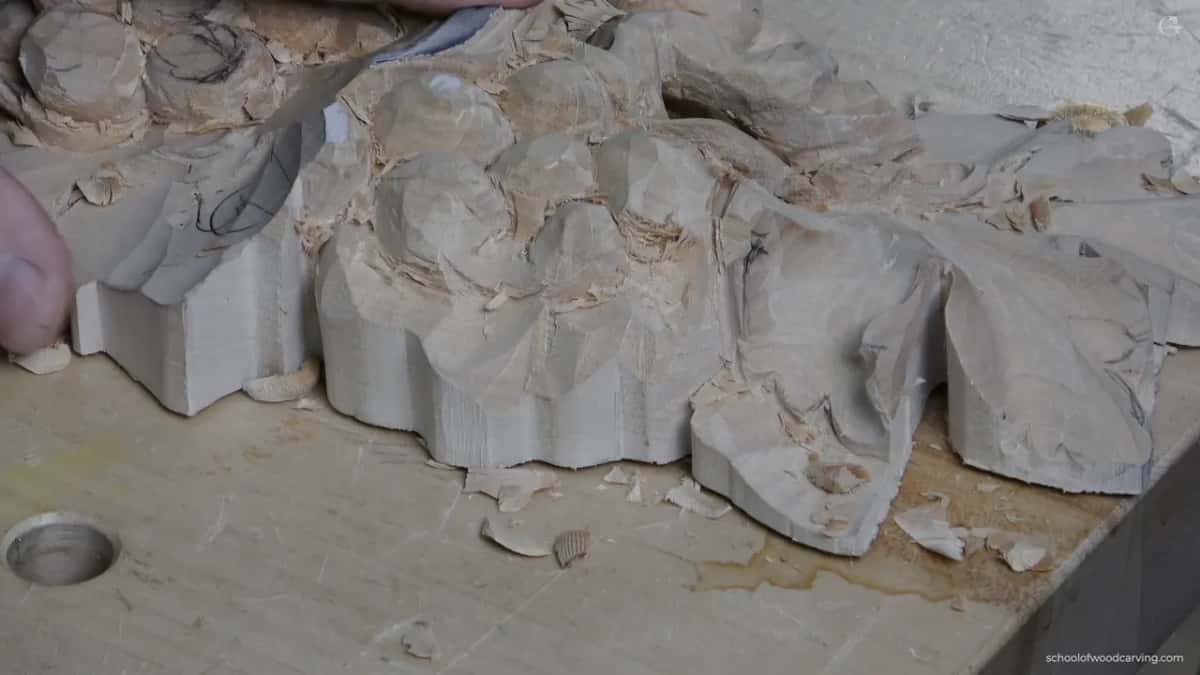
Around seven and a half minutes I had said the grapes are supposed to go right underneath a leaf. Not much of that was set up yet, but that is still where they go.
A low part can look full without great depth. On the vase with grape leaves I undercut under each leaf, and it is only about a 16th of an inch (about 1.6 mm) deep, I said, but it looks full 3D. In the next video of this lesson I told you it is a good idea to look from different angles, and you can see how it is actually looking. That is depth perception at work.
When is a low grape finished?
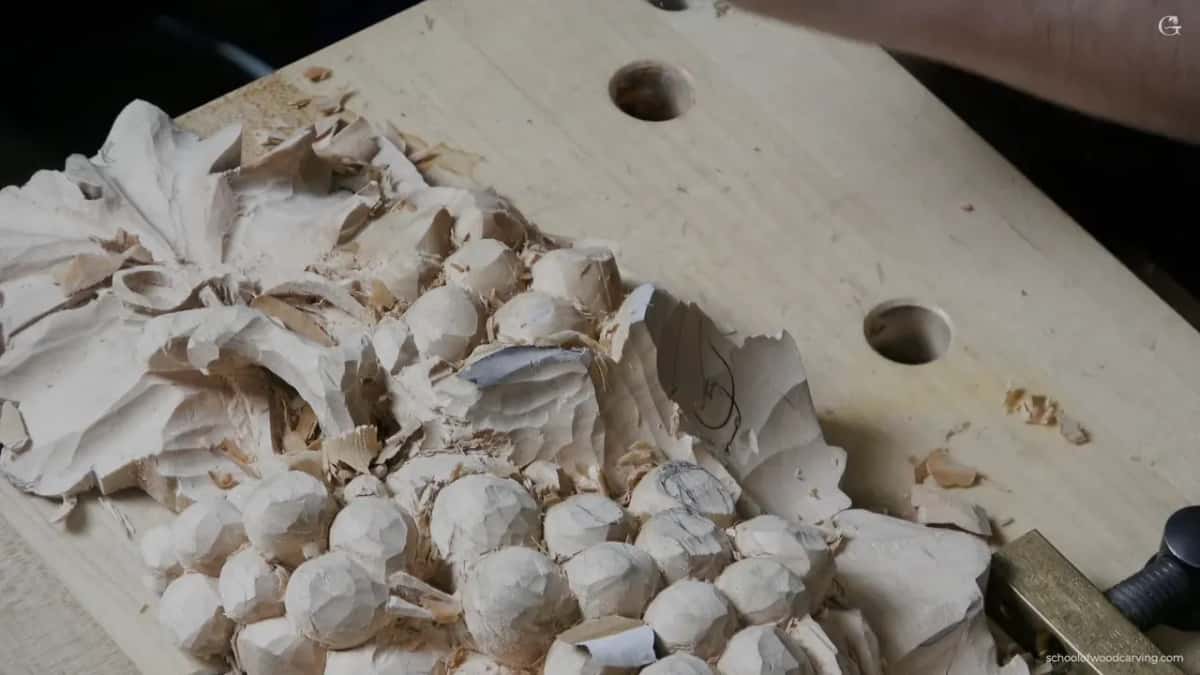
Well after this video ends, so you will not see it here. At eight minutes I said I didn't want to make one part too weak. Final detail comes later on, once the motion is established. For now I was just blocking in those grapes, and they were not finalized yet.
Lesson 8 had the same thought about one lobe of a leaf. I would clean it from the backside later, so I didn't worry about how clean it looked. It doesn't have to look clean yet. Rough or not, at nine minutes I still wanted one grape somewhat like a full 3D sphere.
Would you like to watch that low layer go in, grape by grape? Would you rather chop a grape lower than run out of wood under it? Then carve this onlay with me. Every part of lesson 3 is inside the school, next to the tray course, and tuition for the school is on one page.
How it's done
- Set the highest grape. Pick the highest grape and leave a bit of paper on it, so you can see it is the highest.
- Make shadow where it is flat. Where the bunch looks too flat, carve a few big hollows with a number 11 for a shadow spot before you set more grapes.
- Check the wood that is left. Before the lowest grape, check how much material you have there, and how little is left for it.
- Chop it lower. Bring that grape down a little, until it seems to keep going.
- Go under it early. Start undercutting it at once, and do not carve into your workbench.
- Clean the meeting points. Work each intersection to a sharp point with the knife held at an angle, and leave the final clean for later.
Frequently asked questions
How deep can you carve the bottom grapes of a bunch?
As deep as the wood under them allows. Late in lesson 3 I had very little material for one low grape, so I brought it down a little to make it look like it carries on down. Right after that I began its undercut.
Should you undercut grapes from the front or from the back?
Both, at different moments. For the low grape here, I started from the front at once, staying out of my workbench. At the end of a panel I usually flip it and undercut from behind, where I can reach a spot without breaking a tool.
Why does my carved bunch of grapes look dull?
Mine looked too flat to make a shadow in this video. Before more grapes went in, I made a few big cuts with a number 11 for a shadow spot, or it would have looked dull. A couple of those spots gave me some variation in the motion.
What to carve next