

Alexander Grabovetskiy, woodcarver, School of Woodcarving · Published 2024
What size gouge cleans between carved grapes?
Quick answer: Cleaning the gaps in a carved bunch is, on my grape onlay, a job for smaller and smaller tools. I went to a number 2 of 8 mm (5/16 in), then one of 5 mm (roughly 3/16 in) that fit inside the hole, then a skew knife, point down. Too small a tool leaves a striped wall.
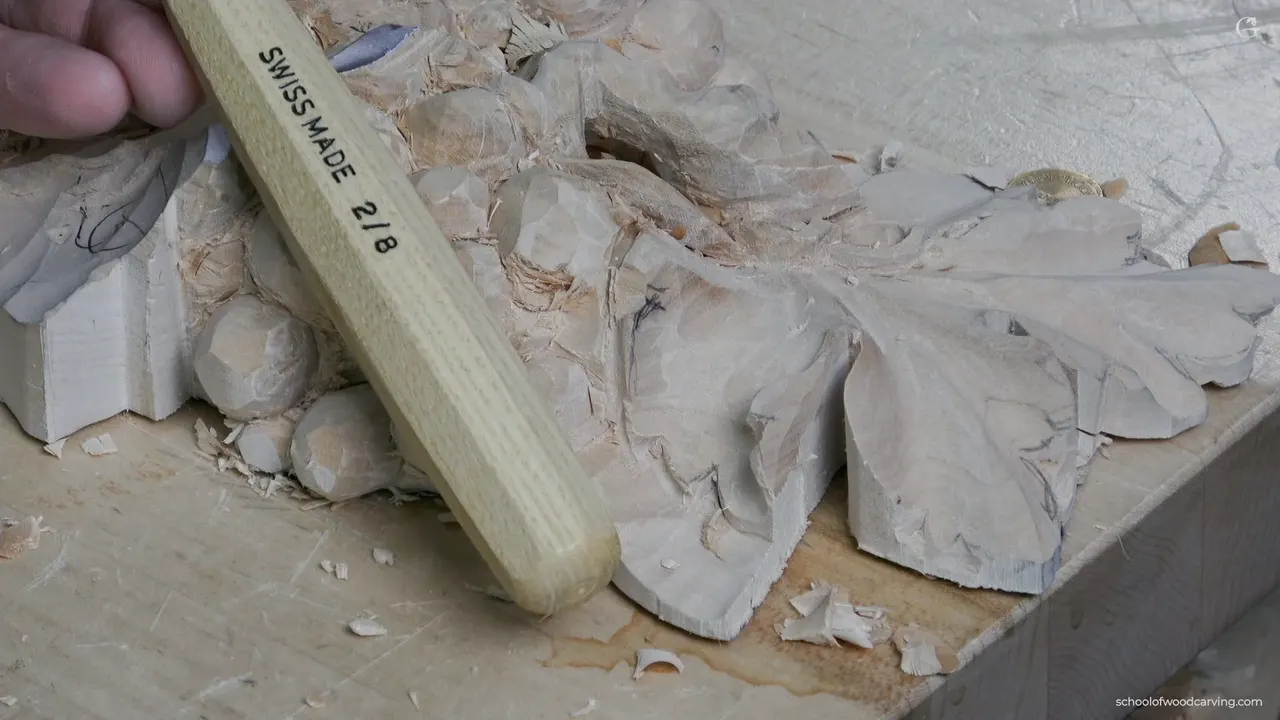
Cleaning out the gaps in a bunch of grapes is work for smaller and smaller tools, one after another. On my grape onlay, in the third video of lesson 3, I went down to a number 2 at 8 mm, about 5/16 of an inch. Then came a narrower one at 5 mm, just over 3/16 of an inch, for the holes, and then a skew knife with its point down. Wood carving grapes goes like this for me once the bunch has its shape, and the order matters as much as the sizes.

Have you carved a bunch and found the gaps still rough? Did your gouge stop short of the bottom of a triangle? Did a tiny tool leave stripes? Then the size of the tool is the place to look first.
A tiny tool feels like the safe answer. In this video the narrow tool came late, not first, and I said why while I worked. Below you will find the sizes I named and the order I took them in. There is also one spot where I held back, so I would not hurt the grape next door.
The tools for wood carving grapes, in the order I used them
- First, an 8 mm number 2, for a little more accuracy.
- Next, the 5 mm one, also a number 2, to clean the wall of one hole.
- A skew knife after the two number 2s, tip aimed down, into the spots where grapes meet.
- The same skew again, a bit deeper in each triangle.
- No V tool for the outlining.
What size gouge cleans between carved grapes?
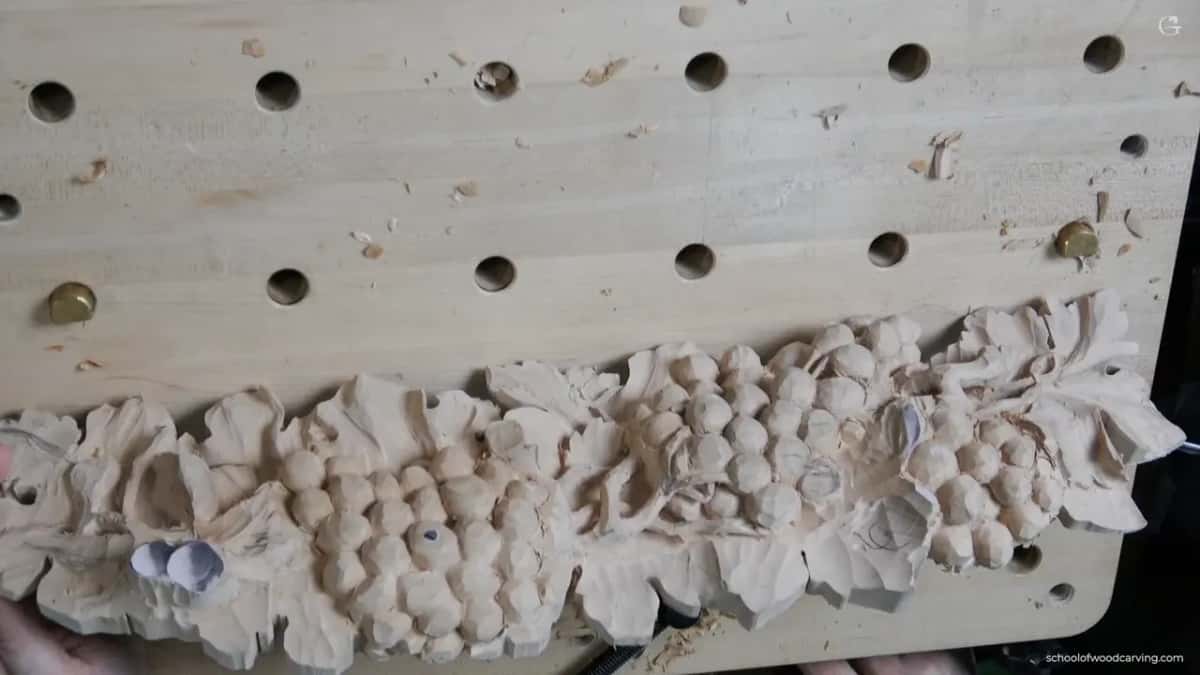
The 8 mm came first here, and the 5 mm came after it. Those are the two gouge widths I named for the gaps. I switched to the smaller tool once the grapes had a rough shape and I was working on one I really liked. I love the position of that one.
The number 2 was about accuracy. It gives me a little more of it in there. Number 3 would give me too much sweep. Maybe even smaller, I said, because I had a few tight sections right there. So the 8 mm kept going where it fit, and the narrower one waited. With it I also gave one grape some roundness, since right then it was a little too choppy.

The 5 mm came out when I wanted to clean up one wall a little. Same sweep, only narrower, and Swiss made. It fit perfectly inside that hole. A video in the tools course covers why I reach for Swiss made tools so often.
One more tool showed up late. One grape still looked a little choppy, and I said a number 7 at 14 mm (about 9/16 in) could give it a better shape, and I sliced all around it to get rid of those facets. You are still going to have some. That one belongs to the rounding stage, though, and this page is about the gaps.

Why not start with the smallest gouge you own?
A too small tool leaves a striped wall. I put it plainly here. Too small tools in a case like this give me a real stripe result, and I don't like that. On the other hand, some areas need a smaller one, because you cannot reach them with the bigger tool.
Lesson 11 has the same habit, on two branches that ran close to each other. I had a 2.5 mm (about 3/32 in) tool in my hand and didn't want to change to a small one yet, if I could fit the bigger tool. The reason was shadow. A half millimeter (about 1/50 in) tool would have put those branches almost like connected, and you won't get shadow with the smaller tool. You can watch that in lesson 11. Later in that same video I said it once more. I'll try my bigger tool first, before I go to a smaller one. And that bigger tool was only two and a half millimeters.

Lesson 5 says it shorter. The bigger tool you use, the less clean up you have to do. So keep the wide gouge in your hand while it still fits. There is also a video on big tools and small ones in the techniques section.
Which number 2 is a number 2?
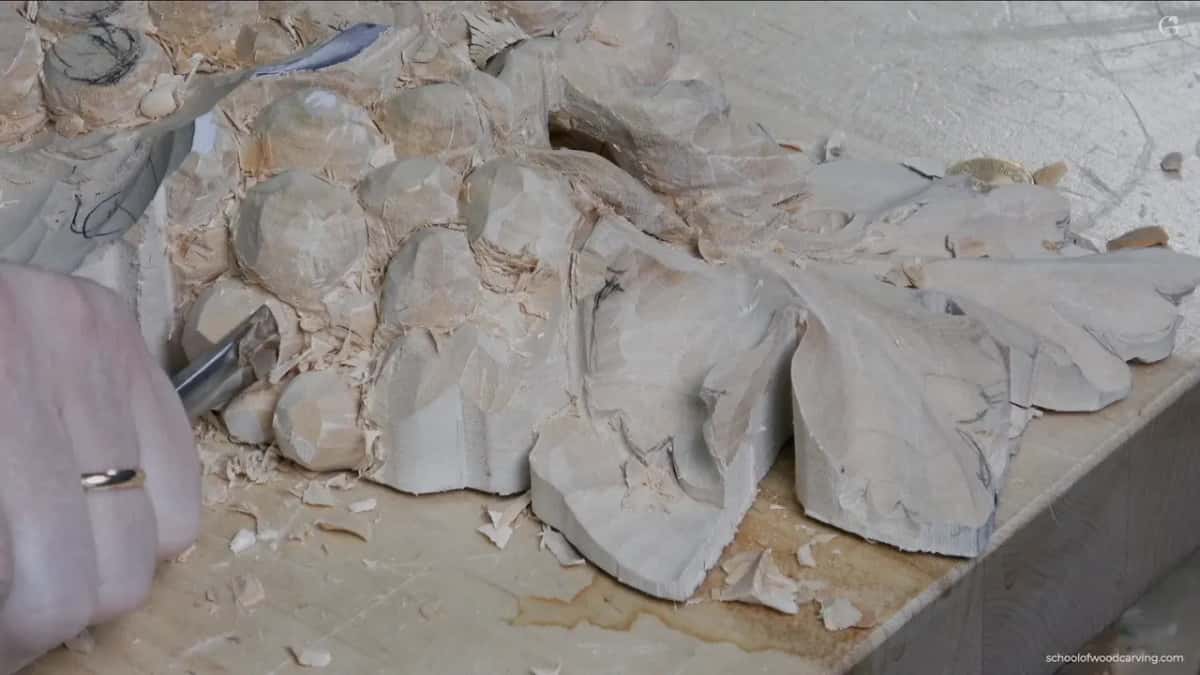
Sweep numbers change from country to country. Lesson 4 had a flat tool, just a chisel, no sweep. Number one in the European pattern, I said, and in England it would be number two. Lesson 14 had a number 3 of mine that was actually equal to number 2, about half an inch, 12 or 13 millimeters.

And in lesson 7 a flatter gouge, a number 4 at about a quarter inch (6 mm or so), was equal to number three if it's a European. One video earlier than this one, I grabbed a bigger number 3 just to prove a point, about 19 millimeters, three quarters of an inch. Even with that tool, I said, it's not really about the tool matching the exact profile. Use just a corner of it, and you can get pretty much any profile.
Look at the handle in the first picture on this page. Its stamp says 2/8, right after the words Swiss made. The Cabernet tray course has me reading a marking like that out loud. For a 9 and 20, the 9 is the sweep. The second number means 20 millimeters, a little bigger than three quarters of an inch. So 2/8 is a number 2, 8 mm wide, and the narrower one says 2/5. That same video says a number 2 has almost no curvature.
Number 3 will do, I said in lesson 13, and number 2 will work. I grabbed the number 2, five millimeters, three 16ths of an inch, for two tiny spots. Not a fishtail, I said, but it's okay.
How do you get a gouge into the hole between three grapes?
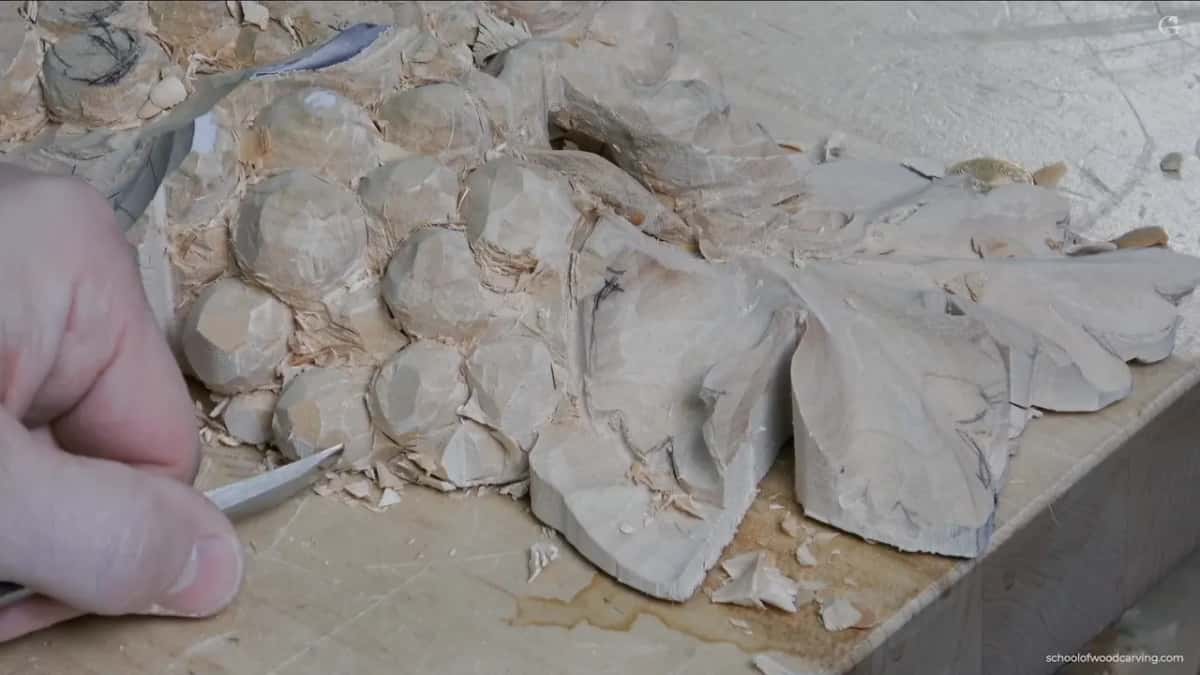
Narrow enough to fit, then slice. My 5 mm went right into that hole, and I used it to clean up the wall a little. I could probably undercut slightly there too. But I didn't want to damage the neighboring grapes too much while I was making that cup.
That is the line to watch.
One video earlier I said why. Dig too deep, and you damage the neighboring grape, and then you spend a lot more time cleaning up.
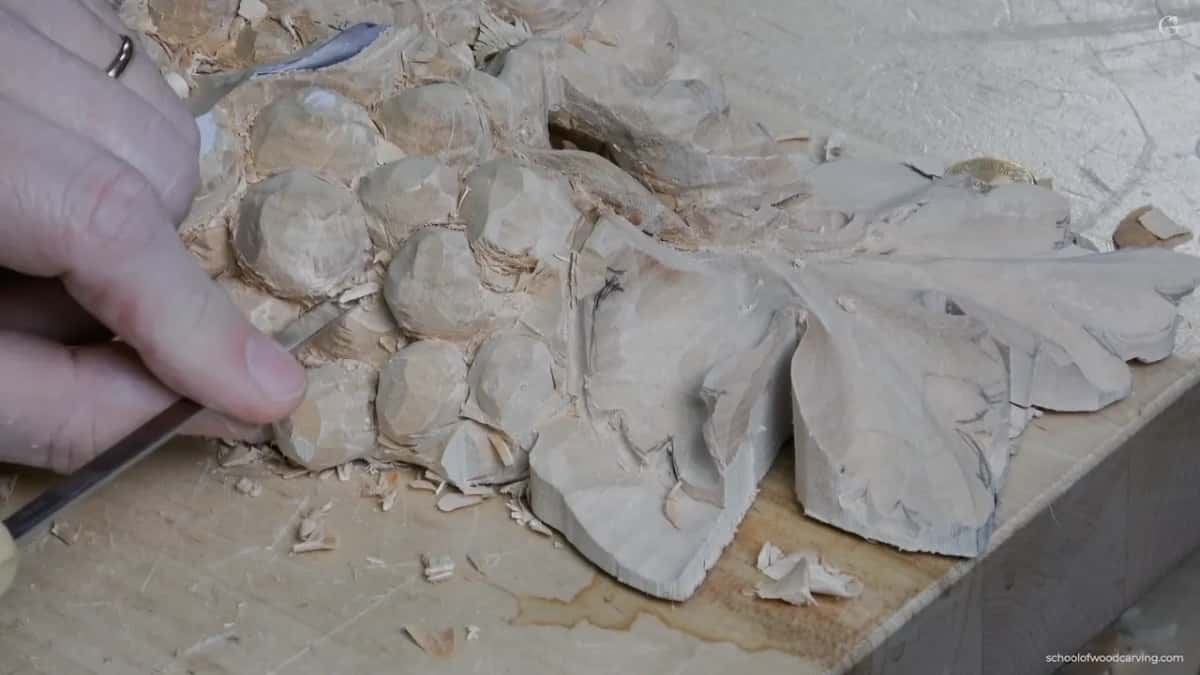
Even a pass that small is a slice. Near the end I said it again: I am still not pushing. Even a micro pass, if you saw it in slow motion, is still a slicing motion. A tool pushed straight down digs its whole bevel into the fibers of the wood grain, and I would rather slice than fight it. The slicing pass has its own video, over in the techniques section of the site.
Can you carve by pushing instead? Oh, absolutely, I said in the first video of this lesson. I think a lot of people do. I would still prefer to slice, so I don't have to fight it or get tired.
When does a knife do it better than a gouge?
In the tight corners, where the grapes meet. I said I could use a knife there if I wanted to, and then I did. I took a skew knife to clean a little inside, and I put the point of it down. That way I can get into those intersections.
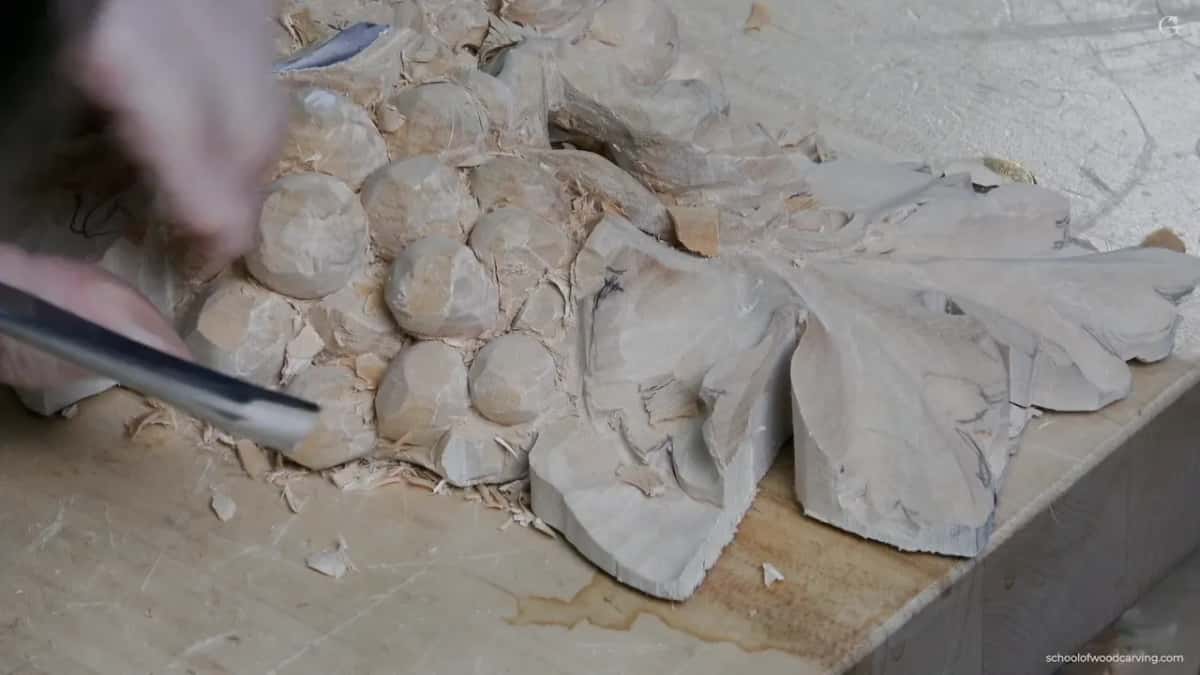
The knife got the same warning a video earlier. Make sure you get that intersection to a sharp point, and don't hold the knife at 90 degrees. Back in lesson 1 I used a cheap carving knife that just happened to be lying on my work bench. I kind of like how it's shaped. It doesn't matter what kind of knife you use there.
A small skew gets a word too. On a thin part in lesson 5, I said even a skew would probably work better, a small one, a quarter inch (about 6 mm). But it's got to be sharp, obviously. The skew is your friend. Every size on this page assumes a sharp edge, and sharpening is the work under all of it.
Lesson 12 adds a flat option for facets on the leaves. I kind of like those facets, I said, but if they bug you, take a flatter gouge, or just a skew chisel, number one, right on top of them. Almost no material comes out. You can see that one on the leaves in lesson 12, late in the course.
Why take the triangles deeper at the end?
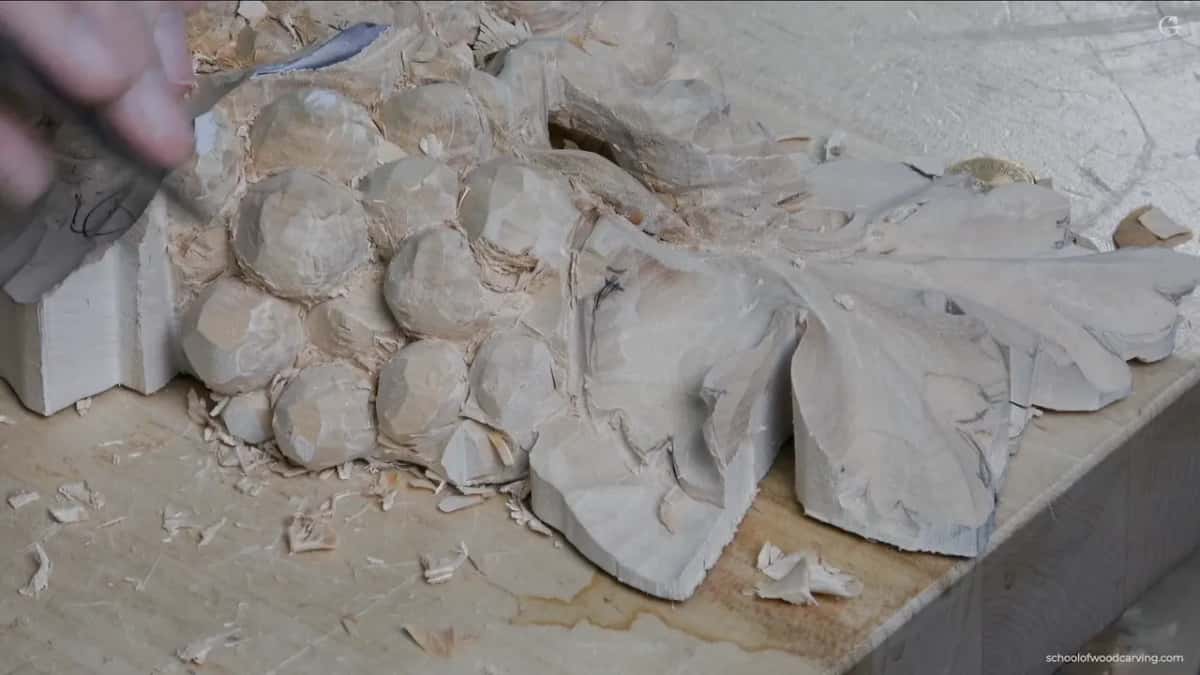
For shadow. With that same skew I went back in, cleaned up a little more inside, and took those triangle intersections a little deeper. That way I can create a really nice shadow. A triangle is where three grapes meet, and on this relief I aim for triangles, not squares.
As I said in lesson 11, in carving you paint with the light and the shadows. Painters call that play of light and dark chiaroscuro. In that lesson I wanted to outline two branches with shadow. On this bunch it was the triangles, and the skew knife did that part.
Do you need a V tool to outline grapes?
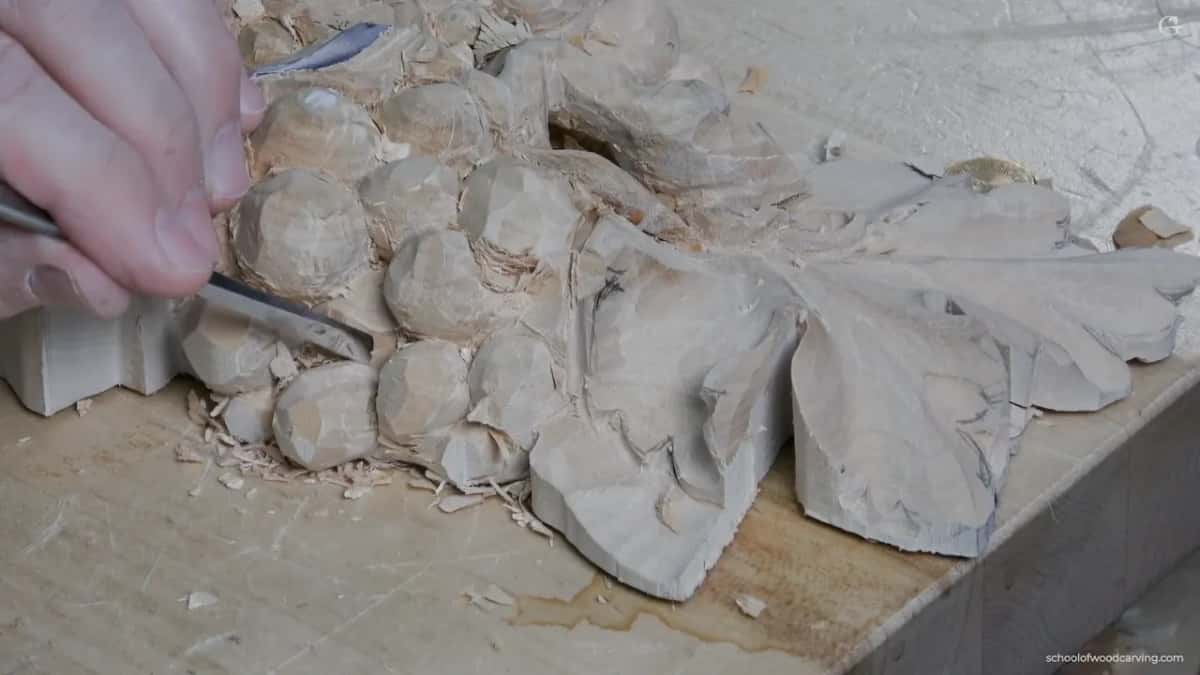
Nothing in this lesson called for one. Back in the first video of lesson 3 I outlined with the gouge I had used before, a number 3 or a number 2 of about half an inch (about 13 mm), and I went after the triangles first. I said it right there. I am not using any V tool or anything for the outlining. I dig only with the corner of the tool, and I slice in.
I do own one, though. Over in lesson 11 I had a small part of a leaf to excavate under, and since I don't have to be authentic to any period, I took a 35 degree V tool, which matches a number 16. I really like it. Using it a lot isn't my habit, but I like how it handles. On these grapes the gouge and the knife were enough.
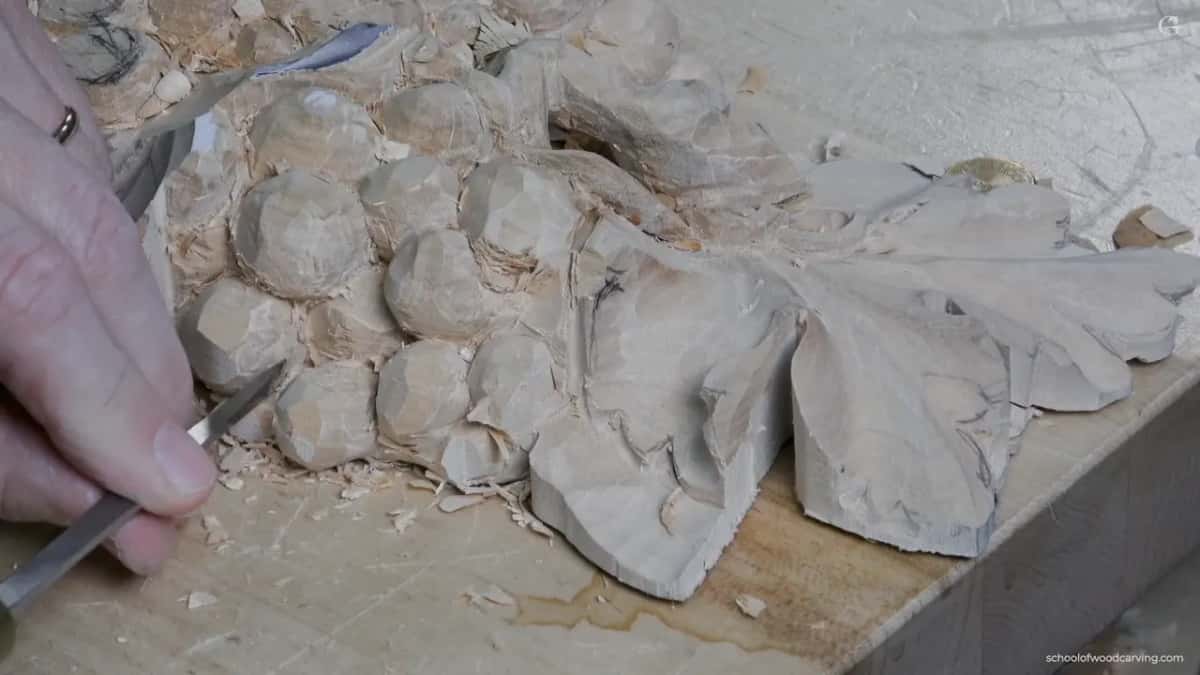
What matters more, one clean grape or the whole bunch?
The whole bunch. Many times I don't really worry how clean the outcome gets, I said early on. I can always go back and clean it. Later, with the skew in my hand, I came back to it. I don't really worry about how it looks as of now, and all I worry about is how it looks overall.
Near the end I looked at a smaller section and said I still had to blend it nicer. But I don't want to scream with that section, because it's smaller than the other one. That section is not the main idea. The main idea is going to be those guys. Picking a main idea is a design question, and the furniture panel design course talks about a second focal point.
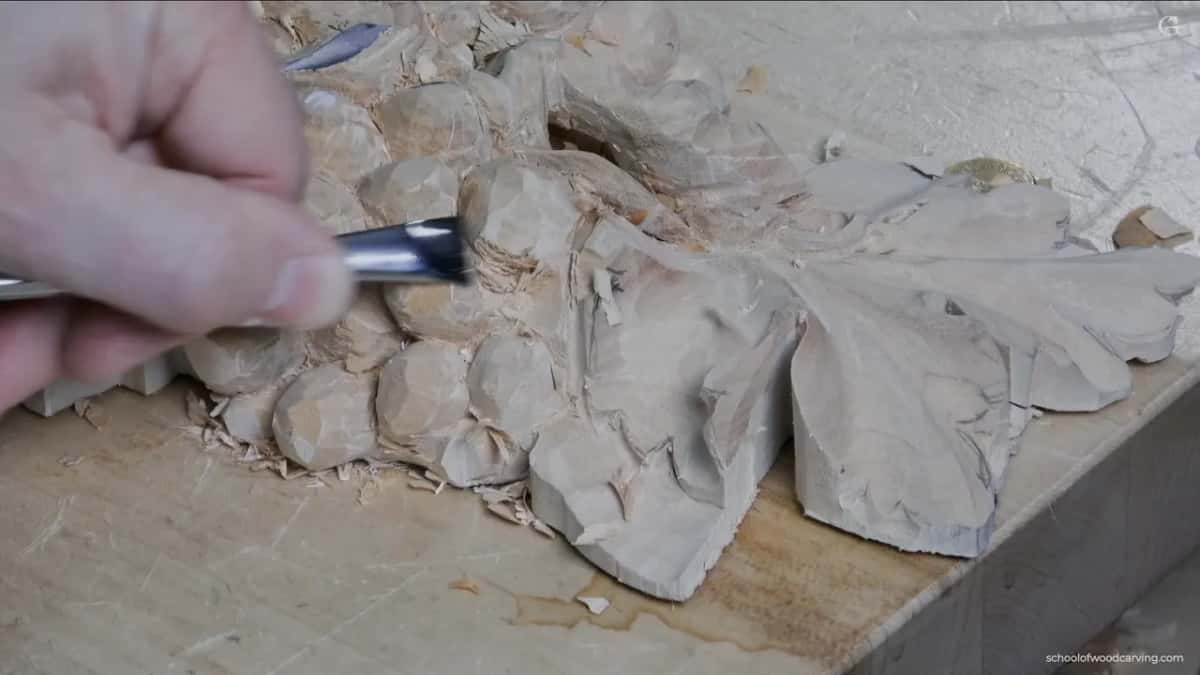
This video left the bunch rough in places, and that was fine. I was kind of happy with some of the lower spots and with how it looked overall. Finding the triangle, then the grape, is pretty much the technique I use all the time to block in, and I have carved plenty of grapes in my career. They go on mantels, a kitchen hood, above the doors, or just on the wall as a piece of art. A couple of grapes on one side were still waiting, and leaves were coming soon. My board for this course is basswood, named in lesson 1, and the Wood Database lists how soft it is.
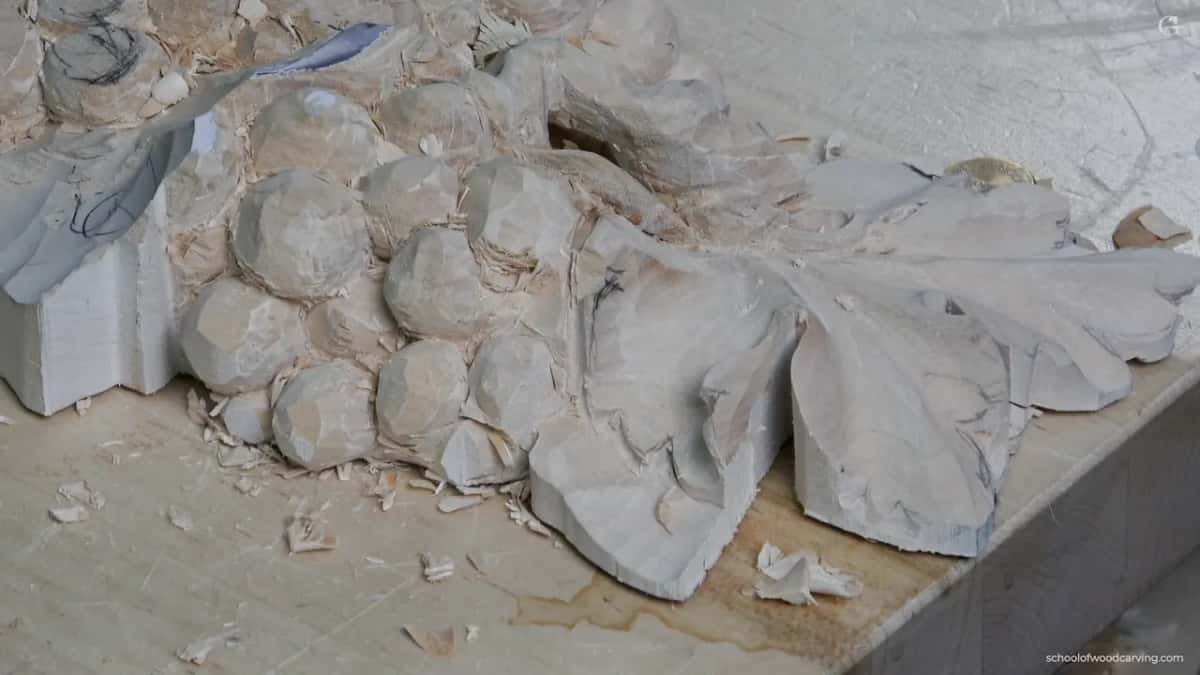
Detail carving tools I used on this bunch
| Tool | What it did | Stage |
|---|---|---|
| Gouge stamped 2/8 | 8 mm (5/16 in), more accurate than #3 | after blocking the grapes |
| Gouge stamped 2/5 | 5 mm (3/16 in), fit into one hole | to clean one wall |
| A skew knife | point down, into the intersections, cleaned a bit | after the narrow gouge |
| Same skew again | dug the triangles a little deeper, for shadow | straight after cleaning inside |
| Number 7 gouge | 14 mm (9/16 in), sliced to lose facets | on one choppy grape |
Five rows, one bunch. None of these tools is rare, and the order matters as much as any one of them.
Real bunches show voids between the grapes, and the grape page on Wikipedia has photos of them. I doubt you have the tools for that, I said. A carving is no copy of that, though. It's closer to carving what the eye needs to see a bunch.
Want to watch each of these tools go in, in close up? Every slice is in the course. Every course in the school is on the tuition and access page, and this one starts on the Carving Grape Onlay page, with this lesson at lesson 3. If your drawer is still short of a number 2, the tools course helps.
How it's done
- Stay with the wide gouge. I keep the gouge already in my hand while it fits, and I go after the triangles first. No V tool for the outline.
- Go down to the 8 mm. When the space gets tight, the number 2 at 8 millimeters (5/16 inch) comes out. There it beats a number 3 for accuracy.
- Fit the narrow one in. The narrow one, 5 millimeters (just over 3/16 inch), goes into a hole and cleans its wall. A slight undercut is fine, but I stop before the next grape gets hurt.
- Open the corners with a skew knife. Tip down. Then the knife reaches the intersections and cleans a little inside.
- Dig the triangles deeper. Same skew, back into each corner where three grapes meet, a bit deeper, so a dark spot opens between them.
- Look at the whole bunch. I don't worry how one spot looks right now. All I worry about is the overall look, and I keep the smaller section quiet.
Frequently asked questions
Is a number 2 gouge flatter than a number 3?
On my grape bunch the number 3 had more sweep than I wanted, so the 8 mm (a hair over 5/16 inch) number 2 came out instead. Watch the maker's country, though. One of my number 3s in lesson 14 was really the same as a number 2.
Which knife gets into the corners between grapes?
With a skew knife on this bunch, the point aimed down at the meeting spot. I cleaned a little inside with it. A cheap carving knife did the same job in lesson 1, just because it was lying on my bench, and I like its shape.
Does a carved grape need a fishtail gouge?
My 5 mm number 2 in lesson 13, three 16ths of an inch, was not a fishtail, and I said it was okay. I poked it down into two tiny spots from above. On this bunch the narrow one I used was Swiss made and went right inside one hole.
What to carve next