

Alexander Grabovetskiy, woodcarver, School of Woodcarving · Published 2024
How much wood should you take off at a time when you carve?
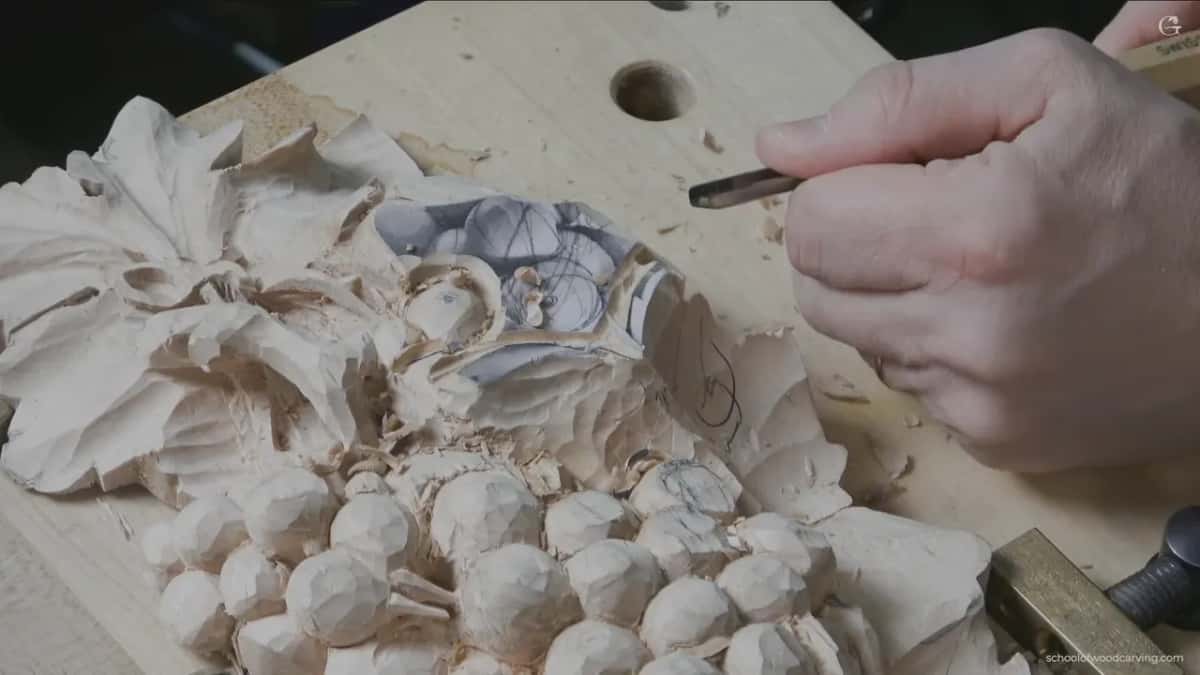
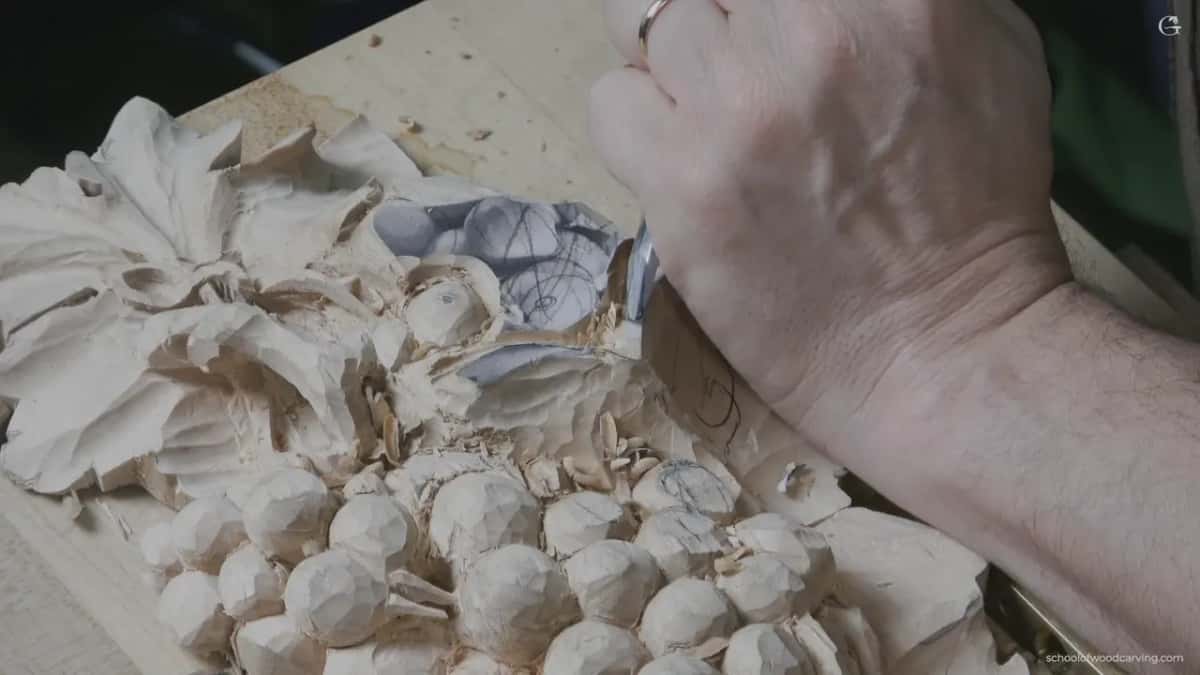
Quick answer: Wood taken off with one pass is, on my grape onlay, roughly 1/8 inch (about 3 mm). Then deeper. I work around each grape, tidy it with that gouge, and keep slicing even when the pass is tiny, and my mallet work on a big Venice Room panel took close to a quarter inch (about 6 mm) each time.
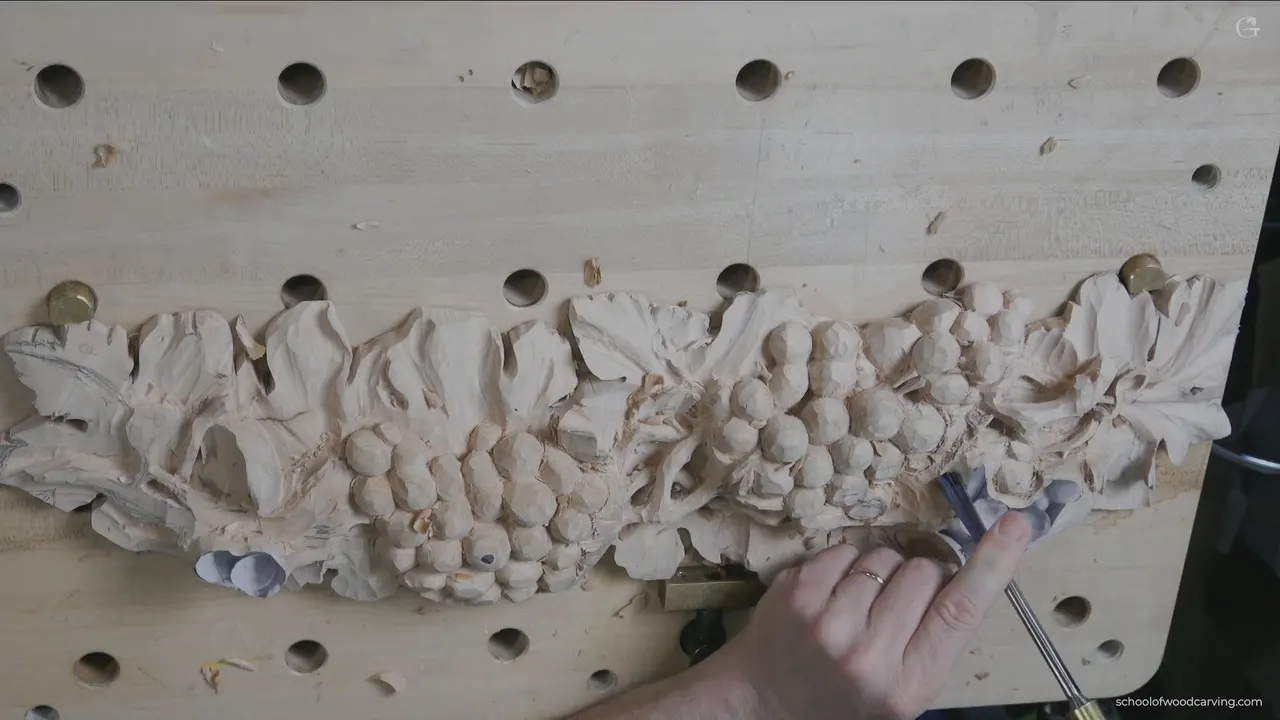
Wood taken off with each pass is, on the grapes in this video, about an eighth of an inch, 3 mm. The gouge goes around the grape, then deeper, and then I clean, all with one tool. Among relief carving tips this one has a number, and the number changes with the job. Mallet work on a big relief panel took more. Next to finished work, a millimeter.
Want to go deep without losing the wood you meant to keep? Would you rather take a little and look again than glue a piece back on? Then keep every pass small, and let me give you the figures I said out loud on camera, in this course and in three other projects.
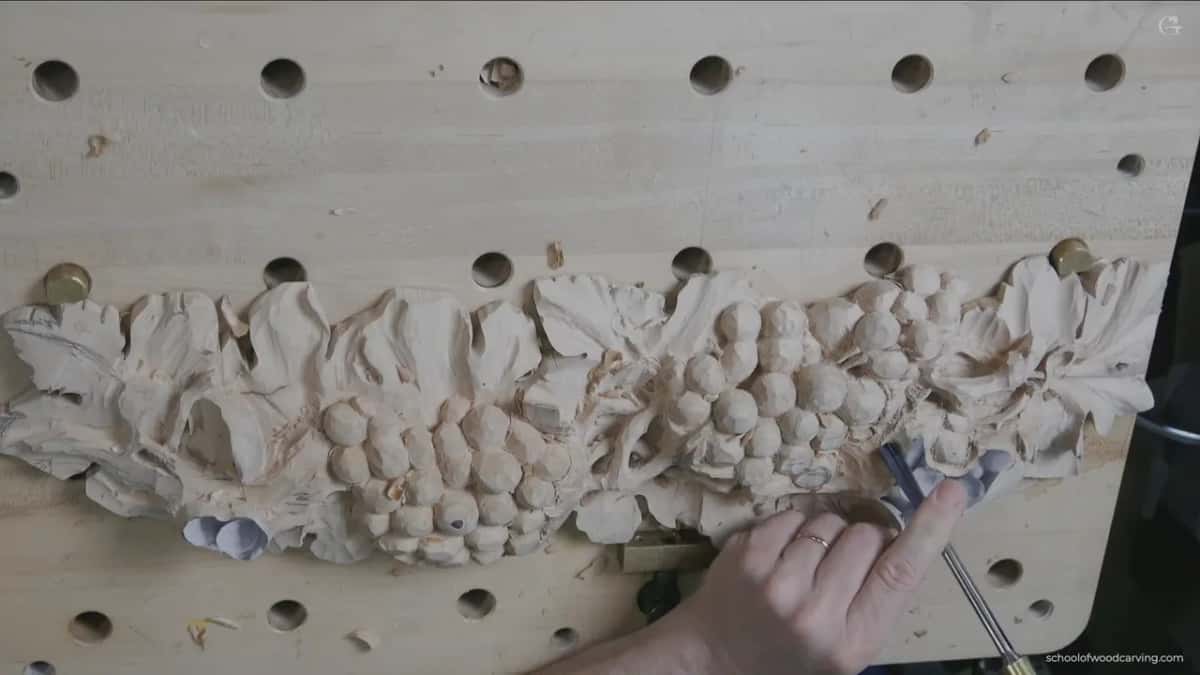
One pass, in six short lines
- On this bunch each round takes a thin layer, then the next goes deeper, then I clean.
- A tiny pass is still a slice.
- A deep stab next to a grape damages its neighbor.
- Where a big chunk is left standing, I said a little deeper excavation goes there.
- The Venice Room panel, worked with a mallet, took roughly six millimeters each time, and I called that a sweet spot.
- Near finished work my passes drop to one millimeter (about 0.04 in).
How much wood do I take off with each pass on a grape?
Roughly an eighth of an inch, maybe. That was my figure about seven minutes into the video. I went around the grape with the tool I had shaped it with, took about that much, went deeper, and cleaned it again, just like that.
Before that, at my second triangle, I said I could probably get it a little deeper. Just before the eighth-inch line I said let me excavate it a bit deeper and finalize this movement. Deeper came in steps.

A small pass is still a slice in my hands. I told you on camera that if you could watch it in slow motion, slicing is what you would see, and the surface it leaves is a lot cleaner. Left or right doesn't really matter. I go whichever way feels more natural at that spot. The last part of this lesson has me saying it again about a micro pass. Still slicing. This bunch belongs to my grape onlay course, and this video is the first part of lesson 3.
Why not dig the whole depth in one go?
One deep dig hurts the wood beside it. In lesson 2 I said it while the corner of my tool was going in between grapes. Don't dig too deep right away. You can always make it deeper later, but go deep at once and you damage the neighboring grape, and that is really hard to fix later. Try to dig little by little.
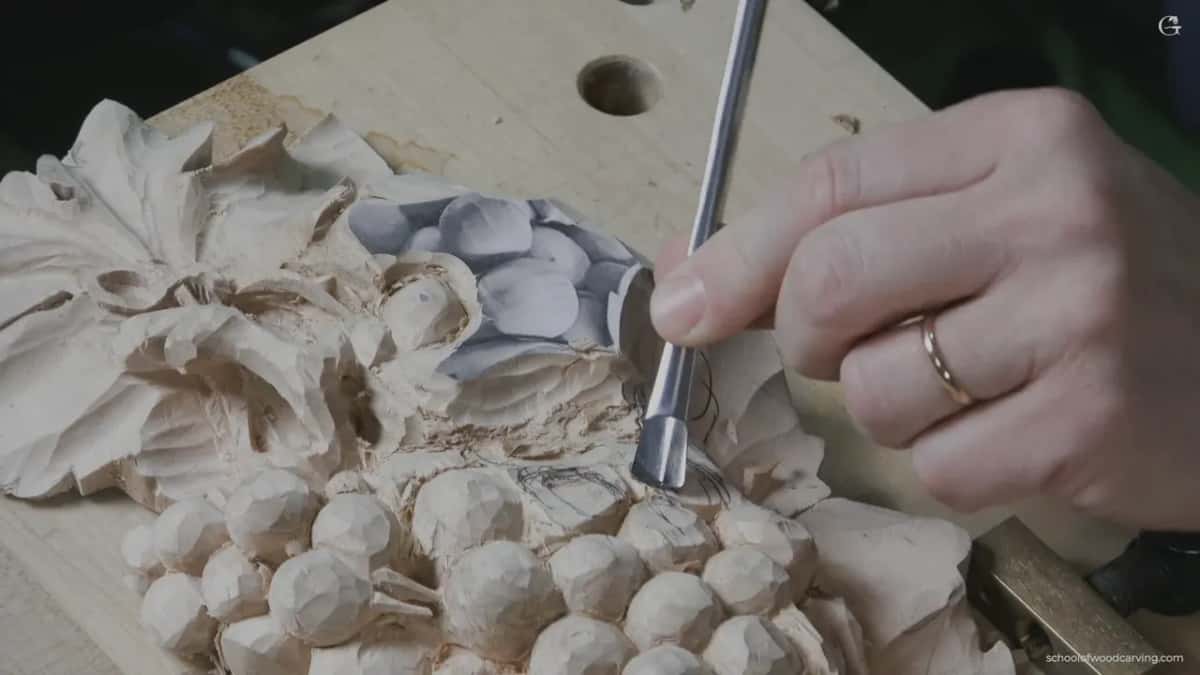
I came back to it in the second part of this same lesson. A deep pass that runs into the next grape means far more cleanup afterward, so stop before the edge hits the next element too hard. That one goes for pretty much any carving, not just grapes.
There is a second reason, and it is in the steel. A gouge is a chisel with a curved edge, and it is still a wedge. Stand it straight up and shove, and the whole bevel goes into the fibers and loads them with stress you never needed. Carving like that is possible, and I think a lot of people do it. I'd still rather slice. I don't have to fight it, and I don't get tired.

How do you know a spot needs another pass?
Look at what's still standing. In the last minute of this part I said maybe a little deeper excavation here, because I could see a big chunk, and it was a little too much. Earlier, at about ten minutes, I said of another spot that all of that is waste and I have to take care of it. Small moves count too. Six minutes in, my words were maybe even open up this area slightly, and at one triangle past fifteen minutes I said get it from this side.
A grape can stand too tall as well. Around fifteen minutes one of them was a little too high. You could tell by the paper I had left on top of the grape that has to stay the highest in that bunch, so my words were that I'd chop the tall one down slightly. Setting a high spot and bringing the rest down is in the lesson before this one. Then I said I could take those down right away, maybe with the skew, and make that lower.
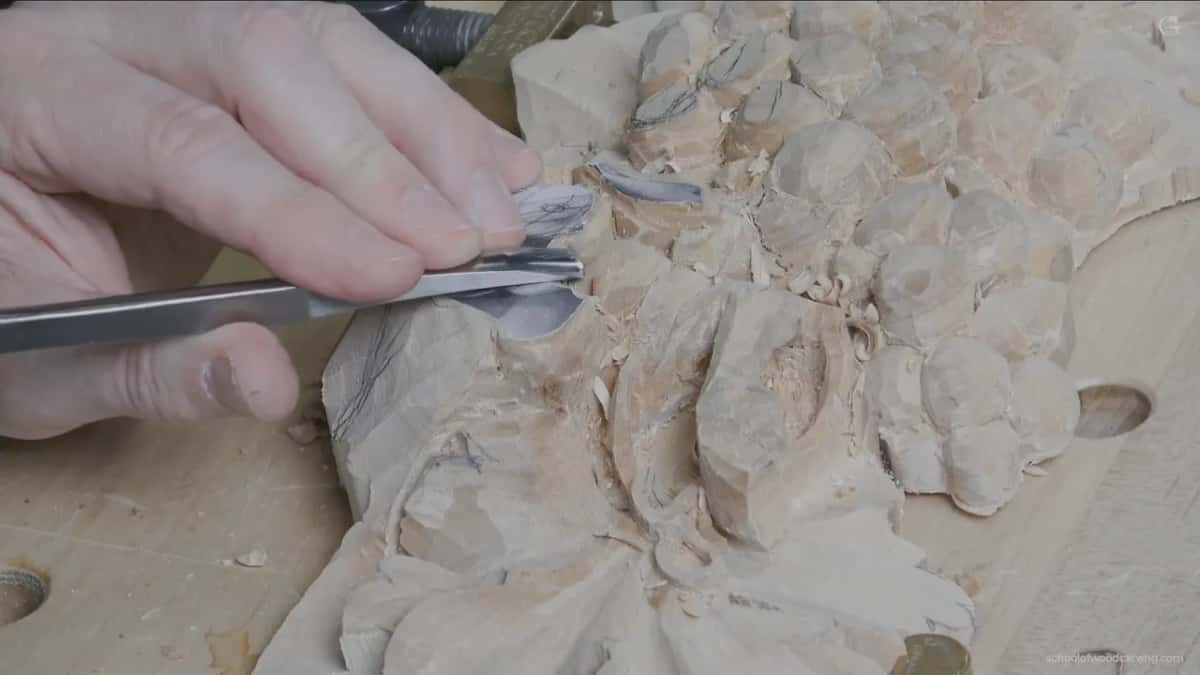
All of that is still the rough stage. Those last seconds of this part had me say it again, the idea is to give an overall shape. The grapes are not final yet, as I put it in the next part.
When is one shallow pass all you need?
Next to a leaf that runs uphill over the grapes. I had already removed material on one side of it, and digging hard on the other side could put too much stress on it and break it off. A number 11 went in instead, four millimeters across (about 5/32 in), and ran a channel along the leaf outline.
And the depth? About four millimeters, a little more than one-eighth, in my own words. I didn't want it too deep. That was all I needed. The wood for the future leaf stayed, and after that I could outline the big grape beside it with my number 5, this way or that way, without the stress.
What do you leave in place for later?
Anything a later movement still needs. At nine minutes I pointed out the stems, one of them going right underneath, and said I don't want to carve what I don't have to carve. So I kept some material for those movements and for some kind of movement I planned right on top of the leaf. Right before that I was slicing and starting to undercut, just a little bit. At fourteen minutes there was a grape that will go right underneath those overlapping movements. I only put the idea of it in place, and said you'd see it later, and that it would help you a lot.
On the hazelnut panel the same thinking went into an edge. I said to keep it straight down toward the background, or better, sloped outward, and not to undercut it. You can always take material out later.
Do you take more with a mallet on big work?
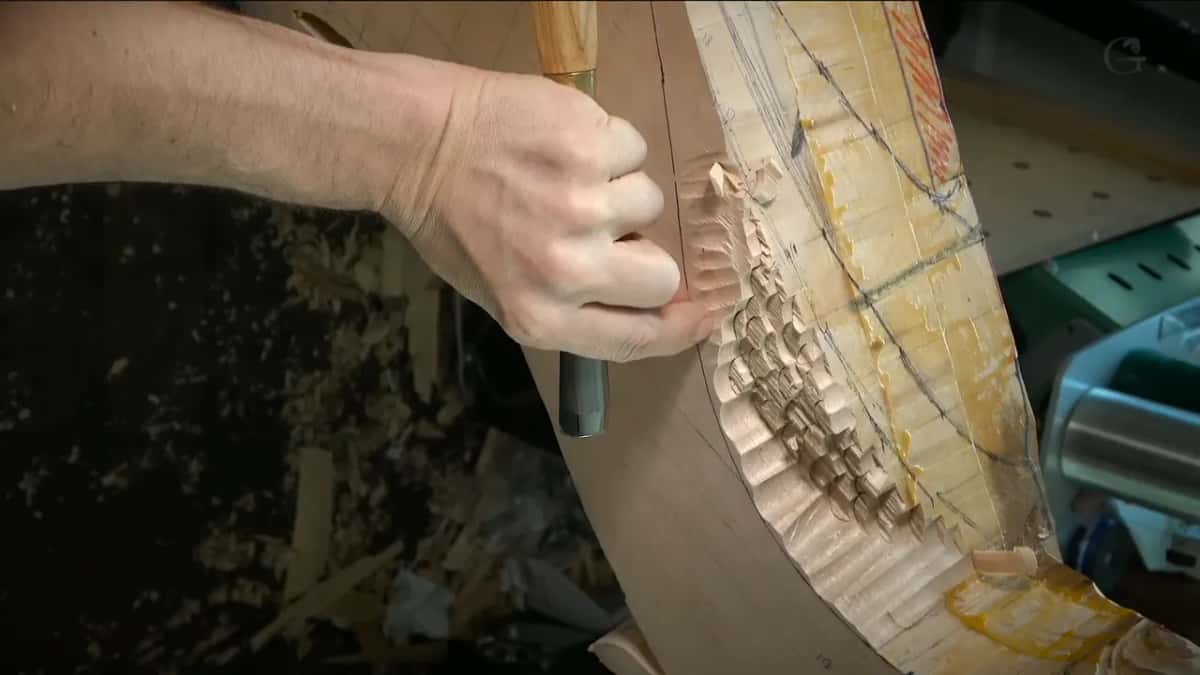
More, and still a set amount. In workshop 85 of the Venice Room the block was five layers of two-inch wood (about 5 cm each), super heavy. I took a number 9 gouge and a heavy mallet, about 30 ounces (about 850 g). Mine has a rubber head, because it protects my handles and makes less noise. I worked down in small bites, almost to the line, and stopped about six millimeters away, a quarter inch, because a clean pass later felt safer. I could attack from both directions there. One way, though, the fibers split and crack and I could lose my backside, so I'd probably need to relieve it somehow, I said.
Each pass there took about six millimeters, about a quarter inch, three-sixteenths sometimes, about five millimeters. I called that a really sweet spot. Where I reached the spot I had to stop, I started again on this side and got a little closer. The one thing to keep an eye on is force, because more force gives you a much deeper pass. An ounce is about 28.35 grams, so 30 ounces comes to about 850 grams. I also watched the grain there. Straight down, or the wrong way along it, and the wood can split, so I went across the grain at about 45 degrees.
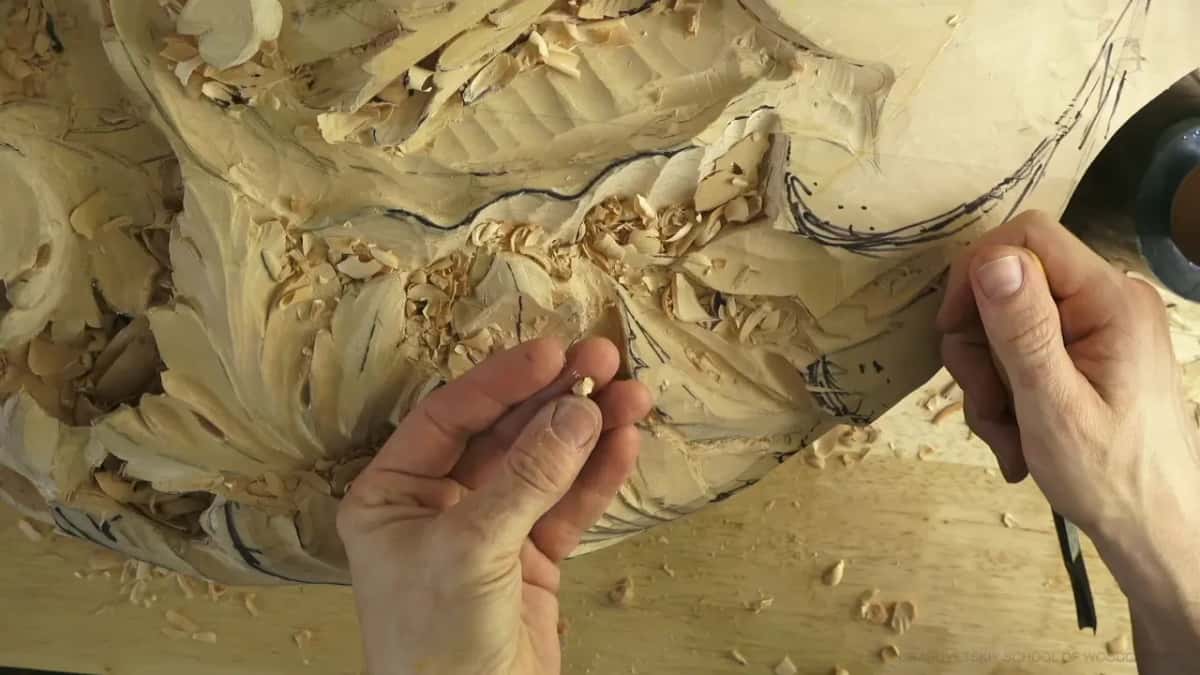
Later in that workshop, on the drop, I kept to a quarter inch per round but went carefully. Force it there, I said, and it splits, and then I lose a big chunk. I didn't want to do that. So I tested it from different angles first. Then a trail showed up on the surface, which meant my tool was getting dull. I left it for a little later and kept going, and again left a quarter inch from the line. A dull edge is its own lesson, and stropping and honing gets a page of its own, with the sharpening basics behind it.
After the number 9 came a flatter gouge, maybe a number 3. With it I got really close to the line and left about one millimeter, no more than that, because I didn't want to spend too much time on it.

How small can one pass get?
One millimeter. In workshop 53 of the Venice Room I was making holes for shadow. A number 9 a quarter inch wide, six millimeters, got me deeper, then I went to the three millimeter one, an eighth wide. I went about three millimeters at a time there, every one roughly an eighth deep. After that, I said, comes a number 9 one millimeter wide. See how beautiful those plugs are, I said there. Every pass went to the same hole, and I said it would be invisible to the human eye. The point was the shadow. That hole was already outlining the main movement.
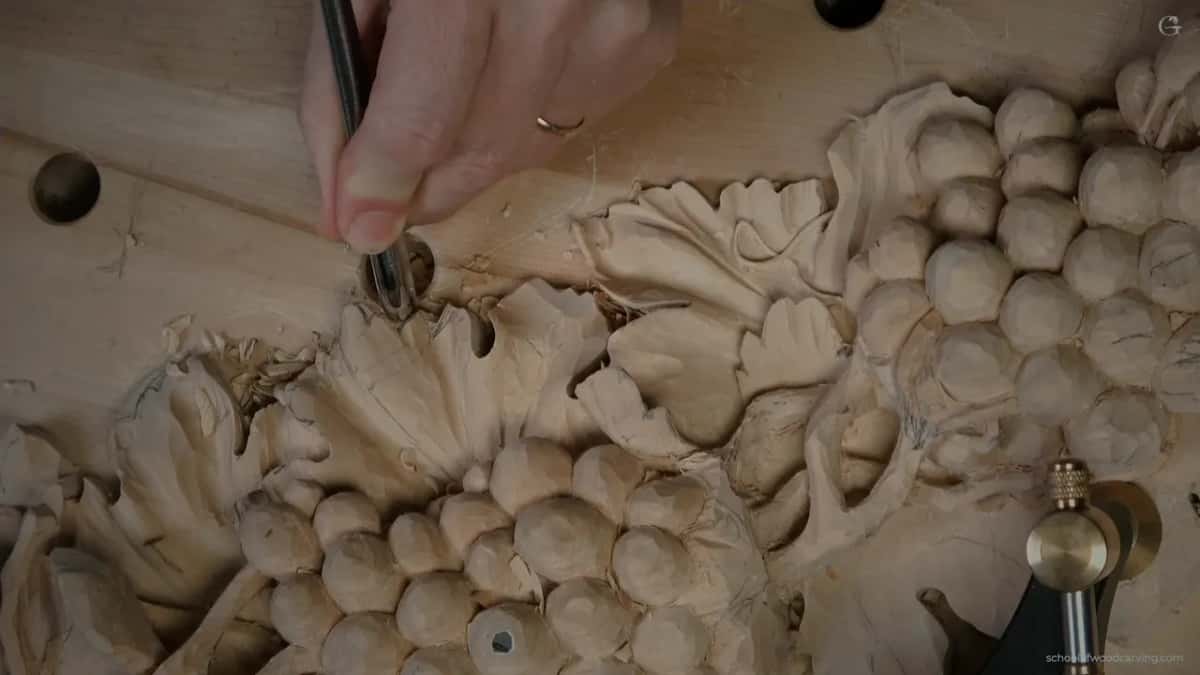
Back on grapes, in lesson 8, I worked a leaf with a number 11 seven millimeters wide (about 9/32 in), flute upside down at six o'clock. Small, small passes went in, each about one millimeter, and I had to be careful. The worry was breaking what I had carved before. Slicing the whole way. Then I went smaller, a number 11 two and a half millimeters in size (about 3/32 in), with the flute still upside down, and did the same on a smaller scale in the subdivisions.
The hazelnut panel had a version of it too. I first stayed away from the design, a quarter inch (6 mm) in some spots, an eighth (3 mm) or three-sixteenths (about 5 mm) in others. Then the plan was to come in from above almost to the line, about a sixteenth away (about 1.6 mm). My plan was also not to take more than one-eighth, scooping with that rotation motion.
| Where | Figure | Why |
|---|---|---|
| Grapes, this lesson | roughly one-eighth inch per pass, or 3 mm | then deeper, then clean |
| Leaf channel, here | four millimeters deep, a little over one eighth | keeps the future leaf |
| Venice panel, mallet | roughly six millimeters (about 1/4 inch) each time | a really sweet spot |
| Rounded drop, Venice | quarter inch (about 6 mm) each time, carefully | forcing it splits wood |
| Shadow holes, Venice | about three millimeters each, about one-eighth inch deep | for a deep shadow |
| Hazelnut design line | not more than 1/8 in, about 3 mm | scooped with a rotation |
| Grape leaf subdivisions | approximately one millimeter (about 0.04 inch) per pass | without breaking earlier work |
To switch between the two systems, one inch is exactly 25.4 millimeters, so an eighth is a little over 3 mm and a quarter is a little over 6. How deep the whole roughing stage stops is another question, and the Byzantine acanthus leaf answers it with its own number.
Should you clean up between passes?
I tidy it up as I go. On this bunch the pattern was around, deeper, and clean again with the same tool. At the tiny grape I added at about eight minutes, I cleaned it and said a number 7 would probably have done that cleaning better. But it was all right.
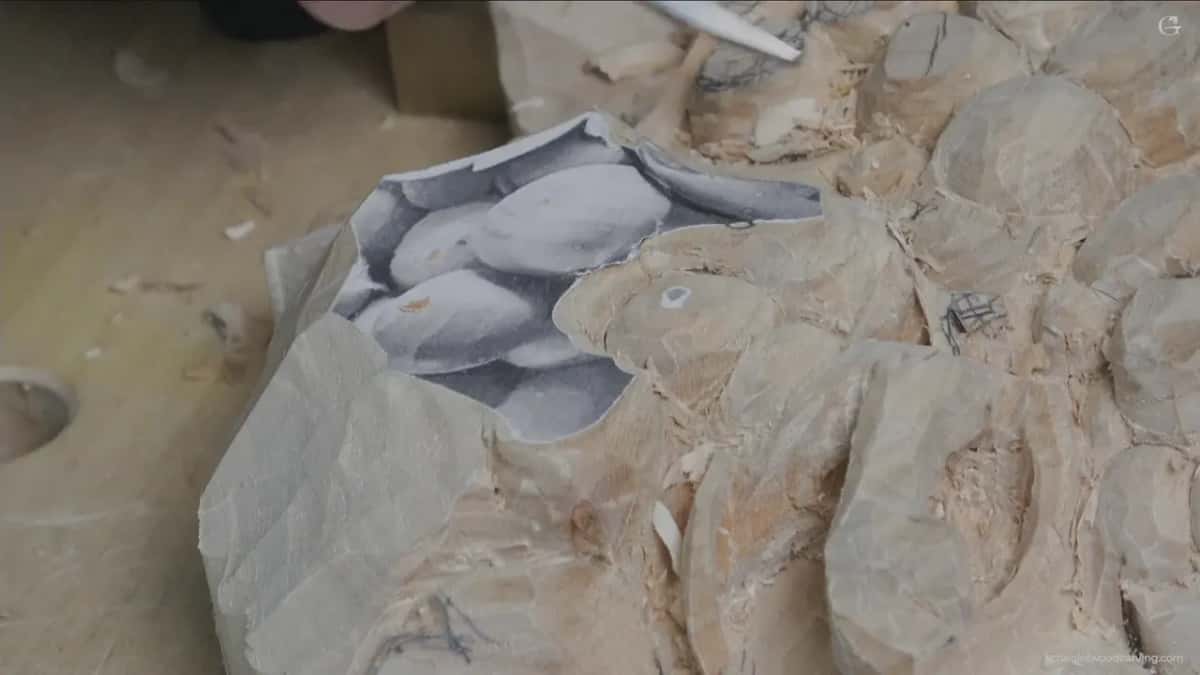
In lesson 2 I put it another way. If you want to clean up a little, peel it off thin, almost like an onion skin, and you watch the shape come in slowly. My concave passes on the vase with grape leaves went the same way, little by little without pushing too hard. They went down to a sixteenth of an inch (about 1.6 mm), or sometimes three thirty-seconds, a couple of millimeters, and then came a second pass with the same tool.
Tidying up is not the final cleaning. That waits until everything is done, because hands darken the wood, as I said in the closing minutes of this lesson and explained in lesson 1.
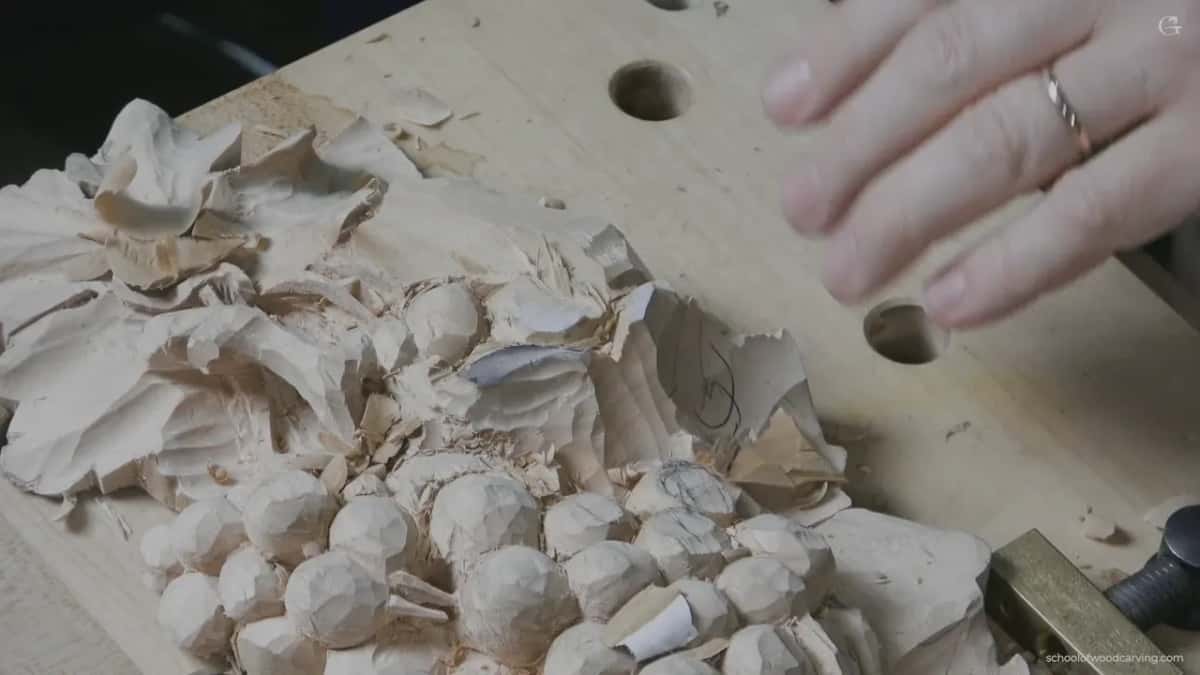
Grapes give you a lot of walls to protect, too. A real grape cluster can hold 15 to 300 berries, and every carved one has a neighbor that a deep pass can hit.
Want to watch the eighth-inch rounds go in, one after another, on a full bunch? Would you like to see the big chunk I called a little too much, late in the video? Then carve this onlay with me. All three parts of this lesson wait inside the school, and tuition for the school is on one page. Wood carving is slow work, and the tiny grape I squeezed in at eight minutes is in there too.

How it's done
- Take one thin round. One round of the gouge takes a thin layer off the grape, roughly three millimeters.
- Go deeper in rounds. Another round follows the same way, a little deeper, and I clean it again.
- Slice every small pass. Even a tiny pass is a slice, to the right or the left, whichever feels natural there.
- Stop short of the neighbor. I pull up before the grape beside it takes a hit. A damaged wall costs far more cleanup.
- Take down what stands too tall. A grape that sits a little too high, or a big chunk left over, comes down slightly, sometimes with the skew.
- Keep to the overall shape. At this stage the idea is the overall shape, so the final form waits for later.
Frequently asked questions
How deep should one pass with a gouge go?
Three millimeters or so on the grapes in lesson 3, and then I go around again. My mallet work in the Venice Room ran near a quarter inch each time. Beside finished work it can be one millimeter, and careful.
What happens if you go too deep at once?
The grape next to it gets damaged, and fixing that is hard. More cleanup follows, a lot more. Since deeper is always possible later, I go down slowly and stop short of the next element.
Does hitting the mallet harder take more wood?
More force takes you much deeper, so I keep an eye on how much force I put behind the gouge. On the Venetian drop I kept to a quarter inch and went carefully, because forcing it would split the wood and cost me a big chunk.
What to carve next