

Alexander Grabovetskiy, woodcarver, School of Woodcarving · Published 2024
How do you carve a knot of grape tendrils that goes over and under?
Quick answer: A tendril knot in wood is a few thin strands that cross on the board and keep going, one slipping under, then riding on top, then under again. On my grape onlay I thought the crossings through, marked out the moves with a small number 11, and sent one strand under where the part above it already bulged up.
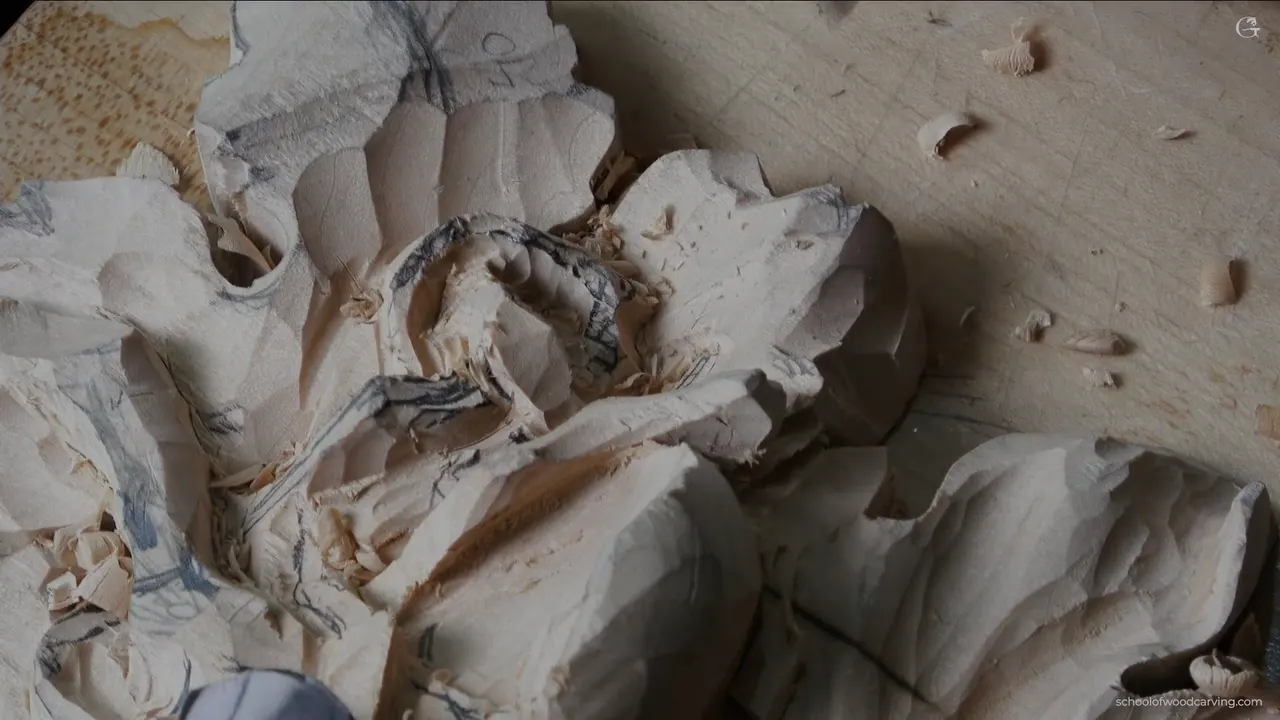
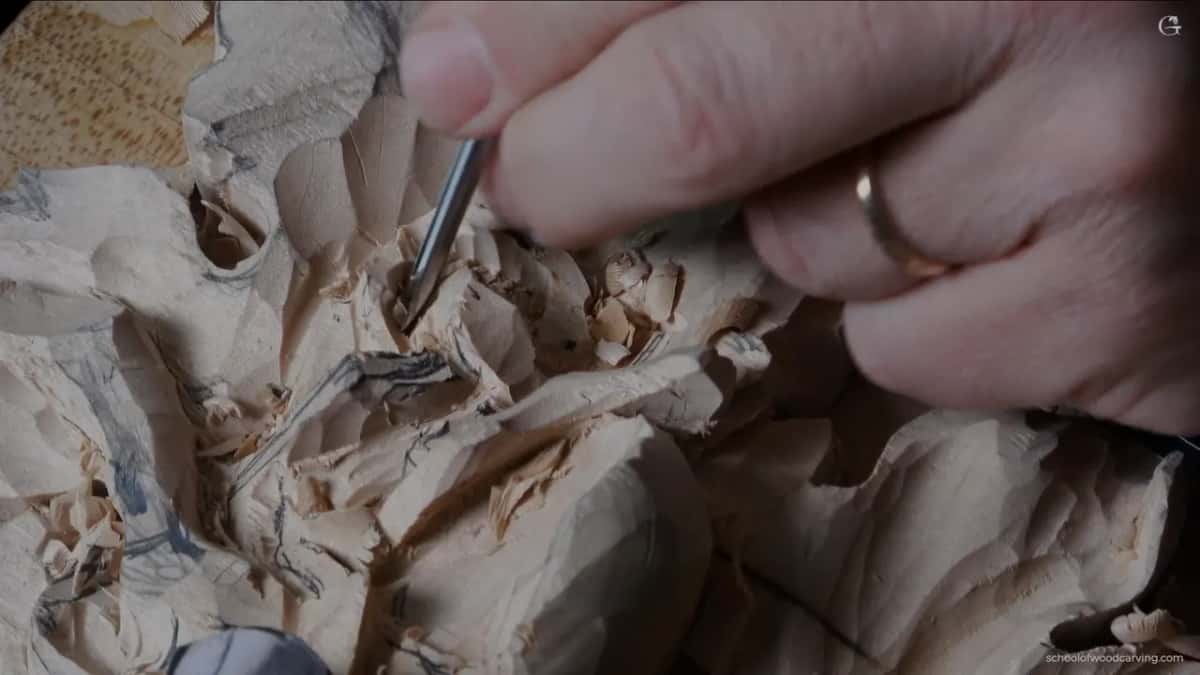
A carved knot of grape tendrils is a few thin strands that cross each other on the board and keep going where another part crosses them. Knotwork carving on my grape onlay, in this part, began with me saying lemme think, lemme think. The strand I traced goes under, then on top, then under again, and each crossing has to make sense.
This is part two of lesson 4 in the Carving Grape Onlay course, carved in relief, which its Wikipedia page describes as sculpted pieces that stay attached to a solid background of the same material. The first part opened room around the tendrils. In this one I worked out how they cross, and on camera I compared it to knot work.
Have you drawn two curls across your grapes and stopped, pencil in the air, not sure which one rides on top? Did one of them end hard against a leaf, like somebody chopped it off? Then do what I did here and think each crossing through before you dig deep there.
You get how I picked the strand that dives, how deep I went first, where one strand turned into another to save wood, and the straight down pass that let a strand die in.
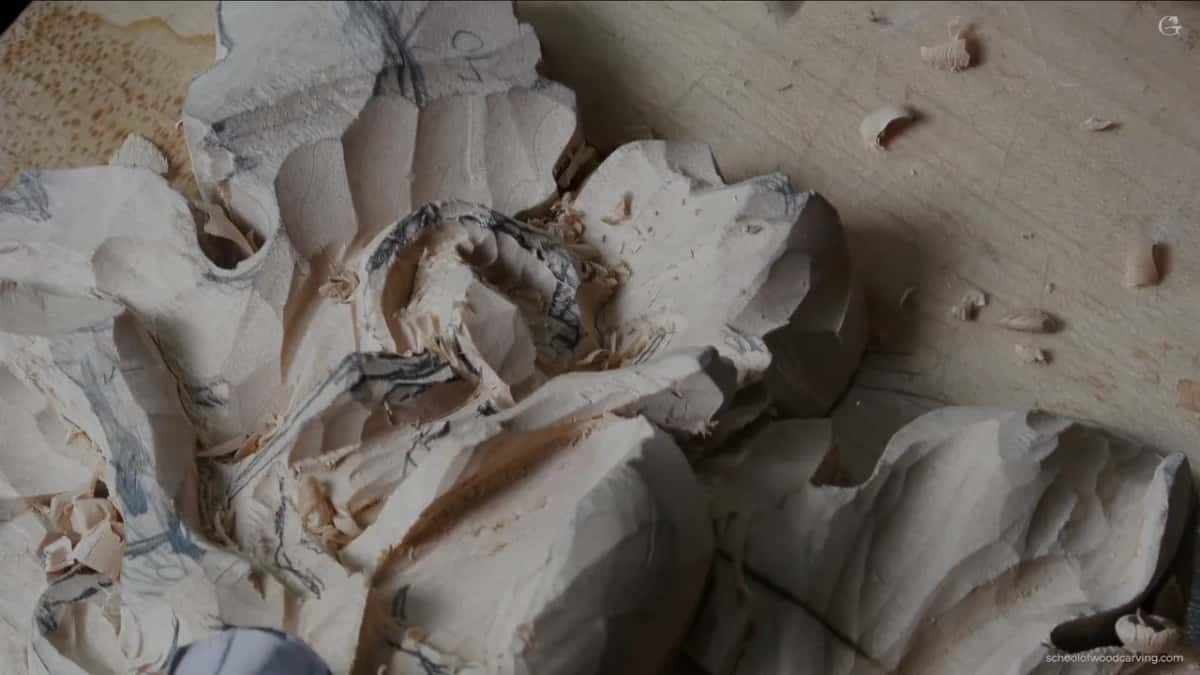
The knot in six short lines
- Where a part crossed my tendril, the tendril went right underneath, since a tendril has no split line.
- Where the part above already bulged up, going over would not have made a good knot.
- Small passes from a number 11 set the moves before any deep work.
- Sometimes one part goes under and becomes another, and then you dig less.
- Every strand has to end somewhere.
- To let a strand die in, I went straight down with a number 7, then leaned back to that cut.
Why does a carved tendril have to keep going?
My rule here came in the first seconds of this part. That is a tendril, I said, and you're not supposed to have a split line. That piece of it had to go right underneath the part beside it.
Then I had to think how to carry it on, maybe with a twist right underneath, and I hoped I had enough wood for that. Part one of the lesson had the same logic. A piece that already goes under has to come out somewhere on the other side.

About ten and a half minutes in, the same thought came back. It's got to have some kind of end somewhere. So I set the next motion and gave it a way to continue, right under one section and on along the other side.
Near the fourteen minute mark I traced one strand for the camera. It goes underneath, then on top of that part, then underneath again, and it needs an end right there. I wasn't sure you could see it. And it'll look good.
Later on, those tendrils get really thin, two millimeters at the most, maybe a 16th of an inch, 1.5 millimeters or so. The Wikipedia page on tendrils lists grapes among the plants that have them.

Which tendril goes under at a crossing?
On mine, by what was already there. At my first crossing I could have taken the tendril over the top. That would not give me a good knot, because the part there was already bulging up. It would look better going right underneath, so I stuck with that.
Next I wanted a twist. The movement would run all the way down, with something sticking up on top, and I wanted it to look like the same knot. I know it doesn't make any sense for now, I said, but it will once I get it done.

Not every crossing went that way. About thirteen minutes in I could see that one strand needed to rise above another motion and carry on along the far side, so I dug for it right away.
Close to the end of the part, another strand got a small twist this way, so it would lie right on the top.
The same thinking shows up in other work of mine. My Roman acanthus leaf had a movement I liked because it interweaves: one leaf goes underneath its neighbor and continues on the other side, and the same leaf, the one on top, then goes under a section of the next. The whole idea of acanthus, I said there, is interweaving.
On a furniture panel with tiny tendrils I didn't want to break them, and I asked the same thing out loud. Should I overlap above or below? I lowered that side of the leaf slightly, to about one millimeter (roughly 0.04 in), and another part felt like it needed to sit lower than the two beside it.

Can you plan a knot you can't see yet?
With small passes, set right away. Let me pre-establish those movements, I said, that way you will understand much better. The main motion went in first, then a line to one spot, then another intersection.
I set it once more. I'm just trying to visualize approximately to make that knot, just like a knot work. Most of the time I was switching between flatter tools and a number 11, so I could see what is going on.

Around the quarter hour it came together. Now it makes sense for me, at least for me, I told the camera, and it'll make sense for you too.
When I draw a furniture panel, the rule is close to the same. The idea is that everything has to interweave, organically connected. One line there just didn't flow, so I got rid of it.
This kind of ornament is old. Interlace, its Wikipedia page says, is a decorative element of medieval art where bands are looped, braided and knotted, often to fill a space. Most Celtic knots are endless knots, by their own page. In this lesson I called mine knot work, and it grows out of a grapevine.
How deep does a tendril knot start?
About three sixteenths of an inch, at first. Once the moves were set, I went somewhat deep, maybe about three 16th of an inch (roughly 4.8 mm), and took that part out with a flatter tool, a number 5.
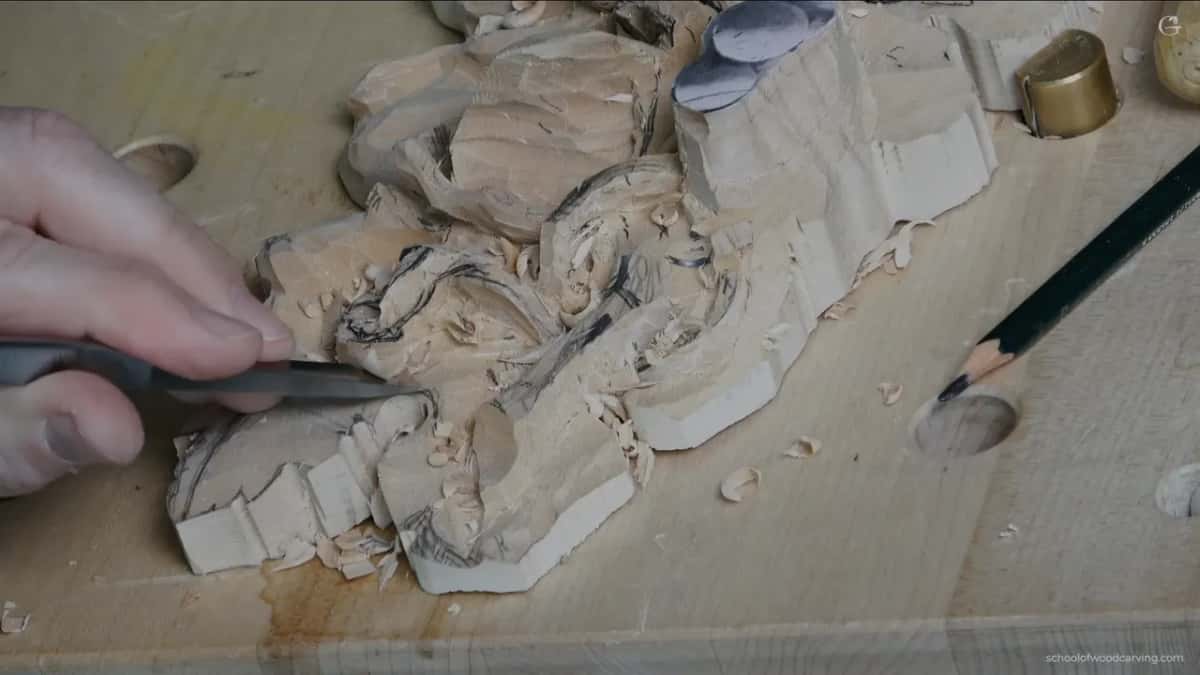
I want to use the whole body of the material. So the next pass went right on the inside, as part of the same motion.
Later I flattened one area slightly and took wood off the side to give myself a little more room. Then I had plenty, about 10 millimeters (close to 0.4 in) of room going down to that spot.
One section needed digging out, so a number 9 gouge, a quarter of an inch, about six millimeters or so, sank a plug cut there. That plug is my landmark. With it I won't lose my way in the knot, and for you watching it makes more sense too.
Can one tendril turn into another and save you wood?
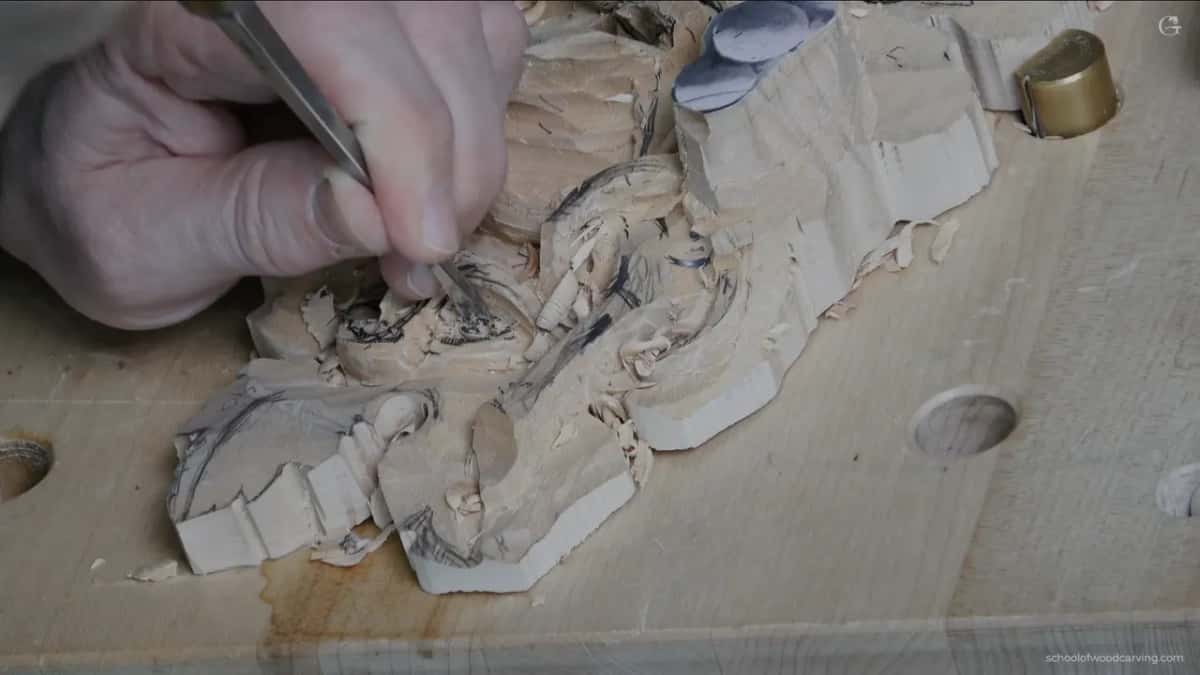
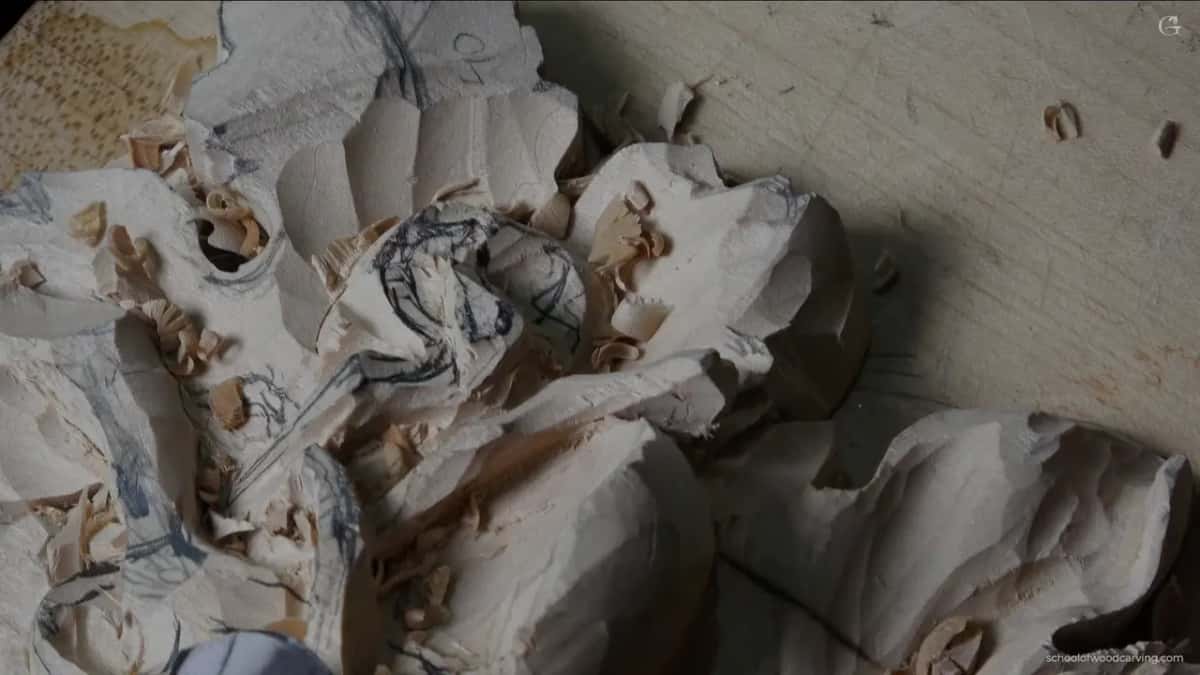
Here it did. A few minutes in I found the solution. This part goes right underneath and becomes that part, so I didn't have to dig much deeper in that spot.
The motion I had set earlier goes in under one part and carries on until it joins the next. That's going to be a really good network, I said. I have to tie that really nicely, so I don't use a lot of material in that section.
Three lessons later, in lesson 7, I was working the panel from the back and saw the same kind of chance. I could get one movement to go right underneath another, and that would be really good weaving. And it would look really nice.
In the Venice Room I held off the undercut on one leaf for a spot like that. The leaf that peeks out underneath was going to go deeper, and that would make a really nice interweaving movement underneath. At least, I hoped so.
And on the lily box I wanted my stems visible as well. It's like a knot work, I said, like I did on the other side, but not as much.
What if a tendril knot goes too deep in one spot?
You change the design. With the number 9 I went too far in one section, oops, a big one. I could have glued it. Instead I lowered the whole section, since I had already dug that spot too deep and it was undercut. A slight change. Sometimes it does happen.
As long as I have a flat spot, I should be okay. And the lower spot let me put a really nice twist in. Right after, I checked another spot for full depth, because it was kind of undercut too. Nope, I was fine. Plenty of wood.
Why a thin part breaks when you carve its second side is on the lesson 3 page.
Do you ever carve straight down on a tendril?
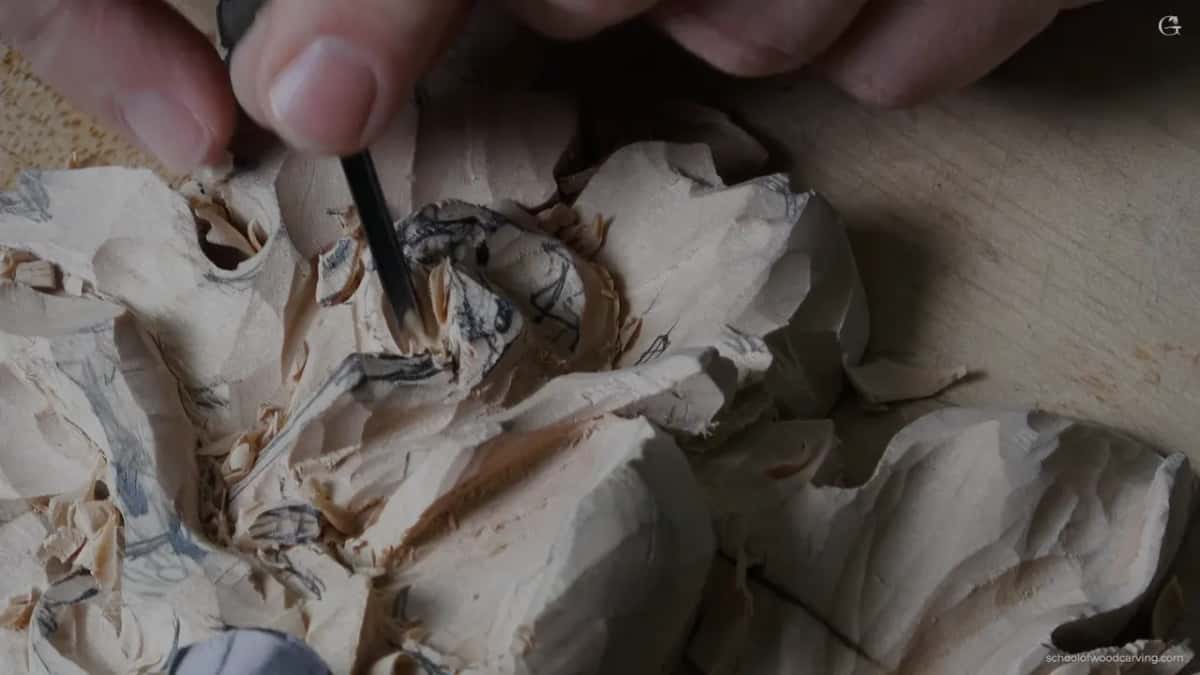
On this knot, more than once. I took a smaller number 7 and set my outline straight down, about 90 degrees toward the background. Not too deep, though, because I need some wood for my future leaves.
With that 7, four millimeters (about 5/32 in), I set the waves. Later, at another twist, I tried the 14 mm number 7 (about 0.55 in) and it was a little too big. Back to the four, and again a straight down cut, just a straight down cut.
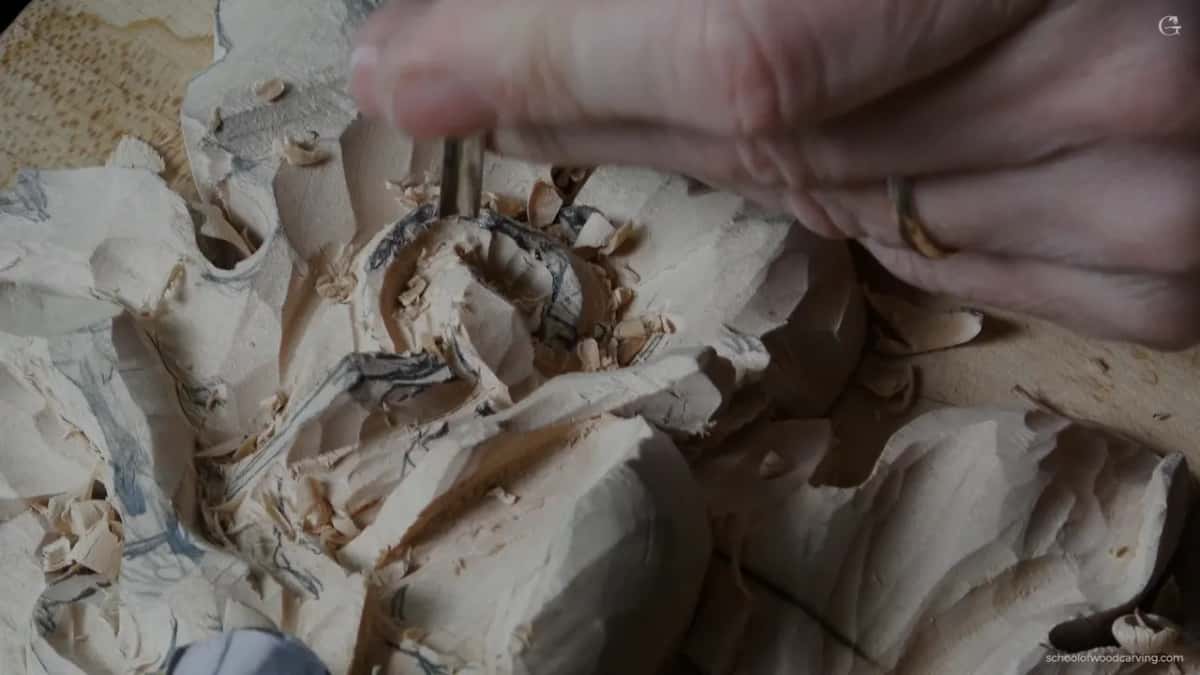
Then came the chopping. Straight down, then a lean cut toward my previous cut, then straight down again toward that last one, until I'm happy with how it actually dies in. I was somewhat happy. After that, a flatter number 5 gave it a little motion and a few waves.
On the grapes, back in lesson 1, I said what sounds like the opposite. You never cut 90 degrees down when you carve grapes; the tool always aims toward the next one. Both lines are mine, from two different moments. For the tendril, the outline went straight toward the background, and the leaning cut came back to meet it.
What do you do with a strand that drops low?
Upside down, on its corner. One strand was going to go very low, and I didn't want to lose that guy, so I had to blend it into the side. I used my tool upside down, maybe just with the corner of it.
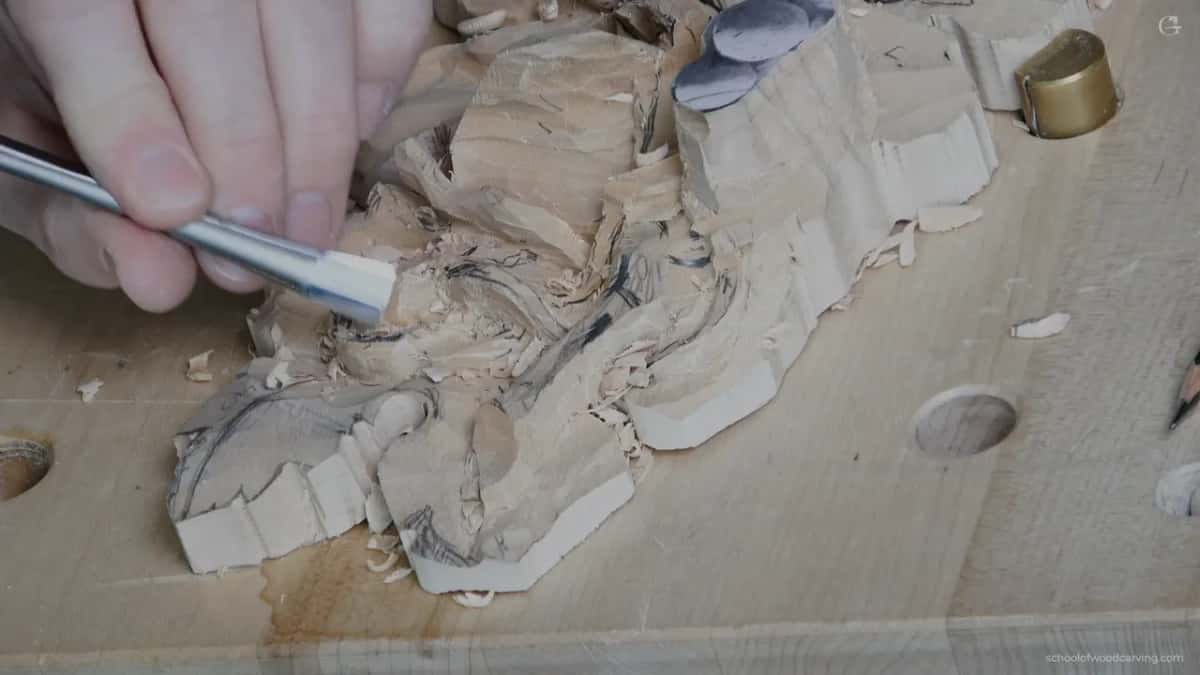
That tool was a number 11, two and a half millimeters (roughly 0.1 in). It doesn't have to be that size. It could be three millimeters, it could be two. Whatever you have. Most likely you're going to have two millimeters.
Then on that loop I turned the 14 mm 7 upside down too, blended a little and went right underneath. From the side it looked all wavy after that.
At the very end of the lesson I flew around the panel with my phone and showed the pattern once more. This part goes right underneath, then it goes this way, then right underneath again.

Each crossing on my knot, and what it took
Here is the knot in this part, spot by spot.
| Spot | What I did there | Tool |
|---|---|---|
| First crossing | sent it under, the top already bulged | a little number 11 |
| Early depth | went about 3/16 in (4.8 mm) down | a flatter number 5 |
| Deep section | marked it with a plug cut first | a number 9 gouge |
| Two strands | let one go under and become another | flatter tools and 11s |
| Low strand | tool upside down, worked with the corner | my number 11 again |
| Under twist | straight down, then leaned back to it | the smaller number 7 |
What can go wrong near a strand that is already free?
You can break it. Near the end of this part I had too much wood in one spot, right in my way, so the 14 mm number 7 took some out. But I had to watch myself, because an earlier detail was already airborne.

See how it moves, I said. That's fragile. You can break that stuff.
Then the last area. Careful there too, because I have an eye hidden right underneath. If you see an eye, on acanthus or a grape leaf, you need wood there, I said in part one, because it's always going to bulge up. I don't want a flat leaf with nothing going on.
Is a tendril knot worth carving?
If you like knot work, I said in part one, it's probably a good project for you. I kind of enjoy working on stuff like this. It's not as easy as some people think. But it gives you a really good chance to grow your skills.
Want to watch a knot get thought out, crossing by crossing, on a real panel? Would you like to see where each strand dives? Then come carve it with me. Tuition and access are right here.
How it's done
- Think through each crossing. Before digging deep I said lemme think, lemme think, and I chose where the tendril slips under and where it rides on top.
- Lay out the moves with a small 11. Right away I set out the main motion and each intersection with a little number 11.
- Take the first depth down. A number 5 went about 3/16 inch (near 4.76 mm) down and took that part out.
- Mark the deep spots. A plug cut with a quarter inch number 9, about 6 mm, told me exactly where I was in the knot.
- Let one strand become another. Where I could, one strand went under and turned into the next one, so I dug less in that section and tied it in nicely.
- Lean back until it dies in. Take the small number 7 straight down, lean back to that cut, again and again, until the strand dies in.
Frequently asked questions
When two tendrils cross, which one dives?
I looked at what was already there. At my first crossing the part on top was already bulging up, so taking the tendril over it would not have made a good knot, and going right underneath looked better to me, so I stuck with that.
Can a carved tendril just end against a leaf?
On my onlay I didn't let it. A tendril there can't show a split line, so where a part crossed mine, it went underneath and carried on. Every strand still needs an end somewhere, and I picked a spot where that end would look good.
What tool sets out a knot before the deep work?
A small number 11, two and a half millimeters (about 3/32 in) on mine. Three millimeters works, and so does two, and most likely two is what you own. I switch back and forth between that 11 and flatter tools so I can see what is going on.
What to carve next