

Alexander Grabovetskiy, woodcarver, School of Woodcarving · Published 2024
What is the difference between a vine and a tendril in a grape carving?
Quick answer: The difference between a vine and a tendril, on my grape onlay, is size and place. The vine, my mainstay, stays a little thicker, with a slope and a small concave so it sits on the leaf. Tendrils stay slim and curly, a little under 1/4 inch (5.5 mm) while I dig room, near 2 mm at the end.
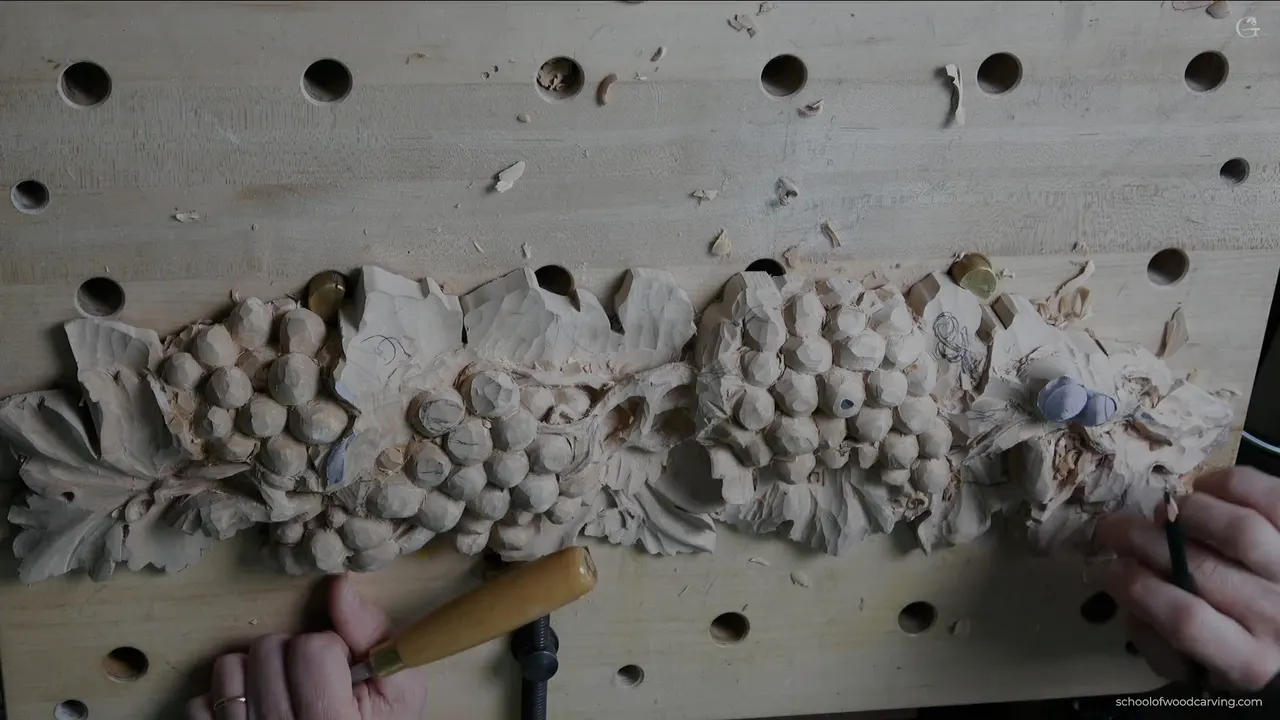
A vine and its tendrils are two parts of one plant, and when you are carving vines in wood they get different treatment. On this onlay the vine is the mainstay, so I kept it a little thicker. Tendrils are the thin, curly ones. While I dug room around them they stayed roughly a quarter of an inch wide, maybe a little less, five or five and a half millimeters.
This is part one of lesson 4 of my grape onlay, a relief carved on its own board. I worked on the right hand side, where the tendrils get complex, and left the grapes alone for now.
Have you drawn a bunch of grapes with a stem running through it? Did a few curls go in along the way? Then name each line before a gouge touches it. One is the vine. The slim curls are tendrils, and that one choice sets how wide each line stays and where it lies on the leaf.
You get the widths I gave each one, the slope that puts the vine on the leaf, and the reason I dug out so much wood before I shaped anything at all.
Six lines on vine and tendril
- The vine works as the mainstay, so it stays a little thicker.
- I sloped it to about 45 degrees with my gouge and gave it a small concave, not a big one.
- It rests on the leaf.
- Tendrils stayed near a quarter inch wide, 5.5 mm by my measure, while I dug the room around them.
- Later they get down to 2 mm at the most, about a 16th of an inch.
- Facets go on the vine only.
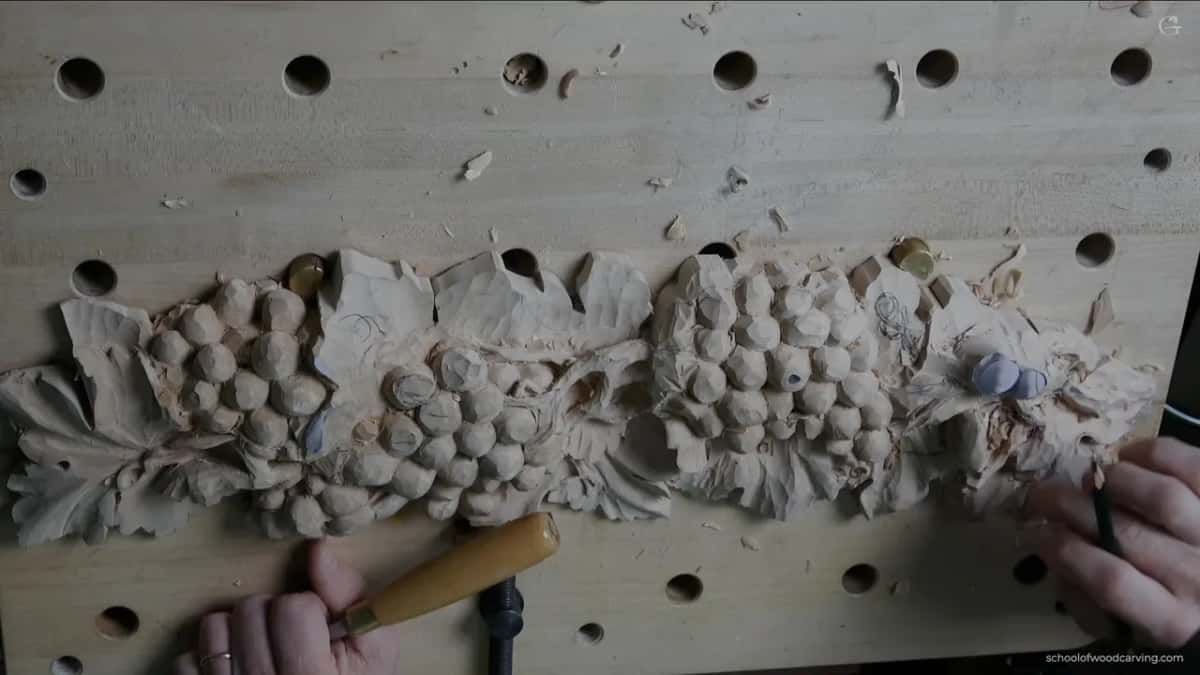
Which part is the vine when you are carving vines in wood?
Later in this part I stopped on one run and named it. That one is going to be like a mainstay, a stem of the vine itself, and that is why it's a little thicker. A minute or two before, I had said of another run: so that's going to be my tendril. Two names, two widths.

Botany draws the same line. The Wikipedia page on the vine calls a vine any plant with climbing or trailing stems, and says the word can mean those stems too. A tendril, by its own page, is a thread-like stem, leaf or leaf stalk that a climbing plant uses for support. The tendrils of the grapevine grow opposite the leaves.

My tray class heard it a different way. Someone wanted to bring a shape around from the bottom of the tray. If that rim became a vine, absolutely, you can do that. If it is not the vine, it does not connect, and where is it coming from? It has to be connected to something.
Lesson 6 has a second run that starts from underneath the main movement, that vine, which sits kind of high, so my starting point was high too. I drew it first, just to get some logic of it. Here is lesson 6.
On the vase with grape leaves I wanted to fill a space, but I wanted it to look like part of the same branch or vine. So maybe, I thought, I would branch this one out of the same movement.
How thick does the vine stay next to its tendrils?
Thicker. And sometimes a run turns out to be a vine, which happened to me in lesson 5, when I looked at one piece and changed my mind about it. That is not even a tendril, I said, that is like a vine itself. I could make it wider then, maybe about three sixteenths of an inch (about 5 mm), and hide it under a grape.
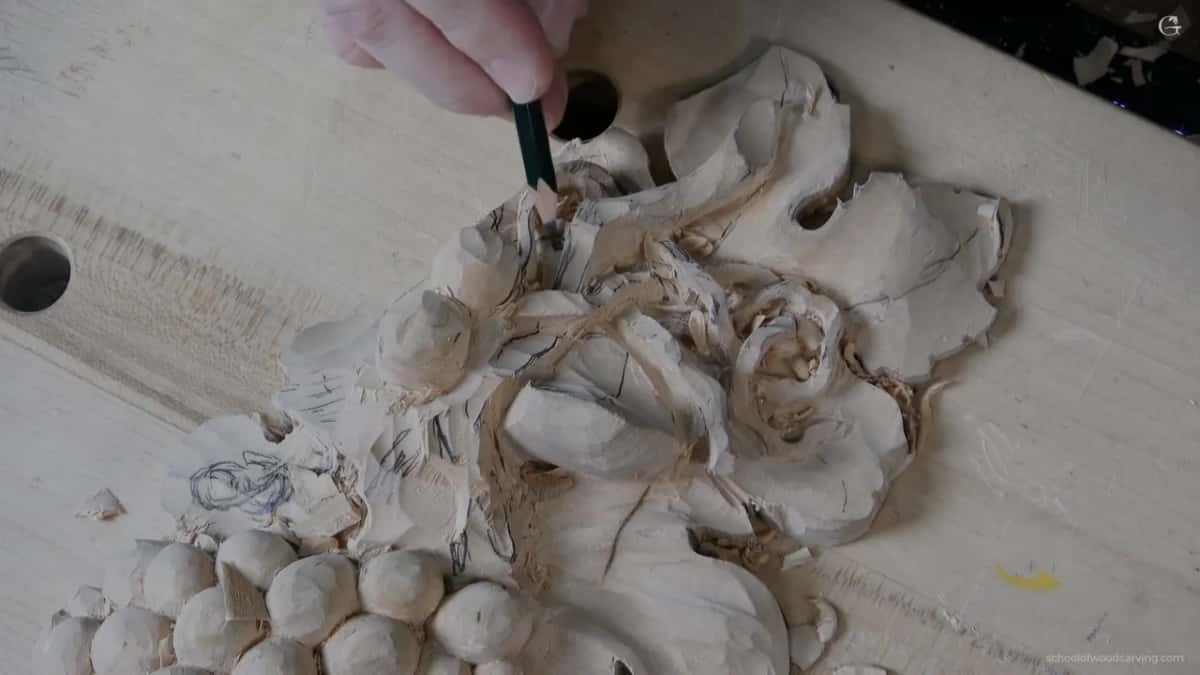
A few minutes later I gave two figures. One part would be three eighths of an inch (about 10 mm), another about a quarter (about 6 mm). That's vine, and that is the vine, I said, and those are tendrils.
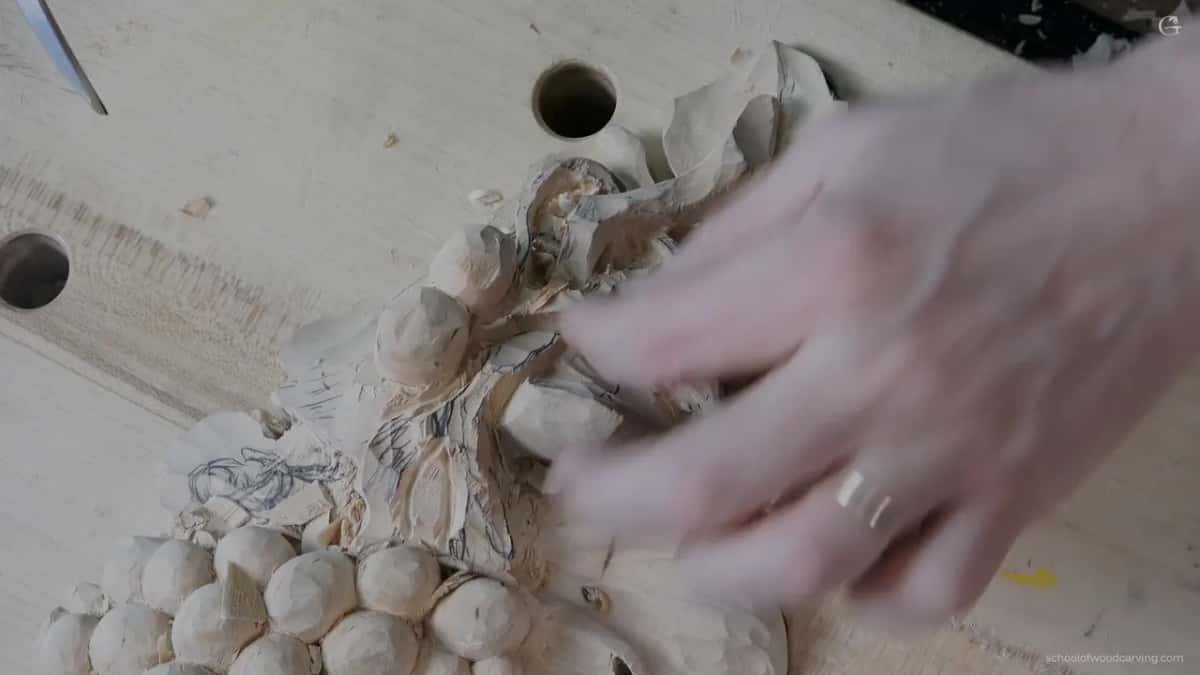
Someone in the tray class asked if a tendril means those little thin, curly things. Yes, I said. Really thin, maybe a 16th of an inch (about 1.5 mm), the most.
How wide a branch on this onlay can go, and why one goes thinner than the other, is on the lesson 11 page.
Why does the vine get a slope and a small concave?
To make it sit on the leaf. In this part I took the vine down to about 45 degrees and made a small concave in it. Not big. But you can probably see that concave, and I wanted it to feel like this part is lying right on top of the leaf.

I can do that from both sides, although one side did not have enough depth. After that I made sure I could clean the wood off the leaf itself.
Another stem in lesson 5 sits over a leaf, and there I wanted that spot really good and clean. The tray has a vine laid over a leaf as well, and lesson 4 of the tray shows how that one went in.
Where does a tendril lie, on the leaf or under it?
Both happen on this panel. One tendril lays over the leaf itself. Others go underneath, so I lowered that part, because the tendrils there pass right under it. Near the end of this part another run goes right underneath and carries on, under the bunch of grapes.
Where a part floats above a tendril, the space has to be a little bigger than 1/4 inch (about 6 mm). That meant digging a little deeper there. It is full three-dimensional motion, and it means the leaf itself goes a little deeper too.

Not all the way, though. If you see an eye on a leaf, acanthus or grape, you need some wood there, because that spot is always going to bulge up. I dug slightly closer to the center of the leaf and left wood by the eye. I don't want that leaf flat and not interesting.
One part goes underneath and shows again on the other side, and logically it has to come out somewhere. That's also why I had not taken all the wood off those leaves yet. It's multilayered. Back in lesson 1 I showed a vine that goes right underneath and continues the movement from the other side.
For the tray I gave students another choice. If a tendril would end up too close to the leaf, you could put it right on top of the leaf, and that is legit too. Curly or wavy both work, as long as you understand how you'll excavate it and what tools you have.
Why dig out so much wood around a tendril first?
Room to get underneath. Next to the first run my channel was about three sixteenths of an inch (about 5 mm), so maybe a quarter (6.35 mm). Getting right under it later and digging it out is much easier that way, so the part can be airborne.
There will be lots of fragile parts, and you really have to be careful how you approach them. One run looked a little too straight for me, so I put an arc in it with a flat skew chisel, a number one in the European pattern. After that the motion went one direction, with no straight lines, and none in 3D either. On one side I did not have enough depth, so I went deeper with the 4 mm (5/32 in) number 11 gouge. I really wanted that part airborne, floating.
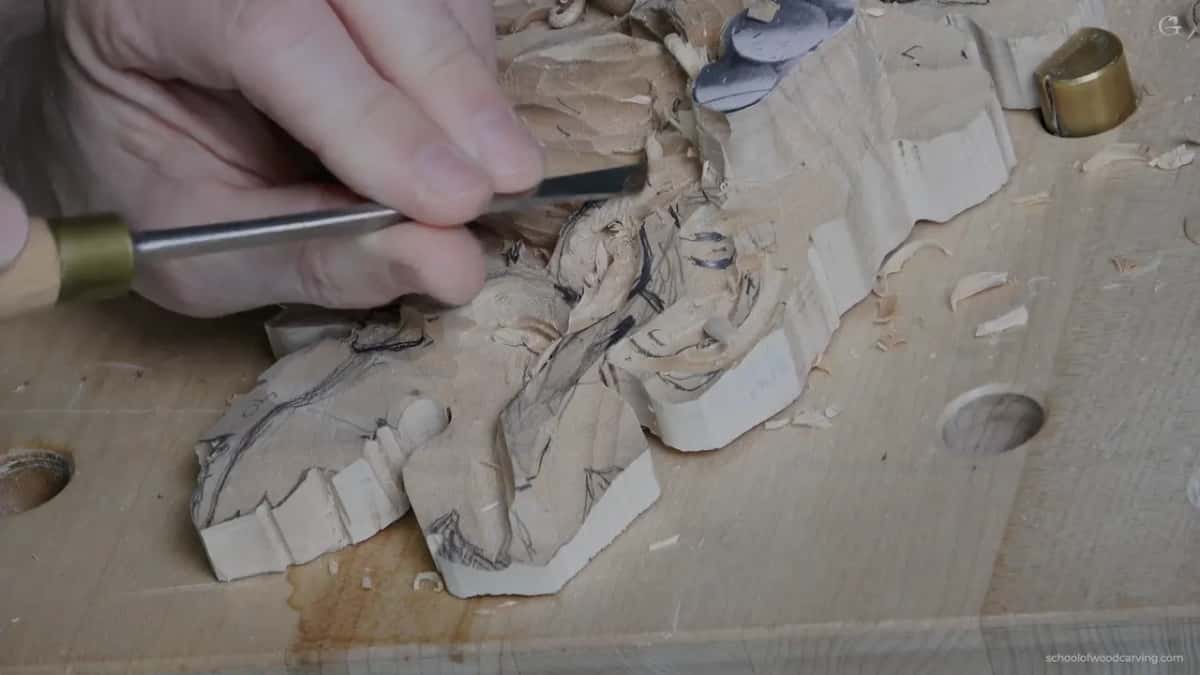
Then a number 5 took wood off both sides, which made it easier to reach the area I had just freed up. From that point down I had about 10 millimeters (about 3/8 in), and the other side got the same. Same depth on both sides, that is important. In one spot I was maybe 11 mm (about 7/16 in) deep. Still, I had to be mindful of how much material I left there for the leaf itself.
Around that tendril I outlined again with the eleven. I knew I needed to make it tighter. It was moving. It's okay. I said it to the camera too: I hope you understand why I excavate that much.

The next spot got the same quarter inch. I needed space from the side there. Where there is an eye, I need wood for its convex movement, and for now I had plenty. Later it looked like too much. I took care of that.
Near the end I said what I was doing: creating some space for myself. Now I have to think about the movements.
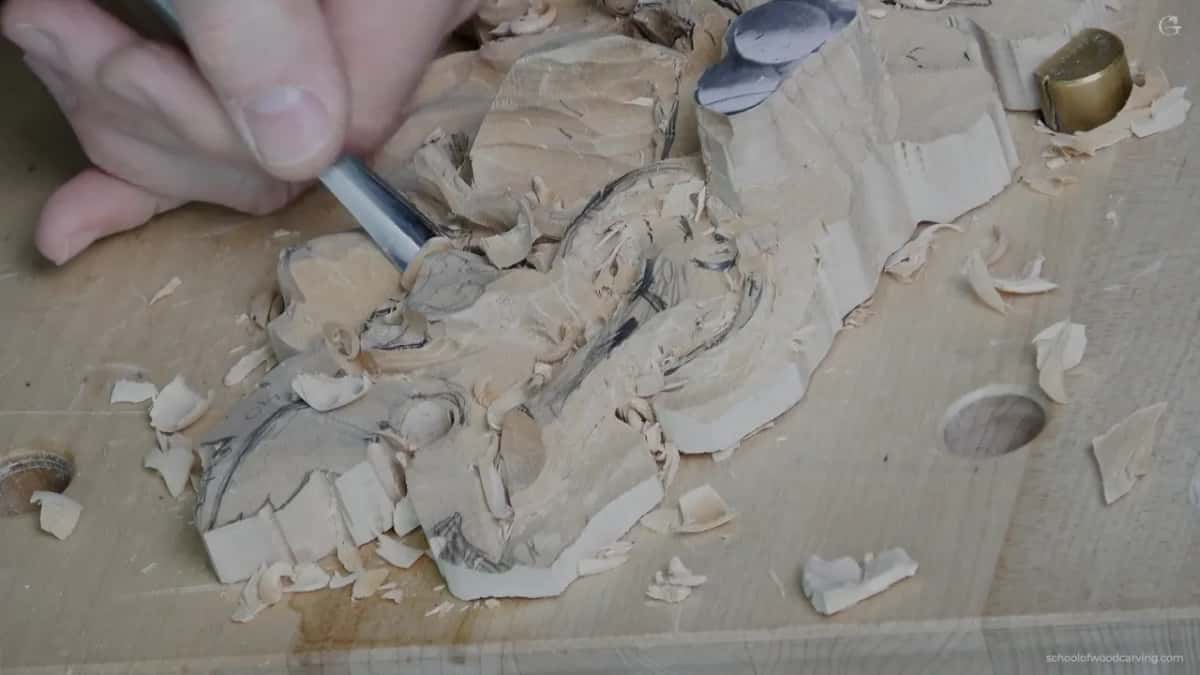
Vine and tendril side by side on my panel
Here is how they compare.
| Point | Vine | Tendril |
|---|---|---|
| Its role | the mainstay, so I keep it thicker | the thin curly ones |
| Leaf crossing | a slope onto the leaf, small concave | laid on or under |
| Surface look | facets left on, not round all over | nicer, with no facets |
| Air under | airborne if I wanted, but not needed | freed until light shows |
| Shaping tools | a number five, many passes, then seven | smaller and smaller elevens |
How thin does a tendril get in the end?
Really thin. At the end those tendrils get to about two millimeters at the most, maybe a sixteenth of an inch, one and a half millimeters or so. That thinning comes later, after this part.
On a furniture panel I wanted one to feel like a tendril, not like a leaf. That meant it would be no more than one and a half millimeters, 1/16 inch.

The same size came up in lesson 5. Every pass after that had to be really careful, especially in the weak spots, where the area is really short grain. My passes were tiny until I was near 1/16 inch wide. A 16th is how it looks straight on. It could be a little thicker on the bottom, so it's more stable. Up to you. You could do 1/16 all the way.

Freeing a tendril means coming in from one side, then the other, with smaller and smaller tools, from a 2.5 mm (about 3/32 in) eleven to a 2 mm (about 5/64 in), then 1 mm (about 0.04 in). Once I could see the light through it, and the tool on the other side, it was a hundred percent airborne. If a part feels too weak, grab a smaller tool.
I told the tray class that when you add tendrils, you also have to think how to undercut them from both sides. Without really small tools, the kind I have, it is kind of hard. Why a thin part breaks when you carve the second side has its own page, lesson 3.
Does a carved vine get facets that the tendrils do not?
On mine it does. My goal in lesson 5 was to make it look like the real vine, so it doesn't have to be round completely. I would like to see facets on the vine itself, but not on the tendrils. Those come out a little nicer.

Shaping the vine itself came in that lesson too, with a number 5 and a lot of small passes. I looked at it from the side, because I don't want to see any straight lines there. Then I found room for a convex movement, dropped one spot with a number 7, flipped it upside down and got a bulging part. I was after the real-life grapevine look there, though not exactly the real thing. Wood carving is not really a replica of real life. It's more like interpretation, I would say.

In lesson 7 I rounded one right on the side with a back bend, so that way it looks like it is a vine.
The tendril page adds that tendrils respond to touch by curling, which botanists call thigmotropism. A grape shoot, the Vitis page says, turns hard and woody during the winter.
Do you have to carve the tendrils at all?
You don't. I know it's kind of complex, but that is what is going to make this look good. If you don't feel comfortable doing it, feel free not to copy the whole thing. Leaves without the tendrils are no problem. But I kind of like it.
On the tray that made me think twice about one tendril. Without micro tools it will be kind of hard for you, I said, so maybe I'm not going to do this one, but I'm going to do this one for sure.

My pencil stays close by, because I really see some chance to refine some of the details as I go. And if you want to watch the vine get its slope and the tendrils get their room, pass by pass, in wood carving terms that is the whole course, open with tuition and access.
How it's done
- Name each run. I put a couple more pencil lines in, then called one run my tendril and the thicker one the vine.
- Outline it. Step number one is always the outline. Mine was a 4 mm (5/32 in) number 11; five, six or seven millimeters would work too.
- Open the channel. About 3/16 inch, maybe 1/4 (5 to 6 mm), beside the tendril, so I can get under it later.
- Go down evenly. Roughly 10 mm (about 3/8 in) from the top on each side, a bit deeper where a part floats above, with wood kept for the leaf and its eye.
- Set the vine on the leaf. A 45 degree slope plus a small concave, worked from each side where the depth allows.
- Thin the tendrils last. Down to 2 mm or less, later on.
Frequently asked questions
Is a tendril just a thinner vine?
Different parts, handled apart. I call the vine my mainstay and keep it a little thicker, with a slope where it crosses the leaf. A tendril is a thin curl that I free from the wood until light shows through, and in lesson 5 I wanted the vine faceted and those curls left without.
How wide do you leave a tendril while you rough it out?
Roughly a quarter inch for now on this panel, maybe a bit under, five or five and a half millimeters when I looked from the top and the side. I hold that width while I dig room around it. The thinning to about 2 mm comes later.
Can a tendril lie across a leaf instead of under it?
One tendril on my onlay crosses over the leaf. Others pass under. For the tray I told students that where a tendril sat too close to the leaf, you could set it on the leaf itself, and that is legit too. Plan the undercut before you start.
What to carve next