

Alexander Grabovetskiy, woodcarver, School of Woodcarving · Published 2024
Which part of a carving should you undercut first?
Quick answer: The part you undercut first, once undercutting starts, is the stronger one, chosen by the grain direction. On my grape onlay it came free first, worked from both sides with a 2.5 mm (3/32 in) number 11. A fragile weak spot waited, and at another one some connecting points stayed.
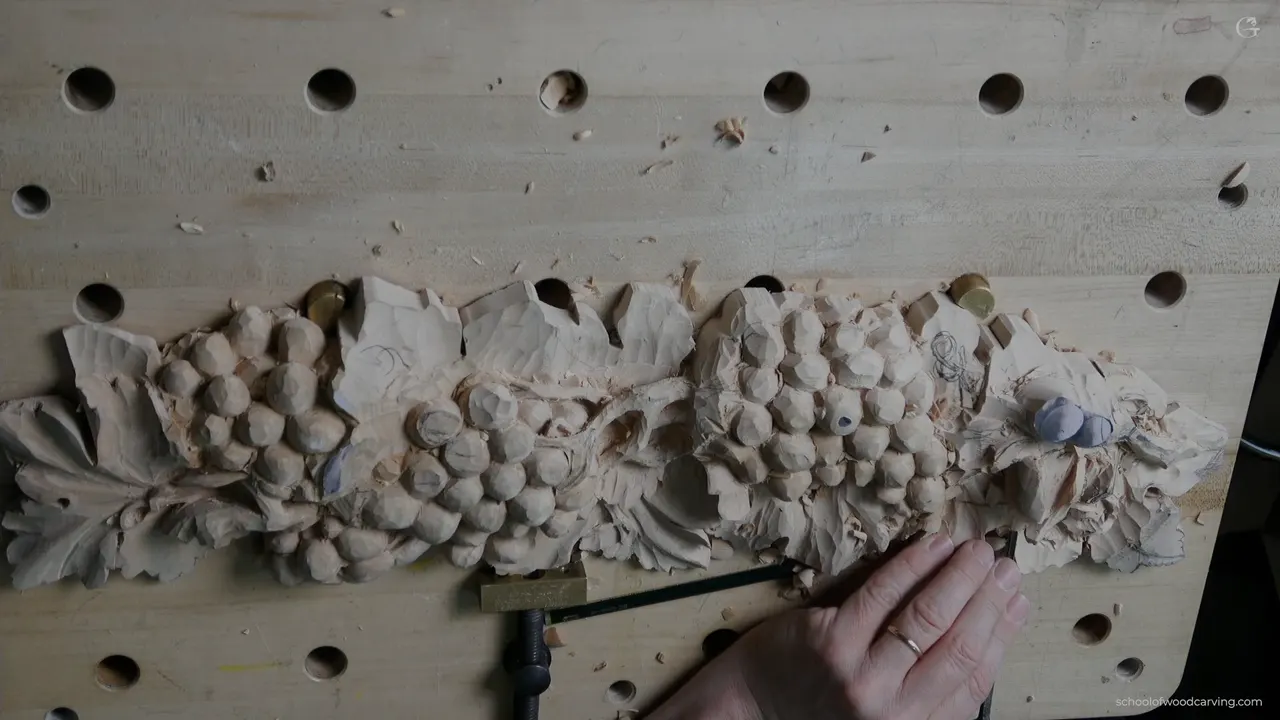
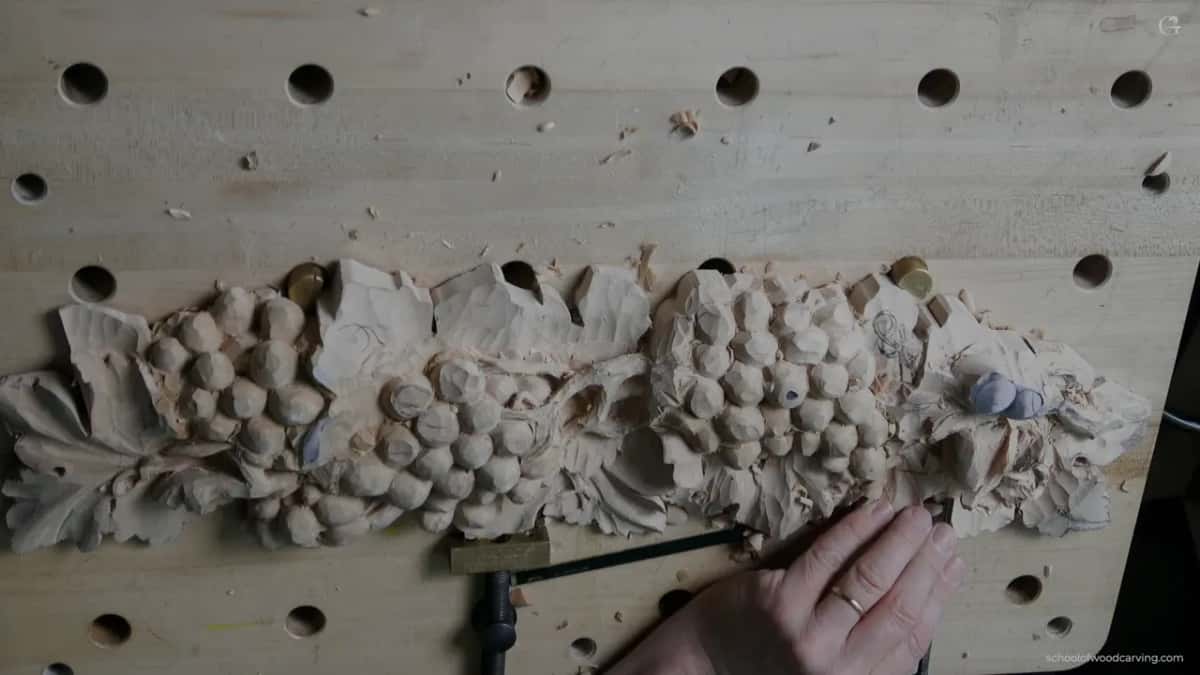
The first part to undercut is the one where the grain gives you the stronger undercut. I mean the order inside the undercutting stage itself, which part of the piece comes free first and which part waits. In the last part of lesson 4, on my grape onlay, the strong part went first and a weak spot waited.
Do you want a part of your carving to float, with light behind it? Would you like it to come free in one piece? Then pick the order before the first pass. Undercutting wood carving work like this goes better when the grain picks it with you.
This onlay is a relief, carved on its own board. Below is the order I used in this video, the tools in the sizes I used them, and the spots I left holding on.
My undercut order on the grape onlay, in five lines
- The excess goes first, and the leaf keeps its overall shape.
- Next comes the stronger part, picked by the grain direction, while a weak one waits until later.
- Both sides, little by little.
- My number 11 steps down from 4 mm (5/32 in) toward 1 mm (about 1/25 in) as the wood gets weaker.
- Light underneath means it is free.
What comes off before any undercut?
The extra wood. In this video one section goes right underneath another part, and the motion carries on to the other side of it. Some of the wood there was excess, so I took it off with a number 11 and then a number 9, about a quarter of an inch wide (roughly 6 mm).
While I did that, I wanted to make sure I don't lose the overall shape of the leaf. That is really important.
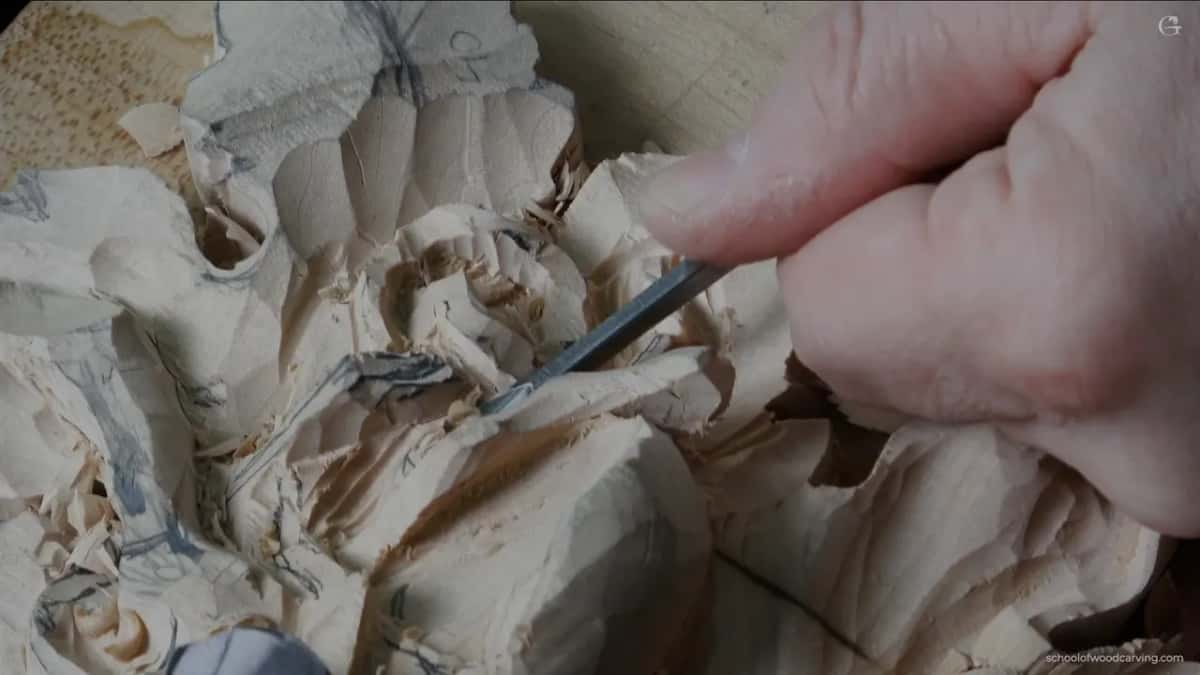
For more of that excess I picked up an antique spoon gouge. It is seven millimeters wide, about 9/32 of an inch, and I would put the sweep at maybe a 6, because there's no sweep written on it. Really nice to have a tool like that. I dug out some of that excess with it, and that's it, I didn't need it anymore.
A number 7 took one spot down a little more next, because I needed some space. I looked for a small one, six millimeters (about 1/4 in), and it was too small, so the 14 mm number 7, a bit over half an inch, did that job.
Which part goes first when undercutting wood carving?
The stronger one. Two parts on this onlay had to be freed from underneath, and I said on camera why I took one of them first. The grain direction goes that way, so for me it is better to make the stronger undercut first. The other one came after.
Earlier in the same video I held one part back. I should attack it from this side, I said, and it looked like I had plenty of material. Still, I did not dig right underneath it yet. It was fragile, kind of a weak spot, and the grain ran that way. Crank on it without care and you'll break it. So I said I would work on other parts first and come back to clean up.
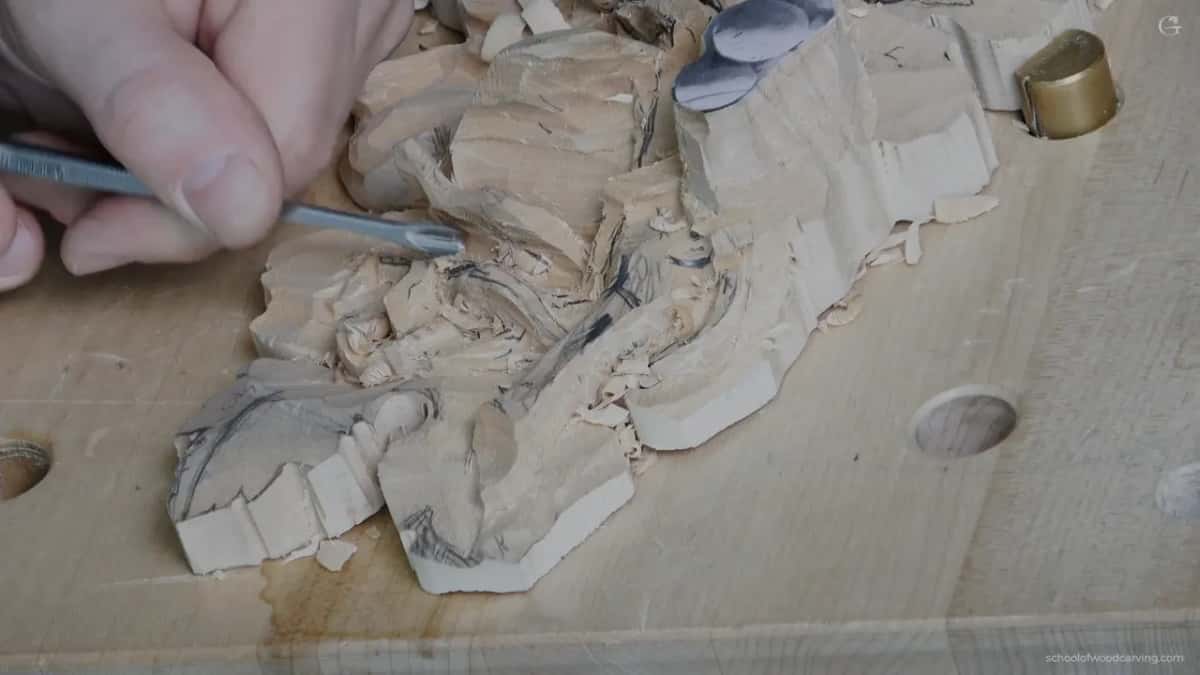
For a class on my grape leaf tray I put the rule in plain words. If you want to do the airborne part, look at the grain, because that is going to be the strong part. And every time you design something to be airborne, do it with the long grain. One section of that tray would have broken because of short grain, so I said maybe not much there. That class is lesson 7 of the tray.
Grain, by its own Wikipedia page, is the lengthwise arrangement of the wood fibers.
Later, in lesson 10 of this onlay, I laid the tool right on my finger, as leverage, and said I don't want to crank on this part, because it's airborne and kind of fragile. That spot was okay because of the long grain. But in another case, I said, this would be a big mistake, because there the grain runs that direction and it is super fragile.
I read one spot on the vase with grape leaves the same way. Going in from each side would make it airborne if I wanted to, and it would be strong, because the grain direction runs that way.
What waits until later, and why?
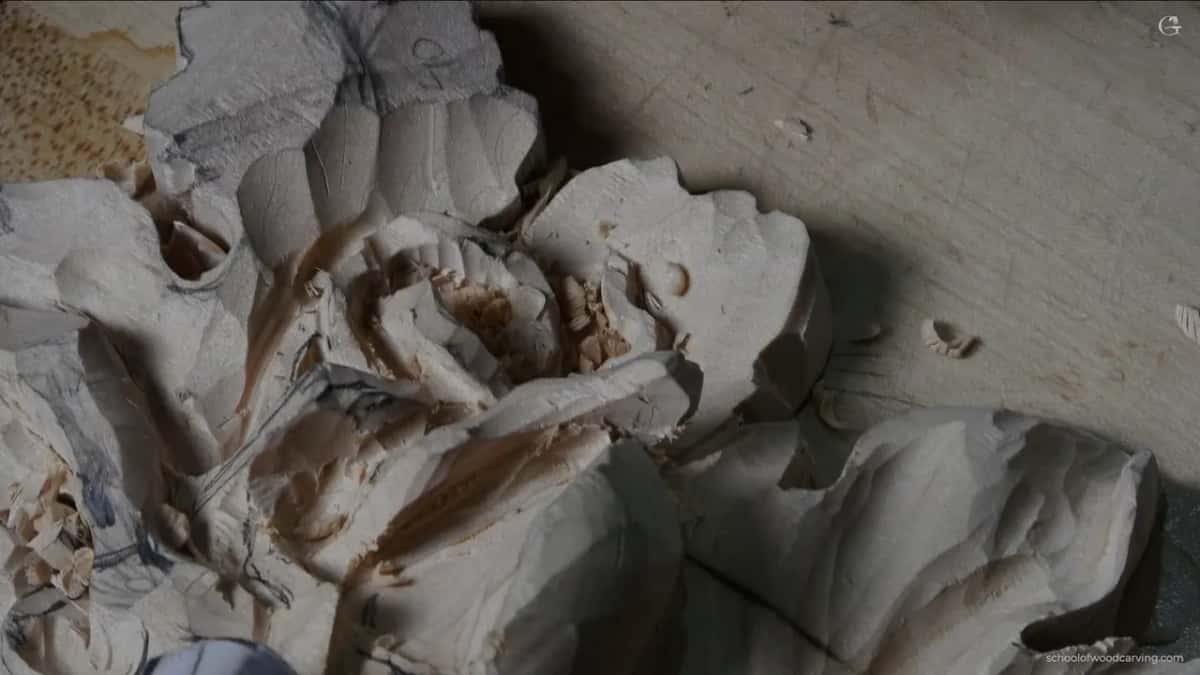
The weak spot waits, and so does the thinning. Before the part I was freeing went airborne, I set the spot where it joins, with the number 11, while it still had wood all around. I'm not airborne yet, I said, but for me it's safer, since I have more support as of now.
Thinning comes last of all. Near the end of this video I said the whole thing would make sense a little later, once I make it a little thinner.
Lesson 5 had one spot with short grain. It cannot be airborne, I said, and then I took it back a little. It could be, but there was no reason. I just took that side down close to a 16th of an inch (about 1.6 mm).
Should you undercut from one side or from both?
Both. It's better to attack from both sides, I said, and a few seconds later I said it again, always better.
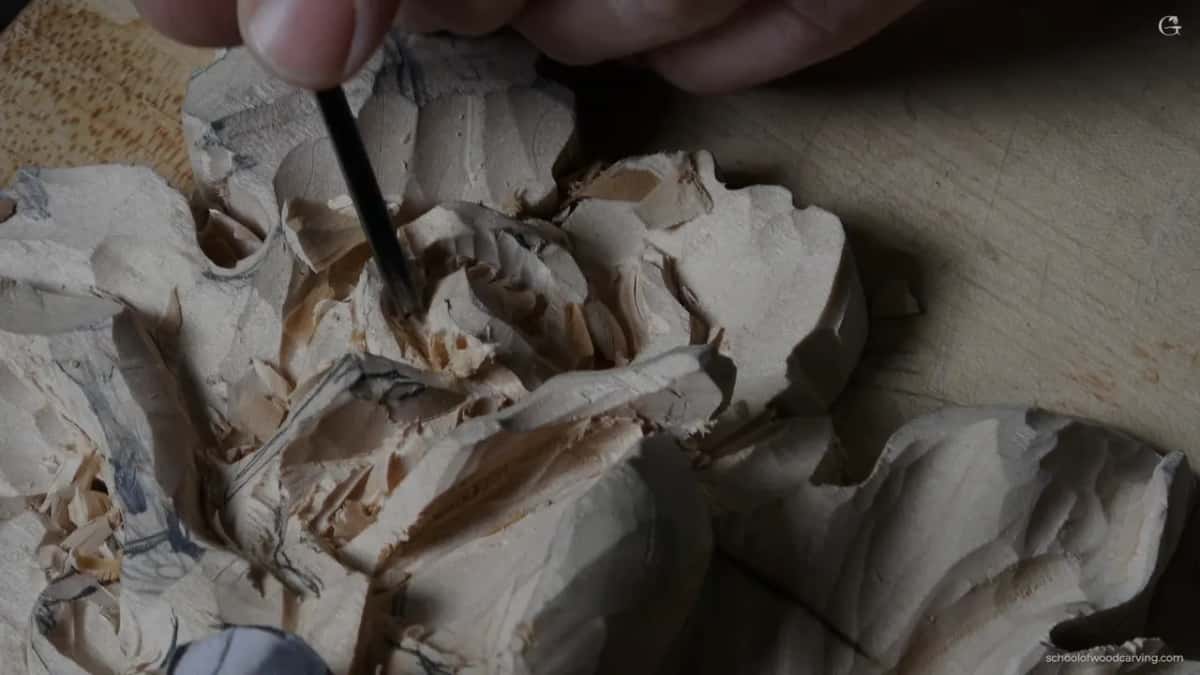
First I laid a number 11 of 2.5 mm, a little under 1/8 inch, on one of its sides and went right underneath, little by little, to the level I was after. After that I came at the same spot from a second angle, this way and that way.
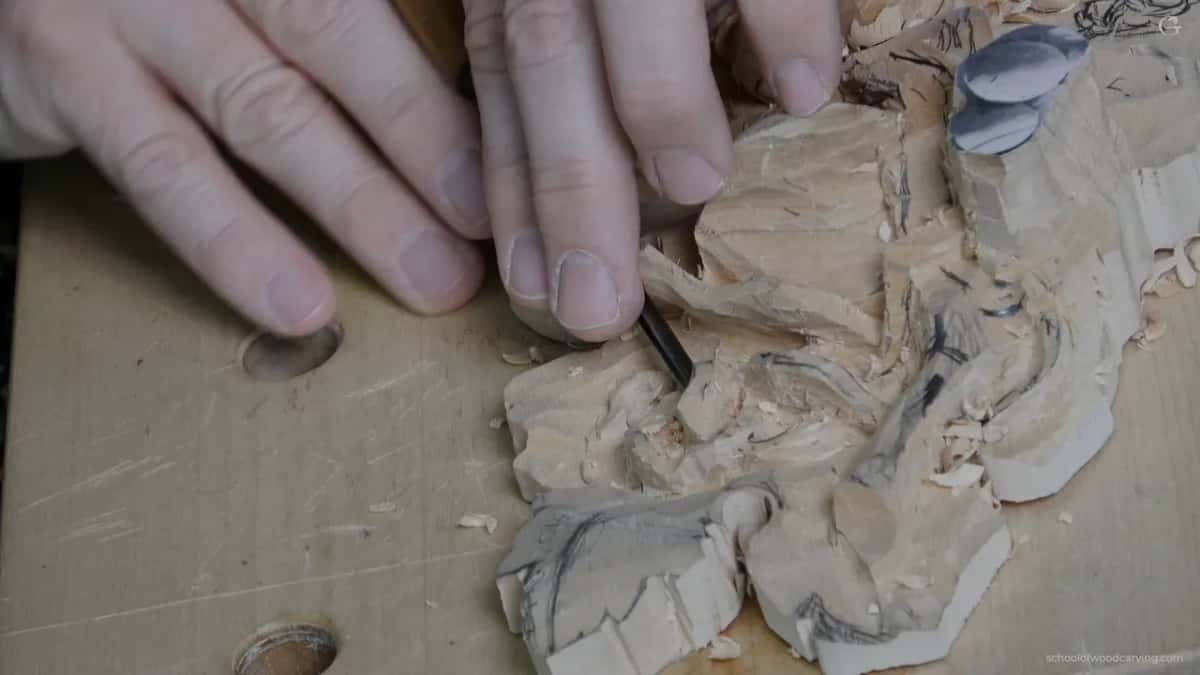
The second side is the one to watch. Coming from there I was working along the grain, and depending on what you made, you can blow right through and break the whole motion. So it's better to attack from different points of view and see what the grain does. There is a page on that, lesson 3.
On a furniture panel I made relief cuts first, because you really need to relieve those fibers and break them off. Without those relief cuts on the outside, I said, my weak spot would be going toward my center, smooshing those fibers, and I would just break them.
Another strong spot I could probably have drilled all the way through, just like that. It is kind of tricky sometimes, so I went halfway, then dug out, then attacked from the opposite side. Take your time. Please do not rush it.
In that same tray class I dropped one part even deeper, about an eighth of an inch, about three millimeters, and dug it out from two sides. If I don't keep going, I said, I can catch the grain, split it and make a problem.
Which gouge size goes in first?
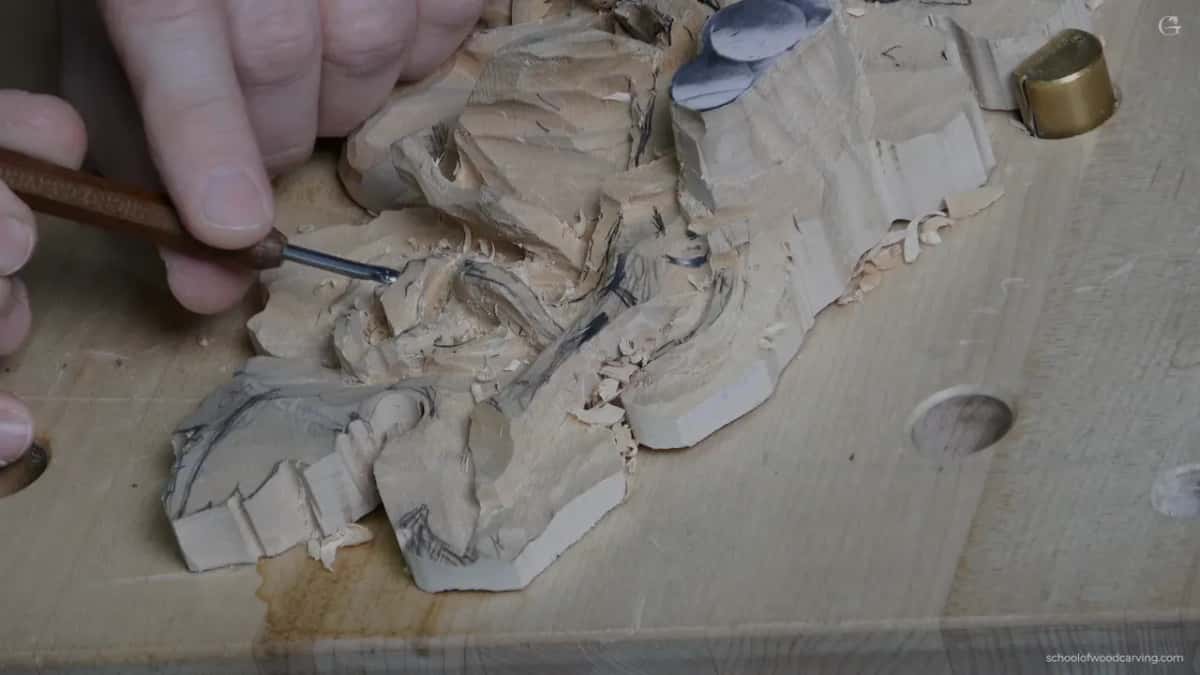
The size the wood around the part can take. Under one part I could see I had plenty of material, so I started there with a 4 mm number 11, about 5/32 of an inch. I also knew it would turn into a weak part. If it feels too weak, grab a smaller tool, I said, and right then I had to do just that.
Depth is the other half of it. How deep you can carve is a decision you have to make. Fit a tool of 2 or 2.5 millimeters (5/64 or 3/32 in) in there and you get a lot more depth than with 1 mm, about 1/25 inch, and a much better play of light and shadow.
| Step | Work | Reason |
|---|---|---|
| Excess comes first | number 11, then number 9, removing extra | the leaf keeps shape |
| Strong part next | grain runs its way, so undercut first | a stronger undercut there |
| Connecting spot set | while the part still has wood around | safer with more support |
| Both sides worked | halfway from one side, then the other | less chance to break |
| Weak spot last | smaller and smaller number 11 gouges, carefully | or it will break |
One part took the whole ladder. The two and a half millimeter tool (about 0.1 in) was becoming too big, so I switched to 2 mm (about 0.08 in), and the light showed through. From there I went to 1 mm, which is about 0.04 of an inch, and kept undercutting. With 1 mm I can go deeper, but I can't crank on that part too hard, or I'll break it. Keep an eye on the tool as well. You can break your tool.
I knew some of the weak spots in lesson 6 and was careful not to crank. Once I saw some light, I grabbed a smaller one, a number 9 of 1.2 mm (about 3/64 in), and still held off for now, because the part was a little too thick.
How do you hold the gouge under a fragile part?
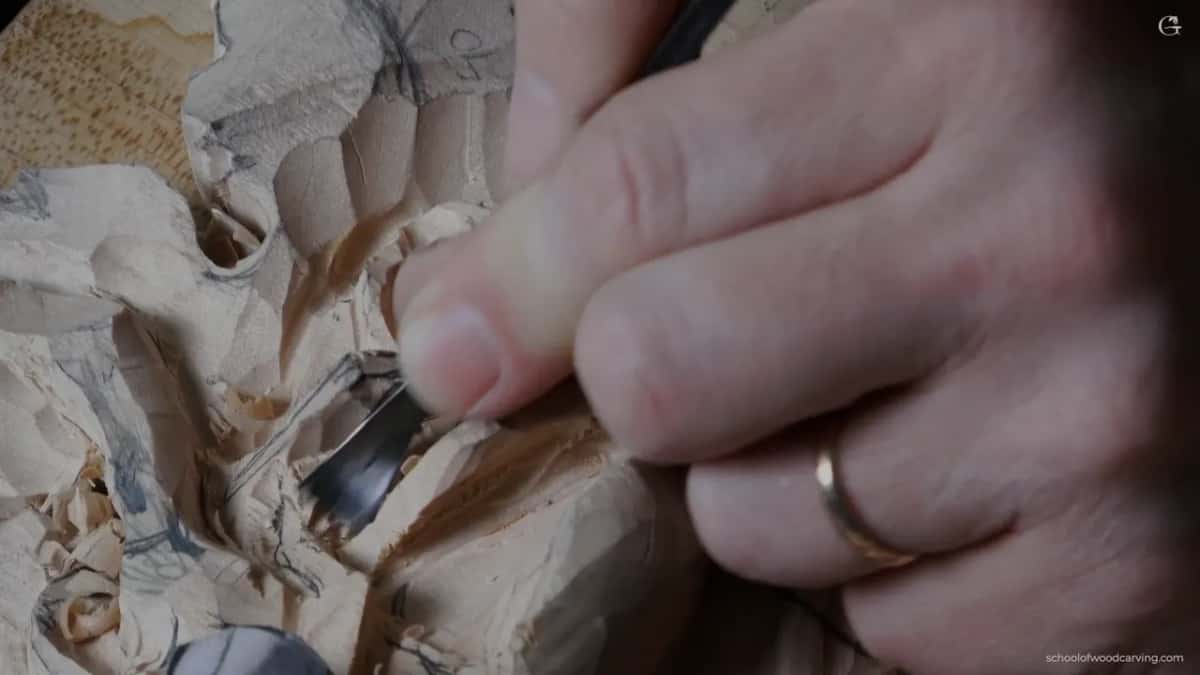
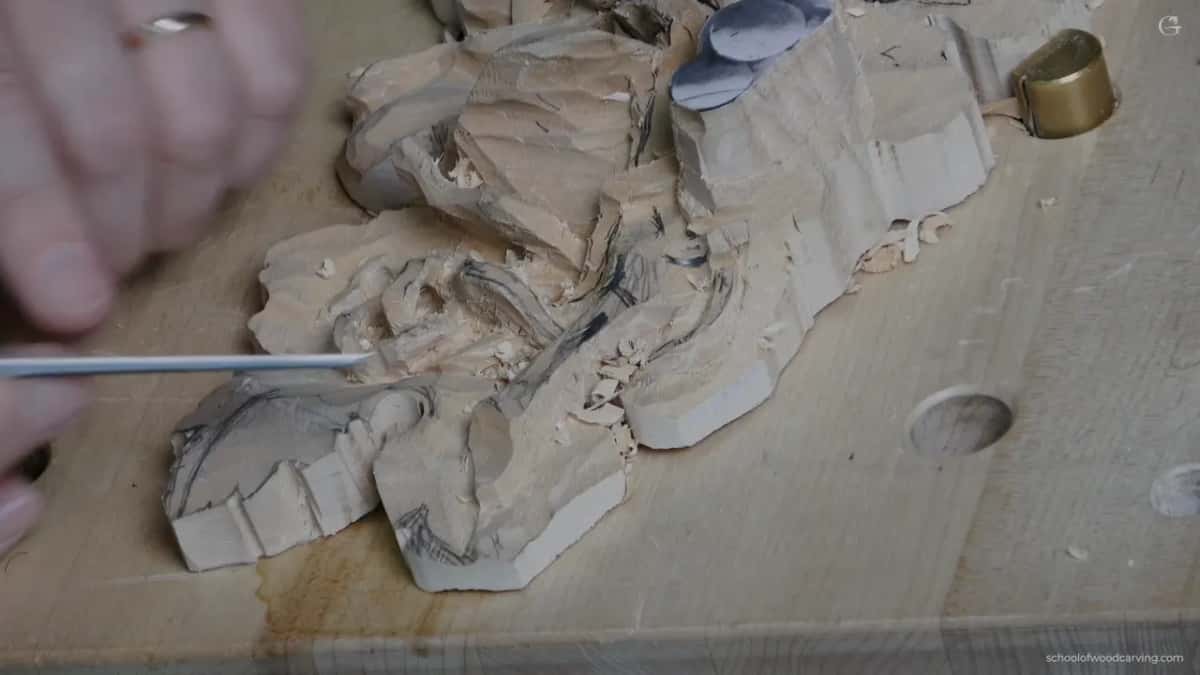
On its side, and turned. The same eleven, roughly a tenth of an inch wide, lay on its side for the first part, turned to about 10 o'clock. Later I came in from the side with the flute near a quarter to three, using just one side of the tool to clean a little more.
Near the end I turned the same tool almost upside down and used just one side of it the way I would for any undercutting. A number 9 went in the same way, flute upside down, to get through.
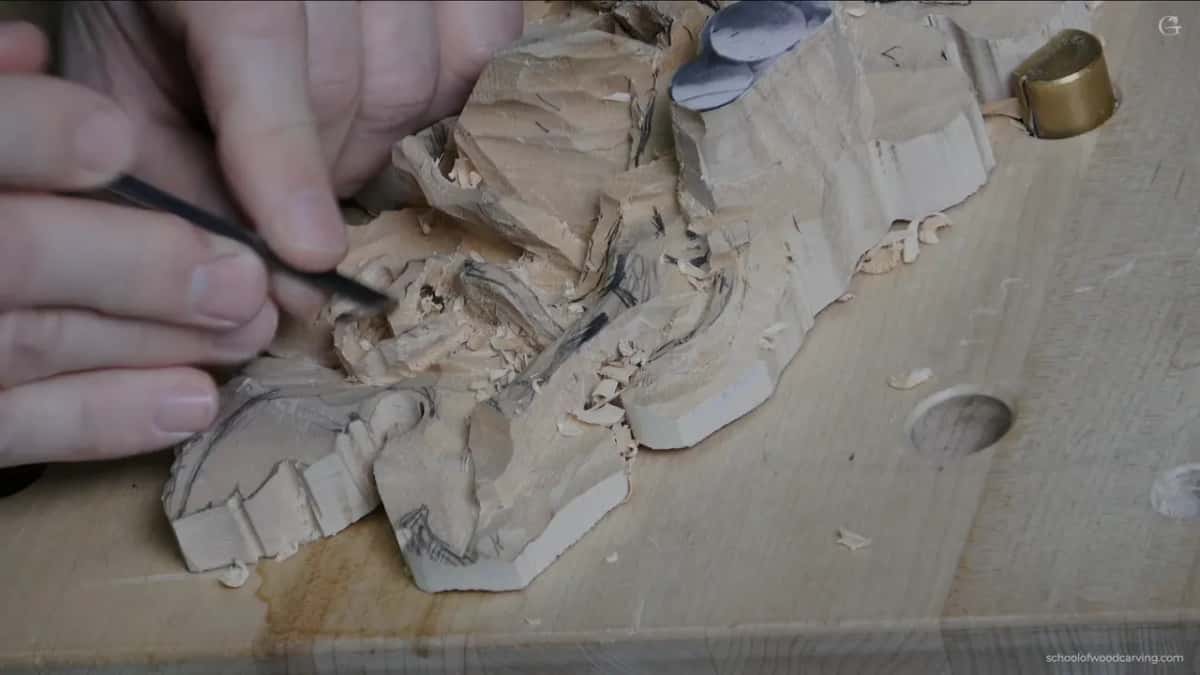
For one strong spot I made a plug cut with a small number 9 or number 8, in a drilling motion, carefully. That part went completely airborne. Not me, I said, the part.
In lesson 11 I worked one spot with a number 11 of half a millimeter (about 1/50 in), flute upside down, almost like a hook, and picked the waste out. The grain was weak right there, so you can catch it and do damage. I was slicing there, I said.
How do you know the part is free?
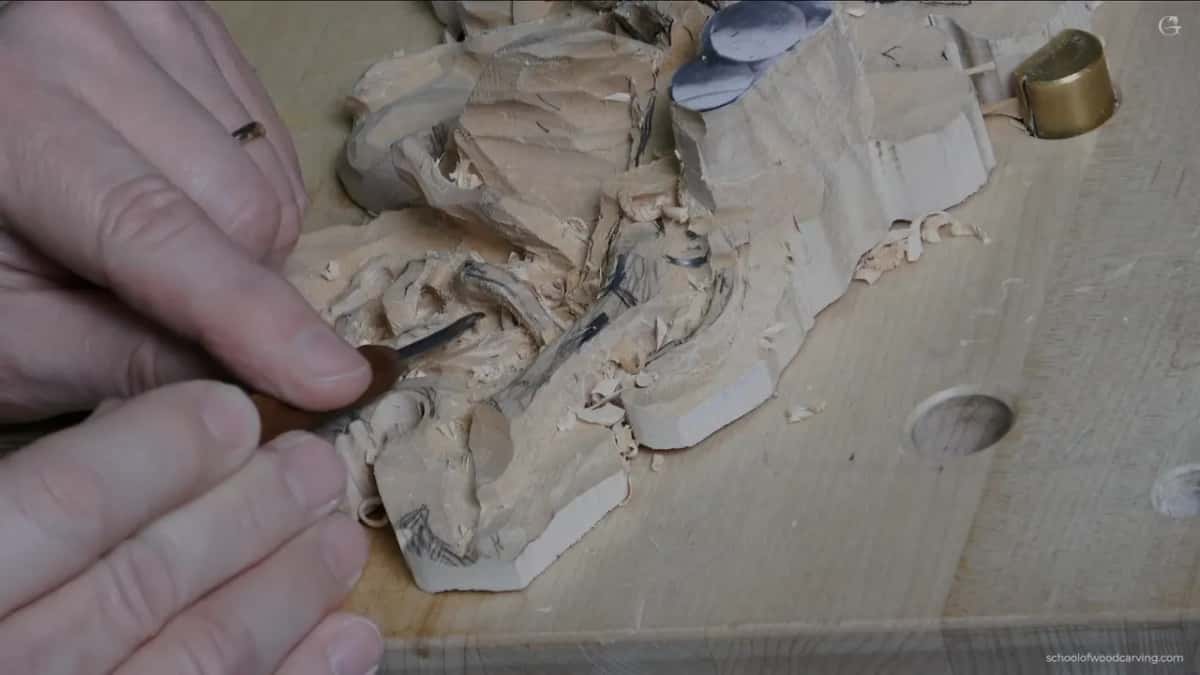
You see light under it. With the 2 mm eleven (5/64 inch) I could see the light, and I said it twice. Then I took the smaller 11, and you should be able to see the tool on the other side. Then it's a hundred percent airborne.
The same moment comes in lesson 5. That is already all the way through, I said, that's enough. See that shadow? There's a light. The tray had its own moment, in lesson 5 of that course, when I pointed out the hint of light to the class. So that is absolutely airborne, I said.
The Wikipedia page on openwork names wood among the solid materials such holes and gaps go through. A plain relief, by its own page, stays attached to a solid background of the same material.
Which parts should stay connected?
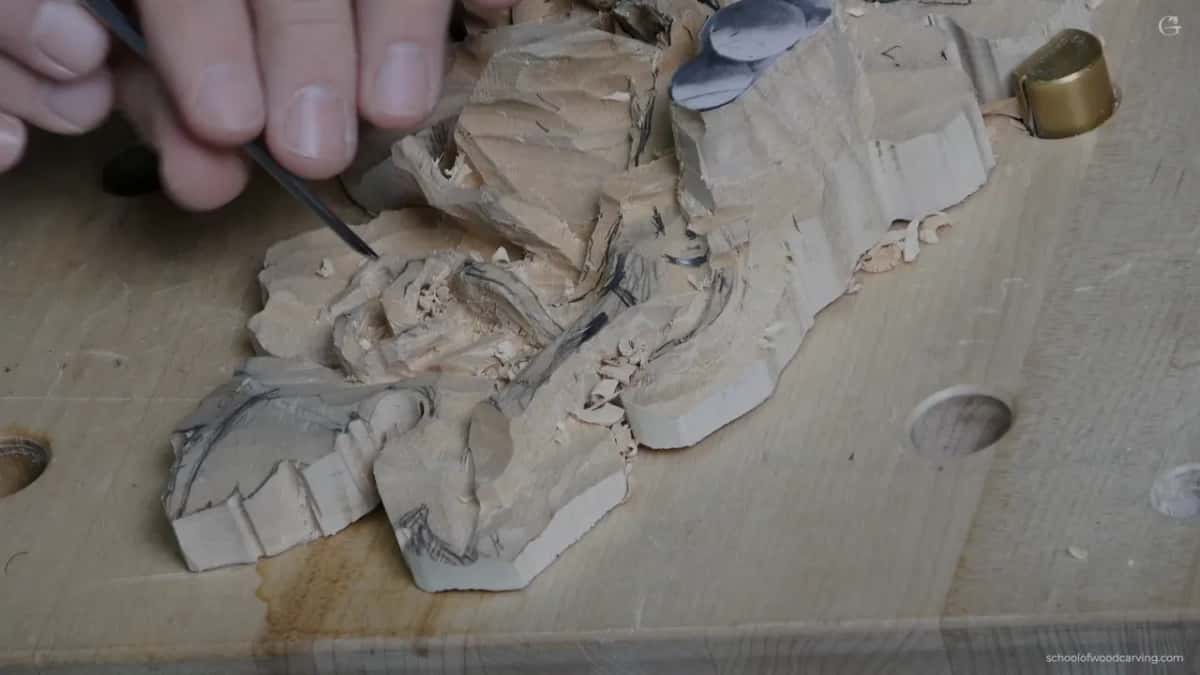
The weak ones. On this onlay I had to keep some connecting points, because one spot was weak, and I did not want it completely airborne. A different spot was excellent for it, so I freed that one right away.
In class 10 of my Grinling Gibbons course in Maine I took the excess off one flower, and that left a separation. The stem showed right below it. Maybe it is a good thing, I said, but a weak spot, kind of, because there's nothing to hold on.
In lesson 8 of the tray I kept one part thicker for now. That was a longer area to be airborne, and I didn't want too much of it airborne. Where I had done it before, I made it really thin, down to a 16th of an inch (1.6 mm or so), or even a 32nd (about 0.8 mm) in some parts.
Whether a fragile part should float at all depends on how the piece will be used. It's for the sake of art, I said in lesson 10, not like a utensil you're going to use every day. It's going to be placed somewhere people won't touch it, hopefully. For the tray I told the class to think about practicality, what you're going to place in it.
How deep do you dig before you thin it?
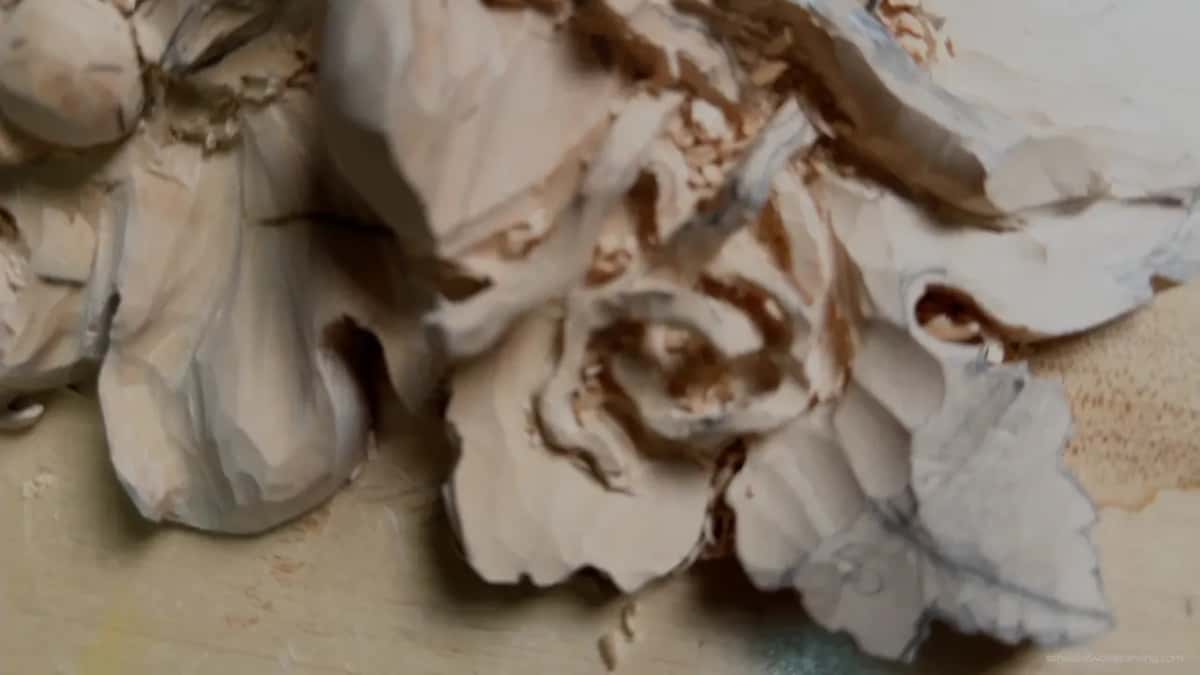
Only as deep as the material lets me. In one spot I dug a little more and then said I don't want to go too deep, because of the limit of how much material I have.
Don't excavate too deep, because you still need material for the leaf, but on the other hand, don't be afraid to do something really nice.
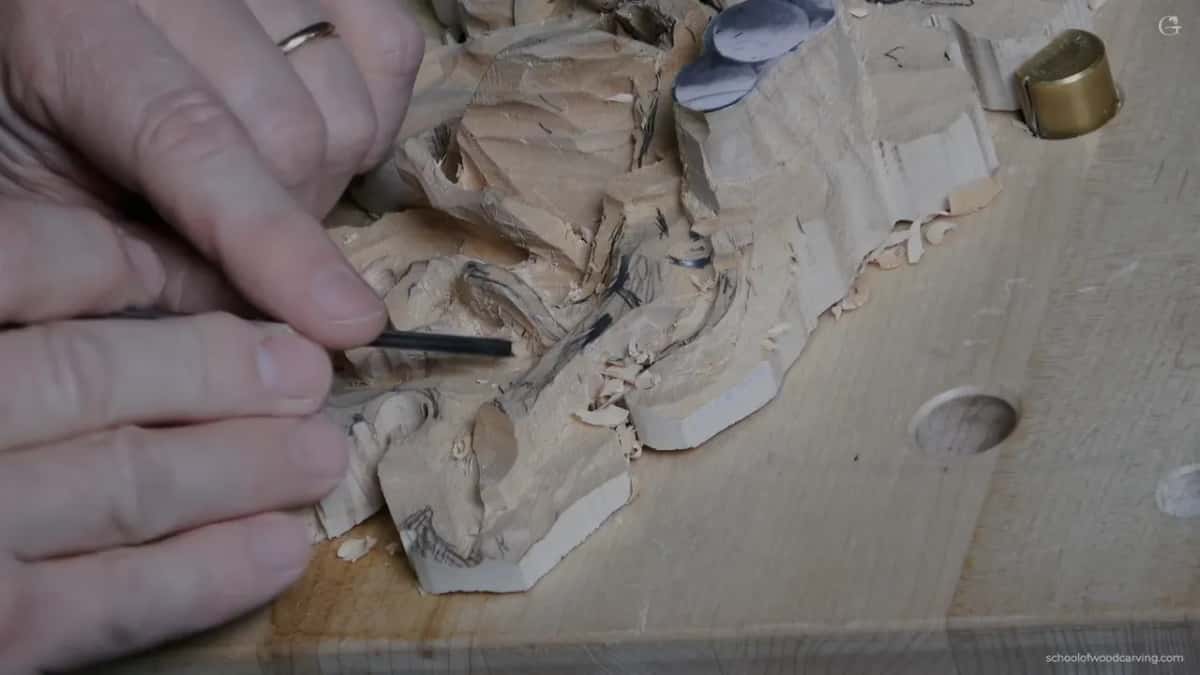
It looked kind of messy at the start of this video, but it's okay. That's the process. Ten minutes in I said that is how it is supposed to look at that stage.
Where can you see the whole pattern?
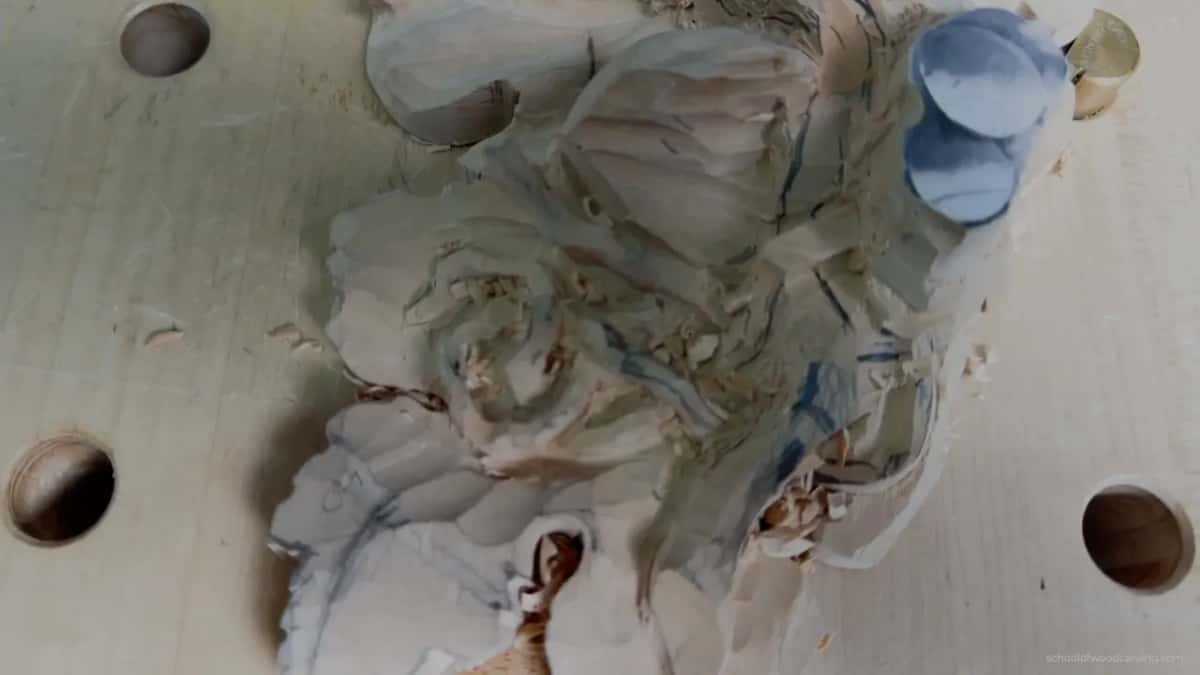
At the end of this video. I flew around the piece with my phone, so you can see my pattern from every side. One part goes right underneath, then it goes this way, then right underneath again, and that is how I did the undercutting. You can see it's completely airborne.
Want to watch each part come free, pass by pass, in the order the grain gave me? The whole lesson is open with tuition and access.
How it's done
- Clear the excess. Number 11 first, then a number 9 about a quarter inch across (near 6 mm). Keep the overall shape of the leaf while you do it.
- Read the grain. Start where the grain makes the undercut stronger, and leave the fragile one for later.
- Set the joining spot. While the part still has wood around it, I set where it joins. It's safer with more support.
- Work both sides. A bit at a time from one angle, then the other. Halfway, dig out, then come in from the opposite side.
- Step the tool down. Where wood is plentiful a 4 mm eleven (5/32 inch); as the part gets weak, 2.5, then 2, then 1 mm (3/32, 5/64, then 1/25 inch), without cranking too hard.
- Stop at the light. Light under it and the tool showing on the far side means it is free. Thinning waits for later.
Frequently asked questions
Does the order matter once you are already undercutting?
For me it did, on this grape onlay. I freed the stronger part first, the one the grain direction favored, and left a spot that was fragile for later, after other parts. Crank on a spot like that without care and you'll break it.
Which parts of a carving can go fully airborne?
Parts with long grain. I told the class on my grape leaf tray to look at the grain, because that is the strong part, and to design airborne pieces with the long grain. A short grain section there would break, so I did not take it far.
How can you tell a part has come free?
Light shows under the part. On this onlay a 2 mm eleven (about 0.08 inch) let me see the light, and with a smaller one you should see the tool come out on the far side. At that point I call it a hundred percent airborne.
What to carve next