

Alexander Grabovetskiy, woodcarver, School of Woodcarving · Published 2024
Should you carve the leaf or the grapes first?
Quick answer: Carving order for a leaf and its grapes is, on my grape onlay, a back and forth. The bunch got roughed first and the leaf came later. Then, inside that leaf, I set two grapes in early, starting where each one meets the leaf, so I knew the height to shoot for and could shape around them.
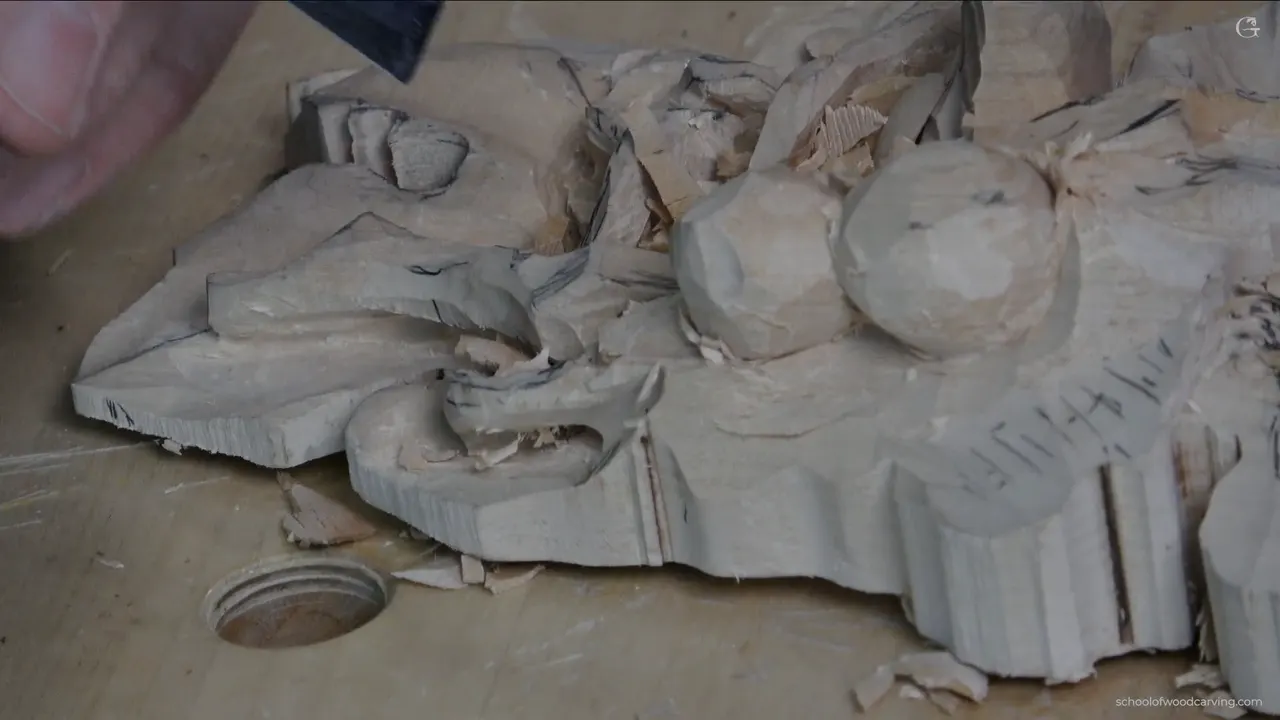
Carving order for a leaf and its grapes is something I settle as I go, and on this onlay it went back and forth. I roughed the bunch in the first lessons. The leaf came later. Then, partway through, I stopped working the leaf and set two grapes into it, because I wanted to know where they would fall before I went any further. If you are wood carving grapes that sit down inside a leaf, that small switch is what this page is about.
This is the second video of lesson 5 of my grape onlay, a relief carved on its own board. Most of it goes to the leaf and the vine. The grapes show up in the last third, two of them, and they change how the rest of the leaf gets shaped.
Have you looked at a real bunch lying on its own leaf? Did you see the lowest grapes press right down into it? Then you already know the problem. The leaf has to stop where those grapes sit, so somebody has to decide where the bottom is, and that decision came first here.
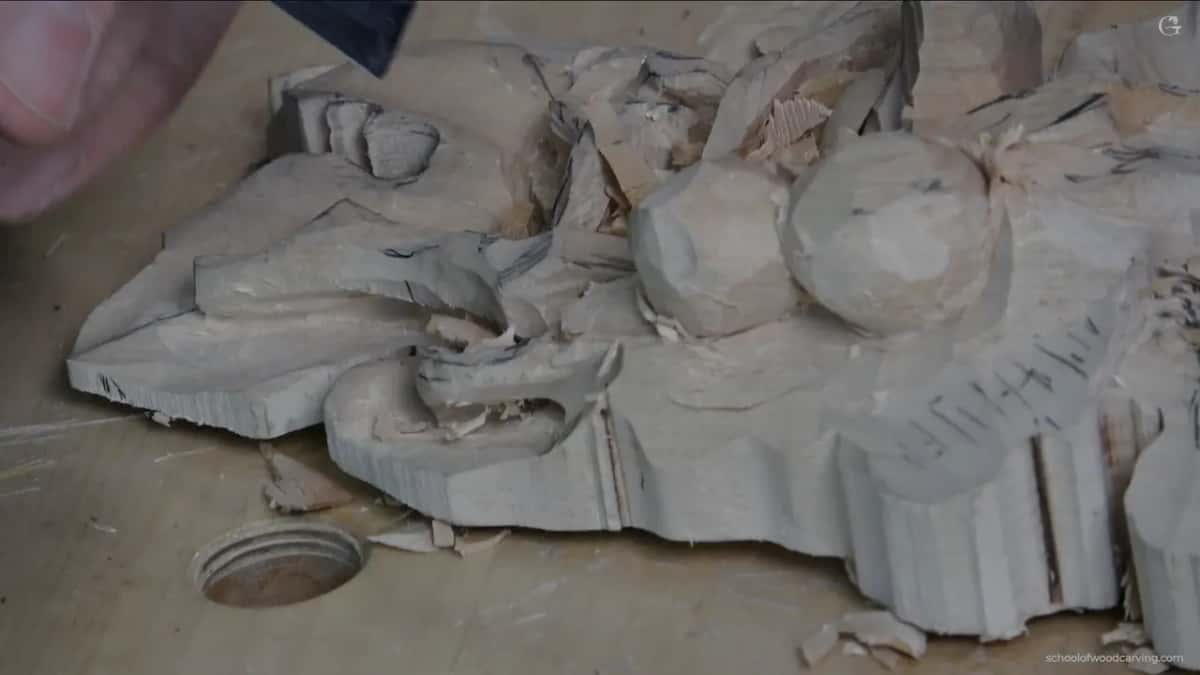
My order on this onlay at a glance
- Roughing and blocking in the bunch came first, back in lessons 1 to 3.
- In lesson 4 I left the grapes alone for a while and worked the tendrils.
- Lesson 5 opened on the leaf, before any refining of those tendrils.
- In this video the leaf and the vine came first, then two grapes went in.
- The spot where each grape sits down into the leaf got set before anything else on it.
- Final cleanup and the thinnest parts wait until much later.
Did the grapes or the leaf come first on my onlay?
The grapes did. Roughly, though, and only as a bunch.
In lesson 1 I took a 10 mm number 9 (about 3/8 in) and lowered one section down, since I wanted it full 3D. It was going to be a kind of cavity, and then I would establish those grapes. When no other grapes show yet, what I usually do is outline my main one, see how it looks, and then place the next.

My second lesson asks you to forget single grapes for a while. Before you carve any of them, concentrate on the shape of the whole bunch. Not separate pieces. Think how it is going to look in three dimensional space, and check it from different points of view, so you know what changes you have to make. In that lesson the board still had its full depth at that spot, the full inch and seven eighths (about 48 mm).
By lesson 3 one spot looked a little too high. I chopped it and slid it down, but I left some of the material there, because a grape could still go in later, right underneath the leaf. That is the first hint of what happens in this video.
When lesson 4 came, I let those grapes be for now. As I told you many times, I really don't worry how it looks at that point. I am looking for overall shape, which matters more to me, so that day went to the tendrils.
Then lesson 5 opens on the leaf. Before I take care of refining those tendrils, I have to concentrate on the leaf itself, and in this case the leaf is really important. So the order on this panel reads like this.
| Stage | Work | Reason |
|---|---|---|
| Lesson one | dropped one section first, like a cavity | grapes to come next |
| Lesson two | shaped the whole bunch before single grapes | checked from different views |
| Lesson three | chopped a high spot, left some wood | for a later grape |
| Lesson four | let those grapes be and did tendrils | overall shape mattered more |
| Lesson five | turned to the leaf before refining tendrils | leaf is really important |
| This video | put two grapes into the leaf early | to know their height |

What happened to the leaf before any grape went in?
Plenty of small work, and much of it was about keeping one thing or another raised up while I took wood around it. The video opens on a number 11 spoon, 7 mm (a bit over 1/4 in), going from the inside outward, all the way out. Carving the other way, I'd catch the grain and damage it.

At that point I still kept roughly one eighth of an inch (3 mm) of wood. I didn't want too extreme a pass there.
Then a number 9 came in sideways. My passes were really tiny, with a rotating motion, so I wouldn't damage that part and could still keep it raised. Next was a number 5, a little less than half an inch, about 12 millimeters, turned upside down, then straight down, maybe with a slight undercut right away. If I can't take the wood off in one pass, I just go back and make several.

Then the number 11s. A 10 mm one (about 3/8 in) cleared one area. That's enough, I said, and showed you how it looked. Then a 4 mm one (about 5/32 in) took it a little deeper.
One spot got a number 9, 6 mm (about 1/4 in), straight down. I didn't want too big a pass there, but I still wanted that spot at about the same level as the side next to it.
A 2 mm number 11 (about 5/64 in) went right underneath one big line, so that line would show better. Really uncomfortable spot, I said.
And the central line. It has to start from the middle of the leaf and run all the way along, which left a ridge I did not need, so I took care of it. How the lobes split up gets its own lesson, lesson 8.

How did I shape the vine?
A number 5 did it, in many passes. I look at the vine from the side, and I don't want to see any straight lines there. Seen that way, I could give that area some kind of convex movement, and it would look much better.

Another spot I dropped slightly using a number 7. After that I flipped the tool upside down to get a bulging part somewhere right there, and hit some of the edges with that same number 7.
There is another movement too, one that runs right underneath the main vine, so I made sure some material stayed for it. How deep did I go there? Maybe about a quarter inch (6 mm), I said, and I wasn't sure. The plant itself is a grapevine, a climbing plant that holds on with its tendrils.
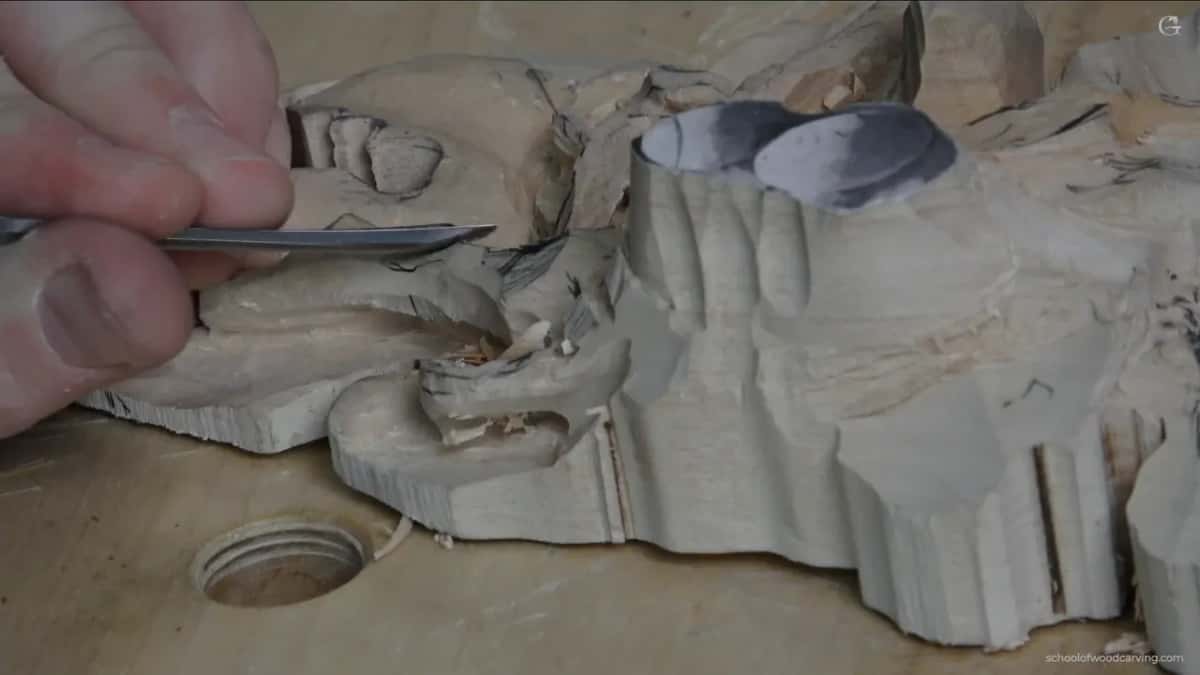
By then the panel had what I called a weird area. It looked messy as of then. But I could see that one section, the part just before the grapes, belonged to the leaf as well. The whole section was my leaf. That part would run uphill, and the piece next to it would go right underneath this leaf, so I started establishing that. My number 9 cleaned up the area until it read the right way.
Why drop the wall and the high spots before setting grapes?
A few spots sat too high. Next came another problem, a wall that was too big. Not a big deal, since the way this piece will be positioned, one side is the bottom and the other the top, and I have no problem with a big excavation on the back of that side. Still, I preferred to drop it slightly.

Two lumps sat a little too high as well. The high spot is going to be in one place, and those two sat on the way to it, so I chopped them down slightly. There was plenty of material.
And I said it. Maybe it is a good idea to start shaping those now, because that way I'll know exactly where it is going to fall, and I can shape based on those two. That sentence is the whole answer to which comes first, at least for this leaf.
Not right away, though. First I pre-established the movement, roughly. About three quarters of an inch (roughly 19 mm), I guessed, and how much material I had there kind of bugged me. I can always drop. I sloped that area slightly, working from the far side where the camera could not follow, and apologized for it.
How do you set a grape into a leaf by its bottom?
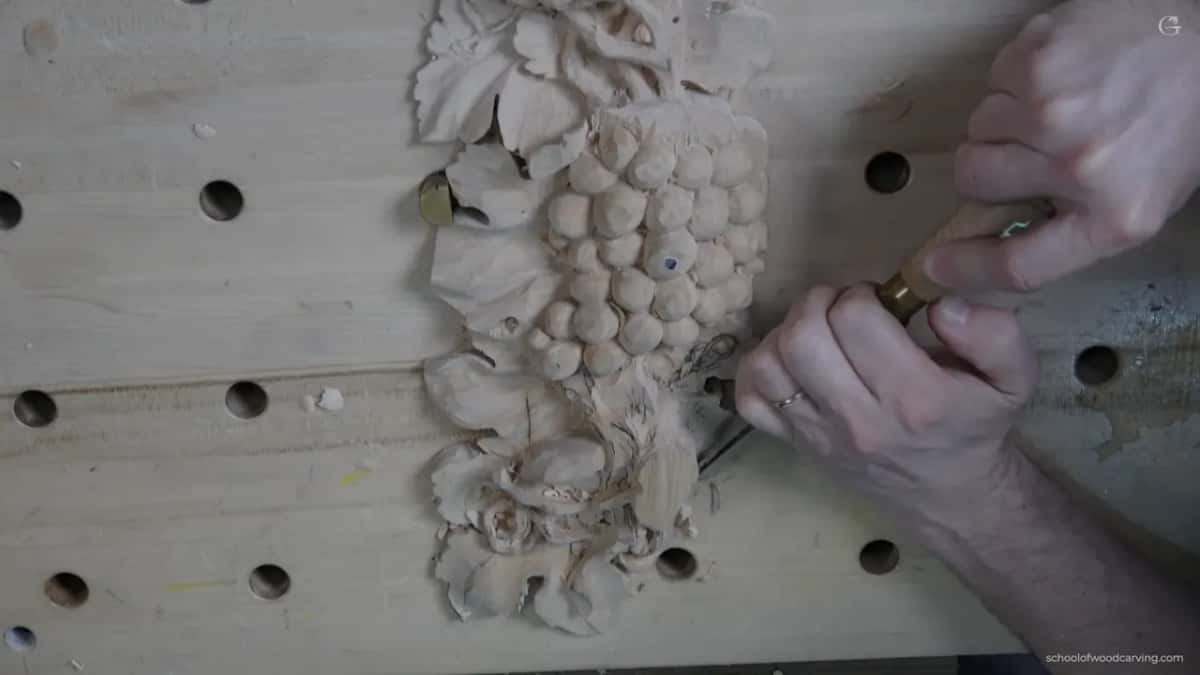
You find where the grape sits on the leaf and rough that in first. I came at the two grapes with the same tool I had just been using, from one side. One chunk there was a little too big, I said. And this one, I decided, would sit lower than that one, so I could chop some away right away, with plenty of material to spare.
Next I showed which wood was which. This part belongs to the grape, and that, right there, is the leaf. The plan was to pre-establish the leaf at the bottom of one grape and the bottom of the next. That way I'll know exactly the height I need to shoot for, and in this case I don't need more than two.
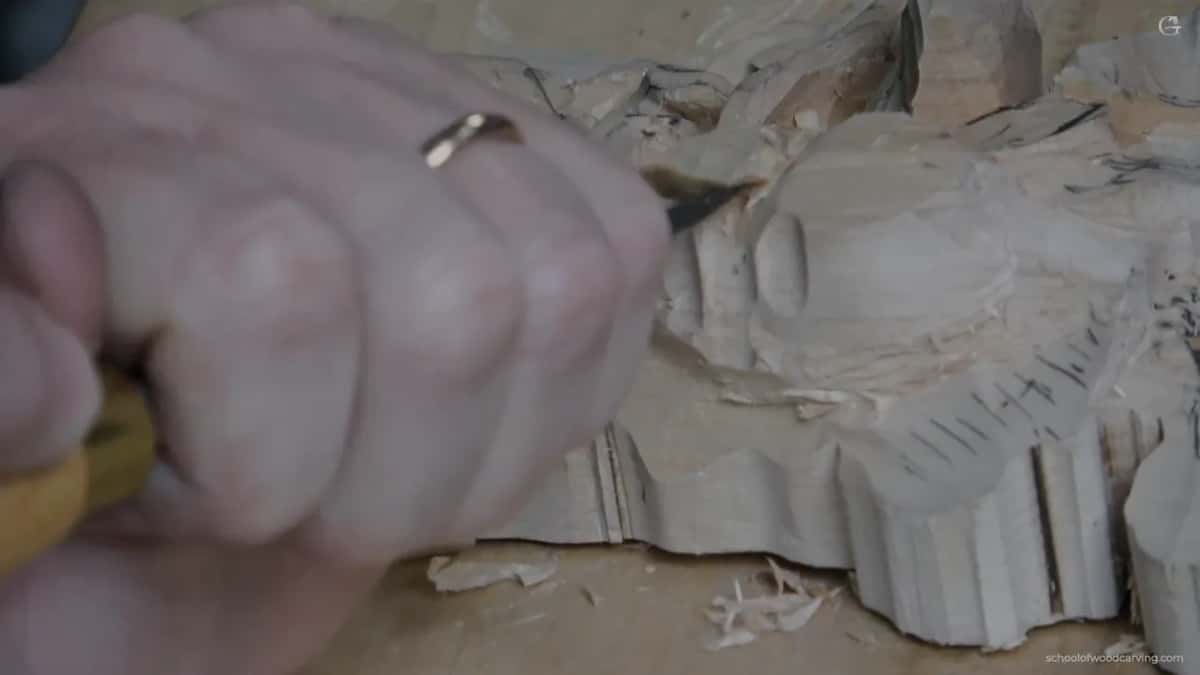
Getting those grapes in place is exactly what I'd done before on this grape panel. You could use bigger tools for it. In this case, I said, even my skew alone could give the first rough shapes of the grapes, just blocking in. A skew is a chisel whose edge sits at an angle.
Size got a second look. One grape was also a little too big, so I moved it slightly to one side. I want to expose a little more leaf. It would not be bigger than 3/4 of an inch (1.9 cm), I said. One of them will be a little smaller. I don't want them to look the same, and I checked the other side too.
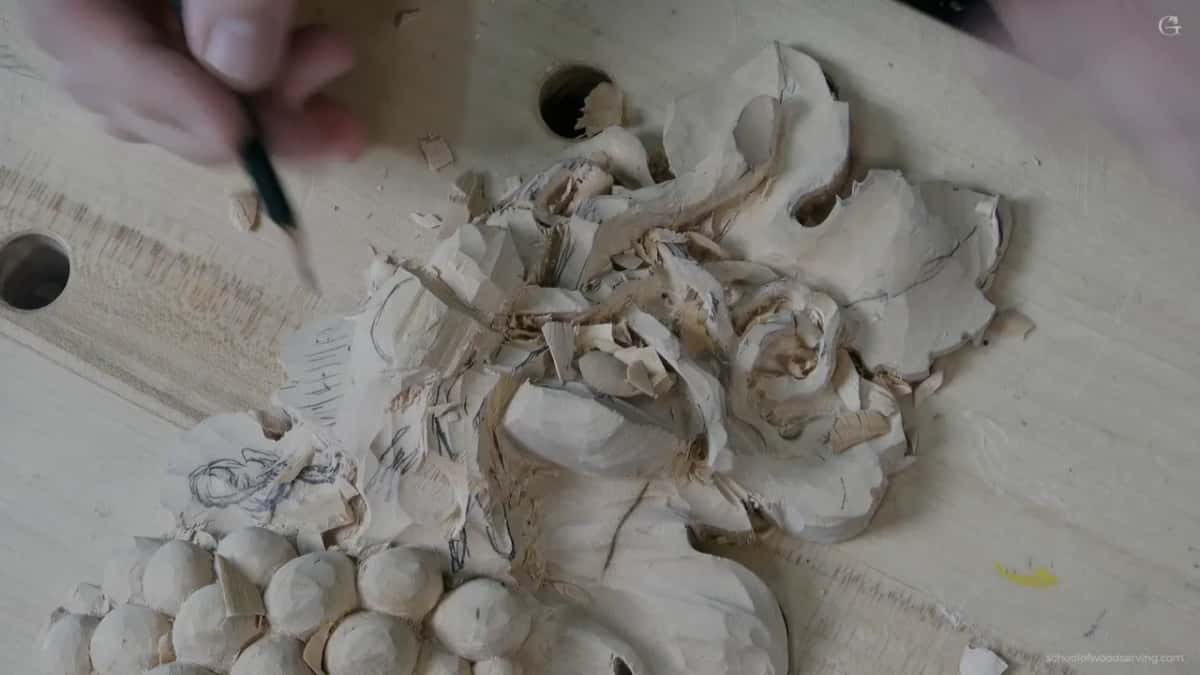
For a better shape I went to my number 5, then thought a bigger gouge would do. I took a number 6, 3/4 of an inch, about 19 millimeters or so. And I could undercut pretty much right away, because I really wanted to expose that part of the leaf. Set the grapes, then free the leaf beside them. That was the order.
Right then it looked messy, and I said so.
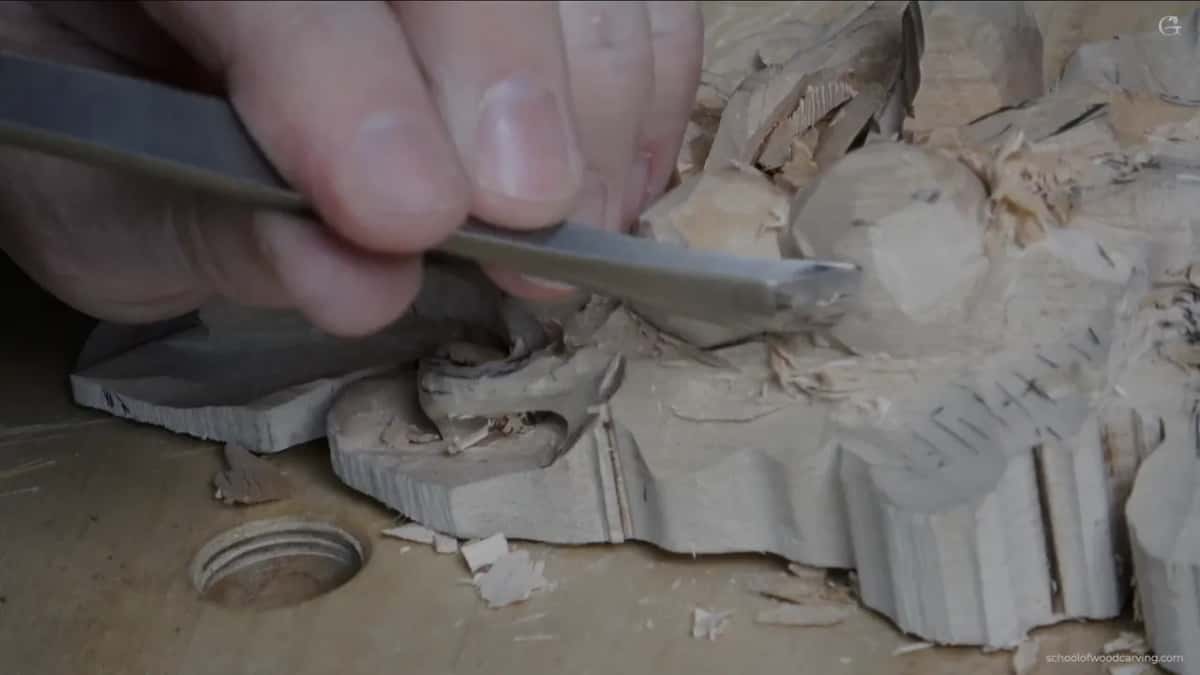
What waits until later, and why?
Whatever I am not sure about yet. Earlier in this same video, after digging one area out with a 2 mm number 11, I said I was still going to keep my connecting point somewhere. A little later I kept another one, because there was no reason for me to free that part completely.
On a different section, in lesson 13, I wanted to dig much deeper for a better shadow, and then I held back. Probably too early to excavate too much, I said, because I don't know what I'm going to do with that section yet. It was raised up and I liked it. Later on I want it almost paper thin. For that day it kept about five millimeters (about 3/16 in) of thickness.
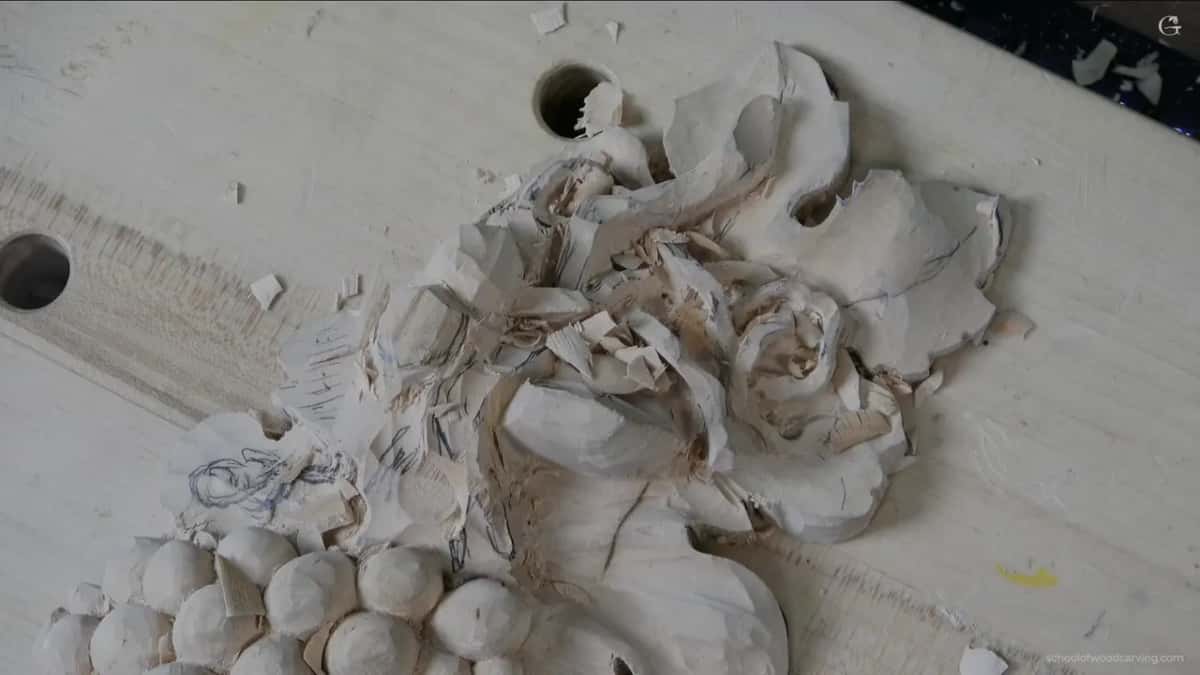
The opening minute of lesson 6 sounds much the same. It is not a hundred percent done, I said, and there will be more refinement to come, a little thinner. Still, from all around, it is full 3D.
The cleanup itself I didn't think I would film. Near the end of this lesson I said I'd take my magnifier glass and do exactly what you just watched, just thinner and thinner. The main motion stays the same.
What if the order stops making sense halfway?
Change it. Close to the end I looked at what I had and said it still doesn't make too much sense. So I changed it slightly. This leaf would go up, and the other leaf would go right underneath it. The small movements would lie on top of that lower leaf, and I would hide them somehow.
I know I got a little too complex right there, I admitted. The video ends as I start to clean it up, so you'd understand better.

The next video opens on exactly that. The main leaf goes up, the part beside it goes down underneath it, and I said I thought it would make more sense. A little later I took a flatter tool, a number 3 or so, and cleaned the mess off to get a clean canvas again, so I could see much better what was going on.
Can you carve this order yourself?
If you go slowly, you can. The board for this onlay is basswood, the same board from lesson 1 of the grape onlay course. Got a pencil and a scrap of wood? Can you mark where one grape would meet a leaf? Then rough that line in first, the way I did here, and let the rest of the leaf wait until you know the height.
Access opens every lesson of the course. After this one comes lesson 6, which opens with the piece shown from all around.
How it's done
- Rough the bunch first. I took one section down like a cavity before establishing grapes, then shaped the whole bunch and checked it from different points of view.
- Shape the leaf and vine. The vine got a convex movement from a number 5, checked side on for straight lines, and a number 9 cleaned the leaf area.
- Drop what sits too high. A too-big wall came down slightly, and two lumps on the way to the high spot got chopped lower.
- Rough in each grape bottom. Where the leaf meets the bottom of each grape gets roughed in first, so I know the height to shoot for. Two were enough here.
- Block in, then shape bigger. I moved one grape to show more leaf, kept the other smaller, and shaped them with a 19 mm (3/4 in) number 6.
- Undercut and leave the rest. Right away I undercut to expose the leaf beside the grapes. Connecting points, and the final cleanup with the magnifier, wait until much later.
Frequently asked questions
Do you carve the grapes before the leaf on a grape onlay?
Roughly, and only as a bunch. On my onlay that was the work of the early lessons. Later I left the grapes alone, did the tendrils, and turned to the leaf. Inside that leaf, two grapes went in before I finished it. I wanted to know where they would fall and shape the leaf around them.
Why rough in a grape at its bottom first?
The grape's bottom sets the height for everything around it. I pre-established the leaf where one grape ends and where the next one does, on this onlay. That way, I said, I would know exactly the height I needed to shoot for.
How many grapes go into one carved leaf?
On the leaf in this video I said I didn't need more than two. One sits lower than the other. I moved the bigger one slightly to expose more leaf, and one ended up a little smaller, so the pair would not look the same.
What to carve next